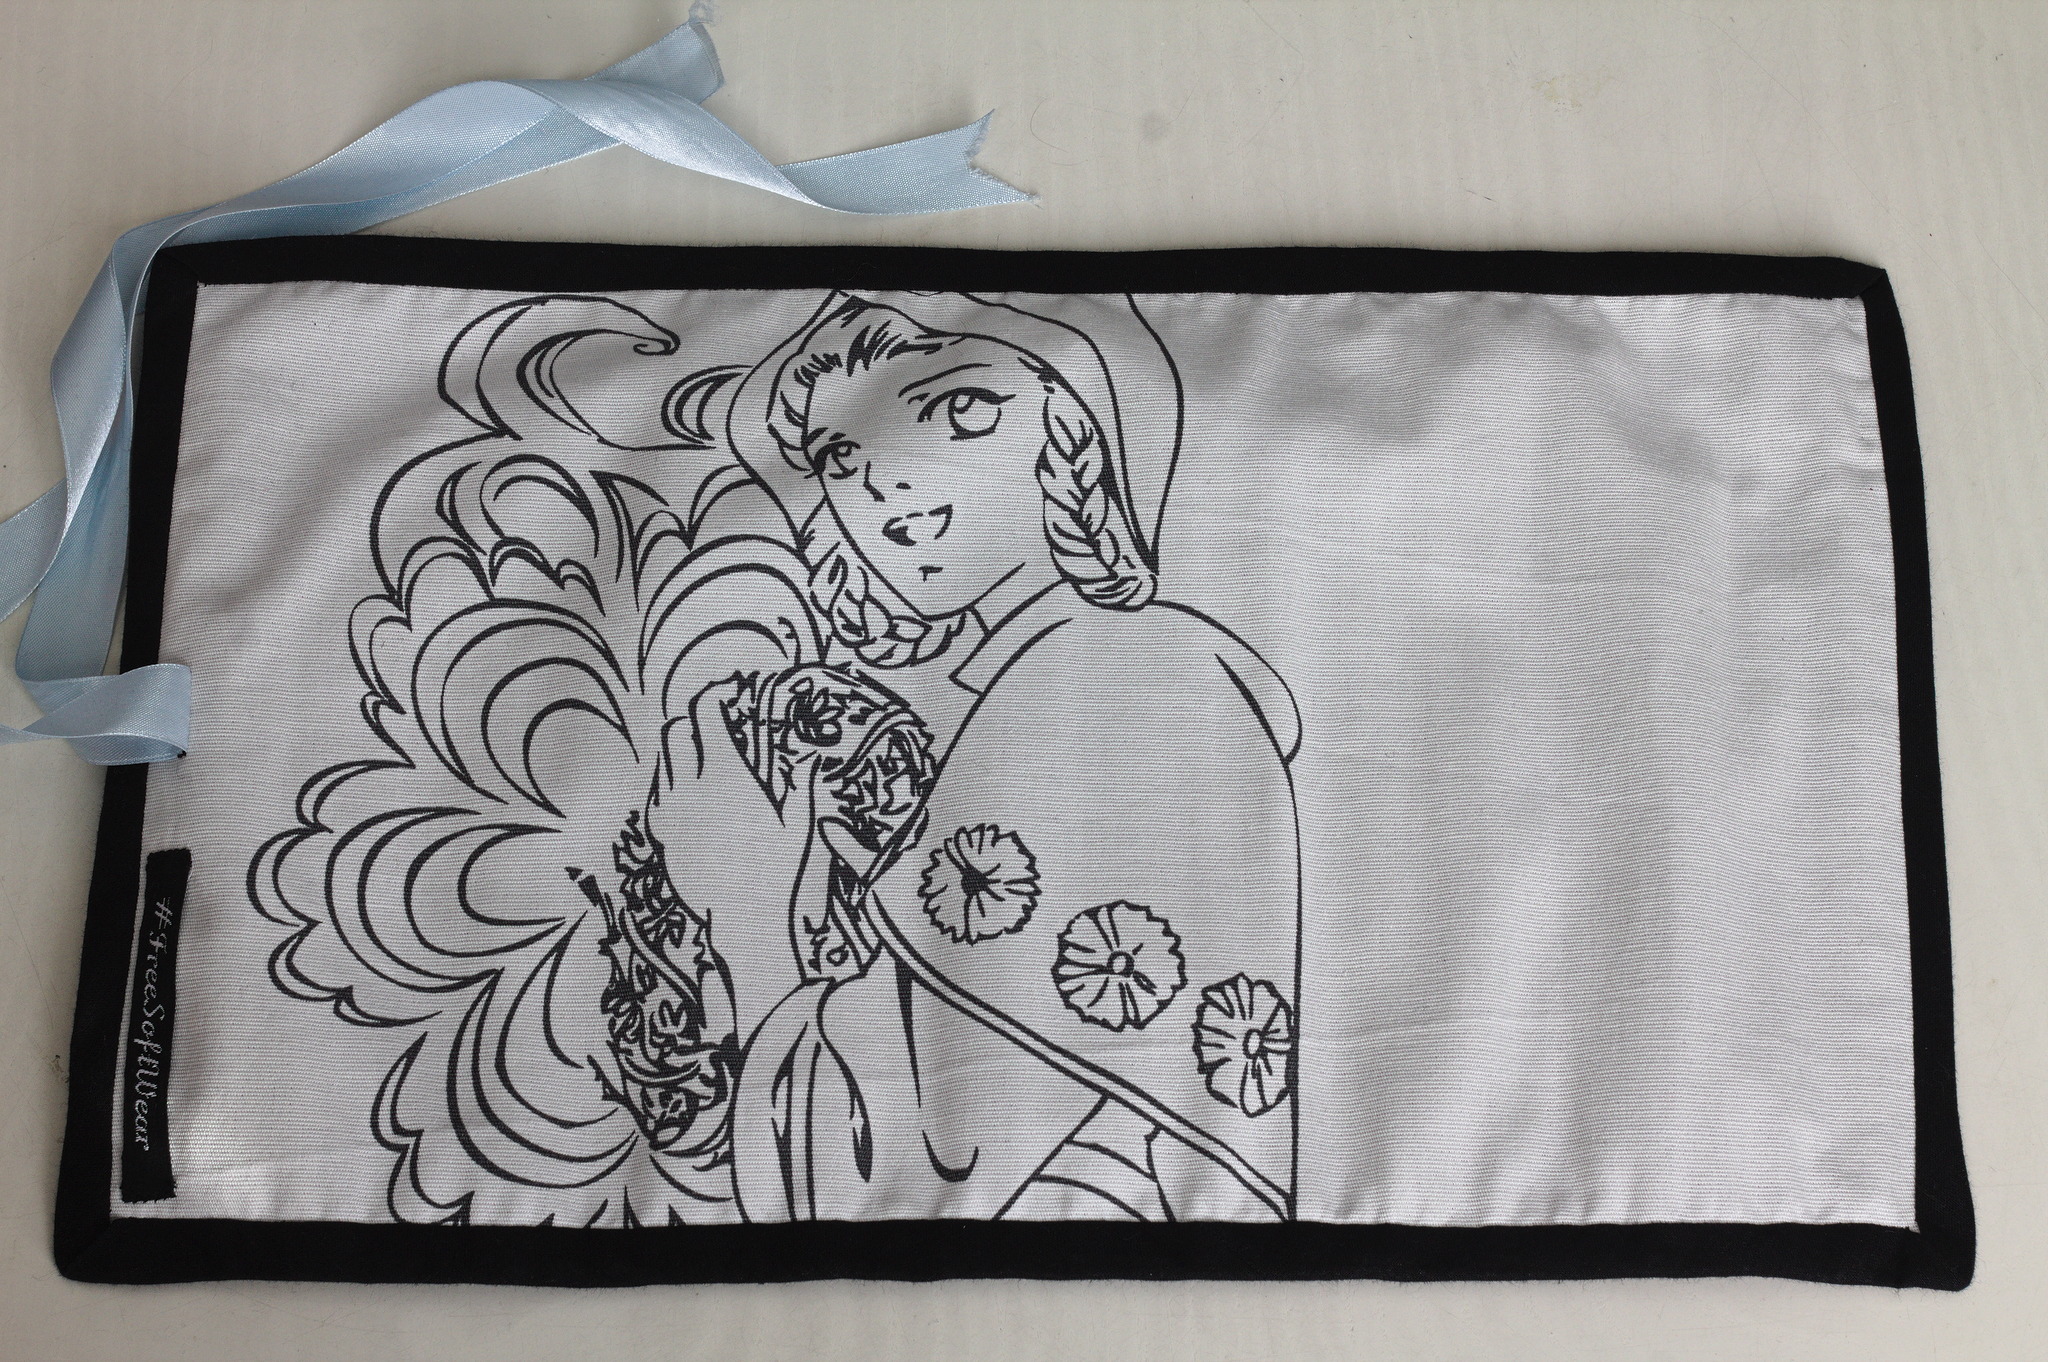
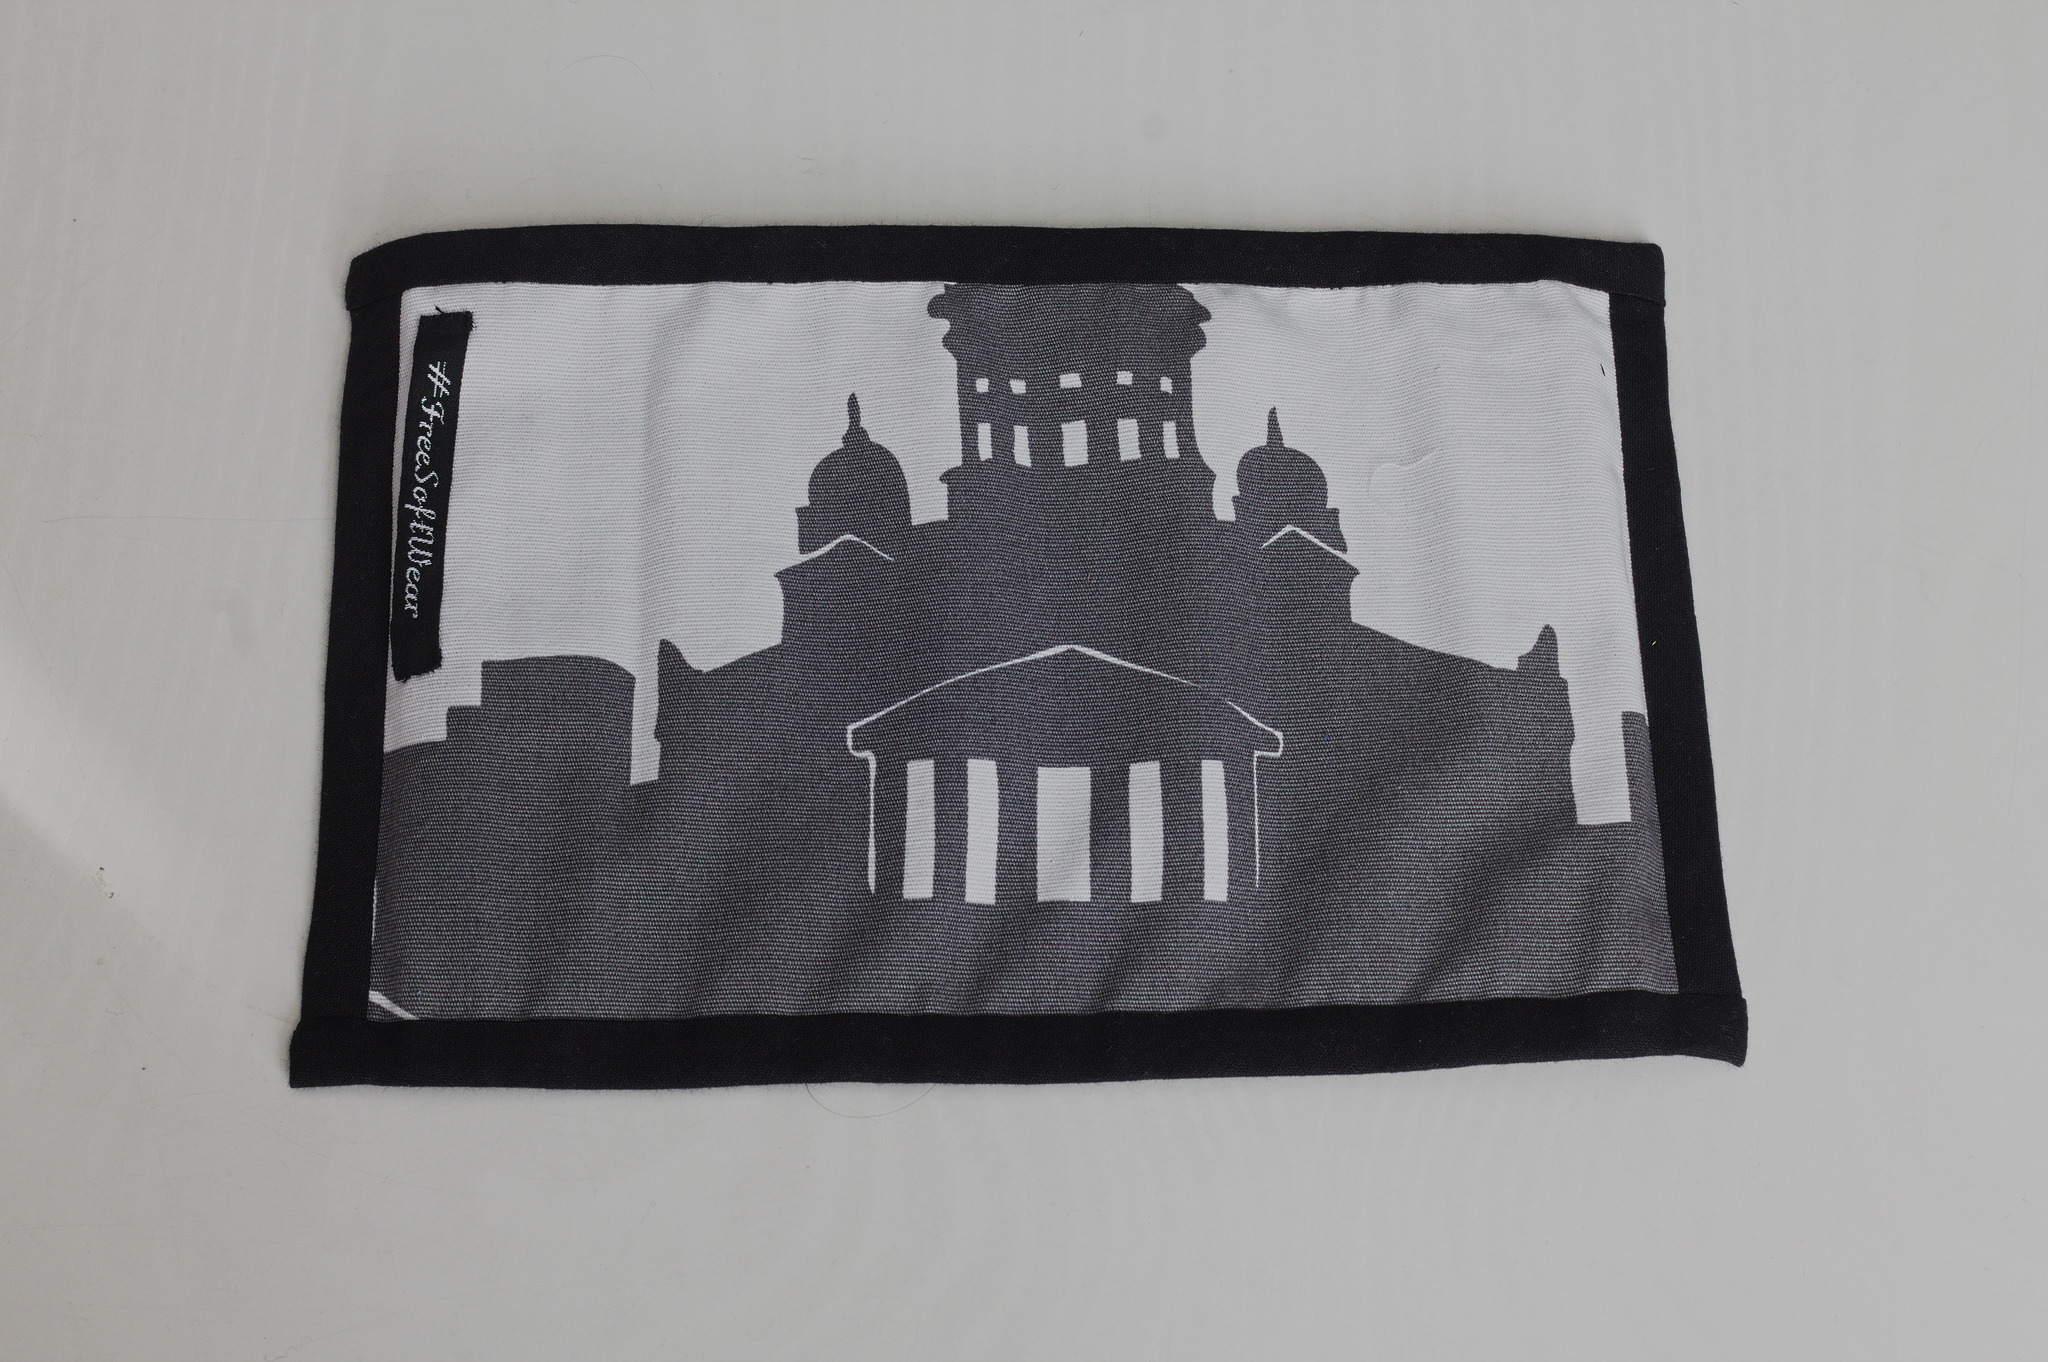
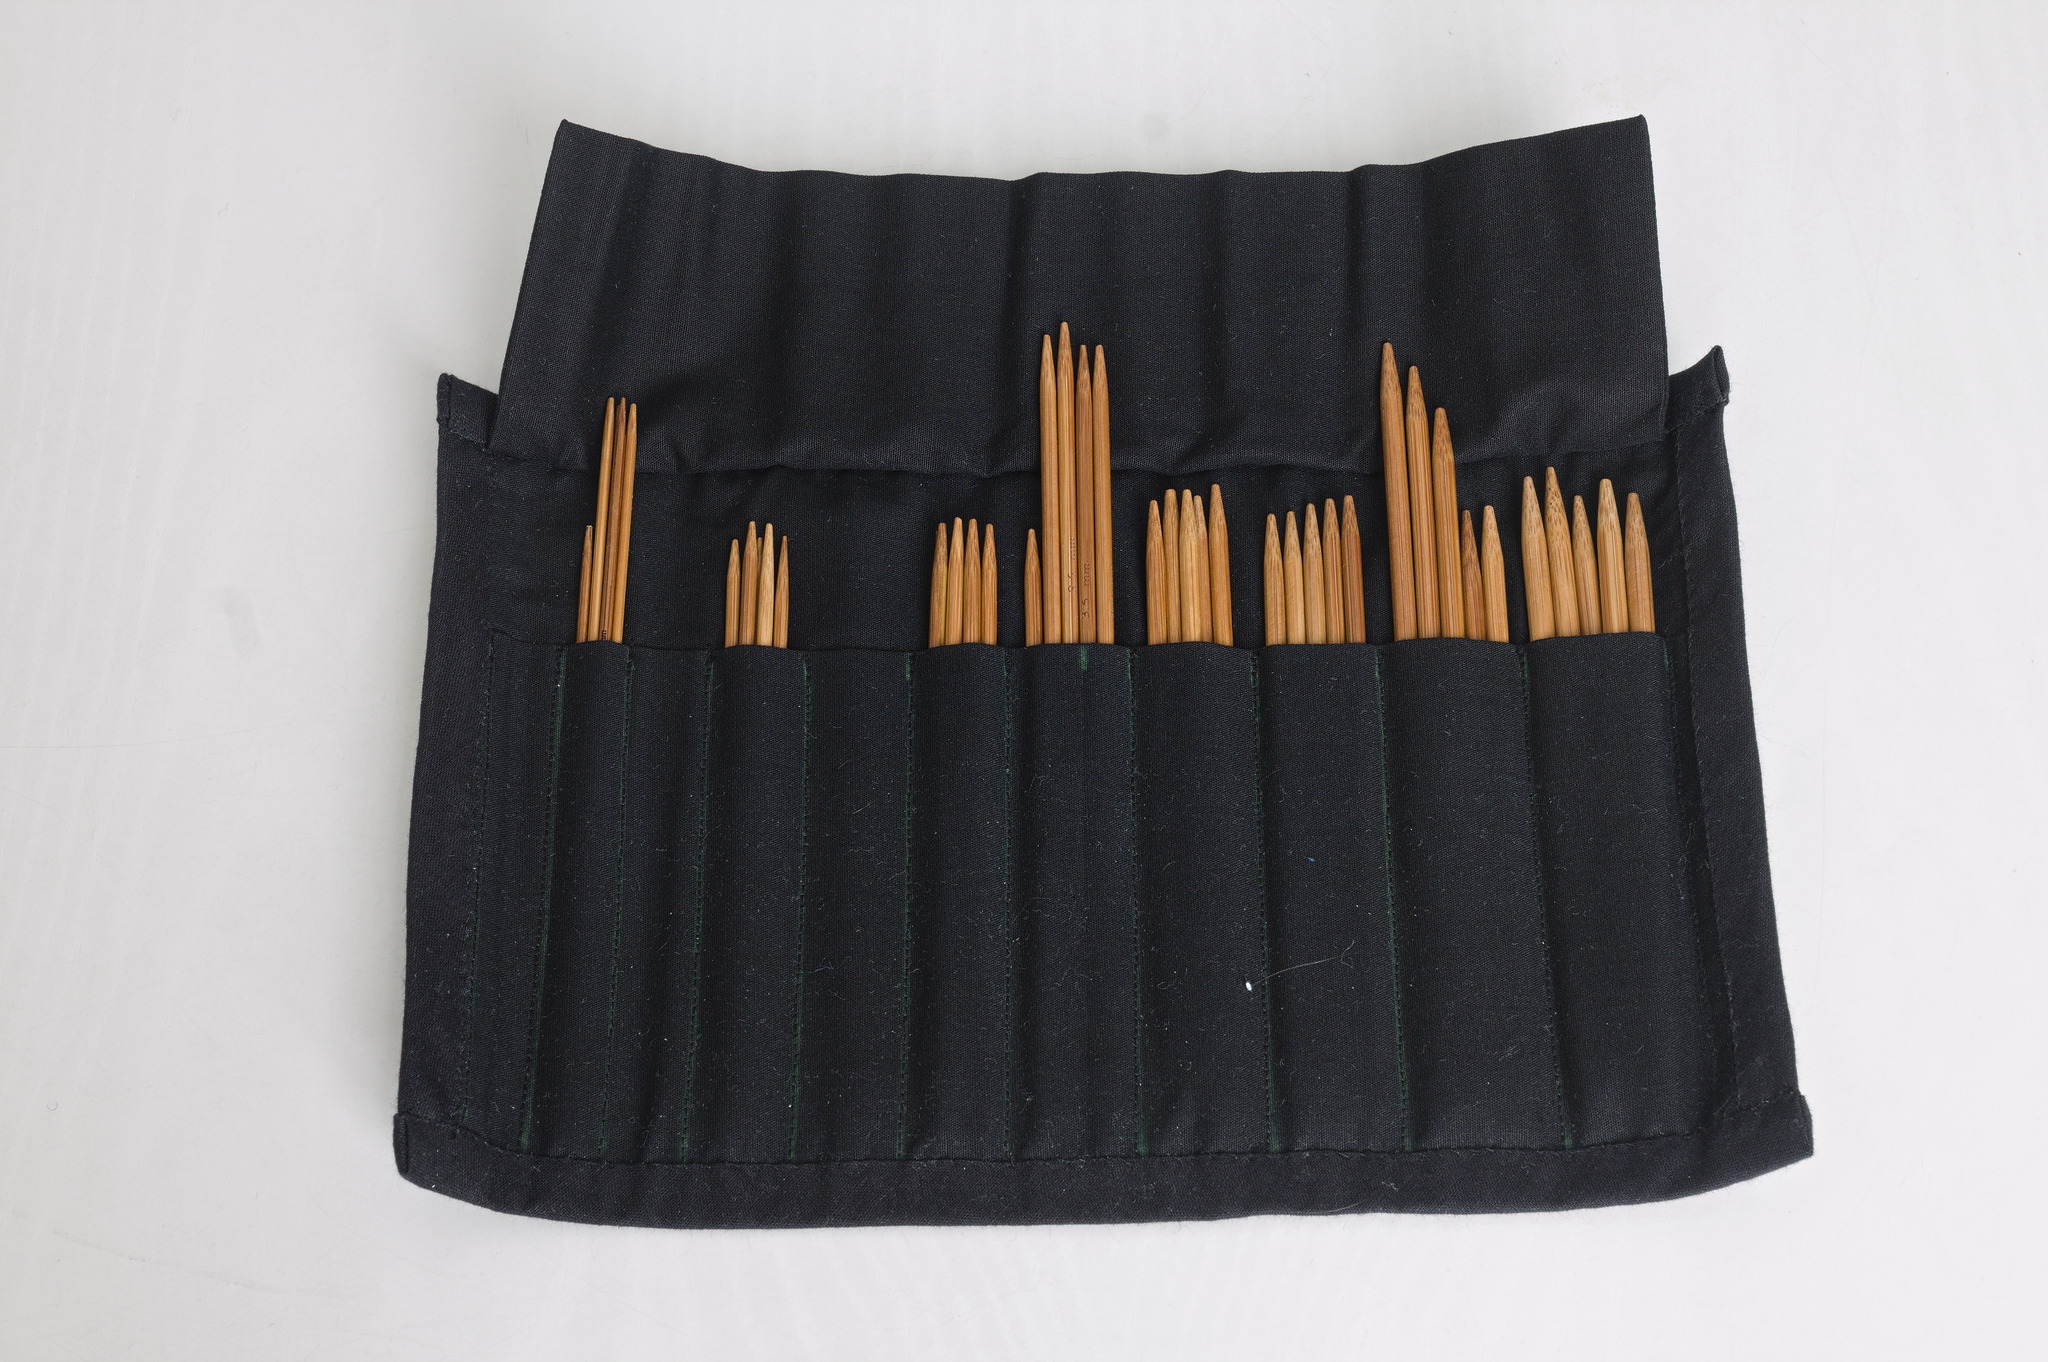
Knitting Needles Roll
This is a fabric roll to store knitting needles, designed to fit precisely sets of double pointed needles of known sizes.
Materials
Fabric
Scraps or ~25 cm sturdy printed cotton for the outer layer.
Scraps or ~25 cm stable but soft cotton for the lining.
Notions
Bias tape, 1.5 cm wide when folded:
Ribbon
Sewing thread
Pattern
The pattern is made of simple rectangles; to make a roll that precisely fit a set of DPN you can use the following python code: enter the sizes in mm of the needles you want to fit as a tuple, e.g.:
> sizes = (
    2.00, 2.25, 2.50, 2.75,
    3.00, 3.25, 3.50, 3.75,
    4.00, 4.50, 5.00, 5.50,
    6.00, 6.50, 7.00, 8.00
)
and then calculate the sizes of the slots and the width of the finished roll:
> [math.ceil(s * 5 / 5) * 5 for s in sizes]

[10, 15, 15, 15, 15, 20, 20, 20, 20, 25, 25, 30, 30, 35, 35, 40]

> sum([math.ceil(s * 5 / 5) * 5 for s in sizes]) + 30

400
And the height of the roll should be the height of the needles, plus 4 cm (e.g. for 20 cm needles it will be 24 cm).
The part of lining that holds the needles will have to be wider: calculate the slots and total width with the following python code:
> [math.ceil(s * 7 / 5) * 5 for s in sizes]

[15, 20, 20, 20, 25, 25, 25, 30, 30, 35, 35, 40, 45, 50, 50, 60]

> sum([math.ceil(s * 7 / 5) * 5 for s in sizes]) + 30

555
its height, finished, should be 3/4 of the height of the full roll (in our example 18 cm).
Finally, the finished top flap should be 3 cm less than the width of the full roll, with 1 cm sewing allowance on the sides, and 1/3 of the height of the full roll, in our example 37 cm × 8 cm.
Cut the following pieces:
base: cut 1 in fabric and 1 in lining, as wide and as tall as the base, calculated above (e.g. 40 cm × 24 cm);
needle holder: cut 1 in lining, as wide as calculated above and twice as tall (e.g. 55.5 cm × 36 cm);
top flap: cut 1 in lining, as wide as calculated above plus 1 cm sewing allowance per side and twice as tall (e.g. 39 cm × 16 cm.
Instructions
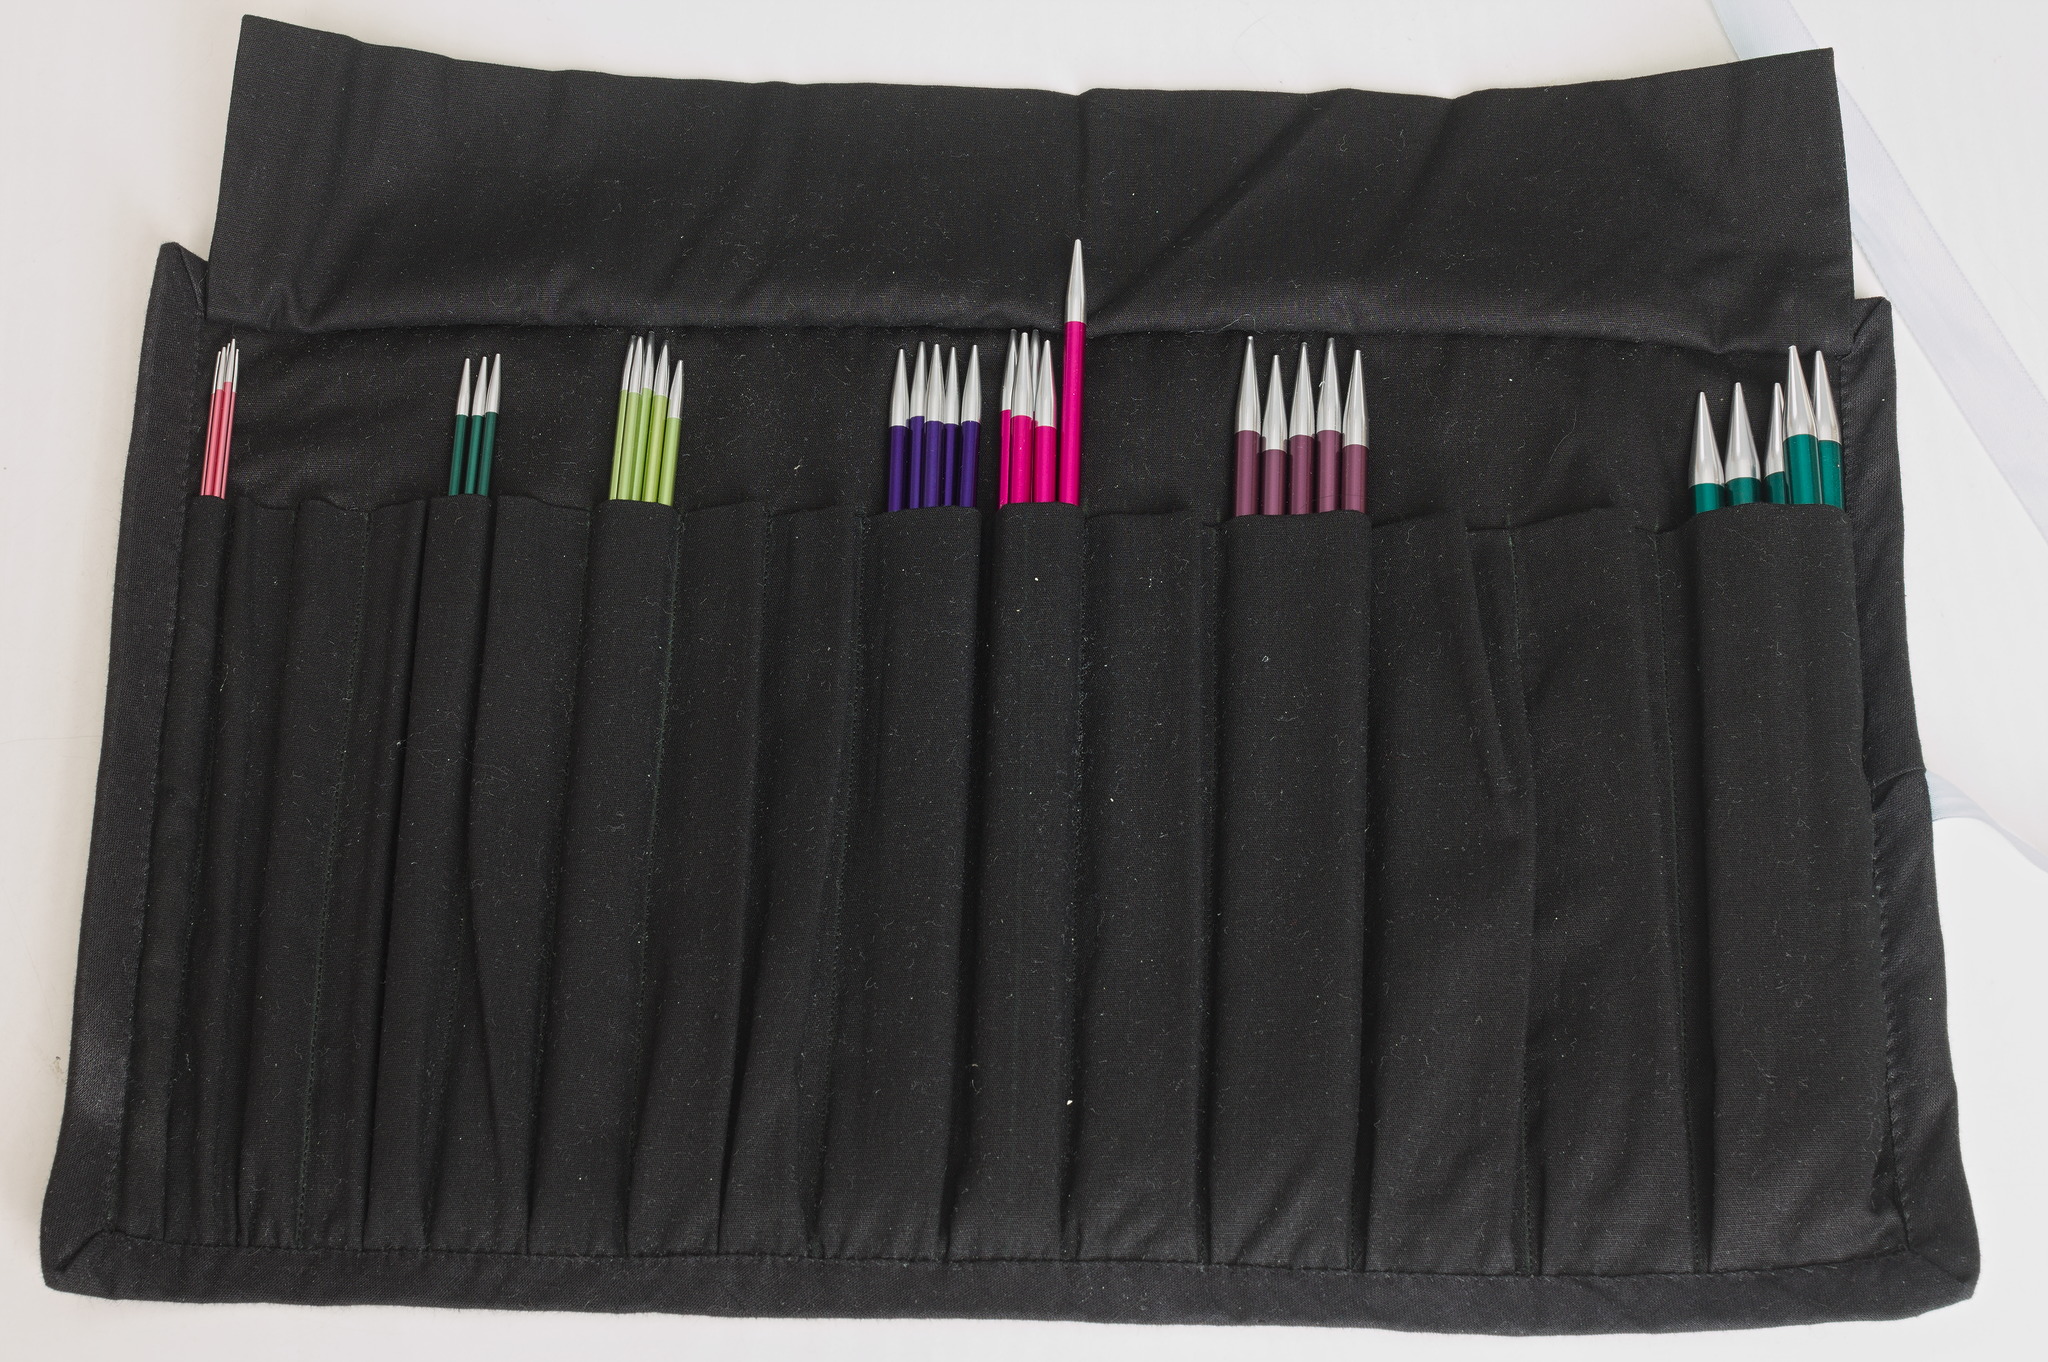
Fold the needle holder in half, wrong sides facing, press.
Mark with chalk or a vanishing pen the channels measured above on the lining base and on the needle holder;
Place the lining base with the right side on top, and carefully align the needle holder over it such that its long raw edge (opposite to the fold) is aligned to the base, and the center seam matches. Pin in place and sew the center seam.
Moving towards the sides, align each seam between the base and the needle holder, pin, sew, and then work on the next seam. At the end the short sides of the needle holder should match the short sides of the base.
Make a box pleat at the bottom of each channel, pin them and sew along the long raw edge, about 1 cm from it.
Prepare the top flap: turn it with right sides facing and sew the short sides with 1 cm allowance. Clip the corners, turn inside out and press.
Attach a piece of ribbon to the fabric base, close (about 3 cm) to the center of one of the short edges, and any label or embellishment you want to add to the top.
Place the base fabric and base lining + needle holder wrong sides together, sew along the sides and bottom edge, about 1 cm from it, being careful not to sew the ribbon. Place the top flap centered on the top side of the lining, and sew also the top edge 1 cm from it.
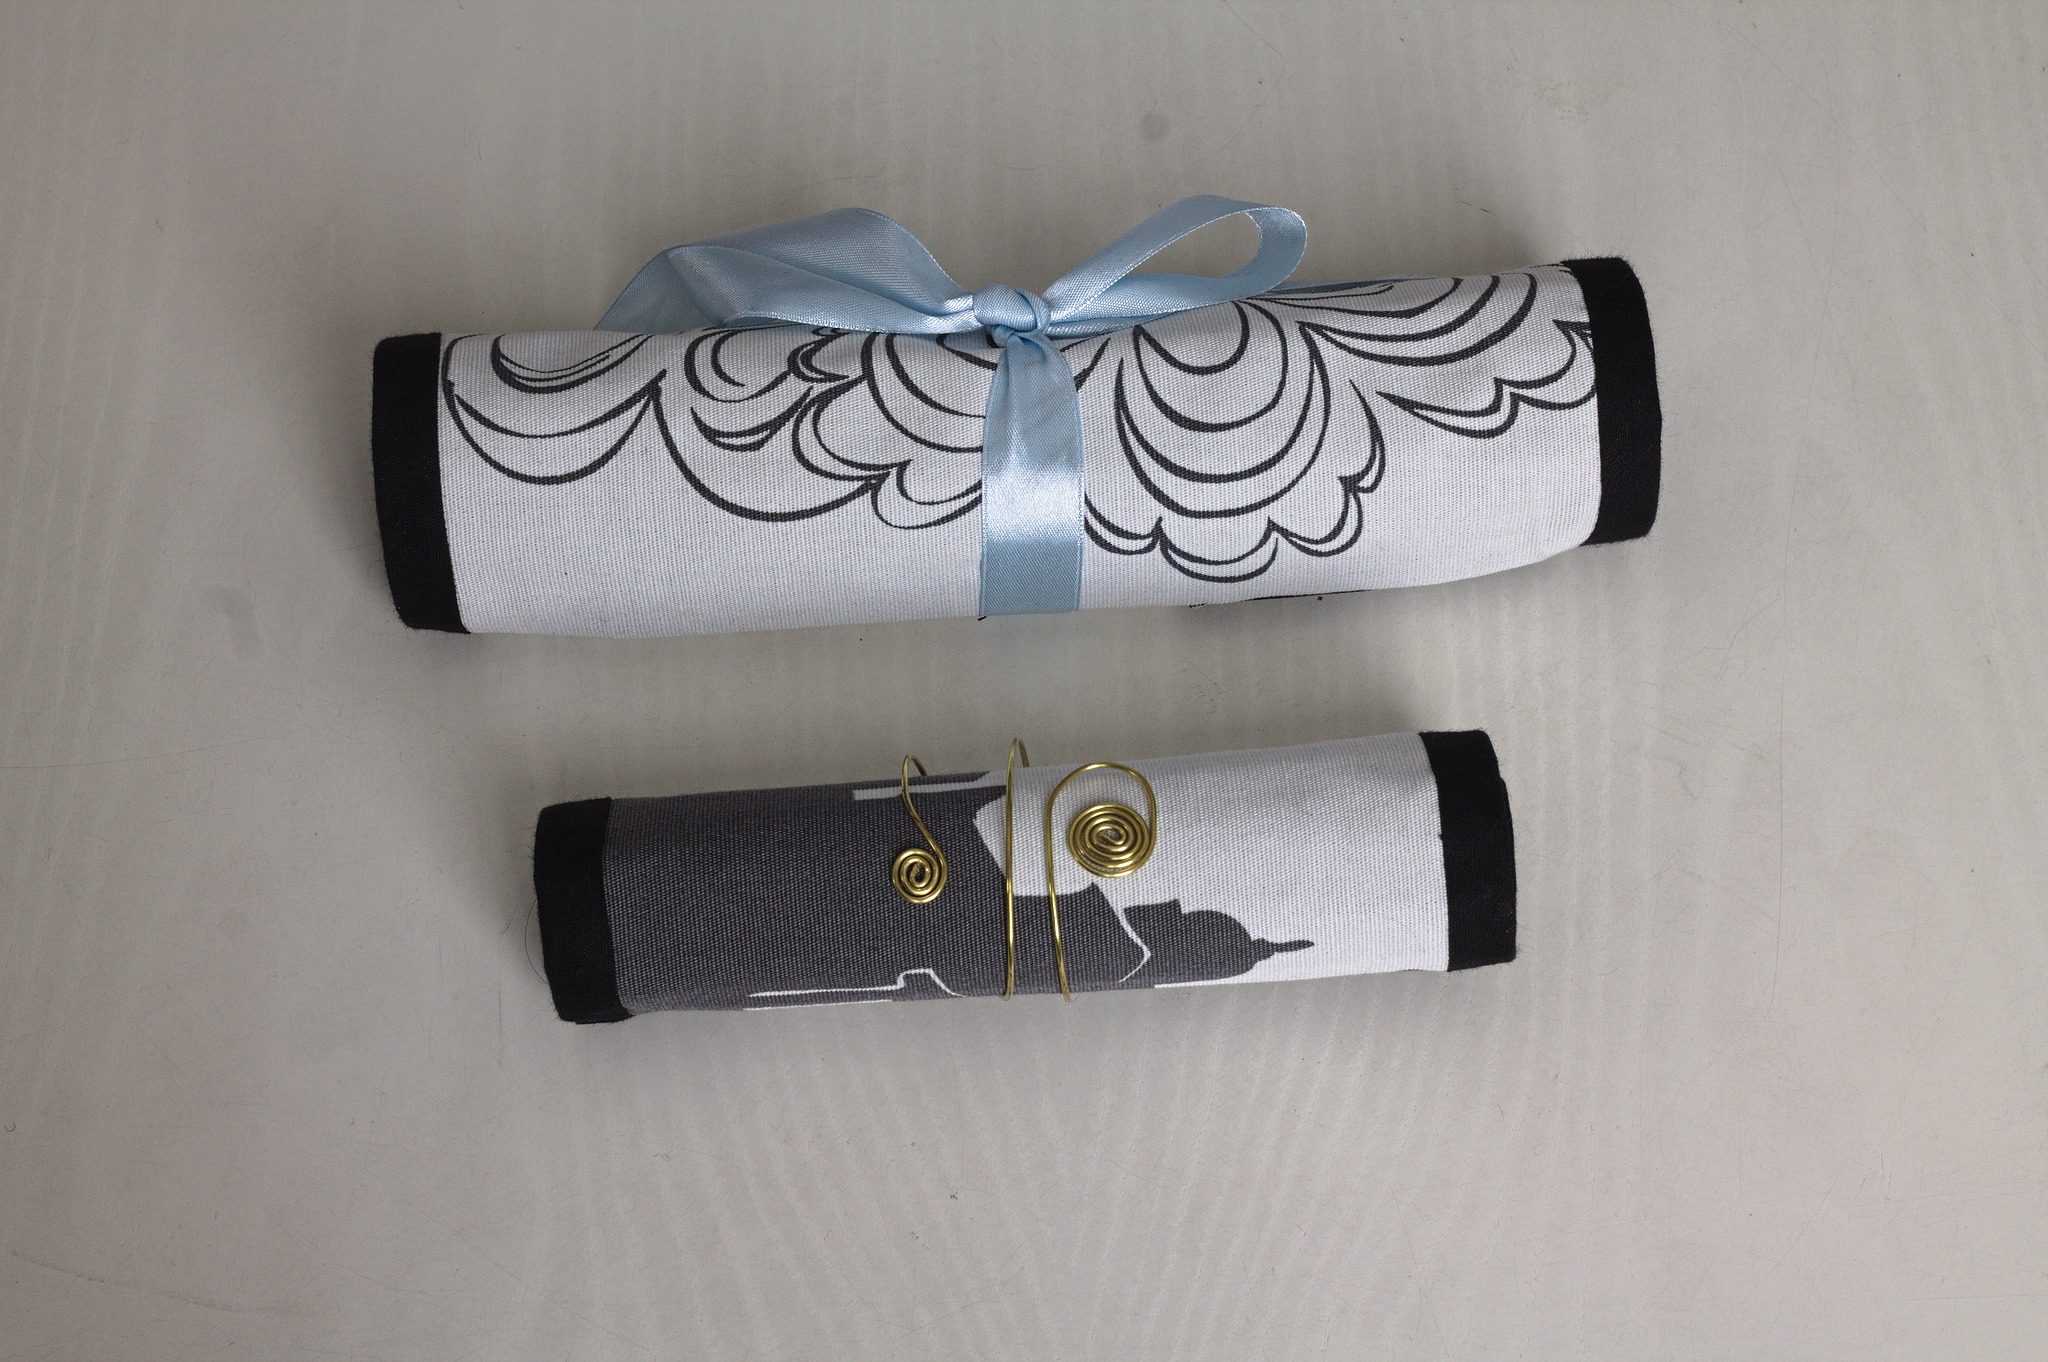
Turn the roll with the fabric side on top; starting from the short edge with the ribbon sew the bias tape all around the edges, taking care to miter the corners.
Turn the bias tape towards the inside, whipstitch it in place by hand.
Variants
Flat needle slots
Instead of making box pleats at the bottom of the needle rolls you can make the base and needle holder the same size, and sew the bottom flat.
In this case, the python code to calculate the width of the slots becomes:
> sizes = (
      2.00, 2.25, 2.50, 2.75,
      3.00, 3.25, 3.50, 3.75,
      4.00, 4.50, 5.00
  )

> [math.ceil(s * 6 / 5) * 5 for s in sizes]

[15, 15, 15, 20, 20, 20, 25, 25, 25, 30, 30]

> sum([math.ceil(s * 6 / 5) * 5 for s in sizes]) + 30

270
and in this example for a set of 13 cm DPNs the fabric to cut would be:
base: cut 1 in fabric and 1 in lining, 27 cm × 17 cm;
needle holder: cut 1 in lining, 27 cm × 26 cm;
flap: cut 1 in lining, 24 * 12.
When assembling, you can then mark the channels just on the needle holder, pin it in place aligned to the base at the bottom and short sides, and sew all the channels at the same time.
Everything else remains the same.
Gallery