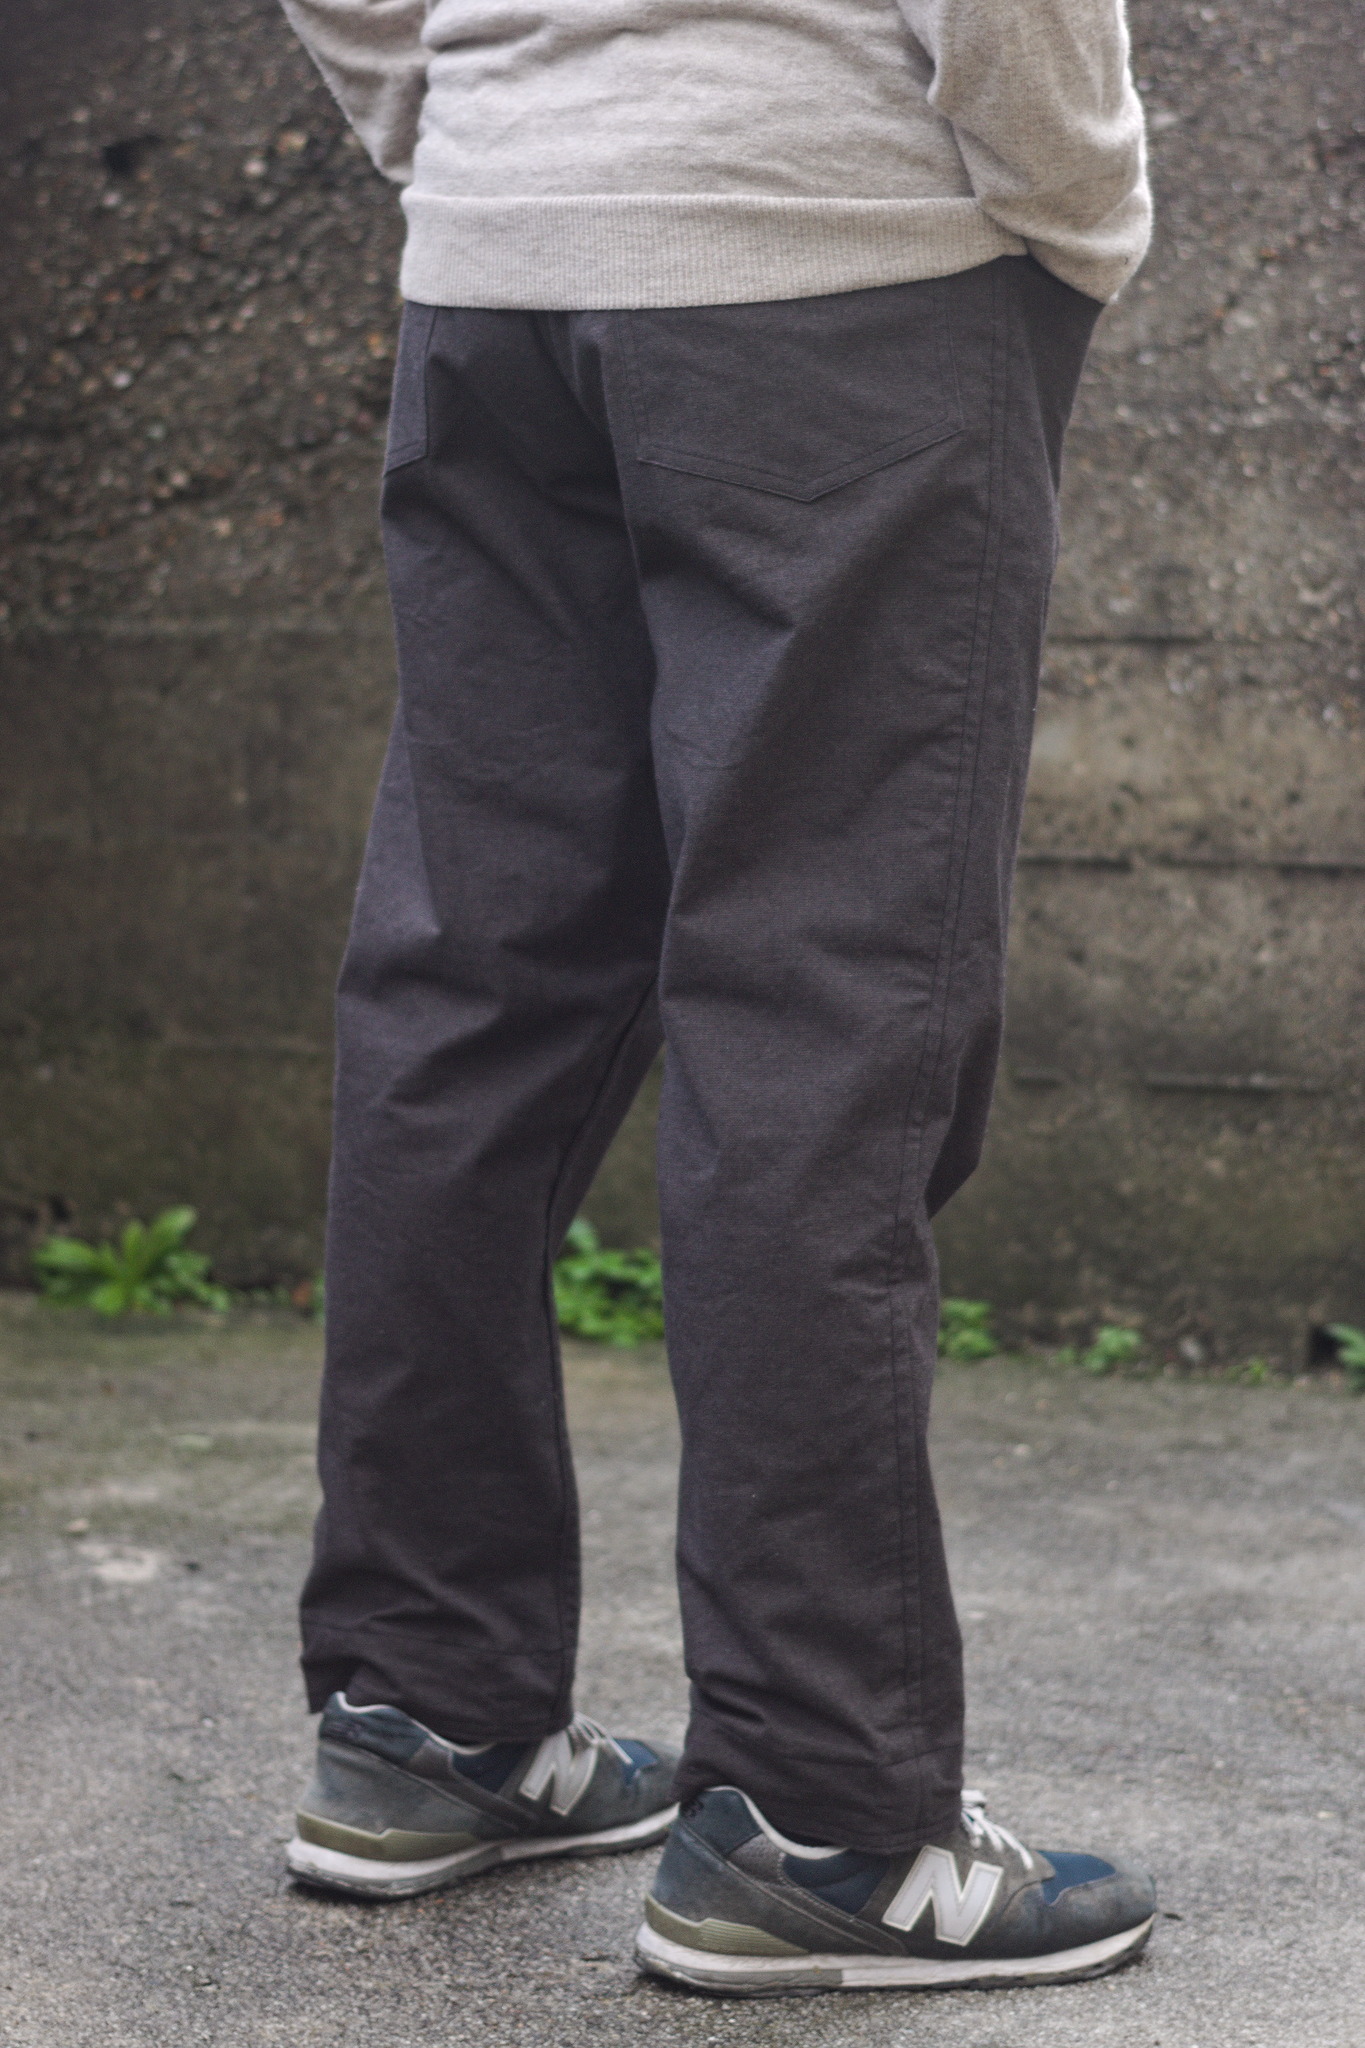
Basic Jeans
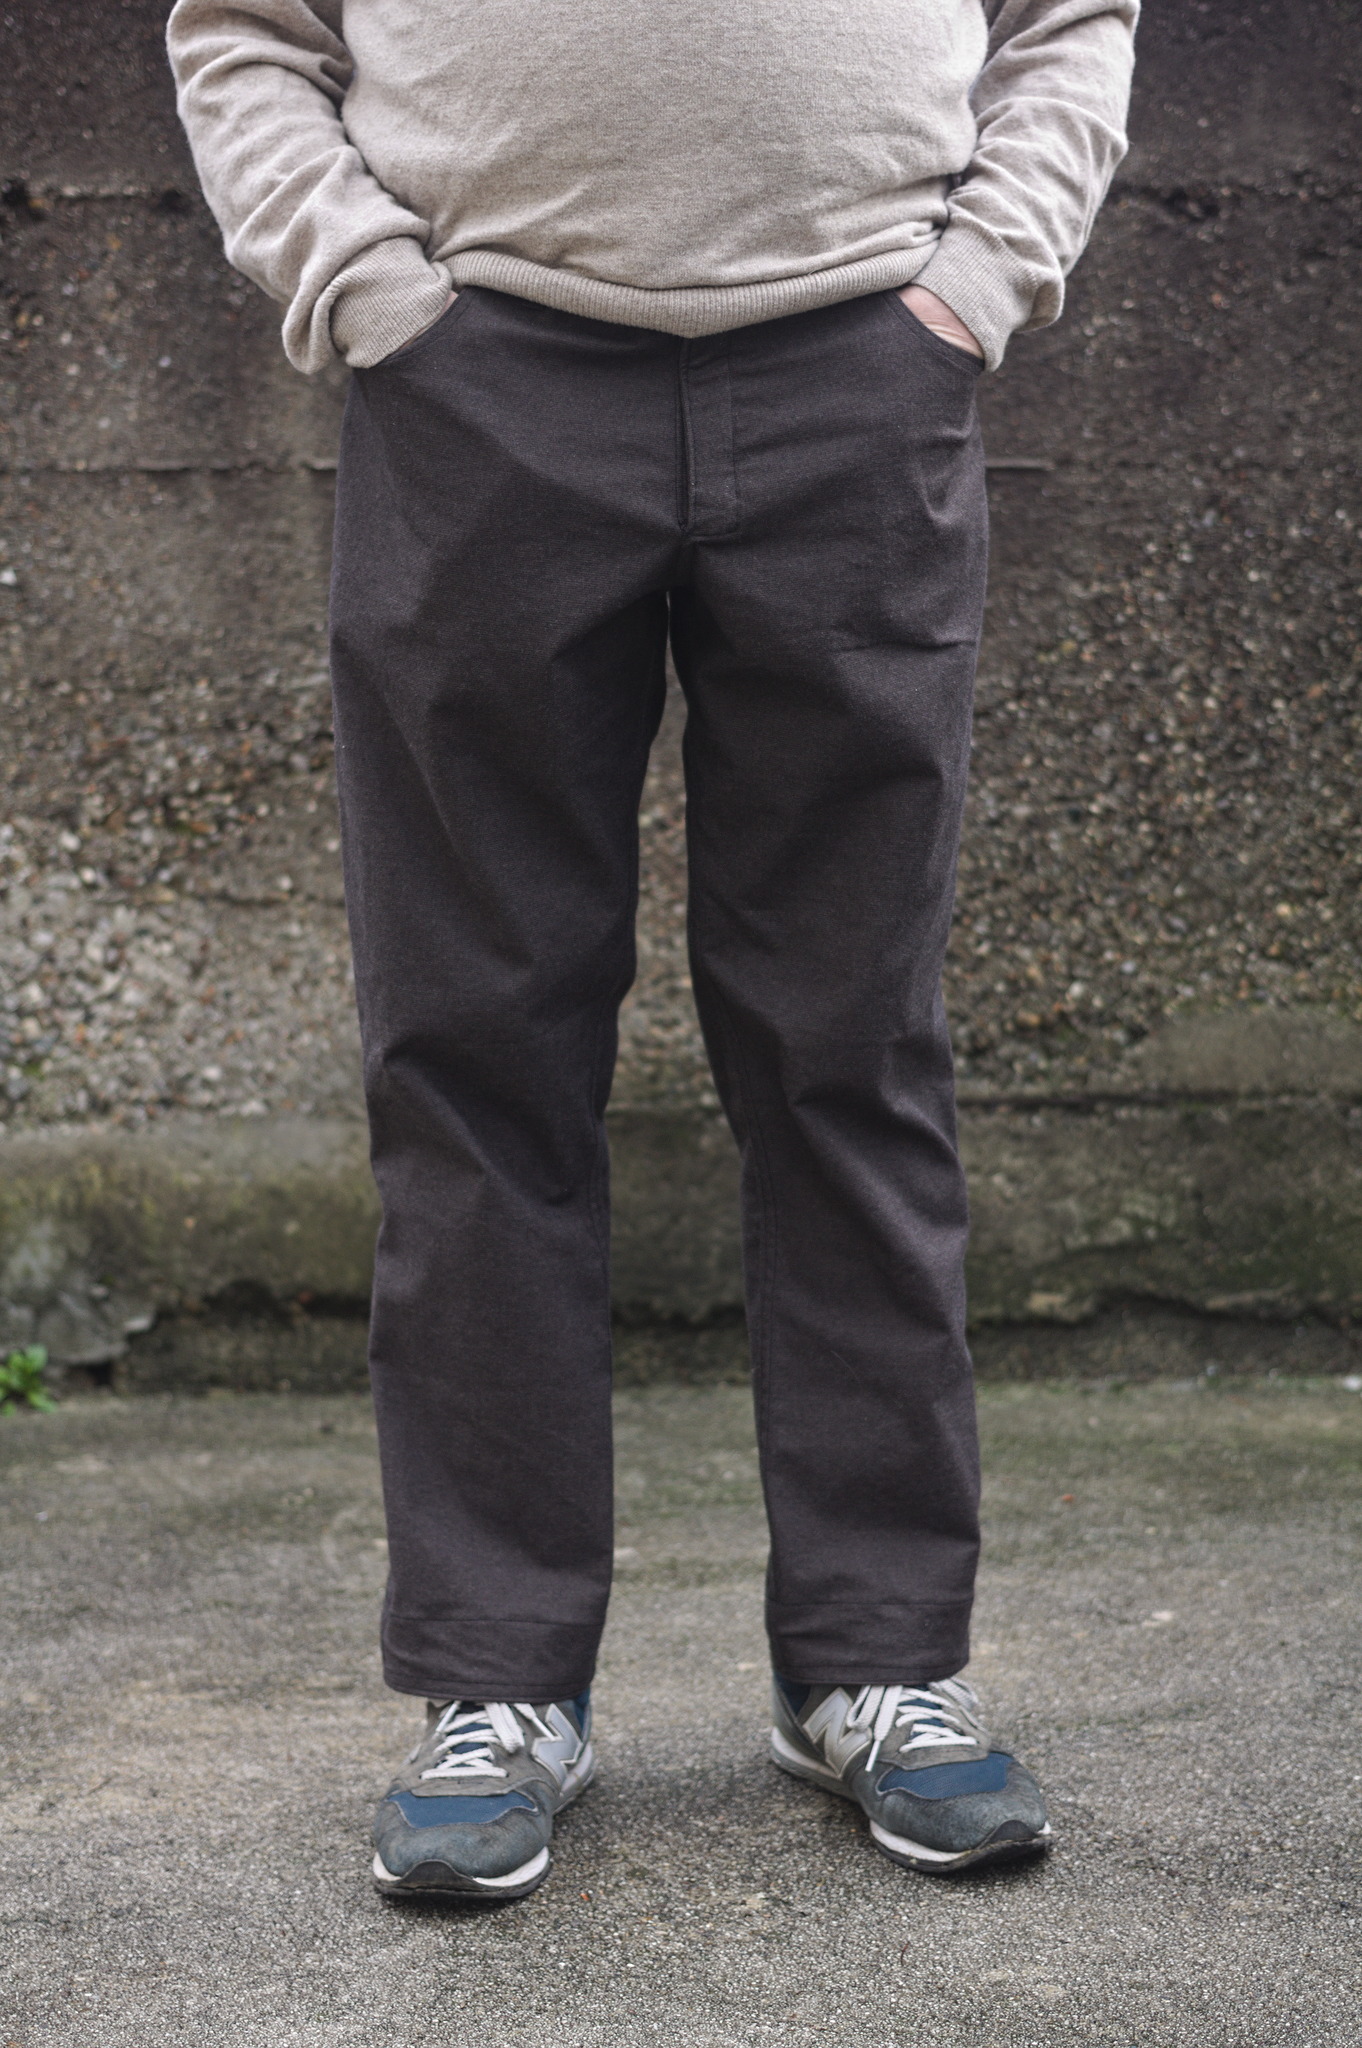
Classic 5 pockets jeans with a zippered front.
This pattern is suitable to make regular jeans, but also technical pants, when using appropriate fabric, and of course the legs can be shortened to above the knee for the summer.
Materials
Fabric
between 1 and 1.5 m of sturdy trouser fabric: denim, corduroy, heavyweight linen etc. or technical breathing and abrasion resistant 2nd layer fabric; * 50 cm pocket fabric.
Notions
sewing thread to match the fabric;
zipper, as long as the fly piece from the pattern;
a suitable button;
16 cm of 2 cm wide elastic;
optional: 2.5 m bias binding to finish some raw edges (any colour, as it won’t show).
Pattern
Measurements
You need to take the following measurements:
waist_natural_circ(O03)circumference of the trousers waist, about 5 cm below the waist;
hip_circ(G09)circumference of the seat;
rise_length_side_sitting(N04)body rise, sitting on a stool;
leg_crotch_to_floor(M01)from crotch level to the floor, between the legs;
the file measurements.vit is used by default by the pattern file
and has the list of needed measurements.
Pattern
Get the valentina file for the pattern,
basic_jeans.val.
You also need to decide the following measurements and set them in the
table of variables in Valentina; most defaults in the file are sensible
and you probably only need to set easy_fitting, waist_ease and
jeans_bottom_width.
seam_allowancethis is the total sewing allowance, and should be big enough for flat felled seams; e.g. 2 cm;
easy_fittingset this to 1 to make the pattern easy fitting, to 0 for a tigher fit;
waist_easee.g. 2 cm; with prominent (and squishy) bellies it’s better to add no waist ease;
jeans_bottom_widthwidth of the legs at the hems (half the circumference), 20 cm gives a straight cut on average sizes;
floor_to_hemdistance from the floor to the desired hem of the trousers, e.g. 6 cm;
pocket_opening_widthhow wide the pocket should be, e.g. 12 cm;
pocket_opening_depthhow long the pocket opening should be, e.g. 7.5 cm;
pocket_facing_widthhow much the pocket facing should overlap away from the opening, in the horizontal direction, e.g. 3 cm;
pocket_facing_depthhow much the pocket facing should overlap away from the opening, in the vertical direction, e.g. 5 cm;
pocket_depthhow deep the pocket should be, from the top, e.g. 26 cm;
pocket_depth_sidewhere the pocket should stop following the side seam, e.g. 19 cm;
pocket_depth_frontwhere the pocket should stop following the front seam, e.g. 9.5 cm;
coin_pocket_widthhow wide the coin pocket is, e.g. 8 cm;
coin_pocket_depthhow tall the coin pocket is, e.g. 10 cm;
fly_piece_lengthhow long the fly piece should be; take care that it isn’t as long as to end on the heavily curved portion of the front seam, e.g. 14 cm;
fly_piece_widththe width of the fly piece, e.g. 4 cm;
back_pocket_widththe width of the back pocket at the top, e.g. 18 cm;
back_pocket_depththe depth of the back pocket, e.g. 18 cm;
back_pocket_point_depththe vertical distance from the tip of the pocket to where the bottom lines start at the sides, e.g. 3 cm;
back_pocket_rasterhow much the sides of the pockets should taper in before the bottom lines, e.g. 0.5 cm;
waistband_heighte.g. 4 cm.
Instructions
Cutting
Cut the two sets of pocket bags from pocketing fabric. Cut all remaining pieces of the trousers except for the fly pieces the folded fabric. Cut either the straight or the shaped fly pieces from the scraps.
Fronts
Note
Sewing the fronts first and then the backs will get rid of most tricky bits sooner rather than later.
If you prefer to start with an easier part, you can follow the instructions in the Back section, and then return here to prepare the fronts.
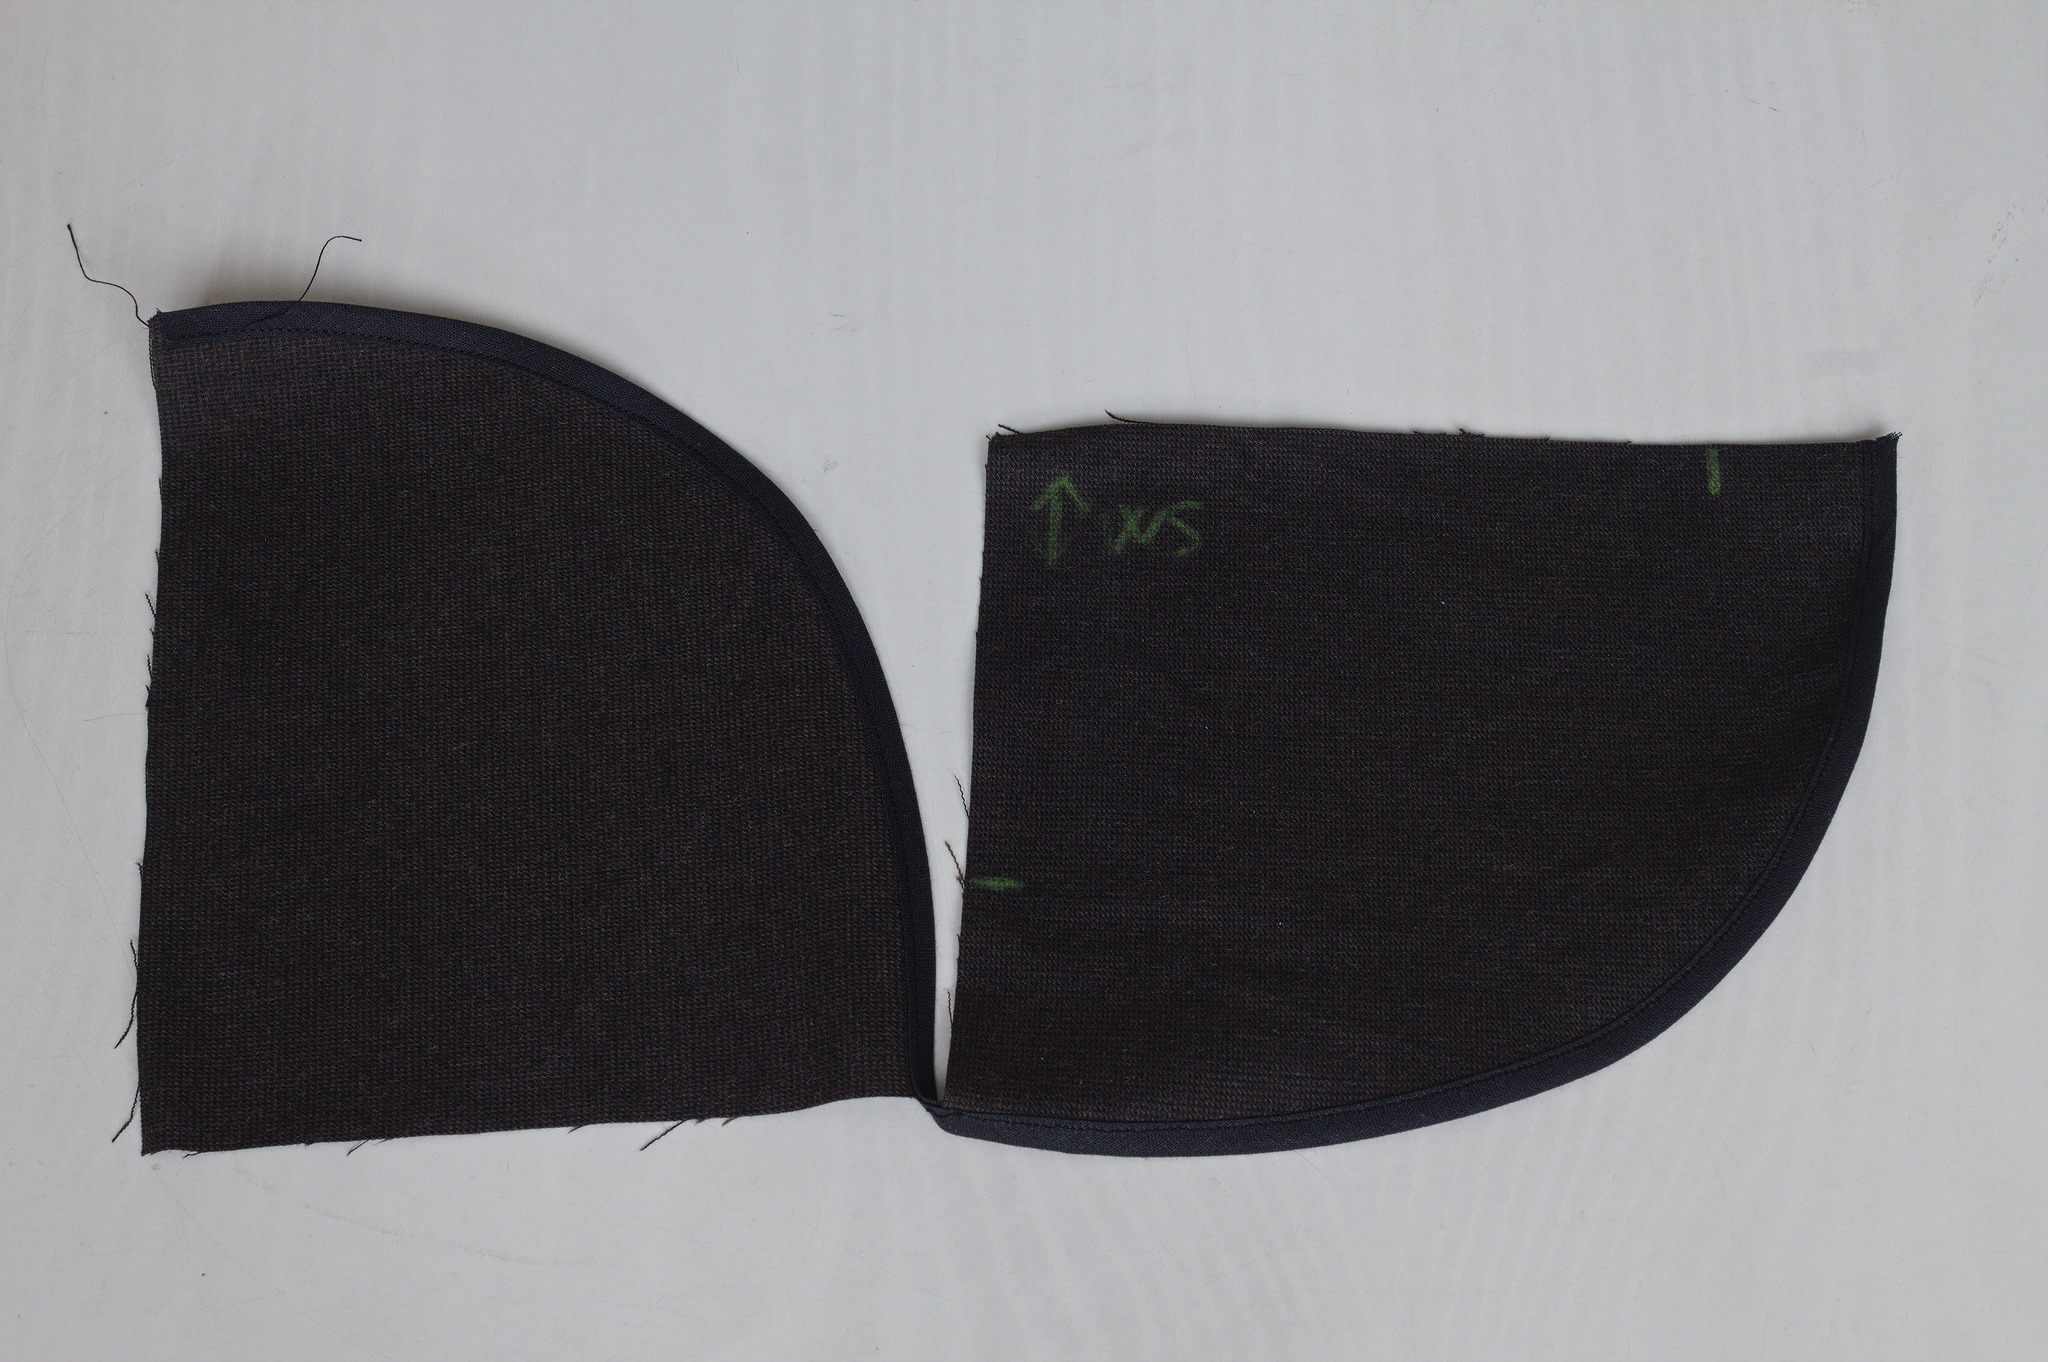
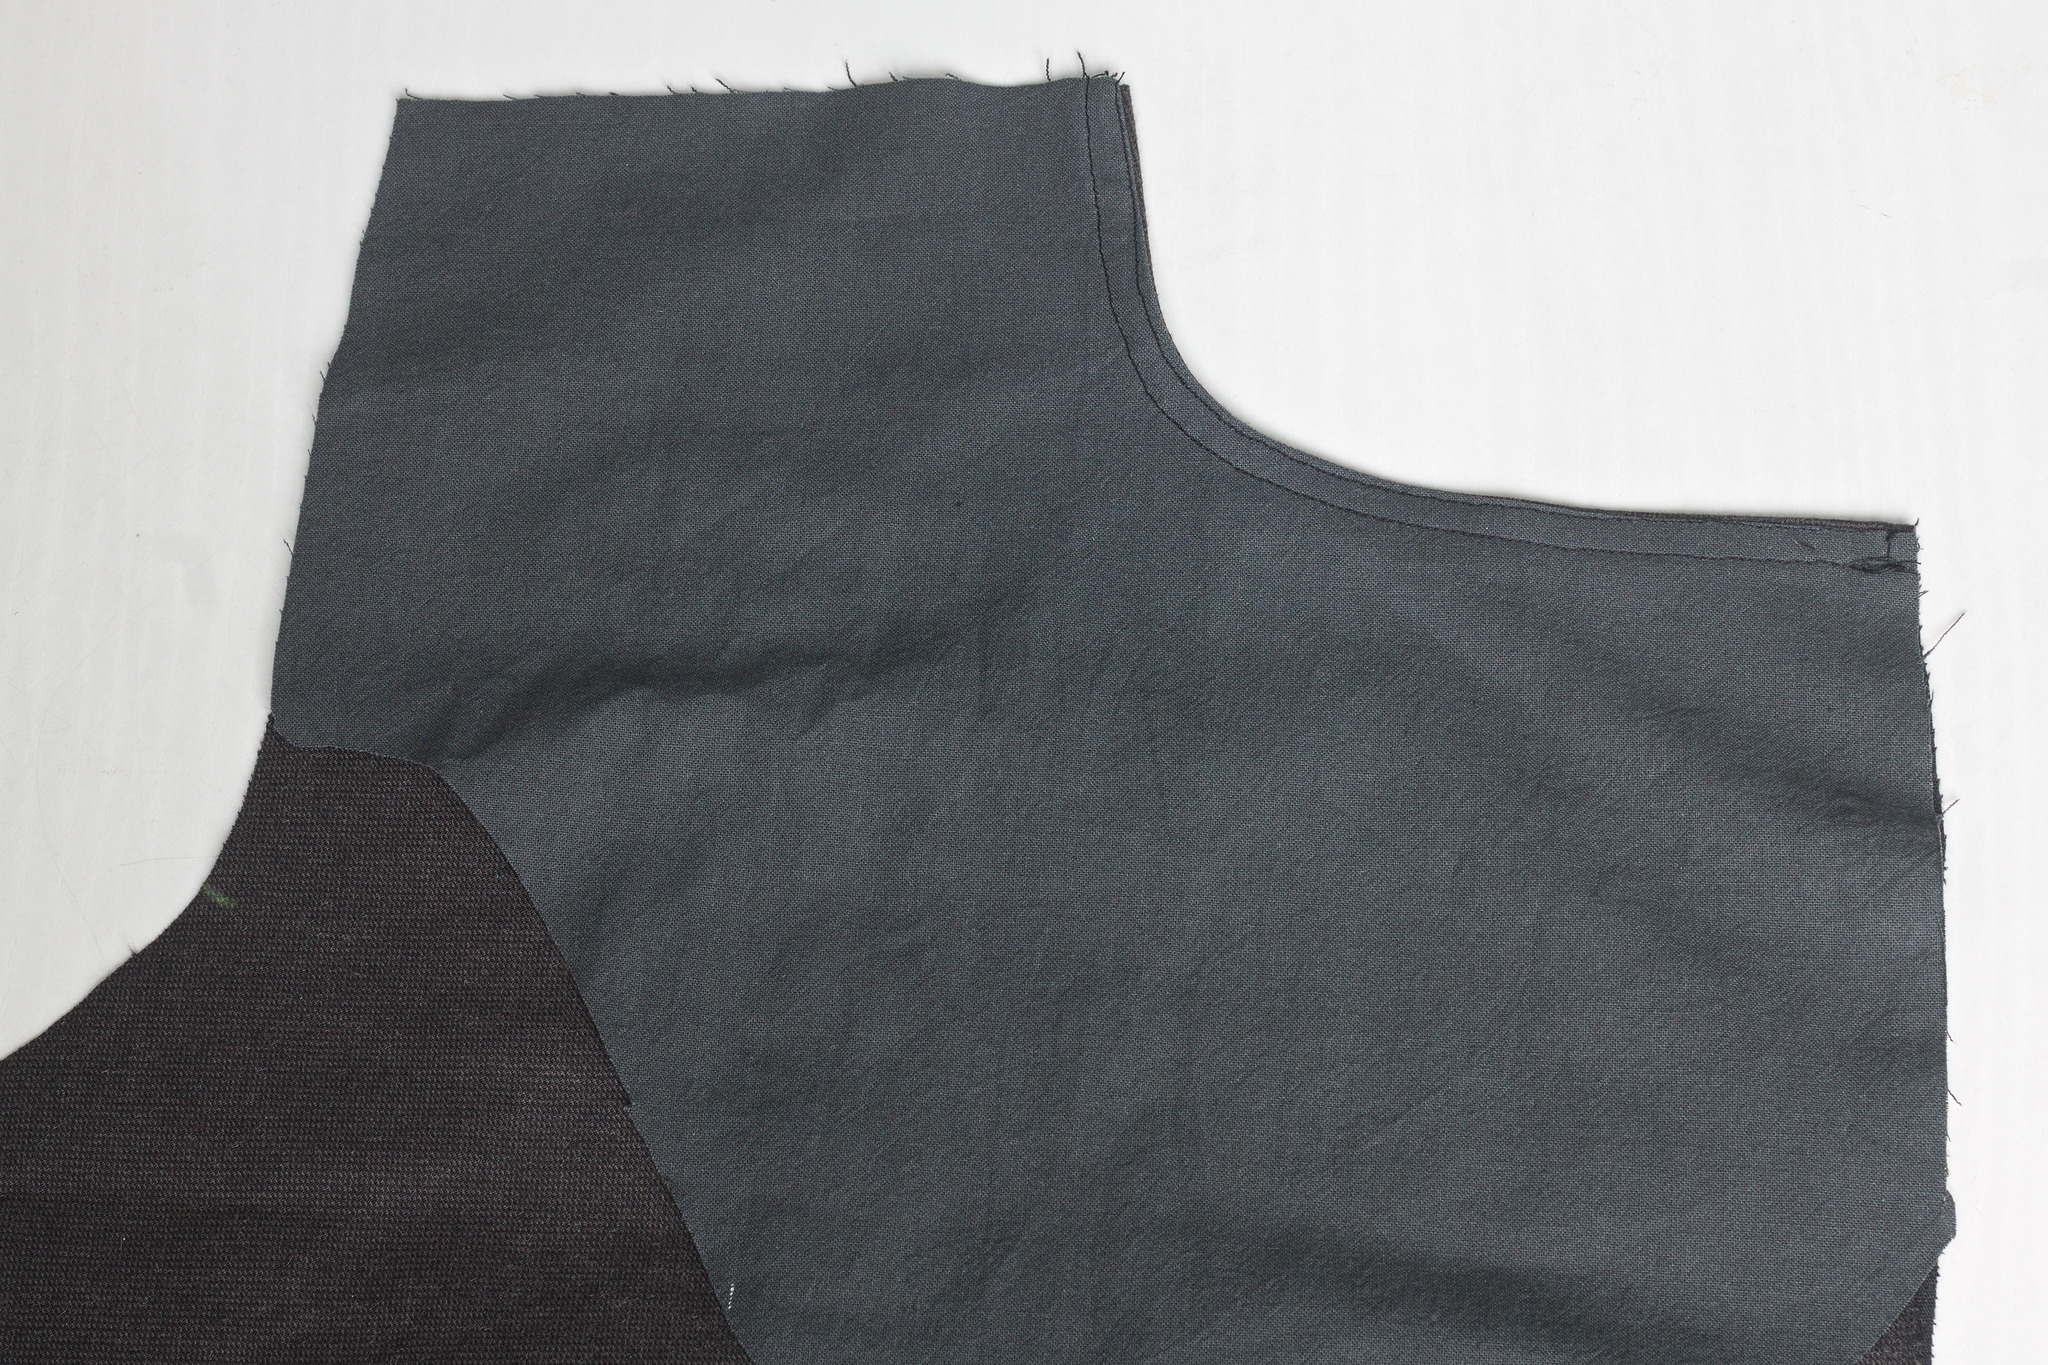
Bind the curved edges of the side pieces with bias tape.
Tip
If the fabric isn’t very thick, you can also cut the side pieces with 1 cm of allowance on the curved edge and press it towards the back once instead of binding it.
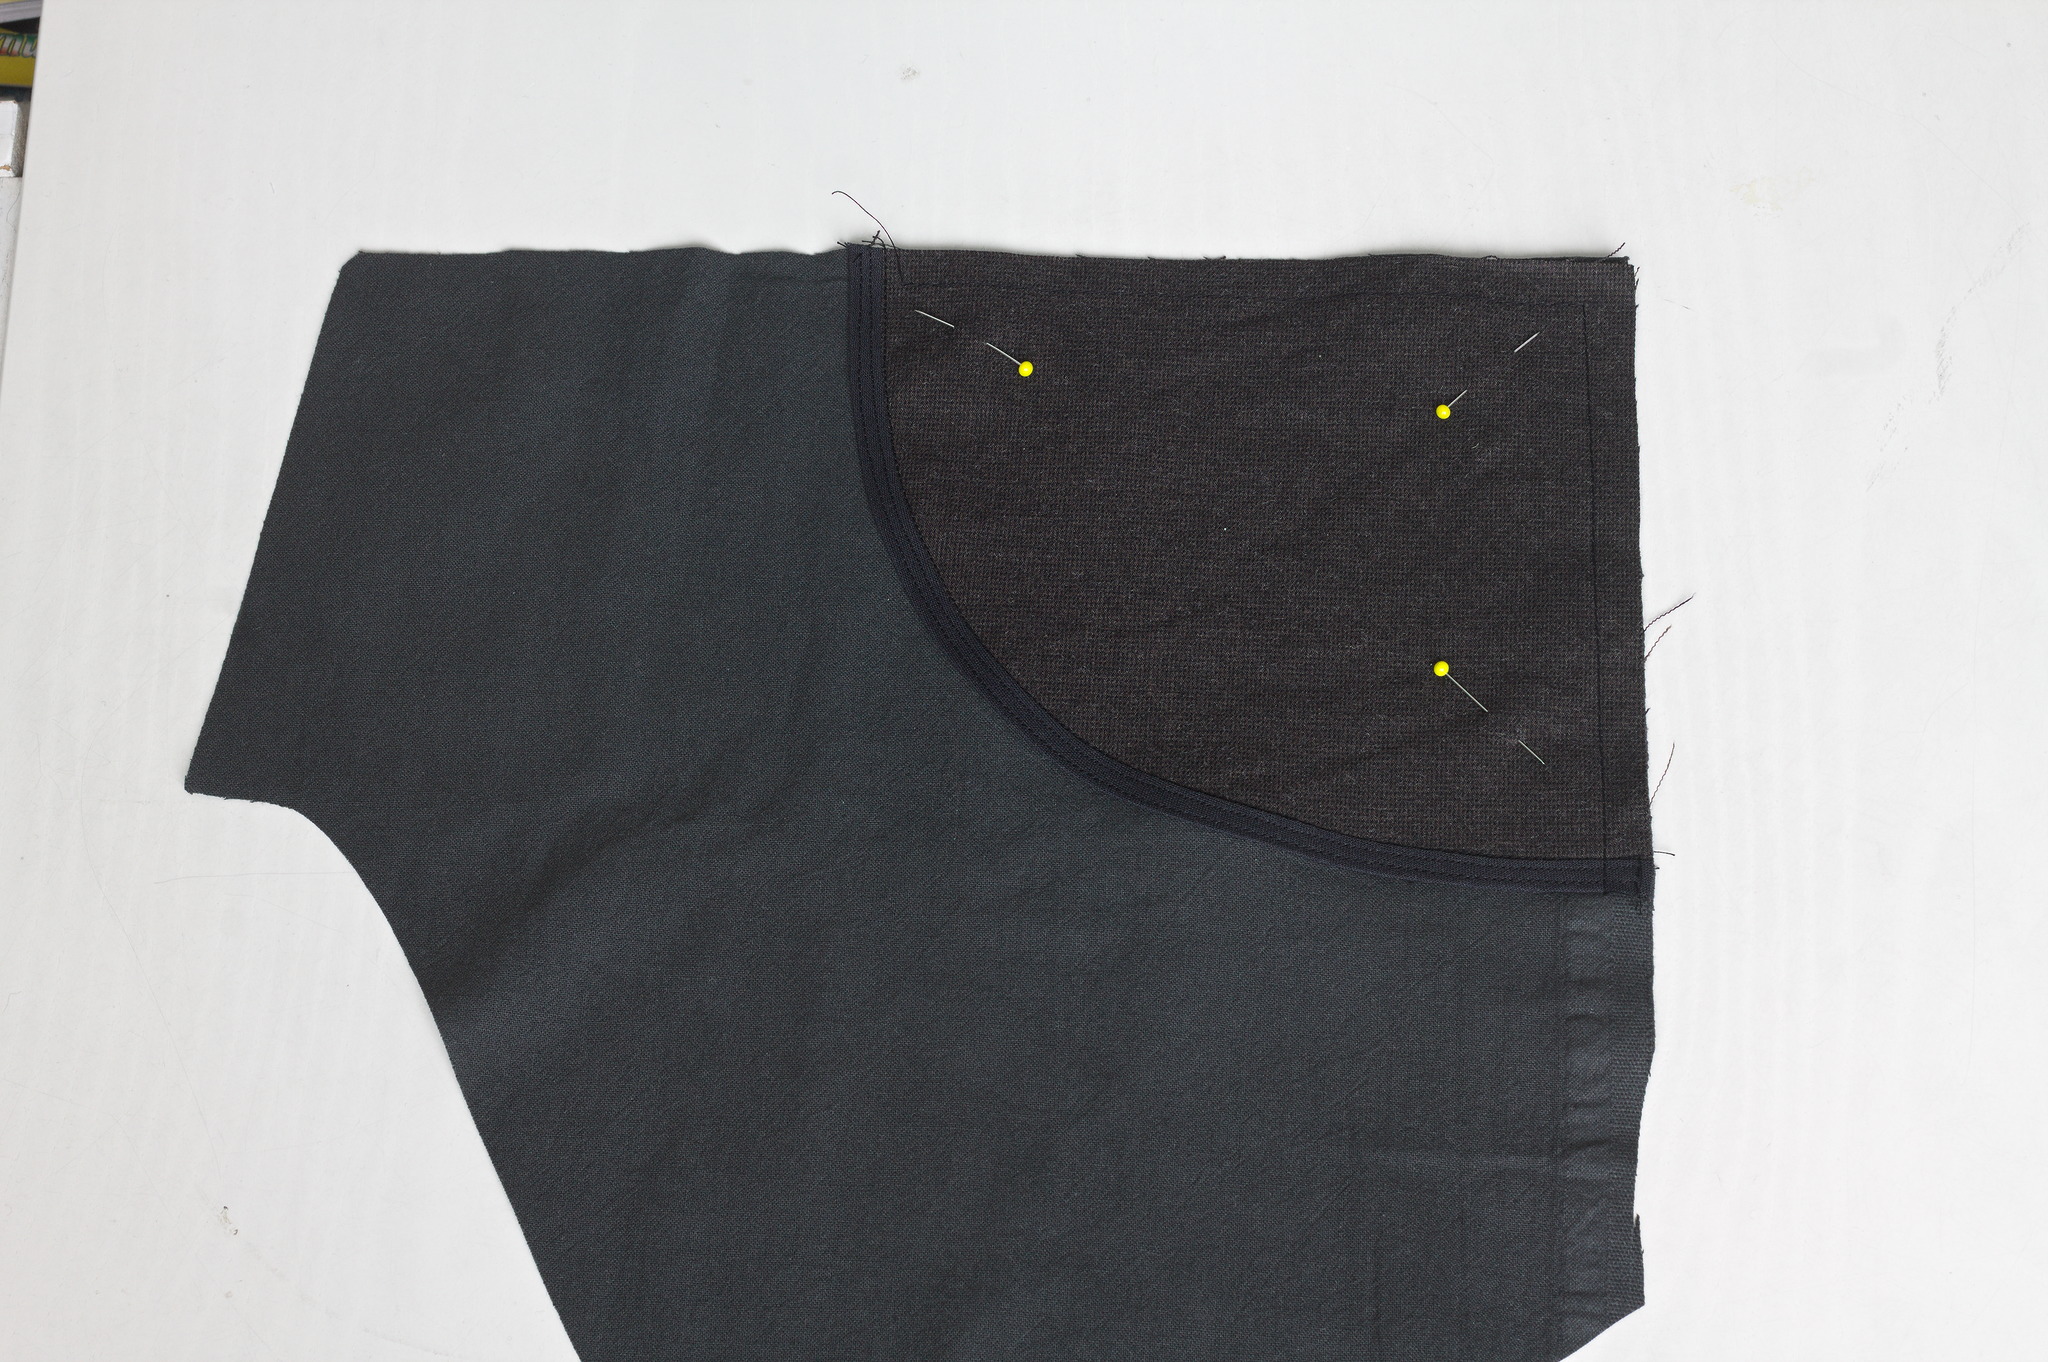
Put it on the second pocket bag pieces, wrong side over the right side, and sew down the curved edge 2 mm from the edge and then again in the ditch of the bias tape. Baste the top and side of the side piece to the pocket at 1–1.5 cm from the edge. Treat them as one piece.
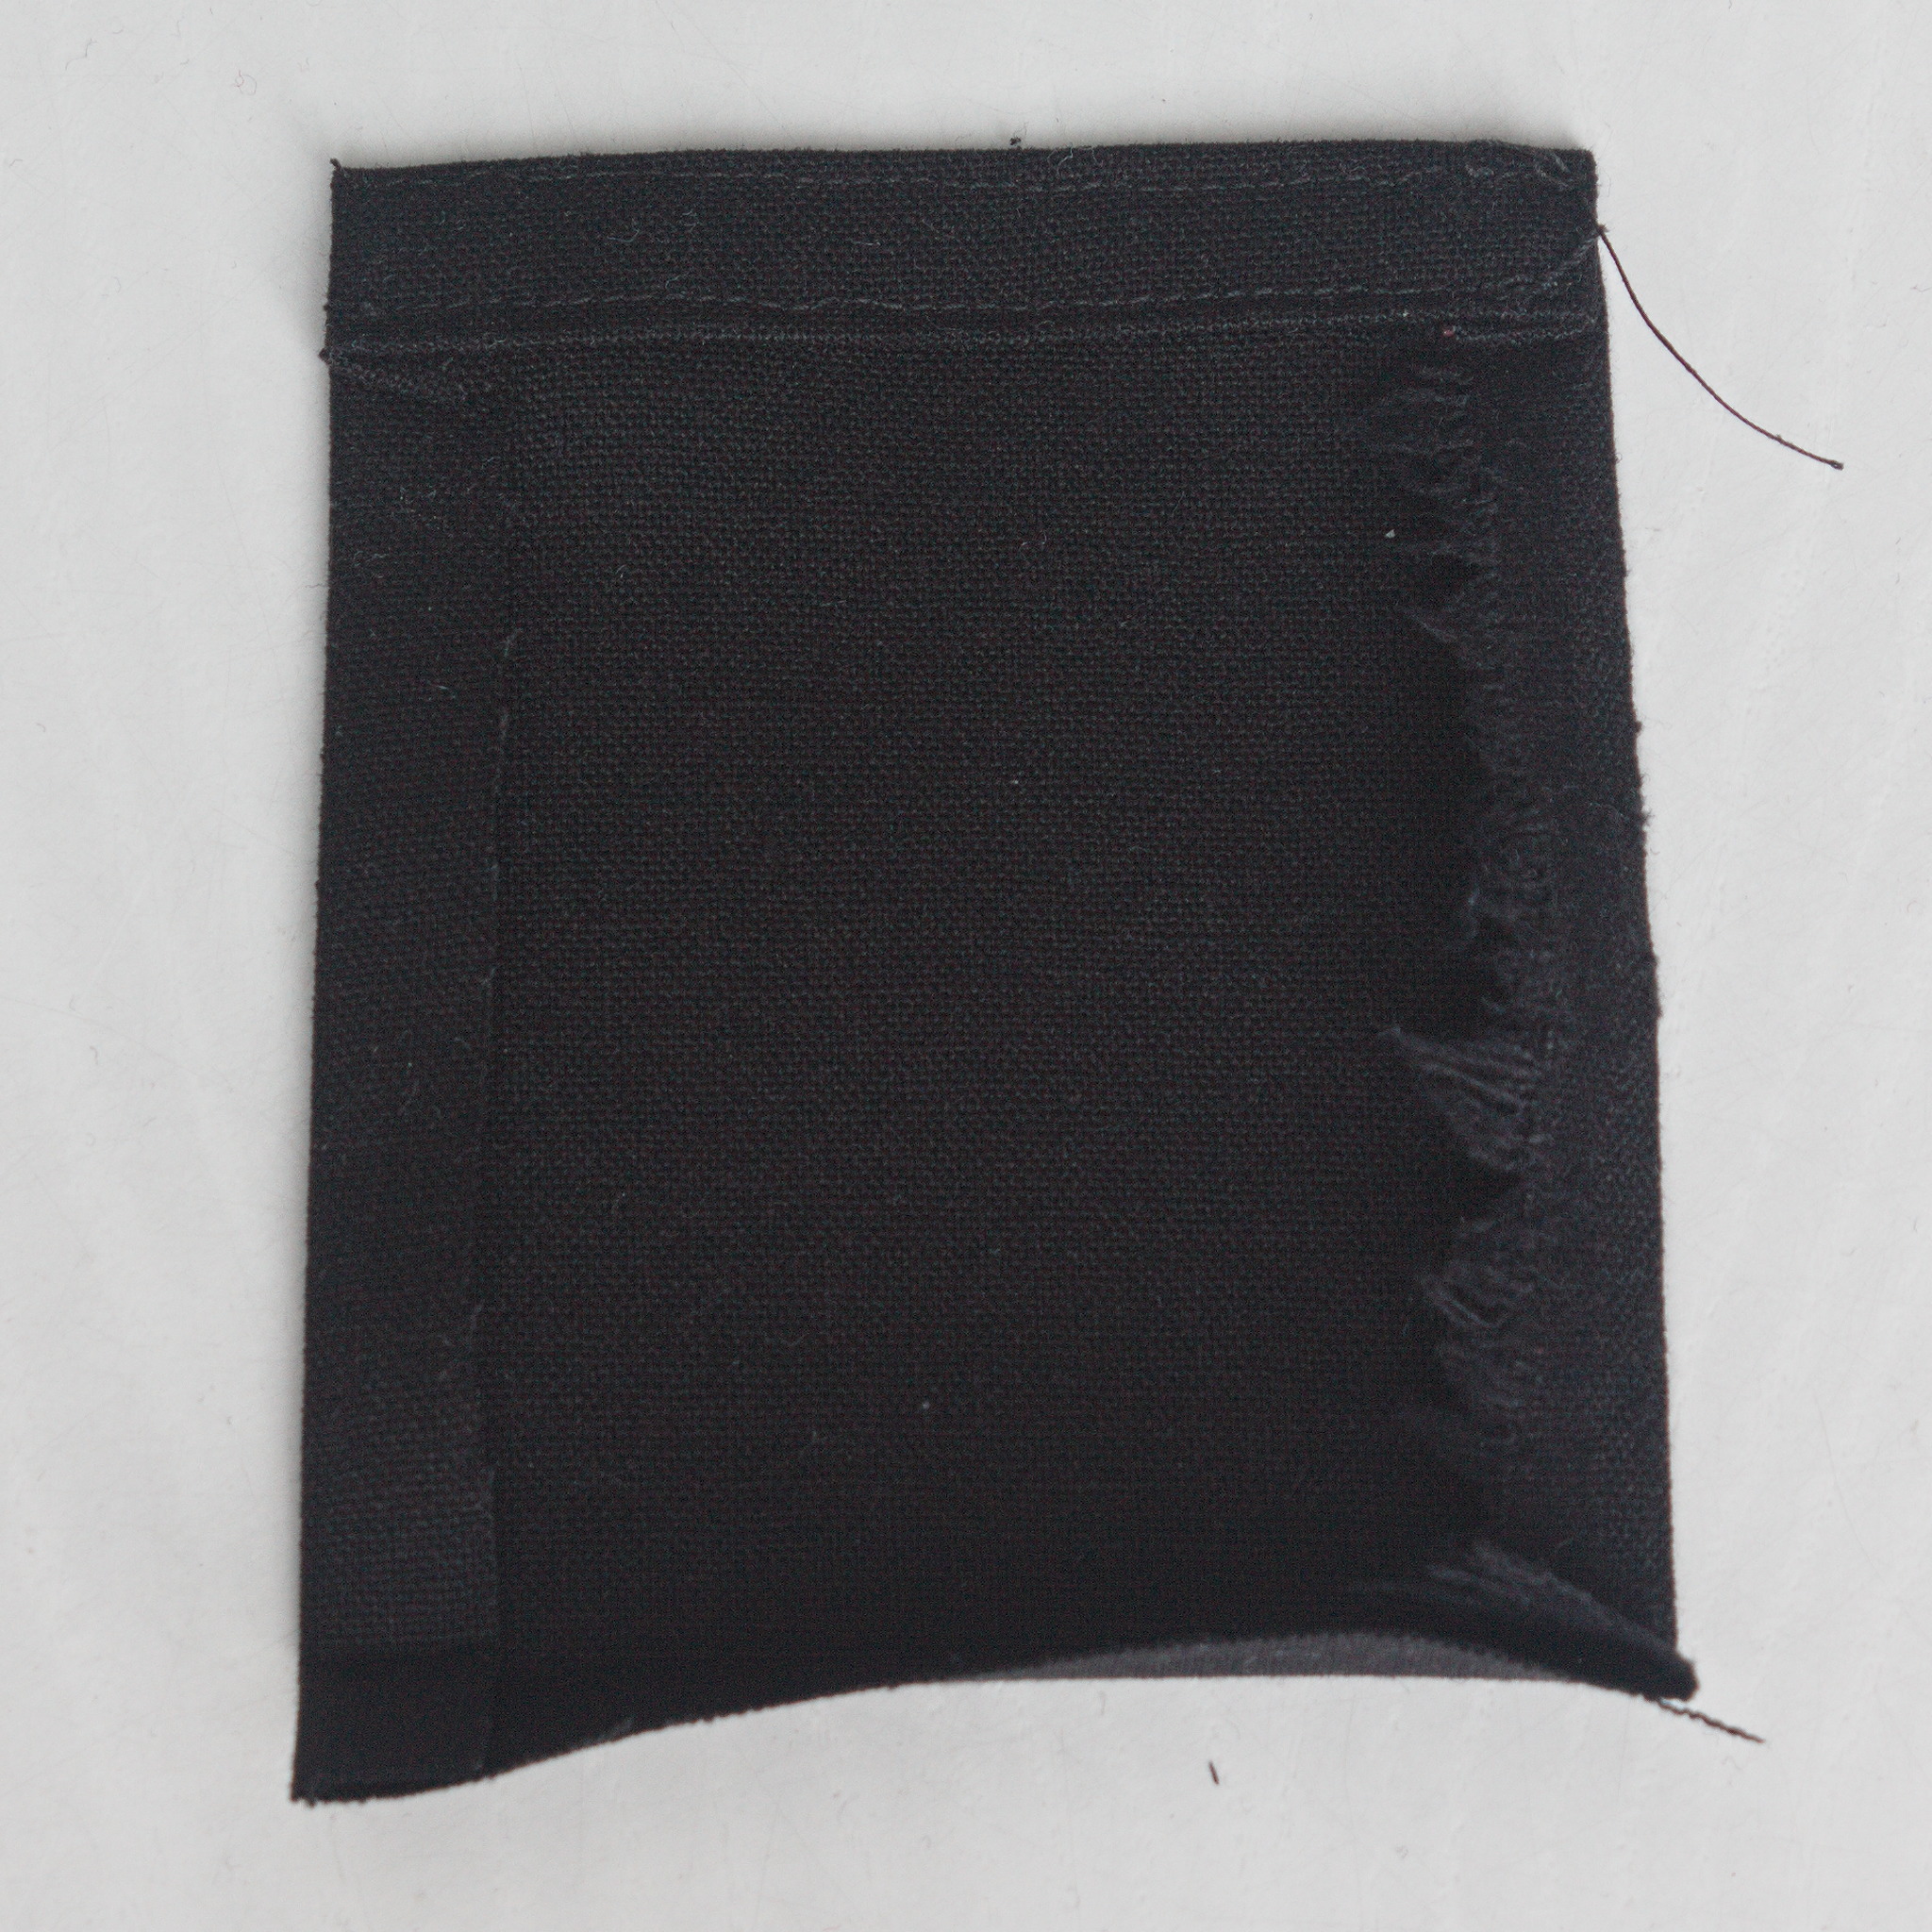
Fold all the edges of the coin pocket towards the wrong side once, fold the top edge a second time. Sew the top edge 2 mm from the edge and again 1 cm from the edge.
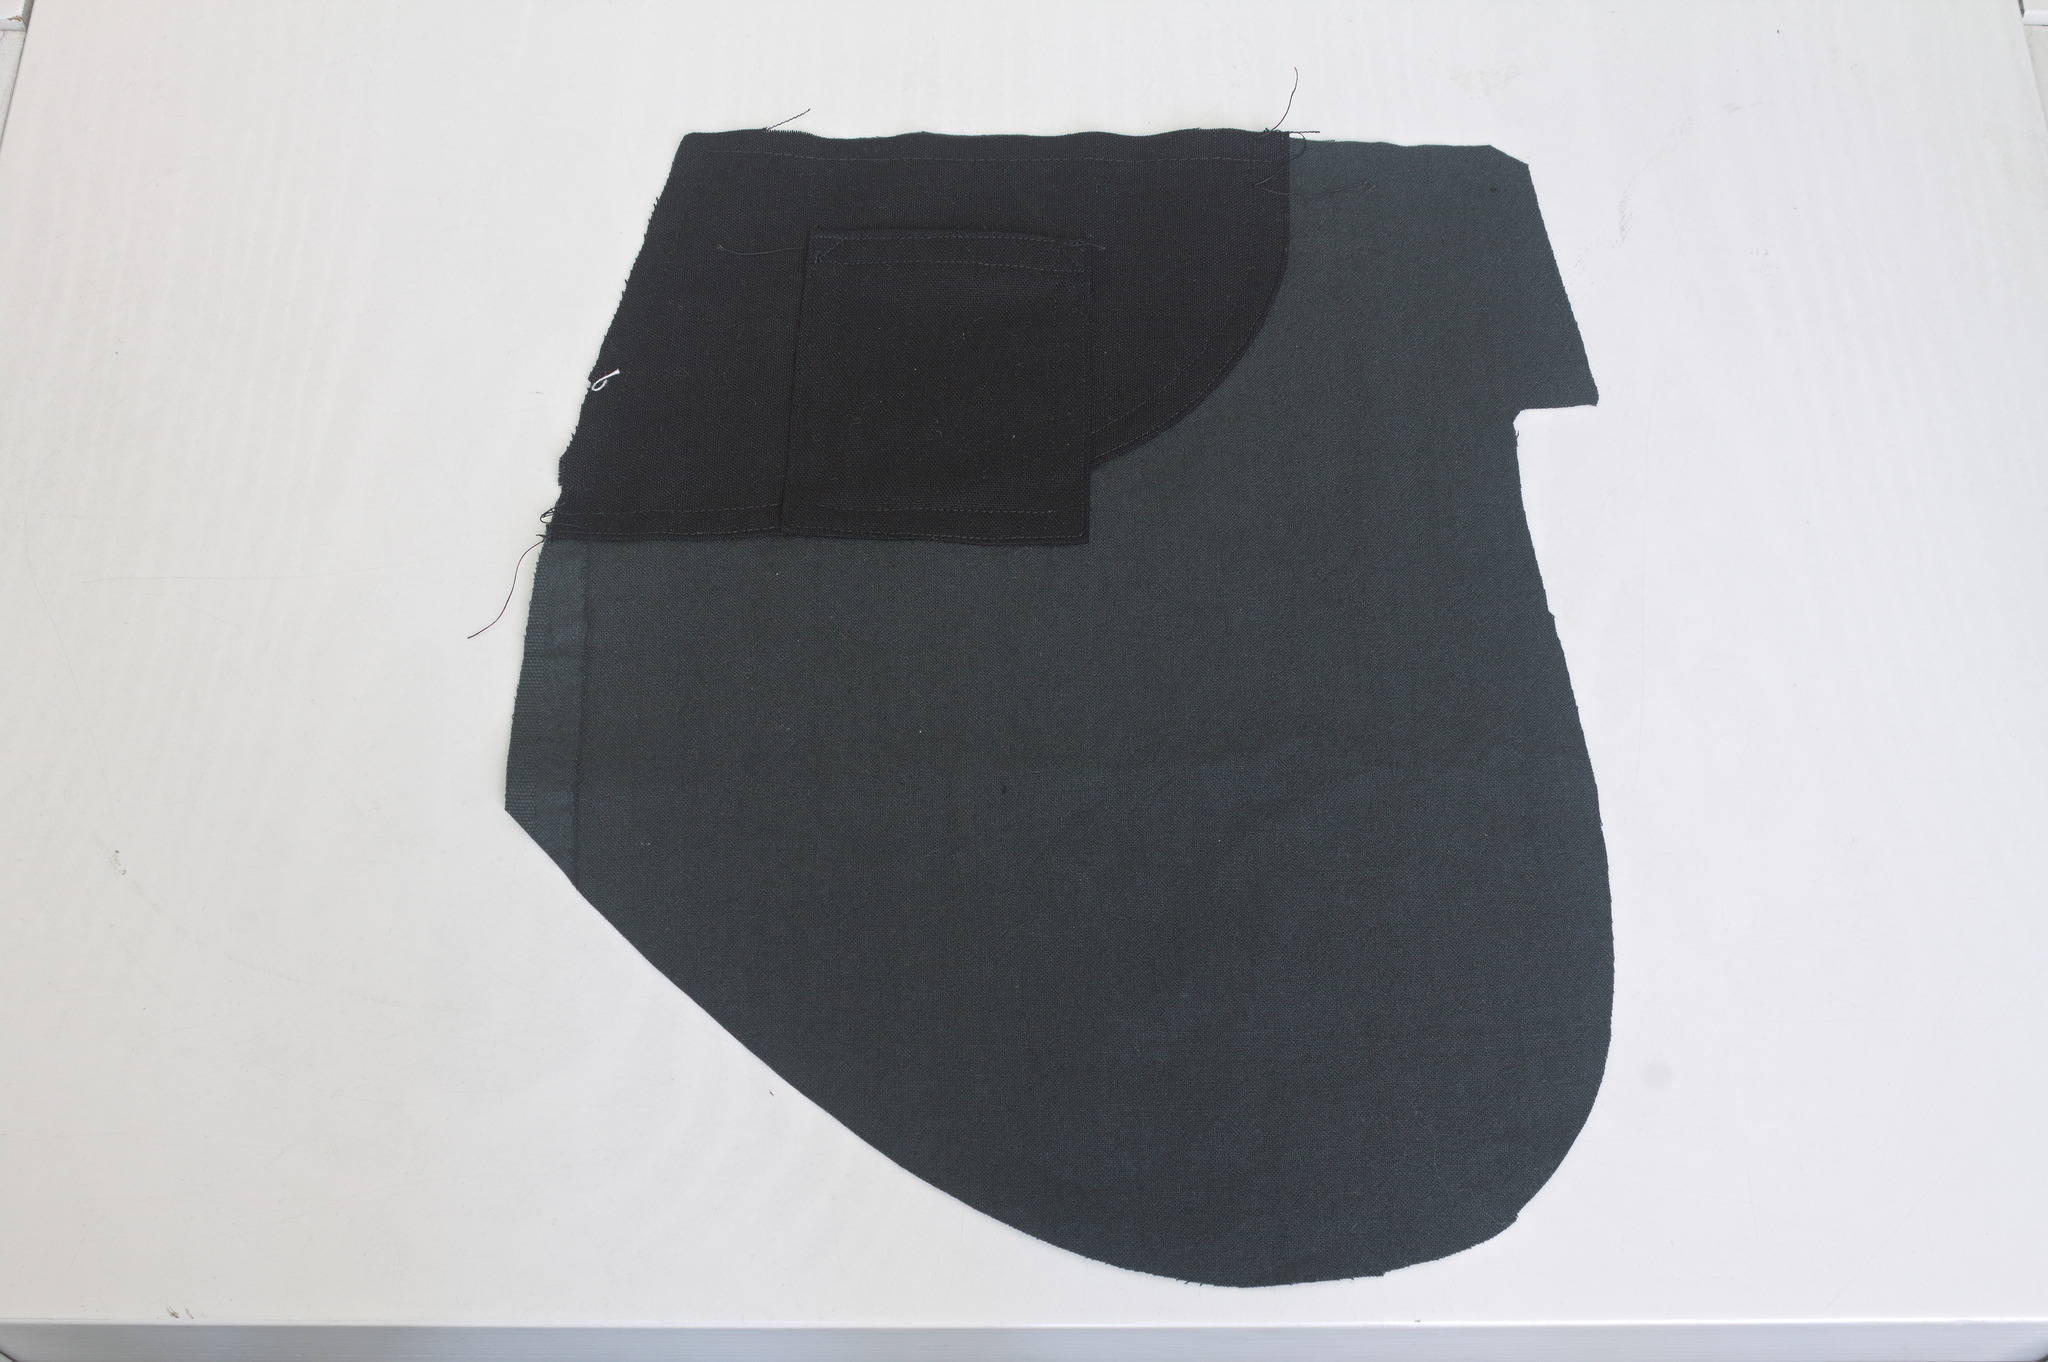
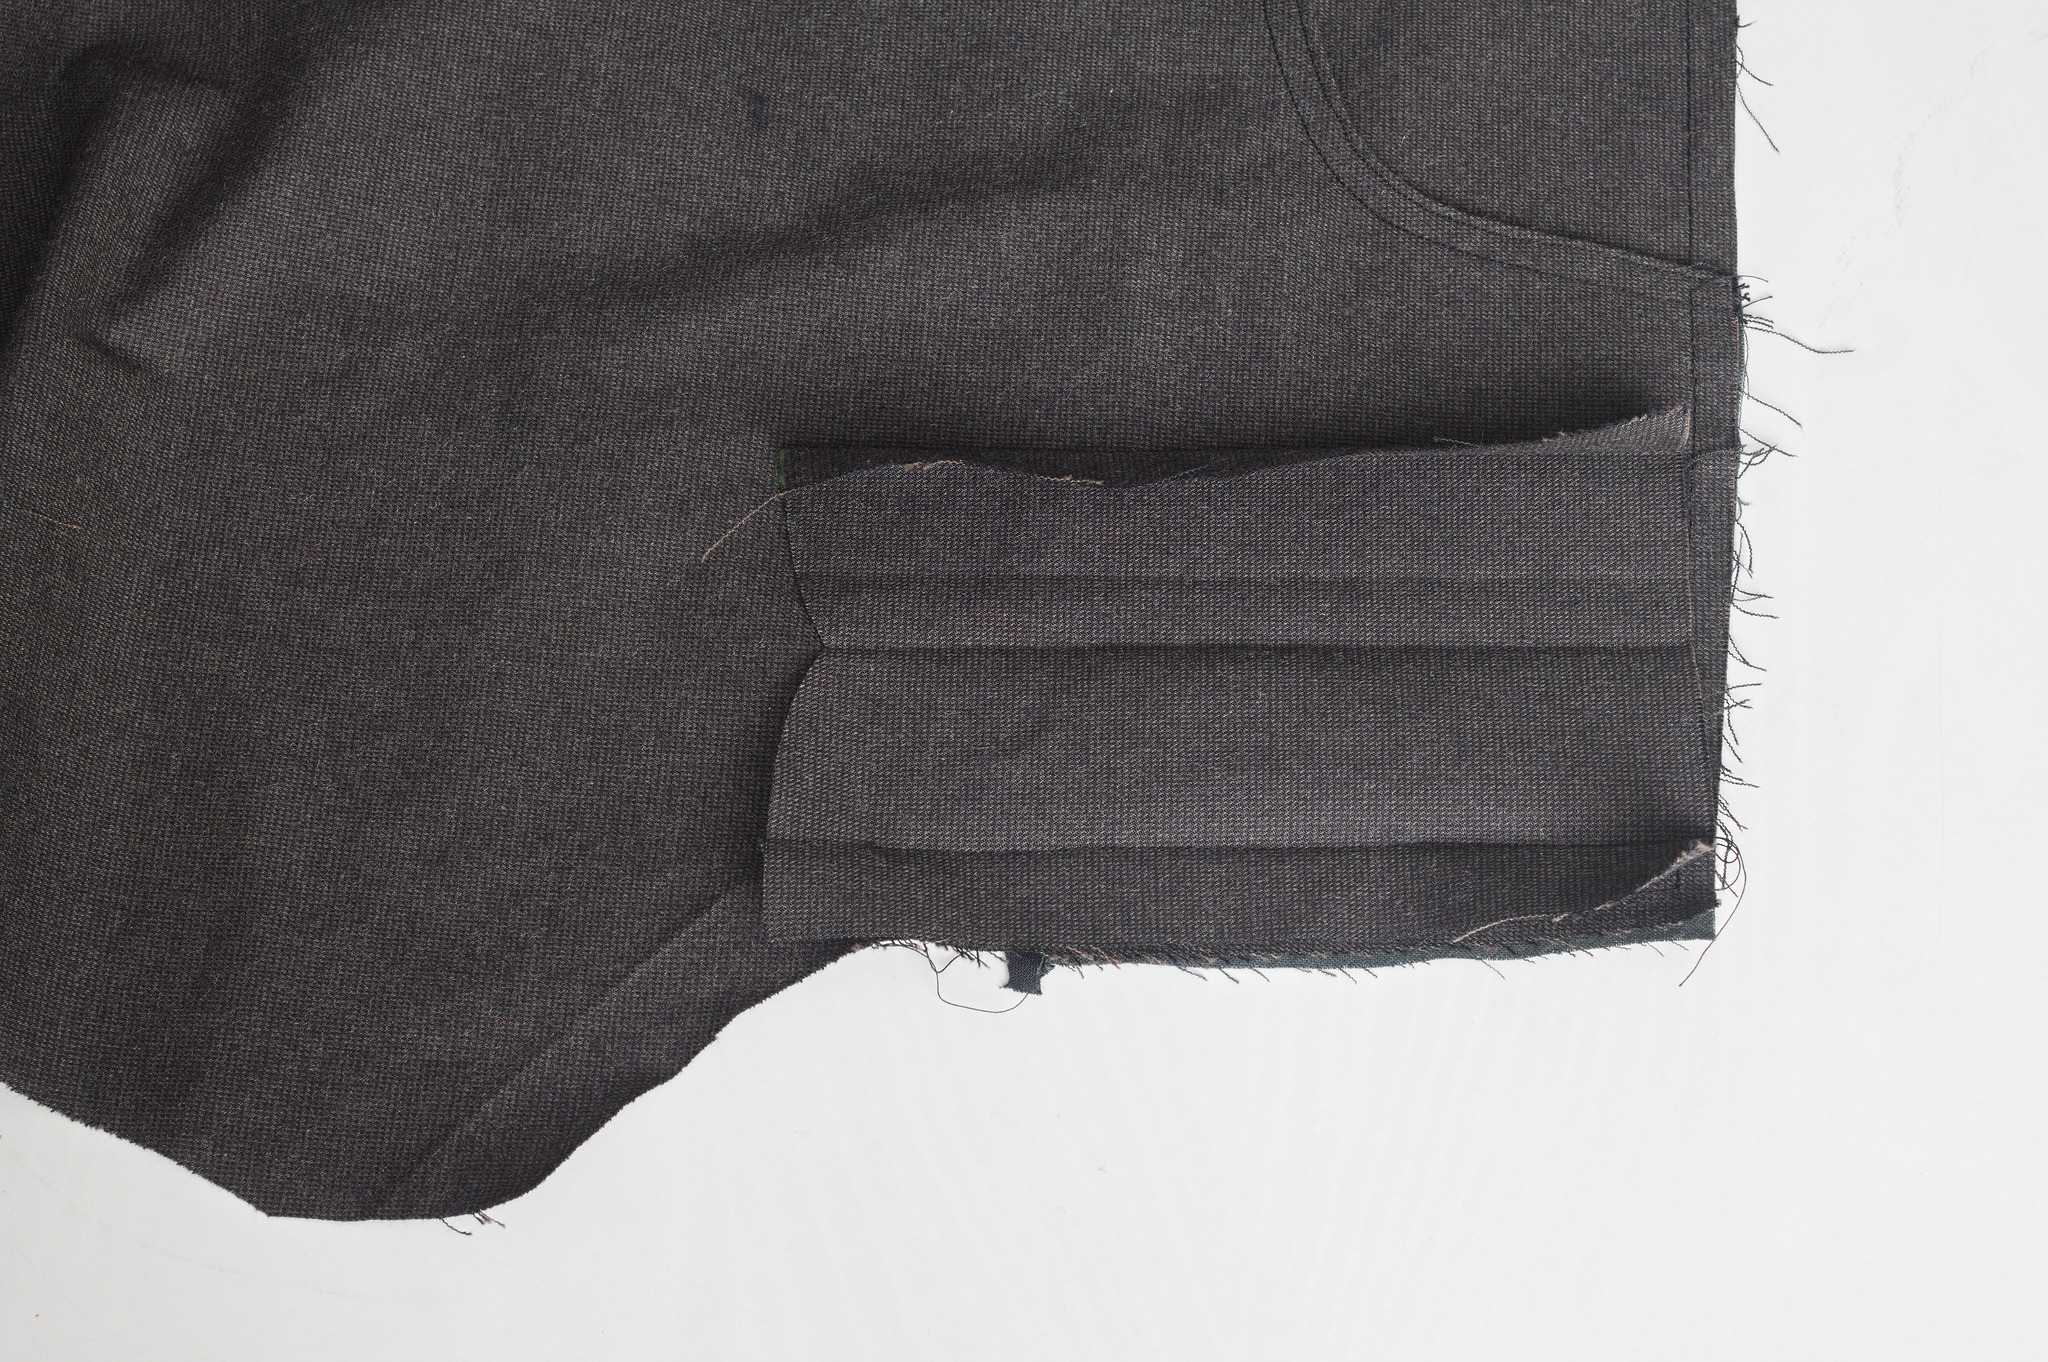
Put the coin pocket on top of the side piece and pocket, centered on the side piece and about 4 cm down from the top edge; sew around the sides and bottom edge at 2 mm and then again at 1 cm from the edges, adding small triangles to the top corners for strength.
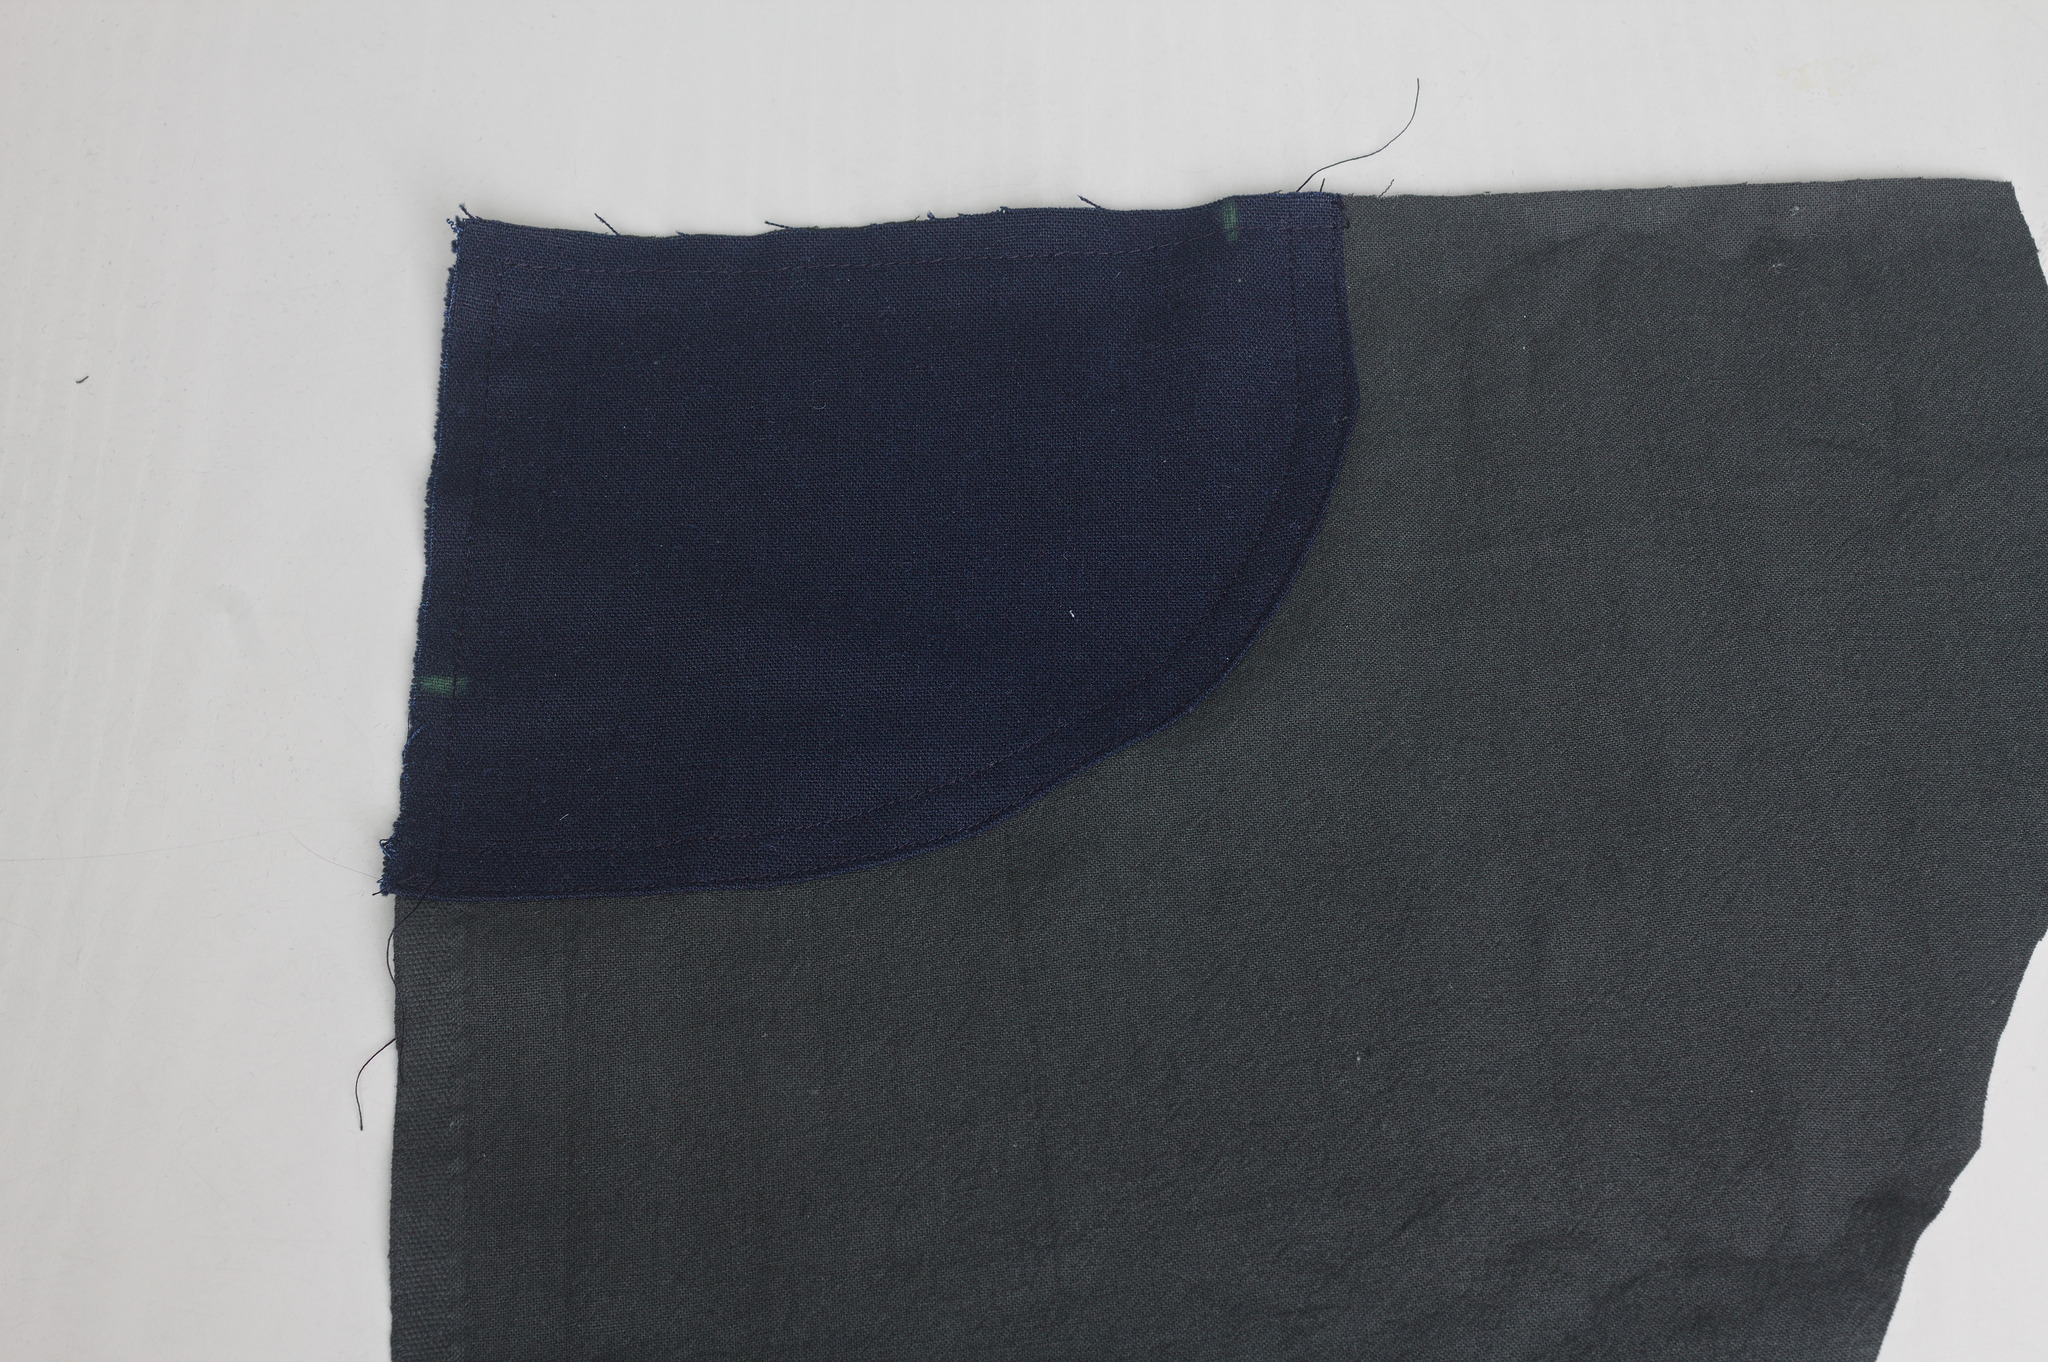
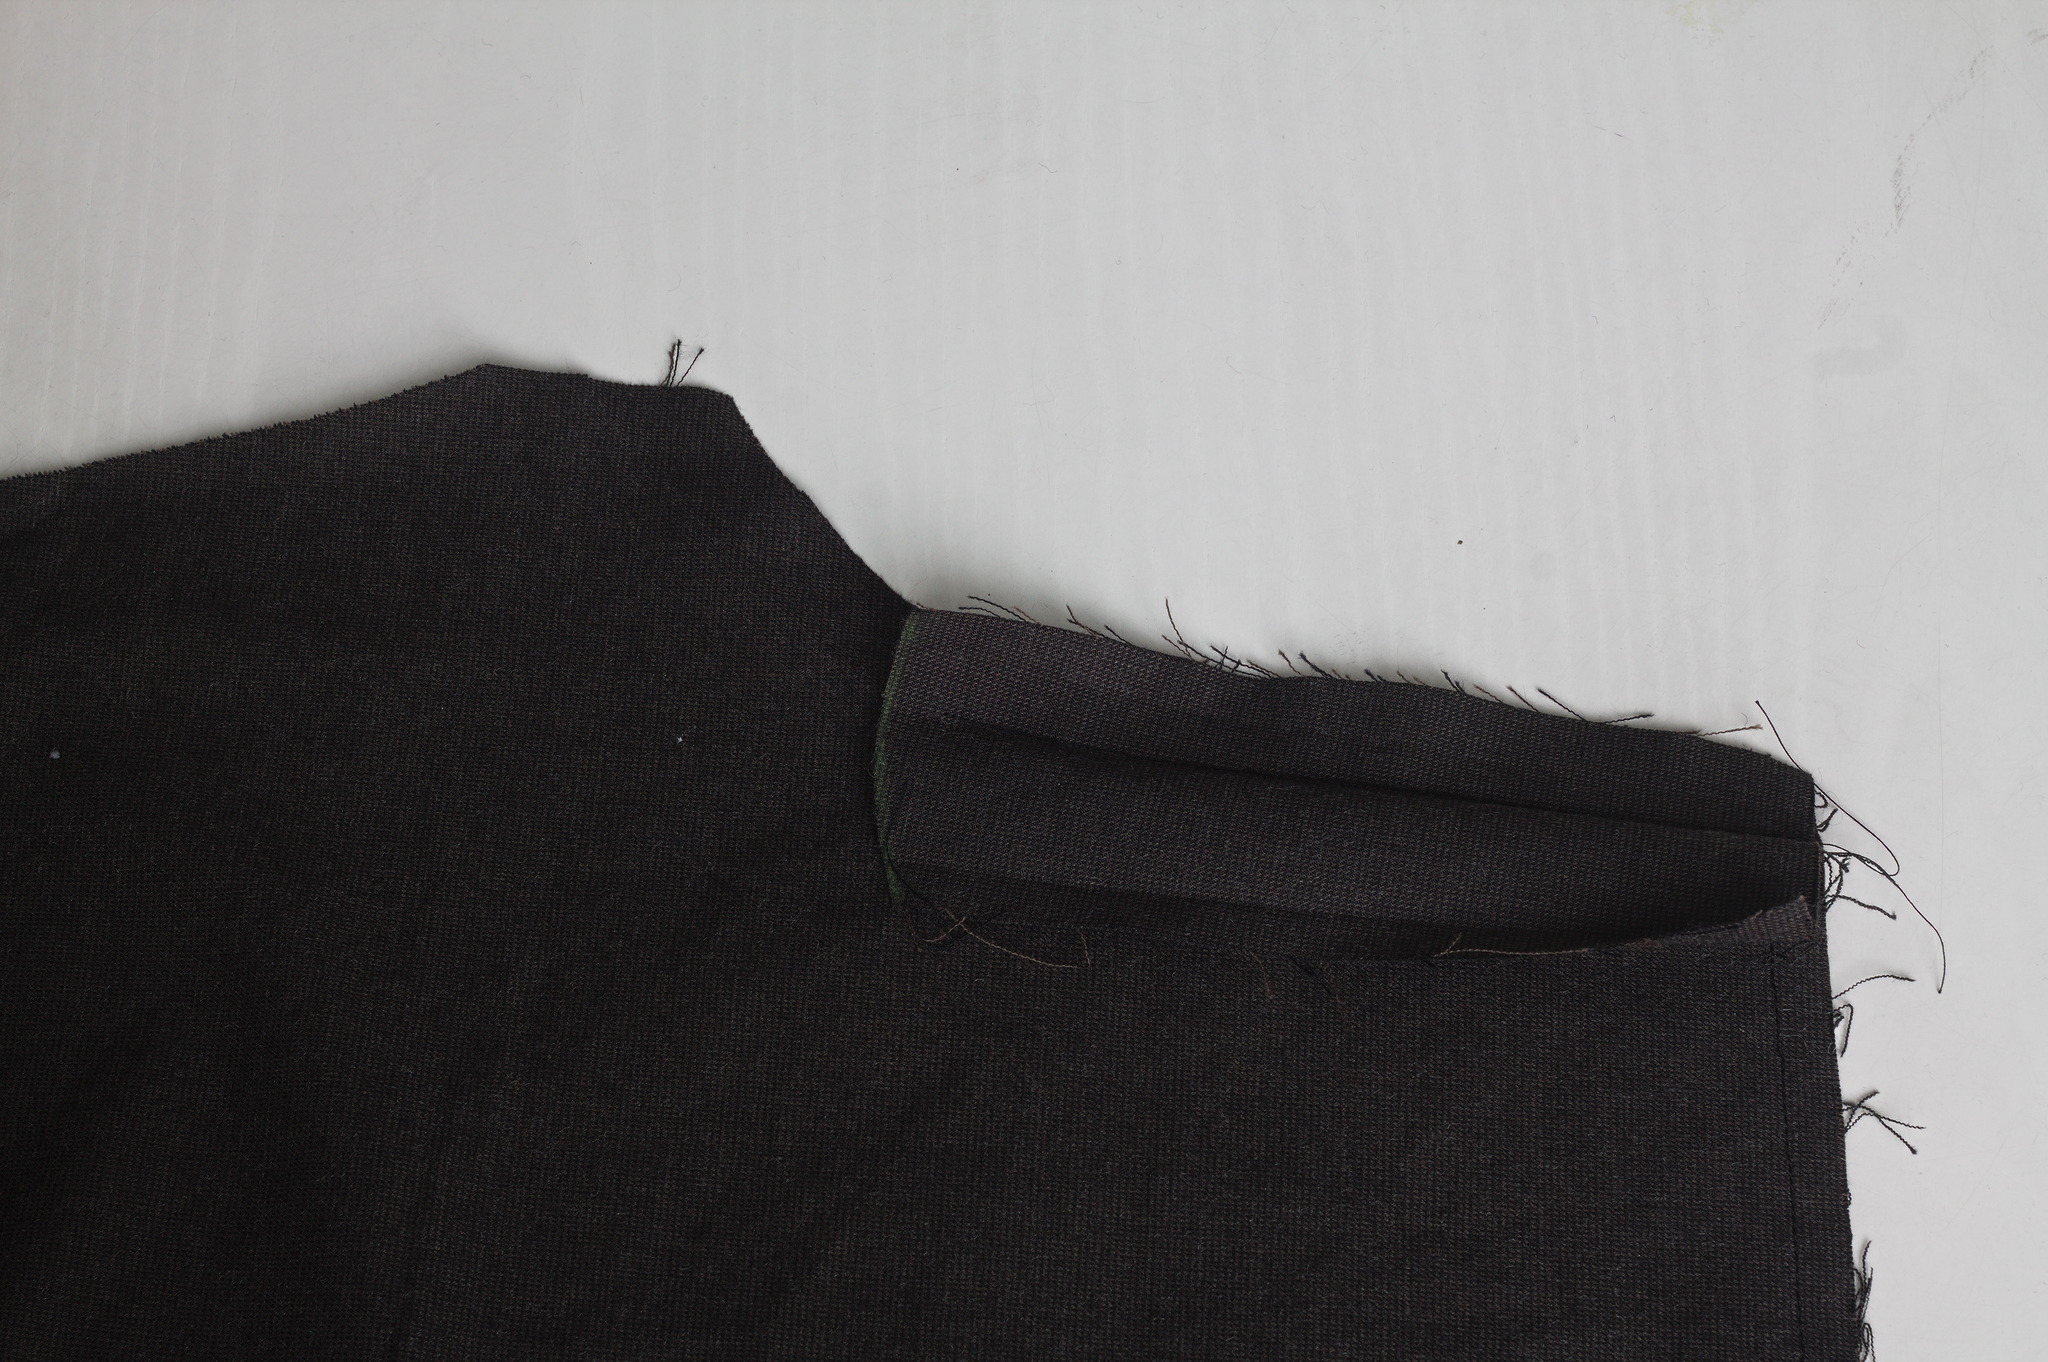
Put the first pocket bag pieces on the fronts, right sides together, sew the opening.
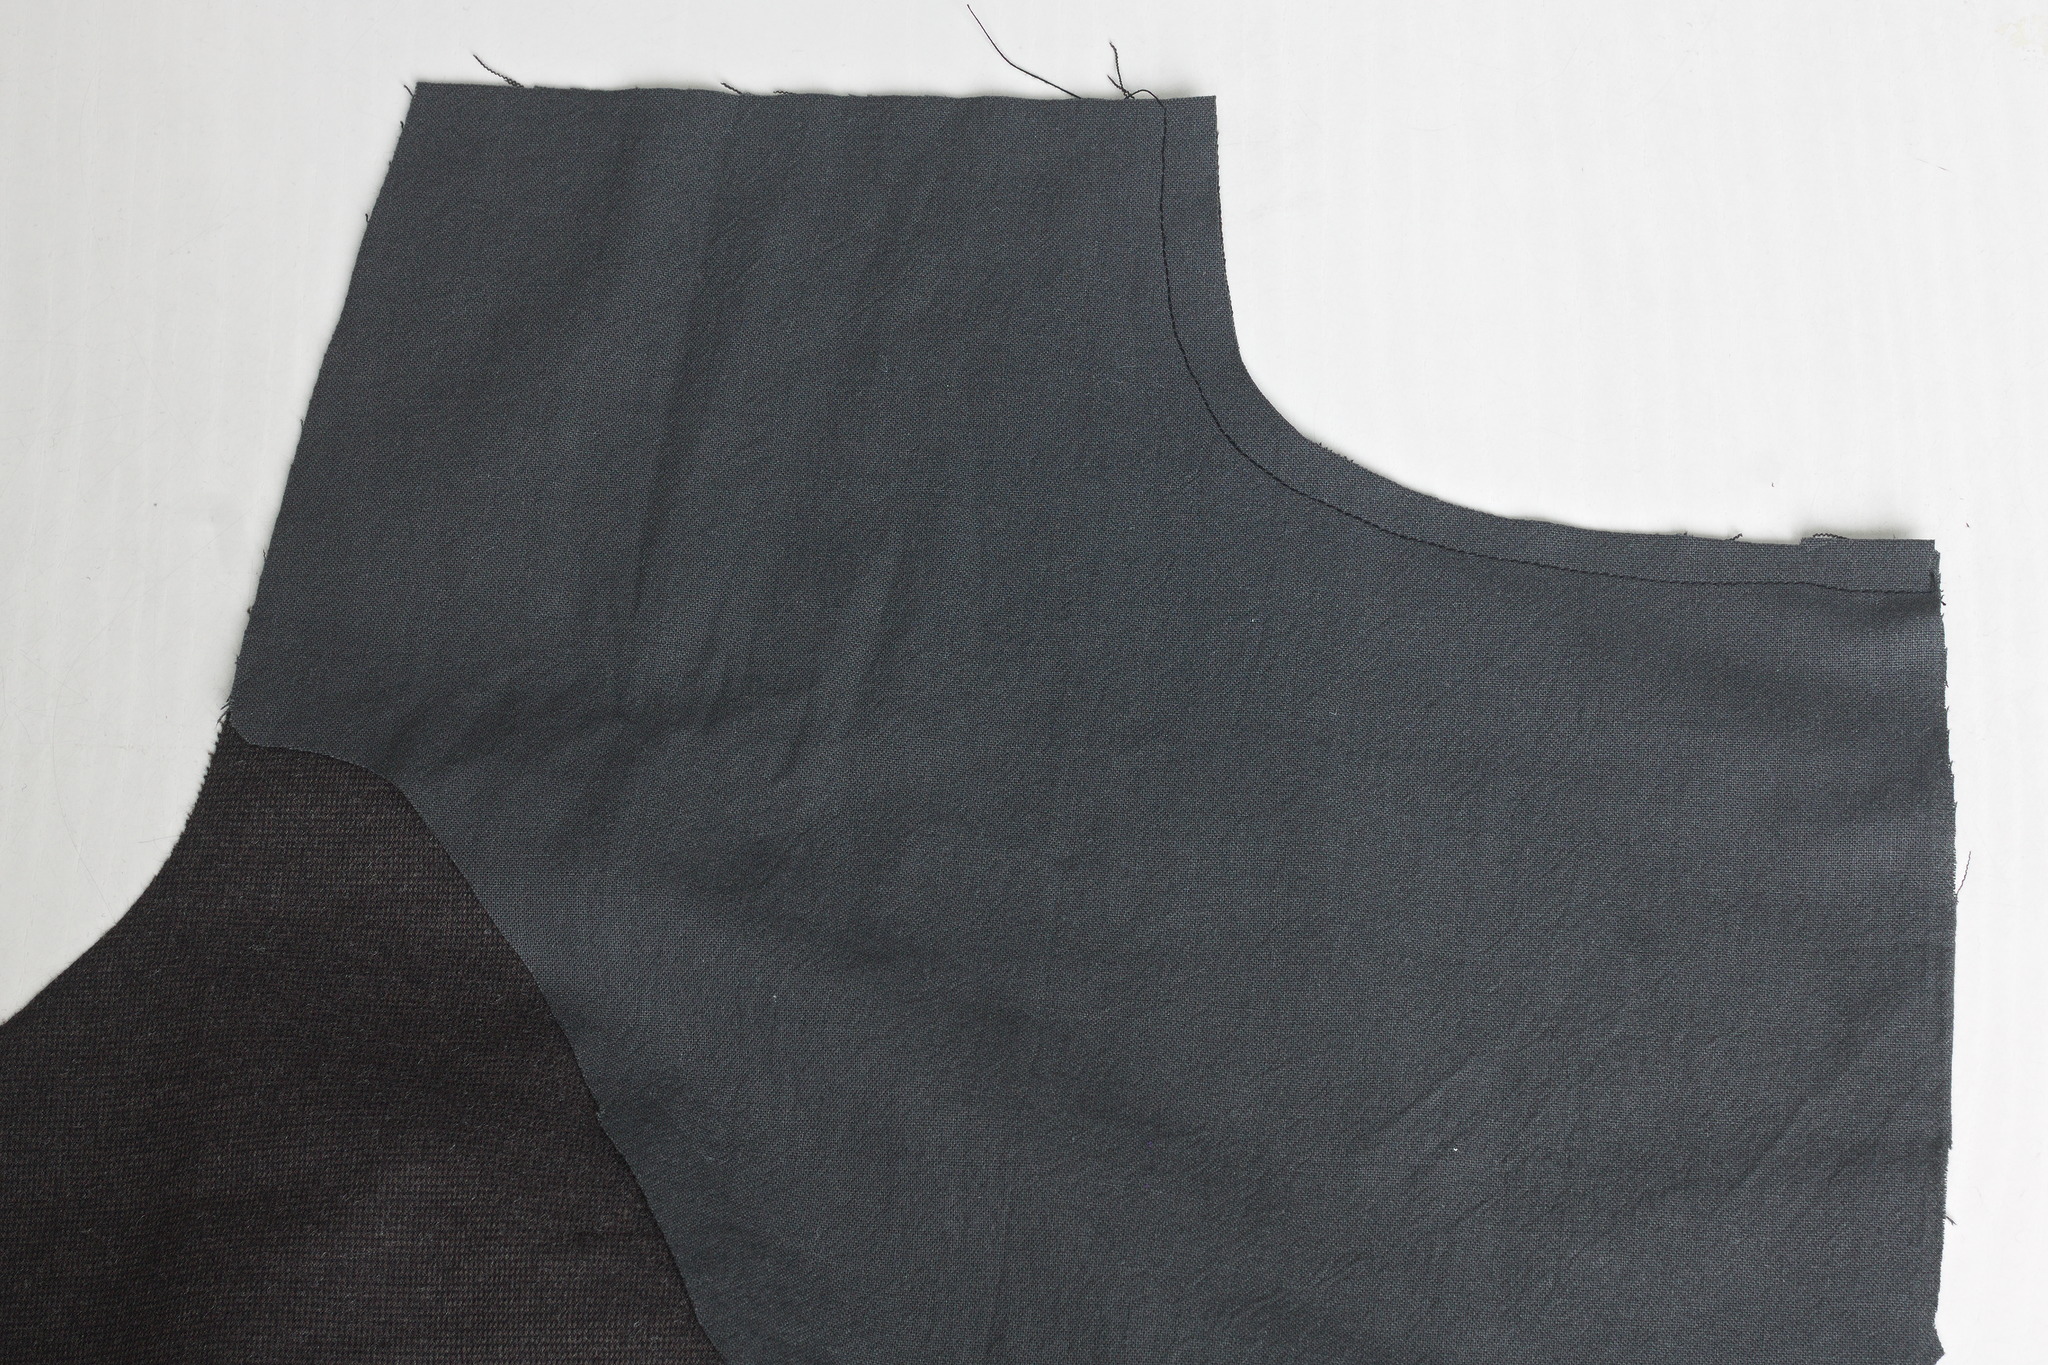
Press open, notch the allowances and press the pocket towards the wrong side of the front, making the fabric overlab a tiny bit so that the pocketing won’t show on the front. Topstitch at 2 mm and 8 mm from the edge.
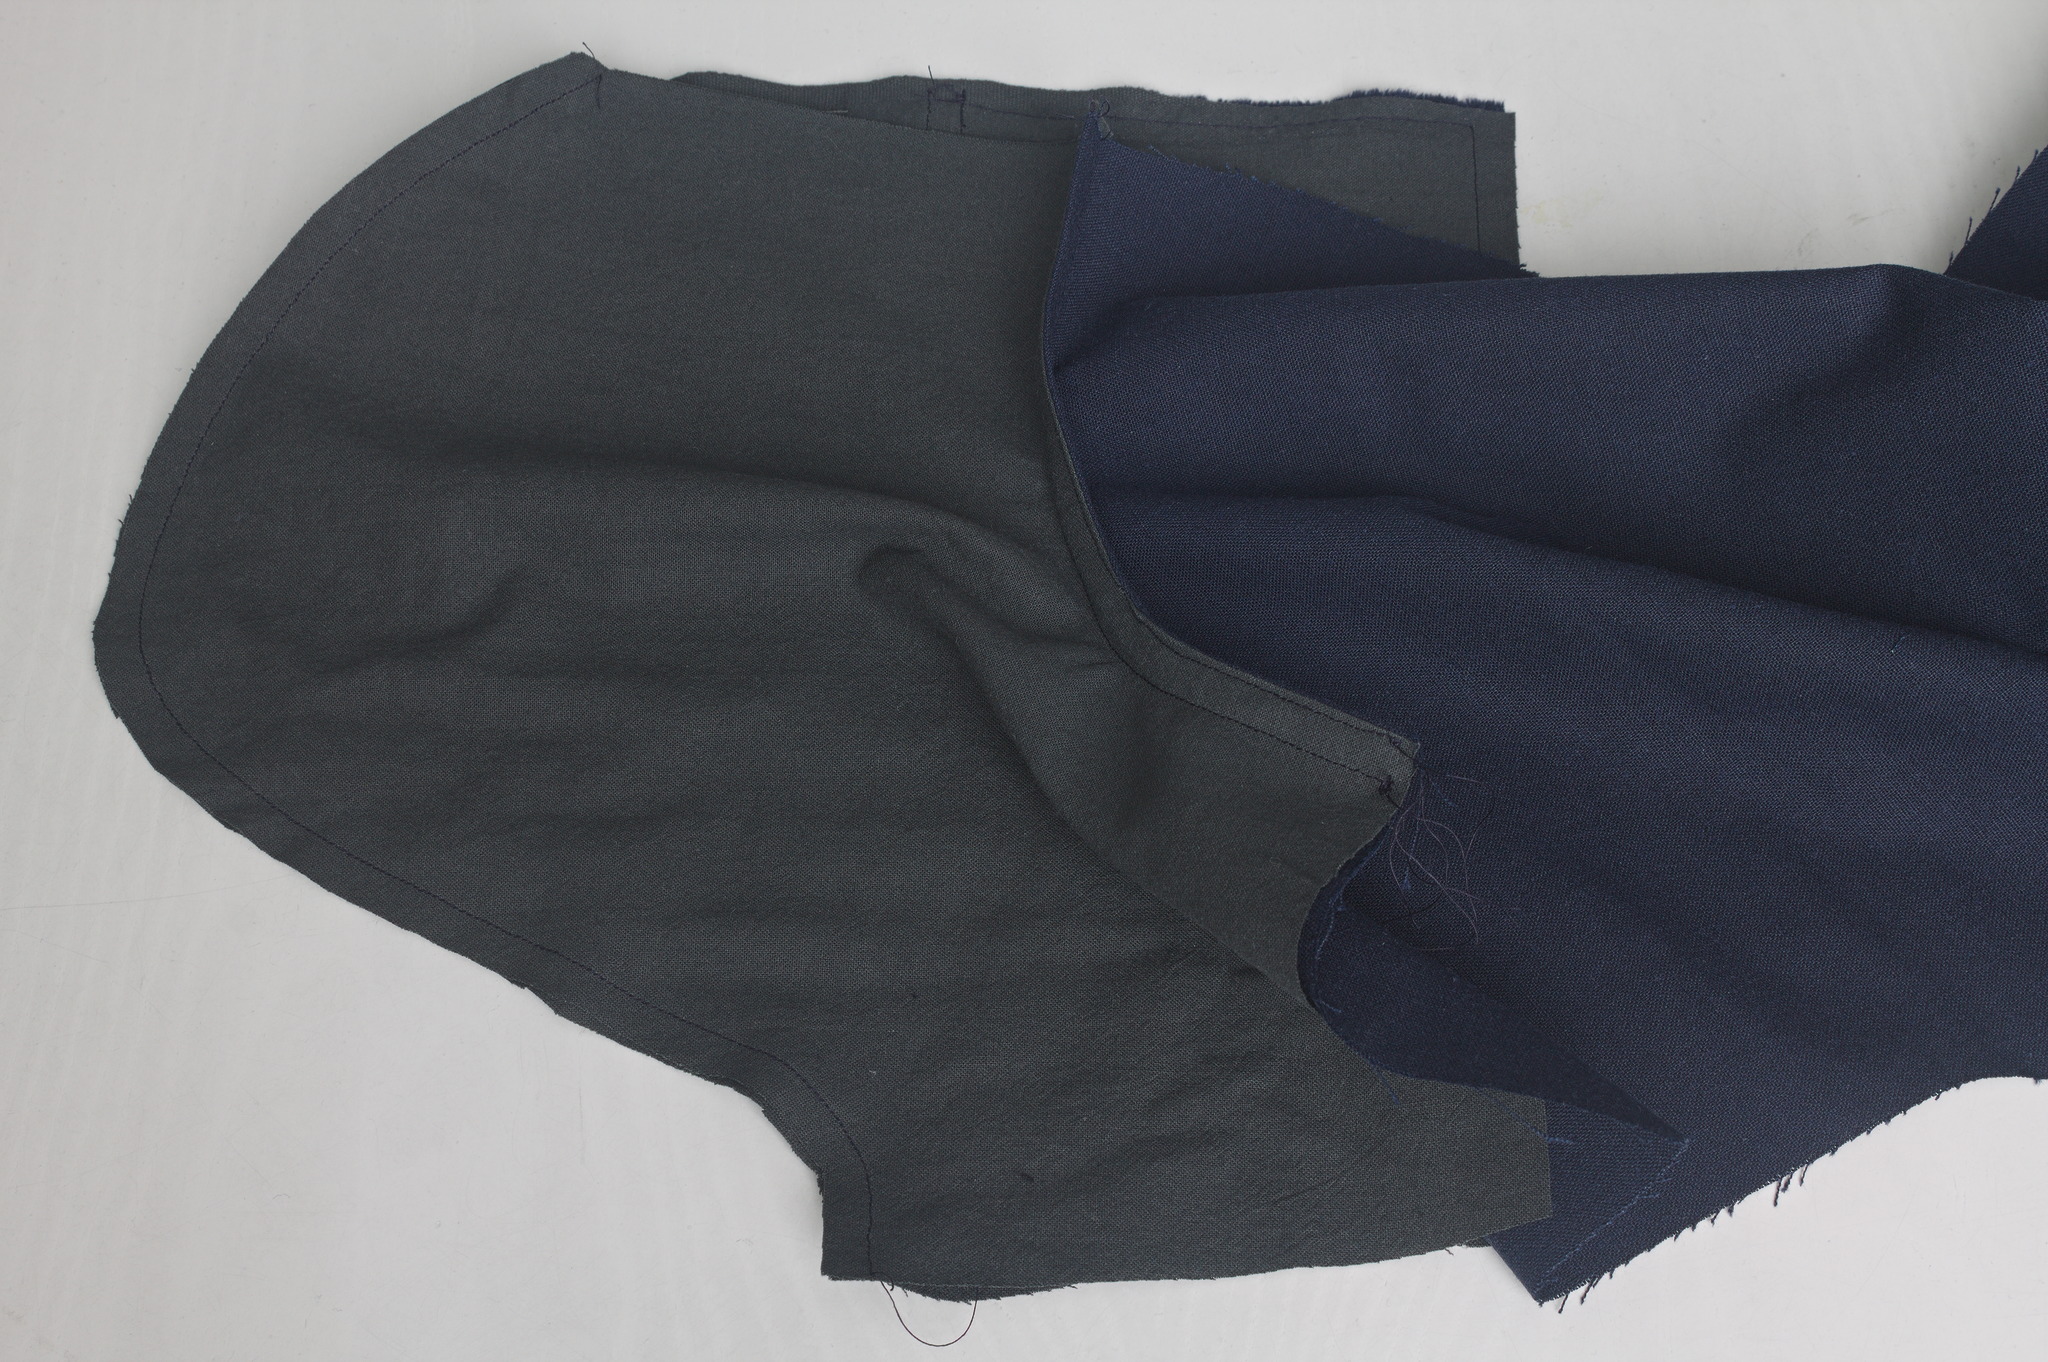
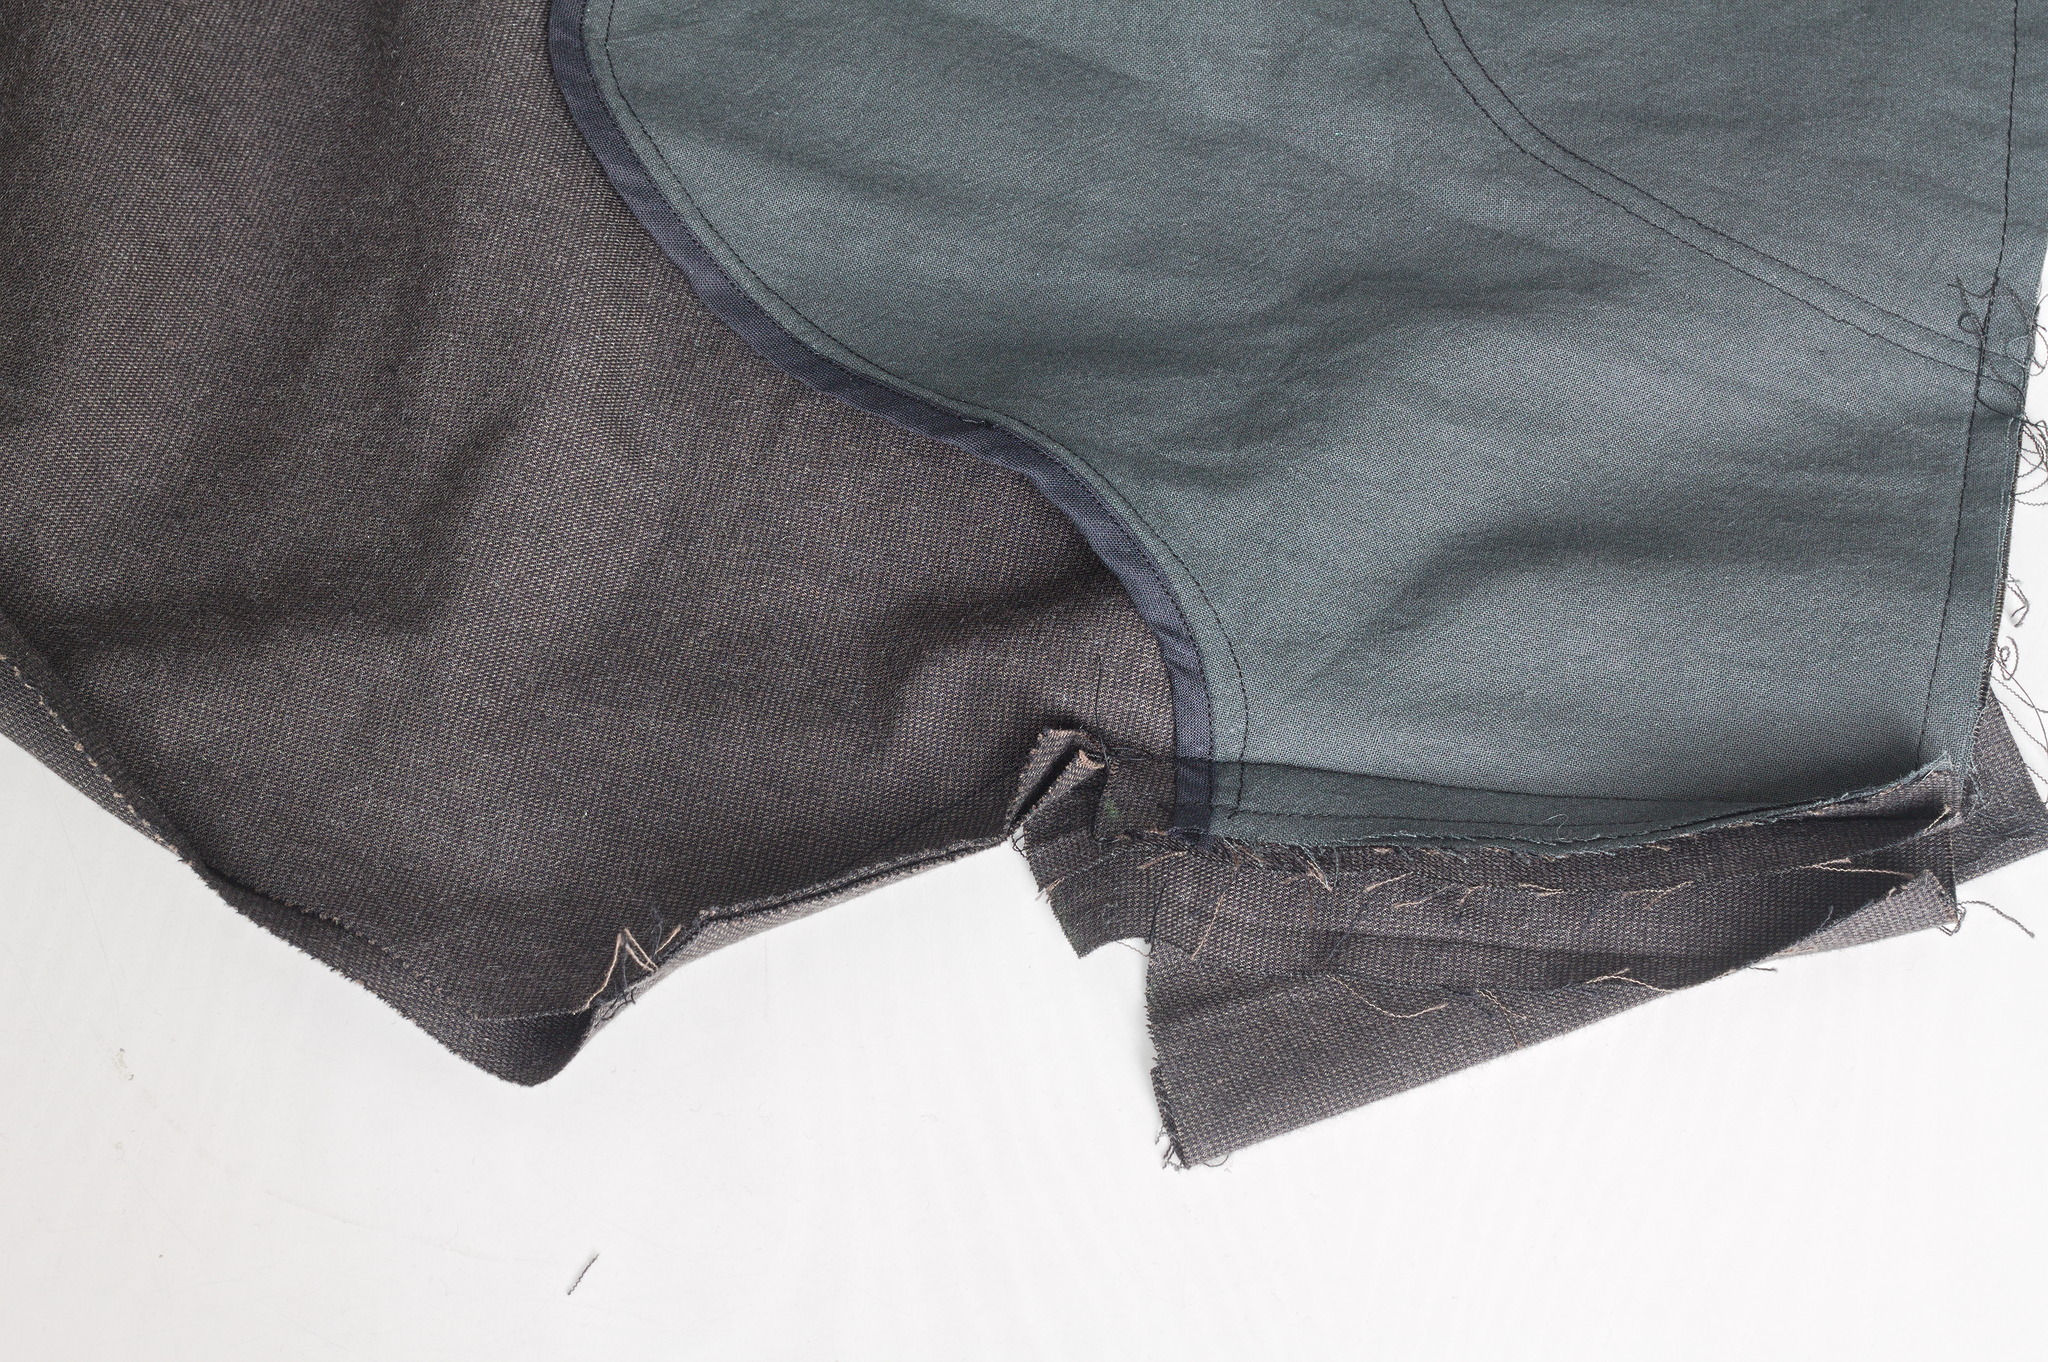
Sew the lower, curved edge of the pocket with a french seam: put the pocket bag pieces with the outer sides facing and sew 8 mm from the edge.
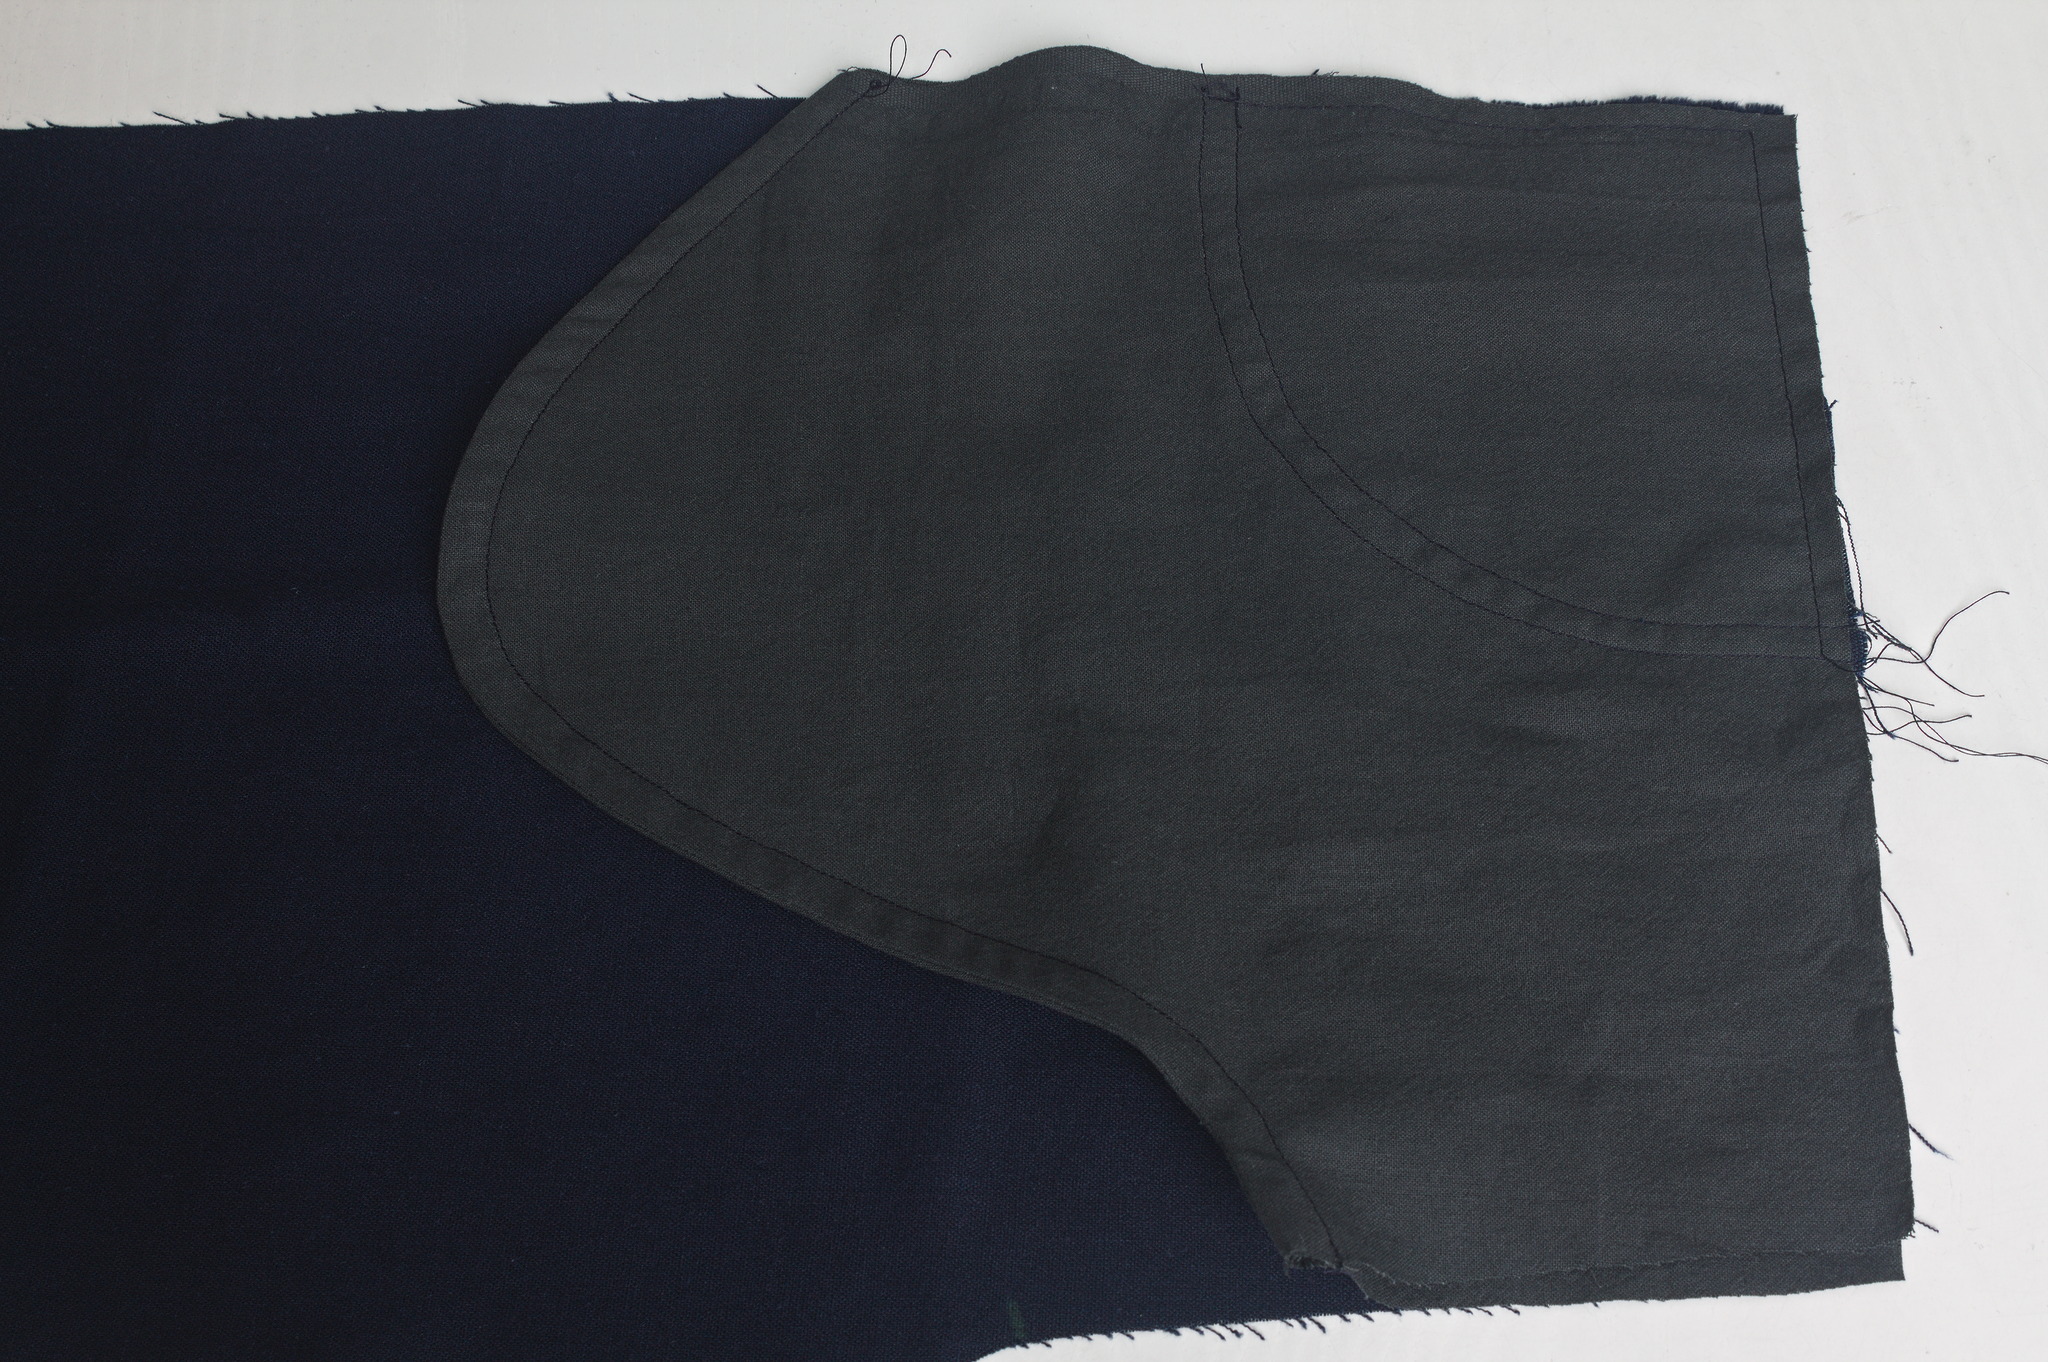
Press, notch the curves, turn the pocket bags so that the inner sides are facing, sew 1 cm from the edge.
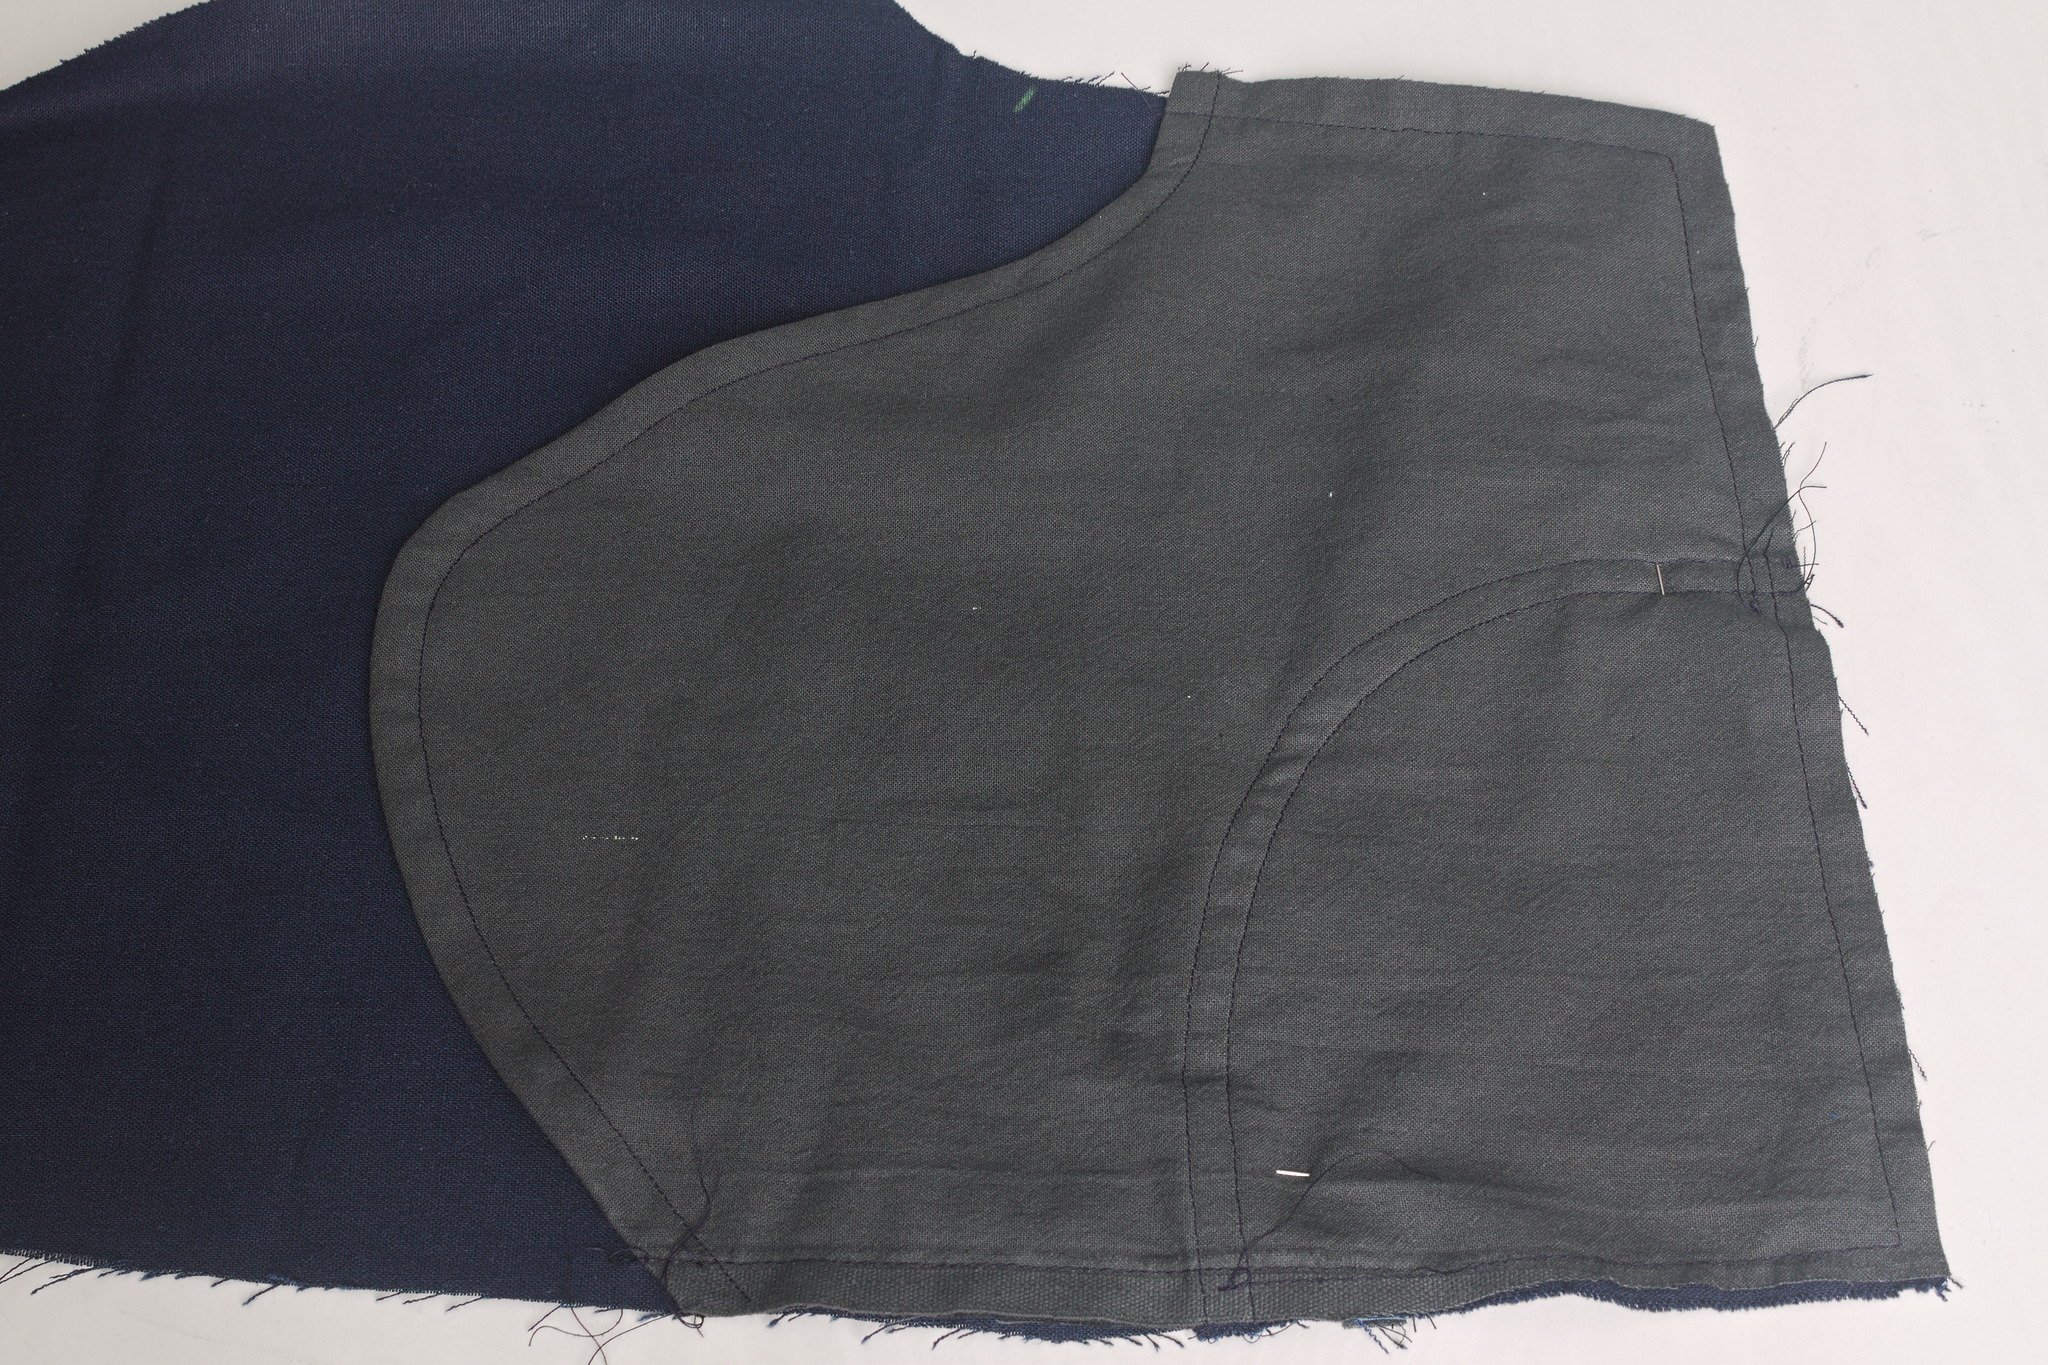
Align the end of the front opening to the marks on the pocket facings and baste the pockets to the fronts at the top and side; from now on treat them as one piece.
Placket
Right sides together, sew the placket facing (the one cut in the fabric once) to the left front stopping at the notch, press towards the wrong side.
Right sides together, sew the placket extension (the one cut on the fold) to the right front stopping at the notch, press so that it extends from the front. Press in half, and press the remaining allowance so that it will remain enclosed in the placket.

Right sides together, sew the rest of the front seam, starting from the notch and keeping the placket away from the seam, press open.
Clip the allowances of the legs at the notch, check that all placket pieces can move to the inside.
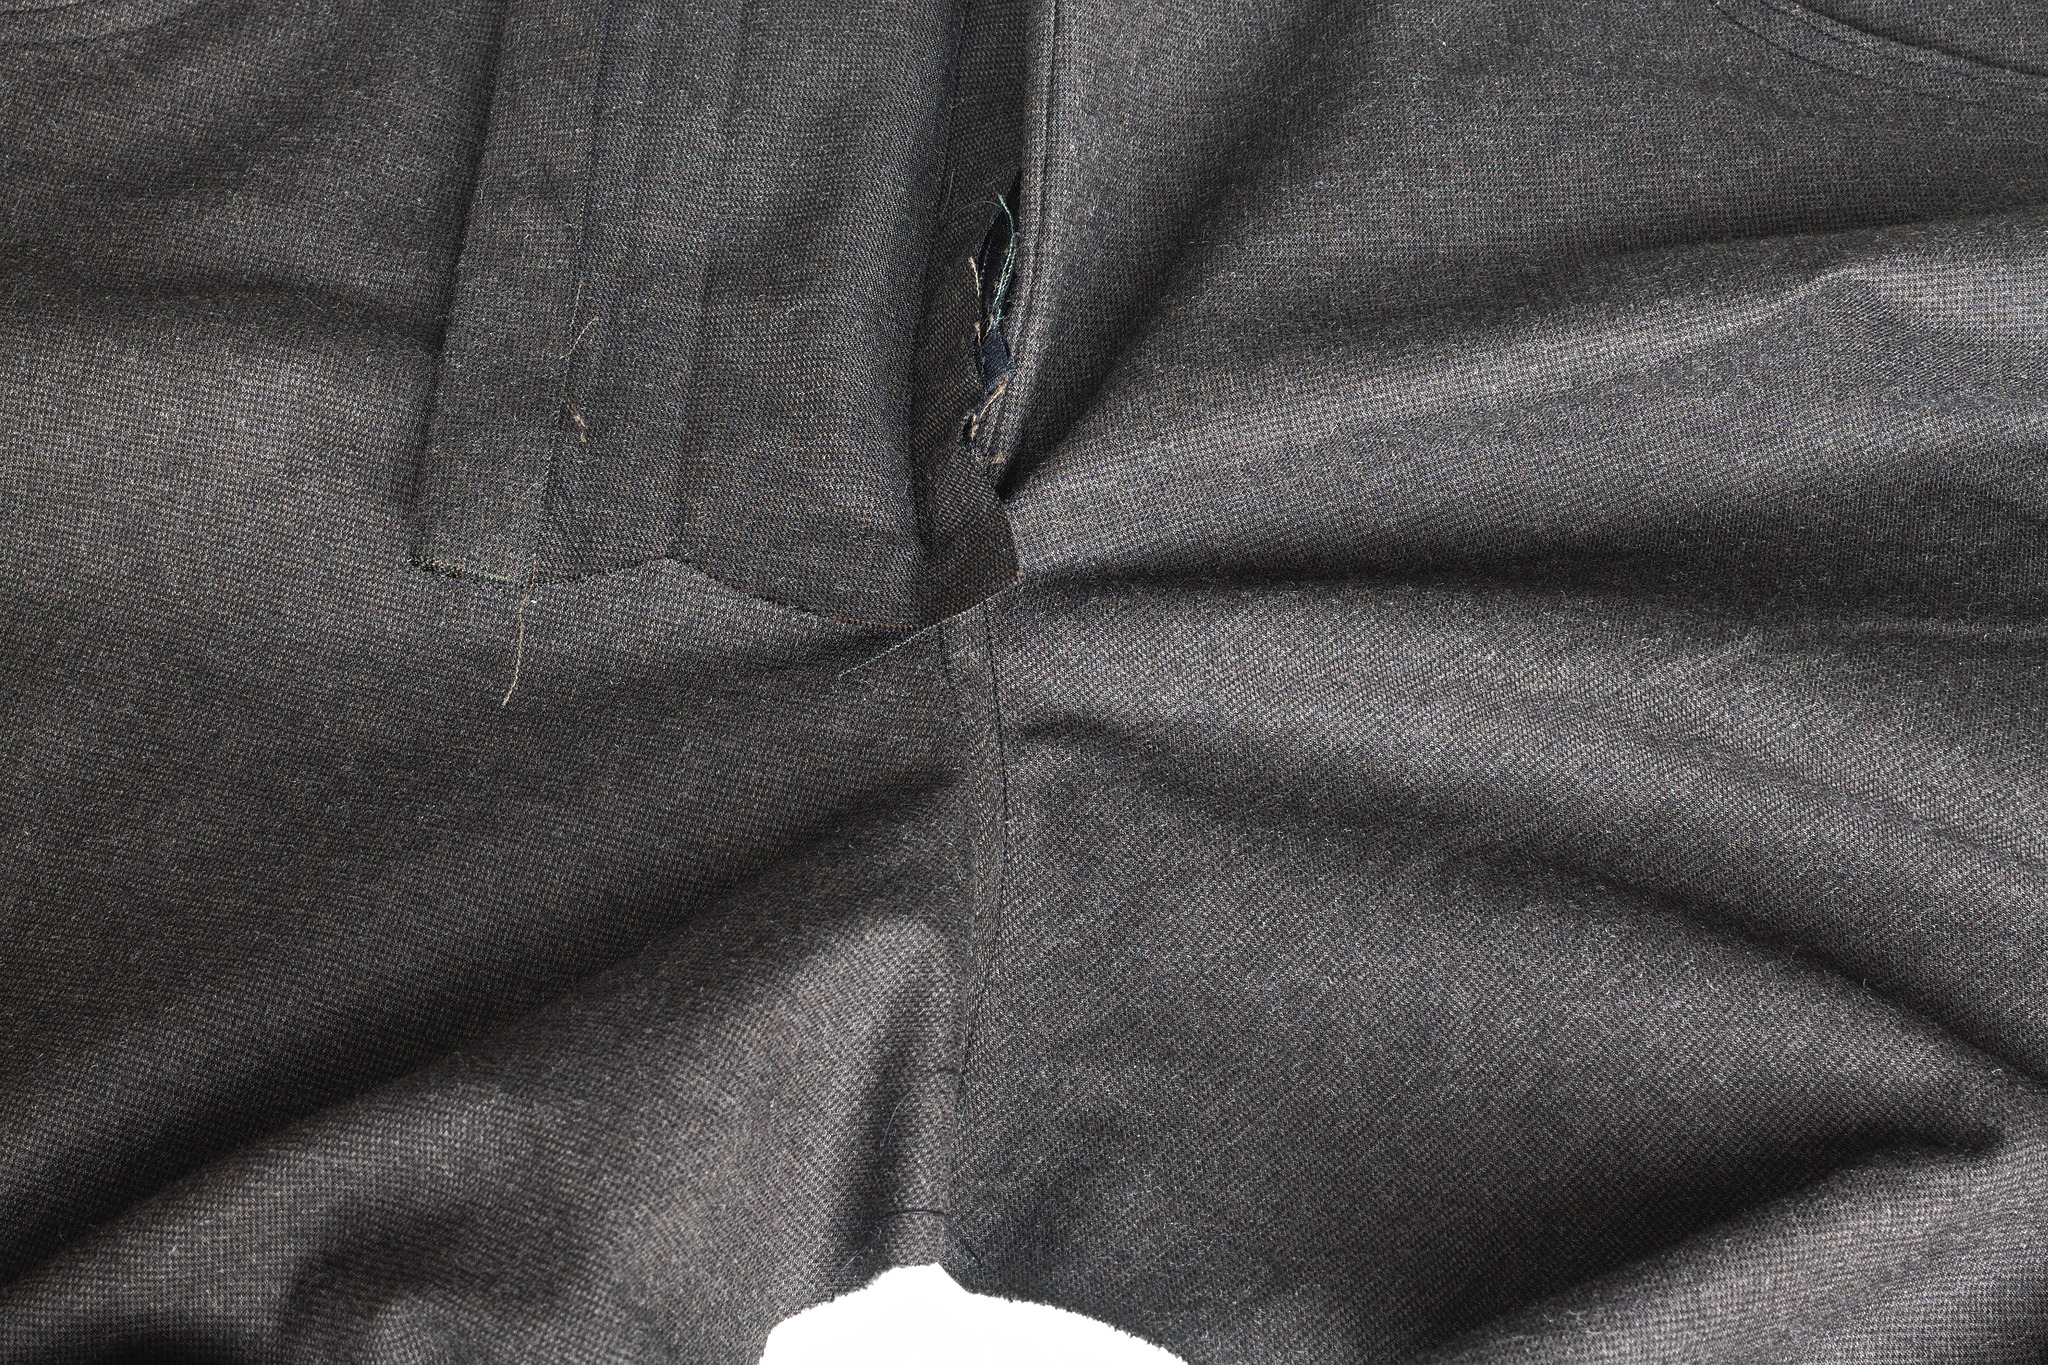
Trim the allowance of the left leg of the front seam, press and flat fell towards the left leg.
Note
This seam is done with the allowances on the inside rather than outside like the other flat felled seams; doing otherwise would result in a bit of unfinished allowance at the front.
Right sides together, sew the bottom of the placket extension at half the sewing allowance.
Turn inside out and topstitch the placket extension close to the vertical seam.
Fold down by 1 cm the raw edges of the placket facing (or bind them with tape), topstitch it down close to all 3 edges of the facing.
If adding buttons, you can now sew the bottom of the placket close by topstitching from the front, but if adding a zipper wait until later.
Back
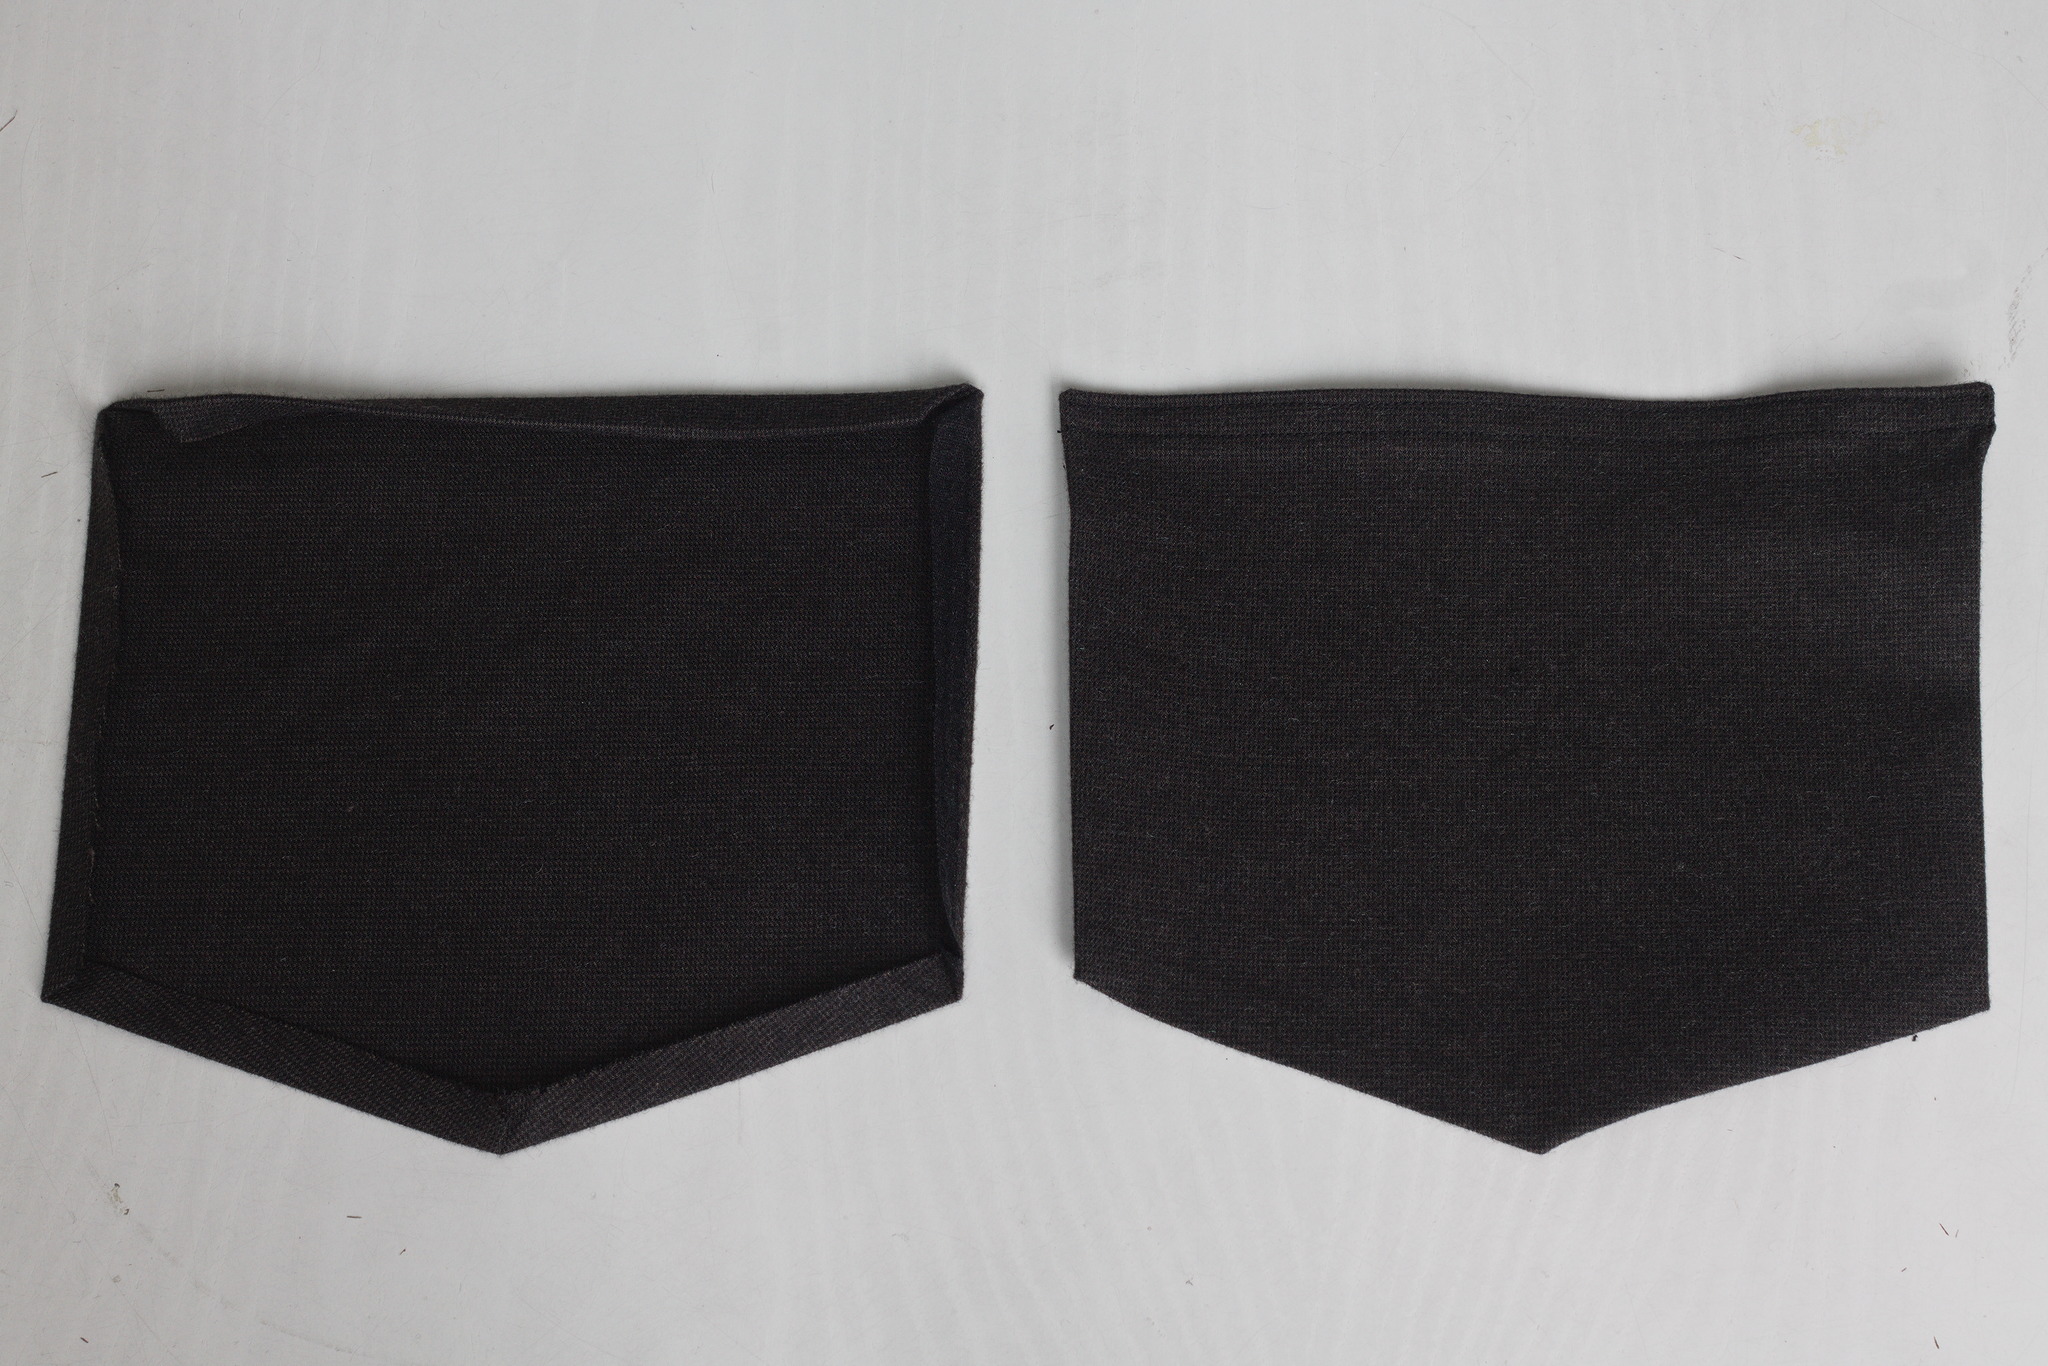
Fold down the edges of the back pocket once, and the top edge twice, press. Sew the top edge 2 mm from the edge and again 1 cm from the edge.
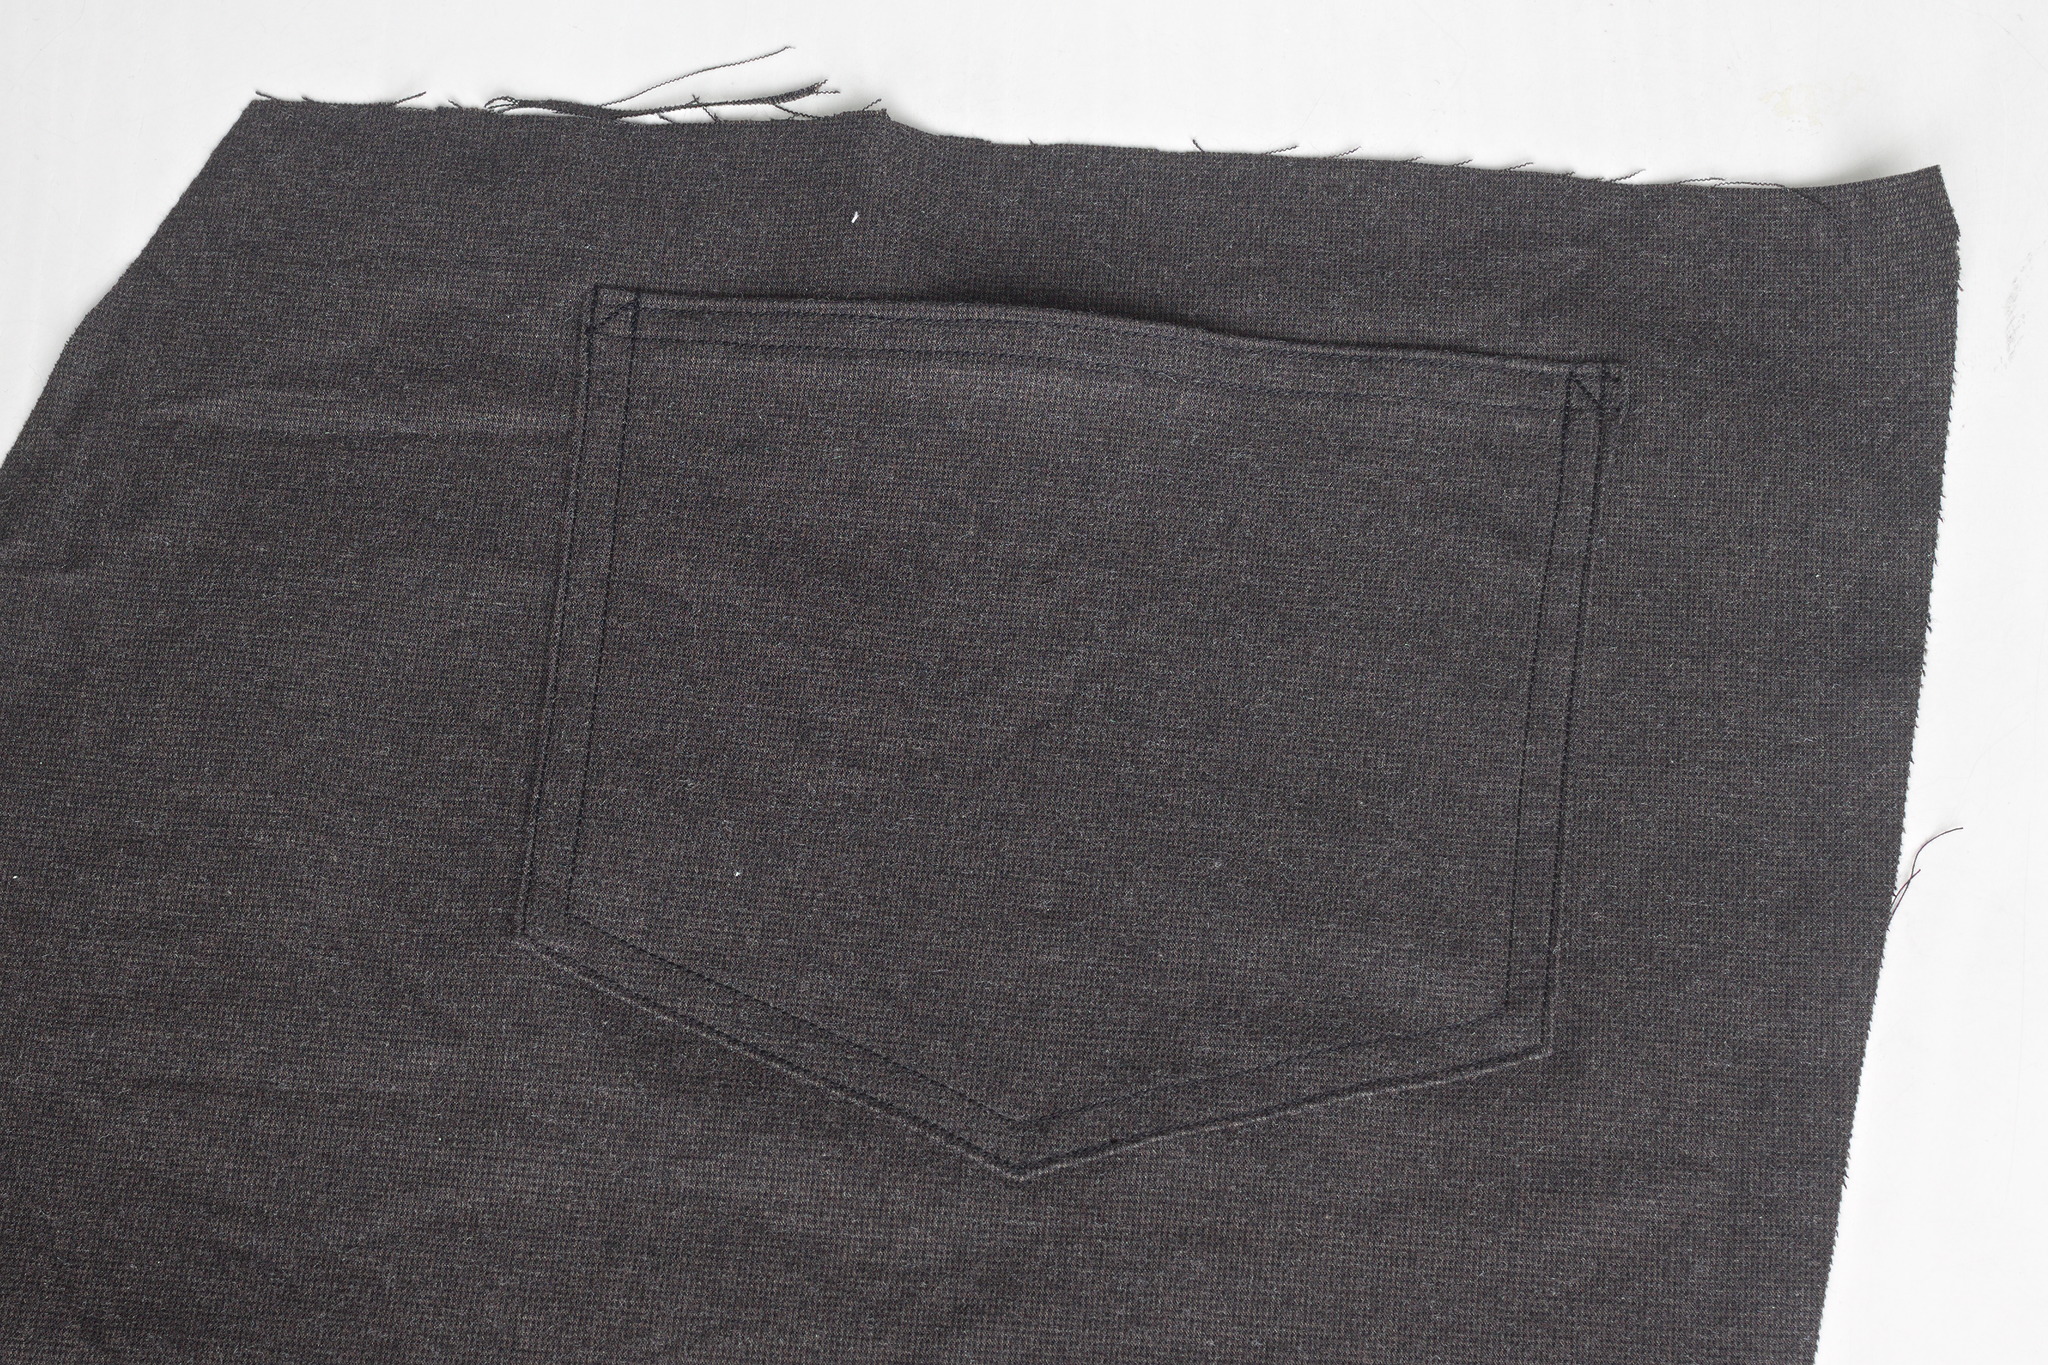
Topstitch the back pockets to the backs where marked on the pattern, using two lines of stitching at 2 mm and 1 cm from the edge, and sewing little triangles near the top for reinforcement.
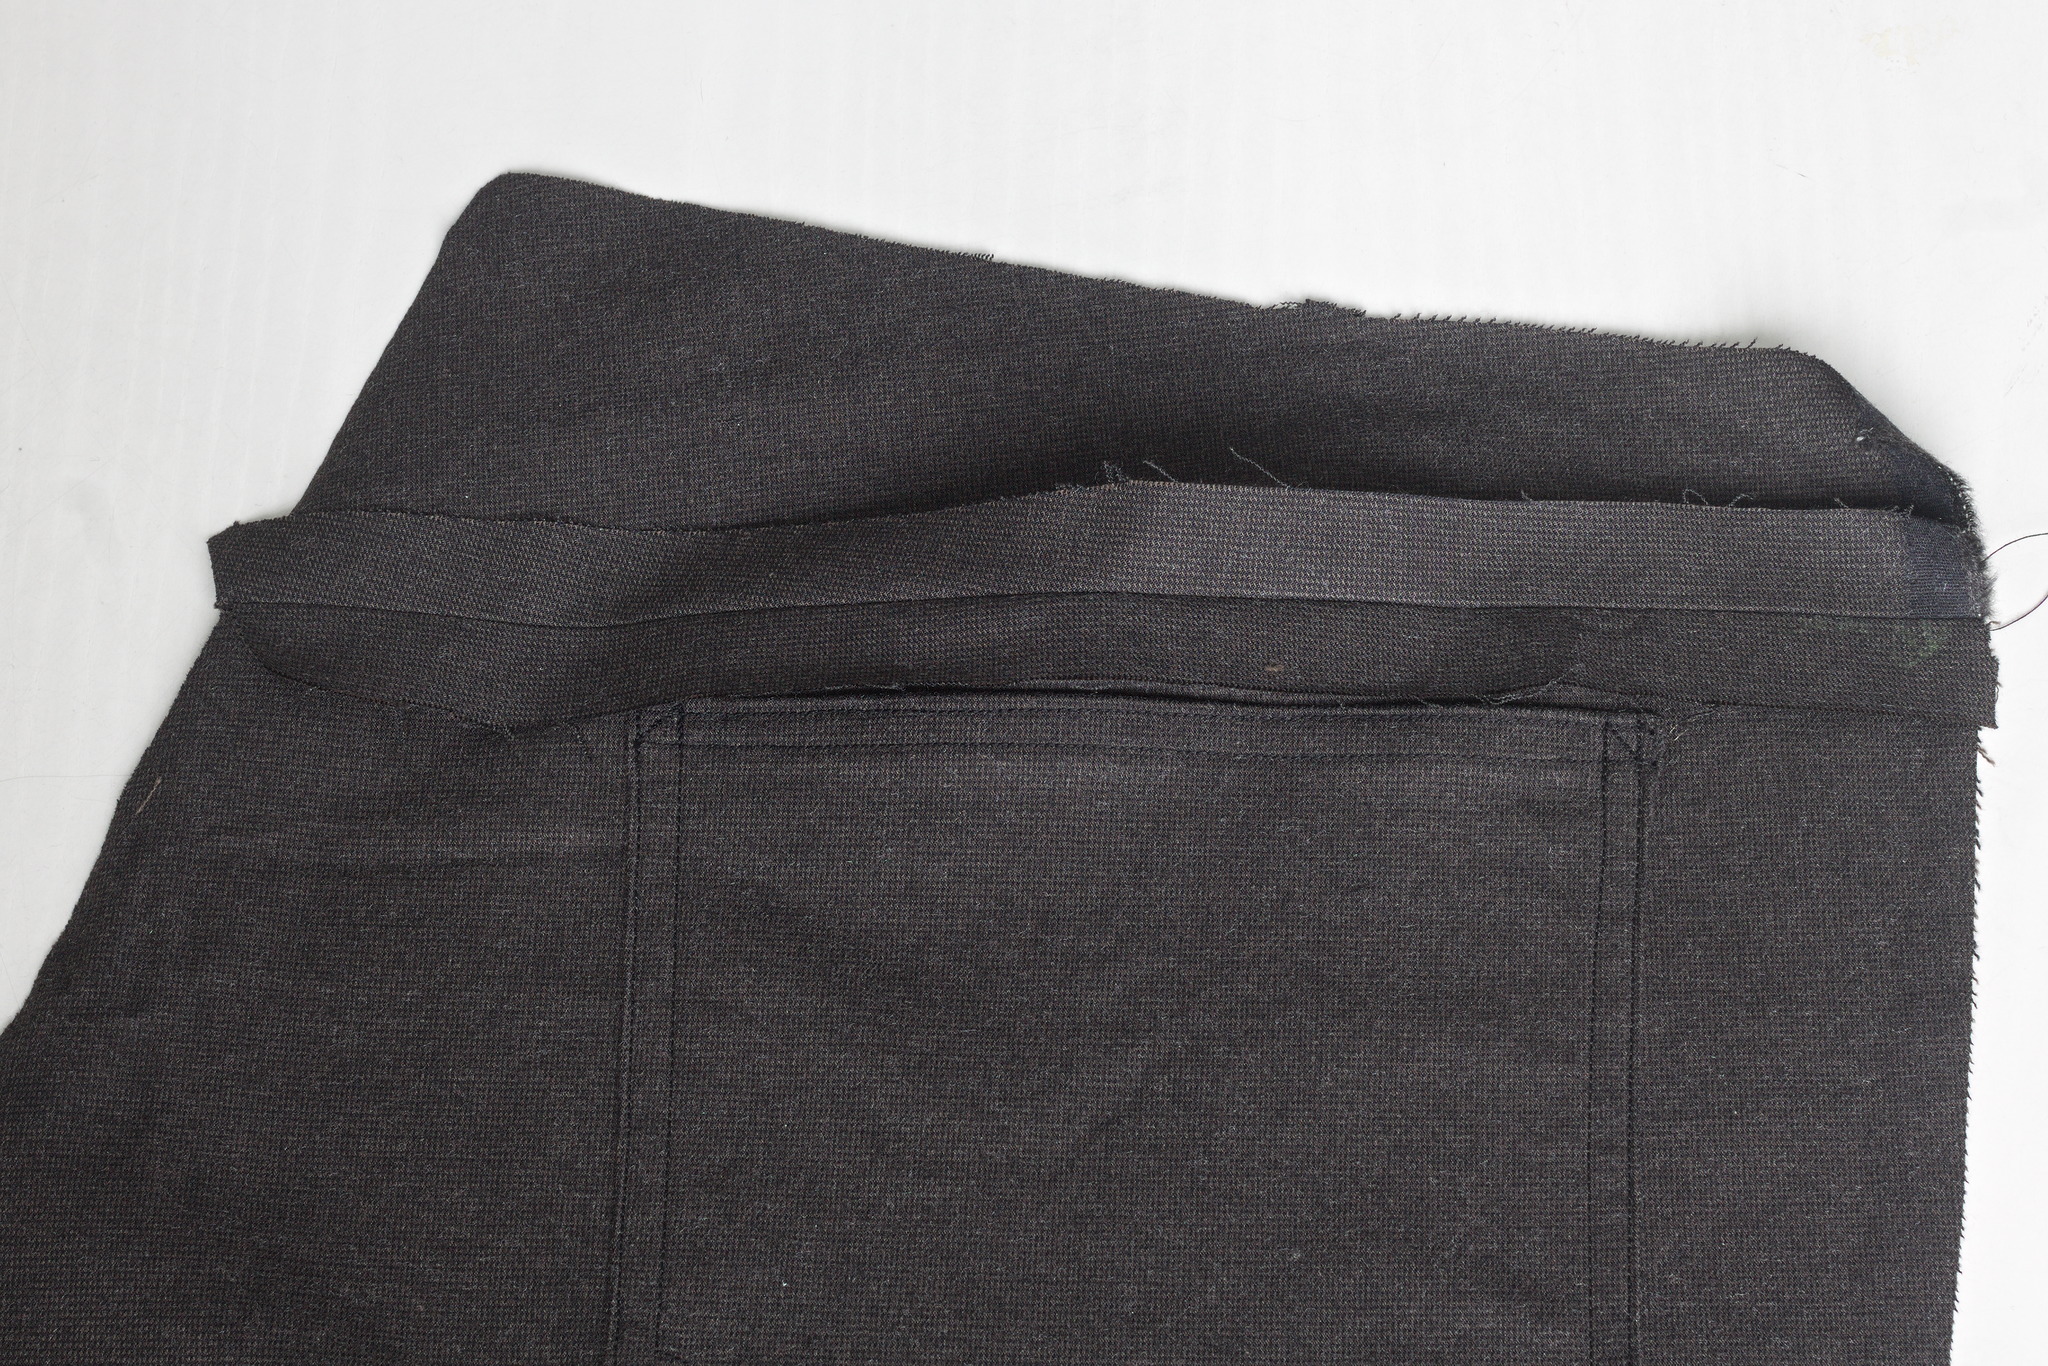
Wrong sides together, sew the back yokes to the backs, press open.
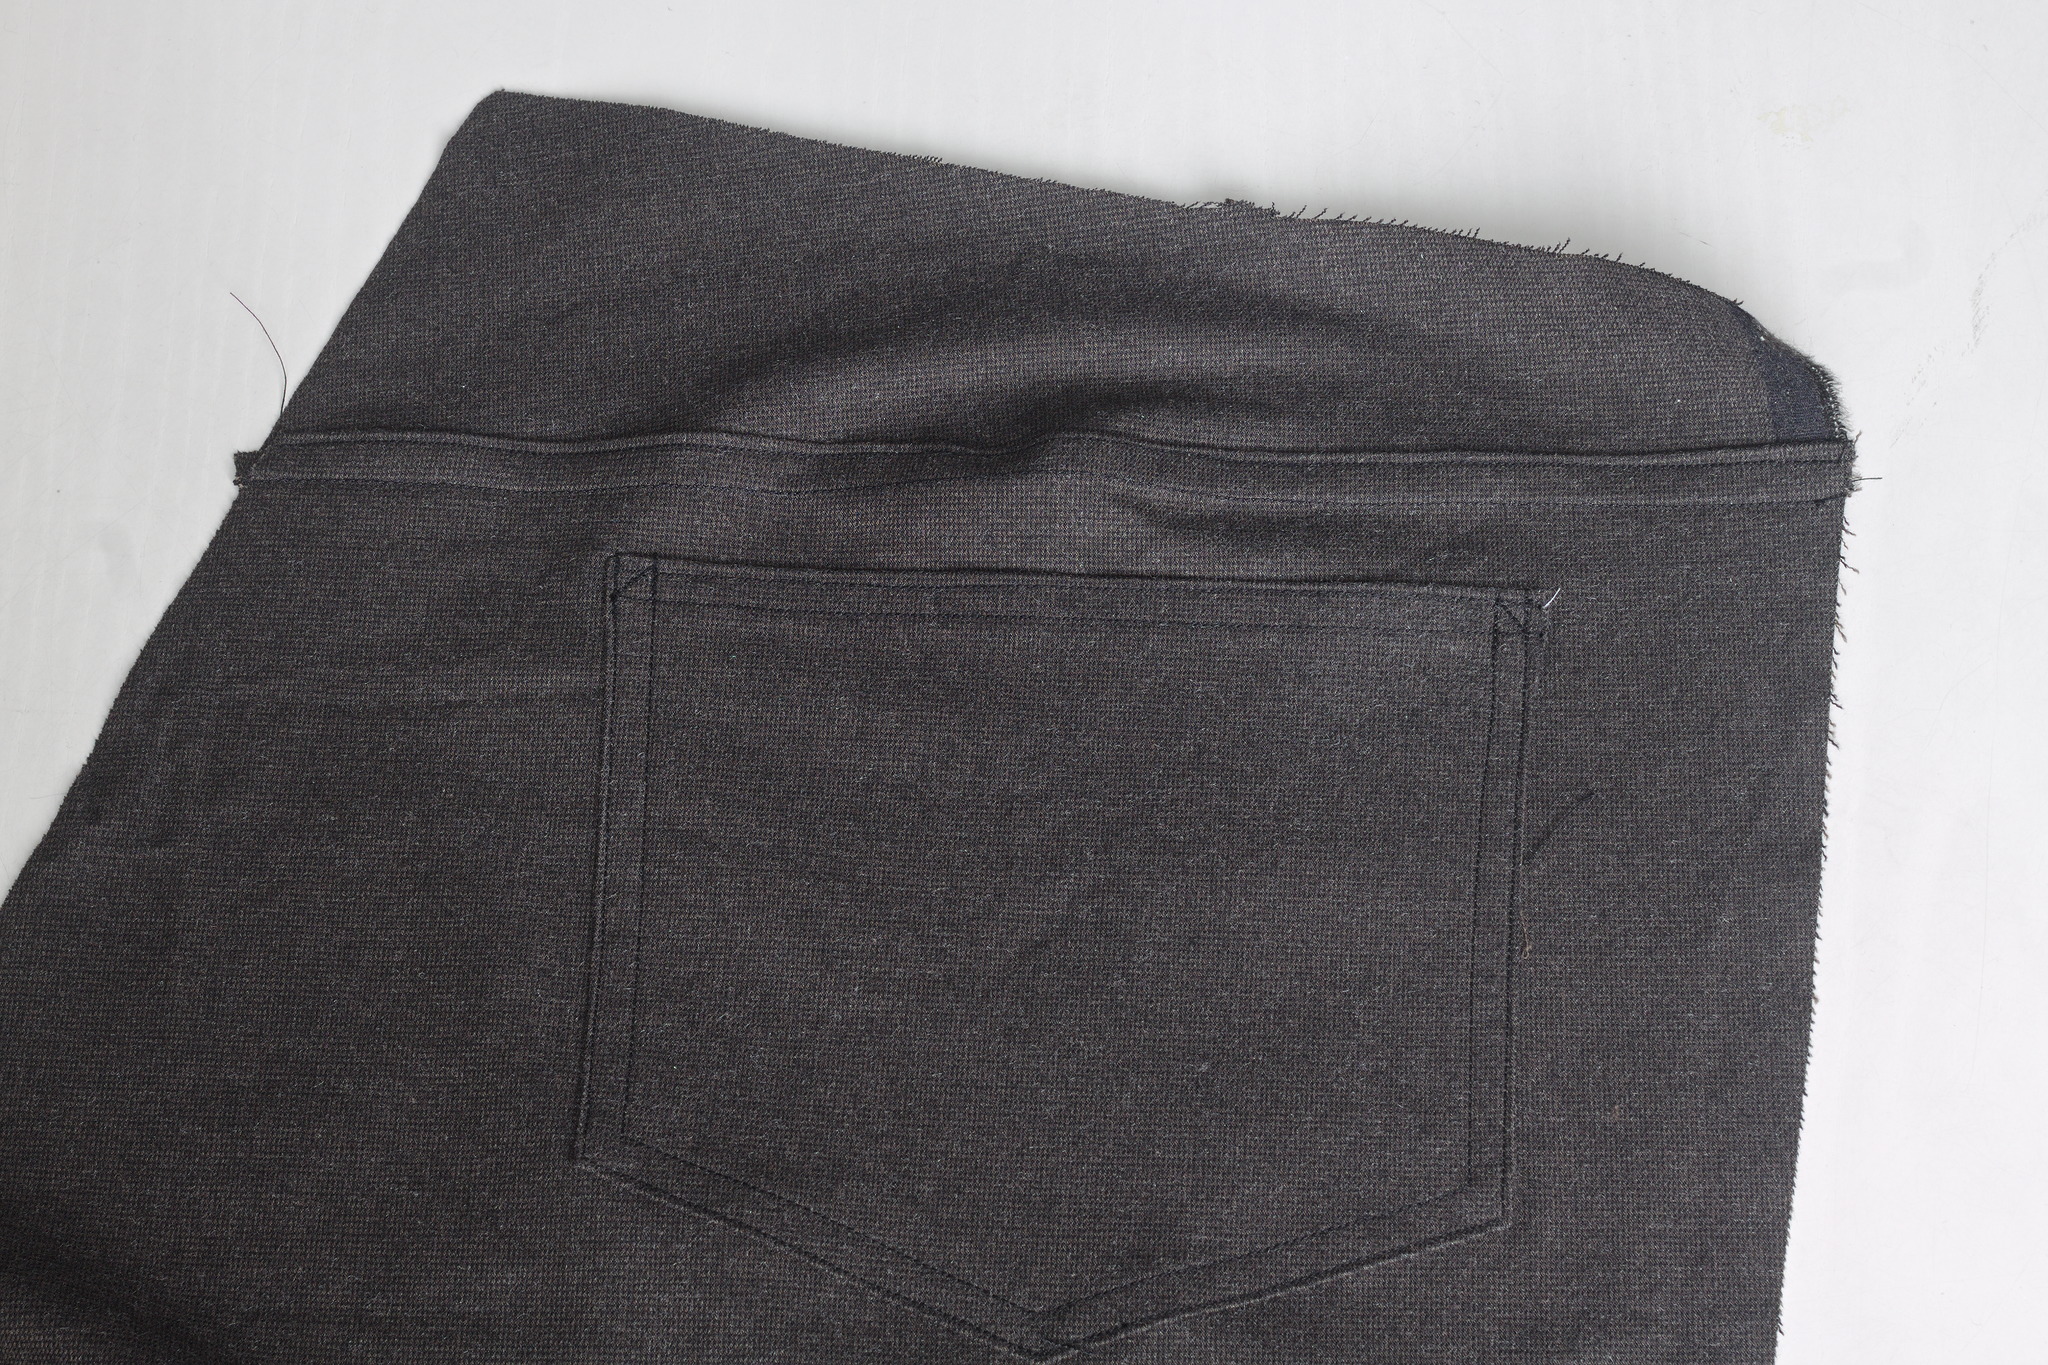
Trim the yoke allowances and press up and fold the back allowances to fell them, topstitch at about 8 mm from the seam.
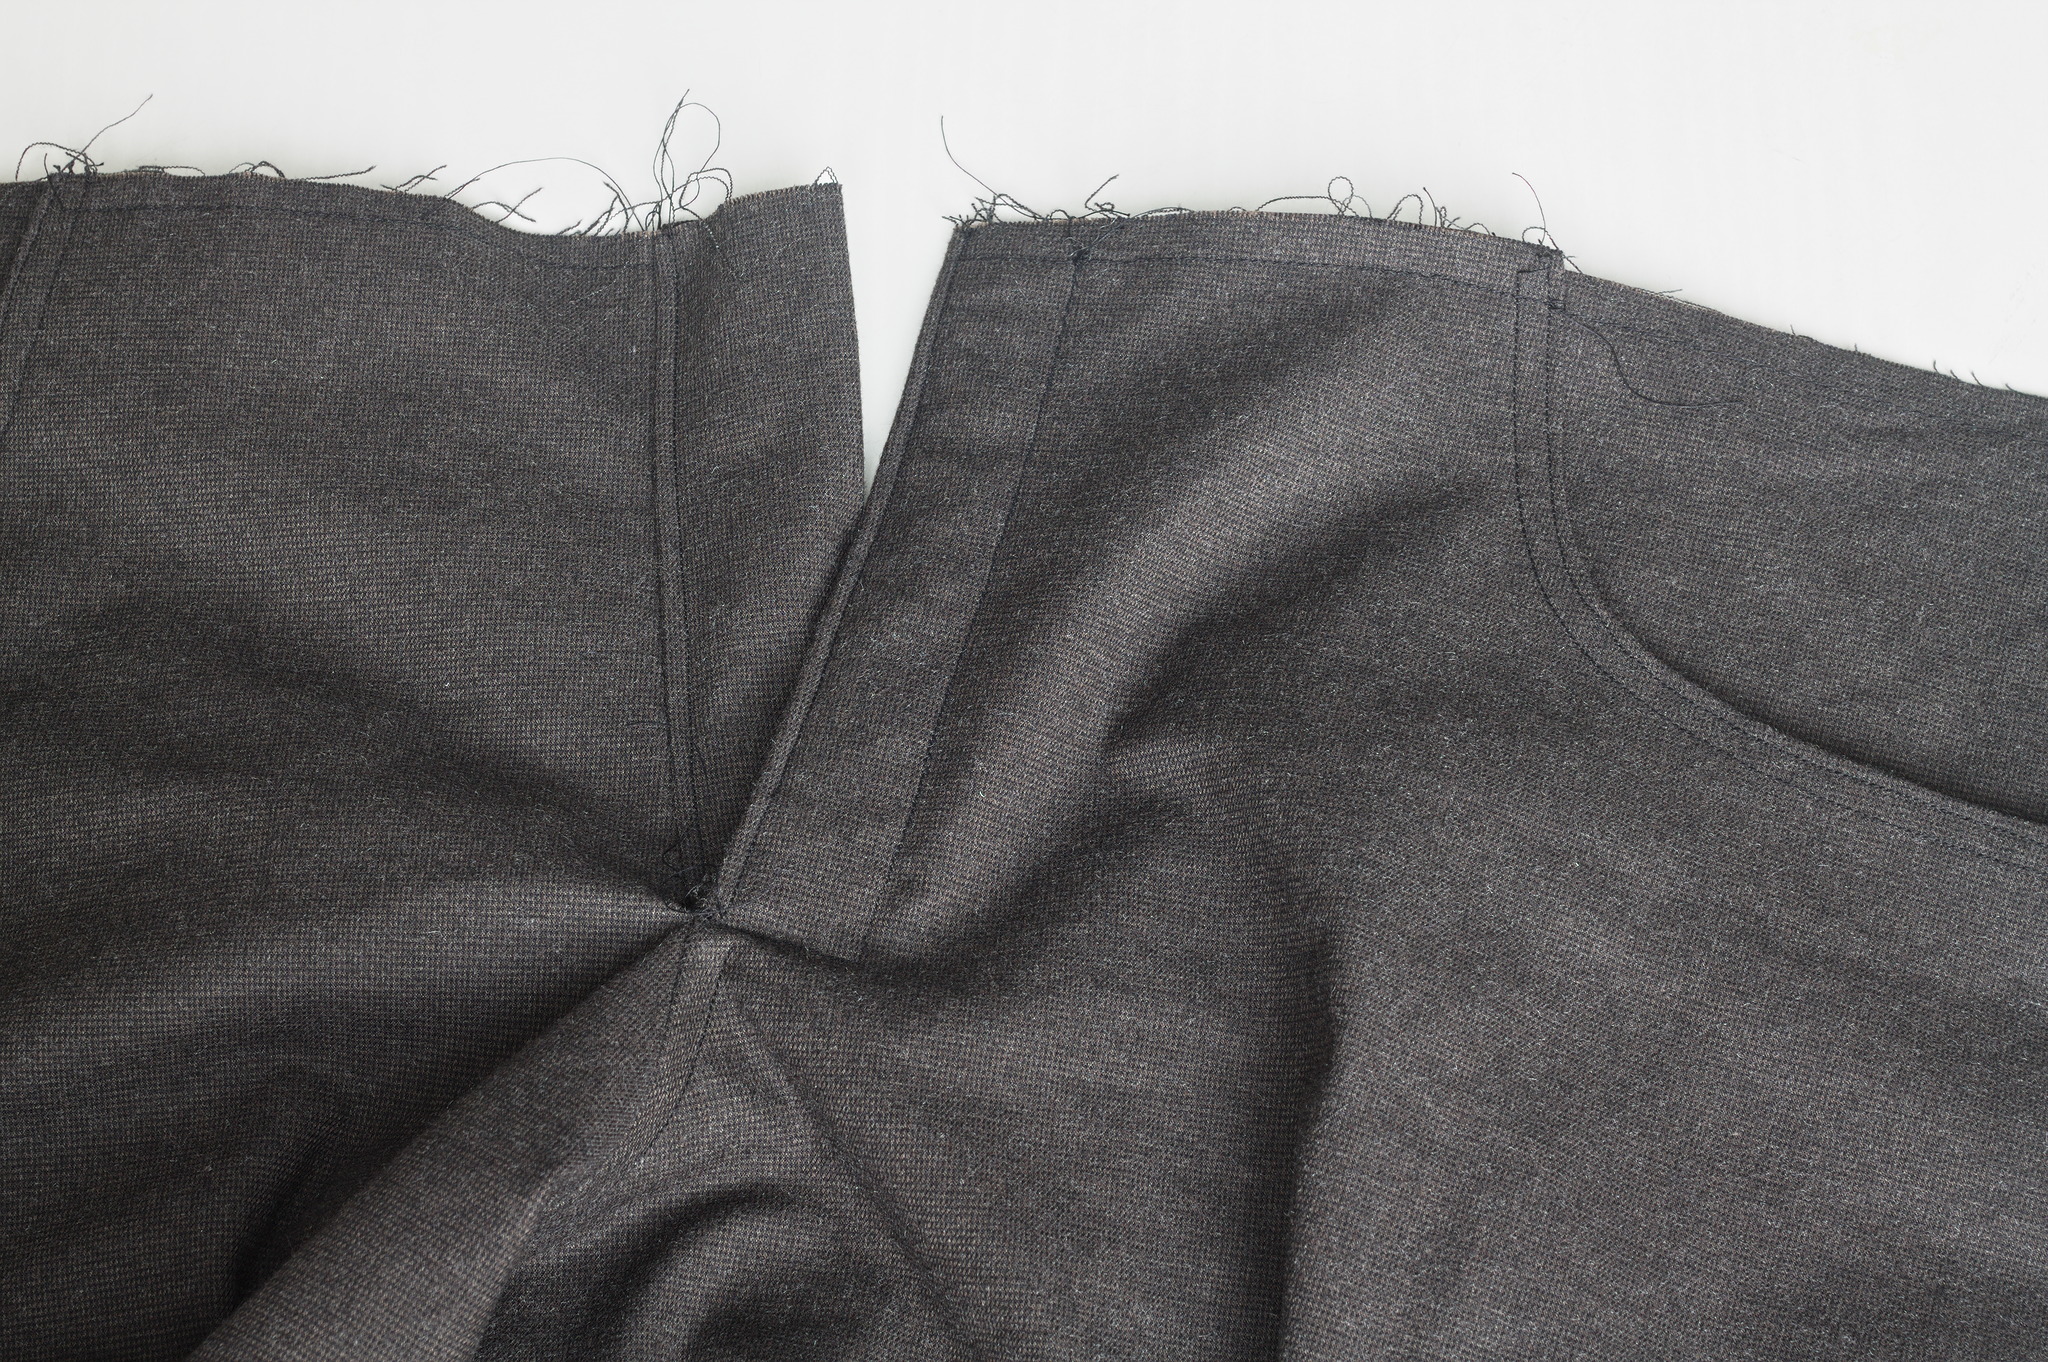
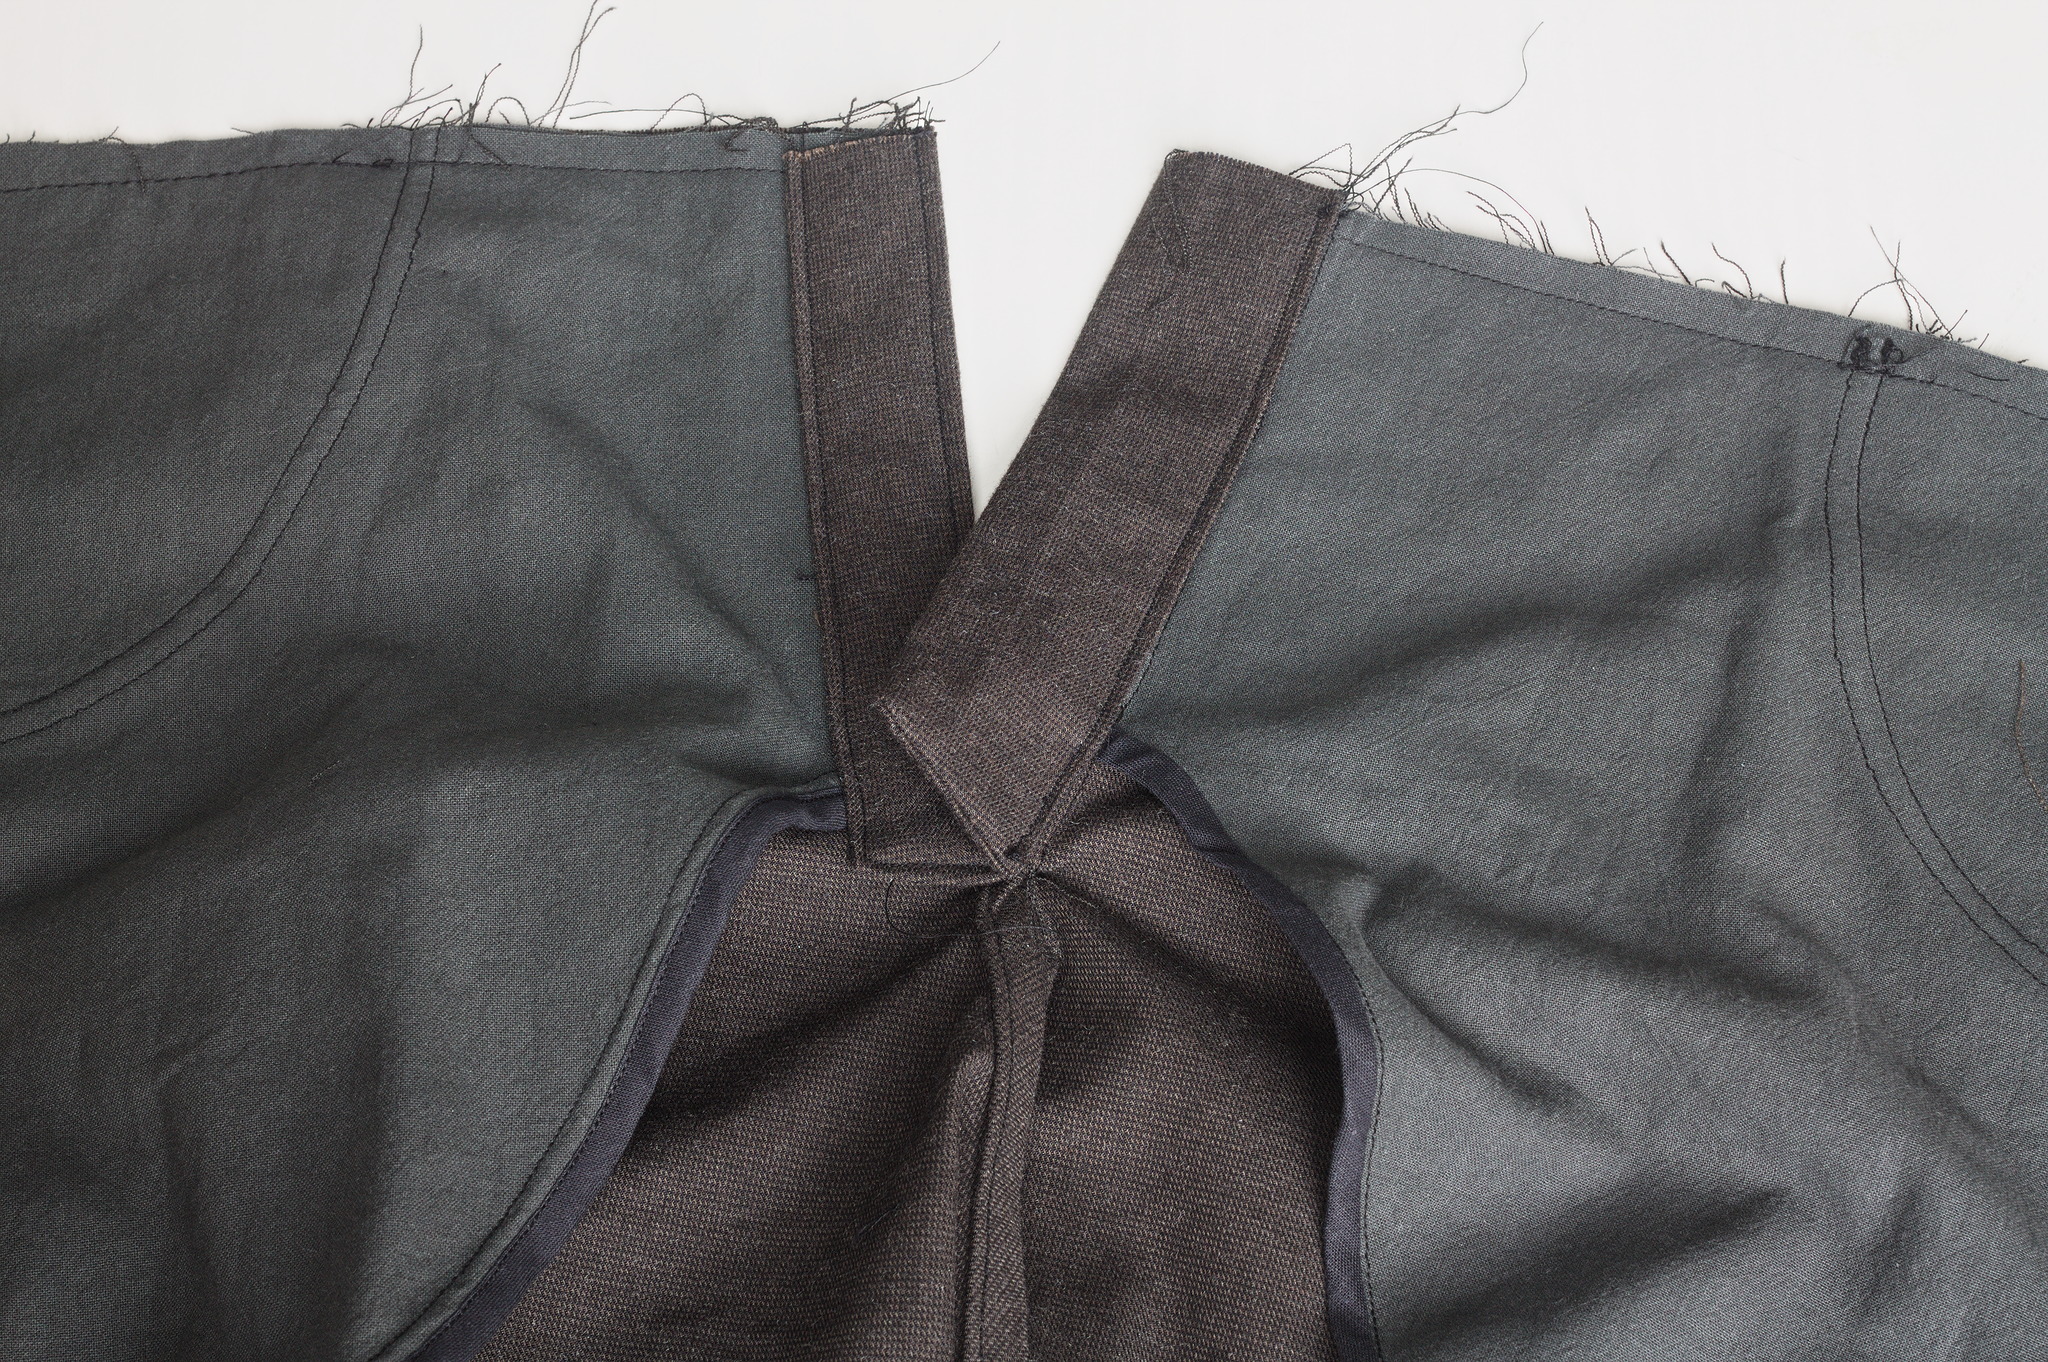
Wrong sides together, sew the center back seam;
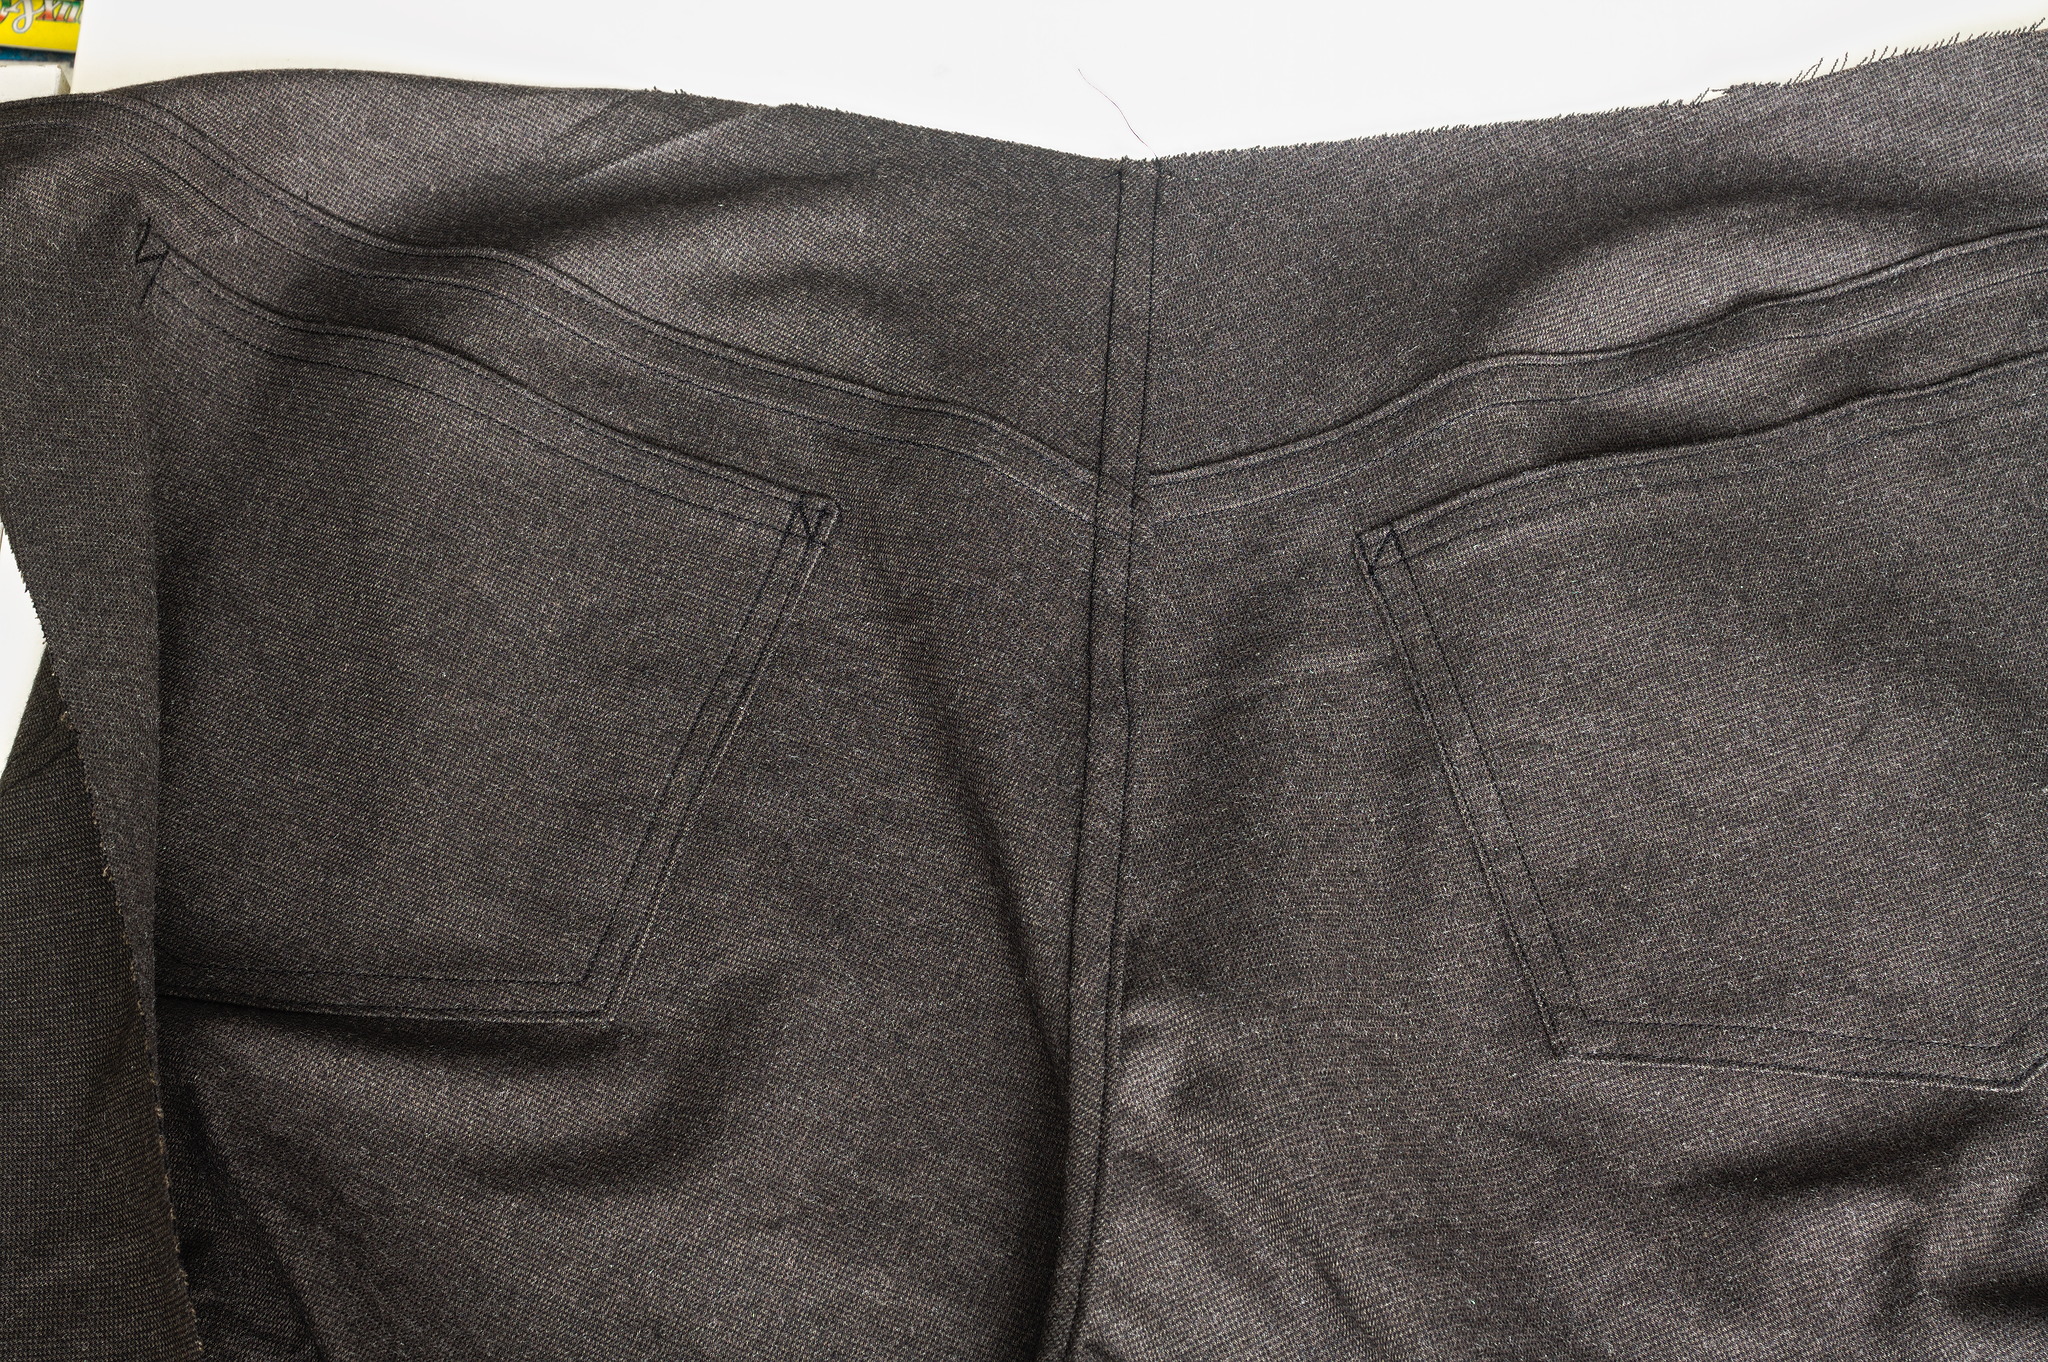
fell and topstitch it towards the right side.
Legs
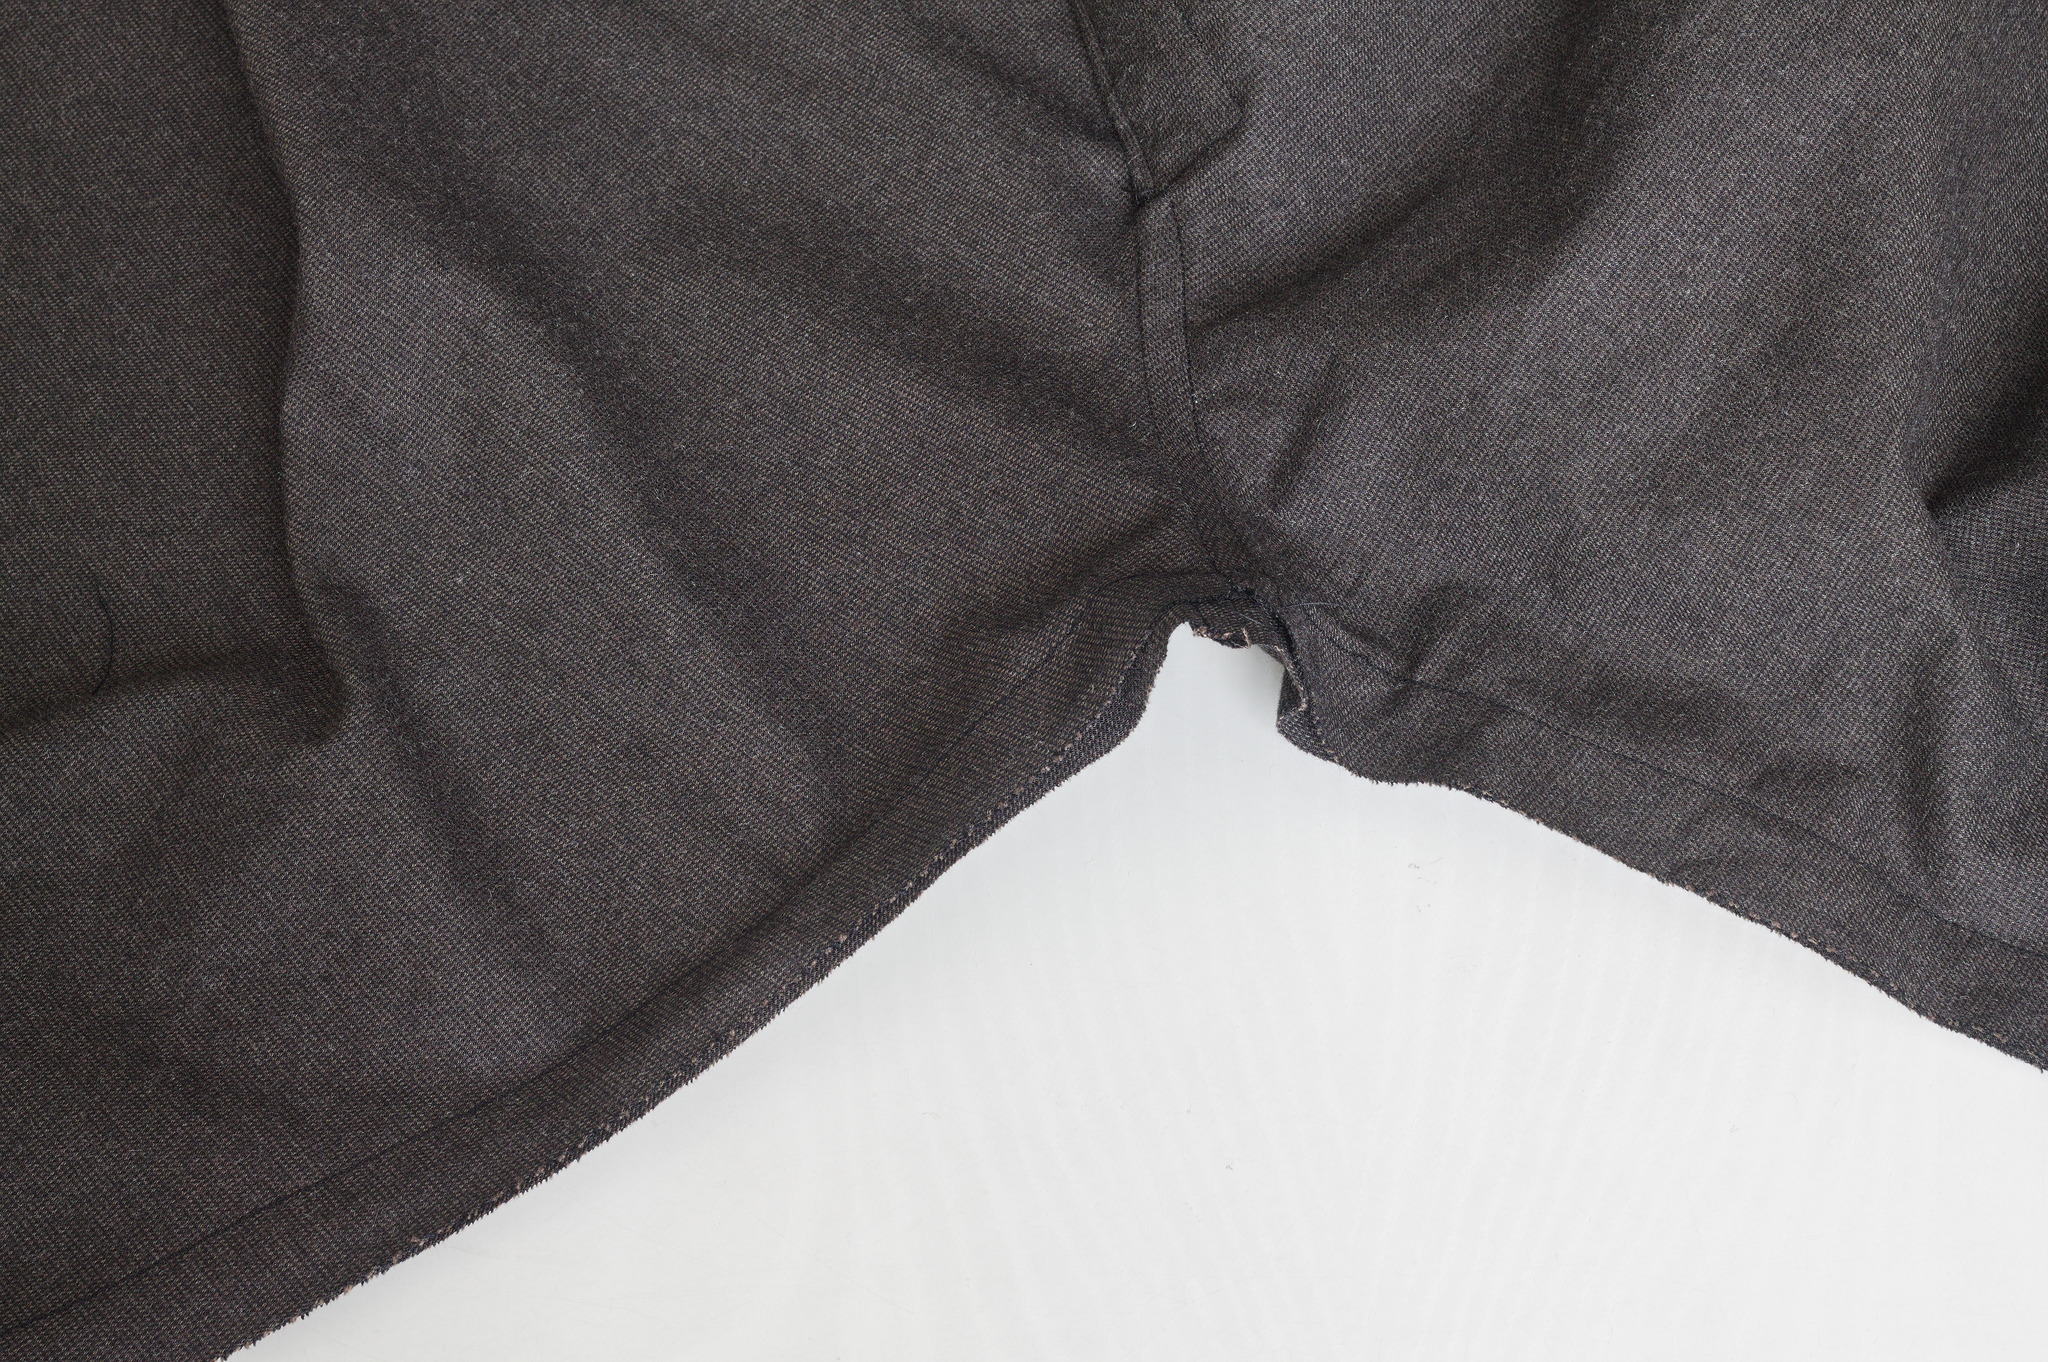
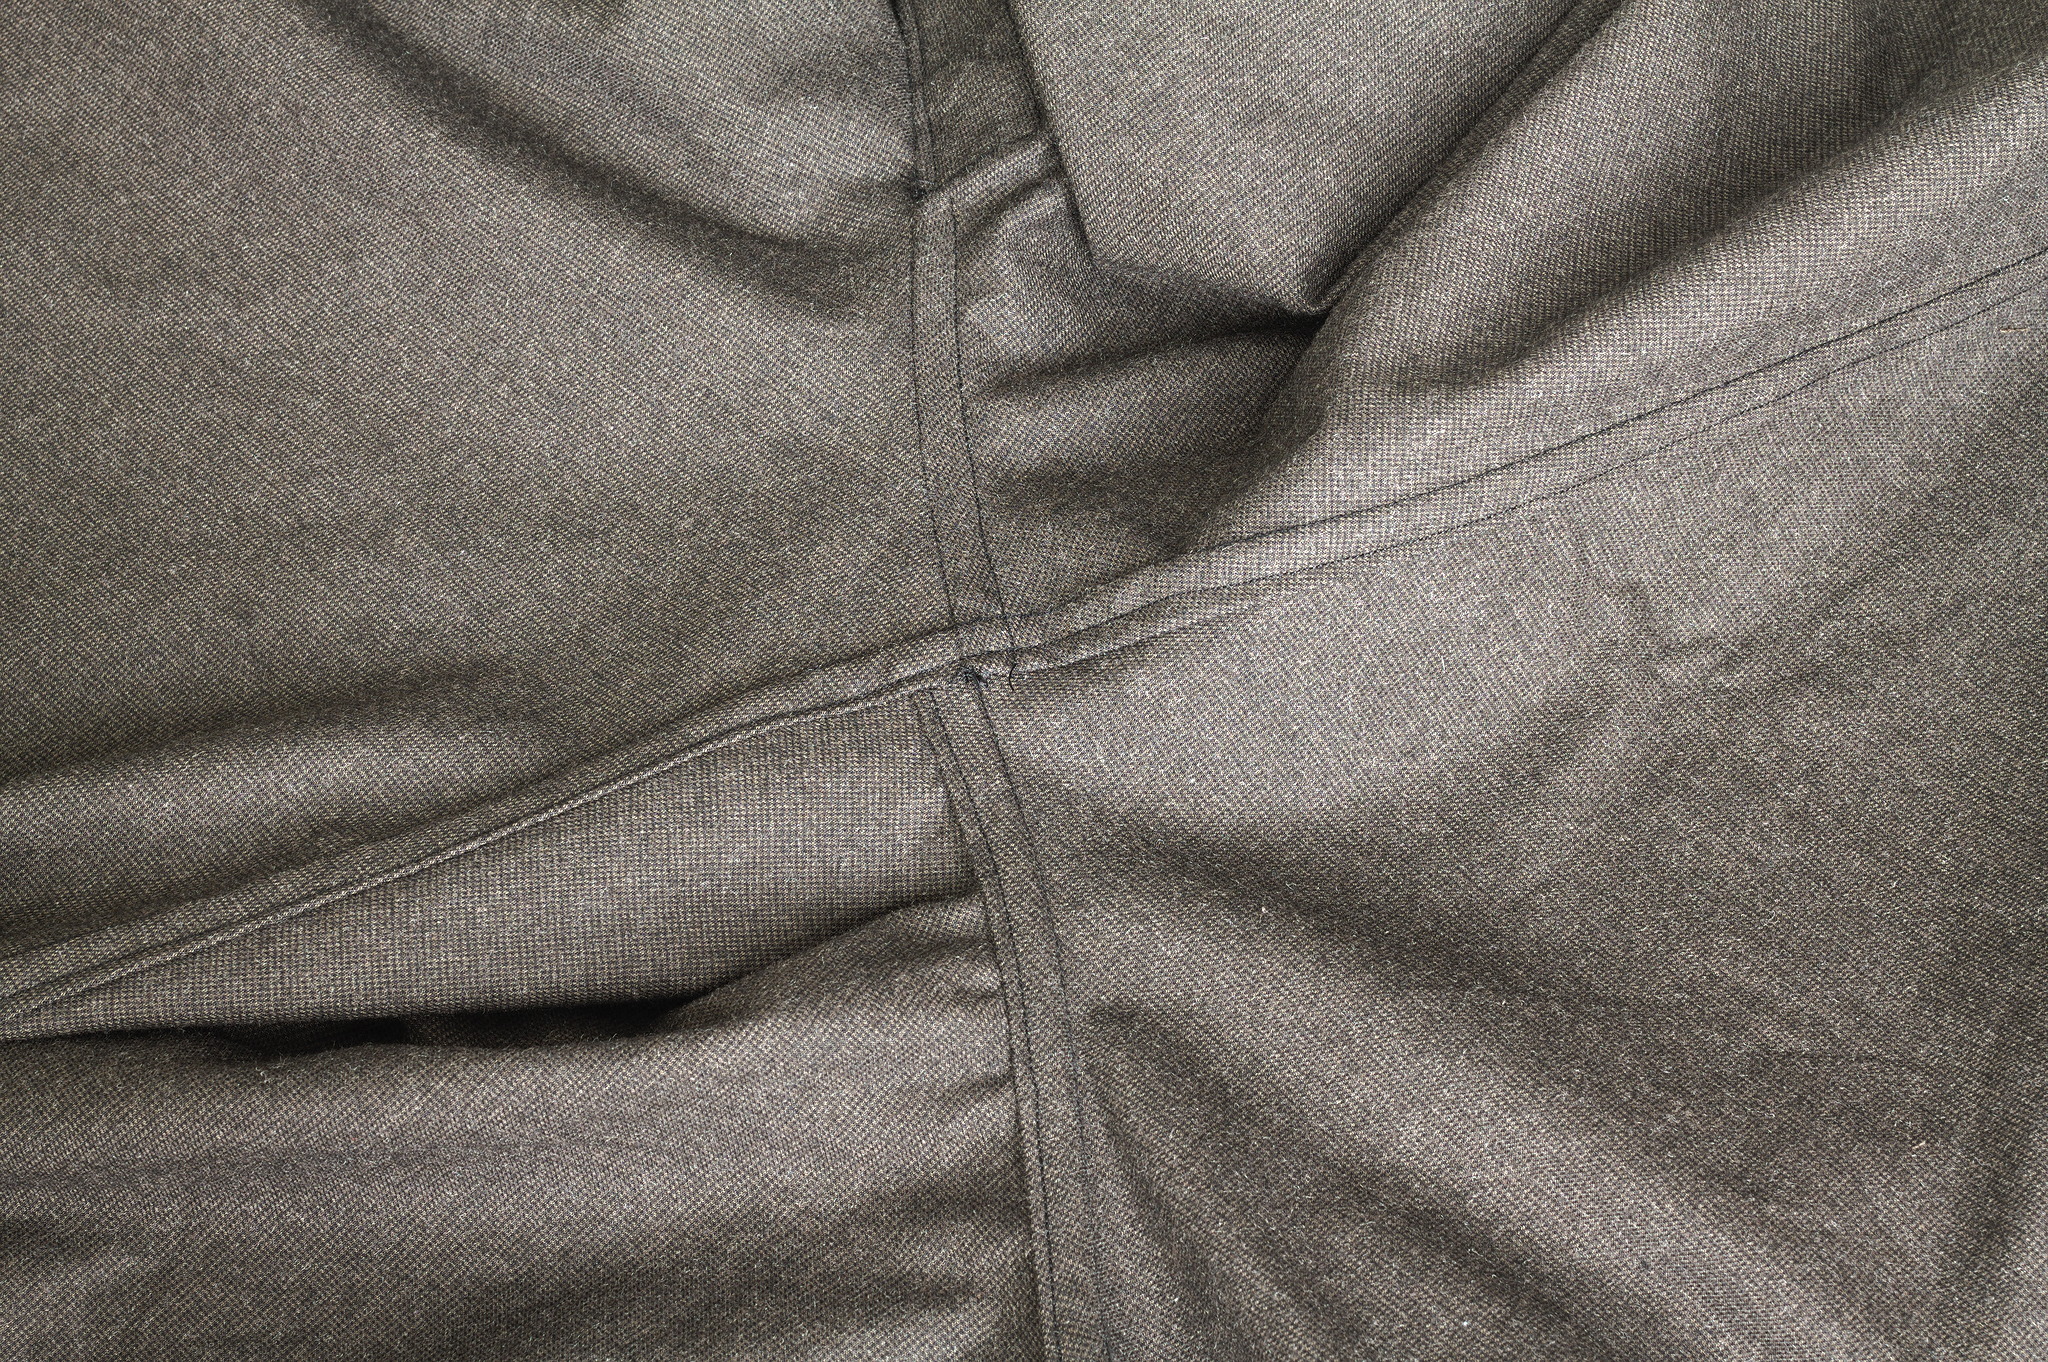
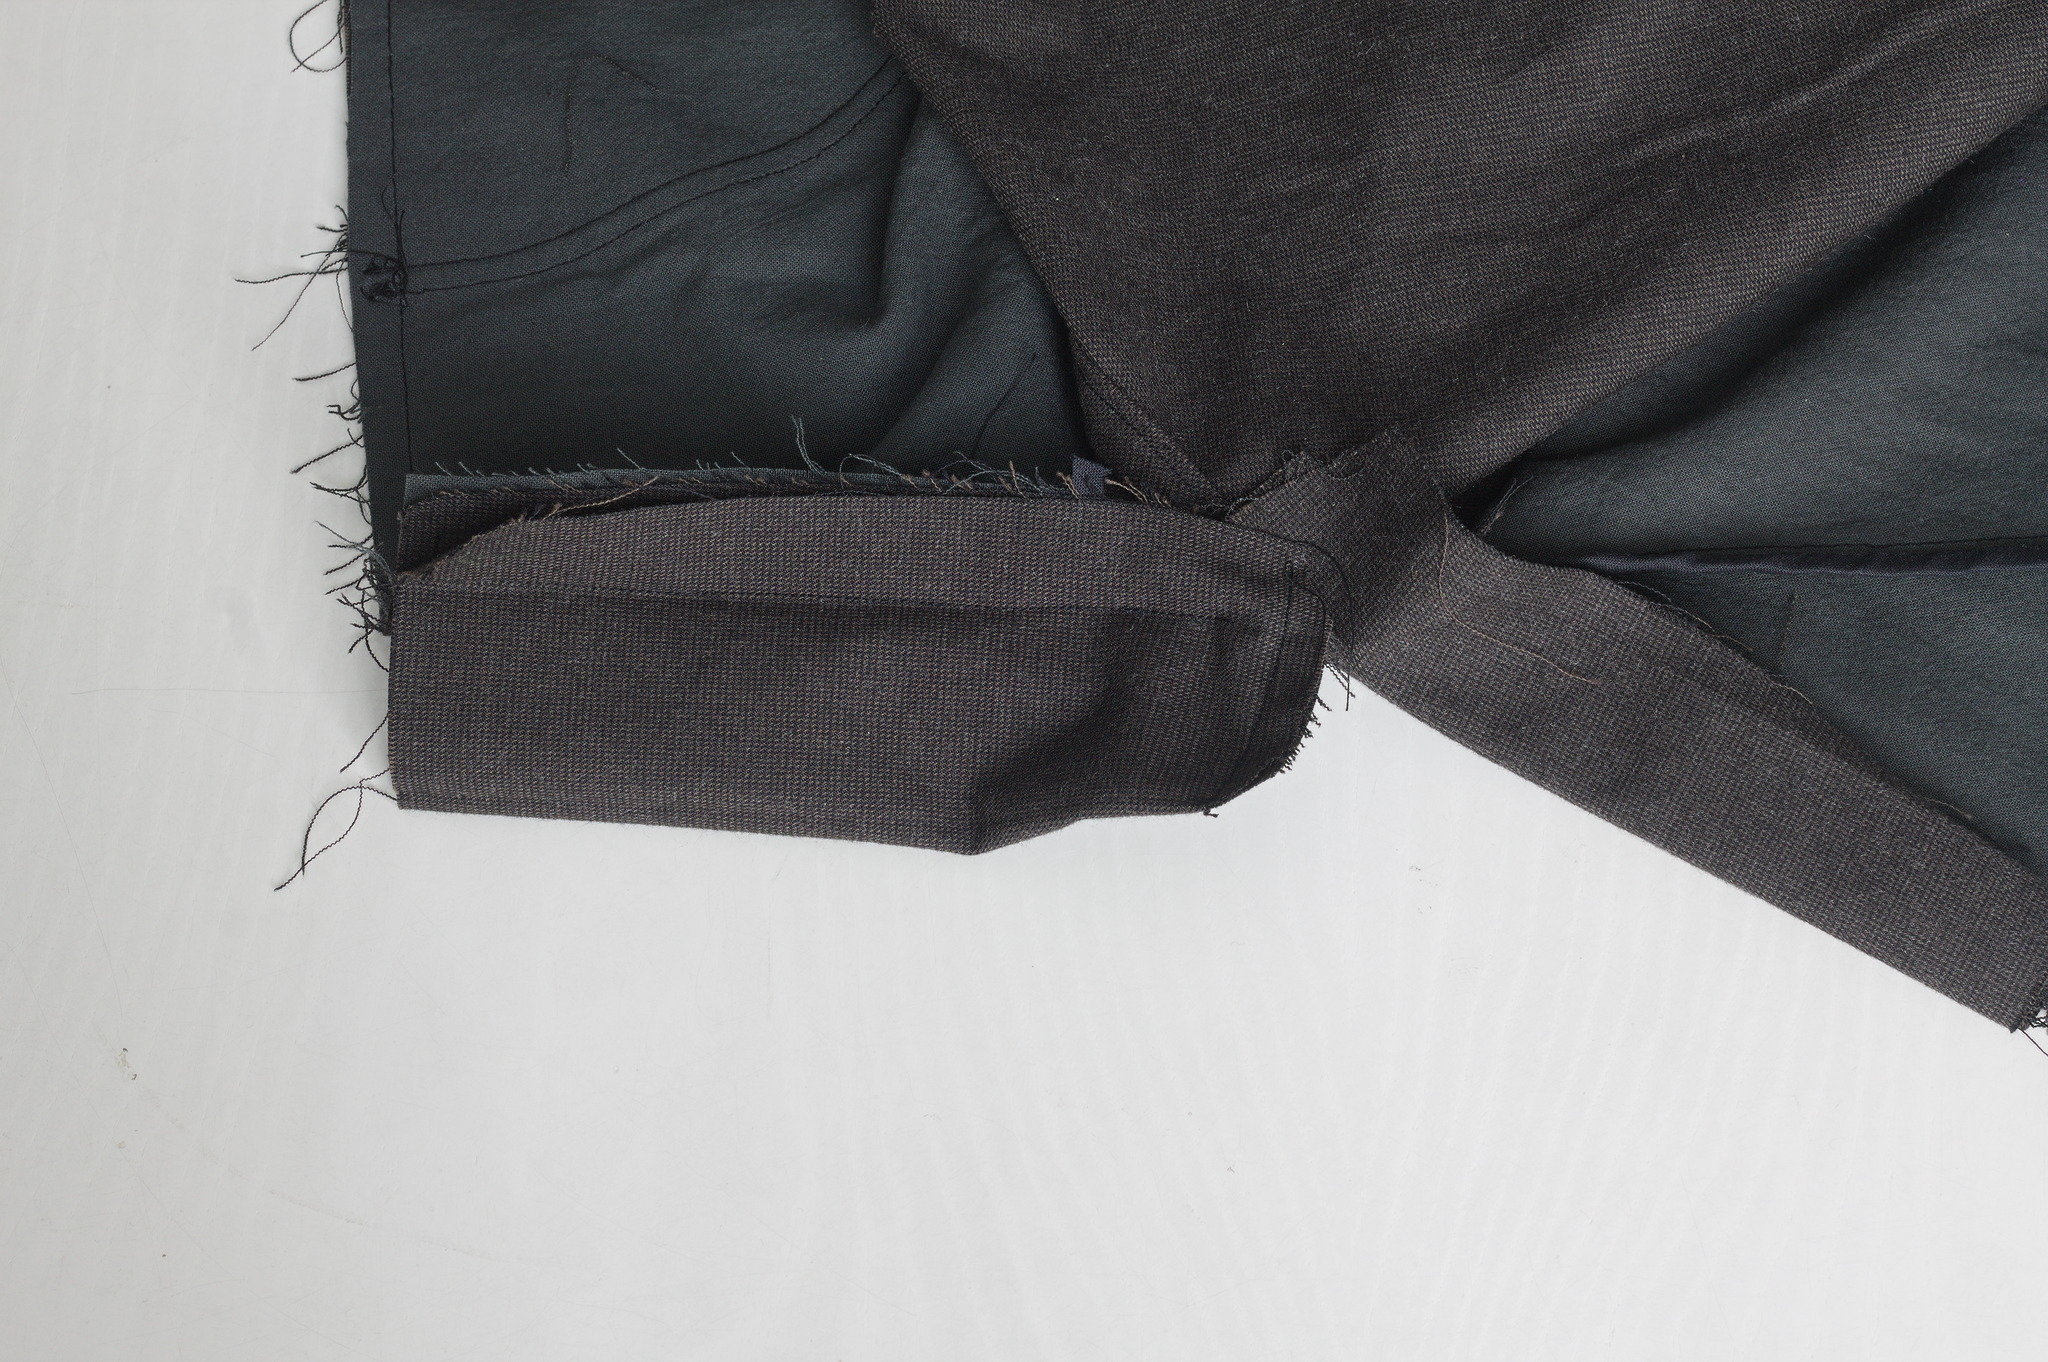
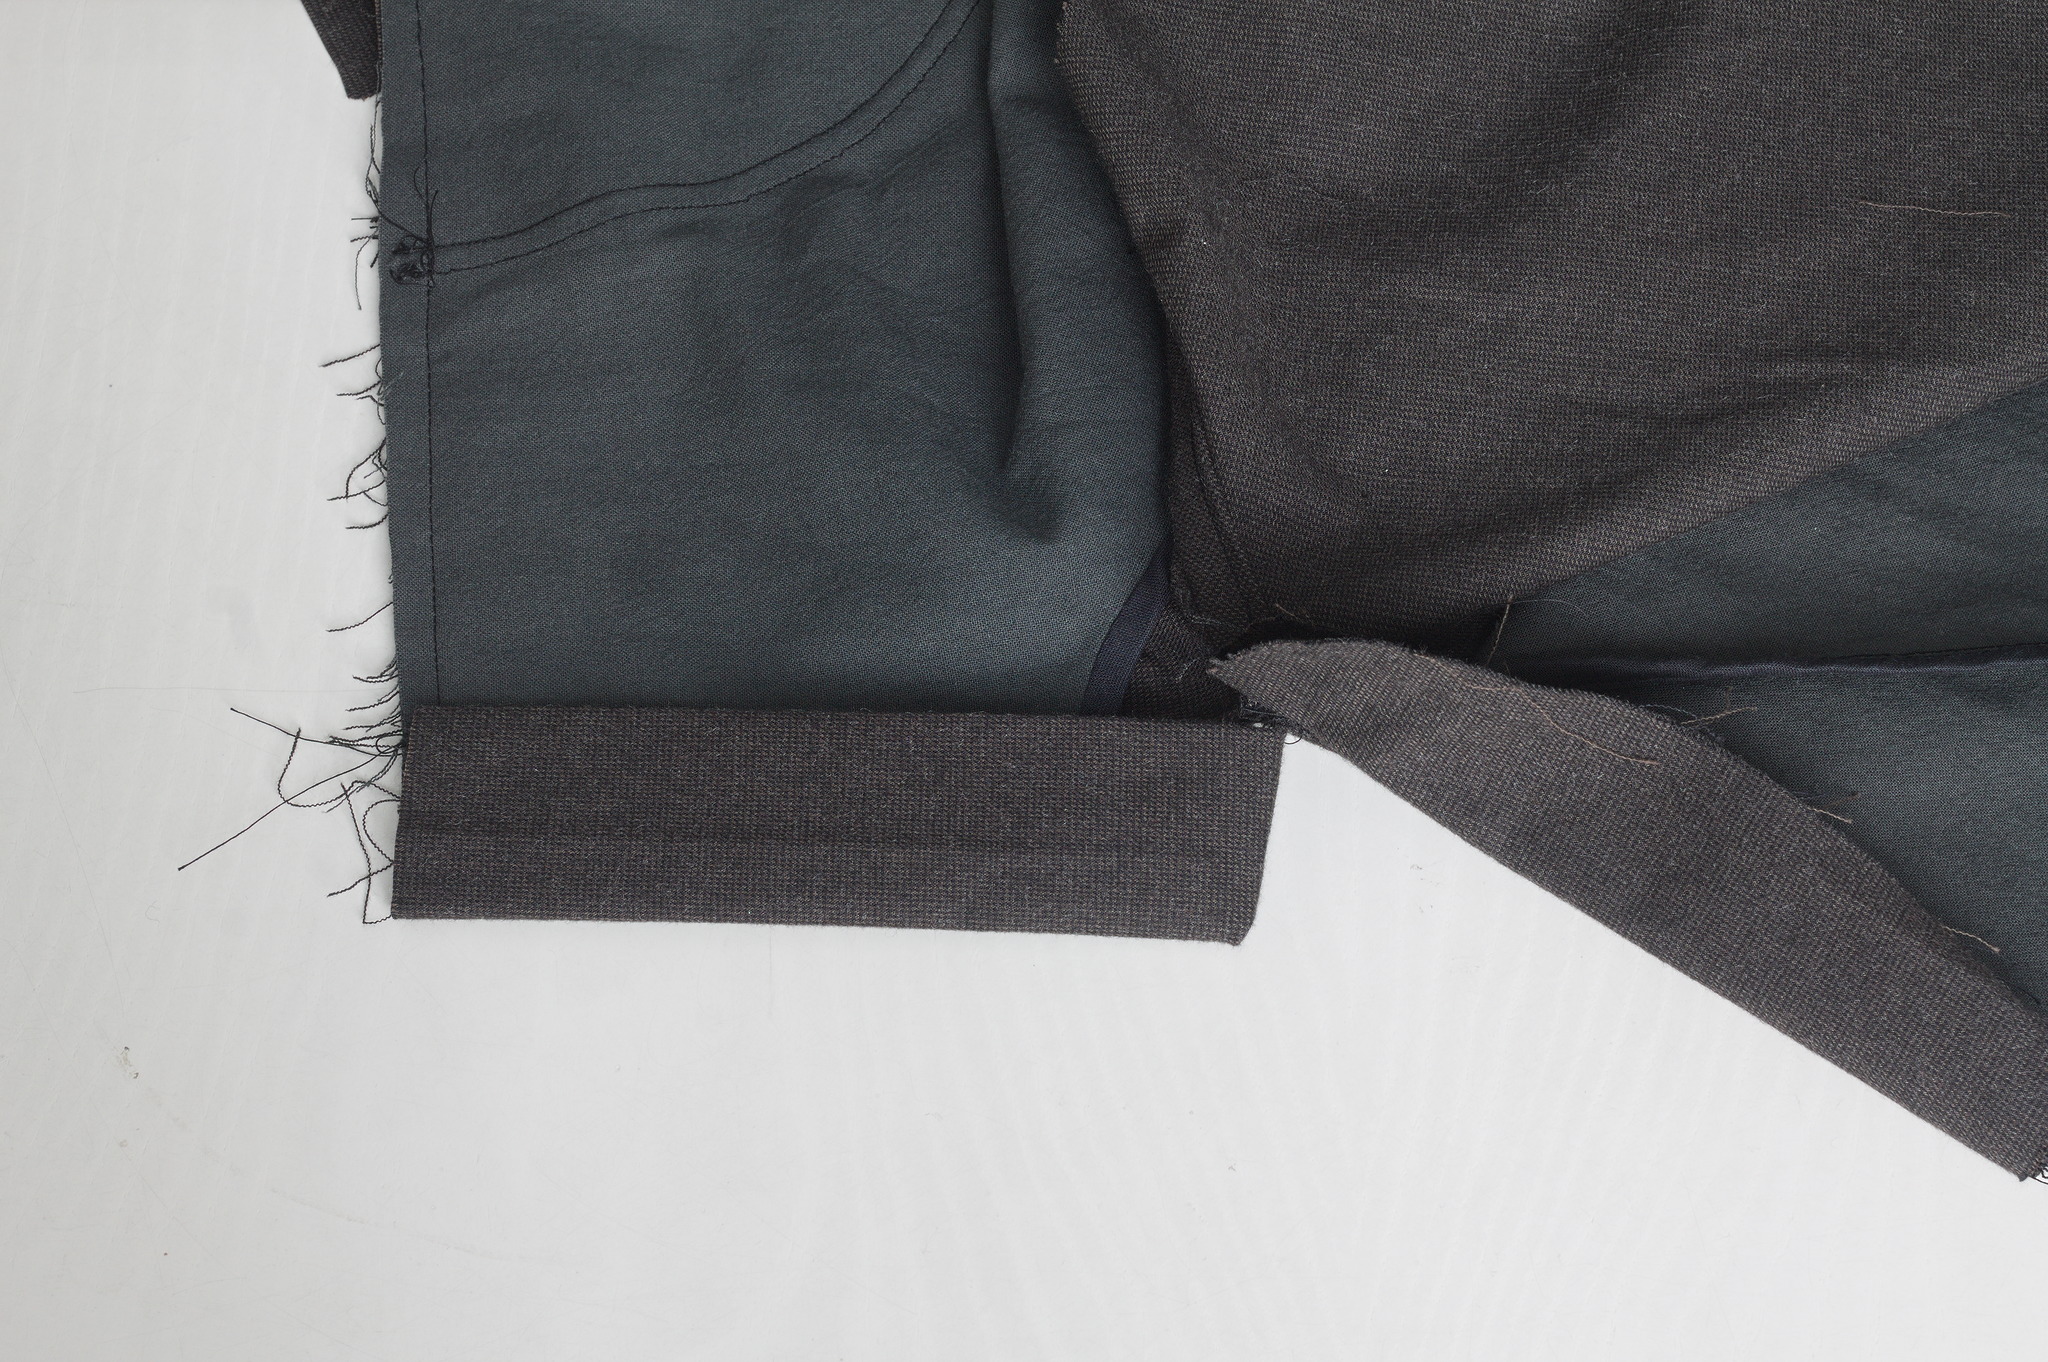
Wrong sides together, sew the inseam. Press open, press towards the back to flat fell and topstitch.
Right seams together, sew the side seams. Bind the edges together with tape, press towards the back.
If desired, top stitch the allowance of the side seam at 1 cm from the seam.
Tip
If using lighter fabric or making shorts you can also flat fell the side seams; topstitching throught the tube of the legs can however turn out to be either annoying or outright difficult, and I wouldn’t even attempt it with denim or similar heavyweight fabric.
If you’re not sure, binding the edges with tape and then topstitching is safer than flat felling, as this way you can easily unpick the (partial) topstitching seam if it gets too hard to sew, and the edges will be already finished and on the right side.
Waistband
Right sides together, sew the waistband to the trousers, leaving 2 cm at each end.
Fold the waistband right sides together, sew the sides, clip the corners, turn inside out and press.
Press the remaining edge of the waistband down 2 cm, press the waistband in half so that it encloses all raw edges.
With a 3-step zig-zag, sew 8 cm of elastic centered on each side seam and pulled over 10 cm of the raw edges.
Topstitch the waistband closed at 2 mm and then at 1 cm from all four edges, pulling while sewing over the elastic.
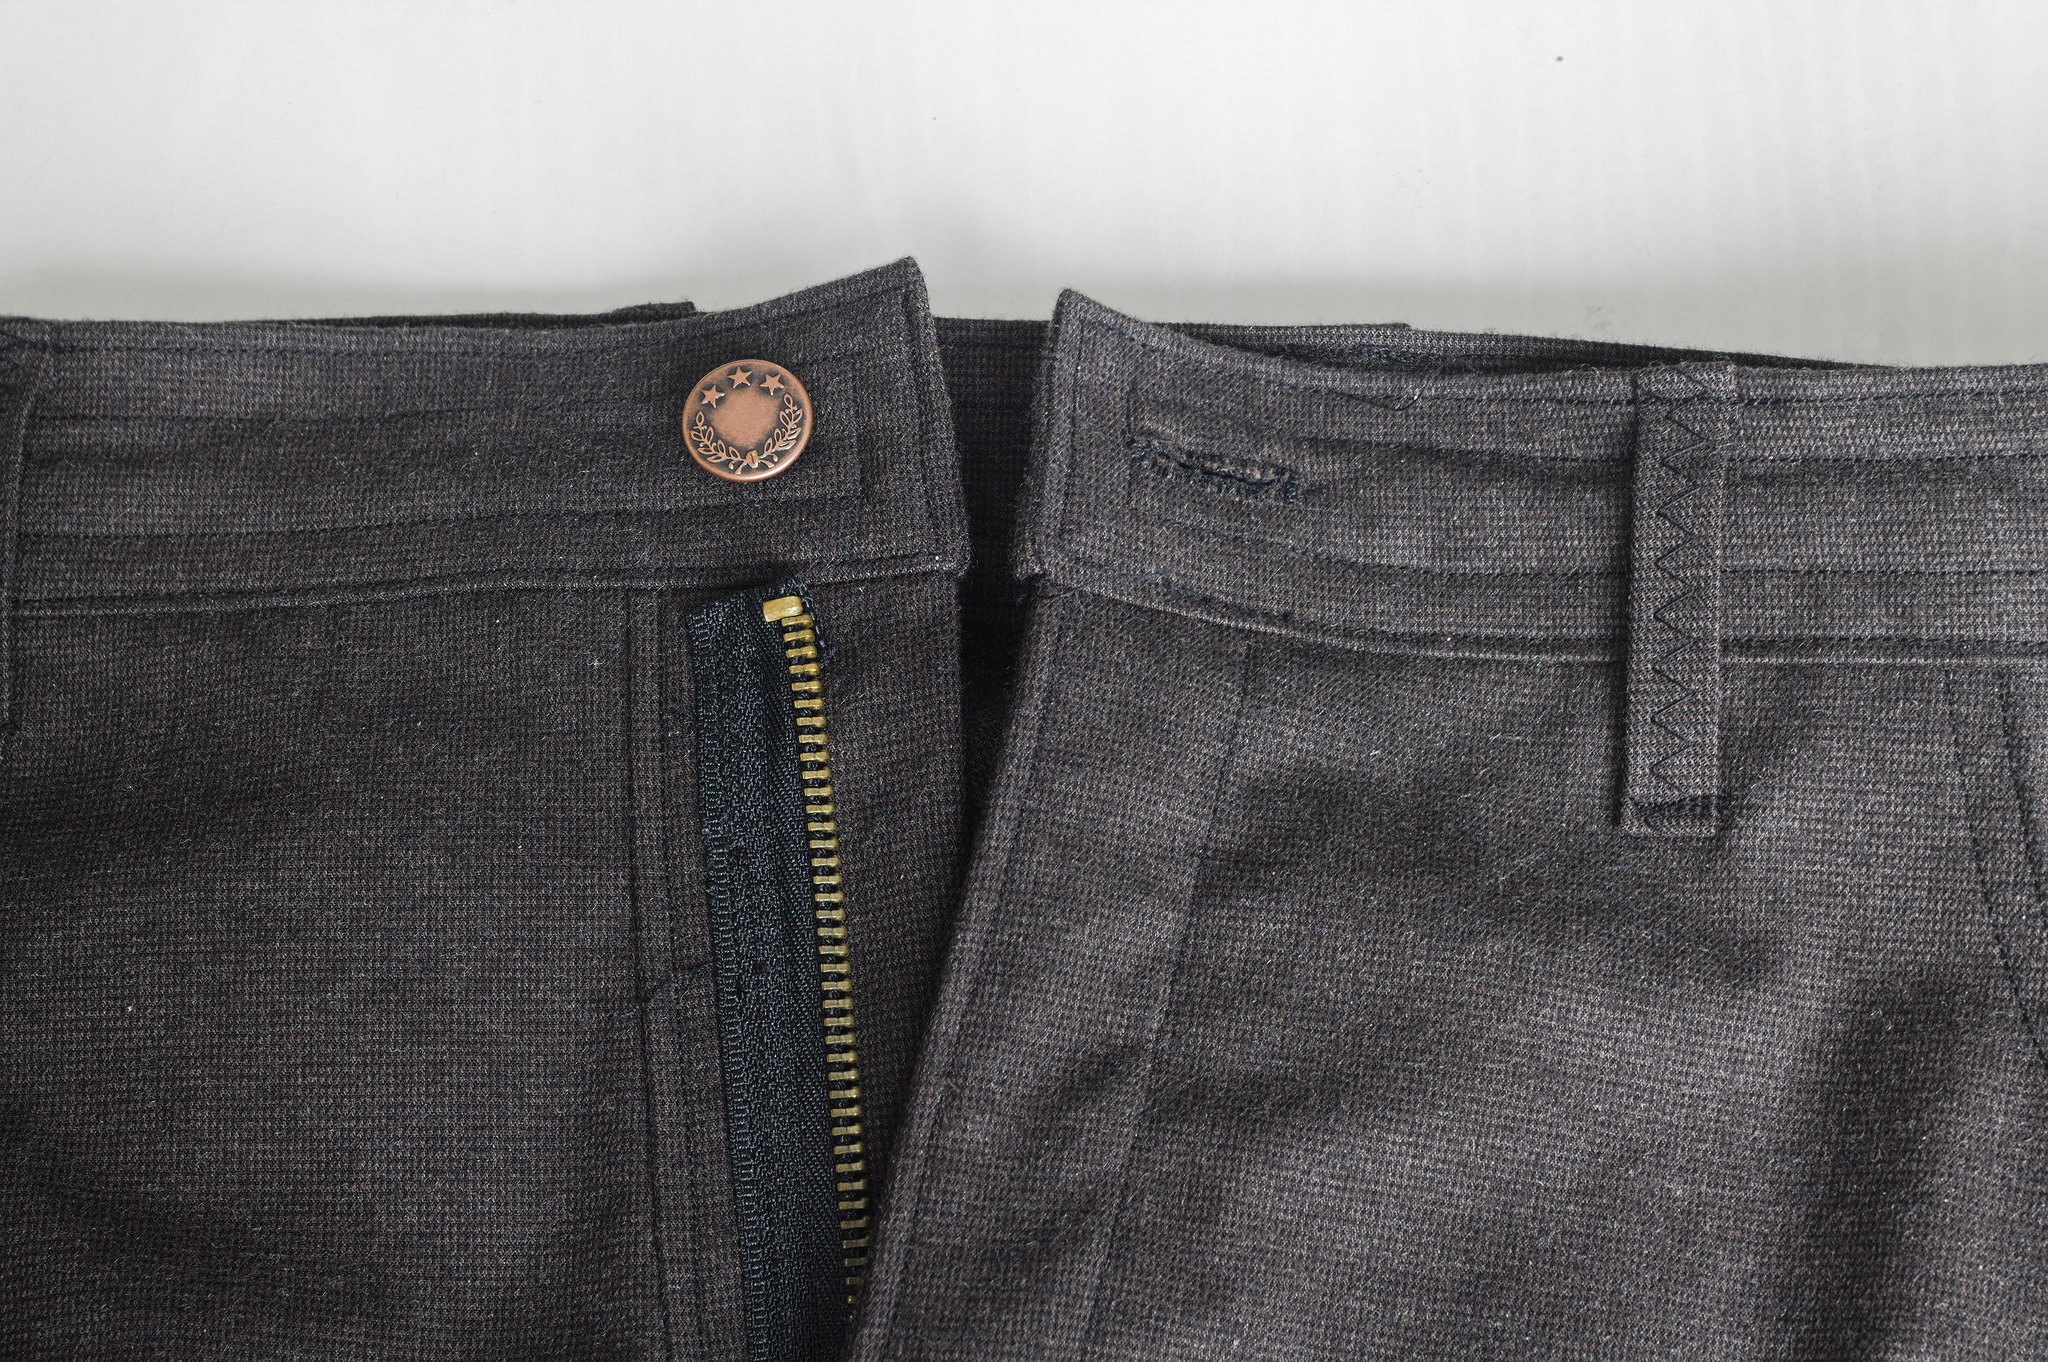
Front closure
Note
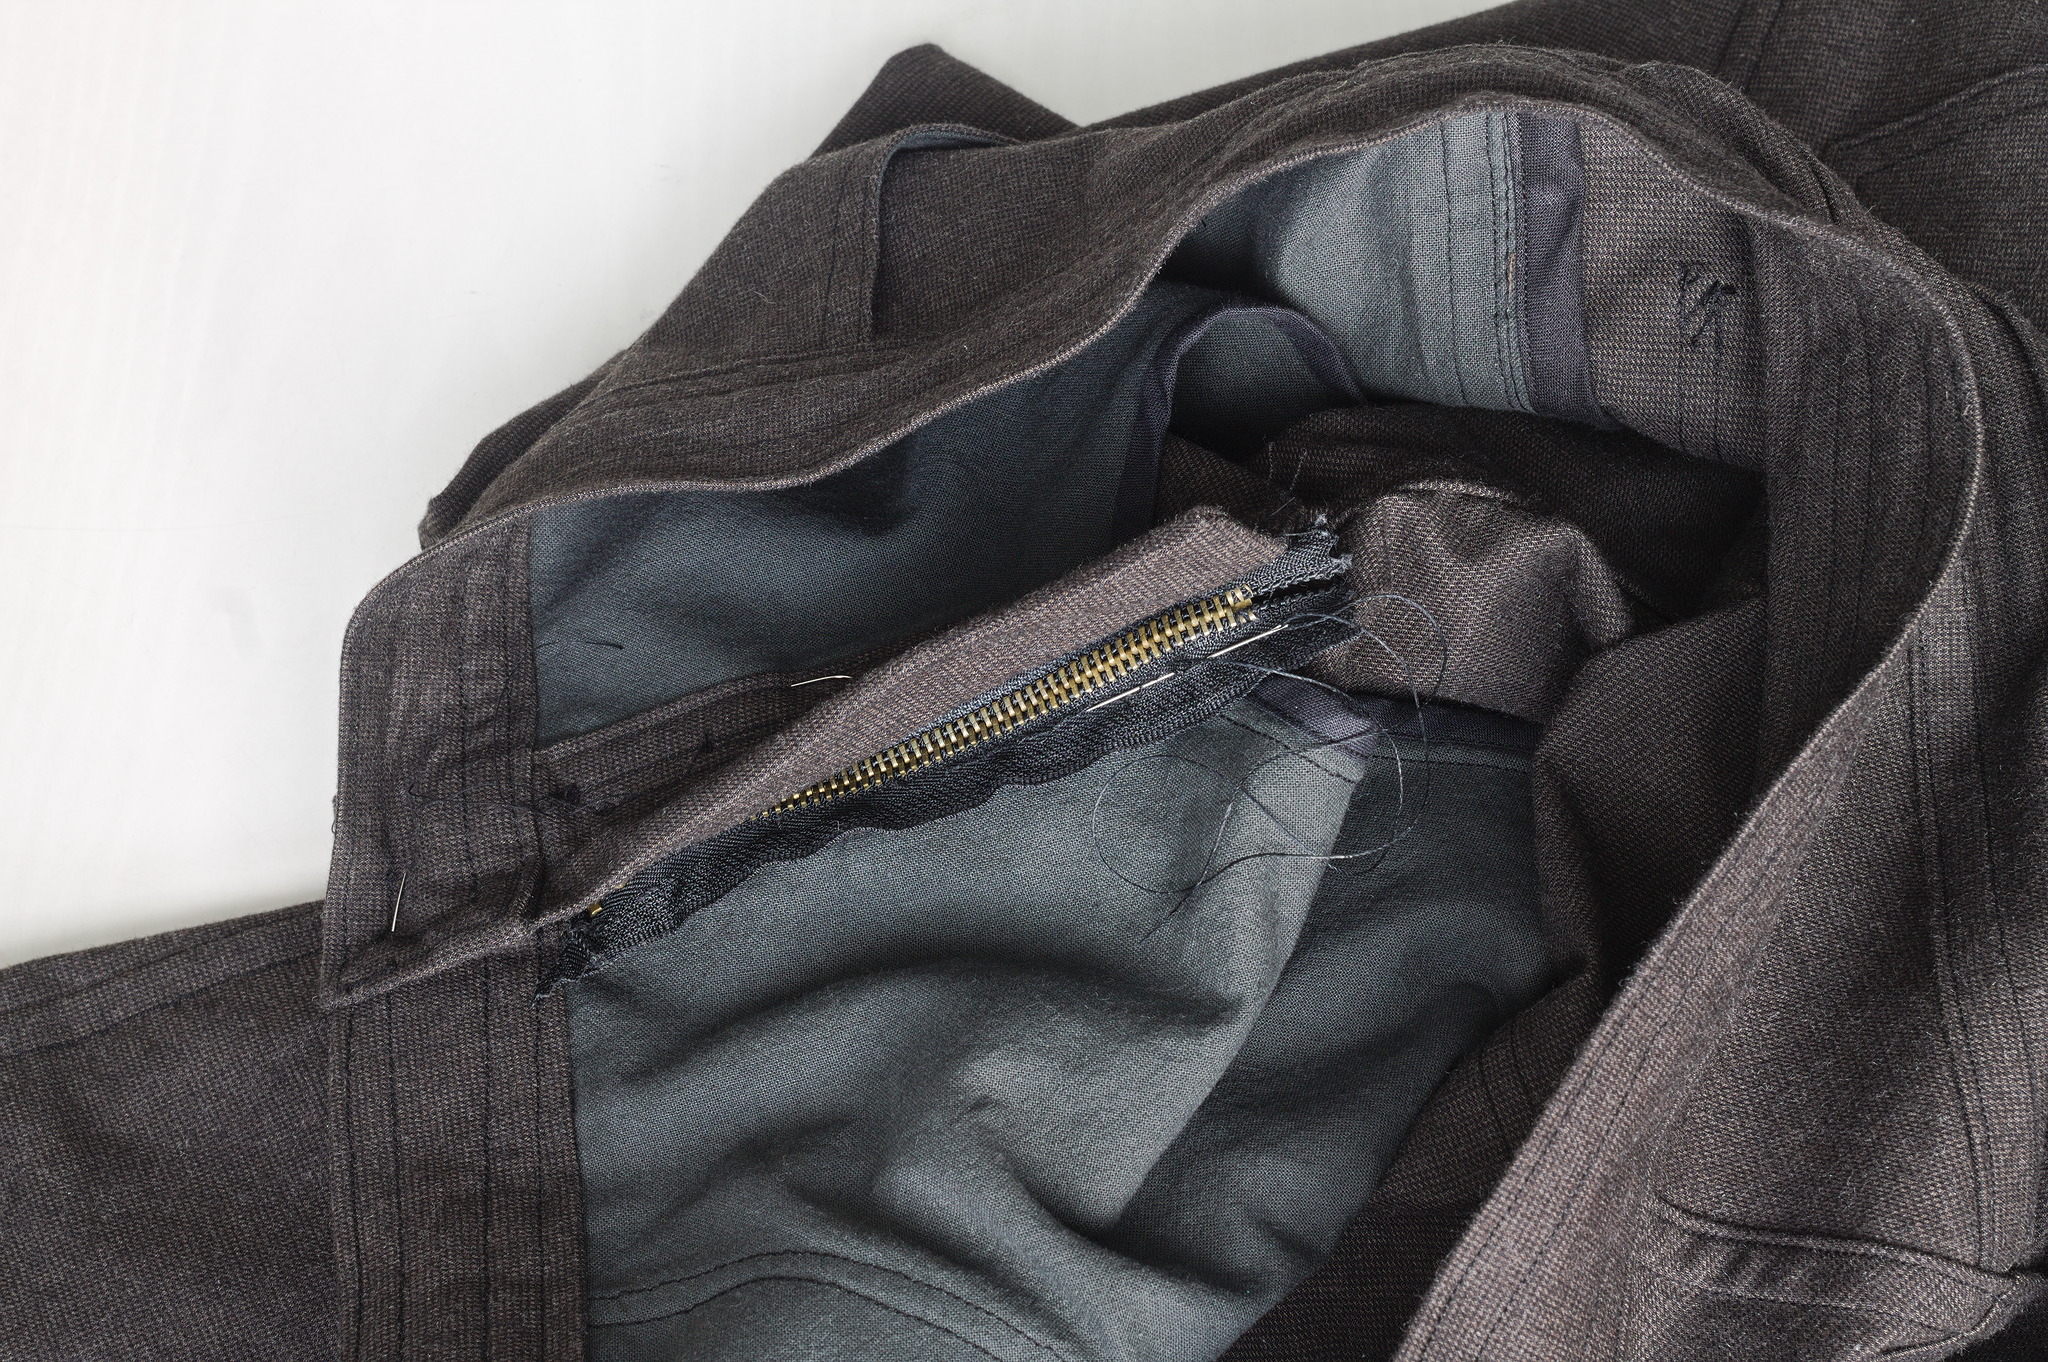
This isn’t the traditional way to put a zipper in the front of jeans, and it’s a bit less neat; however it works just as well, the non-neat parts are hidden from view when the trousers are worn, and it makes it way more easy to change the zipper when it breaks, as it only requires unpicking the zipper seams and a bit of whipstitching.
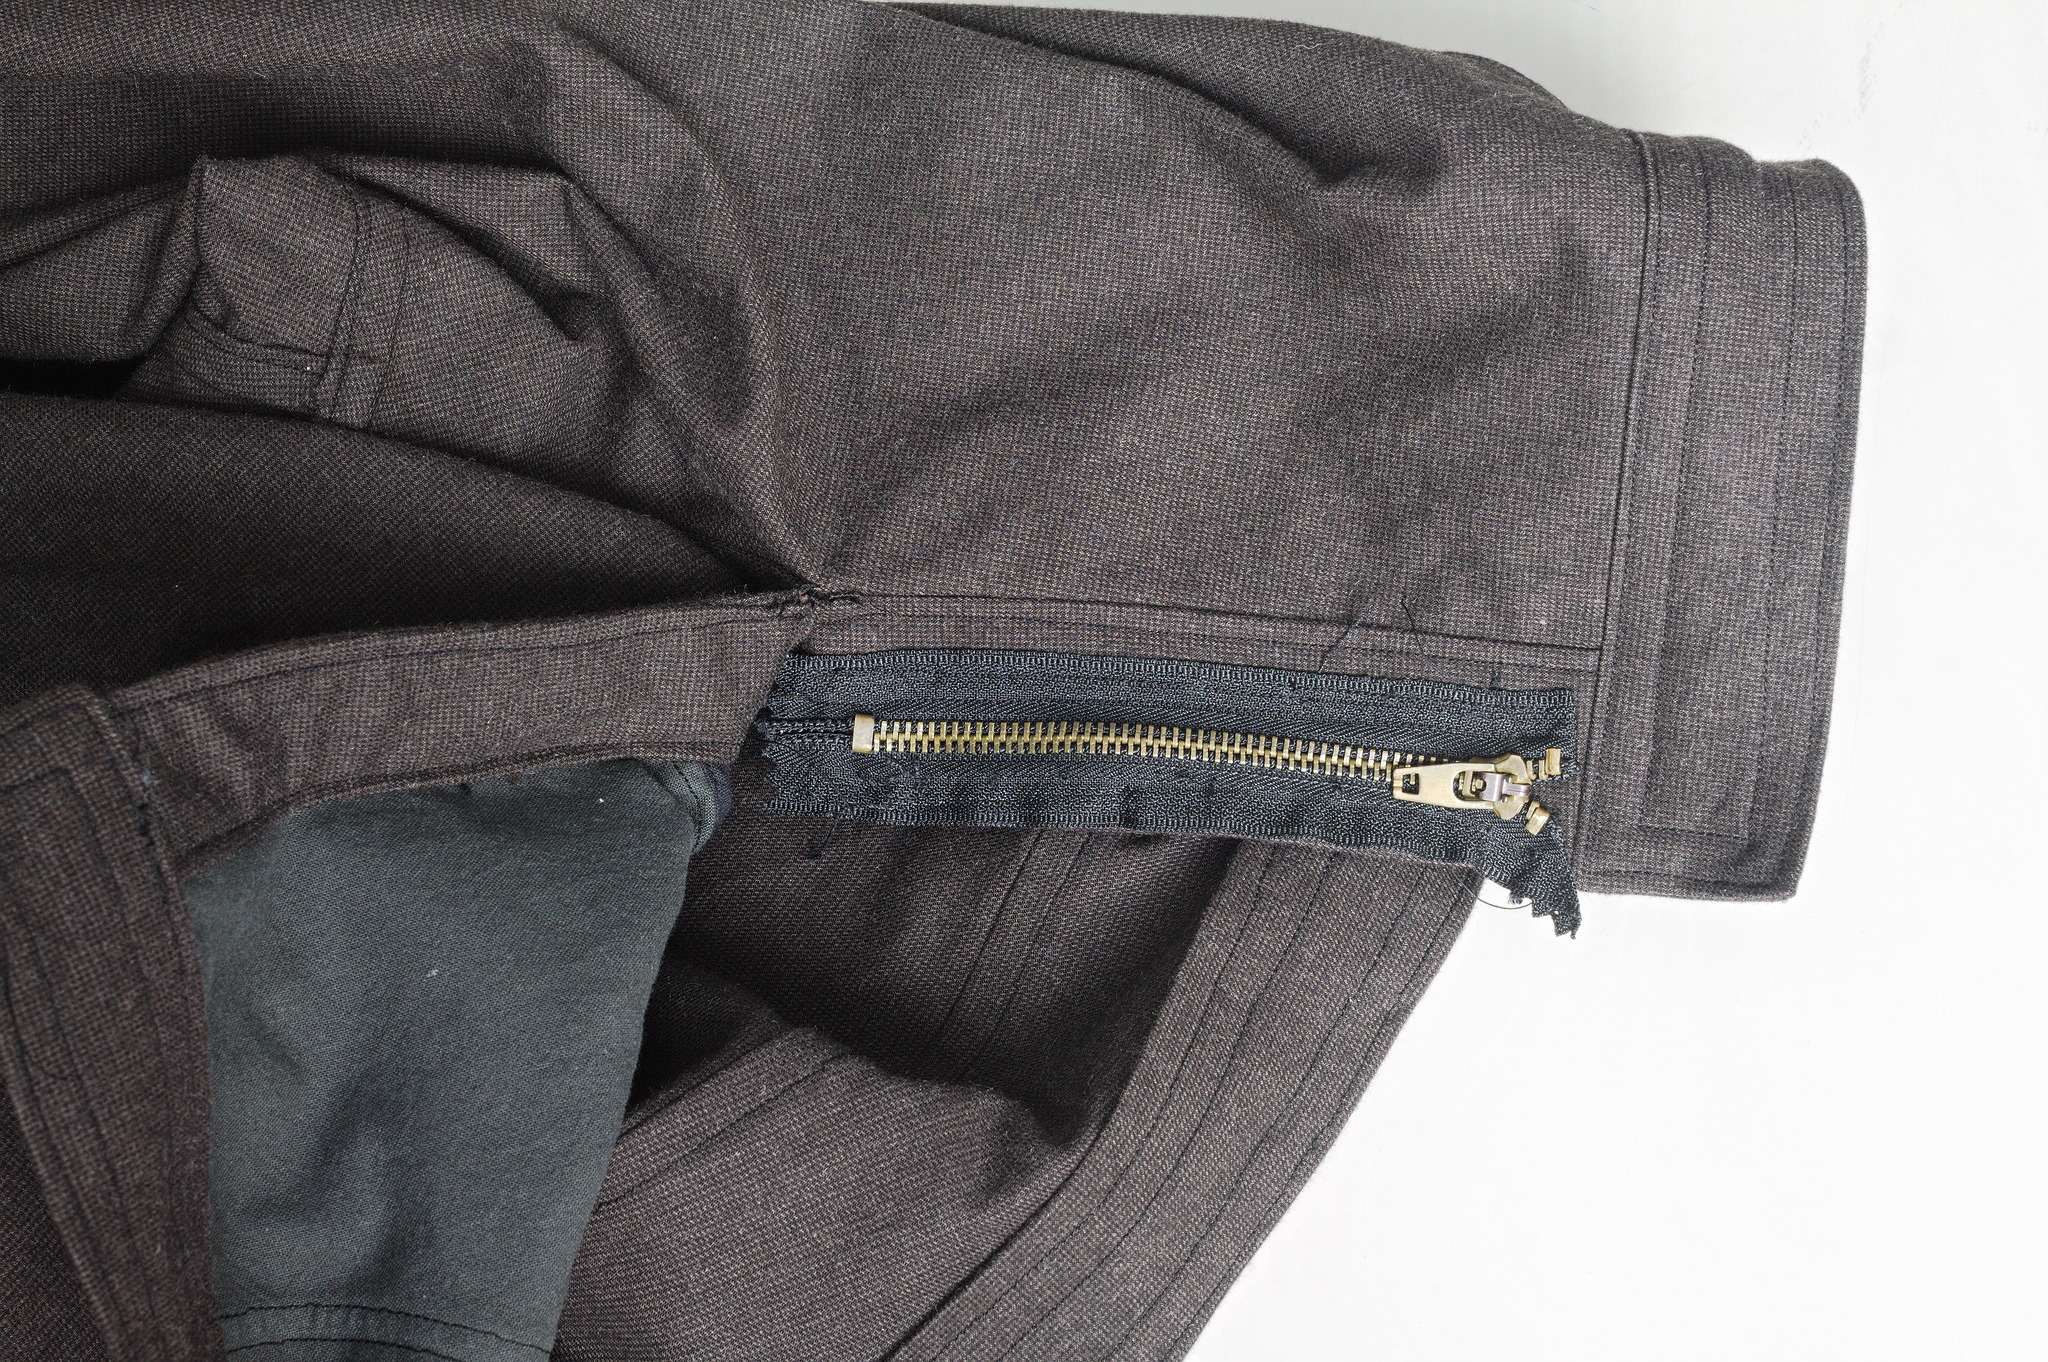
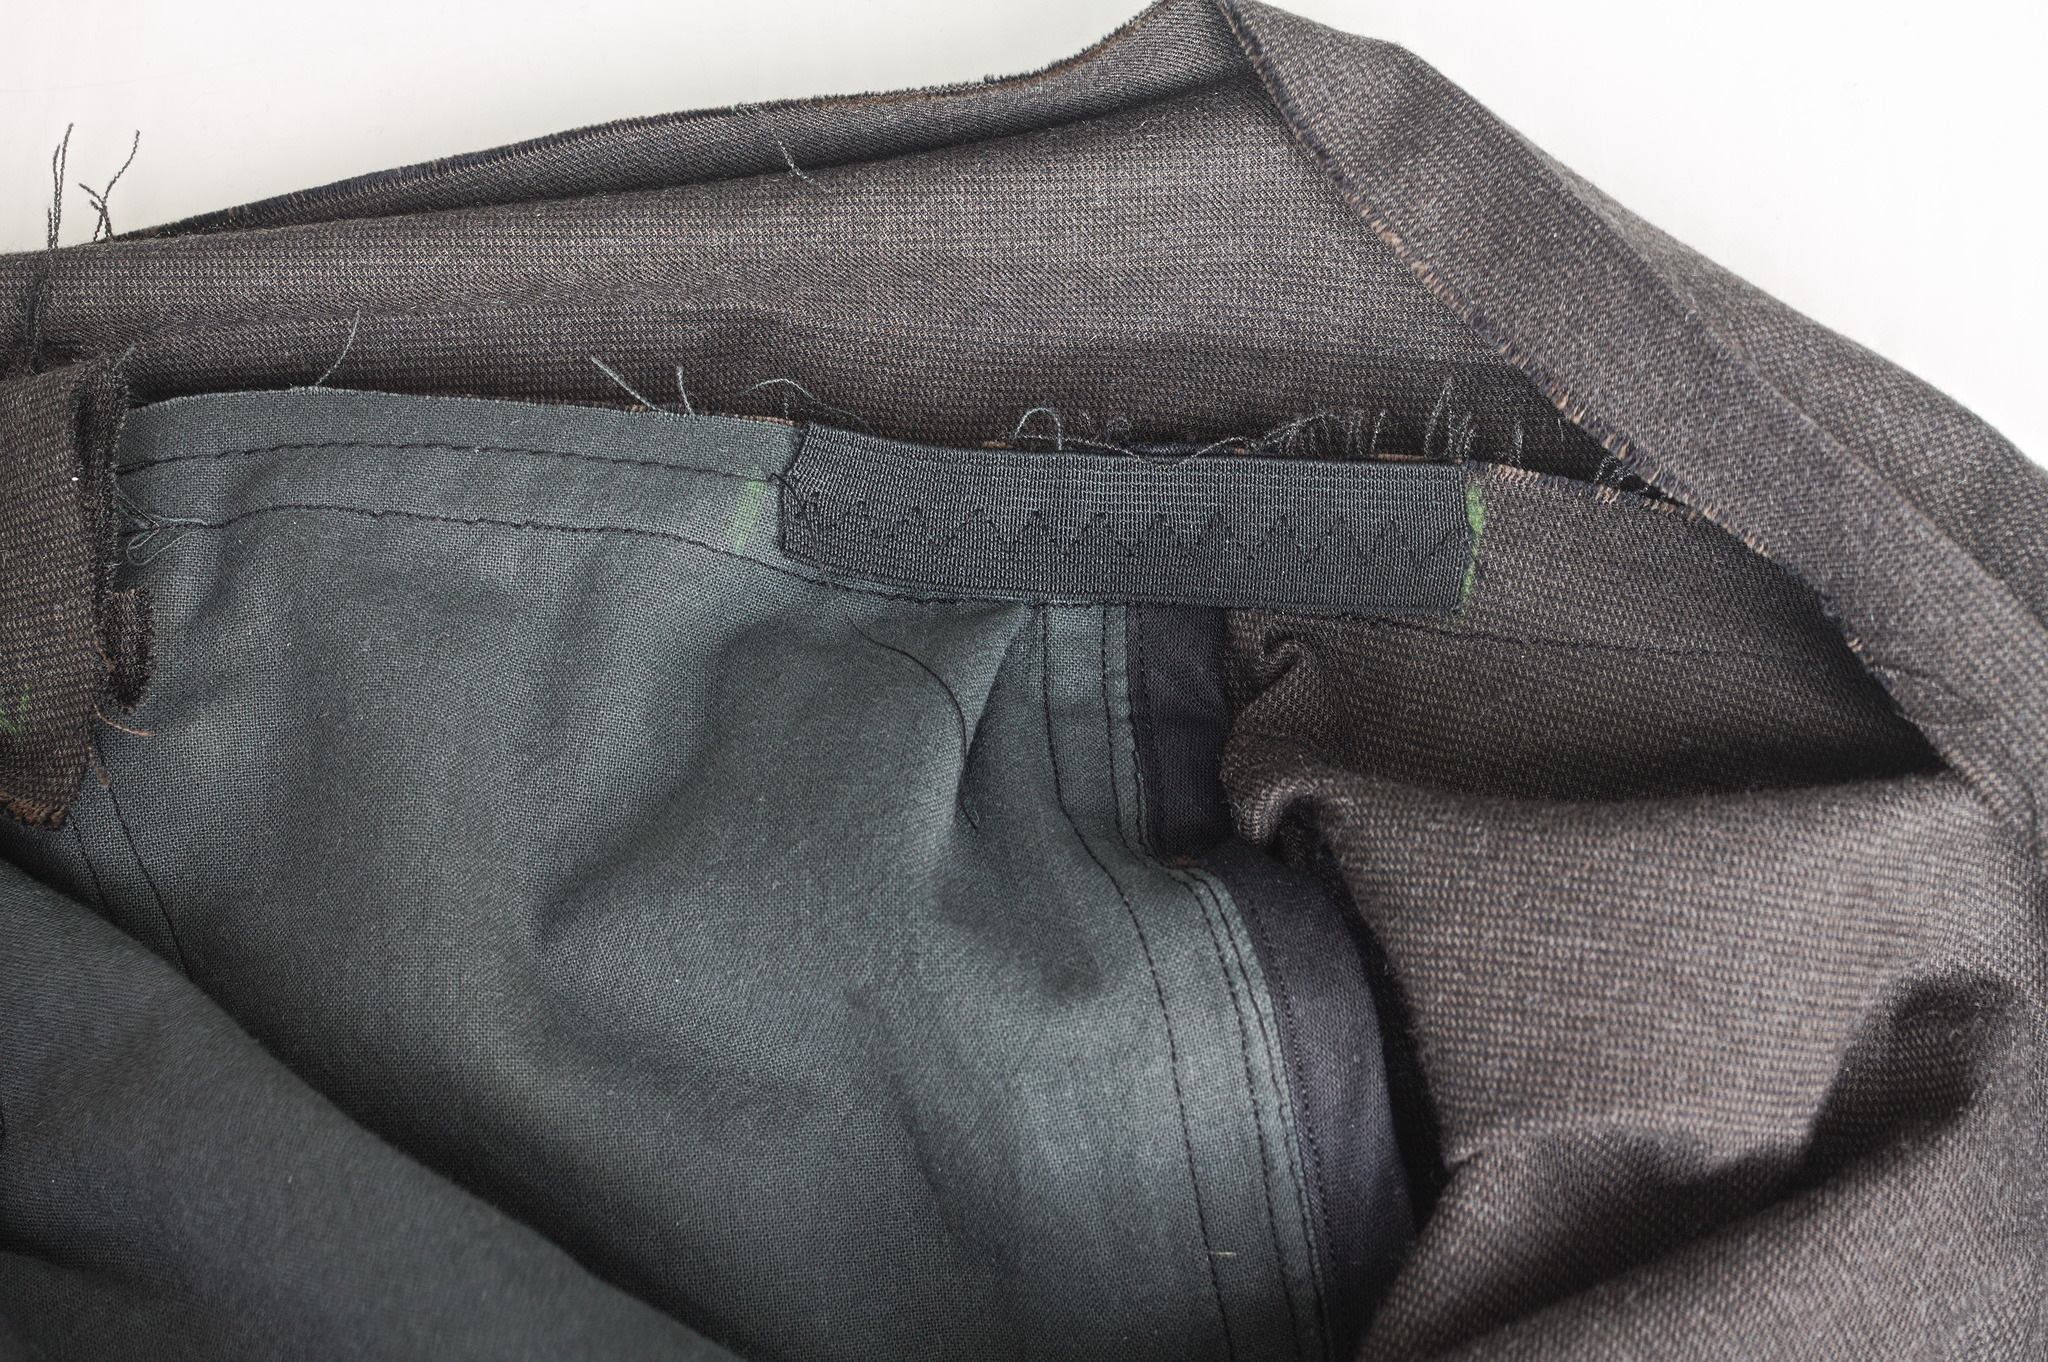
Center the closed zipper on the placket extension, taking care that it doesn’t extend to the visible part of the front. Machine sew the left part of the zipper close to its border and then again closer to the teeth, using a zipper foot and moving the cursor out of the way with the needle in the fabric while close to it..
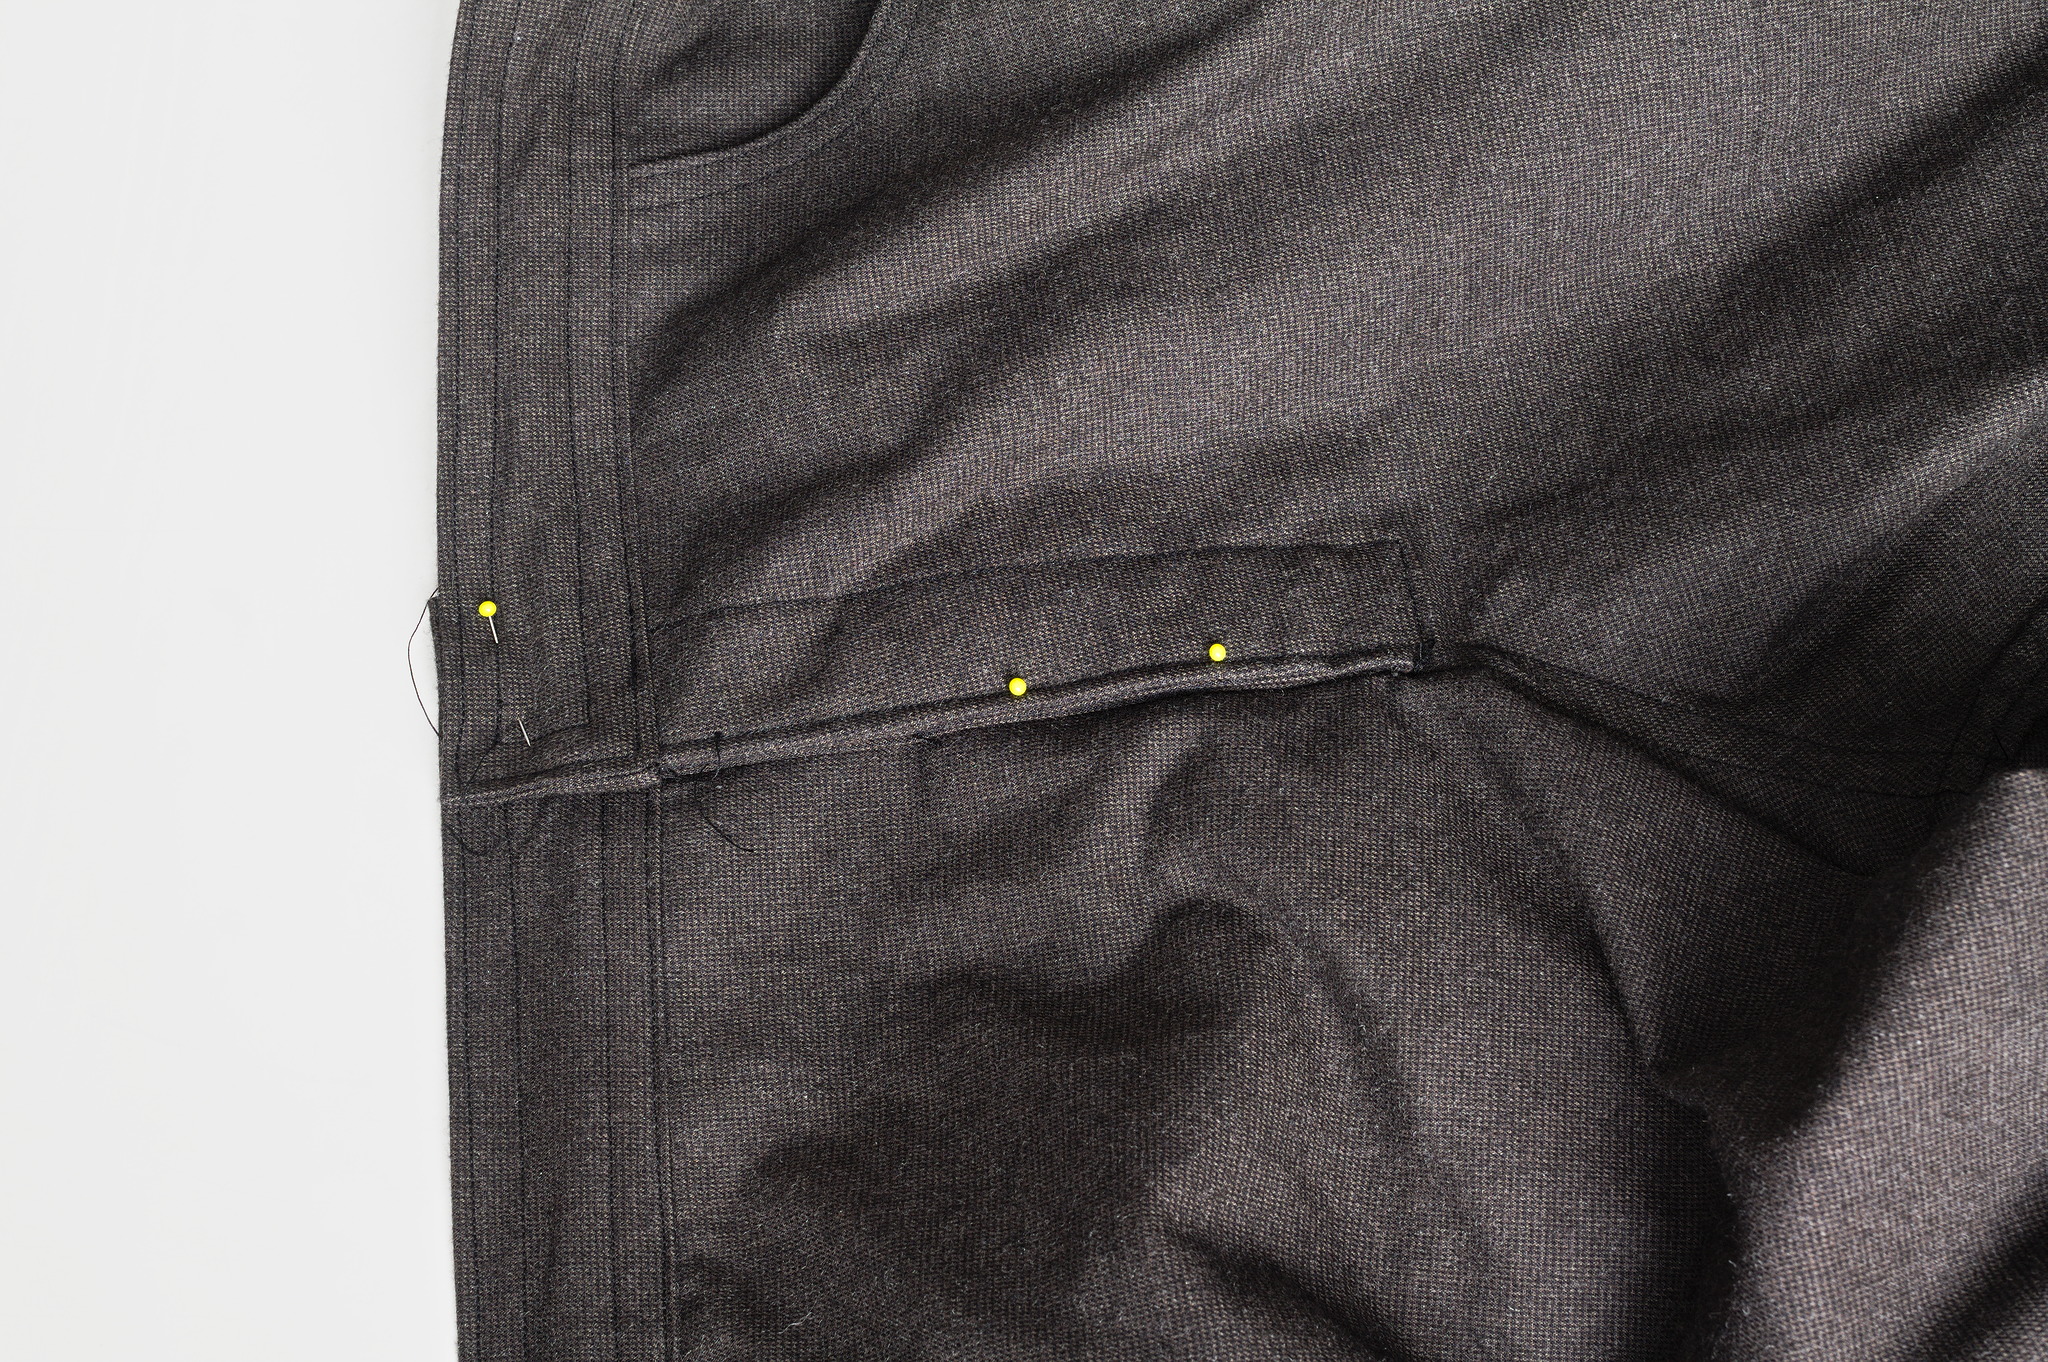
Close the zipper again, pin the trousers closed and sew the right side of the zipper to the placket facing by hand with two lines of backstitch, taking care to only catch the facing and not the fabric on the front.

Whipstitch the bottom of the placket closed.
Attach a button centered above the placket on the waistband and sew the corresponding buttonhole on the other end of the waistband, above the part with the facing.
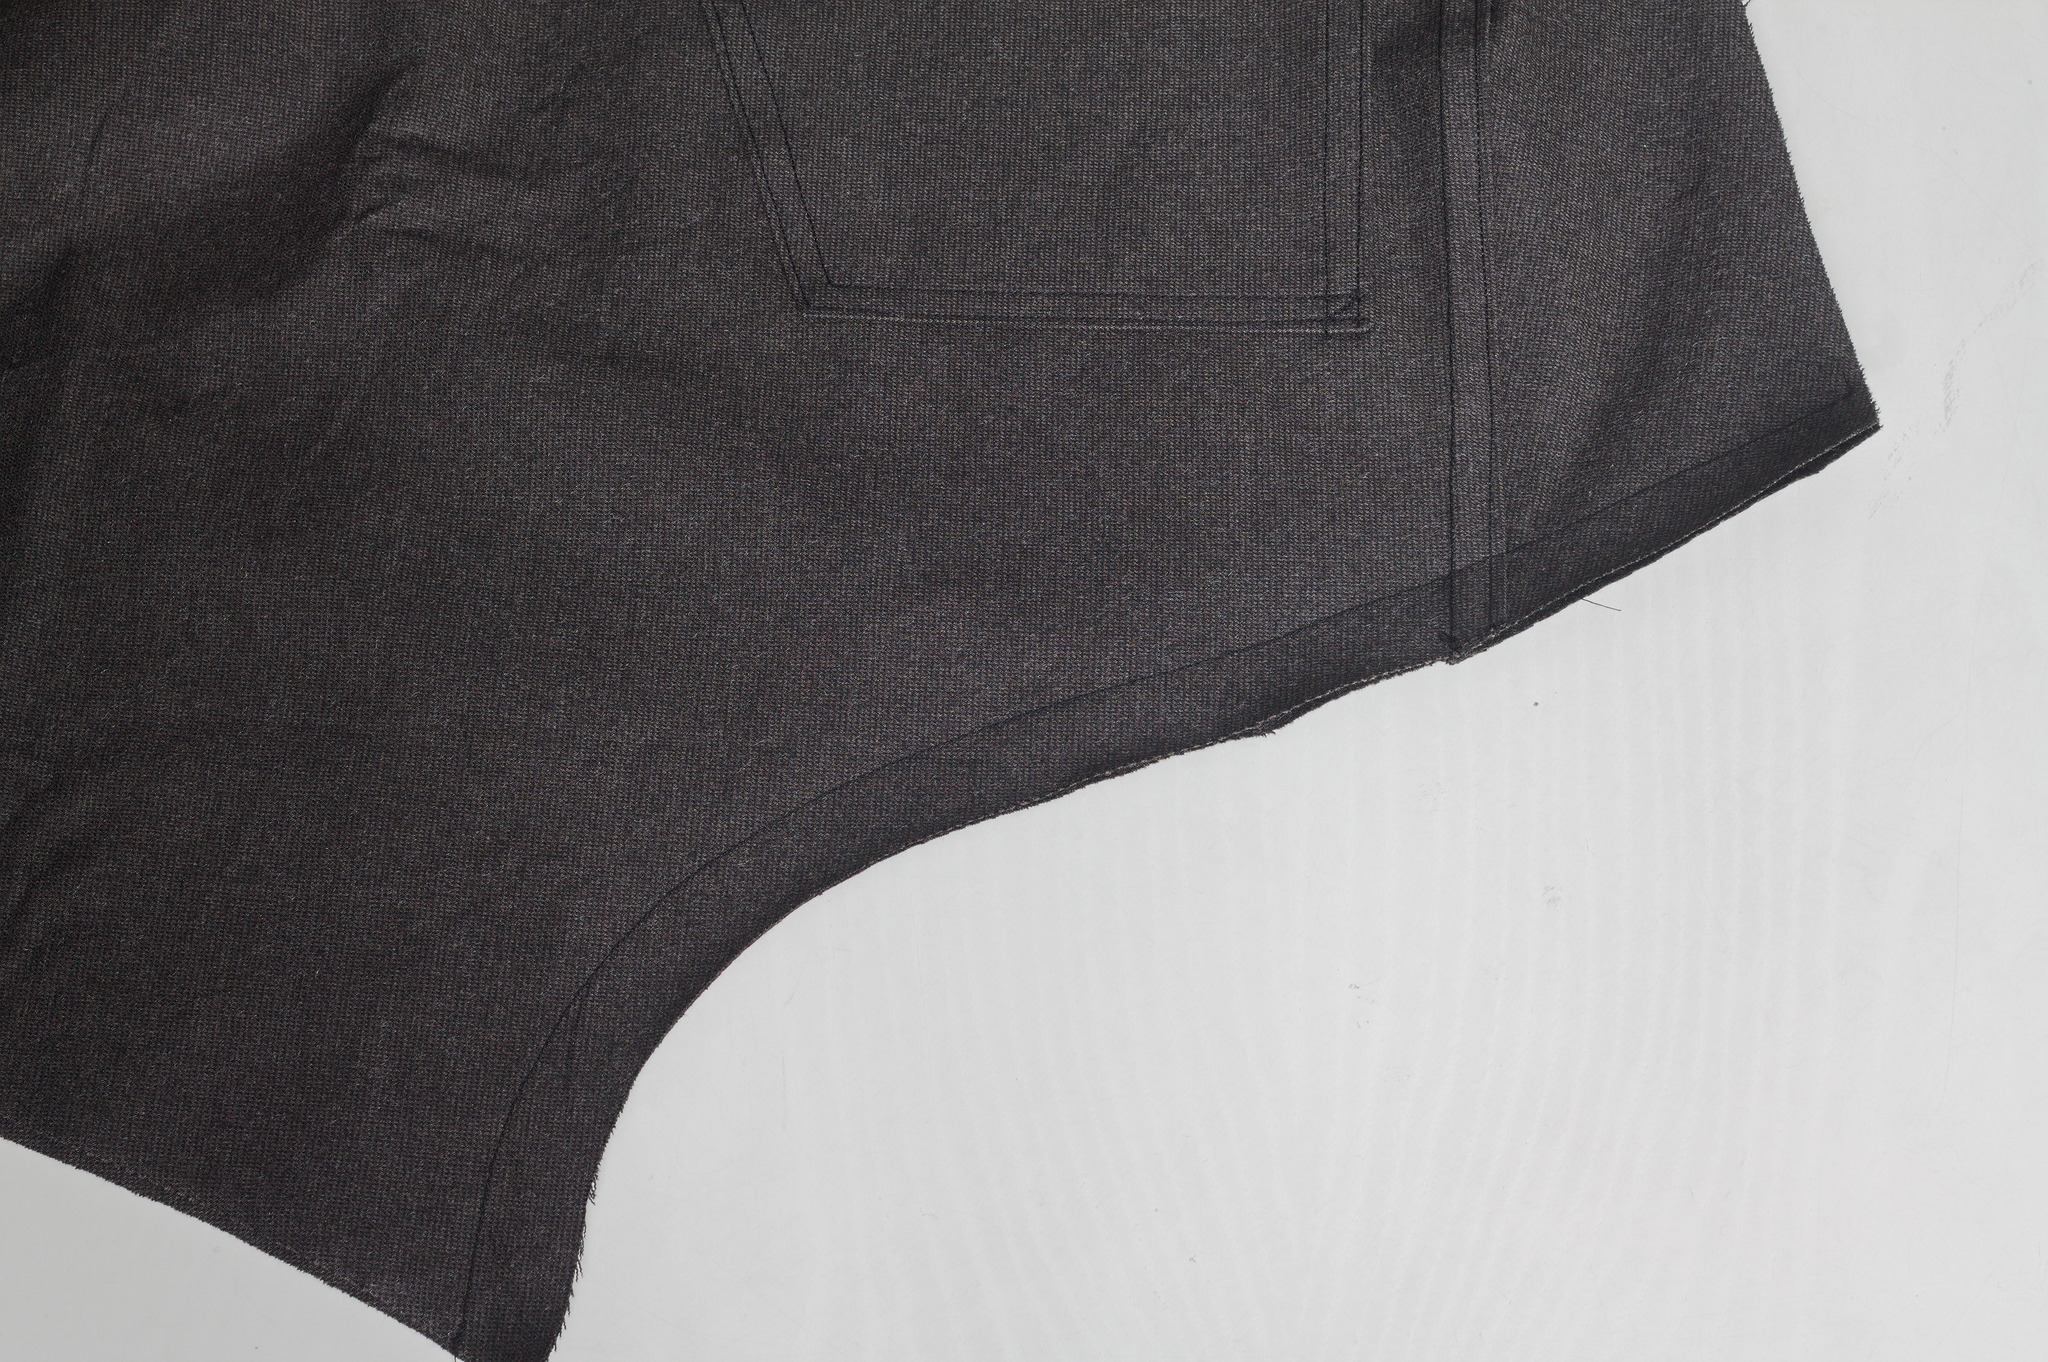
Hems
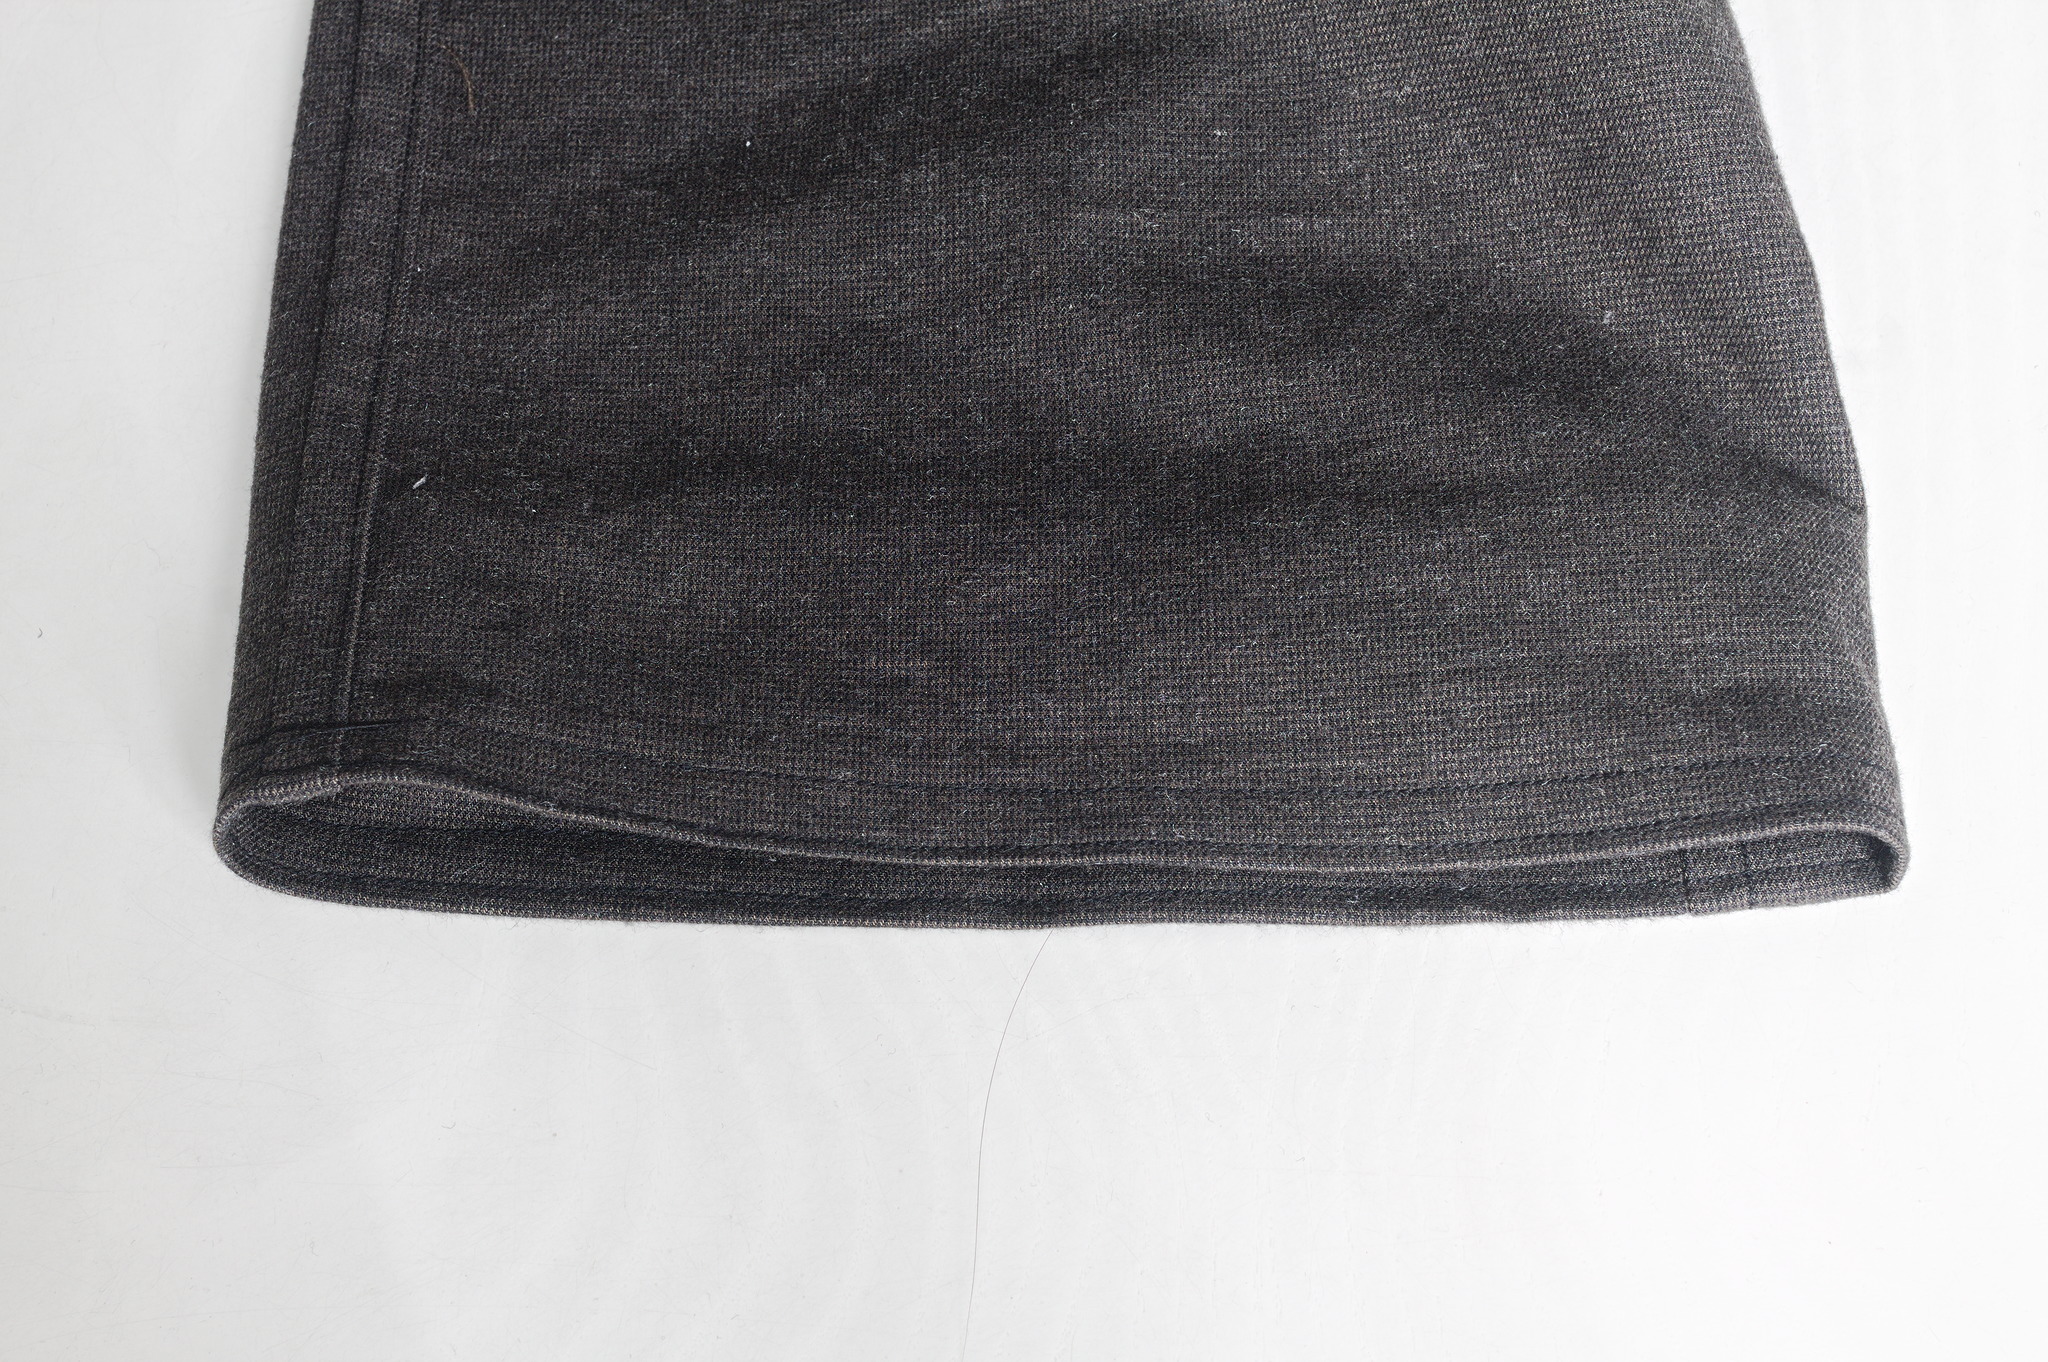
Fold down the hem of each leg twice 1 cm, topstitch at 2 mm and again at 8 mm from the folded edge.
Belt Loops
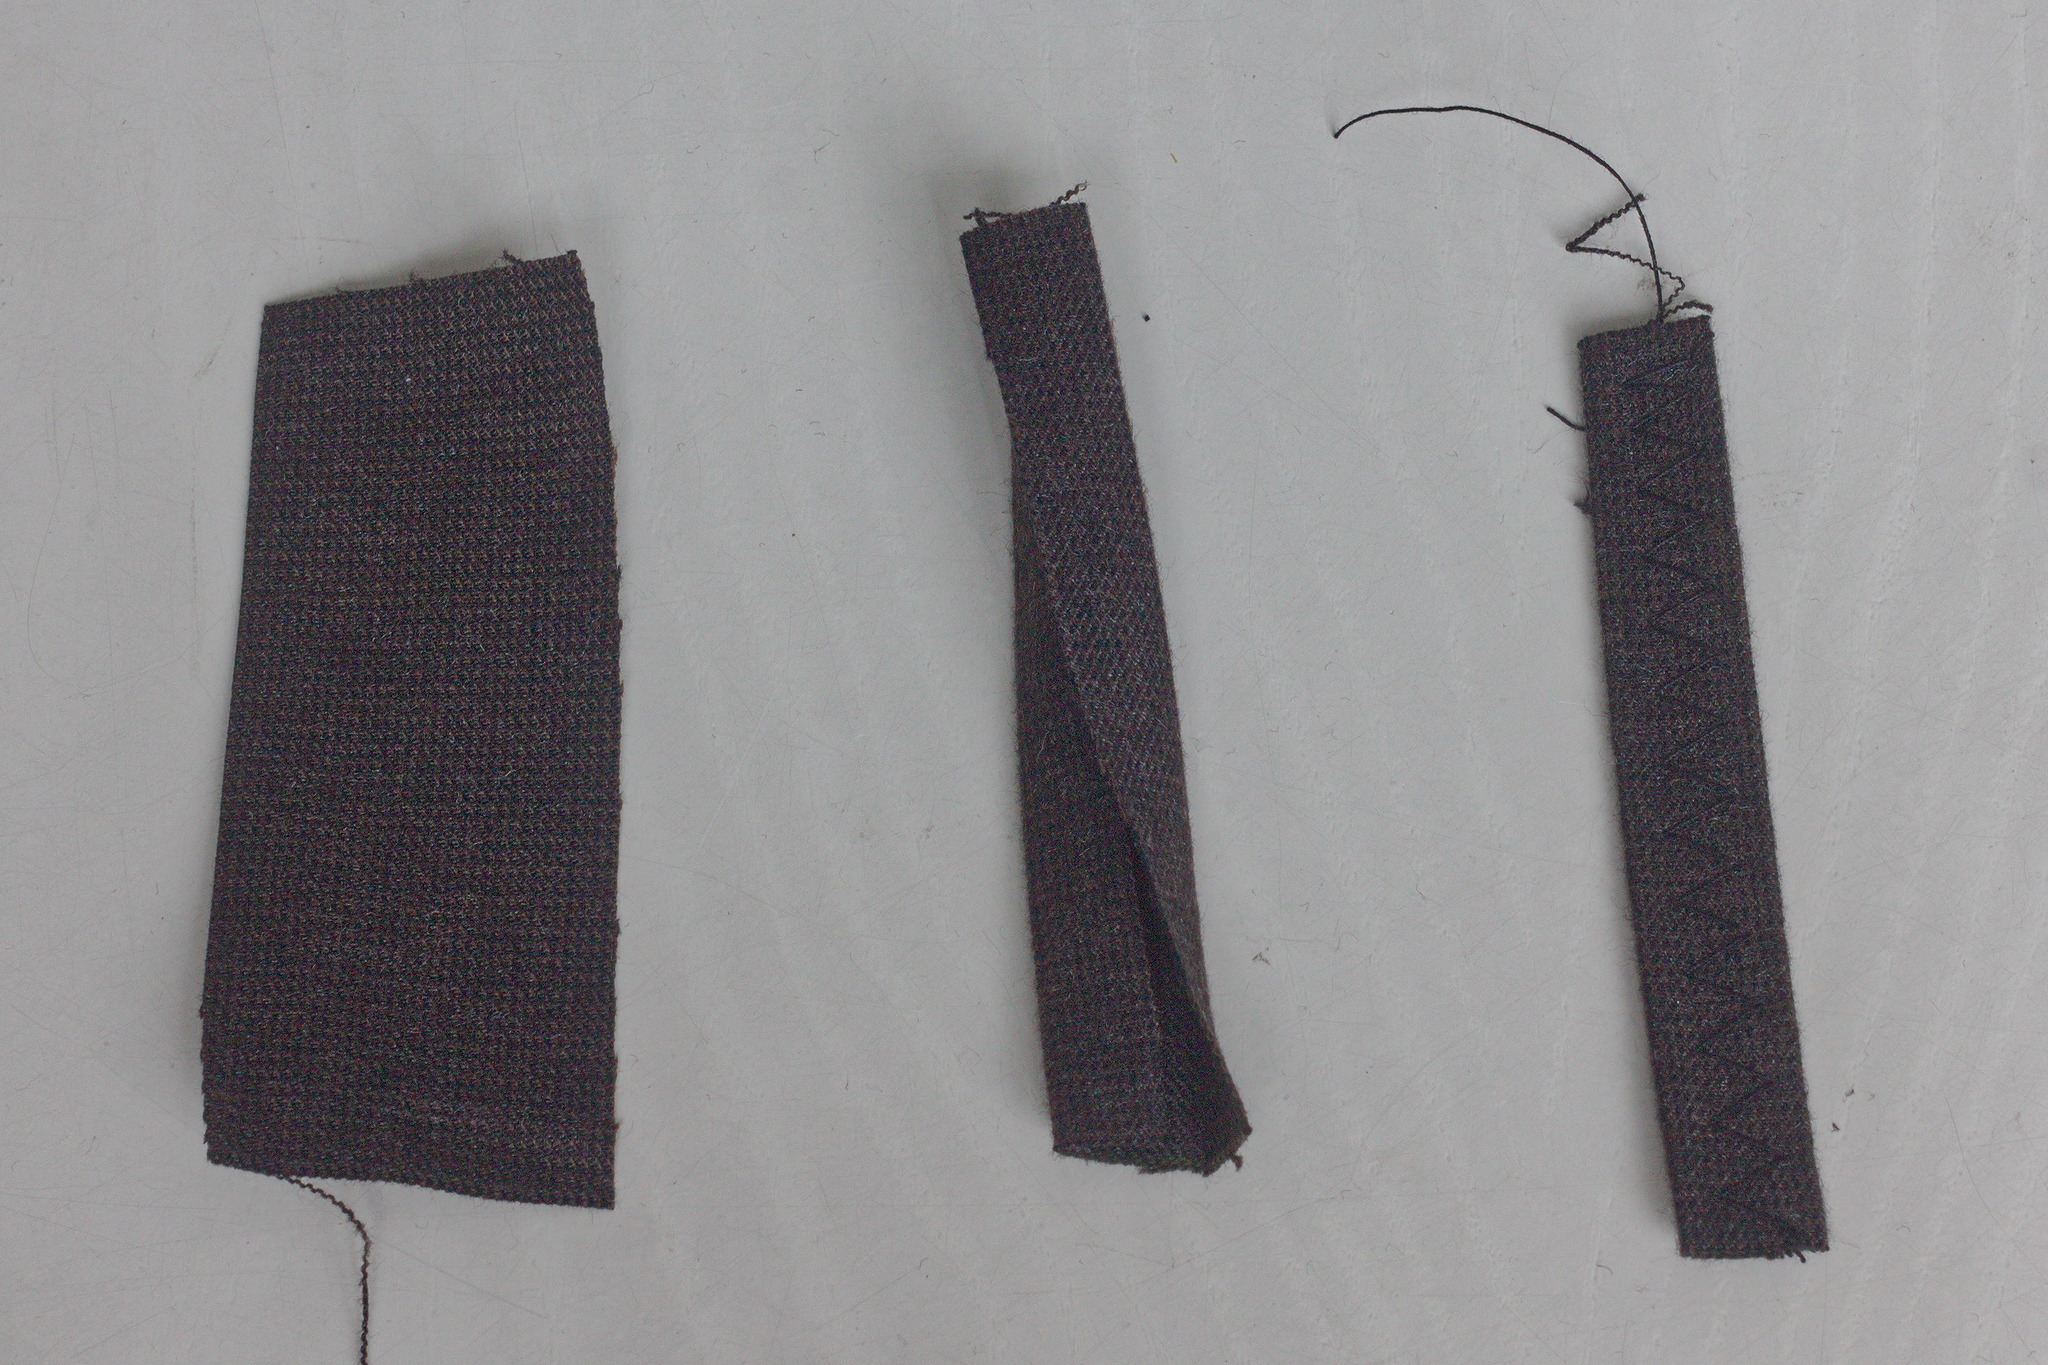
From the scraps, cut 6 rectangles 8 cm long and 3 cm wide; fold them approximately in thirds, press and sew a wide zig zag through the whole length.

Fold down the top and bottom edges a bit less than 1 cm and topstitch the loops to the trousers, backstitching back and forth, around the waistband e.g. at 4 cm from the center back, 6 cm from the side seams (towards the back) and 8 cm from the center front.
Gallery