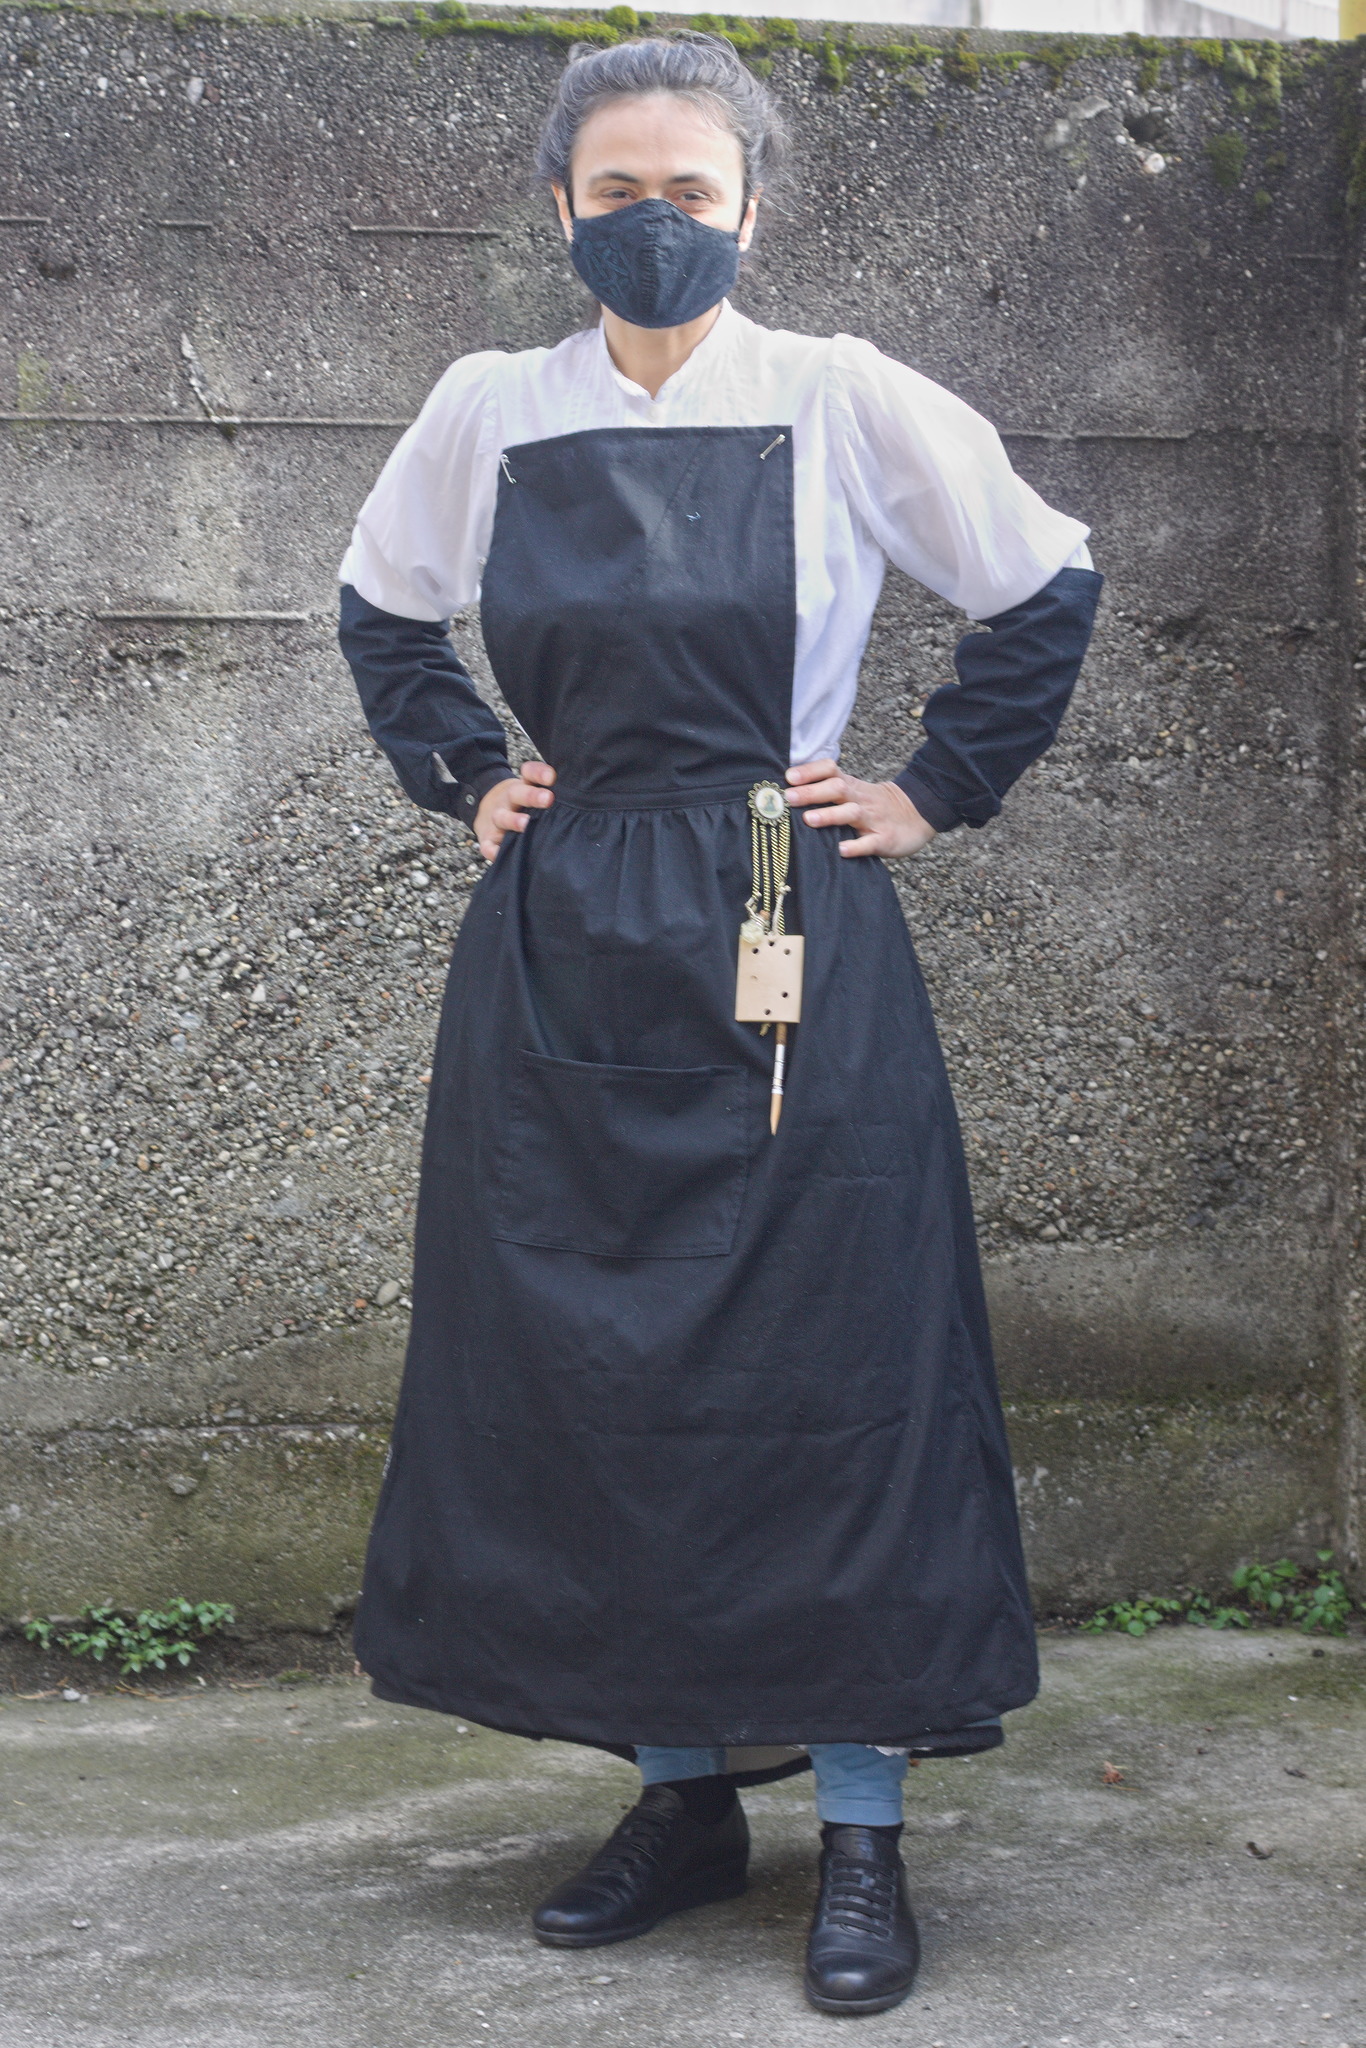
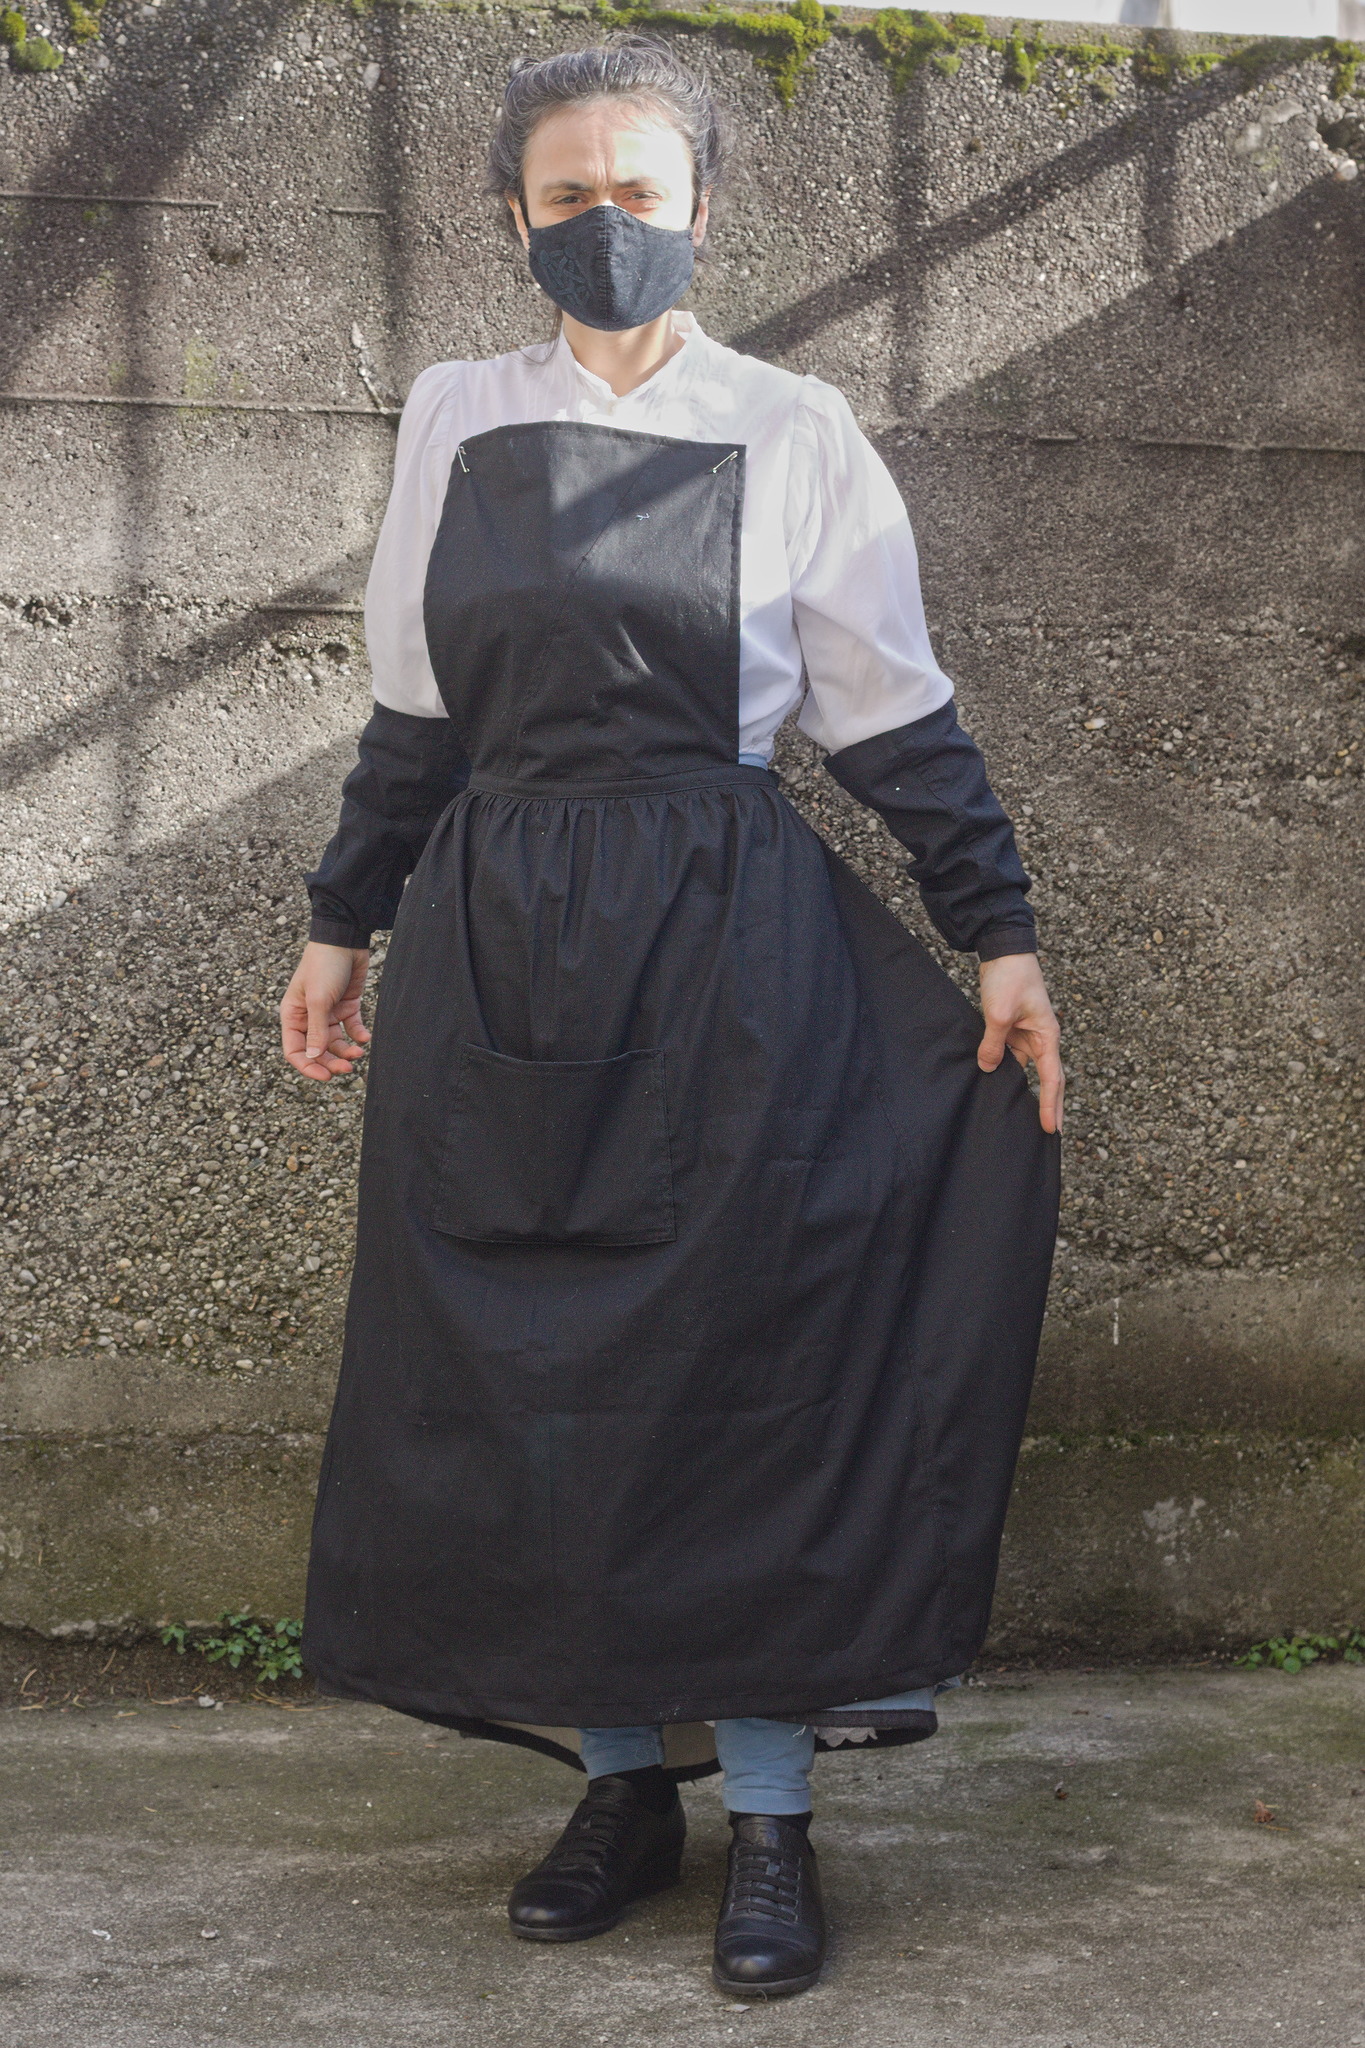
Full Apron with Bib from Modern Fabric
This apron is inspired on the instructions from [Mye92] (pag 137) from 1892, adapted for modern, double-width fabric.
The original instructions claimed that the apron without a bib could be sewn in one hour by machine, and even with the bib and a pocket it is a quick and easy project.
The adaptation kept the selvedges on the sides, and most of the construction methods, but significantly changed the original proportions: the side gores are half as wide, their selvedge length is a bit shorter and the band is shorter and narrower. The hem in these instructions is also much narrower, but that can be easily changed back to the recommended 8 cm.
For cutting efficiency there is also some piecing, most notably on the bib, which probably wouldn’t have been needed, but then piecing is period, period.
Materials
Fabric
~1 m washable fabric ~150 cm wide.
Medium weight cottons or linens in plain colours, checks or stripes are good for a serviceable working apron; the original instructions recommended gingham. The pattern requires a fabric that has no right or wrong side, as half of the bib will have to show the wrong side.
Notions
sewing thread to match the fabric;
tape for ties or two buttons and button twist thread;
2 safety pins.
Pattern
Measure the desired lenght of the apron, add 5 cm for the hem, cut a rectangle of fabric of that length, selvedge to selvedge, on the straigh grain (either by ripping or cutting on a thread).

Cut on the straight grain two panels on the sides, each one quarter of the width of the fabric, leaving a center panel that is twice as wide.
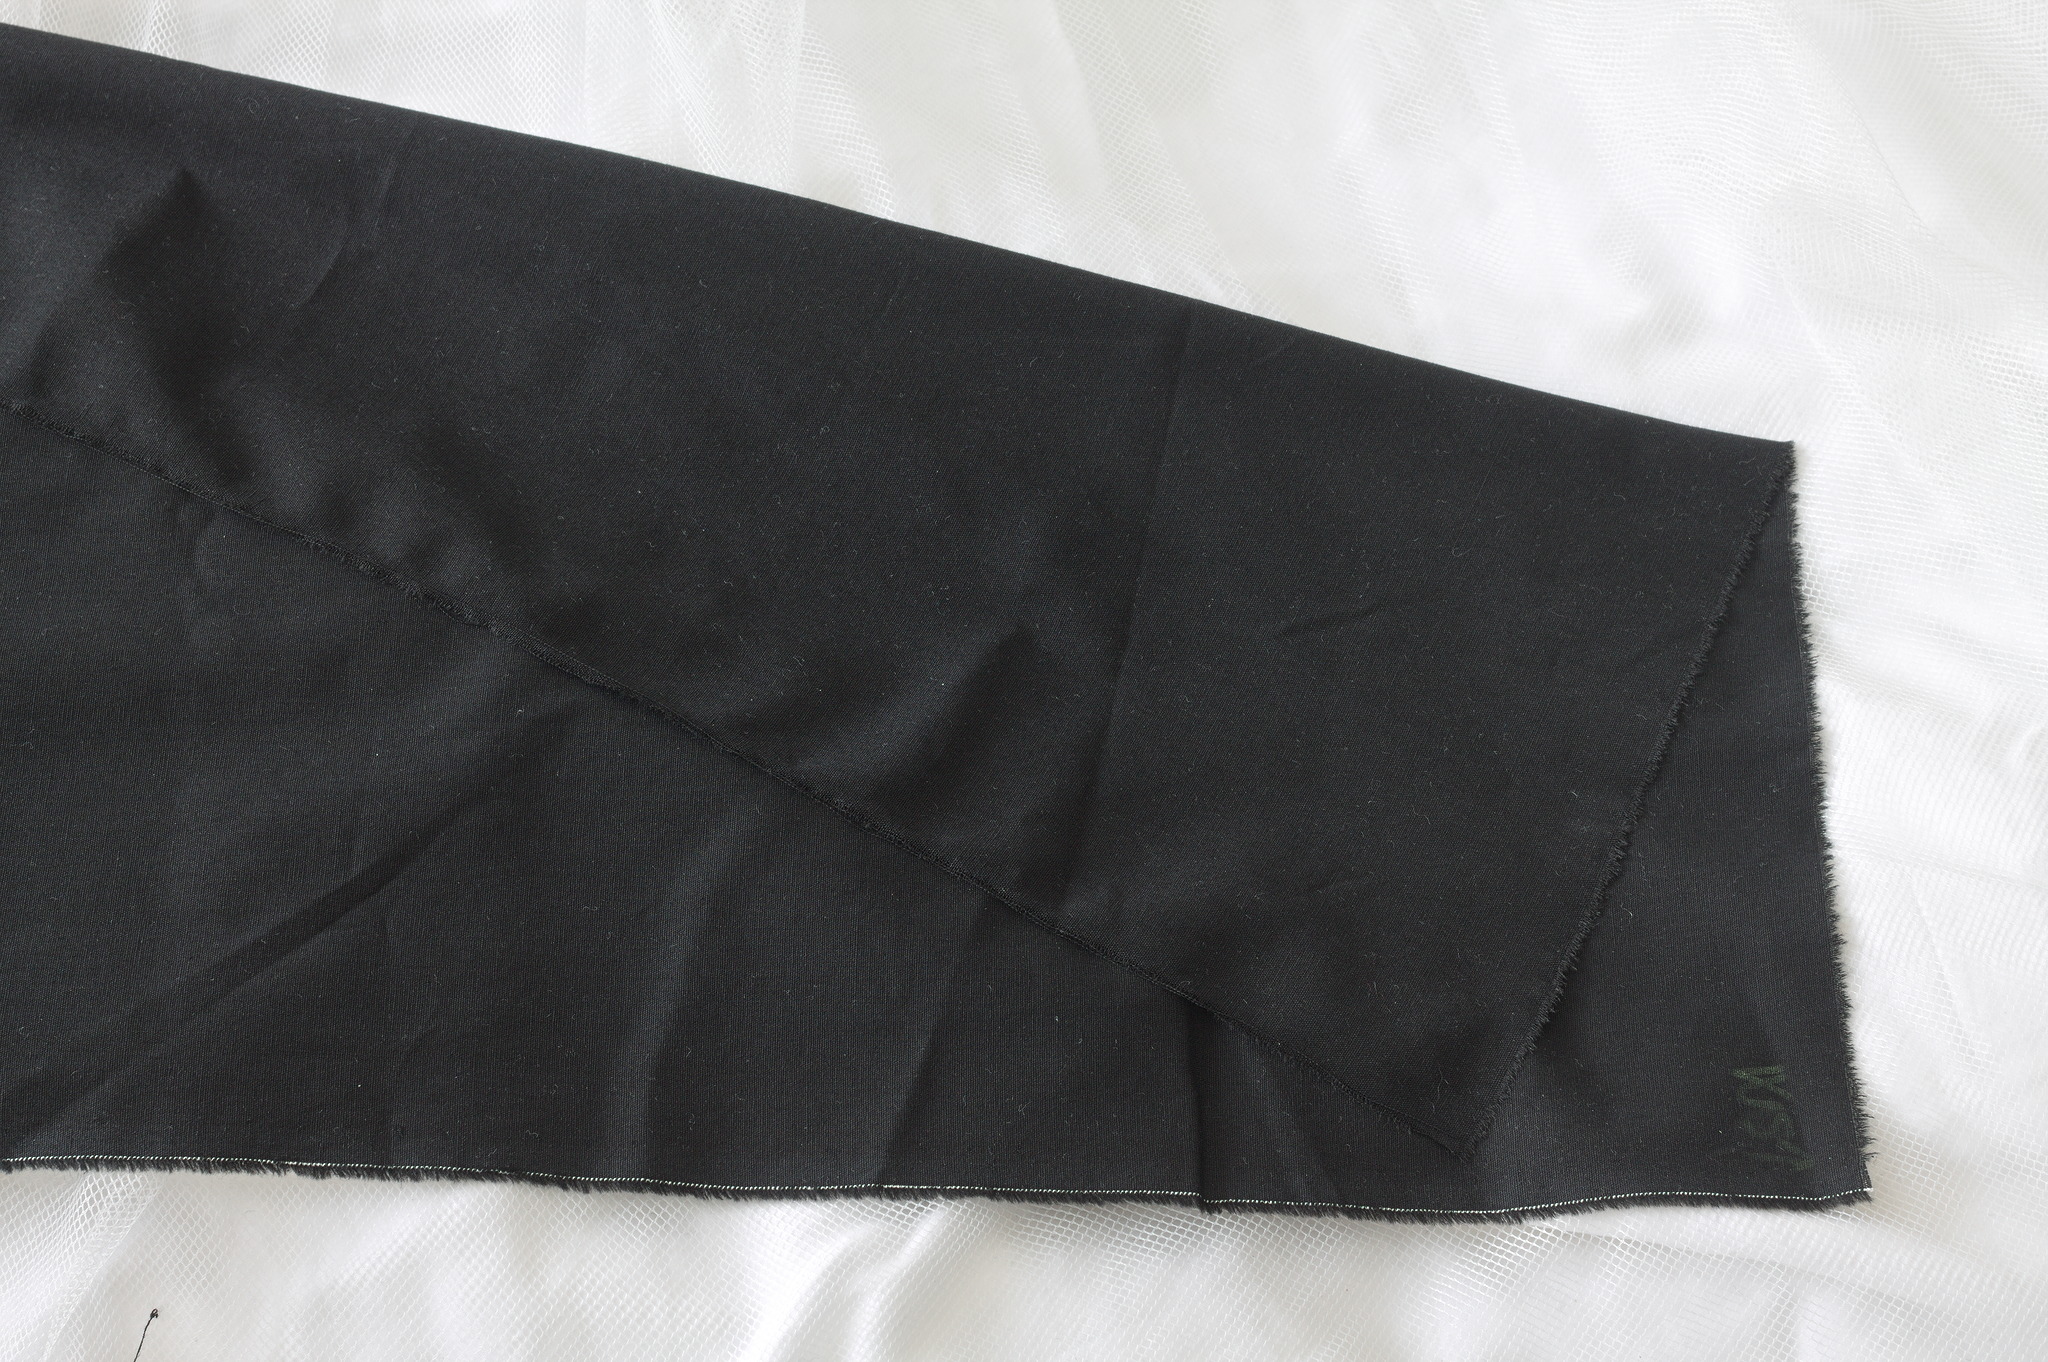
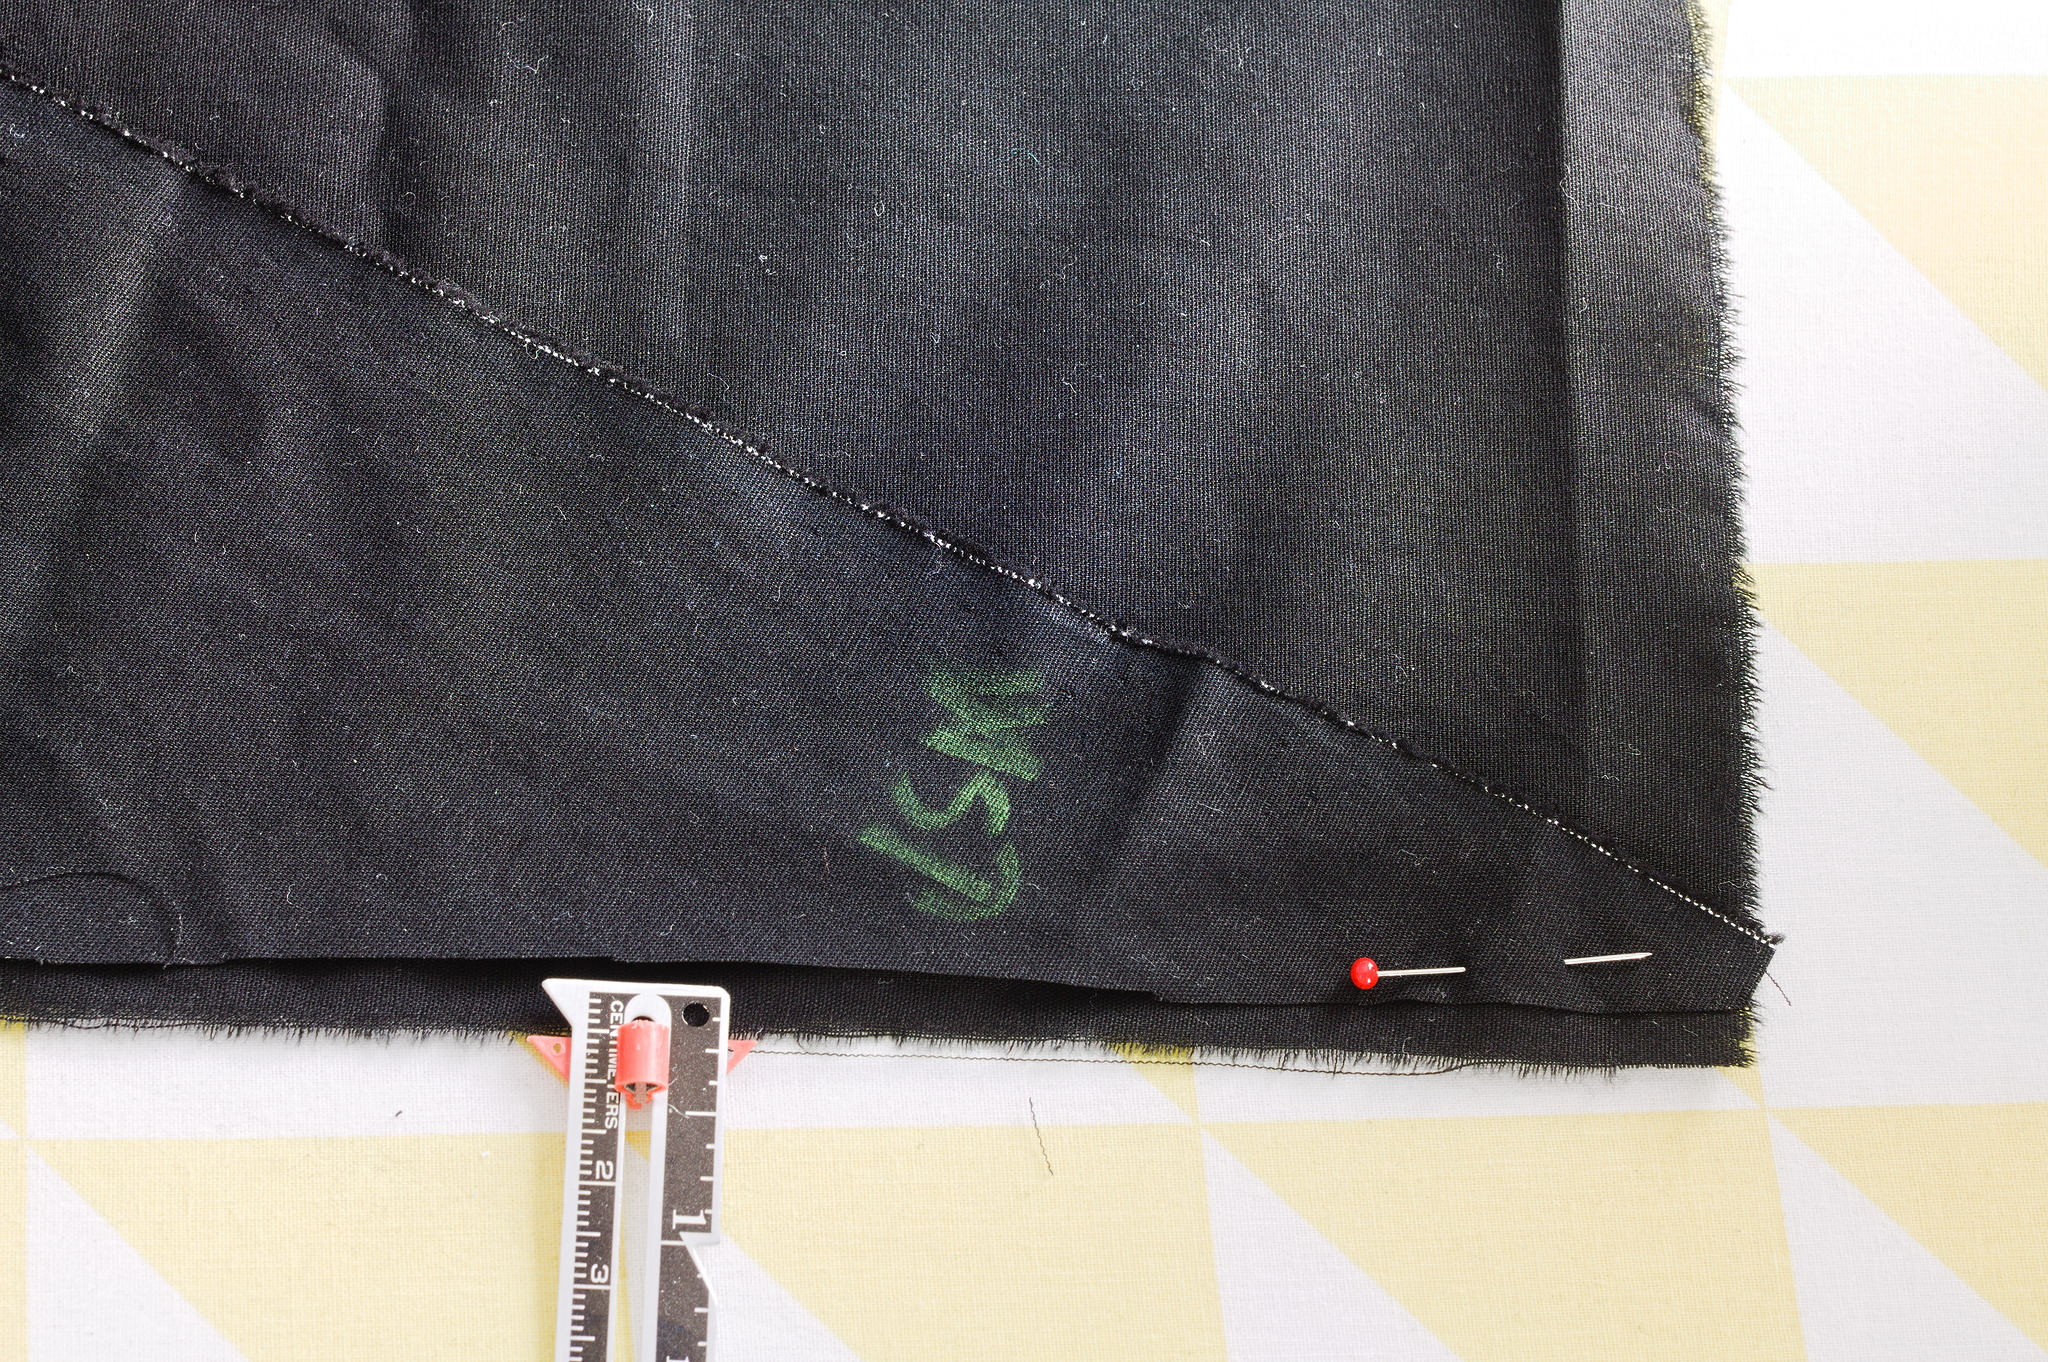
Now cut two side gores such that the diagonal is as long as the length of the center panel; for a 100 cm long panel this will be a bit more than 90 cm, leaving a rectangle a bit less than 10 cm high for the band.
Decide how high you want the bib to be, and cut two trapeziums from the remaining triangles such that when sewn together they will form a square with that side.
From the remaining fabric you’ll cut a base for buttons and a pocket.
Instructions
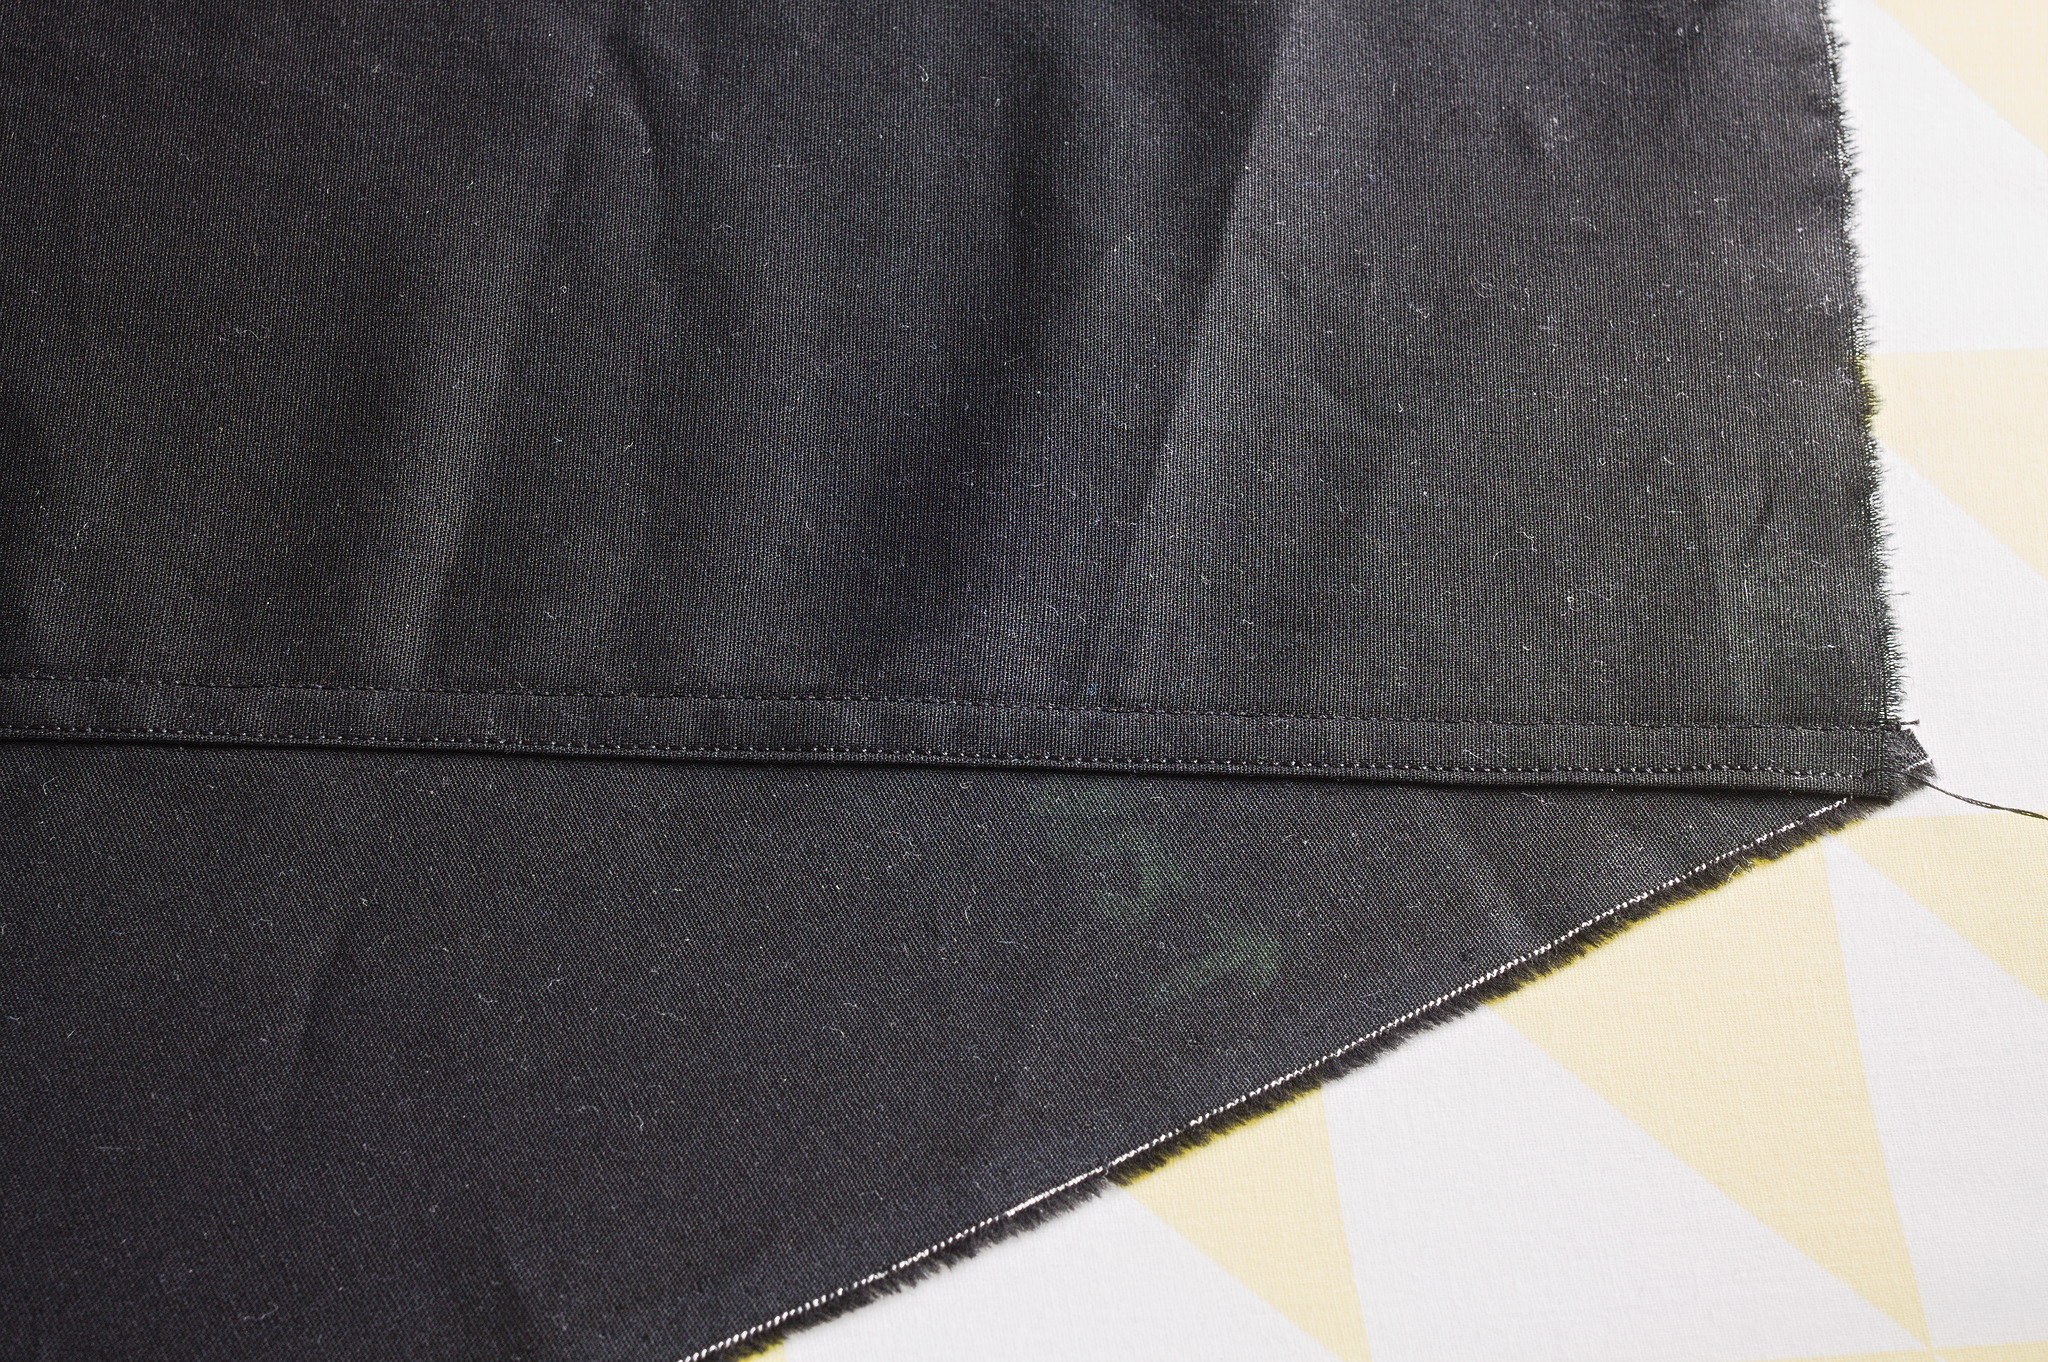
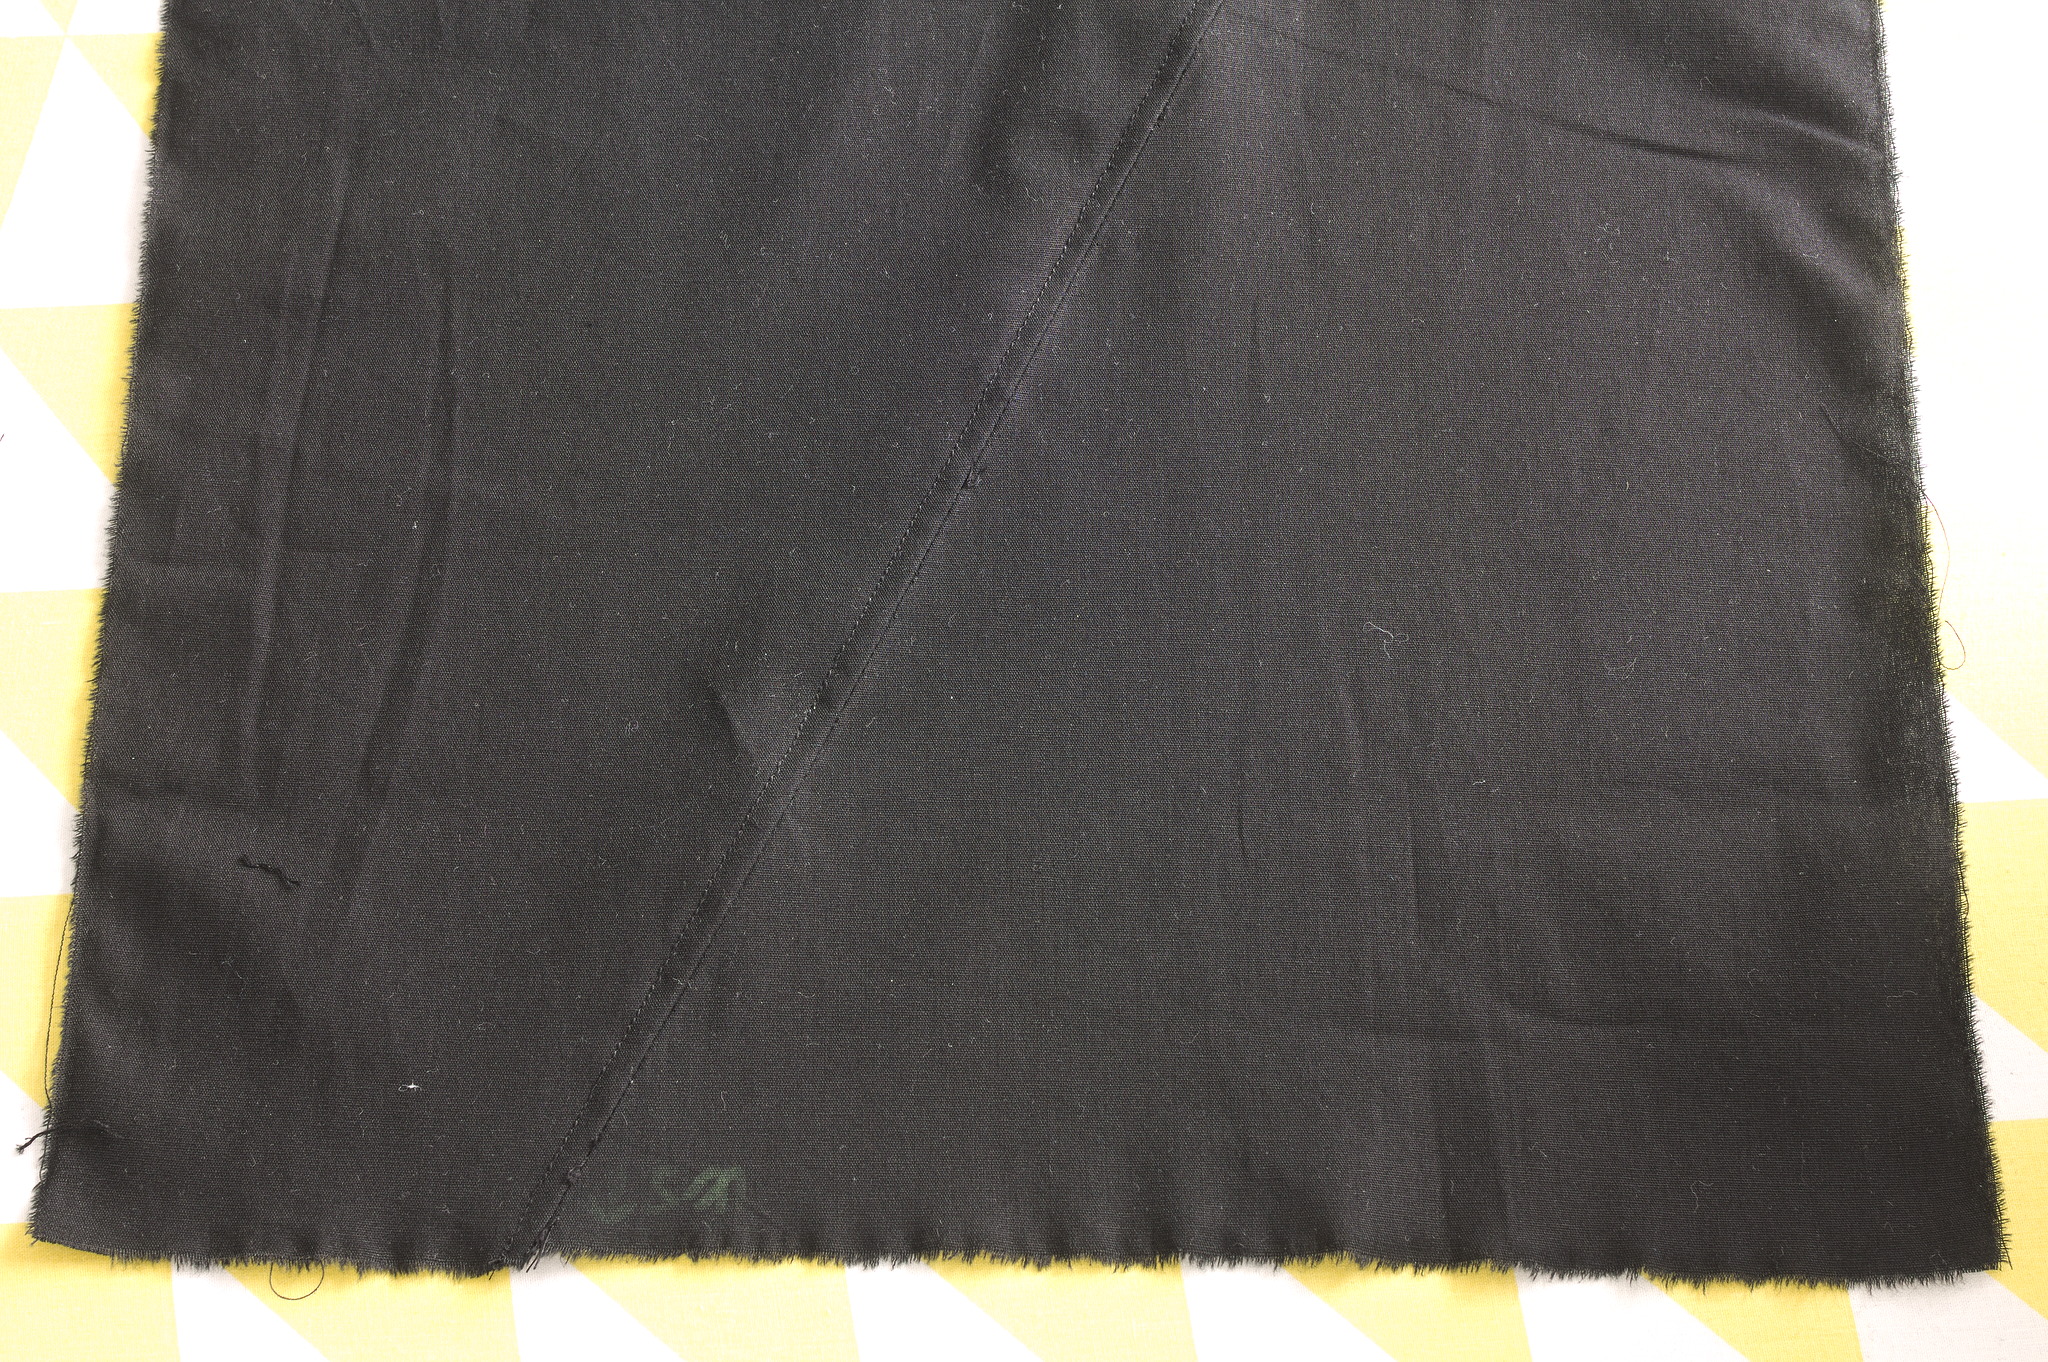
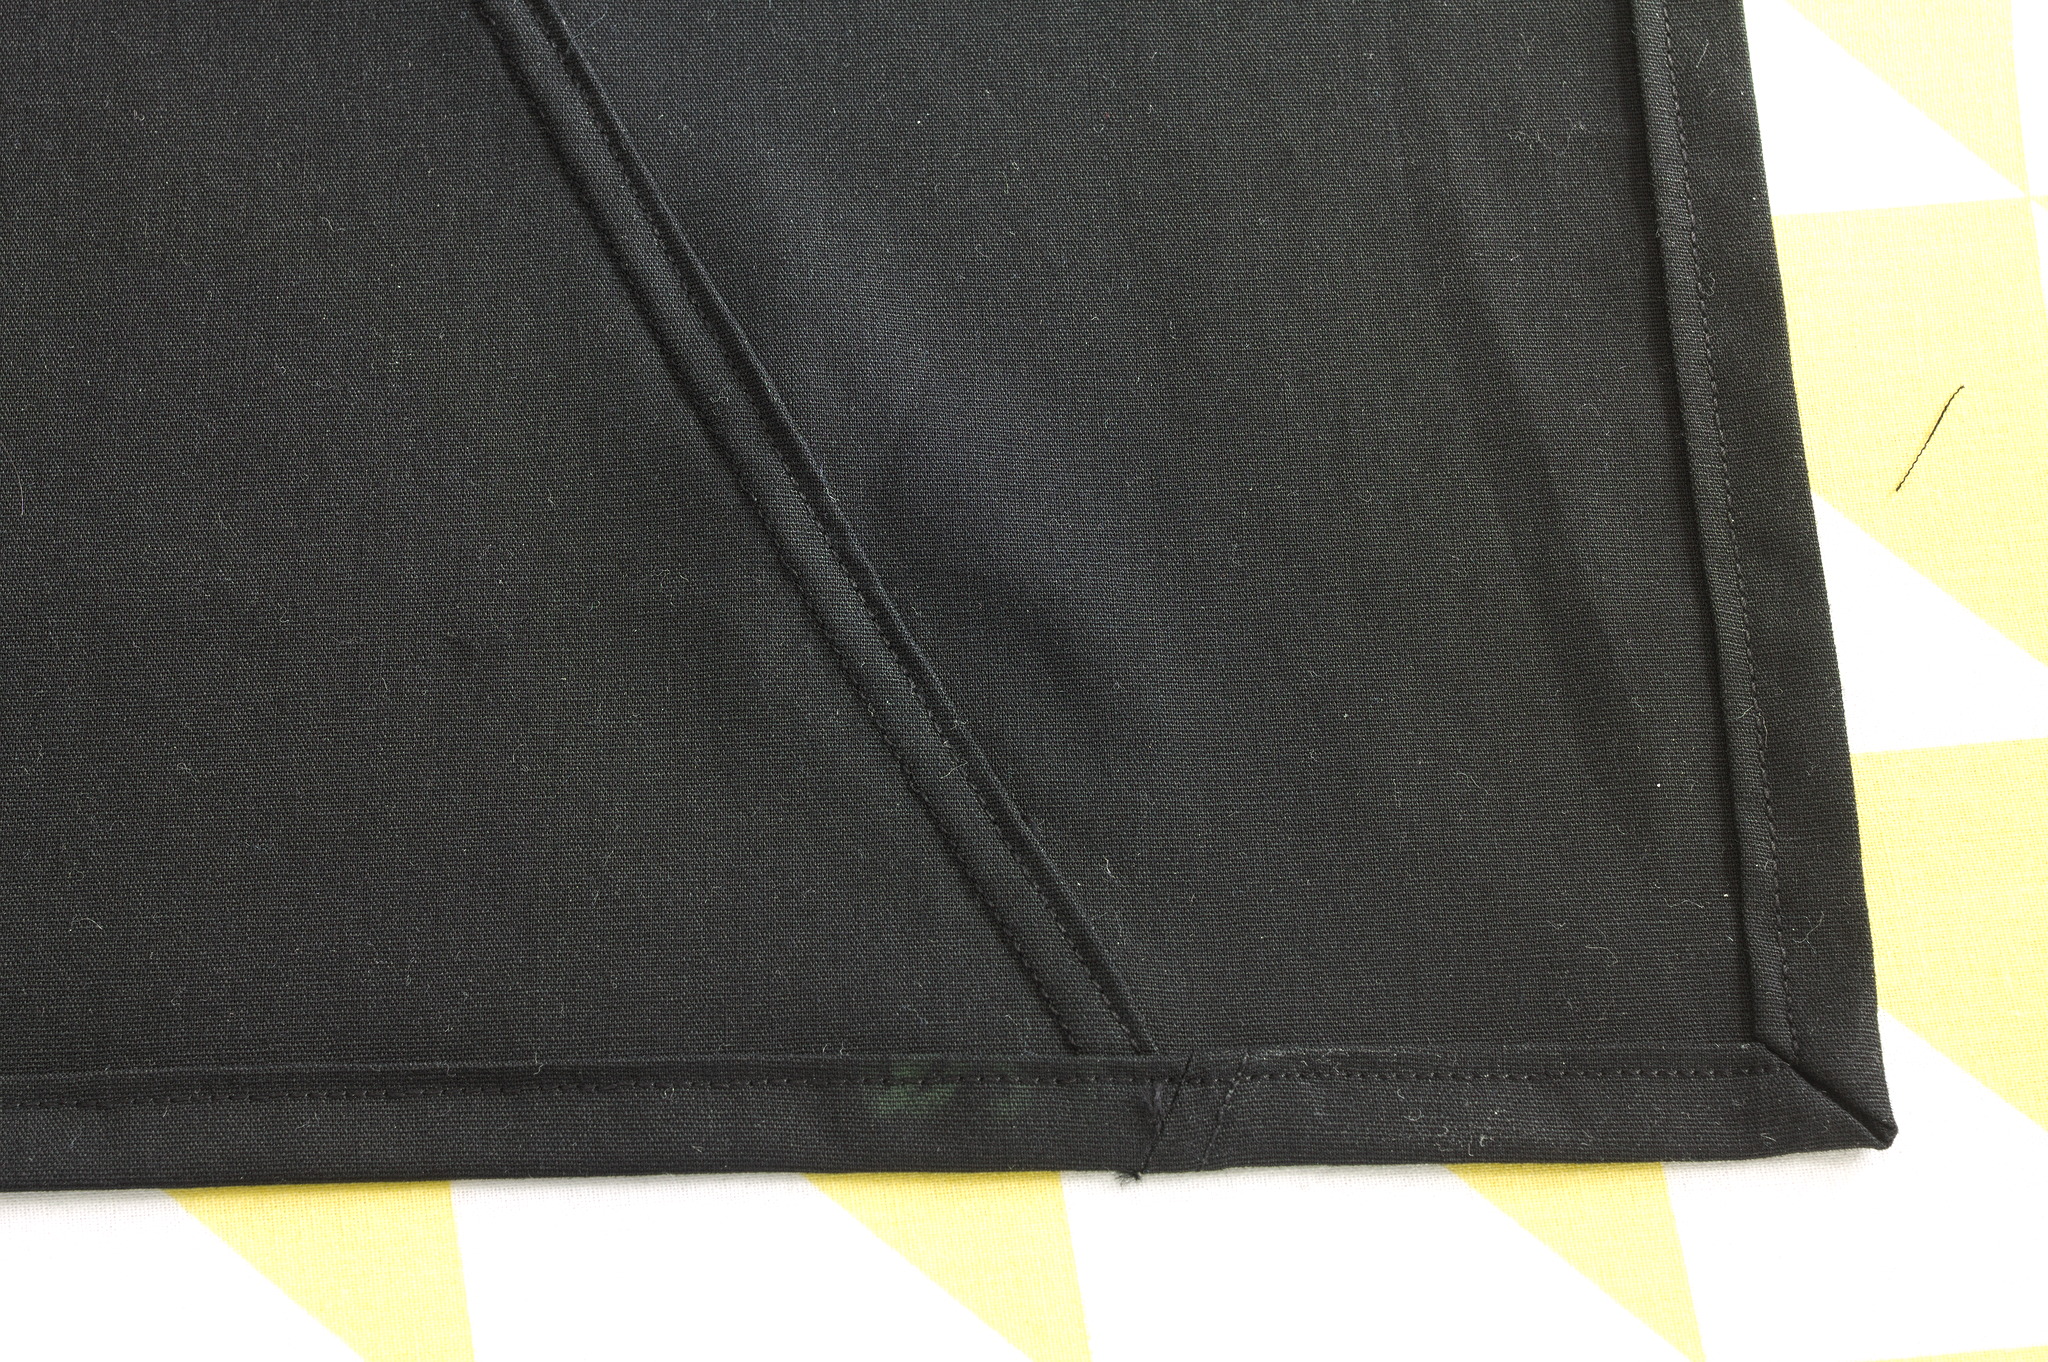
Align the bias edge of a side panel at half the sewing allowance distance from the edge of the front panel, sew, press towards the side panel, fold down the front panel edge and topstitch. Repeat on the other side.
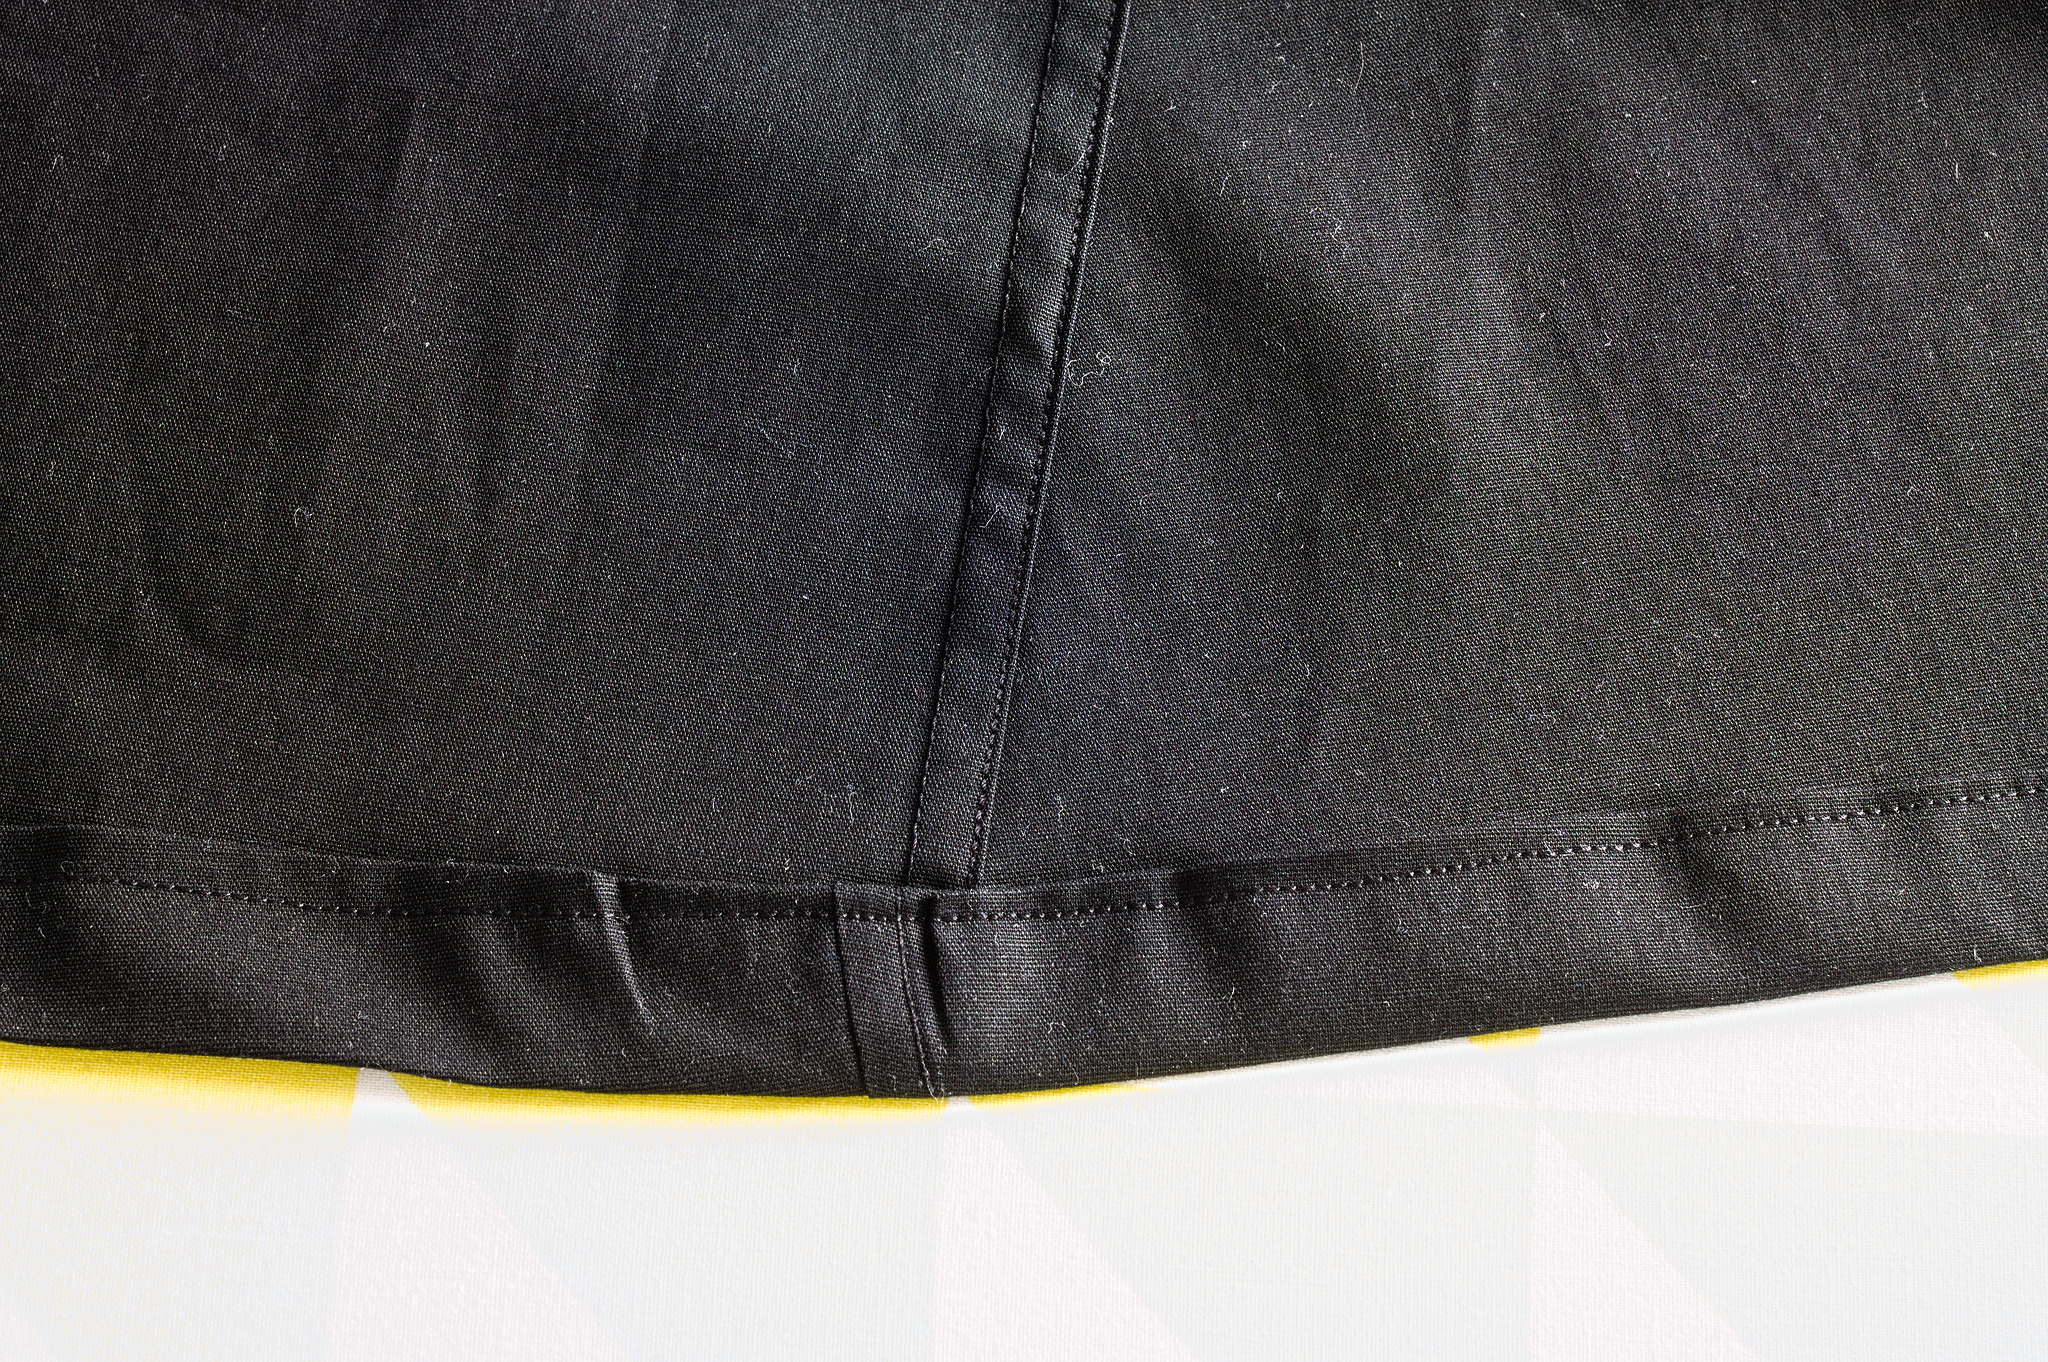
Hem the bottom edge: fold it down by 2 cm twice, rounding the corners, topstitch. The side edges won’t need an hem because they use the selvedge.
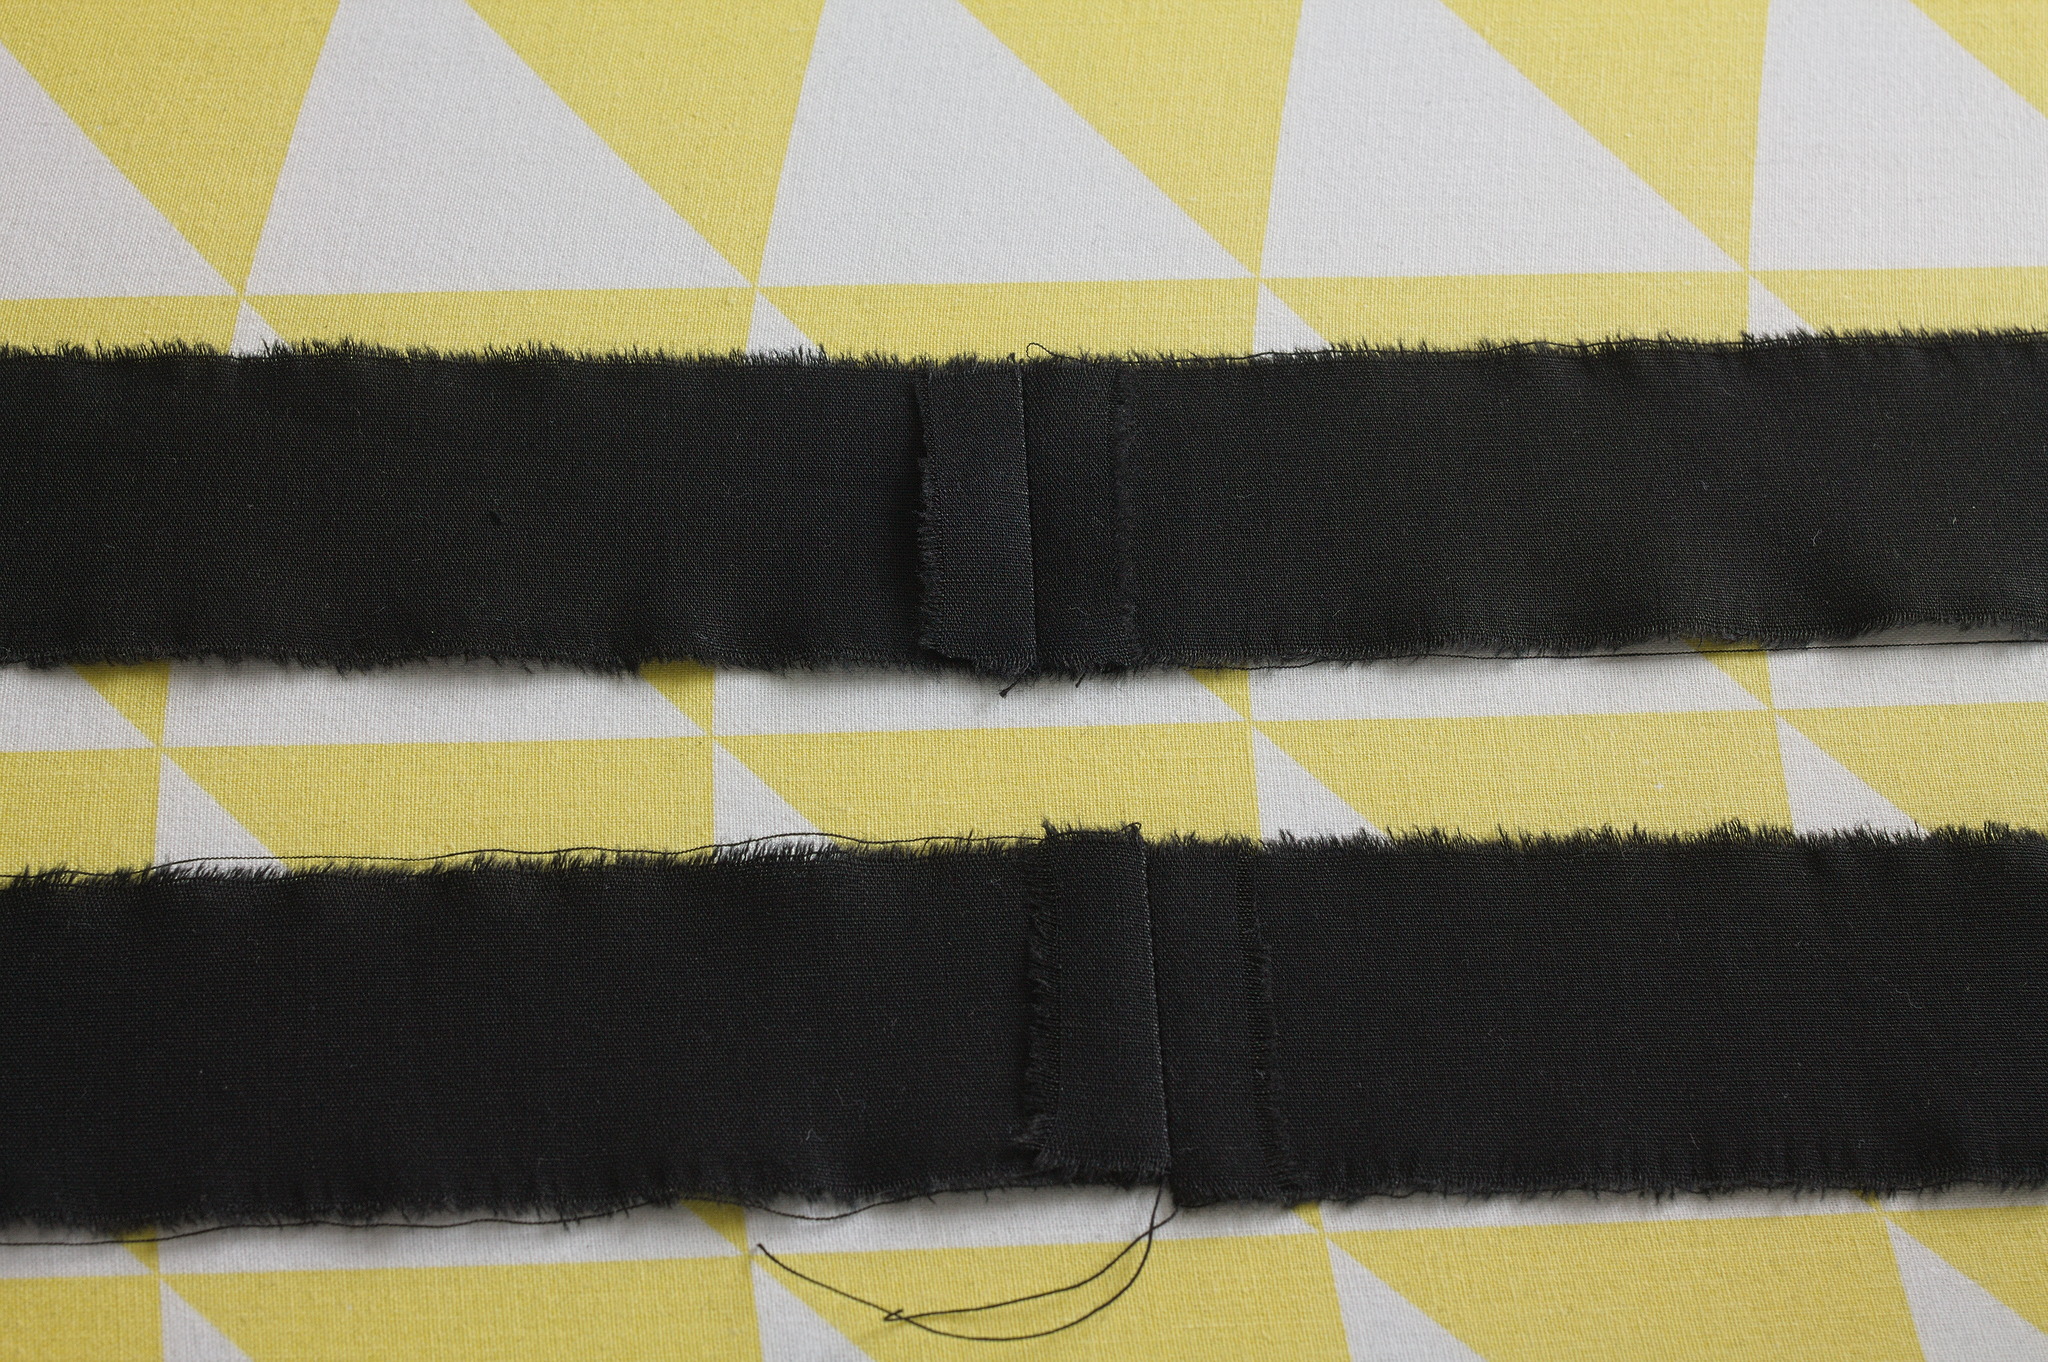
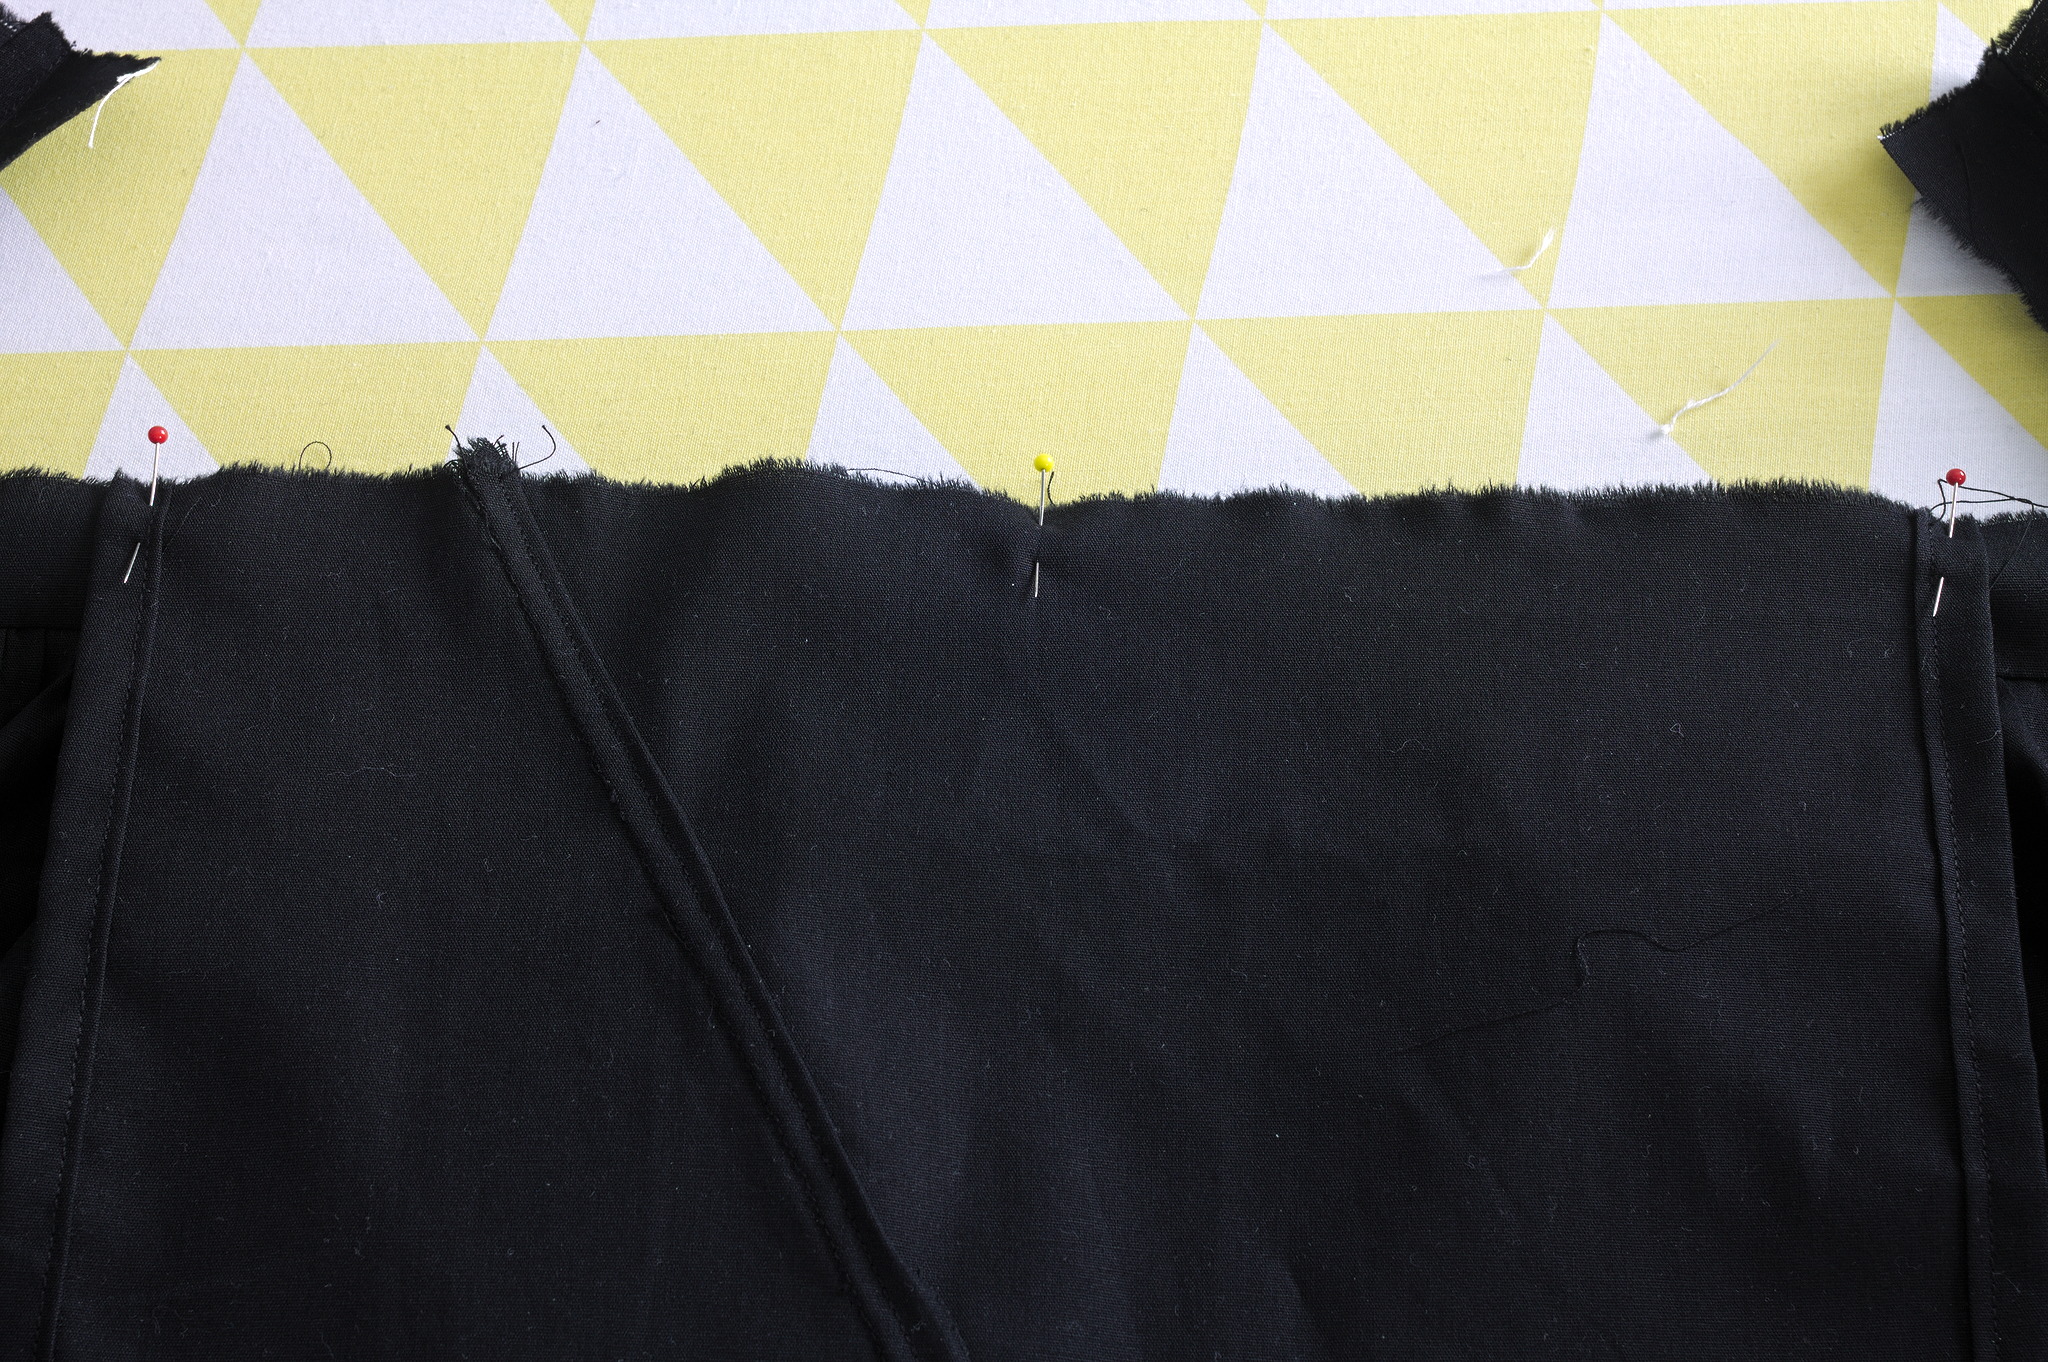
Cut the a band piece in half lengthwise, sew the two short edges without selvedge and press open; repeat for the other band piece.
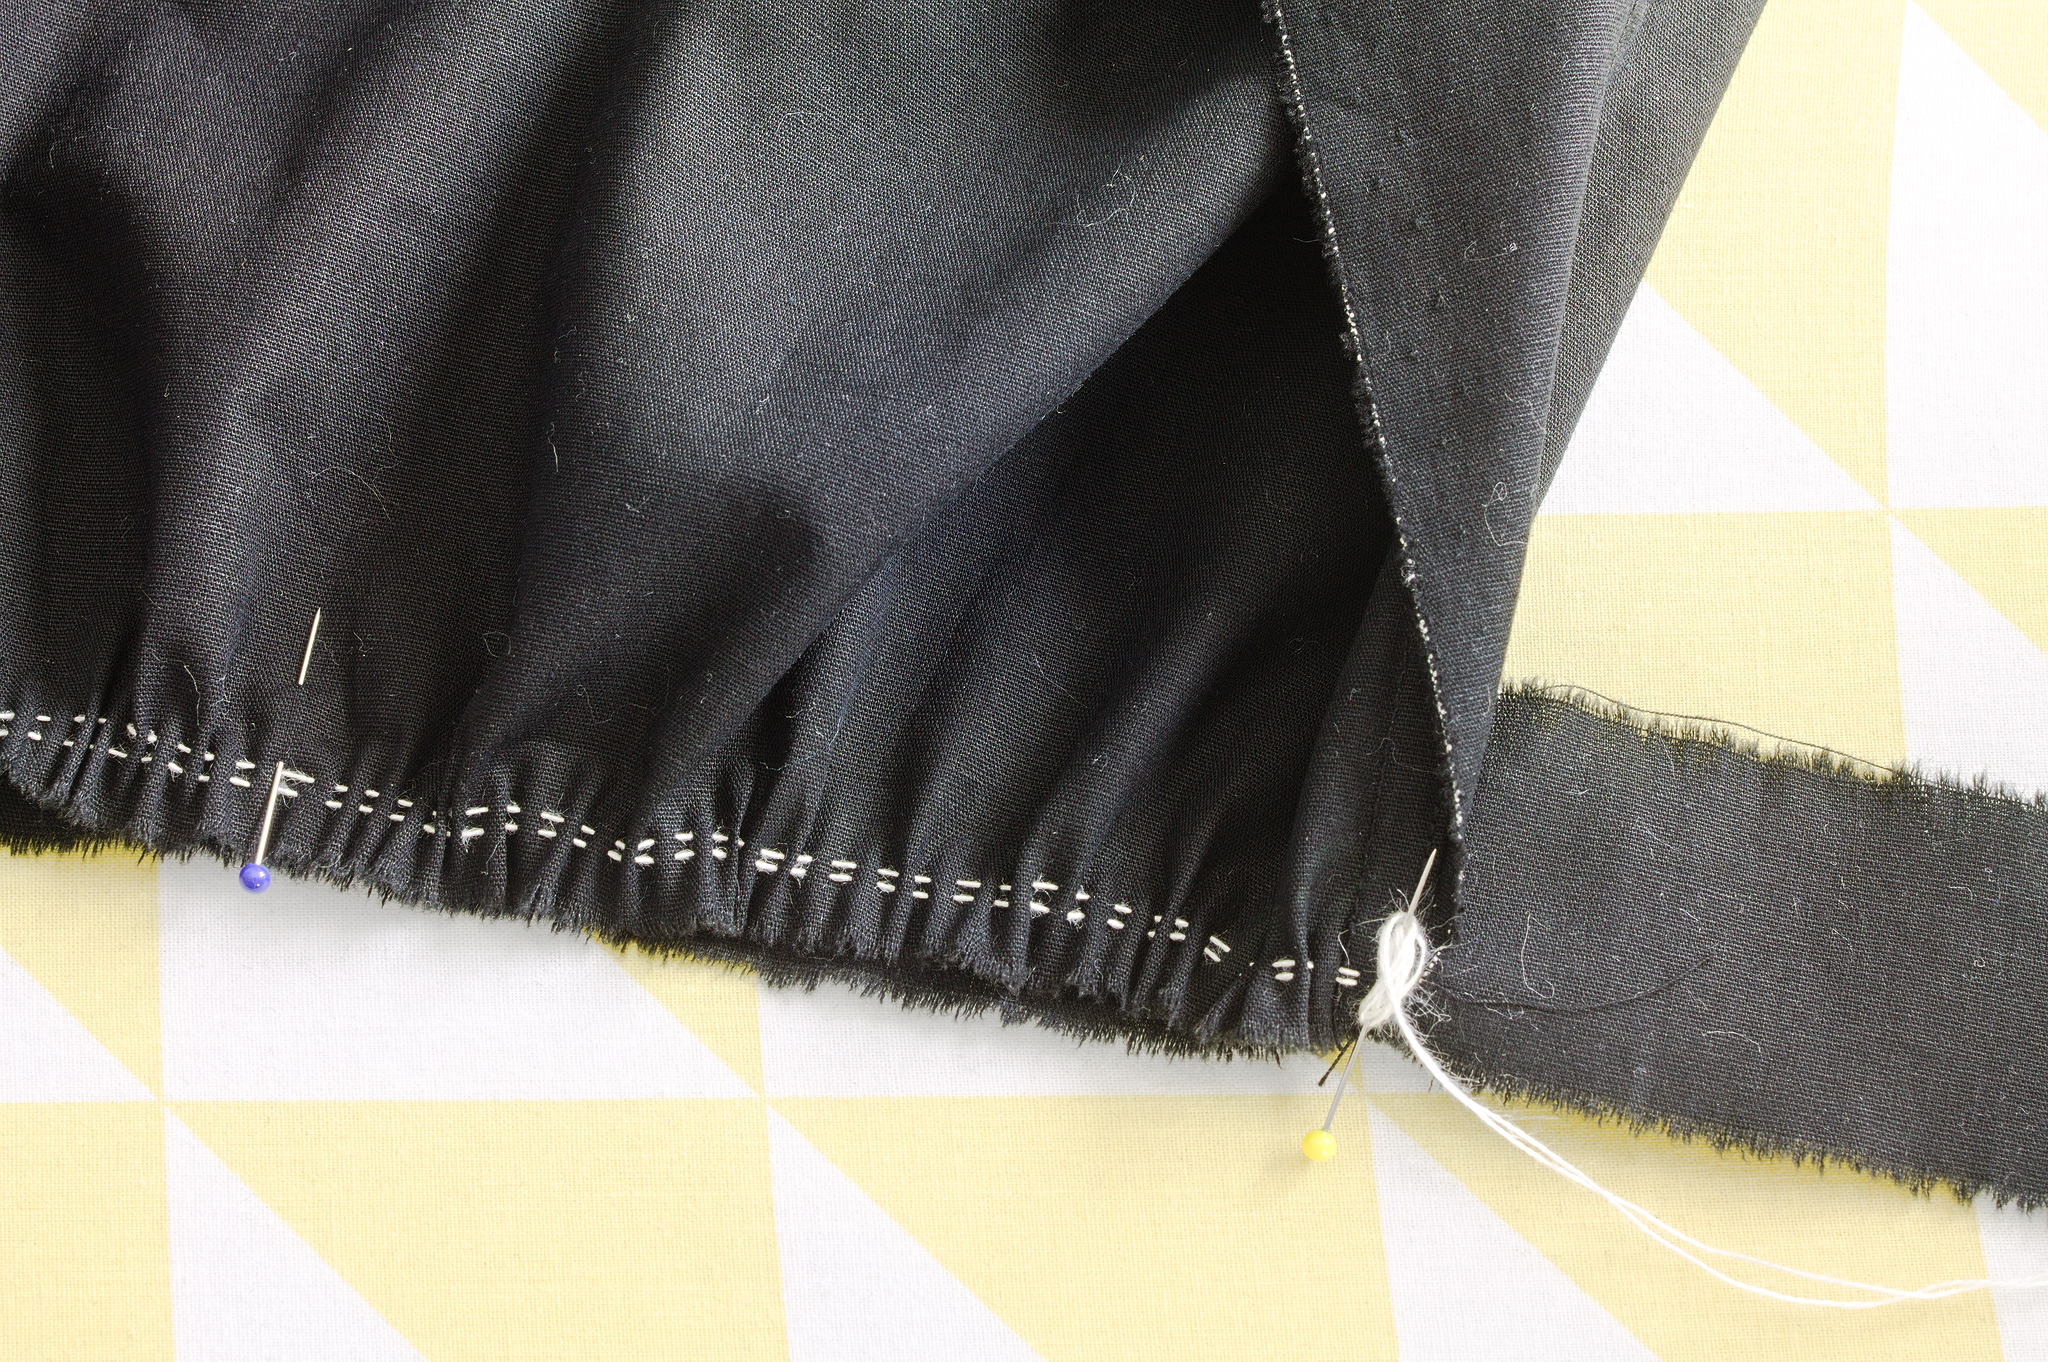
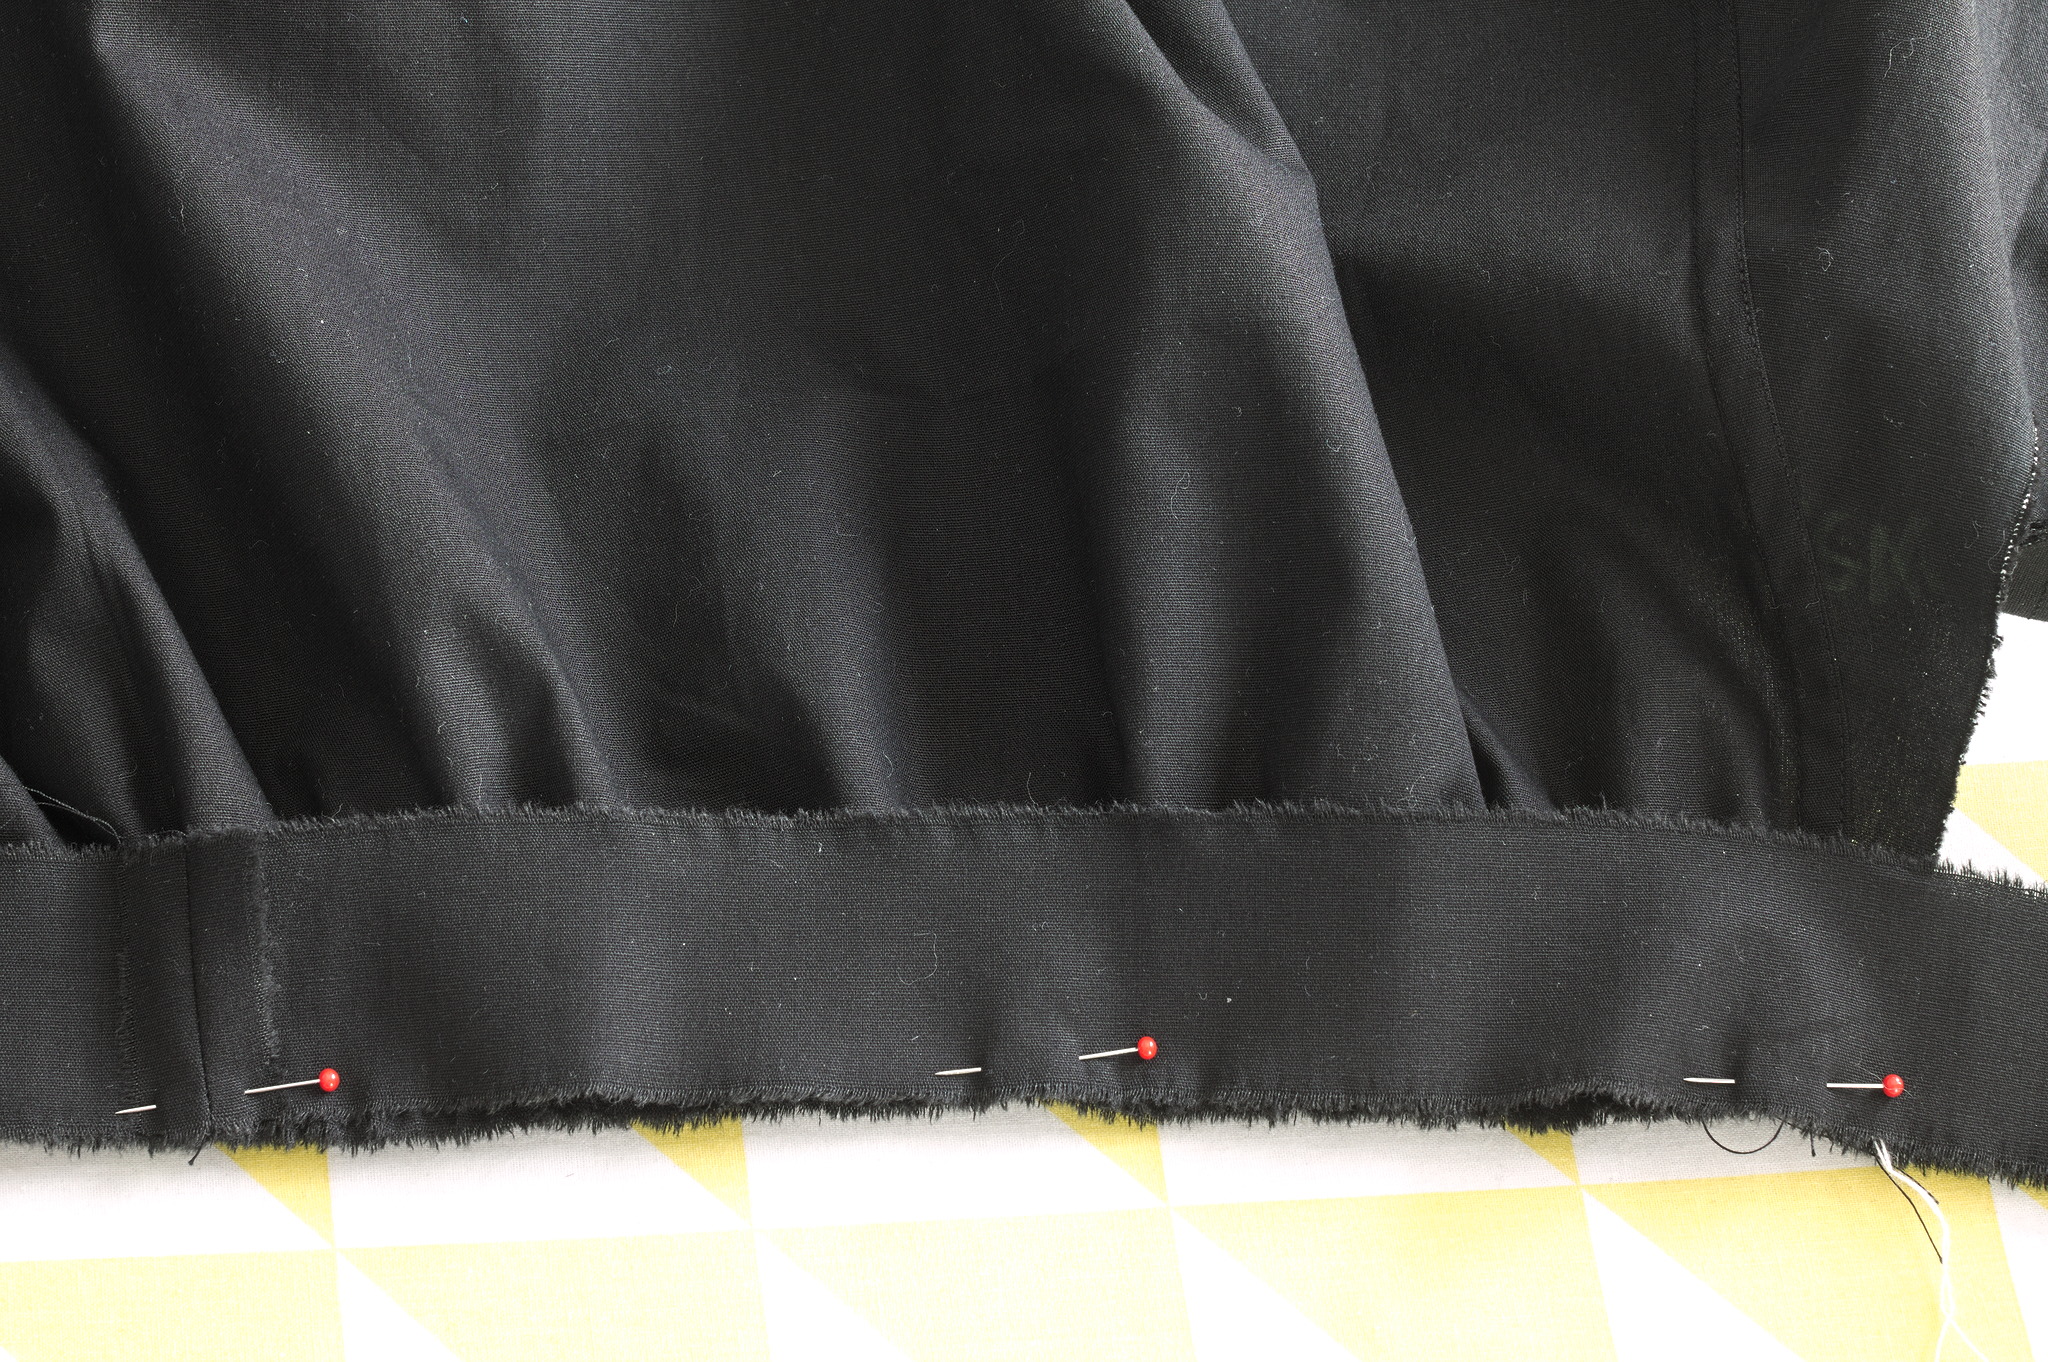
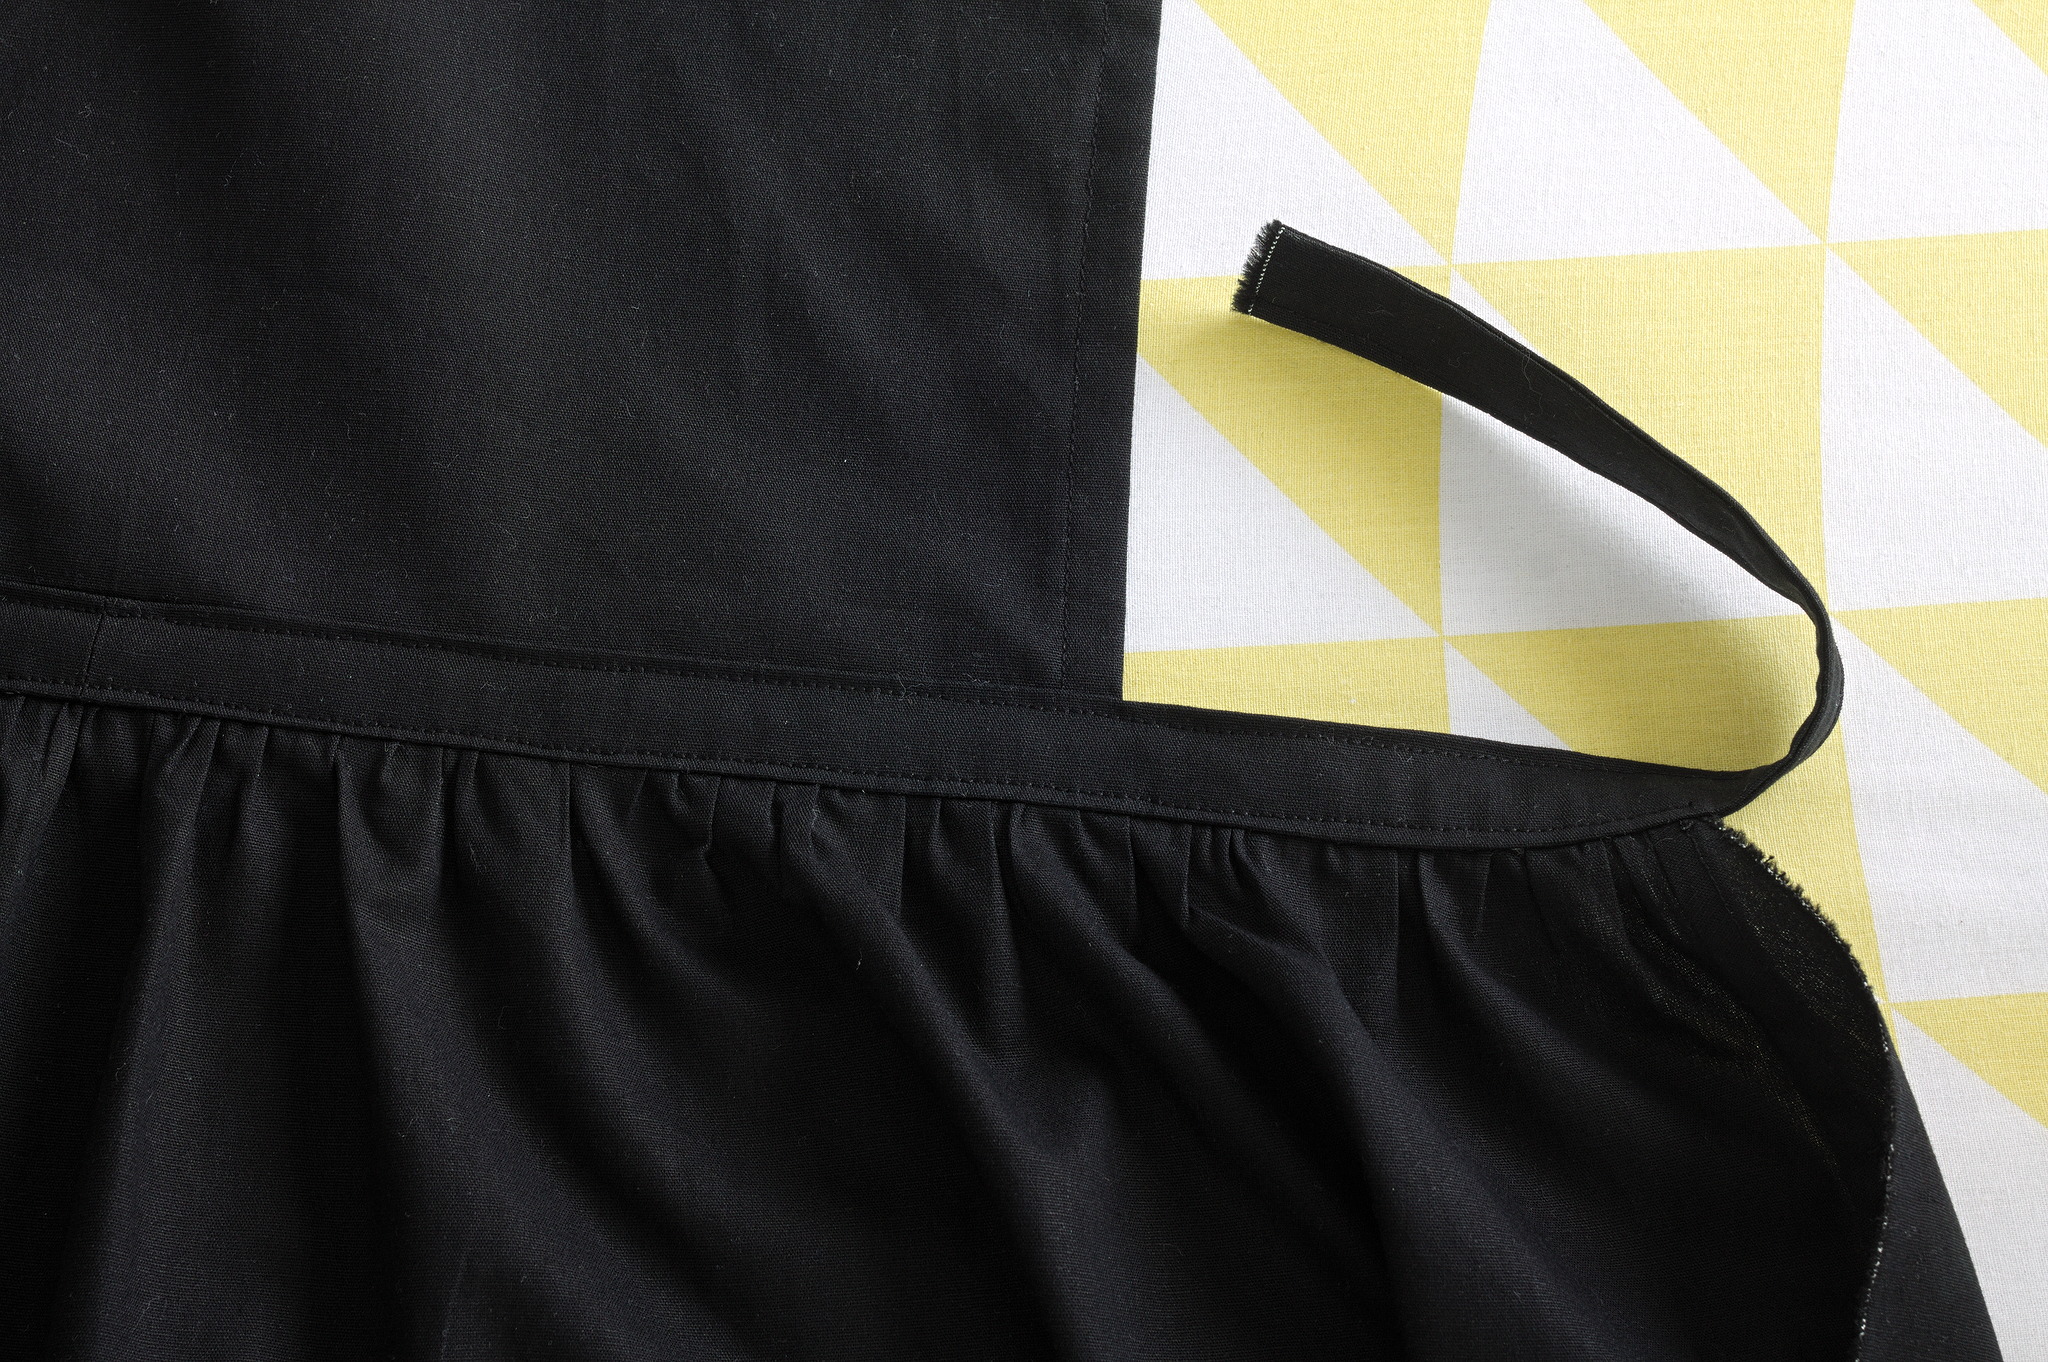
Run two rows of gathering stitches at the top of the apron, gather it to 46 cm; sandwich it between the two bands, centered on them, and sew from one selvedge to the other of the band. Press the allowances up.
Align the two bias edges of the bib at half an allowance of distance from each other, sew, press towards the short side, fold down the long allowance and topstitch.
Hem the top and sides of the bib with a 1 cm hem with mitered corners.
Put the right side of the bib centered on the right side of the front band, sew, press towards the band all allowances, including the ones to the side of the band.
Press also the back band, topstitch close to both borders of the band.
Ties
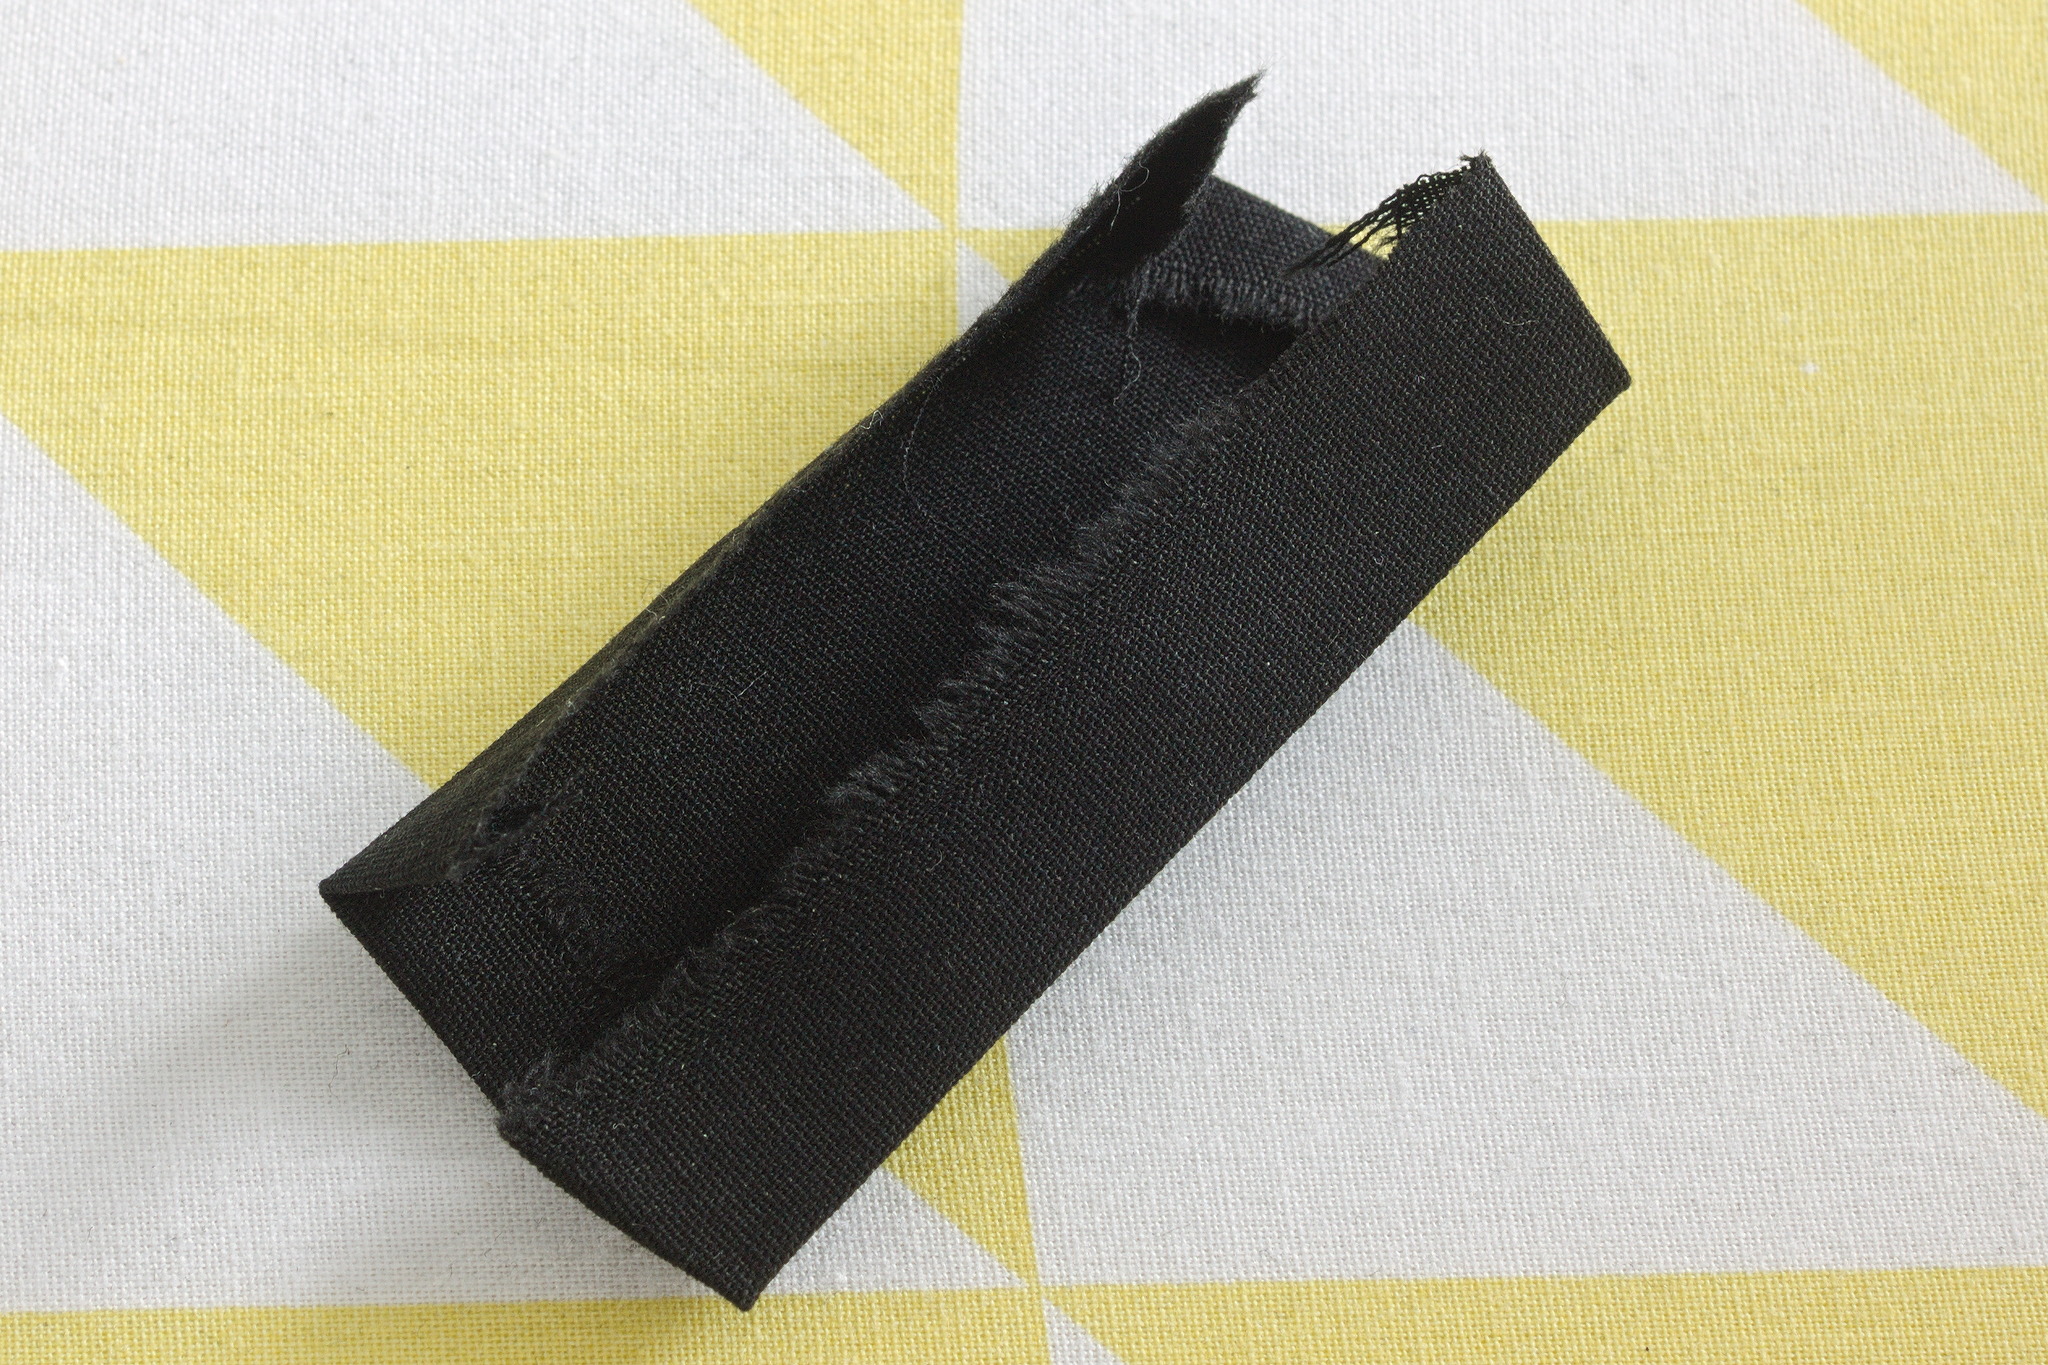
If you want to close the apron with ties, sew them to the ends of the band, long enough to go around the waist and tie in front; finish the ends.
Button closure
The band will probably be too short to go around the waist, so you will have to make a small extension with two buttons.
Make two buttonholes at the ends of the band.
From the leftovers, cut a rectangle long enough to go from below one buttonhole to the other one with the apron around the waist, plus sewing allowance, and four time as high as the finished band.
Fold it in half, then fold the allowances towards the center: you will get a rectangle made of four layers of fabric, press. Fold the ends in, press.
Topstitch all around this rectangle, close to the border.
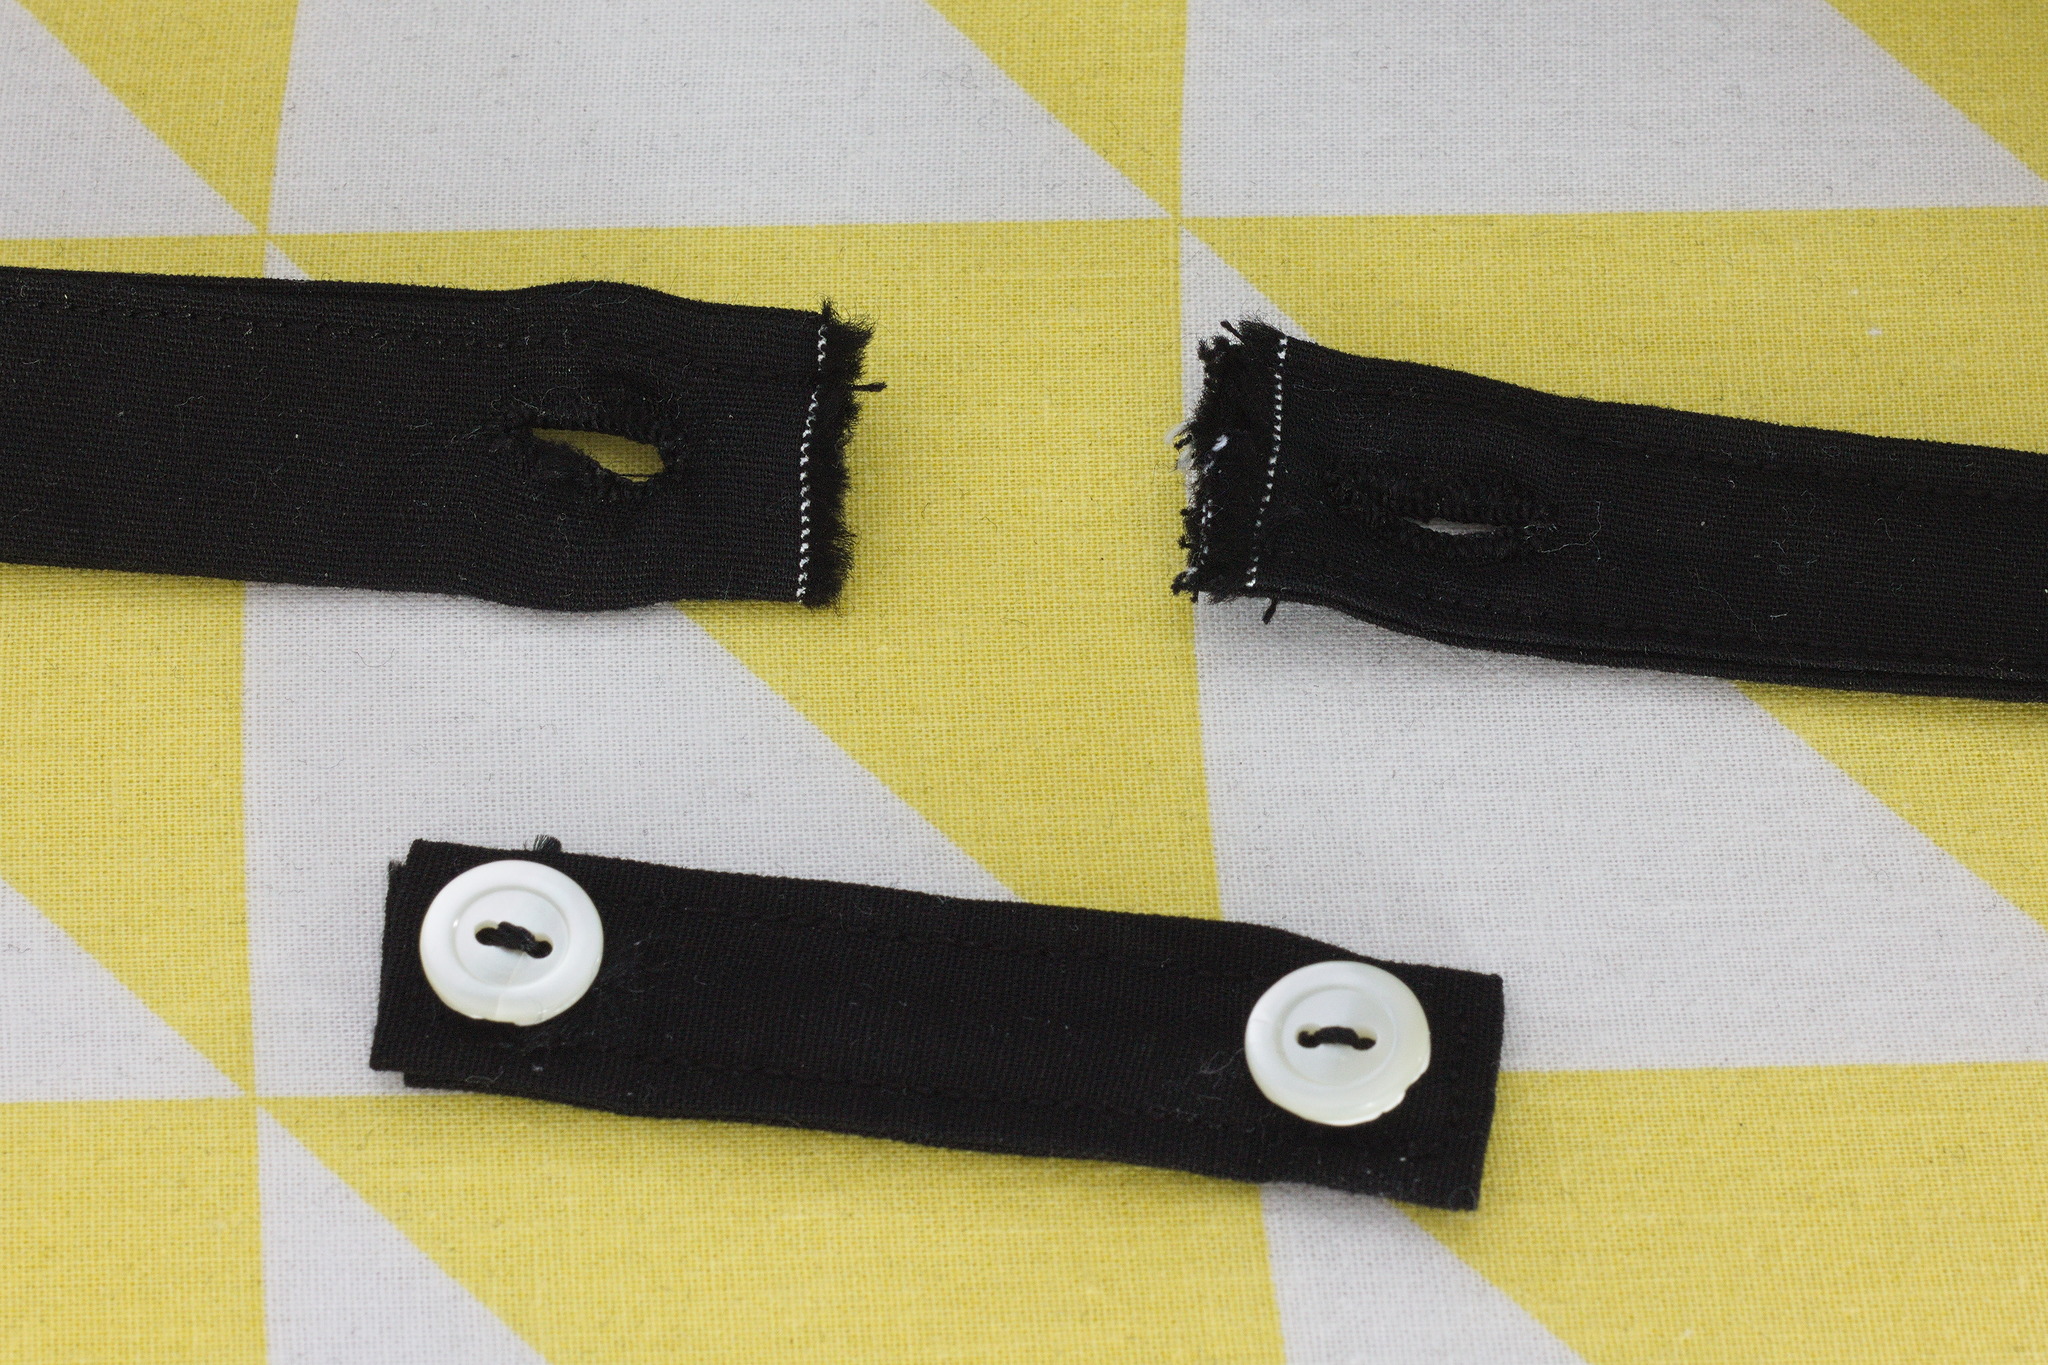
Add two buttons at the ends.
Pocket
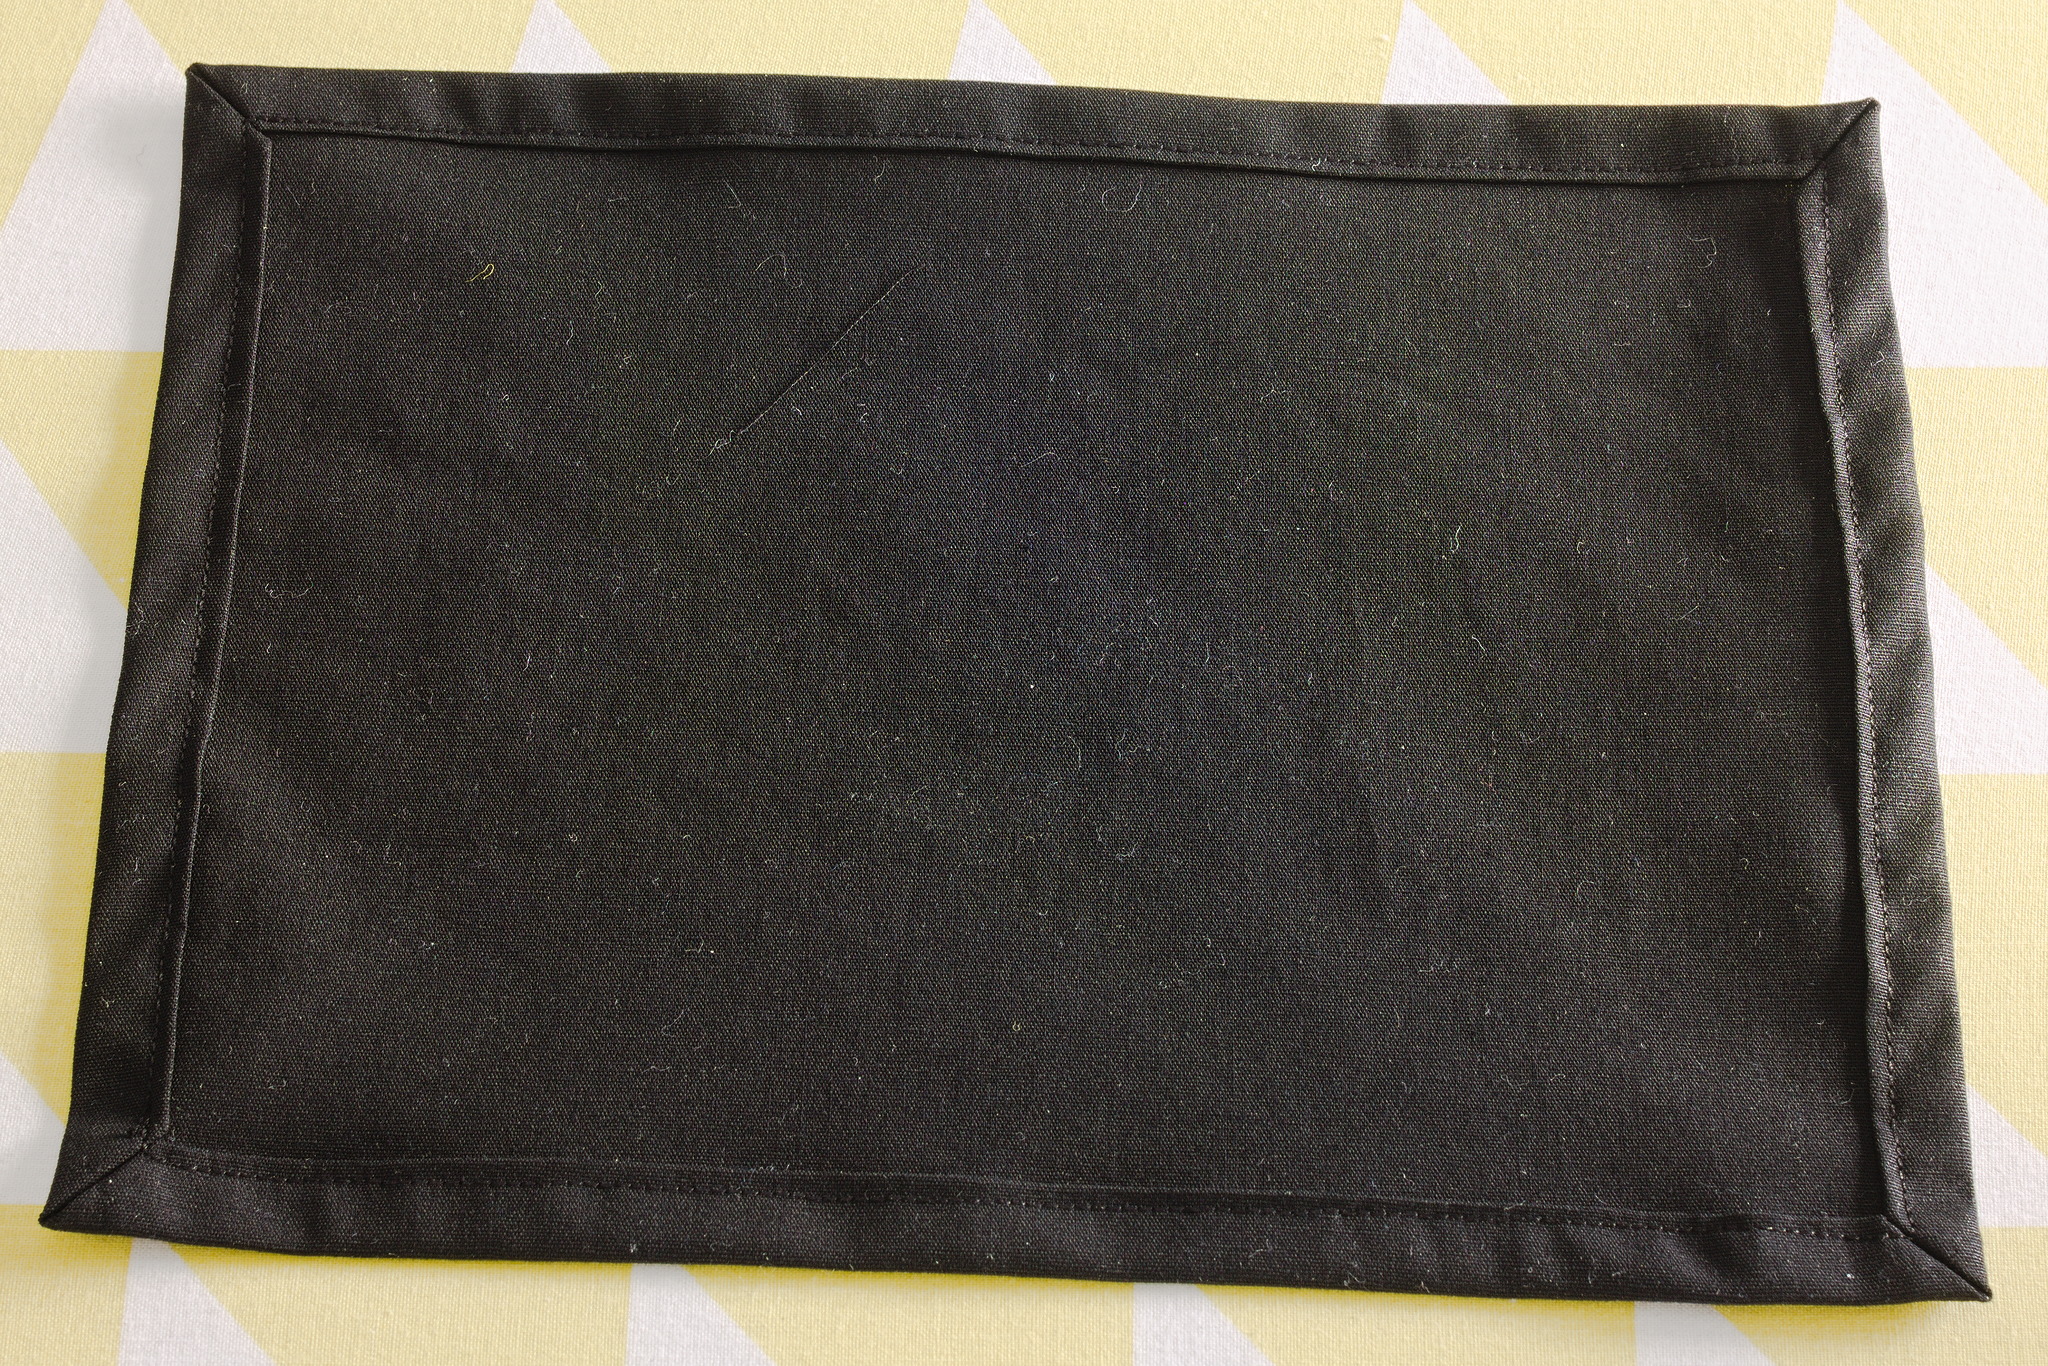
When you’ve finished adding parts to the apron, you can cut a pocket from whatever leftovers you still have, hem all sides with a 1 cm hem, and topstitch to the front of the apron.
Gallery