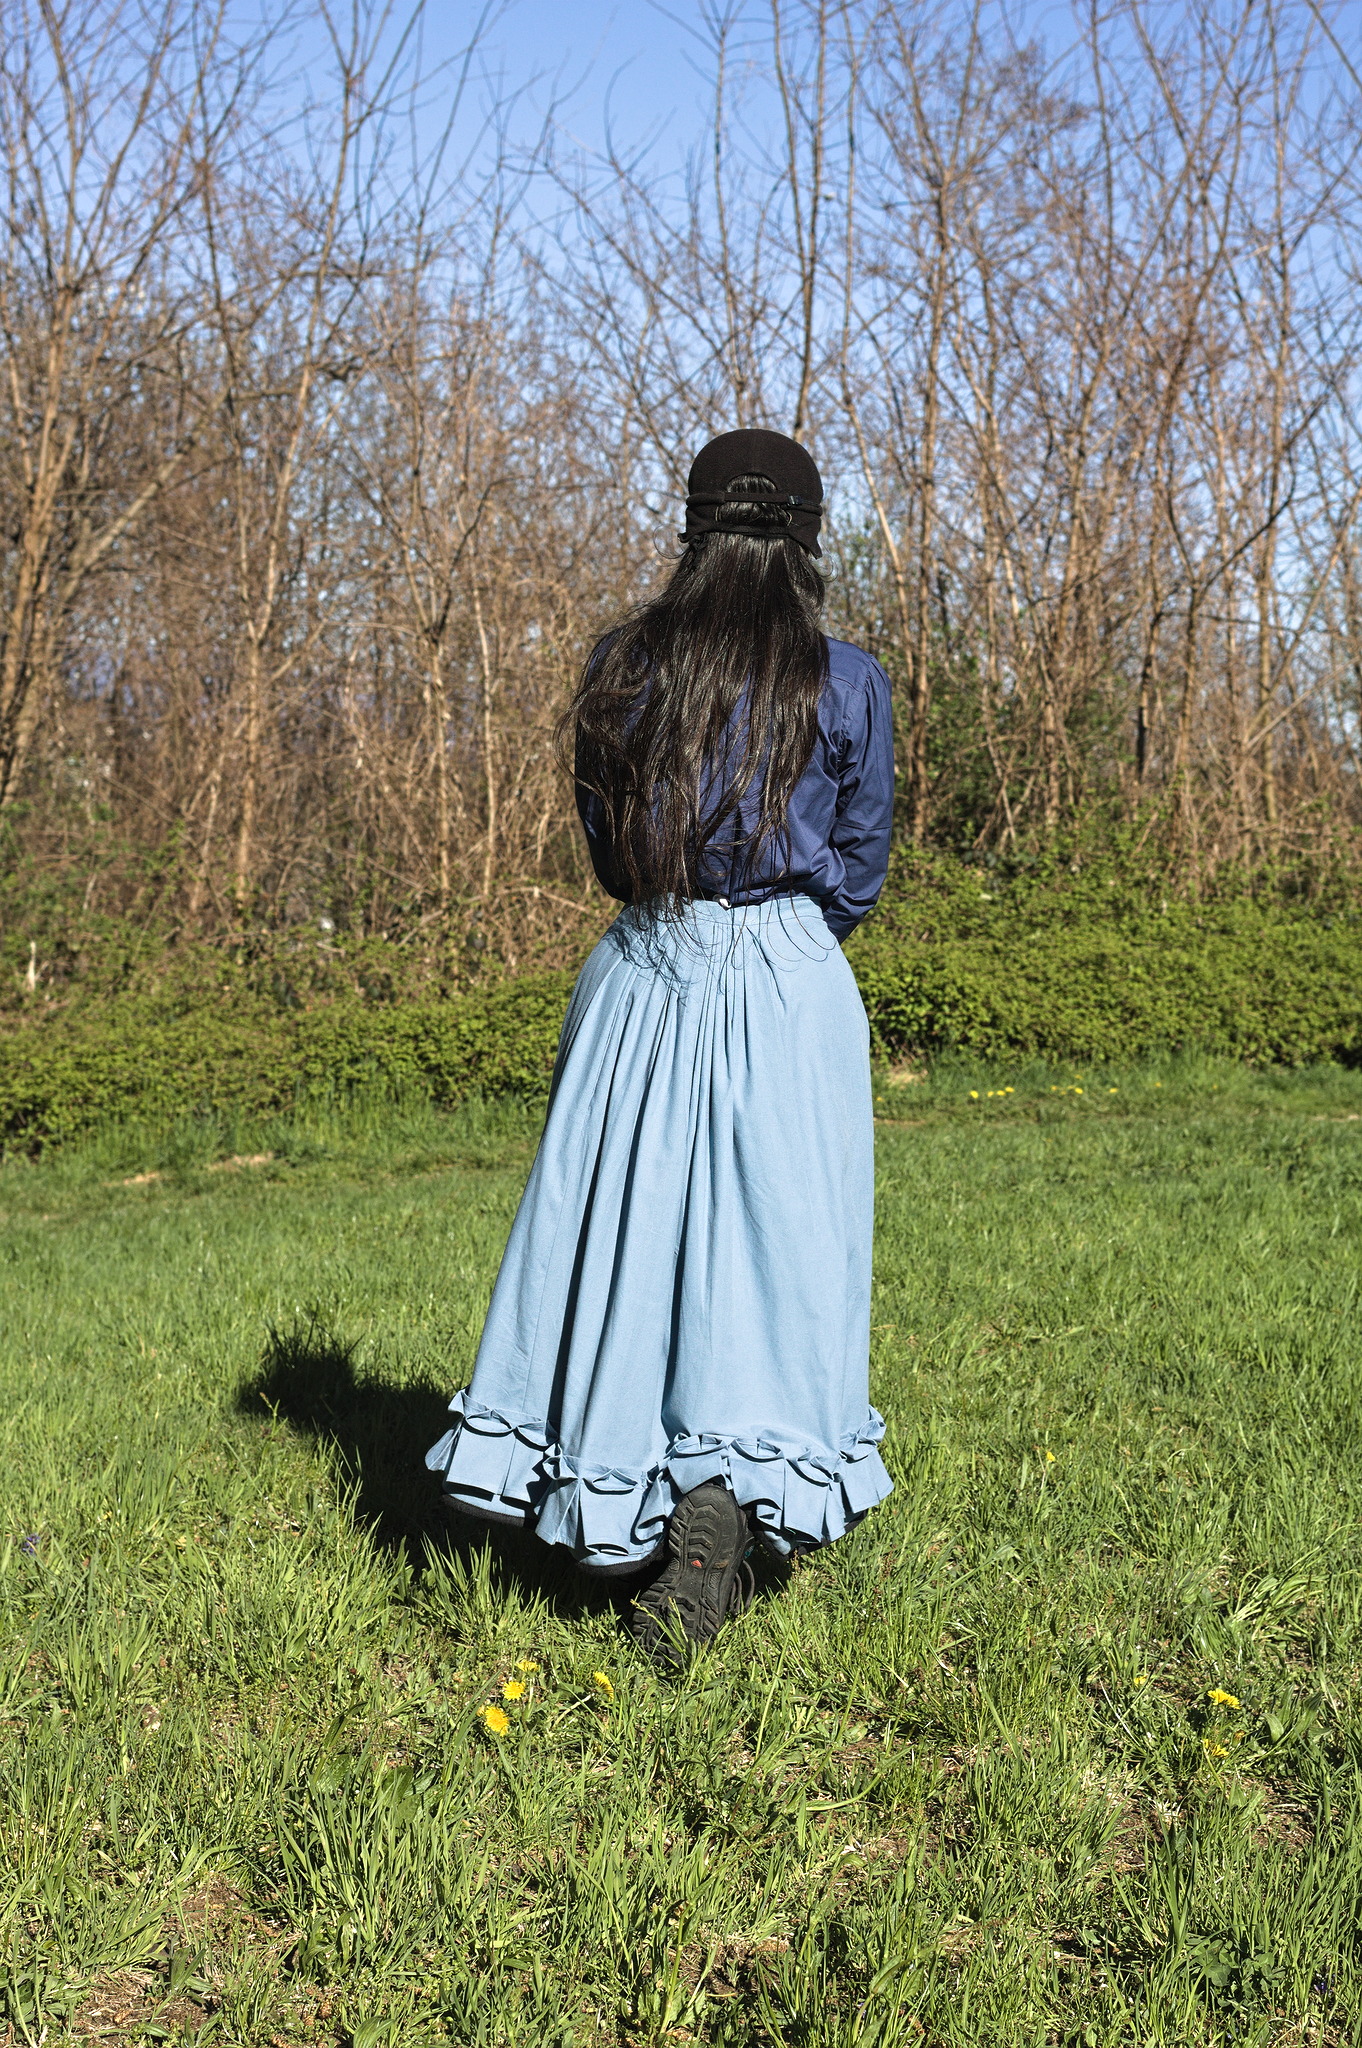
1892 Foundation Skirt

A foundation skirt based on the instructions on [Vin92], adapted to let the hem lie on the cross-grain for ease of cutting, especially when using patterned fabric.
While this manual is from the 1890s, the cut of this skirt resembles more the skirts of the natural form and second bustle eras rather than the A-line skirts typical of the full 1890s and works well worn with anything from a small bustle pad to a full bustle cage.
In an historical context, this skirt would be a base with a layer of drapery on top, often mounted in the same waistband to reduce bulk. For historybounding and for variety it can also be made separate from the drapery, to be able to change the look of the outfit (or to skip the drapery for a simpler modern option).
Most of the skirt is sewn by machine with just straight stitches (so an historical threadle or hand cranked machine could be used), with few handstitched finishing seams. Handstitching the full skirt is also an option, if you don’t have a machine: in that case use either a backstitch or running backstitch on all machine sewn seams.
Materials
Fabric
About 3 m of skirt fabric (at least 140 cm wide): mid-weight cotton, linen or wool;
optional, about 2 m of lining fabric : light weight cotton or linen;
50 cm sturdy fabric for the hem facing;
20 cm pocket fabric.
When choosing the fabric, consider whether the skirt will have a permanently attached drapery: if so you can use a cheap, plain fabric for the underskirt, and add an external facing in the fancy fabric to cover just the bottom edge which will show.
Notions
sewing thread to match the fabric;
5 m bias binding to finish the raw edges (any colour, as it won’t show);
about 2 m wool braid or hem protector for the bottom edge.
skirt hook;
snaps.
Pattern
This pattern uses the The Cutters’ Practical Guide to the Cutting of Ladies Garments.
Measurements
You need to take the following measurements:
height_waist_front(A13)height from the waist to the ground, measured in the center front;
height_waist_side(A05)height from the waist to the ground, measured on the side, going over the hips;
height_waist_back(A23)height from the waist to the ground, measured in the center back, going over the buttocks;
waist_circ(G07)circumference of the waist;
hip_circ(G09)circumference of the hips.
the file ../../drafting_methods/cutters/cutters.vit is used
by default by the pattern file and has the list of needed measurements.
Pattern
Get the valentina file for the pattern,
foundation_skirt_straight_hem.val.
You also need to decide the following measurements and set them in the table of variables in Valentina; most defaults in the file are sensible.
waistband_heighte.g. 3 cm;
placket_widthe.g. 3 cm;
placket_lengthlength of the placket opening, e.g. 28 cm;
pocket_distance_from_waisthow low from the waist the pocket should start, e.g. 6 cm;
pocket_openinghow wide the pocket is, e.g. 18 cm;
pocket_depthhow deep the pocket is, e.g. 40 cm (my pocketing material is 80 cm wide, and I use a full width, with selvedges on both sides);
height_hem_groundthe desired distance from ground to the hem; 10 cm is good for a walking length skirt.
Instructions
Cutting
Straighten the grain of the fabric and cut any big rectangular piece such as the belt band and strips for a ruffle.
Cut the main panels of the skirt, first the front and then the back one, on the fold of the fabric.
Cut the facing for the placket opening from the narrow leftovers at the bottom of the front panel, using the selvedge to get one finished edge on each.
Tip
If you are also making a matching waist or jacket, it is often practical to cut the skirt panels first, and then distribute as many waist / jacket pieces as possible on the leftovers.
If desired, cut the front and back panel from the lining.
Cut the pocket from a sturdy material.
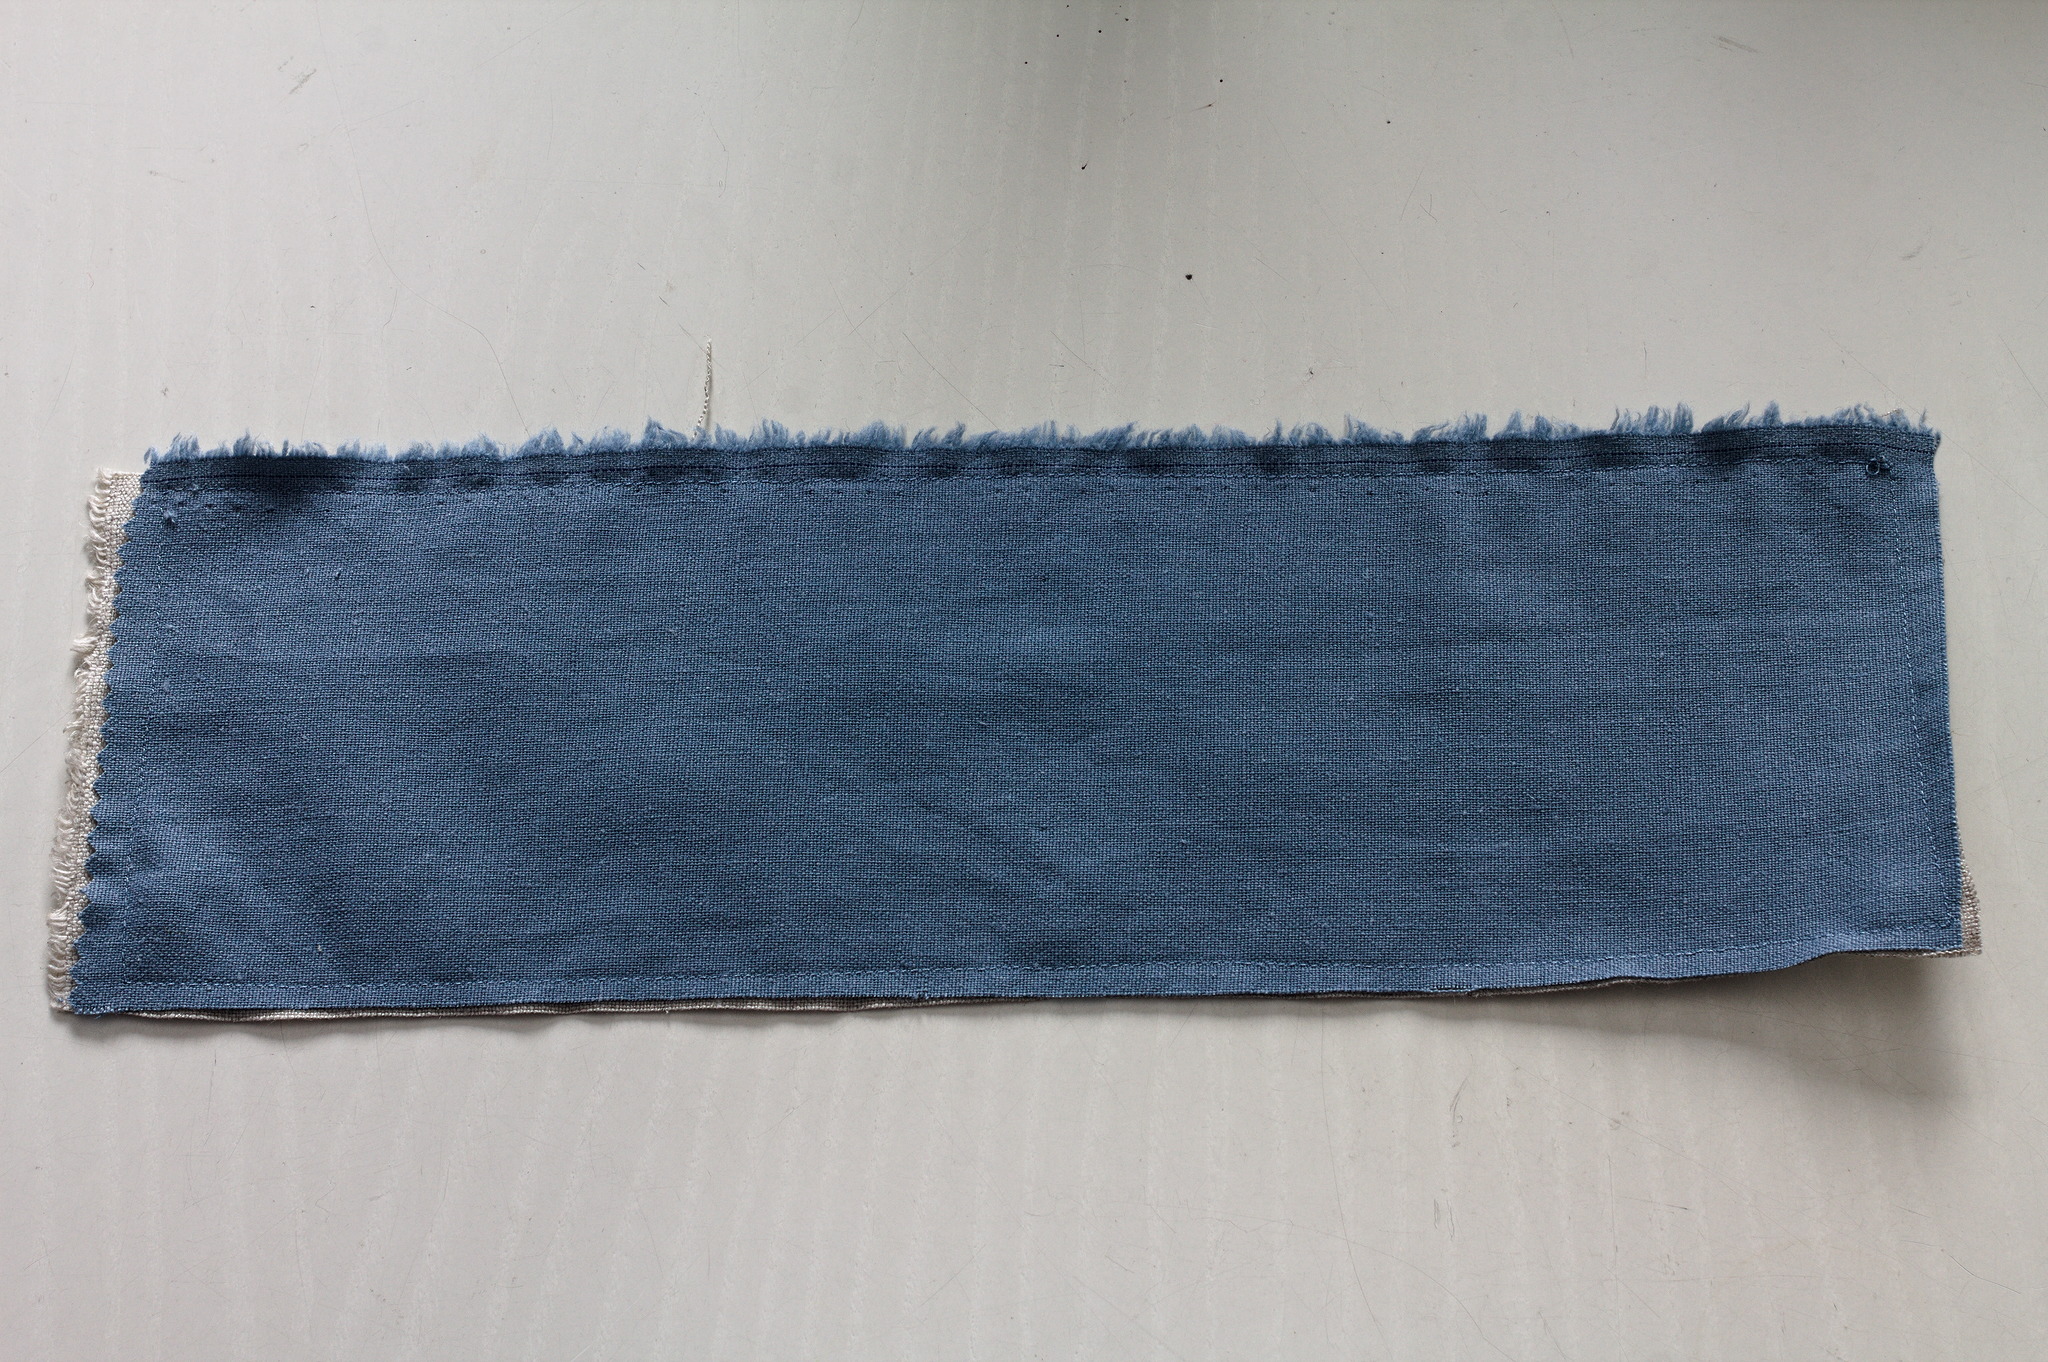
Cut the facing for the hem. If the main fabric is lightweight or very draping also cut the placket facing once in the same fabric.
Sewing preparation
If lining the skirt, put the lining on top of each panel, wrong sides together, and baste all four sides; from now on treat as one piece.
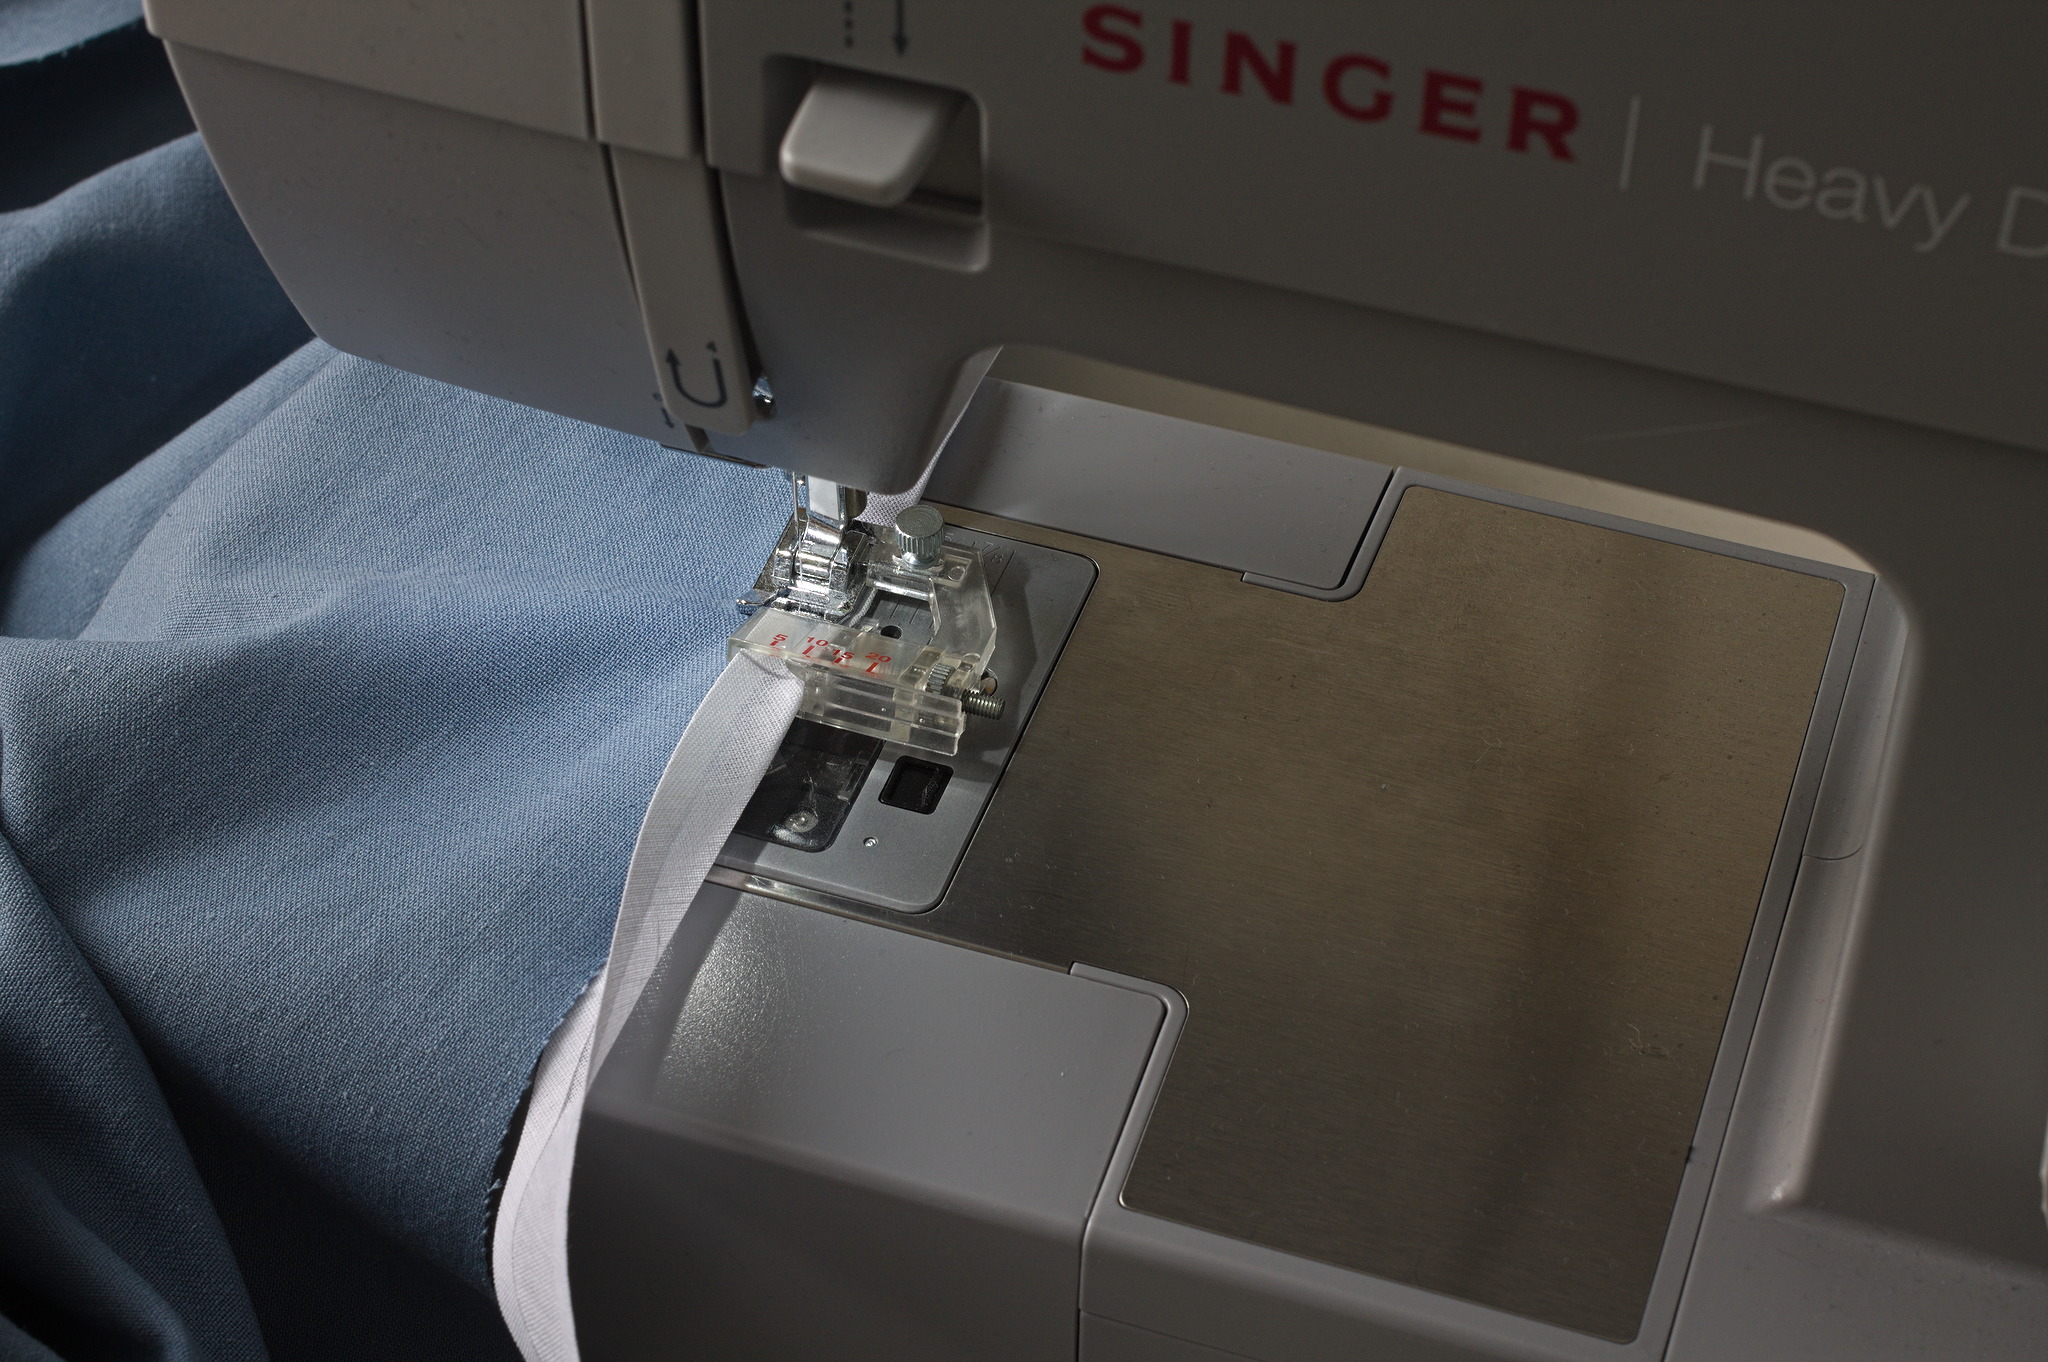
Binding the edges with a binding foot is faster, but if you don’t have one it can be done with the regular foot by being careful.
Bind all four long edges of the skirt with bias tape to protect the raw edges; it’s easier to do so now than after the pocket and opening have been attached.
Note
Binding the edges with bias tape is part of my own modern obsession with fully enclosed raw edges: historically it was done on high-end garments, but more common alternatives include overcasting the edges by hand, pinking them or even leaving them raw, especially with non-fraying wool, and overlocking is of course a valid modern alternative.
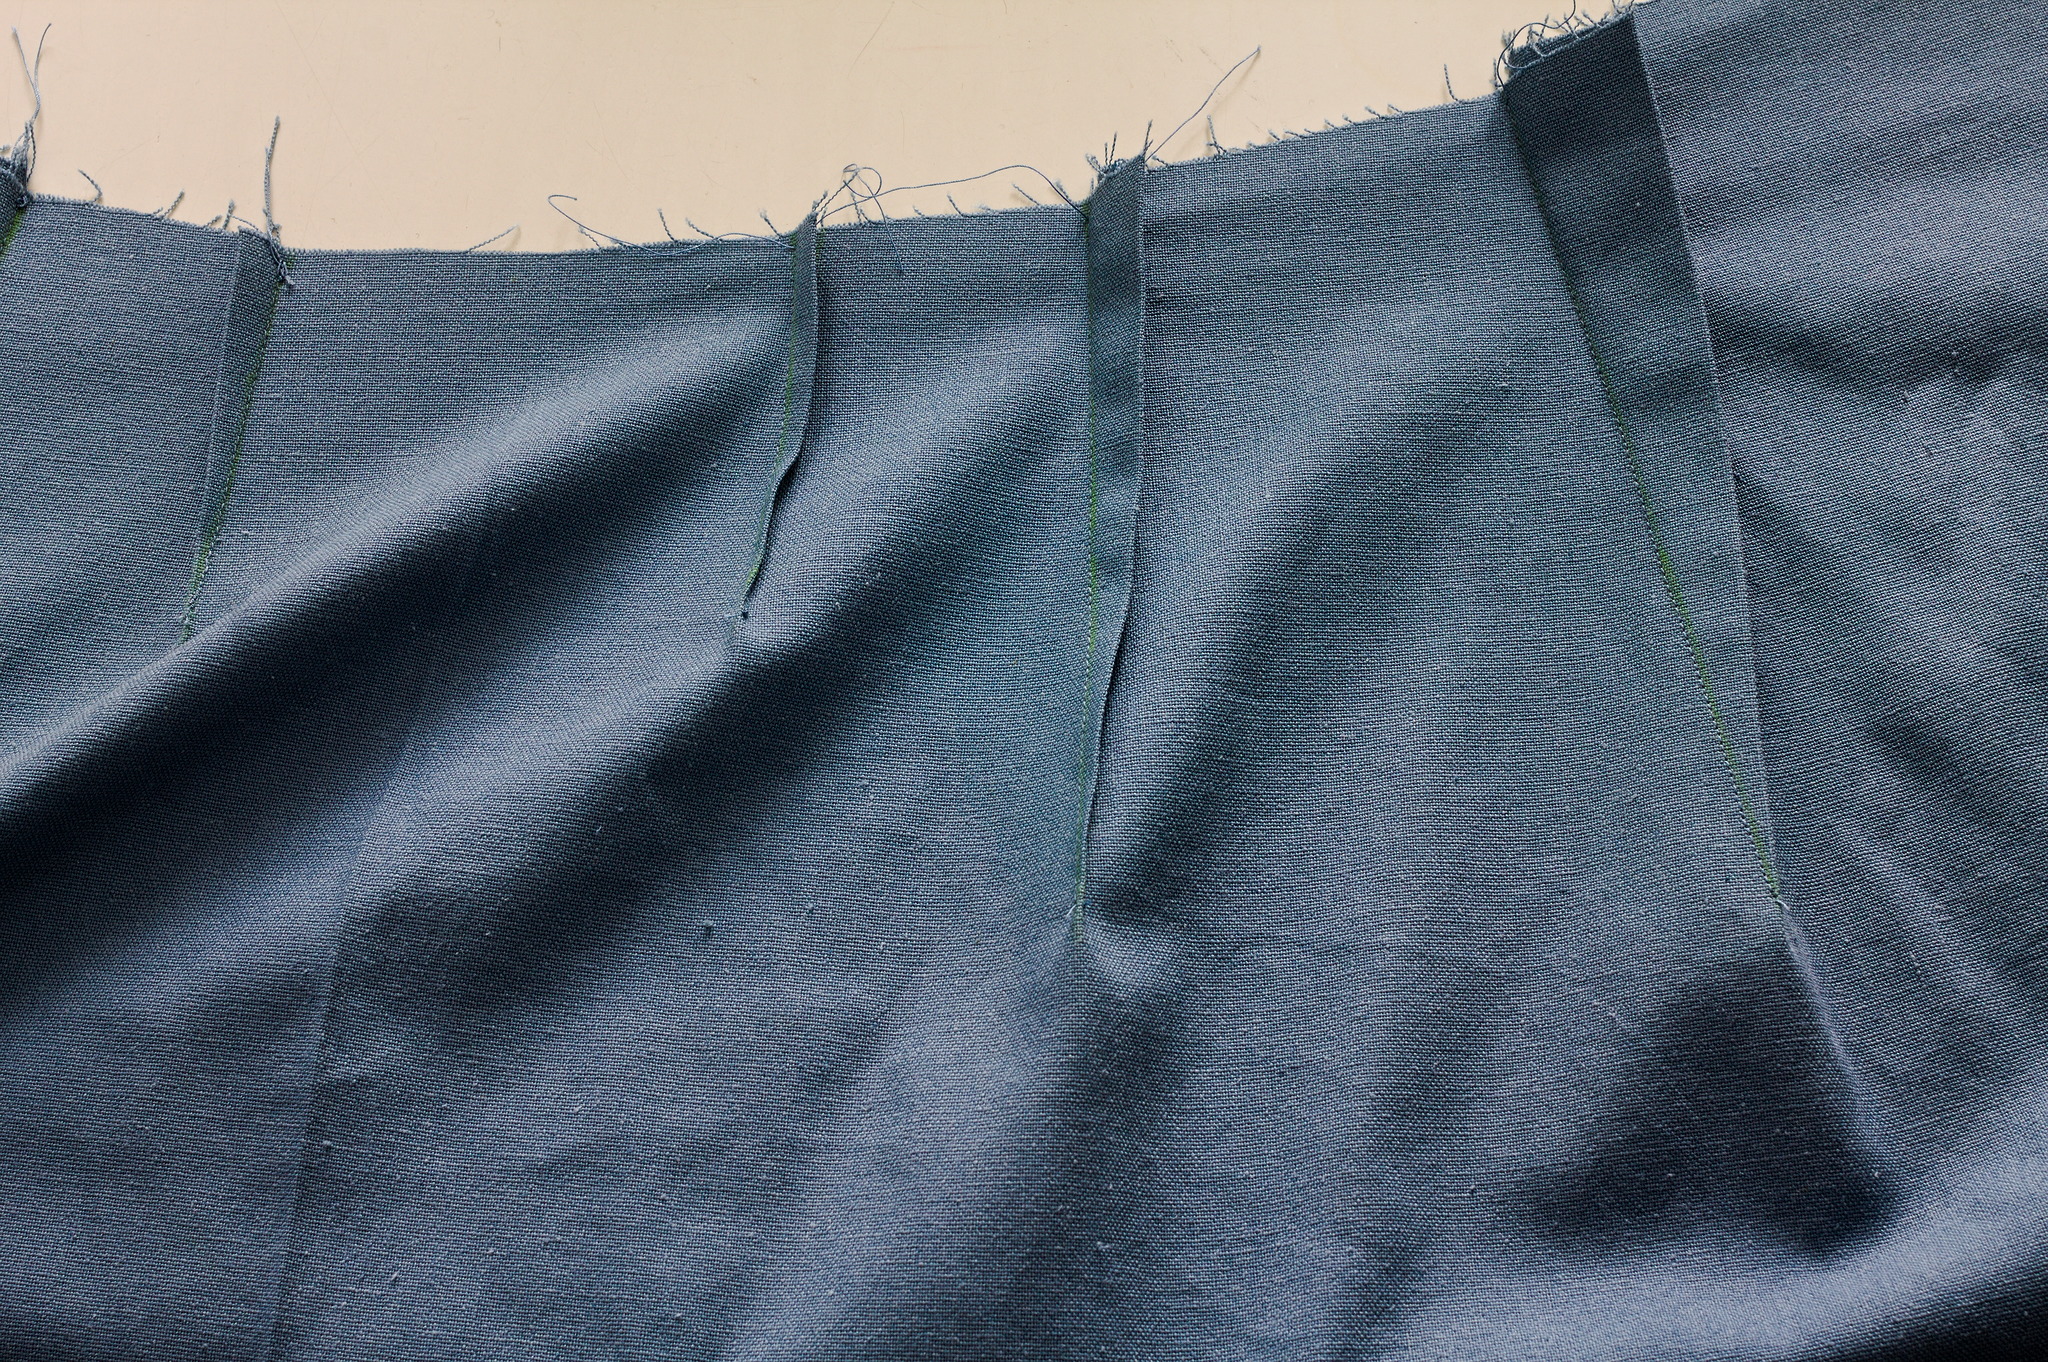
Fold with right sides facing and sew the first two or three dart pairs from the center, leaving at least one to be folded in a pleat. Press towards the sides.
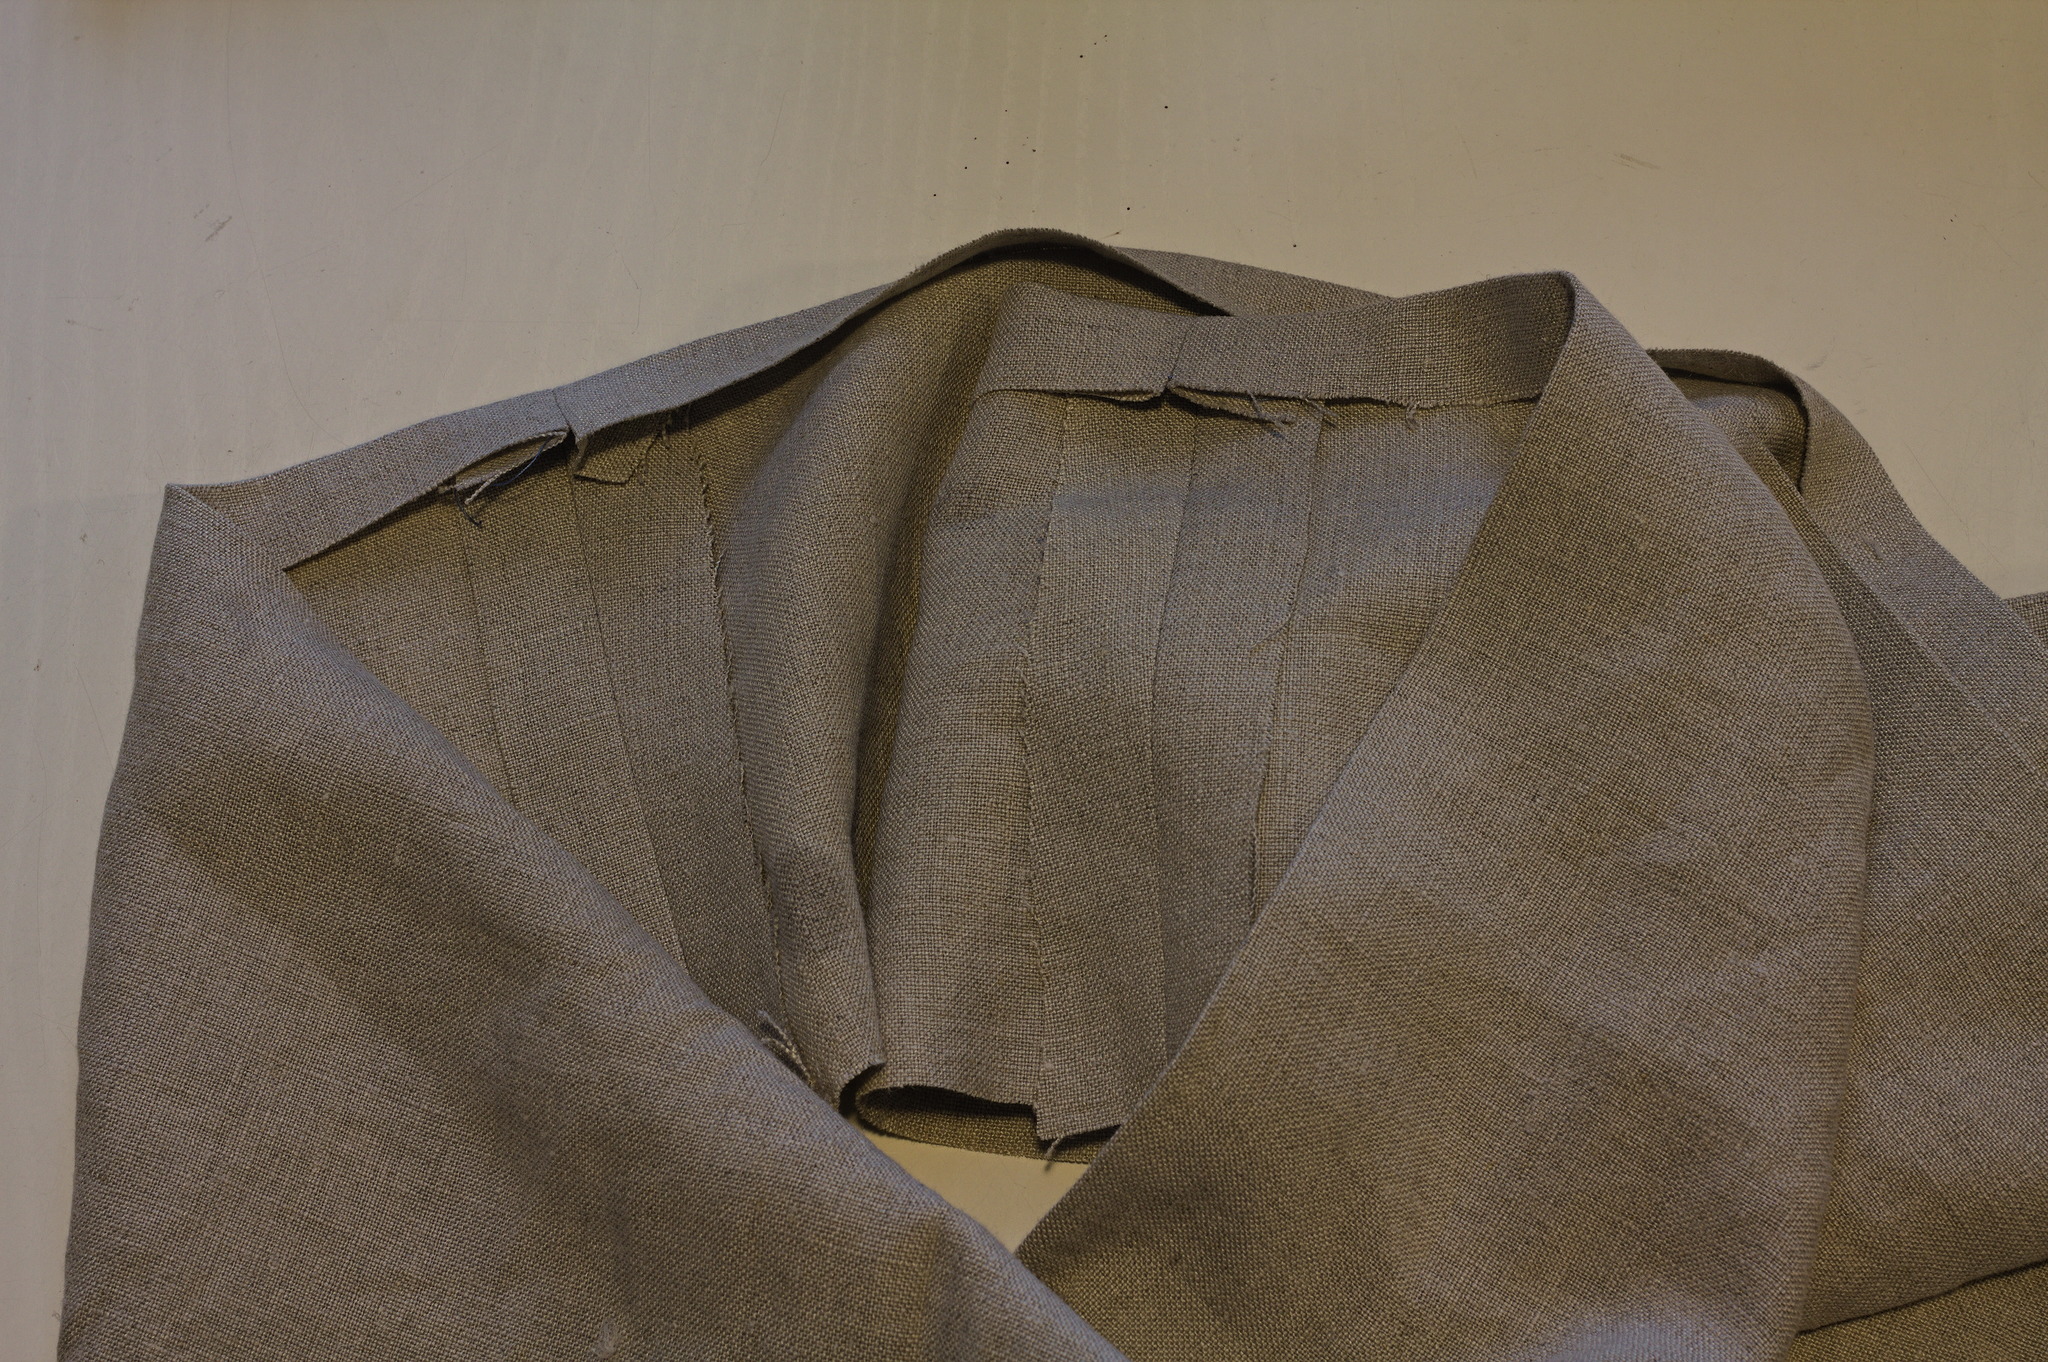
Placket opening
If your fabric needs it, flatline one of the placket facings with the sturdy fabric, basting all around.
With the wrong side facing up, keep the selvedge of that placket piece on the right and finish the bottom edge with pinking or by overcasting the edges (here there will be too much bulk for a bias tape finish).
Put the back piece of the skirt with the right side facing up and place this placket piece on its left side, right sides facing. Sew with 2 cm allowance, press towards the placket.
Fold the placket piece in half so that it just covers the seam and stitch in the ditch from the right side to tack it down.
With the wrong side facing up, keep the selvedge of the other placket piece on the left and finish the bottom edge as before.
Put the front piece of the skirt with the rigth side facing up and place the placket piece on its right side, right sides facing. Sew with 2 cm allowance, press open and then press towards the skirt.
Fold the placket in half so that the selvedges just reaches the seam, press and baste down the top edge where the waistband will be.
Put the back on the front piecs, right sides together, and sew the side seam starting from the hem and reaching 1.5 cm into the placket, taking care to check that this last part perfectly aligns with both seams in the placket. Check on the right side that the placket aligns smoothly and that the opening is hidden in the seam and press flat.
From the wrong side, extend the two plackets from the skirt, align their bottom and sew it at 1.4 cm from the edge, stopping just where the side seam starts.
Pocket
Right sides together, sew one short edge of the pocket to the front panel between the V notches. Again right sides together, sew the other short edge of the pocket to the back panel, taking care not to twist the pocket material. Press the allowances towards the skirt.
If you didn’t use the selvedges finish the raw edges of the pocket.
Pin the front and the back of the skirt, right sides facing and with the pocket extended; starting from the top sew the side seam down to 1.5 cm into the pocket, backstitch 2-3 stitches for strength. Start again from the end and sew the rest of the side seam until 1.5 cm into the pocket, backstitch again 2-3 stitches for strenght.
On the right side, check that the pocket is correctly hidden in the seam and then press the side seam open.
Note
Since this pocket doesn’t have a facing in the skirt material it won’t be completely hidden from sight, but the amount of material in that part of the skirt means that gaping should be a rare occurrence, and anyway it will be further hidden by a pleat.
Sew the sides of the pocket with 1 cm sewing allowance, catching just the sewing allowances of the pocket, but not those of the skirt. Finish the raw edges with bias tape, or by overcasting them by hand.
Note
This style of pocket isn’t tacked down to one side like regular pockets, because I’ve found that at times it is useful to be able to move it either towards the back, so that it is hidden in the fullness or towards the side, so that it is easier to reach into while sitting (and safely out of the way of your own seat).
Pleating and waistband
The full width of the back panel should be reduced to just about 8 cm starting with an inverted box pleat at the center back and overlapping knife pleats in the same direction on each side.
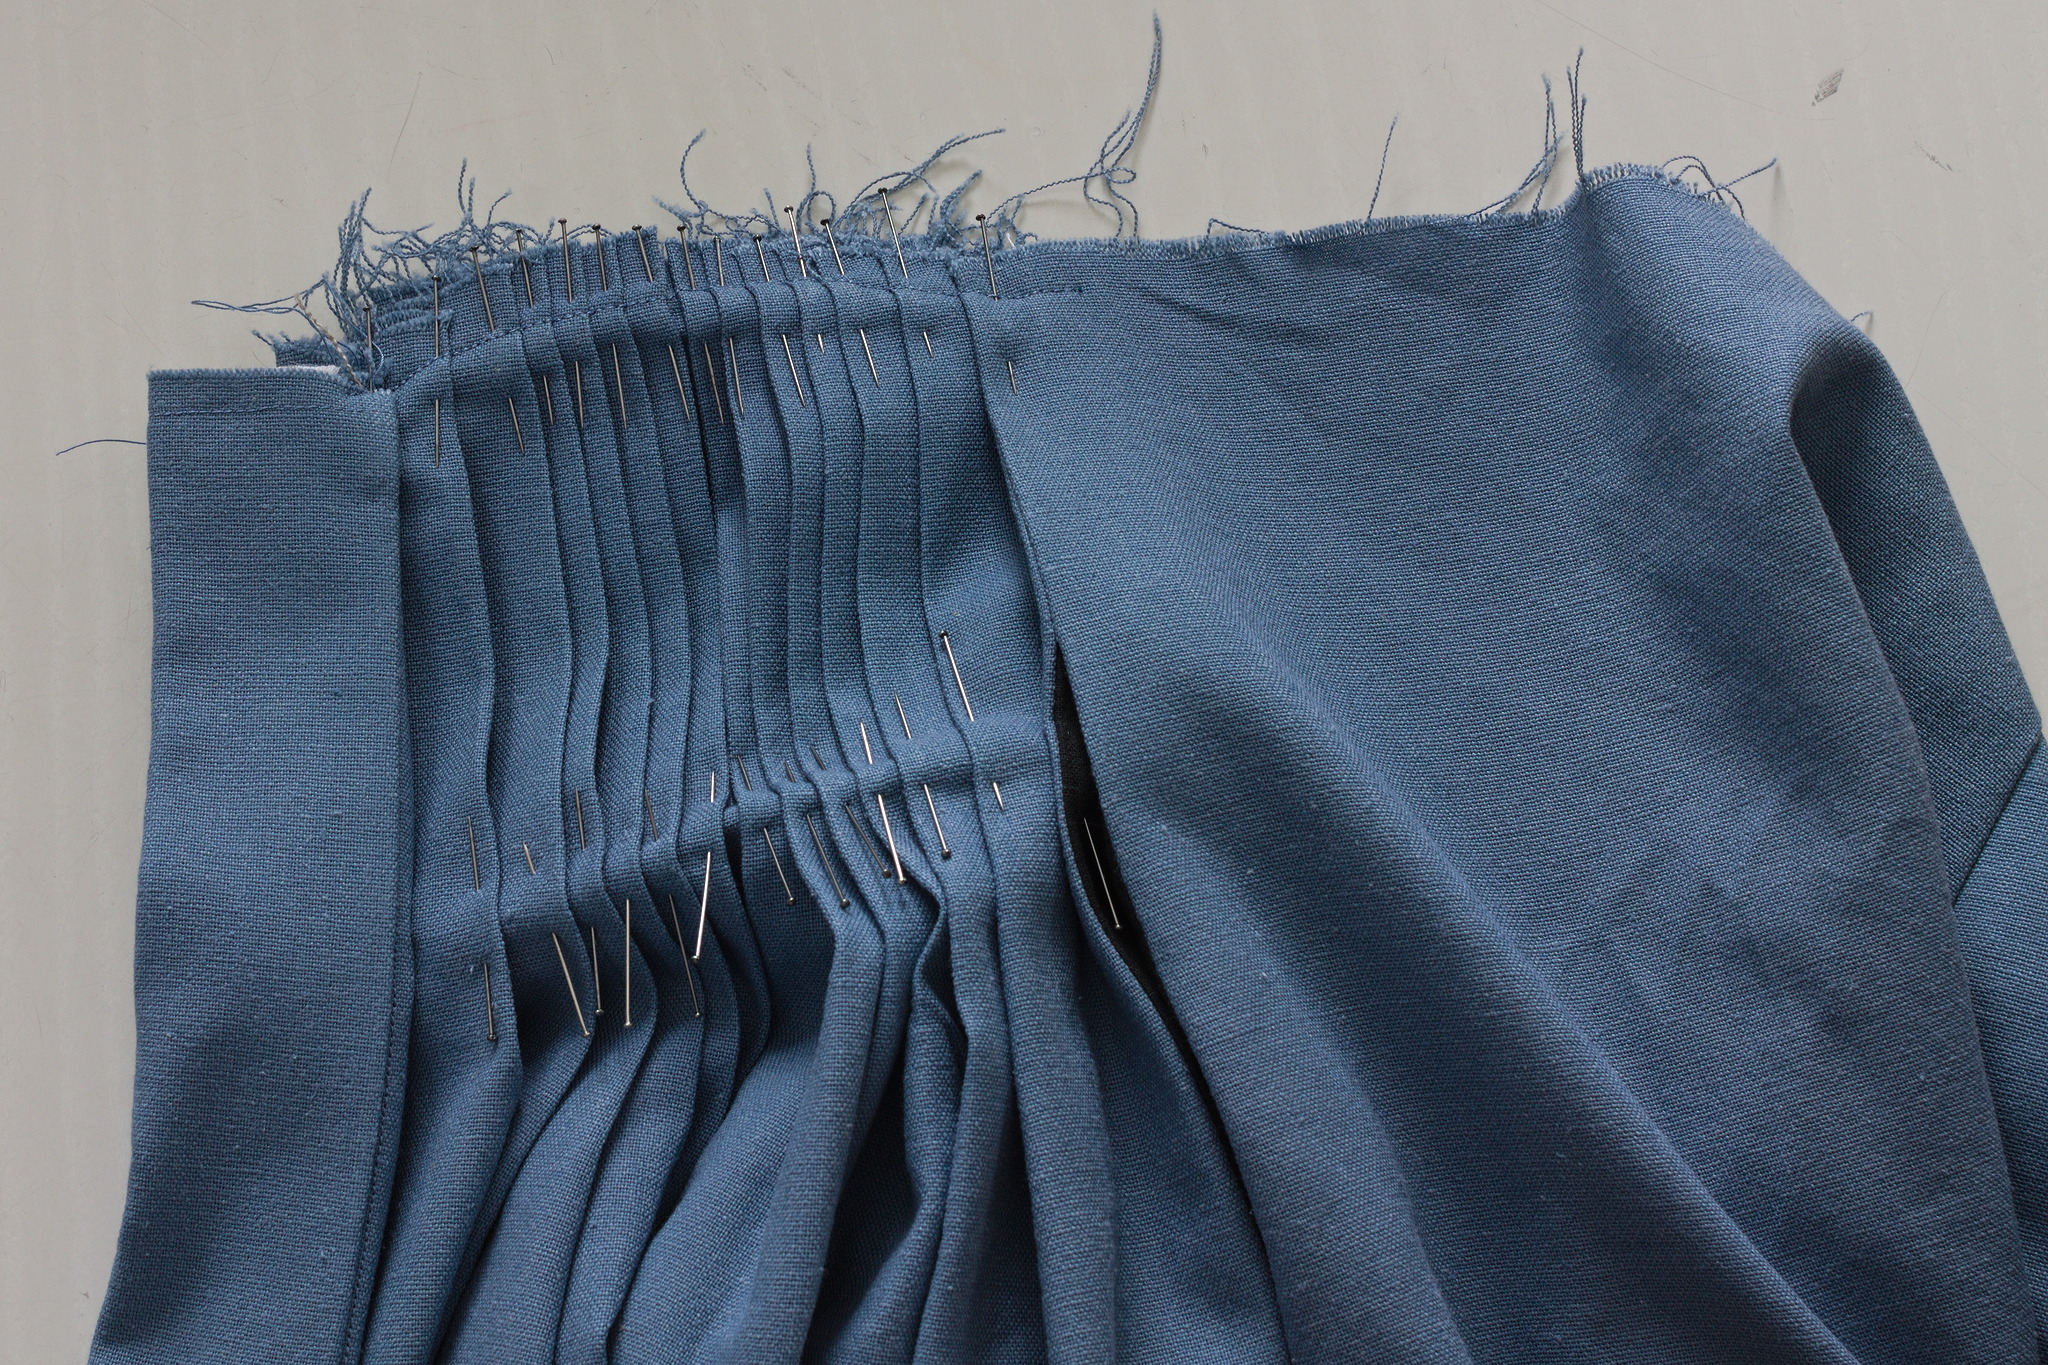
Using steel pins (so that you can press on top of them) fold, press and pin each pleat near the top and a few cm down the skirt working from the center to the sides.
Without removing the pins, very carefully baste the pleats 1 cm from the top edge (to do this by machine you may want to crank it by hand, so that you can easily stop and adjust if the needle is getting too close to a pin).
Note
If you want to add fixed draperies, prepare them and baste them to the skirt during the next step, so that they are sandwitched bewtween the right side of the waistband and the right side of the skirt.
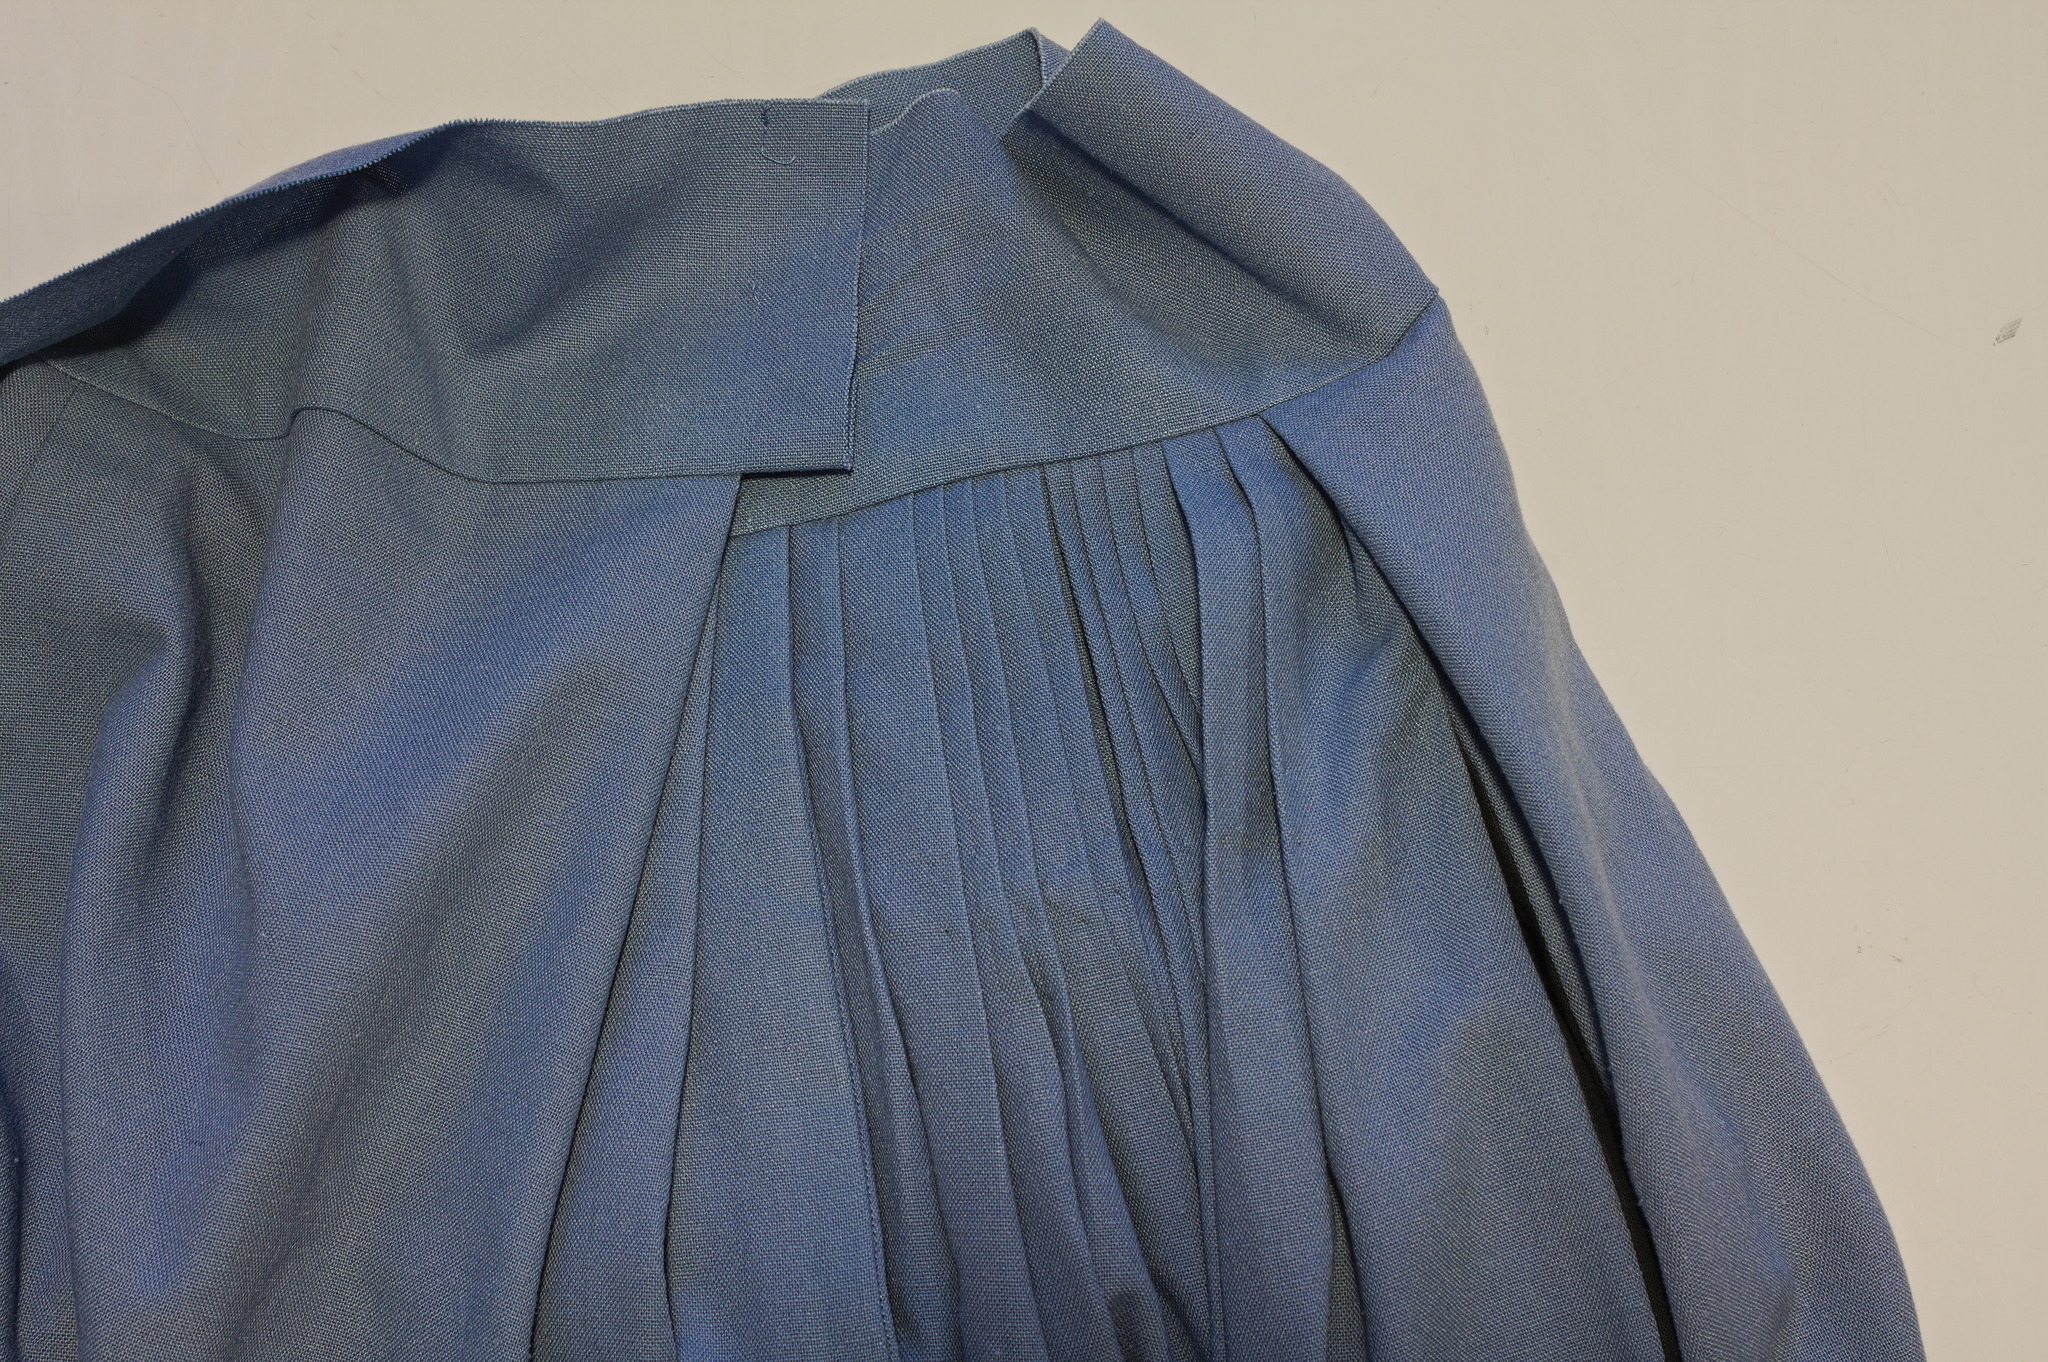
Right sides together, place the waistband over the back panel, then find the middle point of the remaining waistband and pin it to the center front of the skirt; keep pinning towards the sides until you get close to the end, and then fold the excess skirt into two pleats that just about cover the opening placket and the pocket. Sew at 2 cm from the top, carefully removing the pins from the pleats just before sewing that part. Remove also the bottom line of pins, try the skirt on and if everything is ok press the allowance towards the waistband.
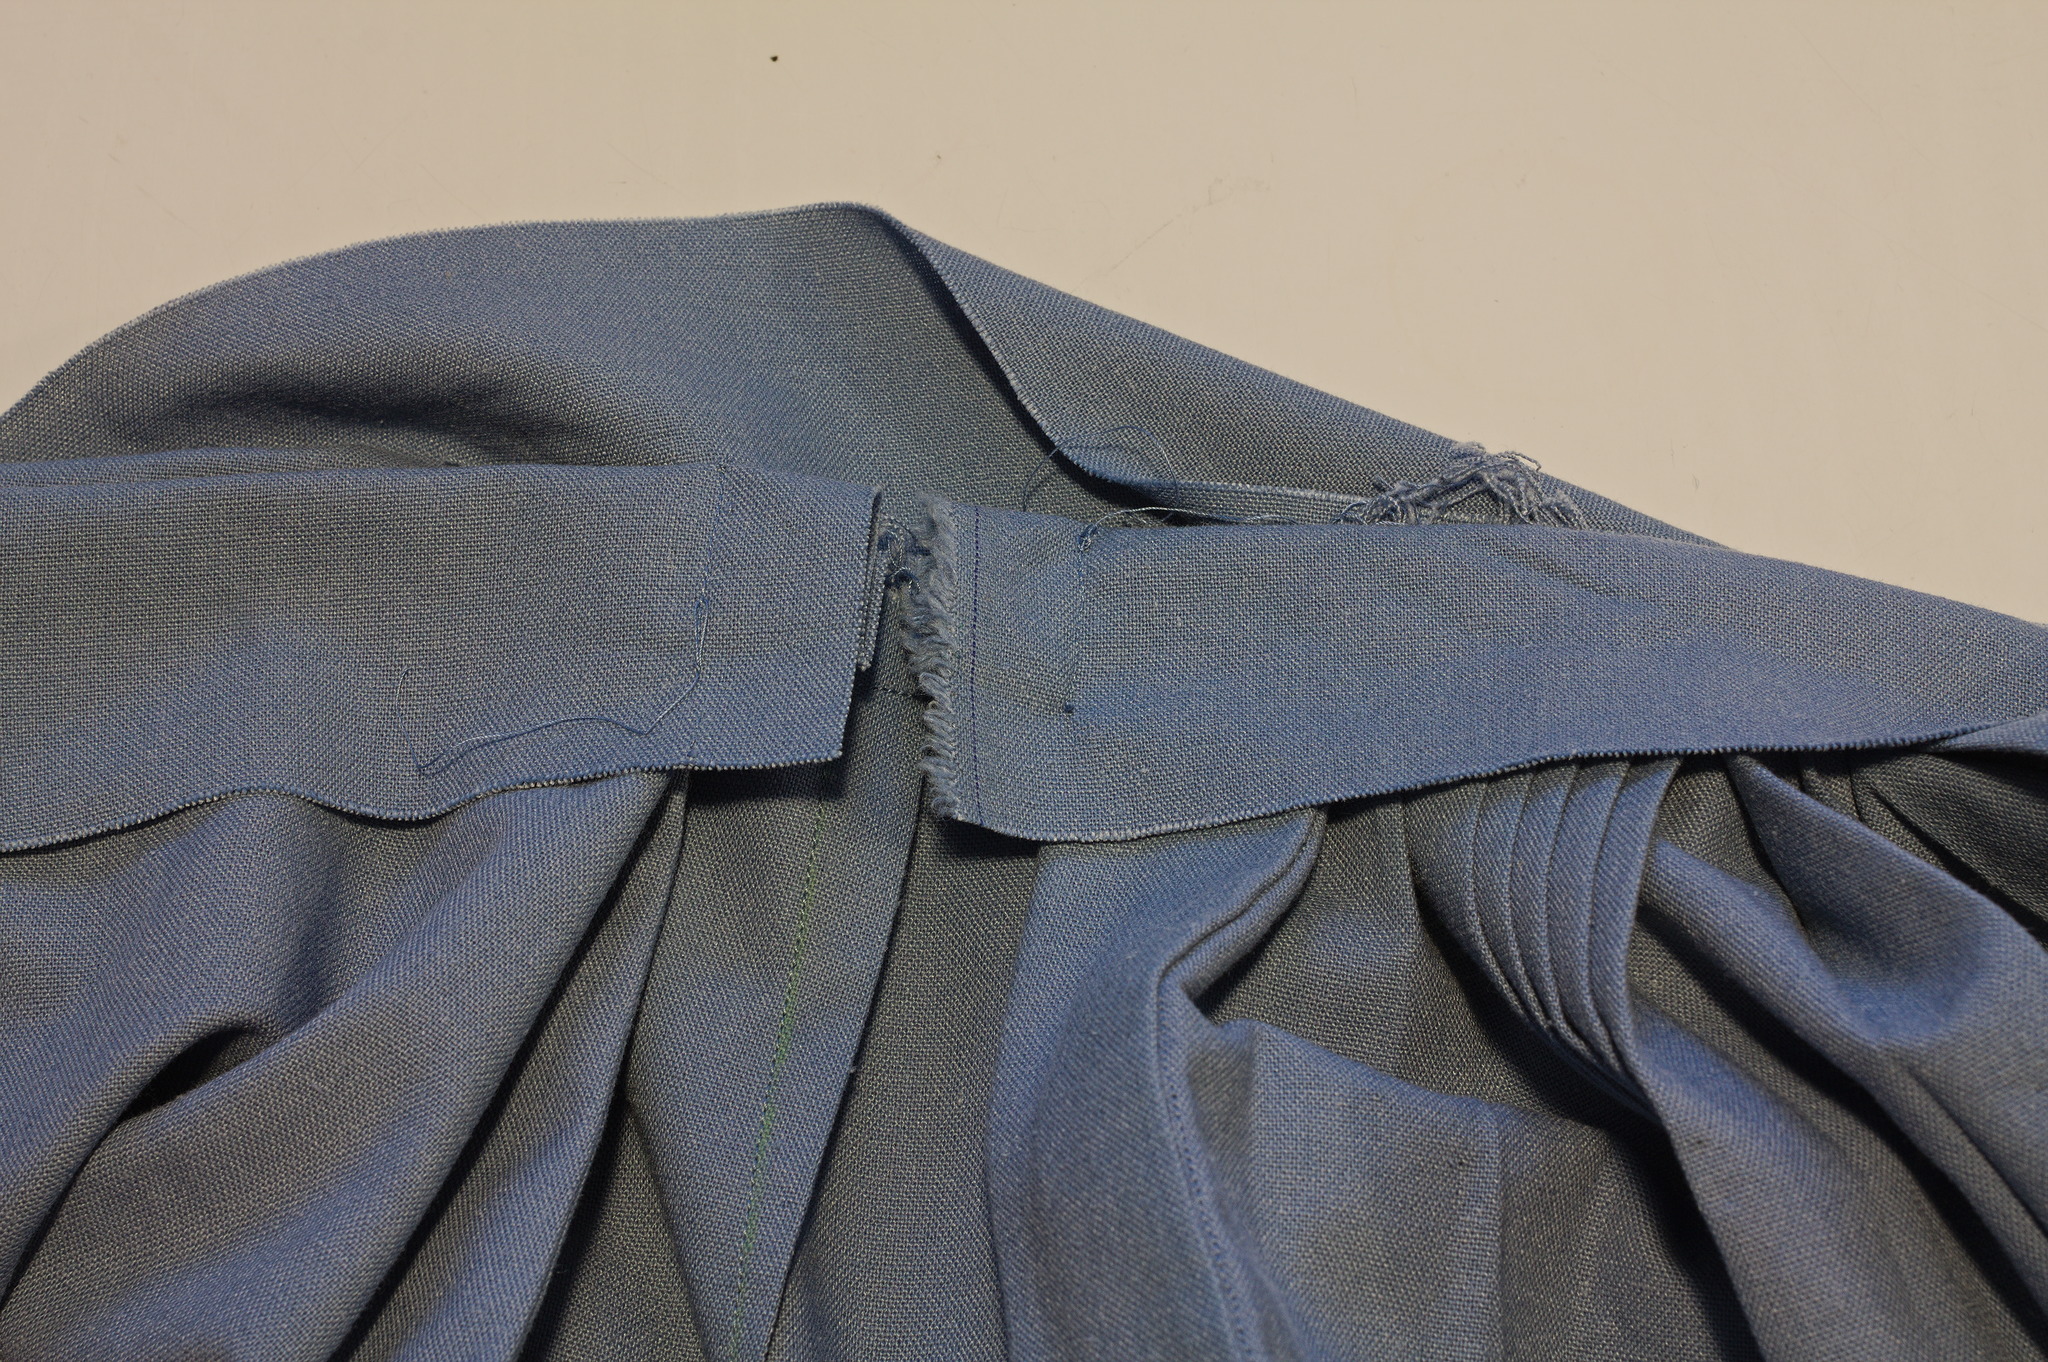
Righe sides together, fold the waistband in half and sew the ends just where the skirt ends. Press, trim the corners and fold inside out.
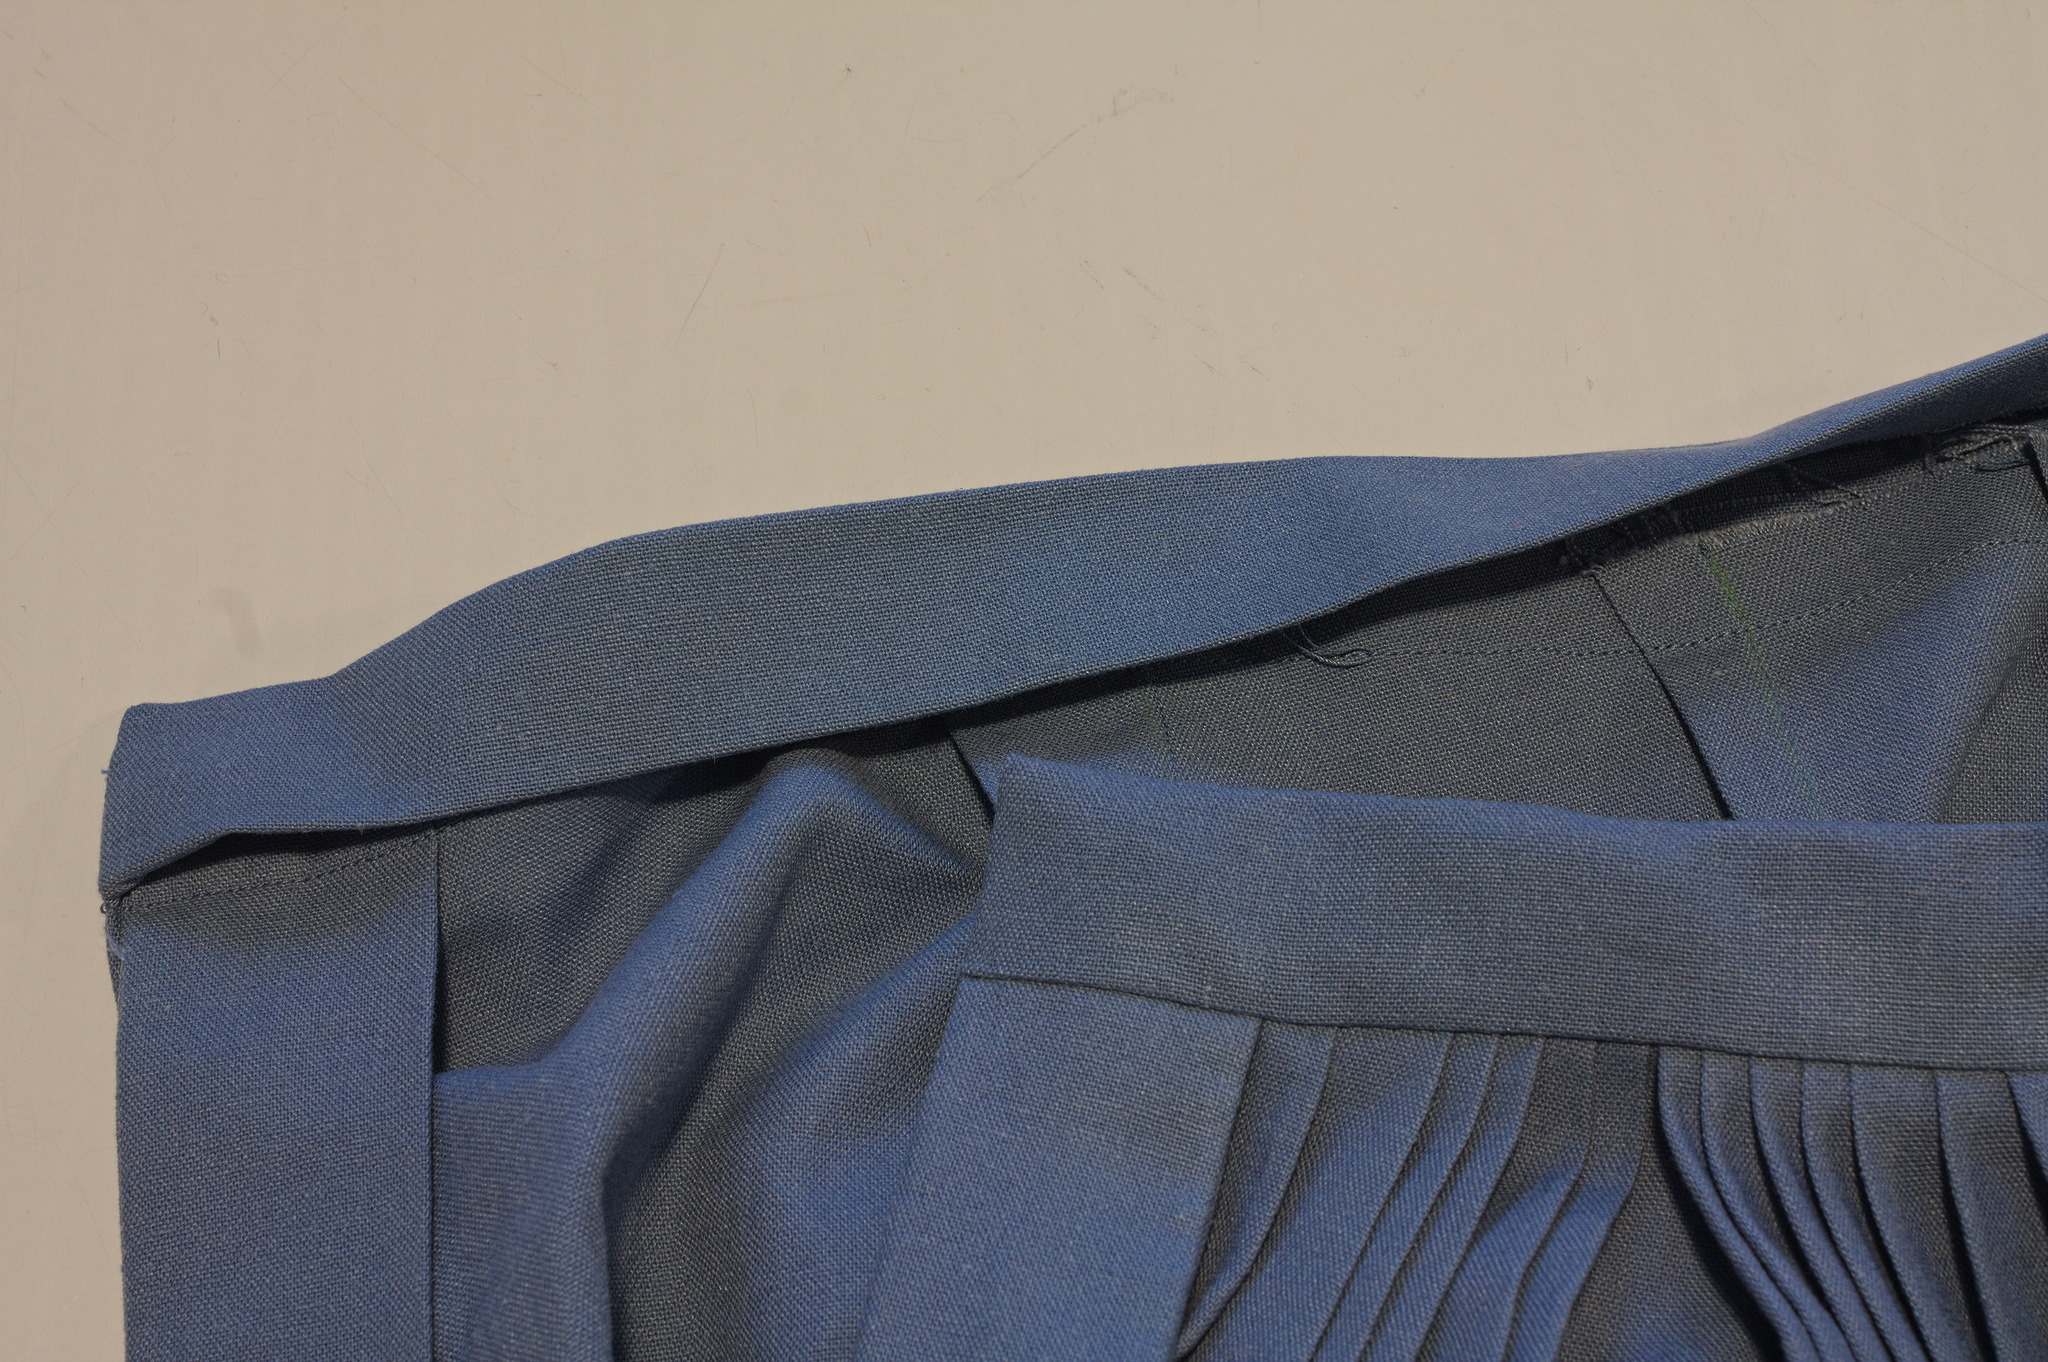
Press the waistband in half, and then press the raw edge inside so that the folded edge just touches the waistband seam. Hemstitch by hand to the skirt to enclose all raw edges.
Tip

If you want to wear the skirt both with and without a corset, or if you suffer from a bit of waistline variation, you can sew a bit of elastic to the waistband allowances with an elastic seam (here I’ve cheated and used 3-step zig-zag) while keeping the elastic under tension.
This will gather a bit the waistband over the back, but the effect will be mild, and it will give a bit of give to make the skirt adapt more to slightely different waist measurements.
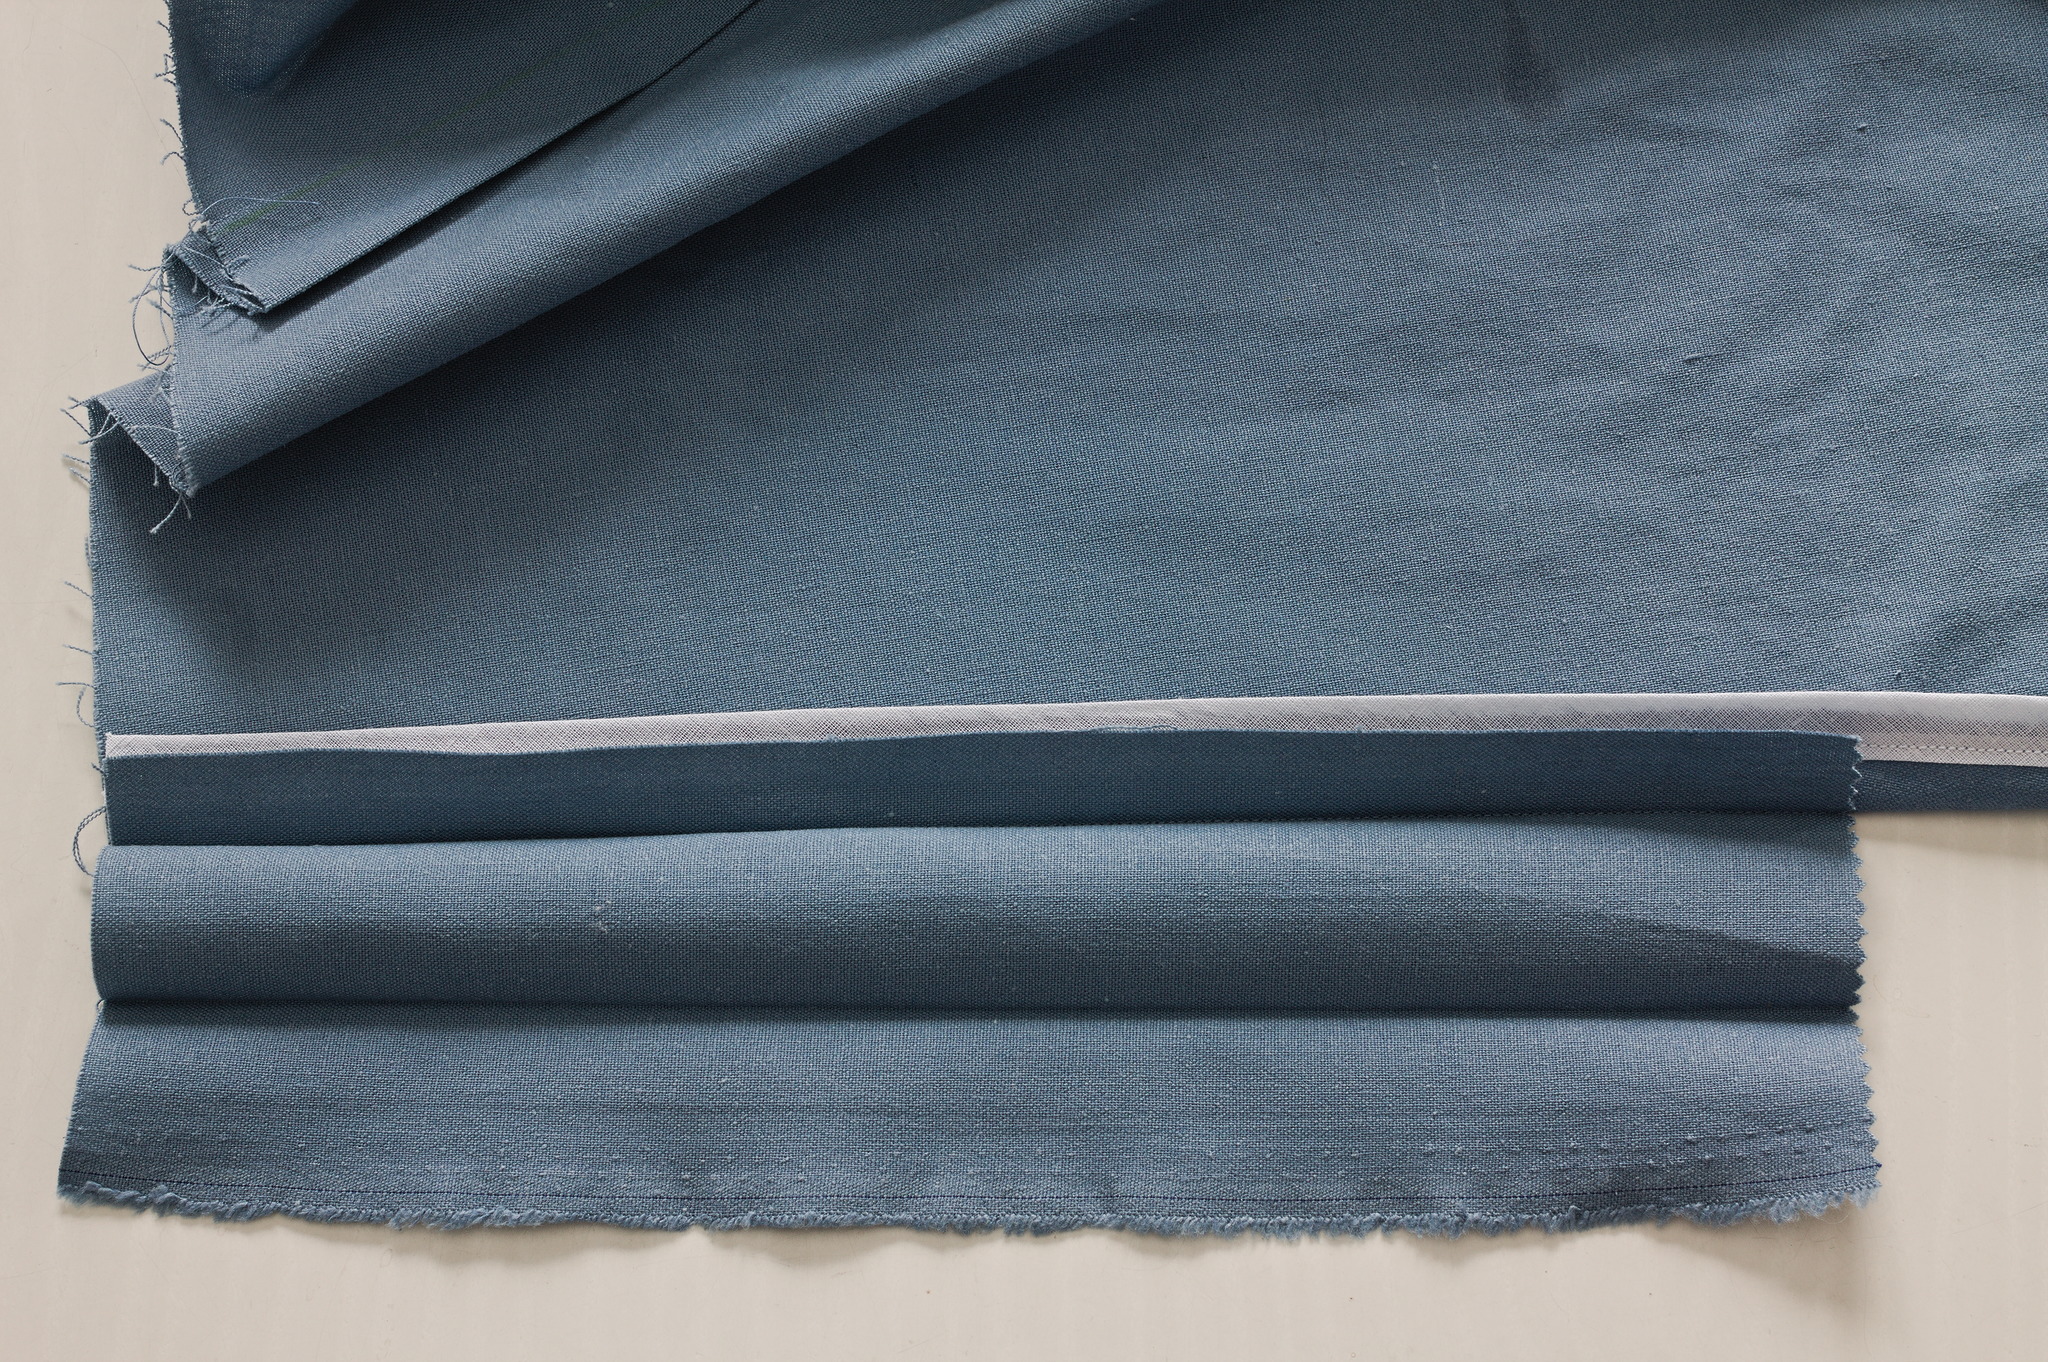
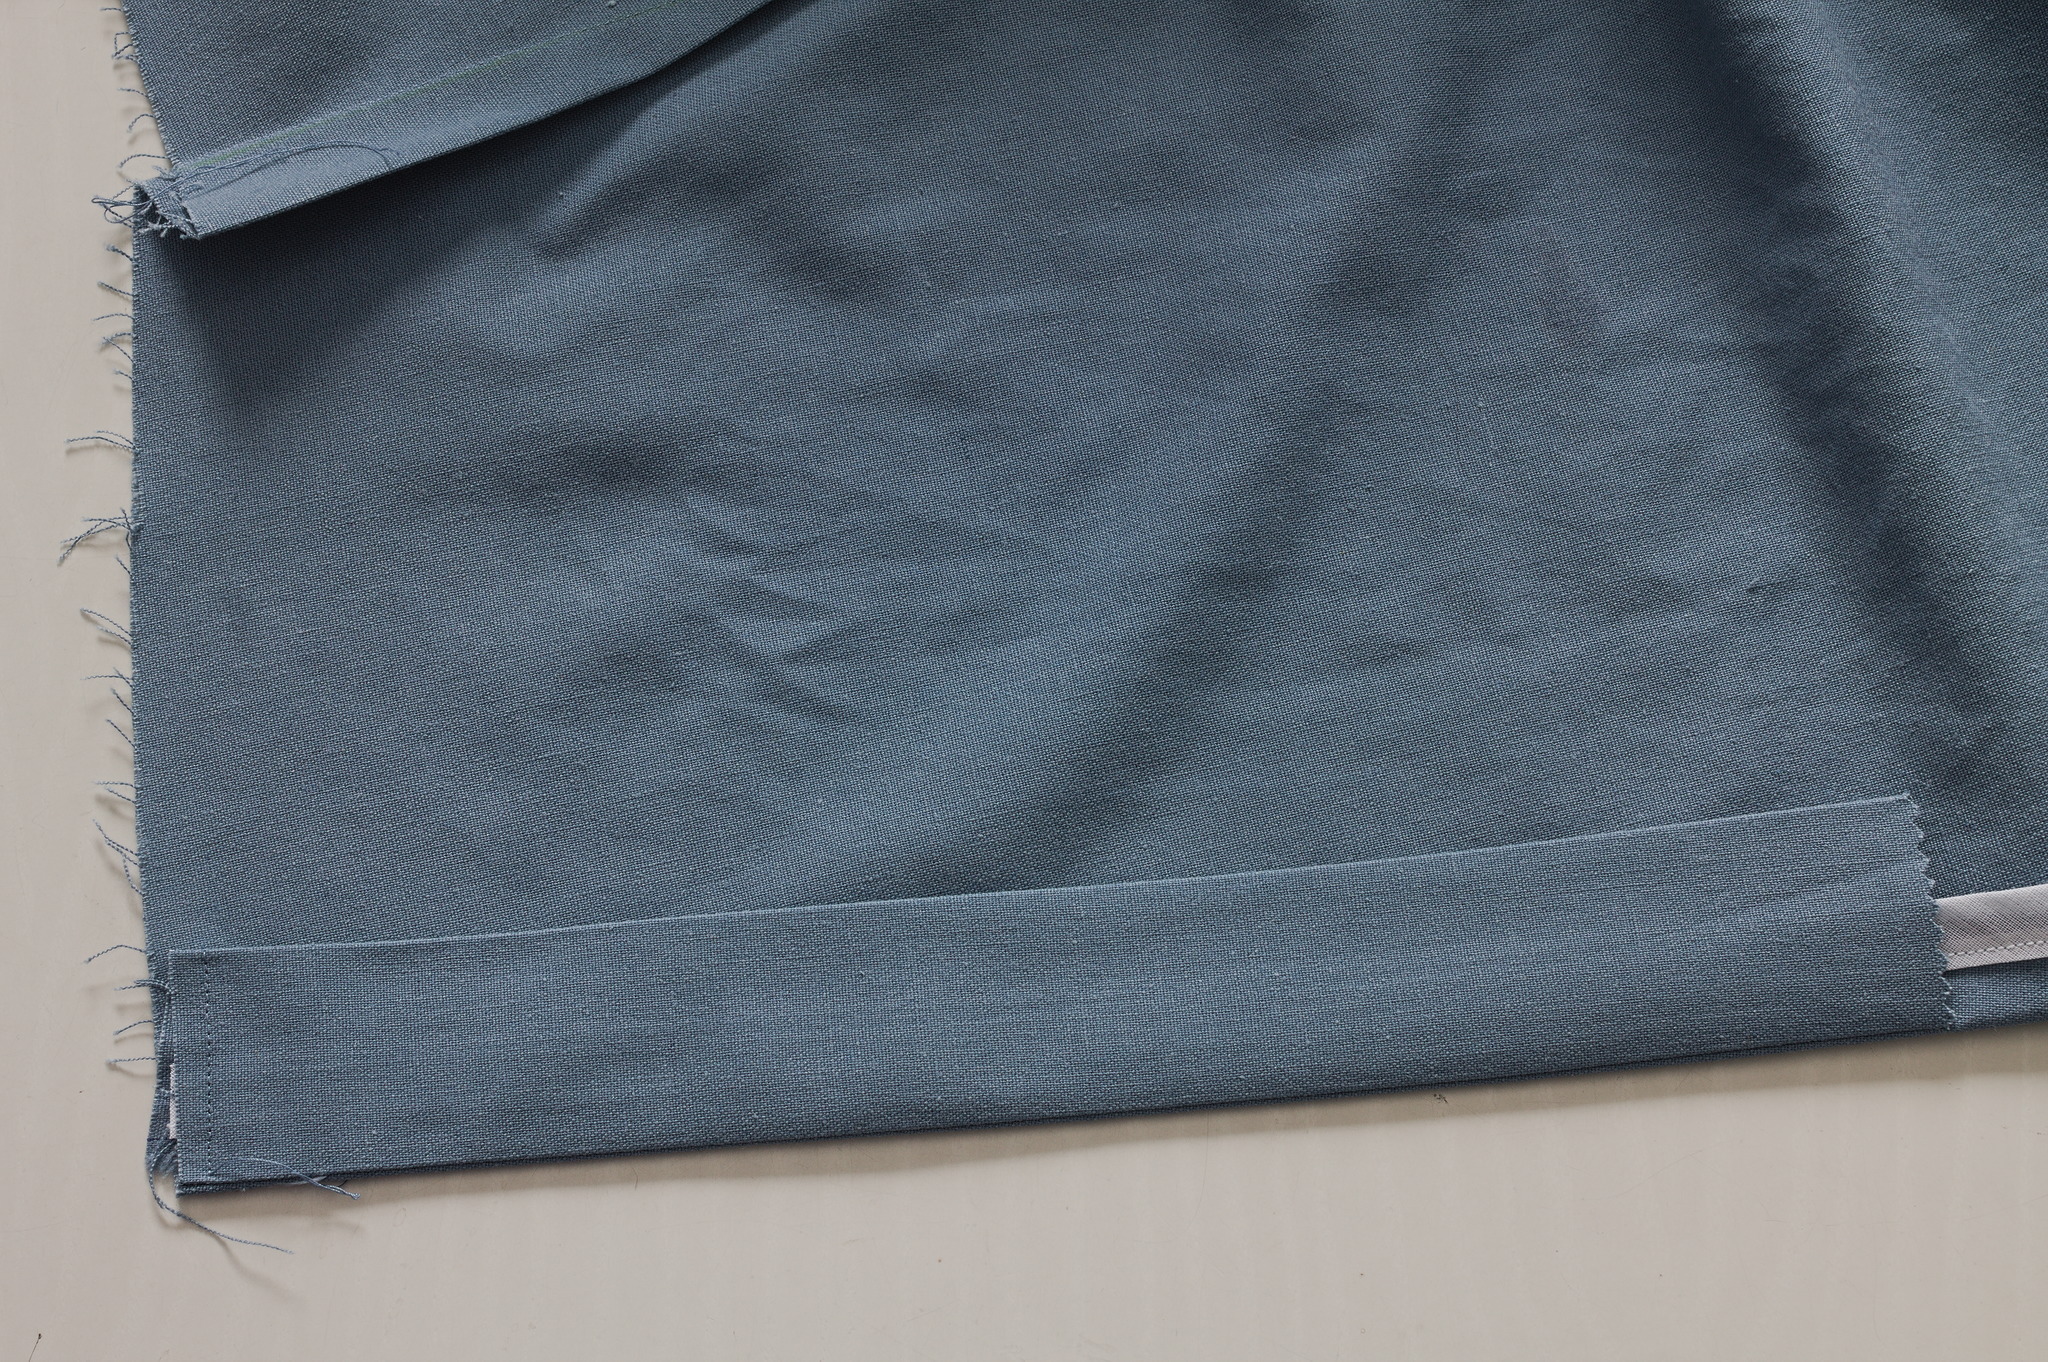
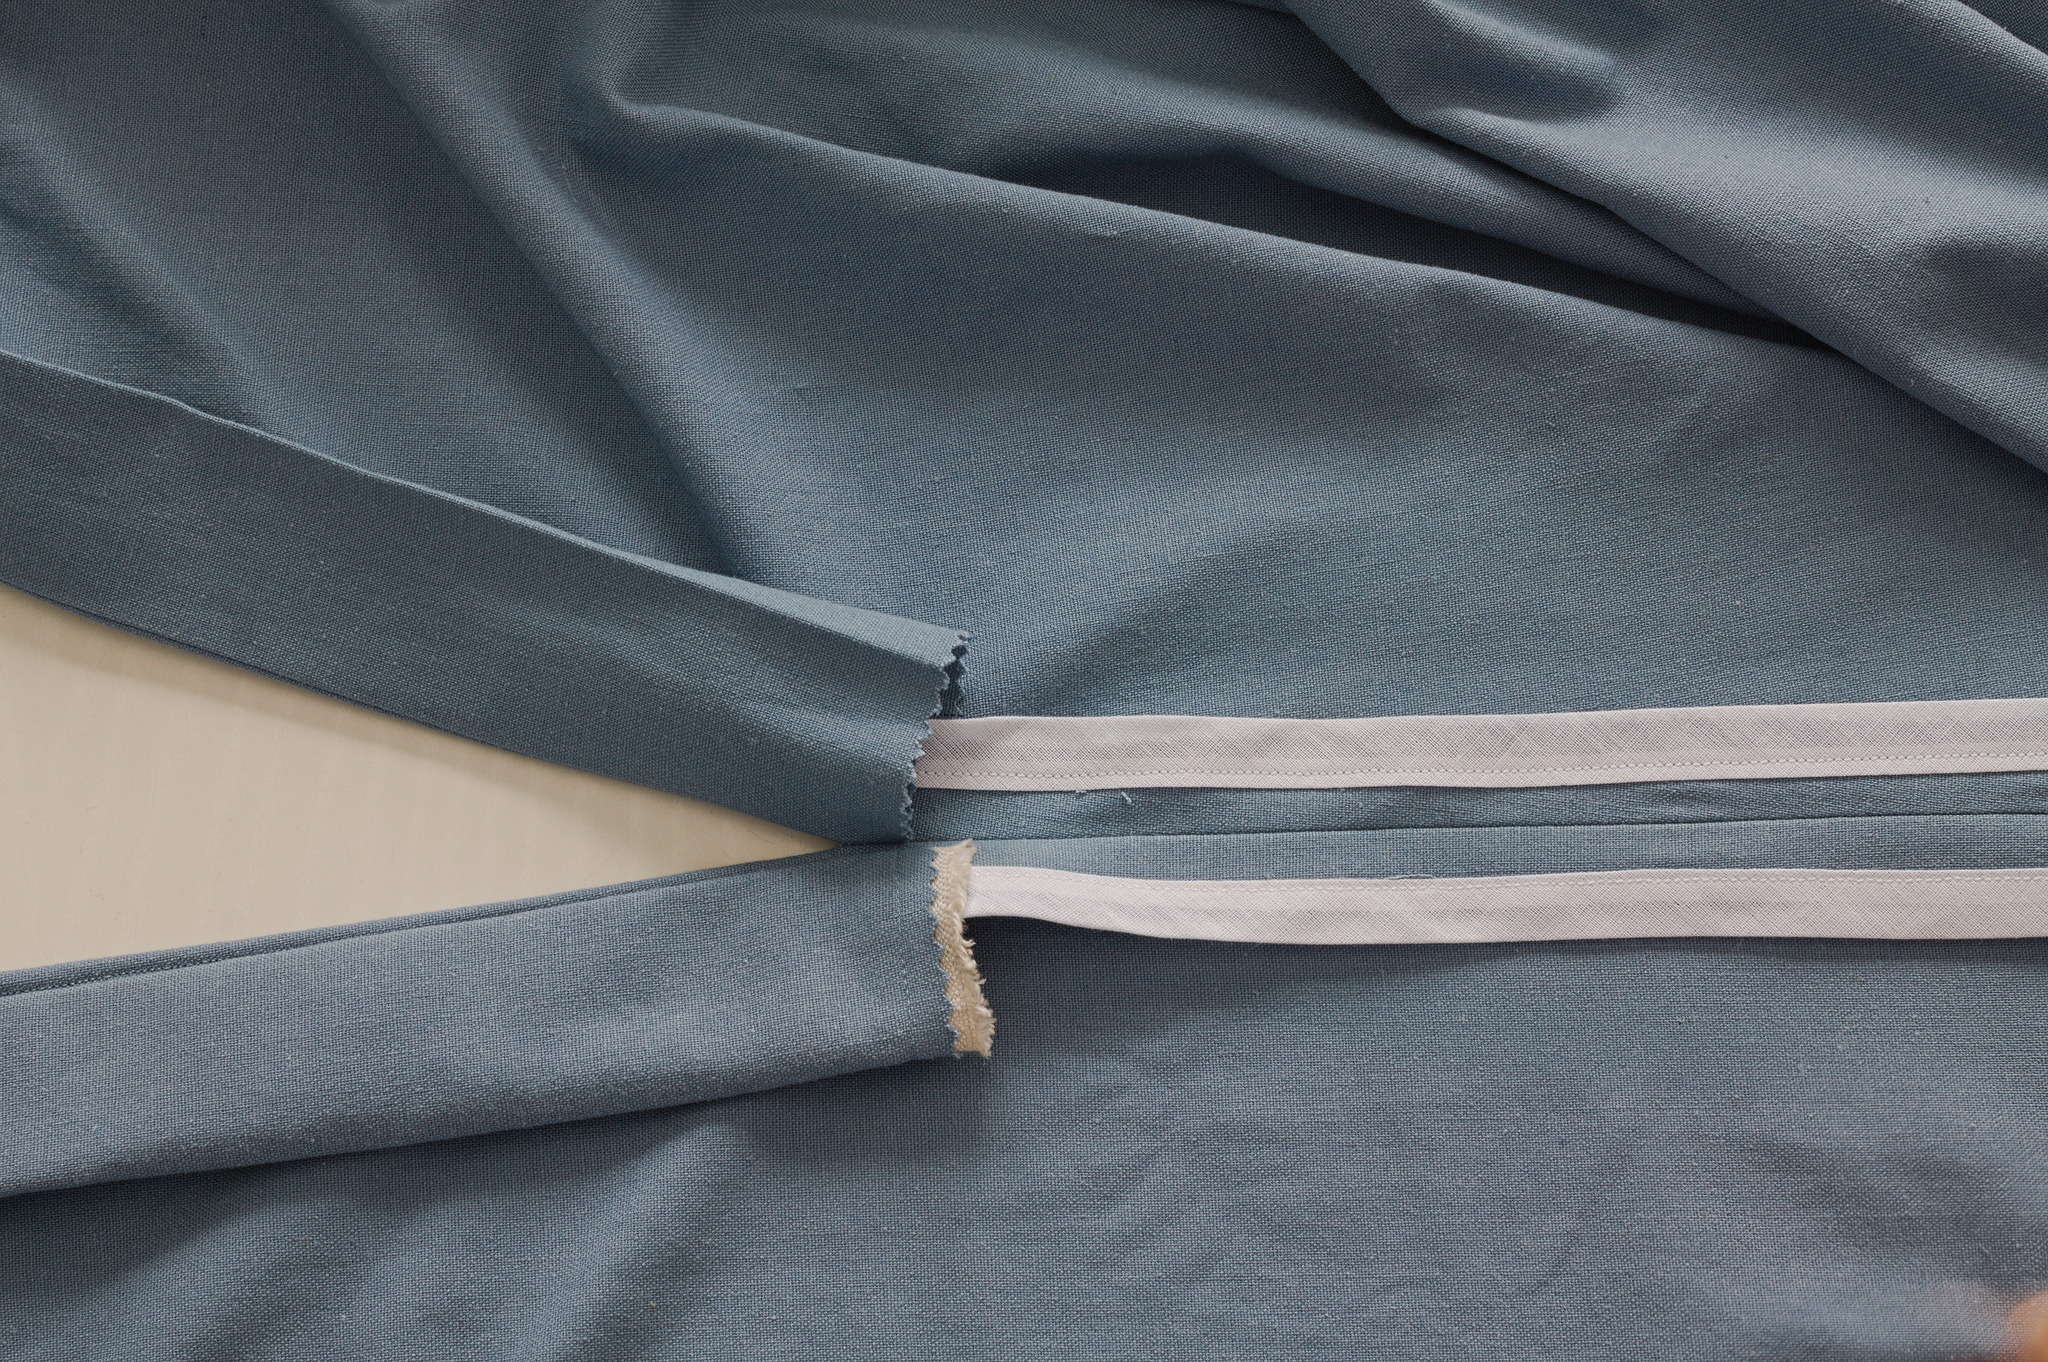
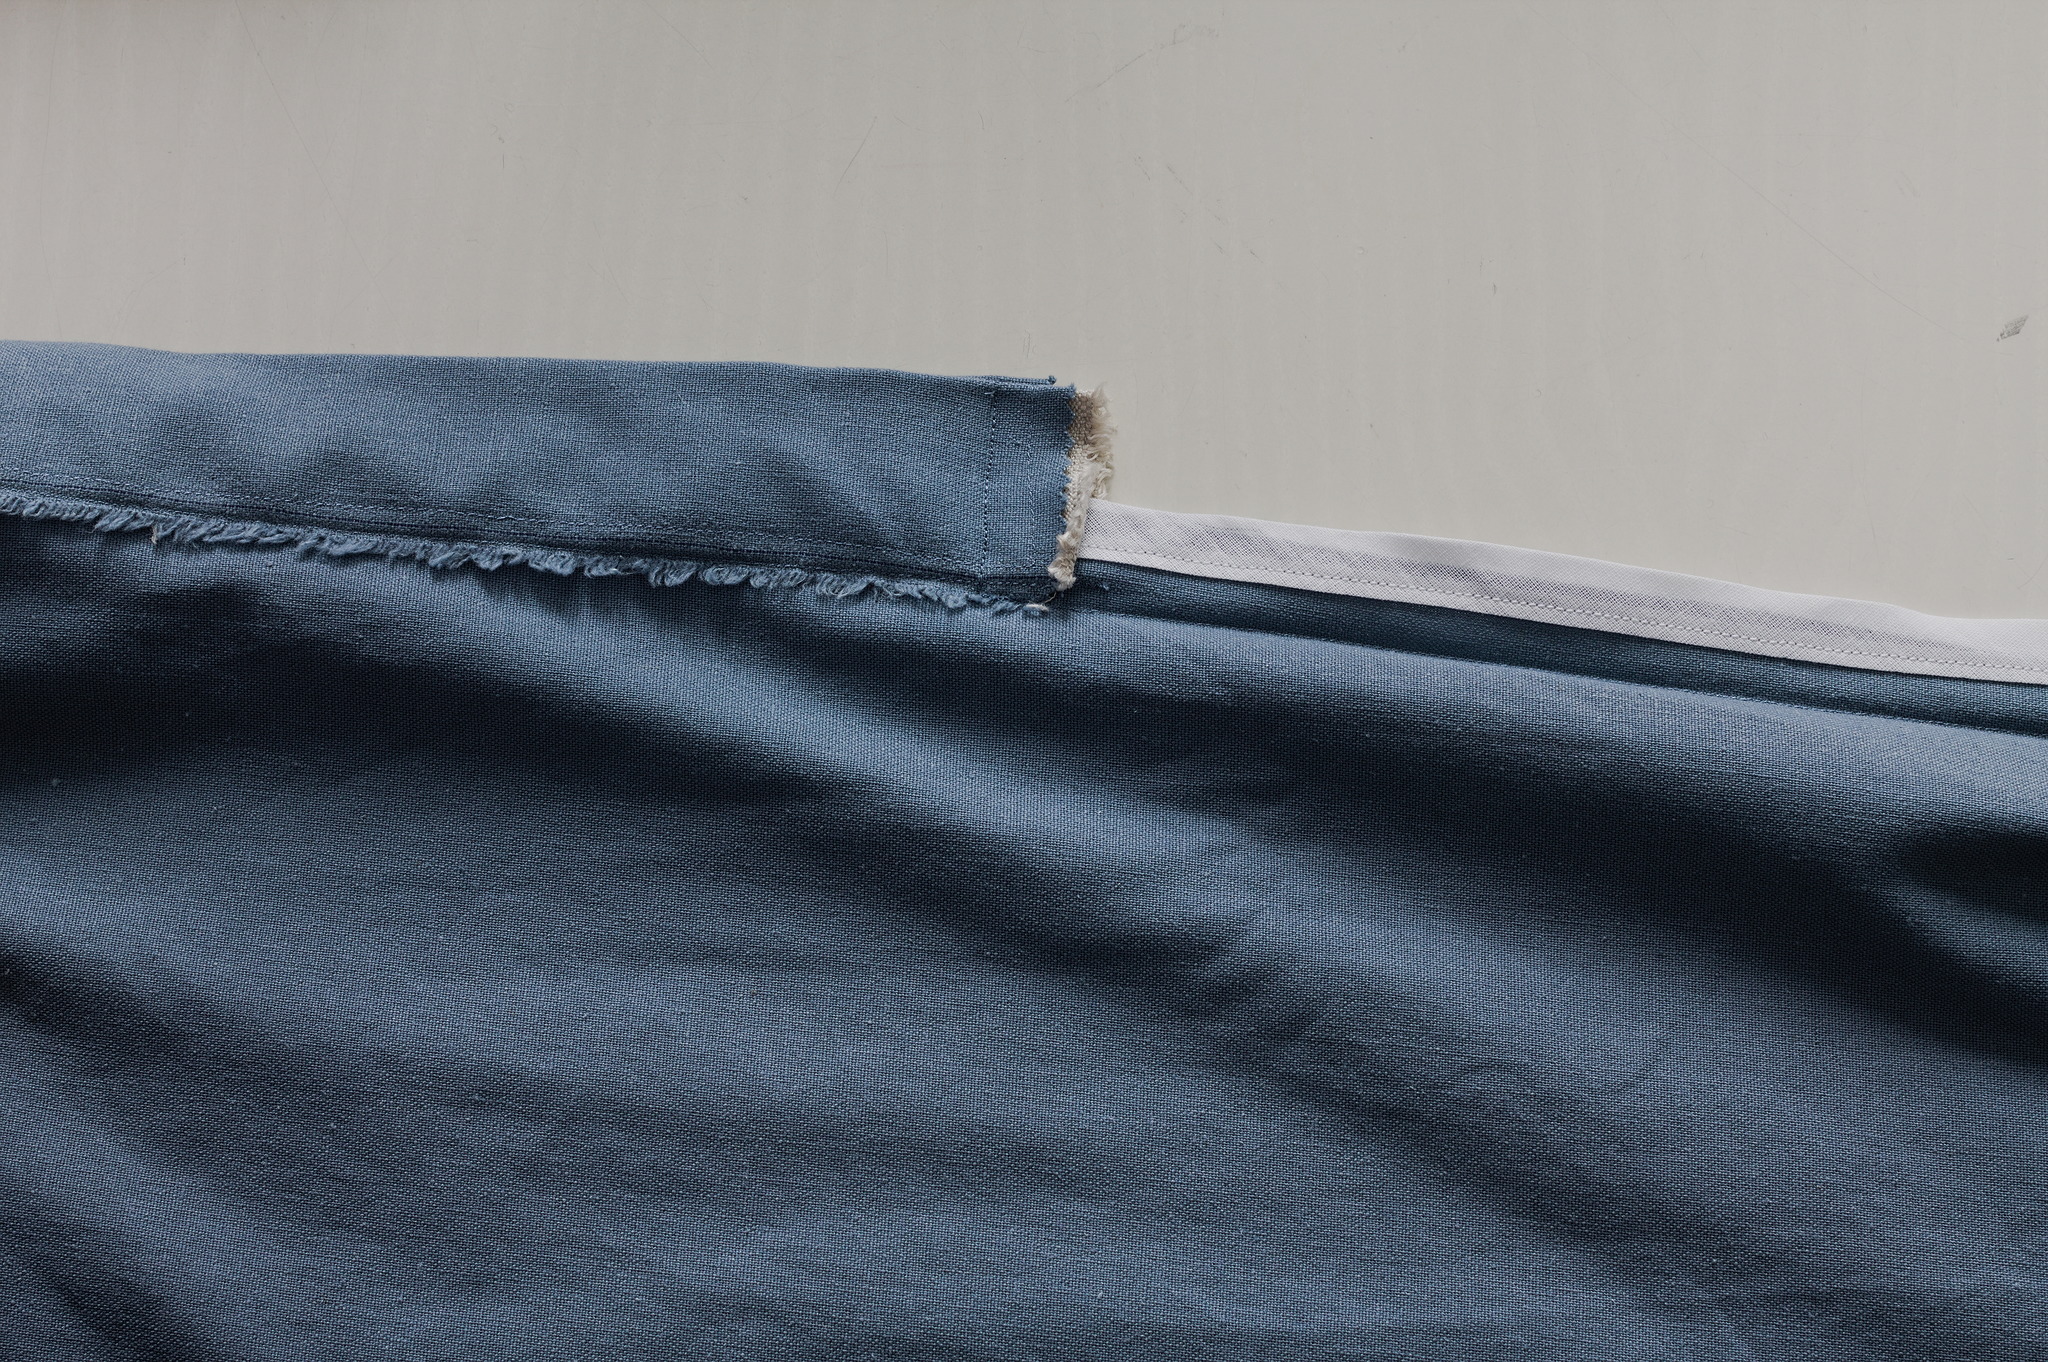
Finishing
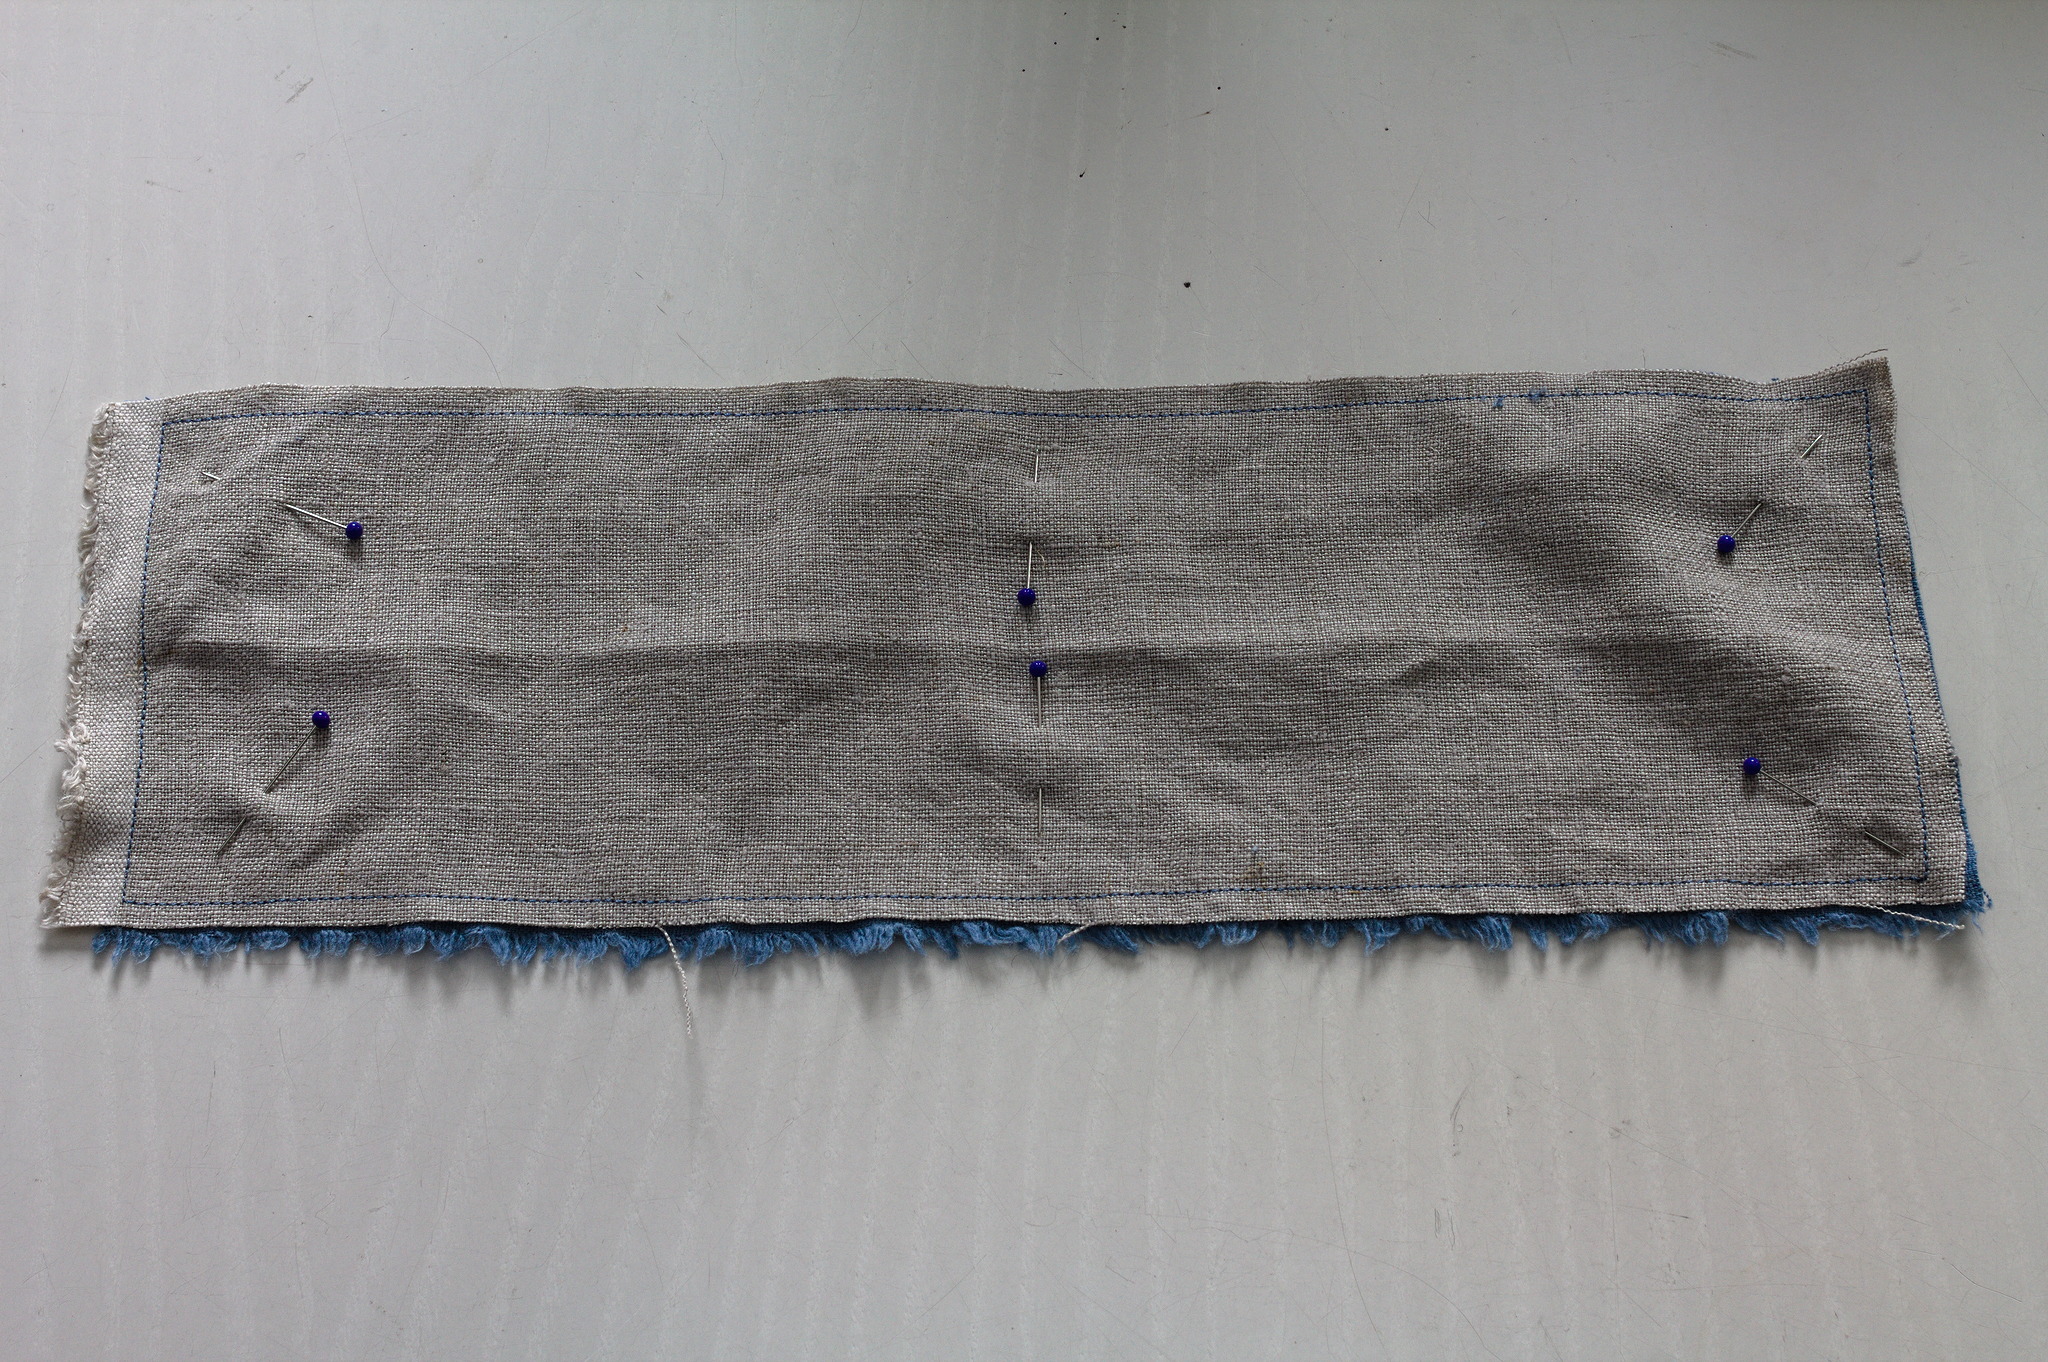
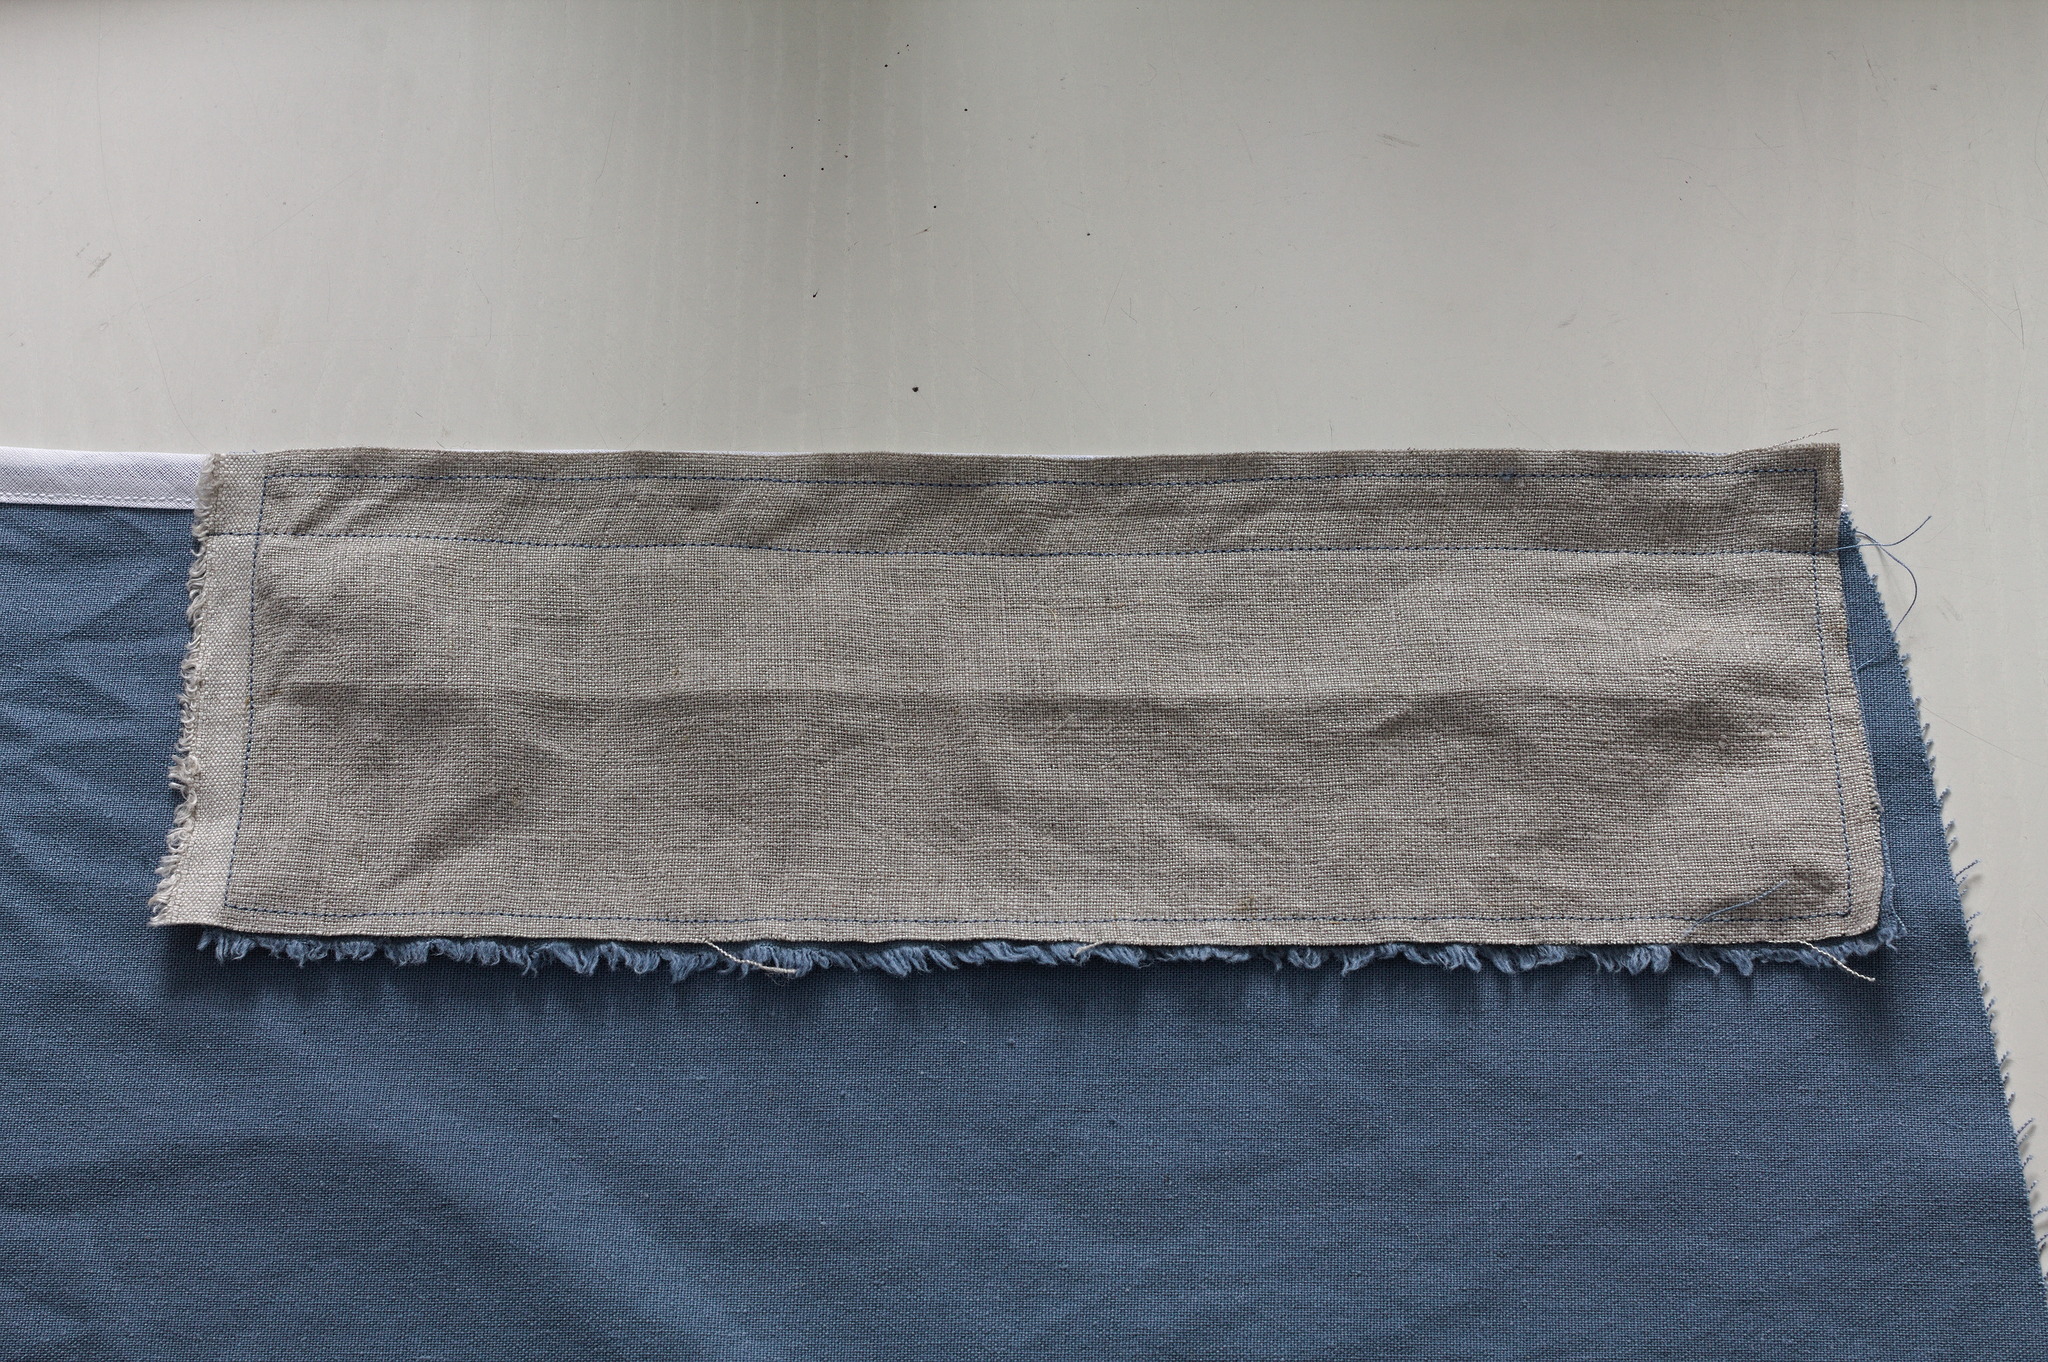
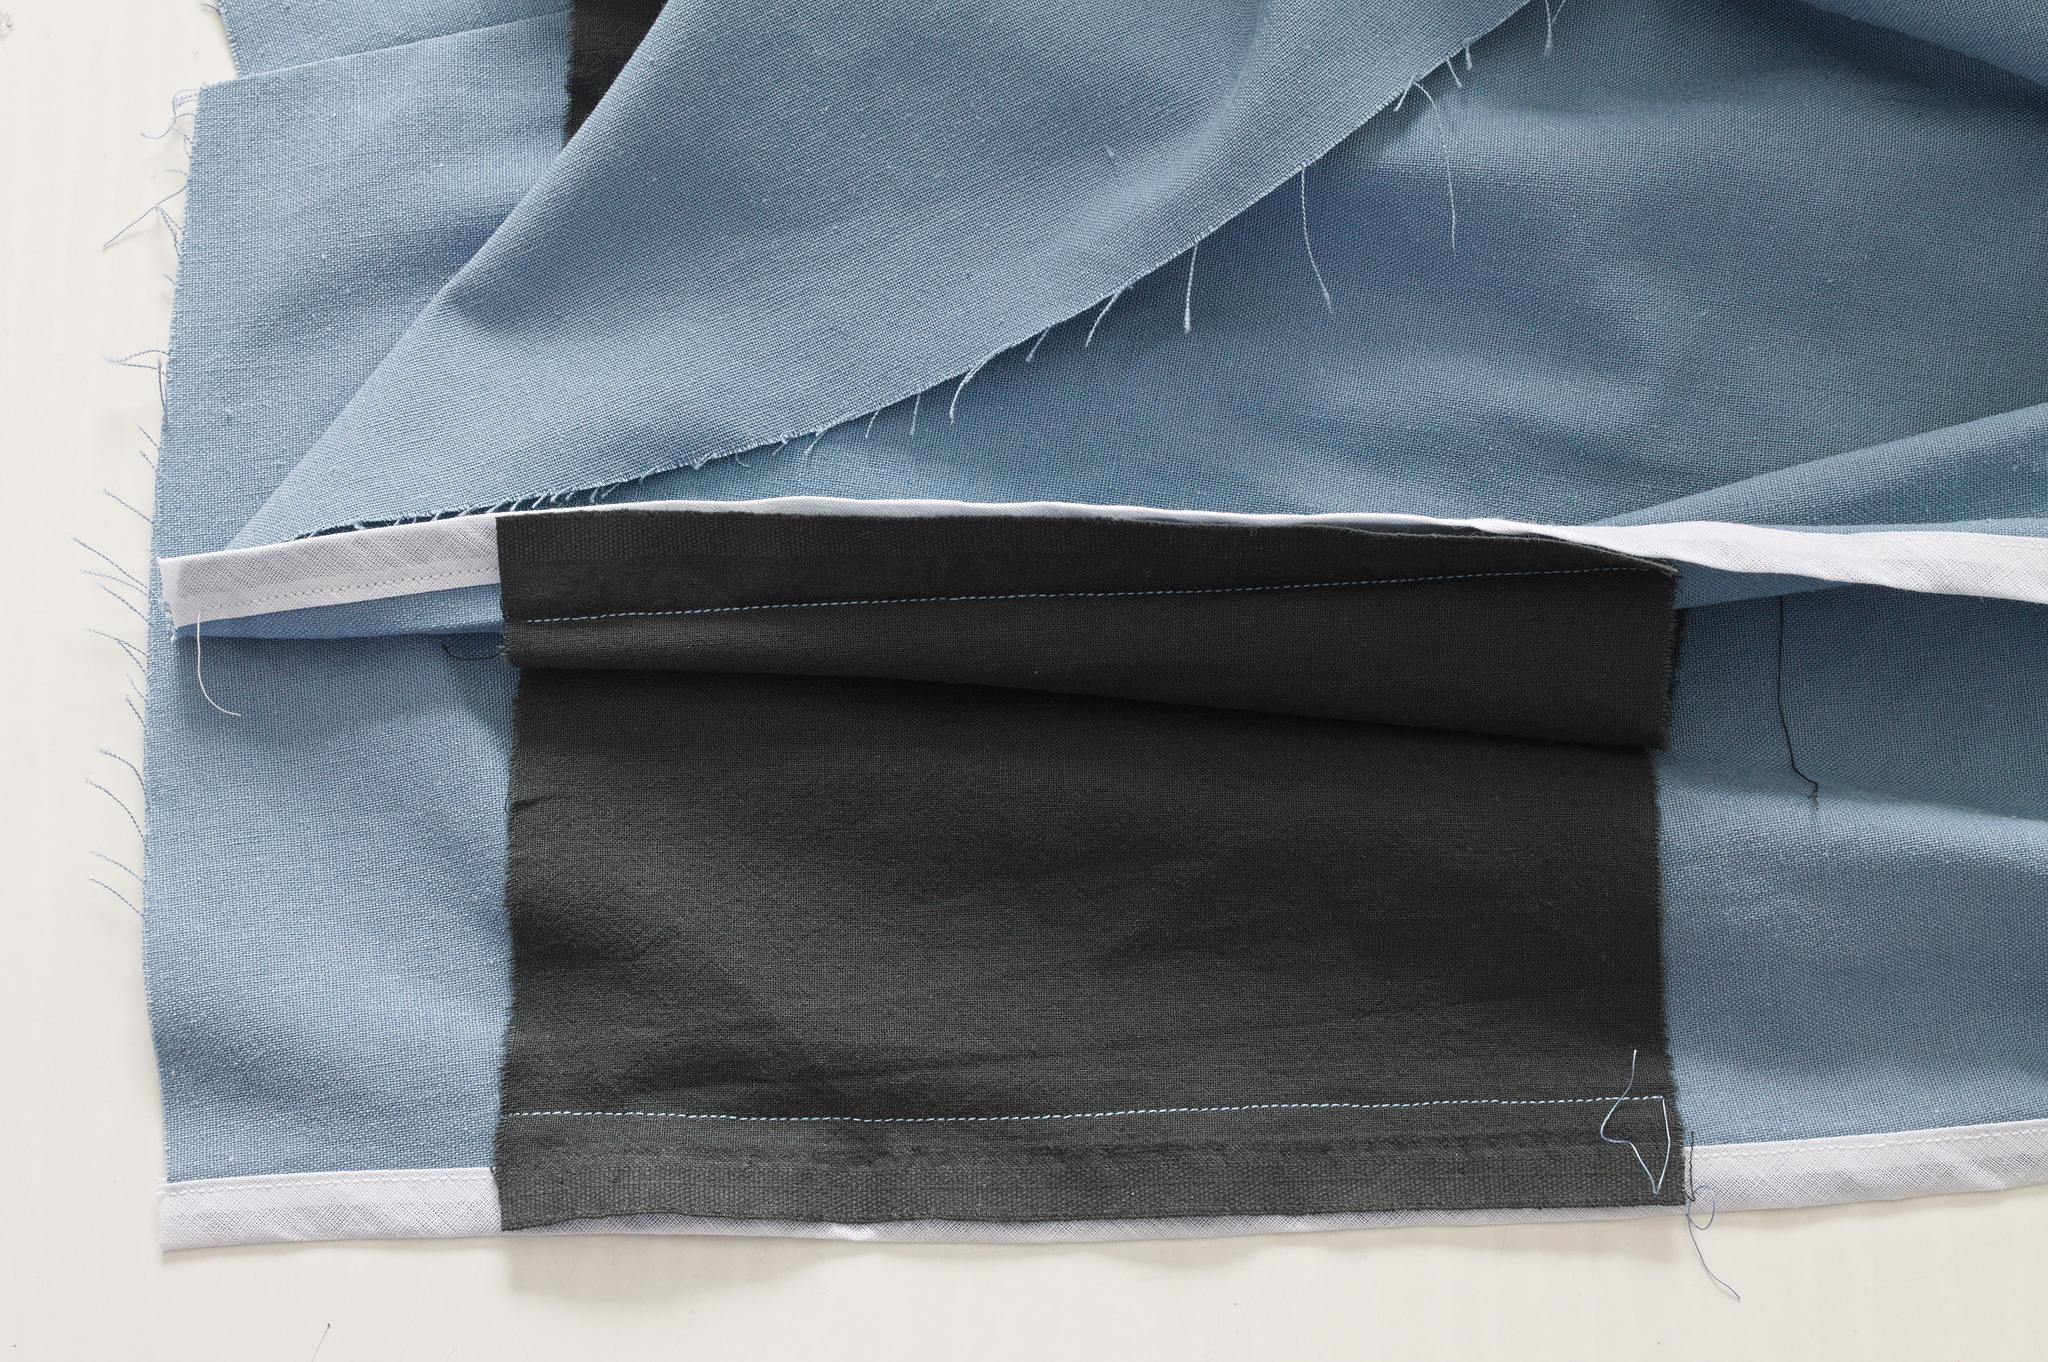
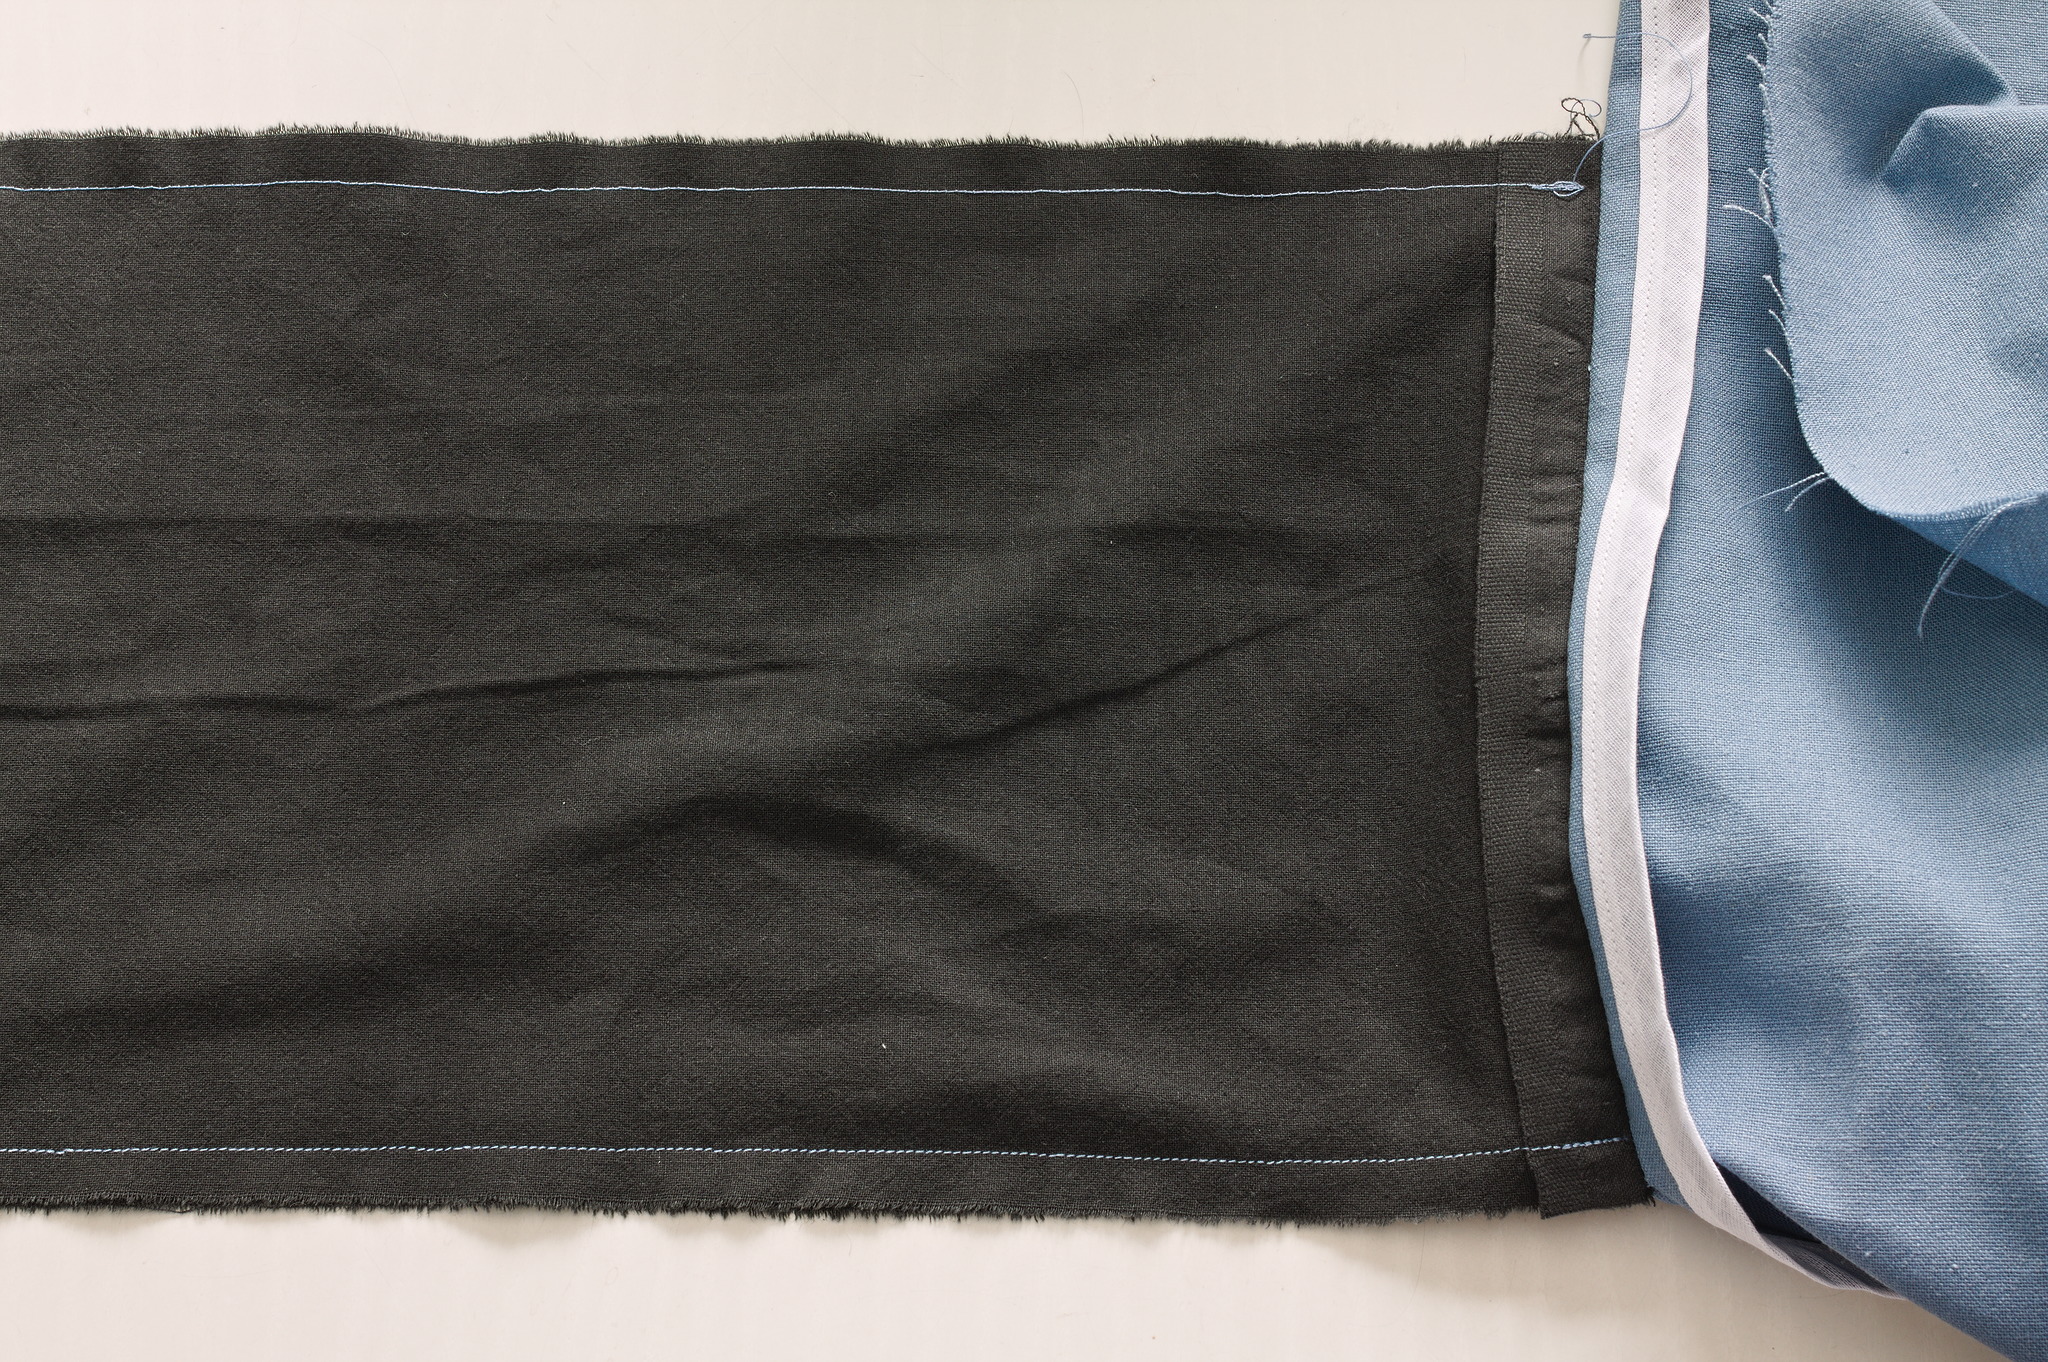
Right sides together, sew the sides of the hem facing, press open. Press 2 cm at the top towards the back.

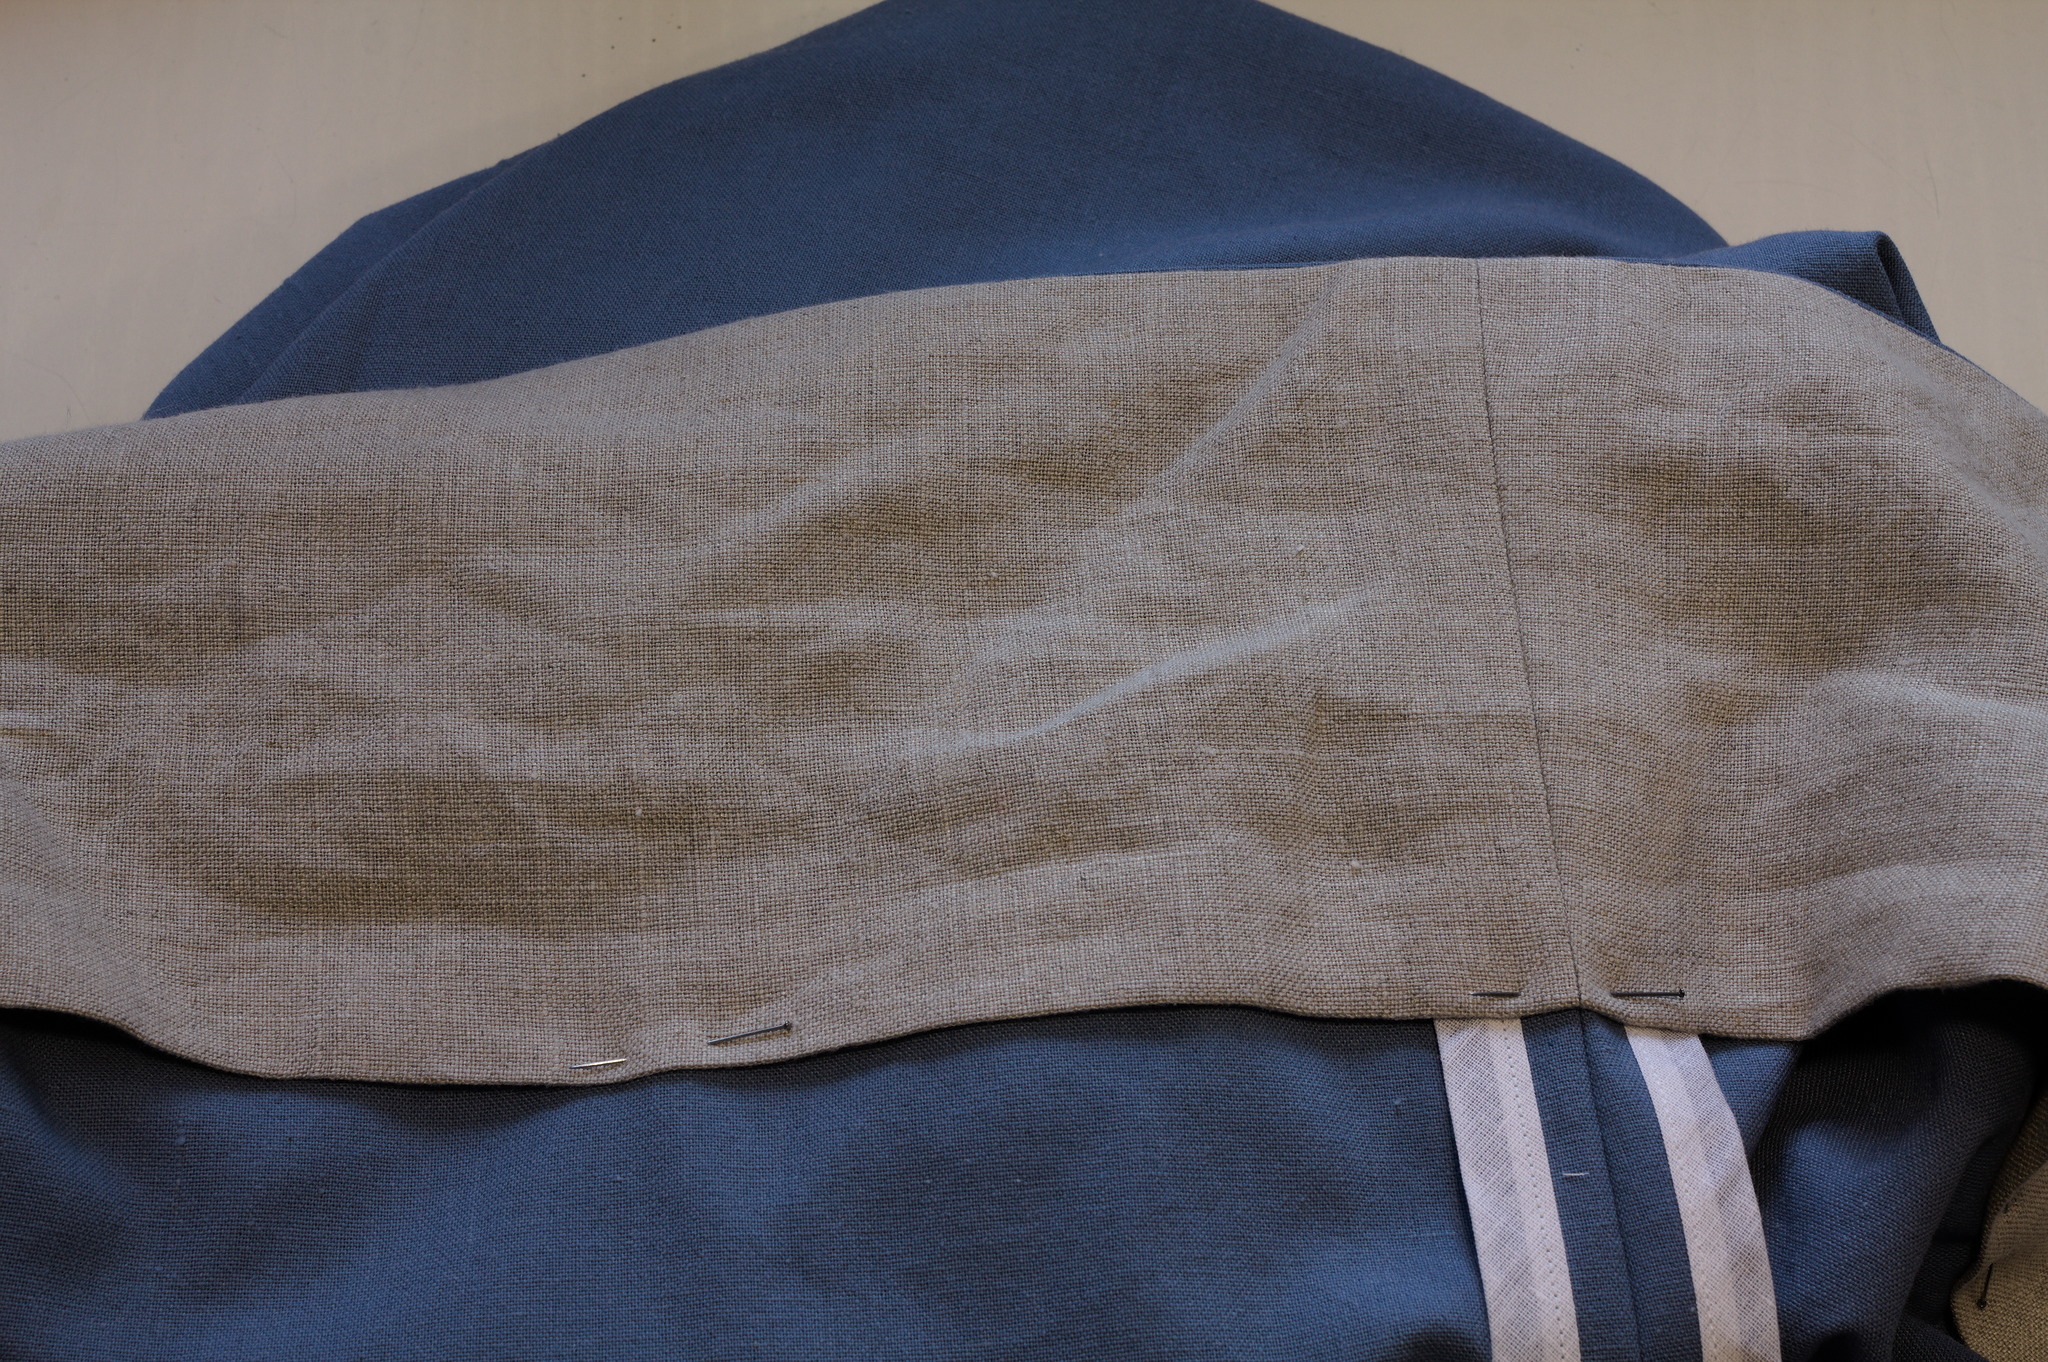
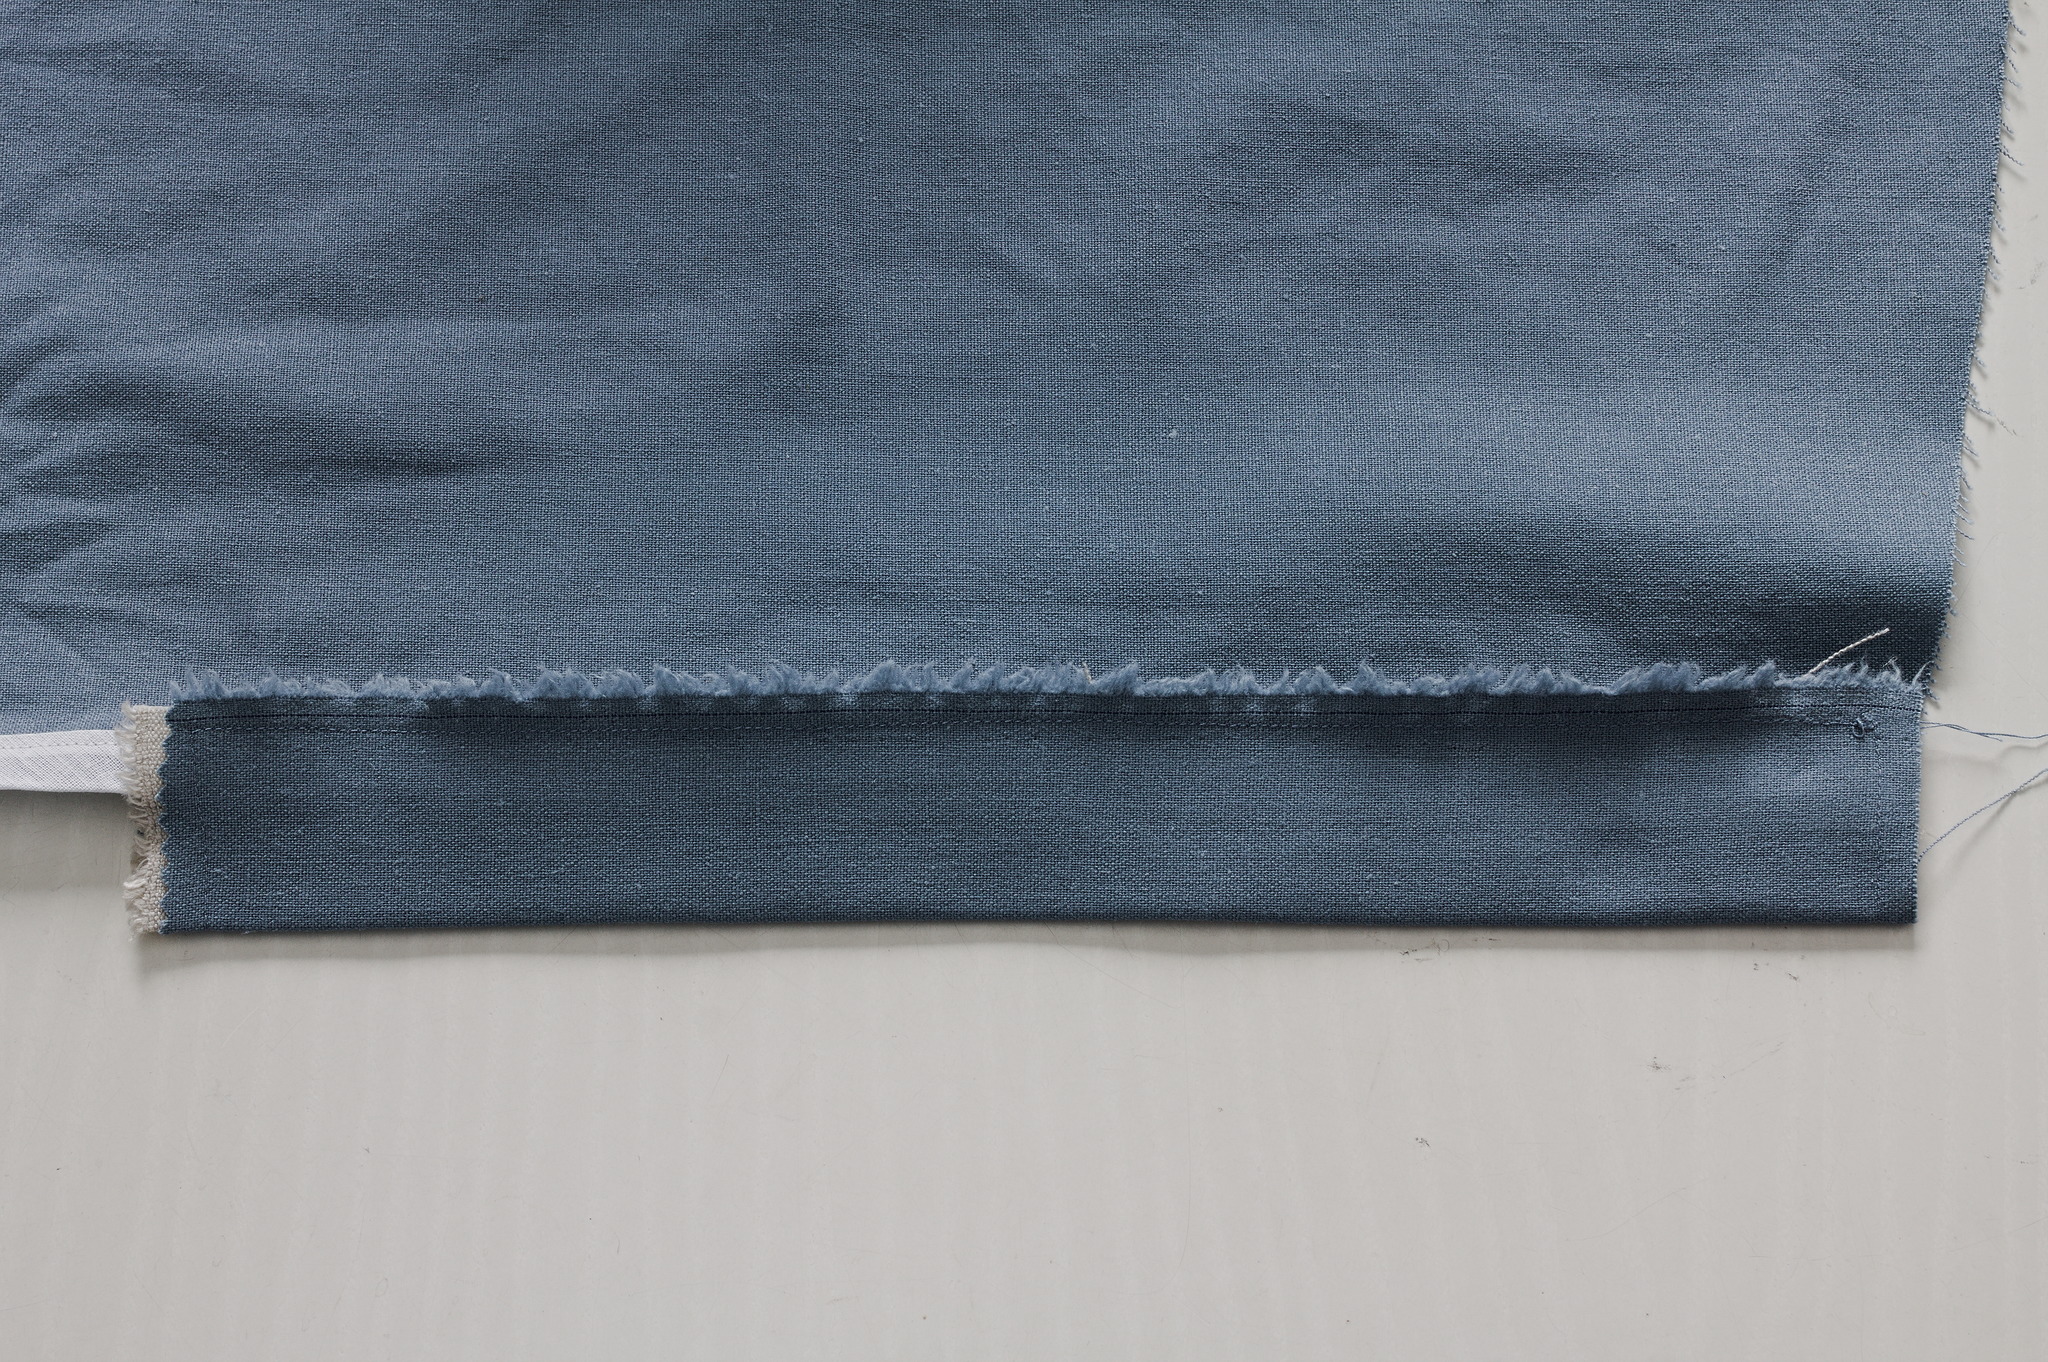
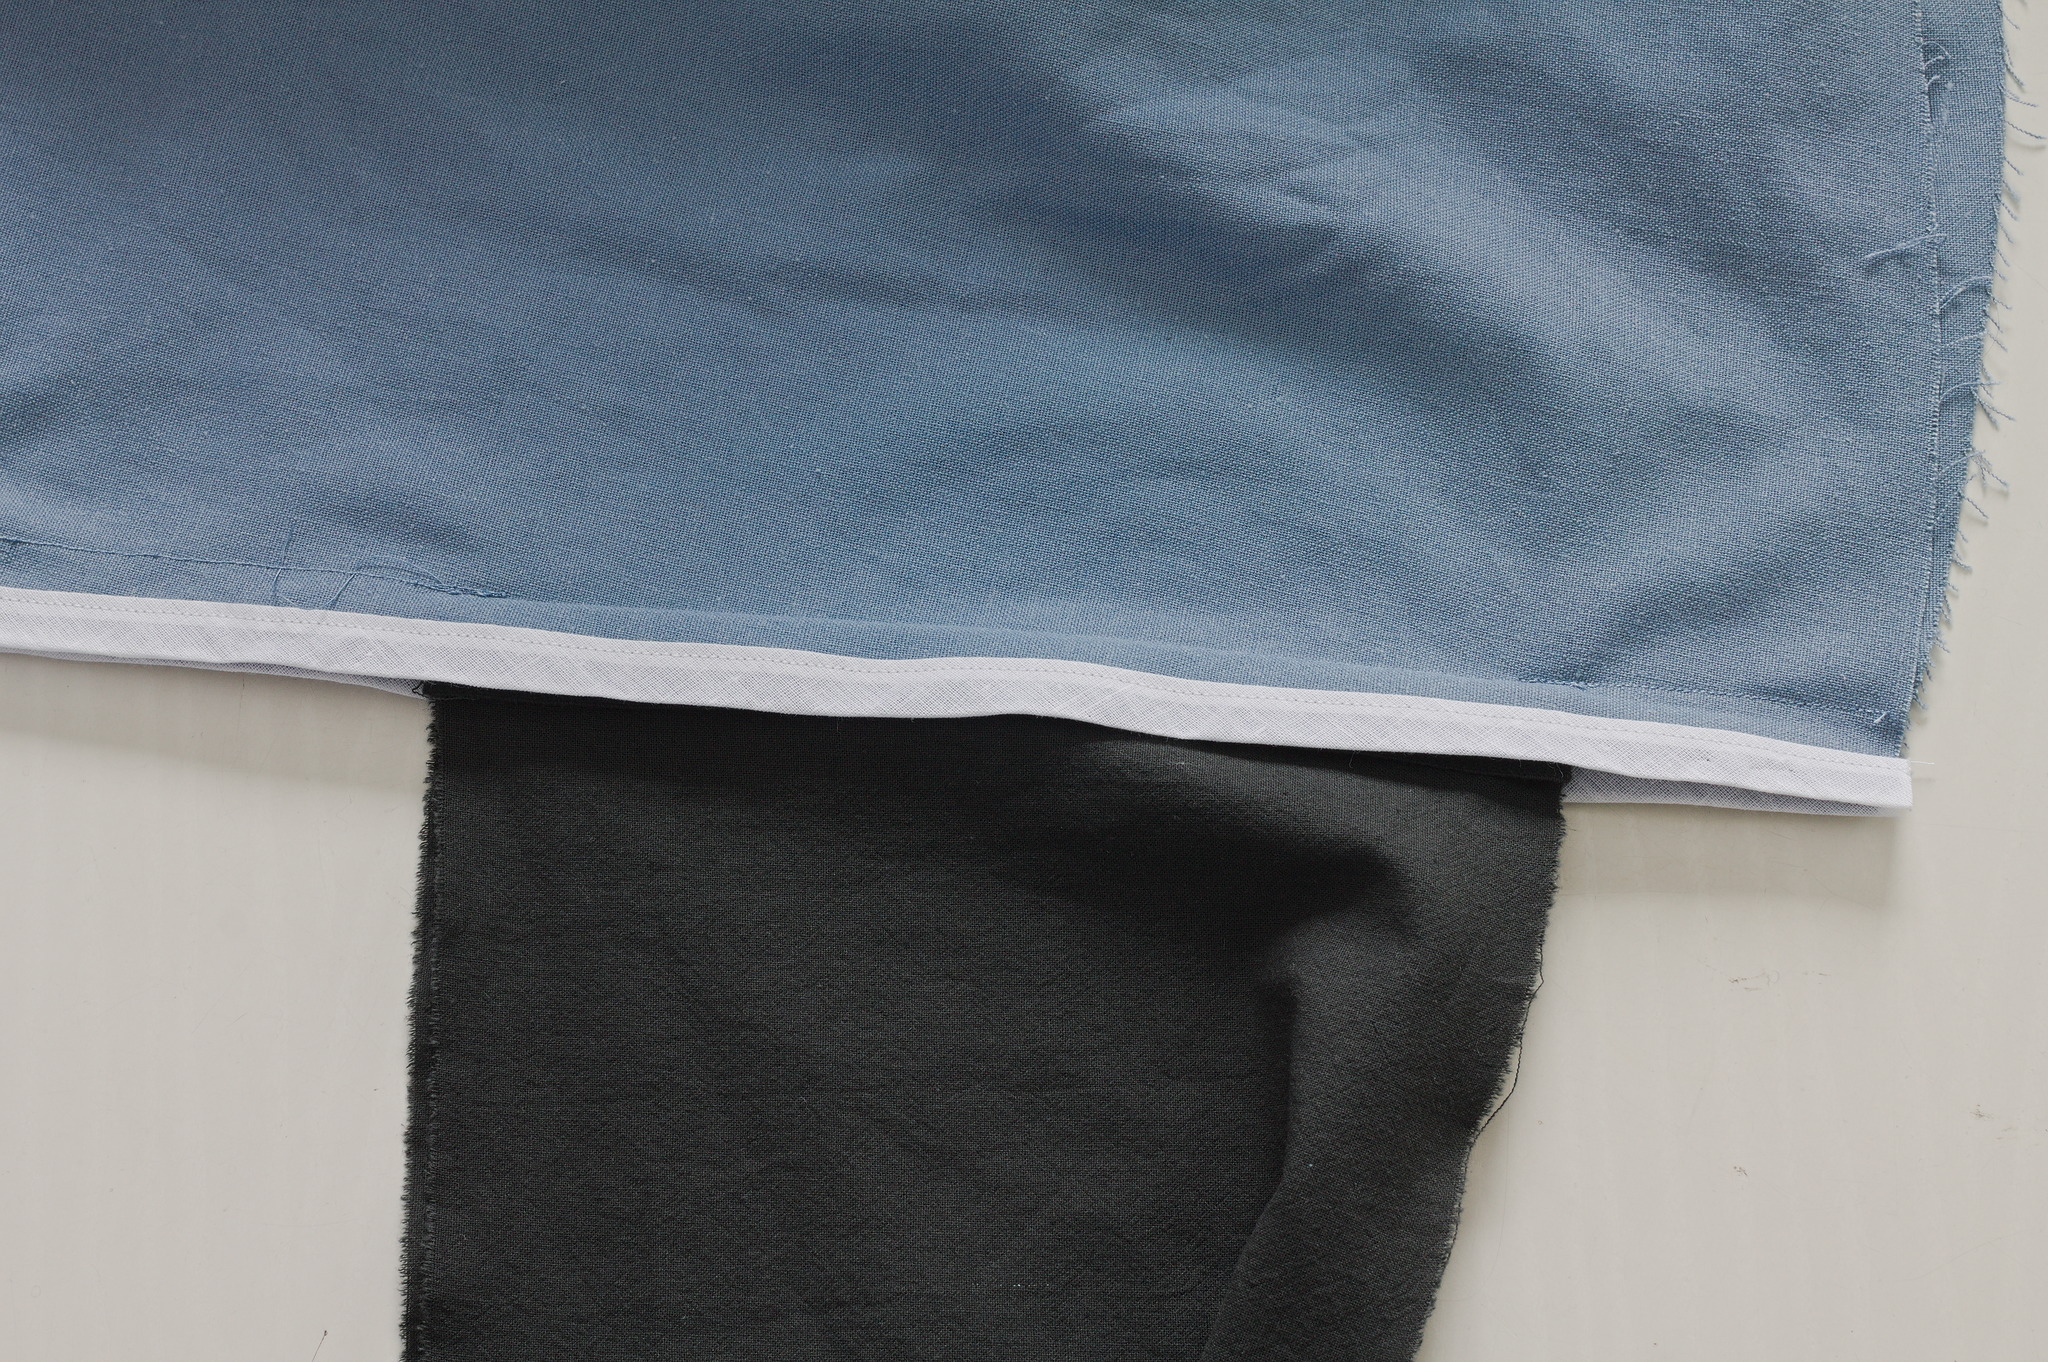
Right sides together, sew the facing all around the bottom of the skirt, press open and then press the facing inside the skirt, letting a tiny bit of the skirt show towards the back.
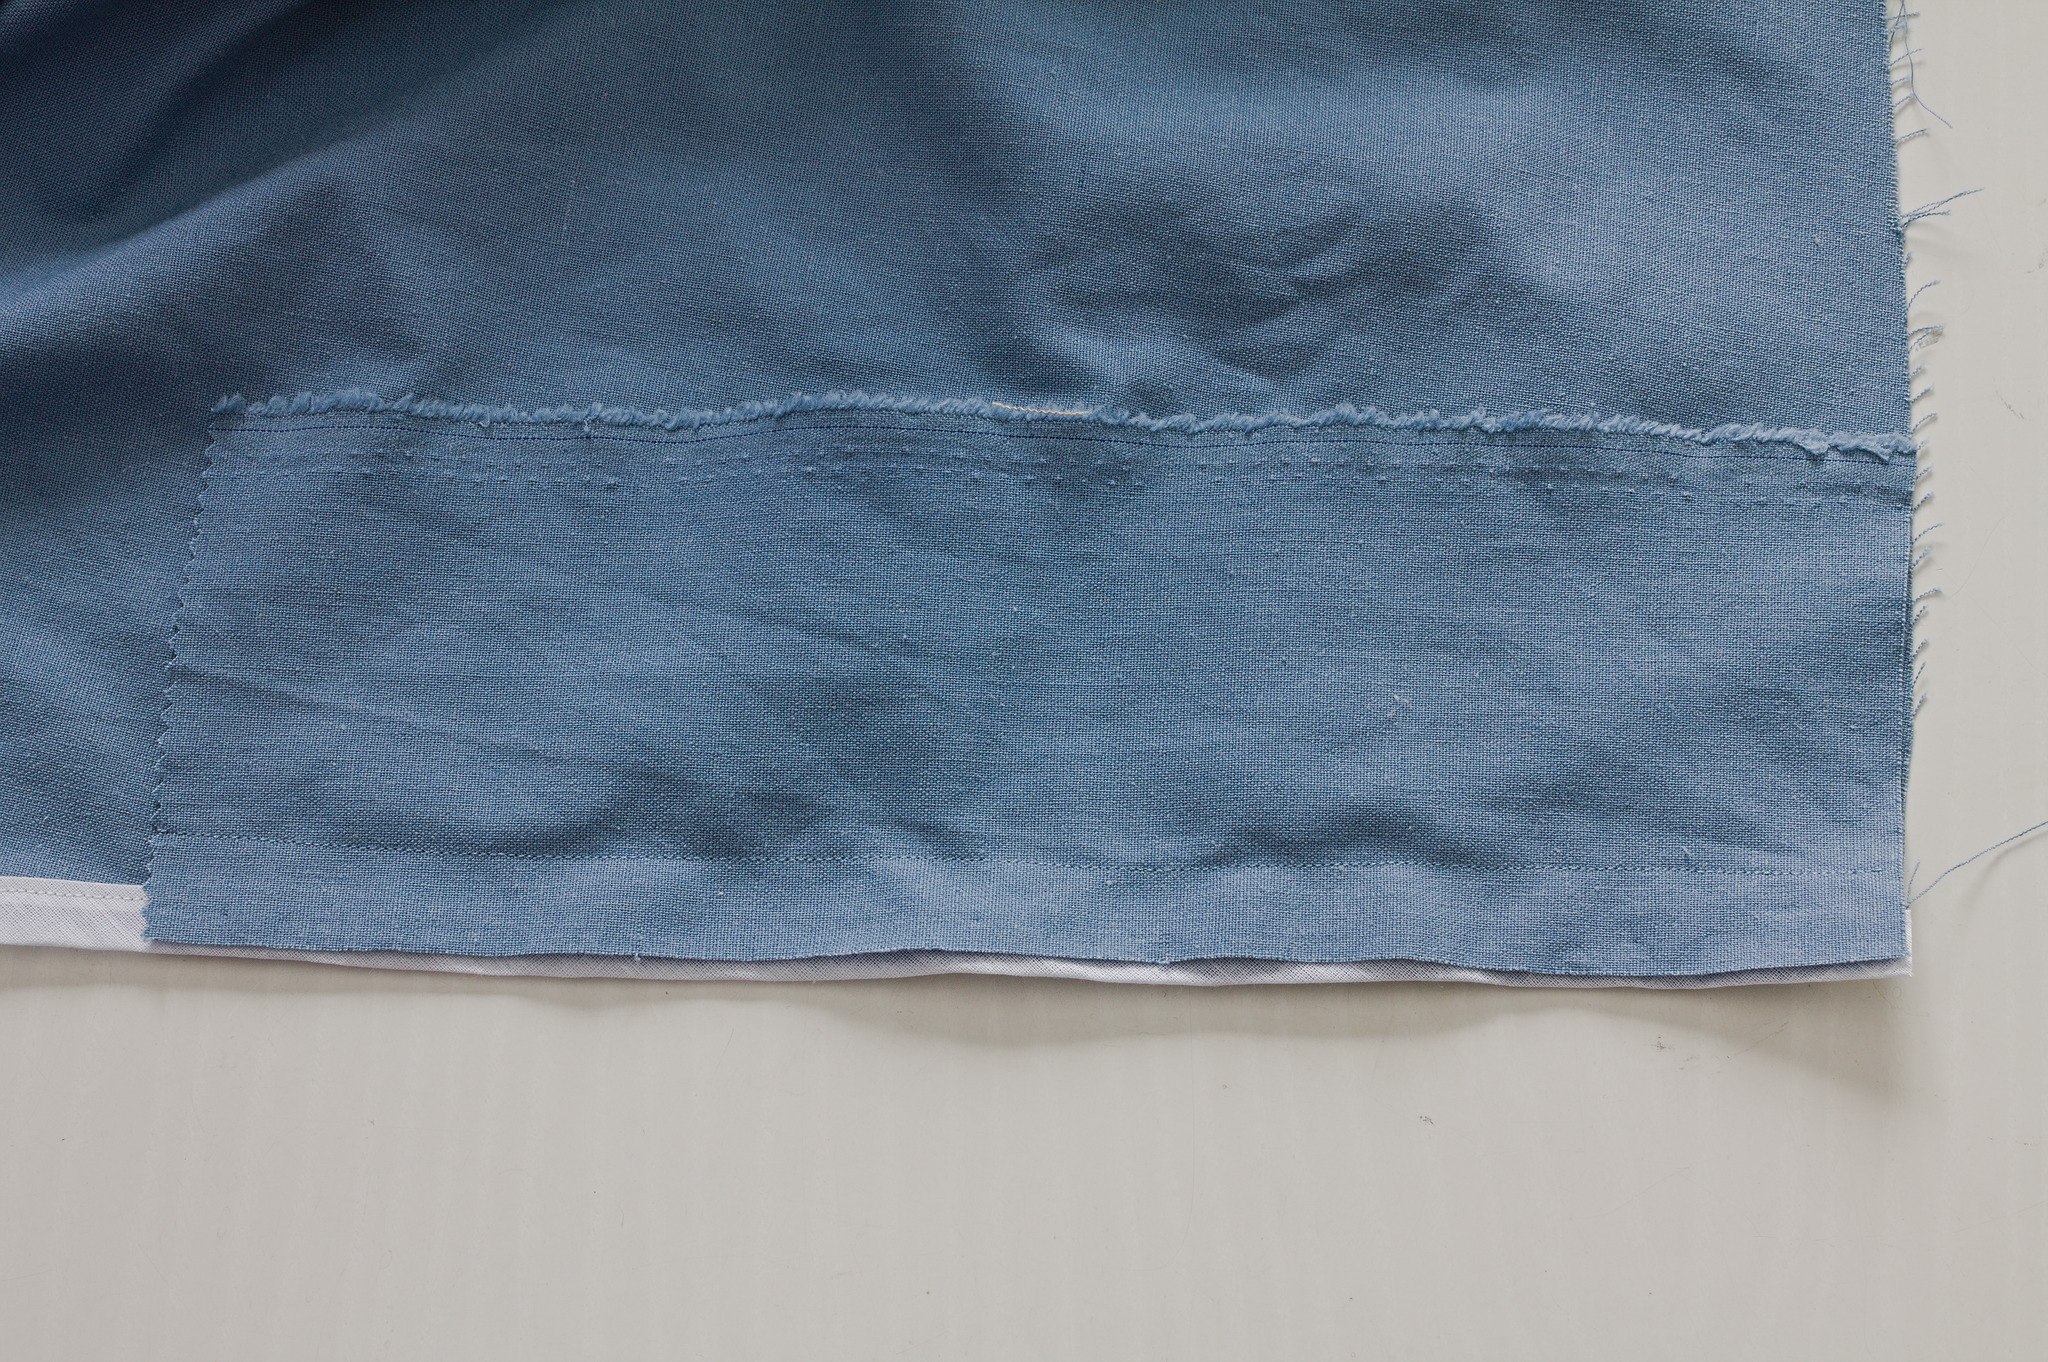
Hemstitch the top of the facing to the skirt by hand.
Add a protection to the hem of the skirt: either sew an hem protector tape to the inside or bind the edge with wool braid.
Sew a skirt hook and bar to the waistband and a combination of snaps and hook and eyes to the placket.
Decoration
Your skirt is already wearable as-is for modern wear; in the late 19th century it was supposed to be a base for draperies and decoration.
For draperies, you need reference material (fashion plates, pictures, original dresses, …) from the specific years you are interested about, and then you can take a big rectangle of muslin and play with it, pinning it to the foundation skirt and/or to tape (hint: safety pins are your friend) until it looks good, and then sewing it down.
One bit of decoration that was extremely common was a pleated ruffle at the hem of the skirt, meant to work also as a structural help to keep the hem spread out and attached either outside (for decoration) or inside the skirt (to be there just for the structural functionalities).
To make one, cut enough strips of fabric, 15 cm high, to get a long strip that is 3 times the width of the skirt about 10 cm from the hem; sew them selvedge to selvedge, right sides together, and hem the top and bottom by folding it down twice 8 mm. If you had to cut one end of the strip instead of using the selvedge also hem the cut end.
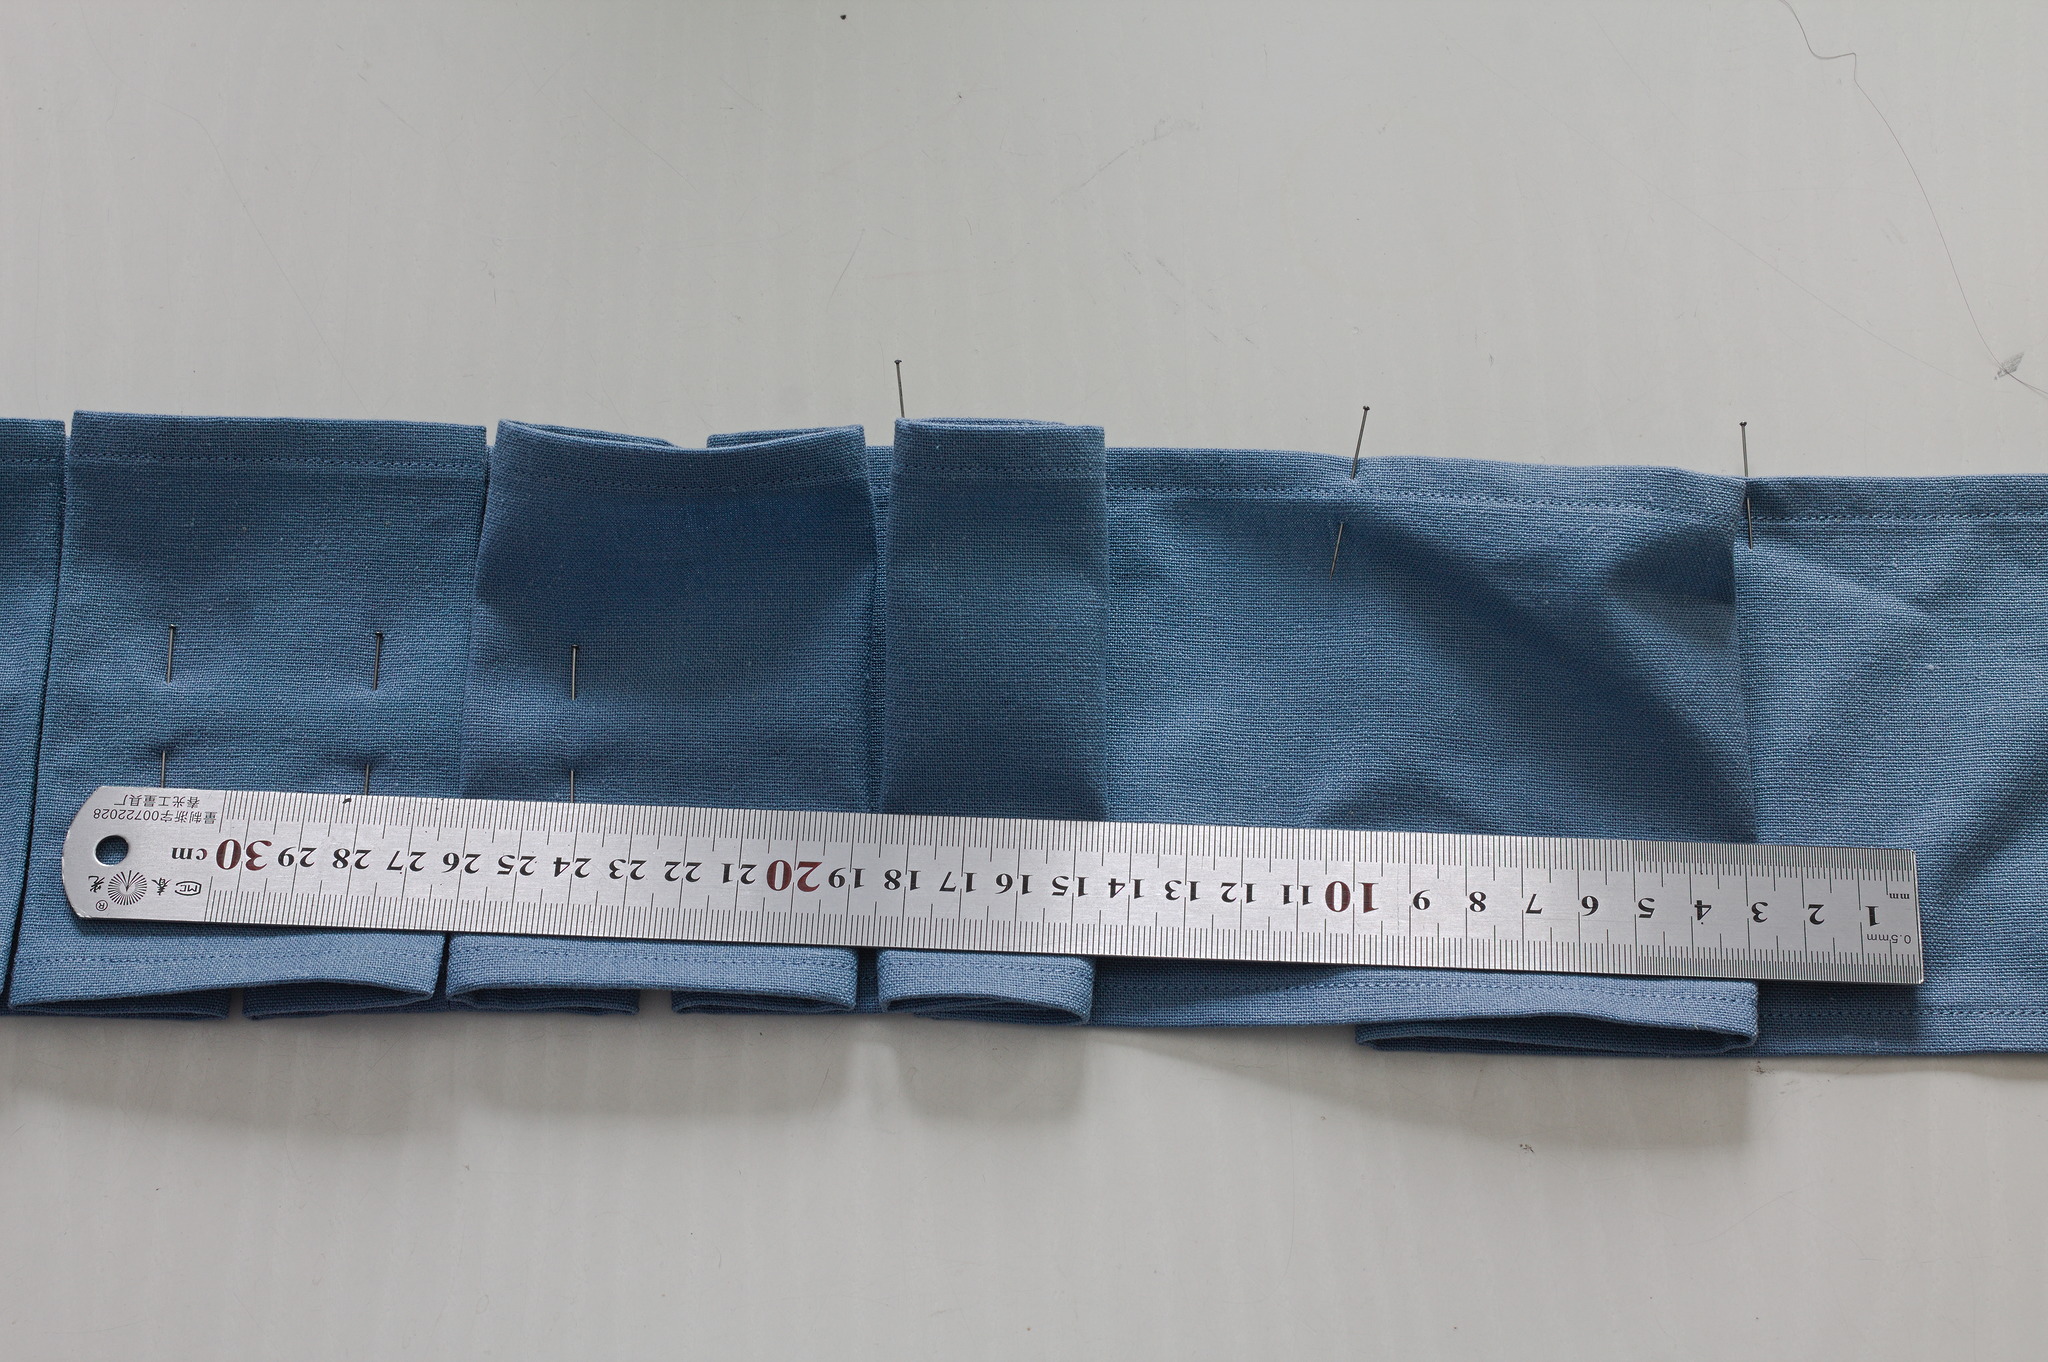
Starting from one selvedge, fold, pin and press deep box pleats (4 – 5 cm per side) until the end of the strip, trying to let the seams fall in the hidden part of the pleats.
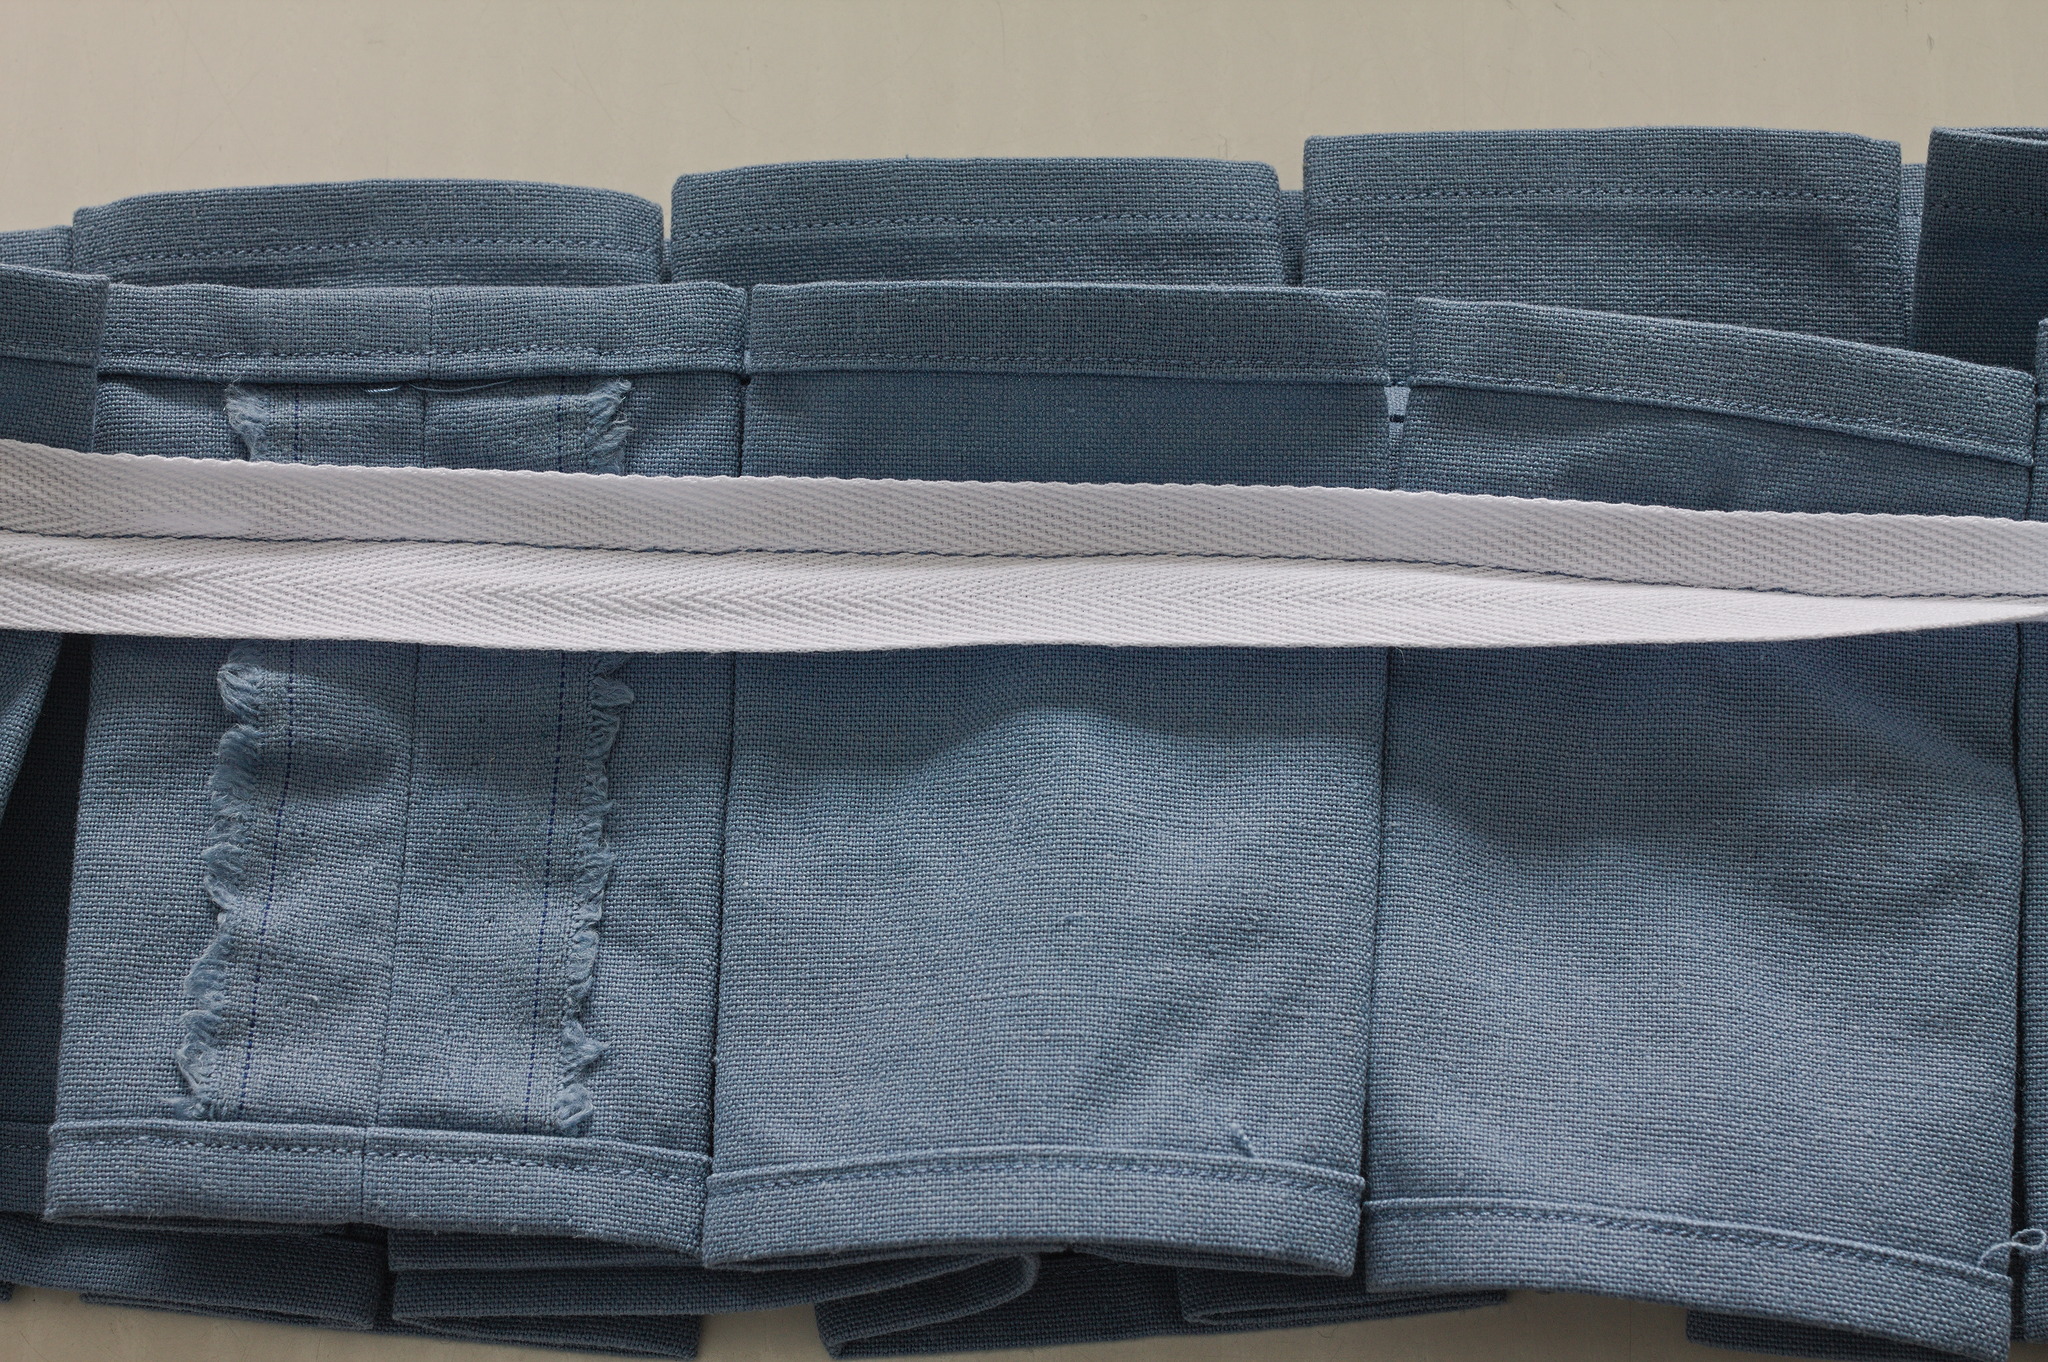
You can sew the ruffle either directly to the skirt, or first to tape and then to the skirt, to make it easier to remove if you want to change styles. In either case, sew it about 2 cm from the top of the ruffle, and let the bottom of the ruffle reach to just below the hem of the skirt (if sewn outside) or just above (if sewn inside).
Gallery