Parallelepipedal Zippered Pouch
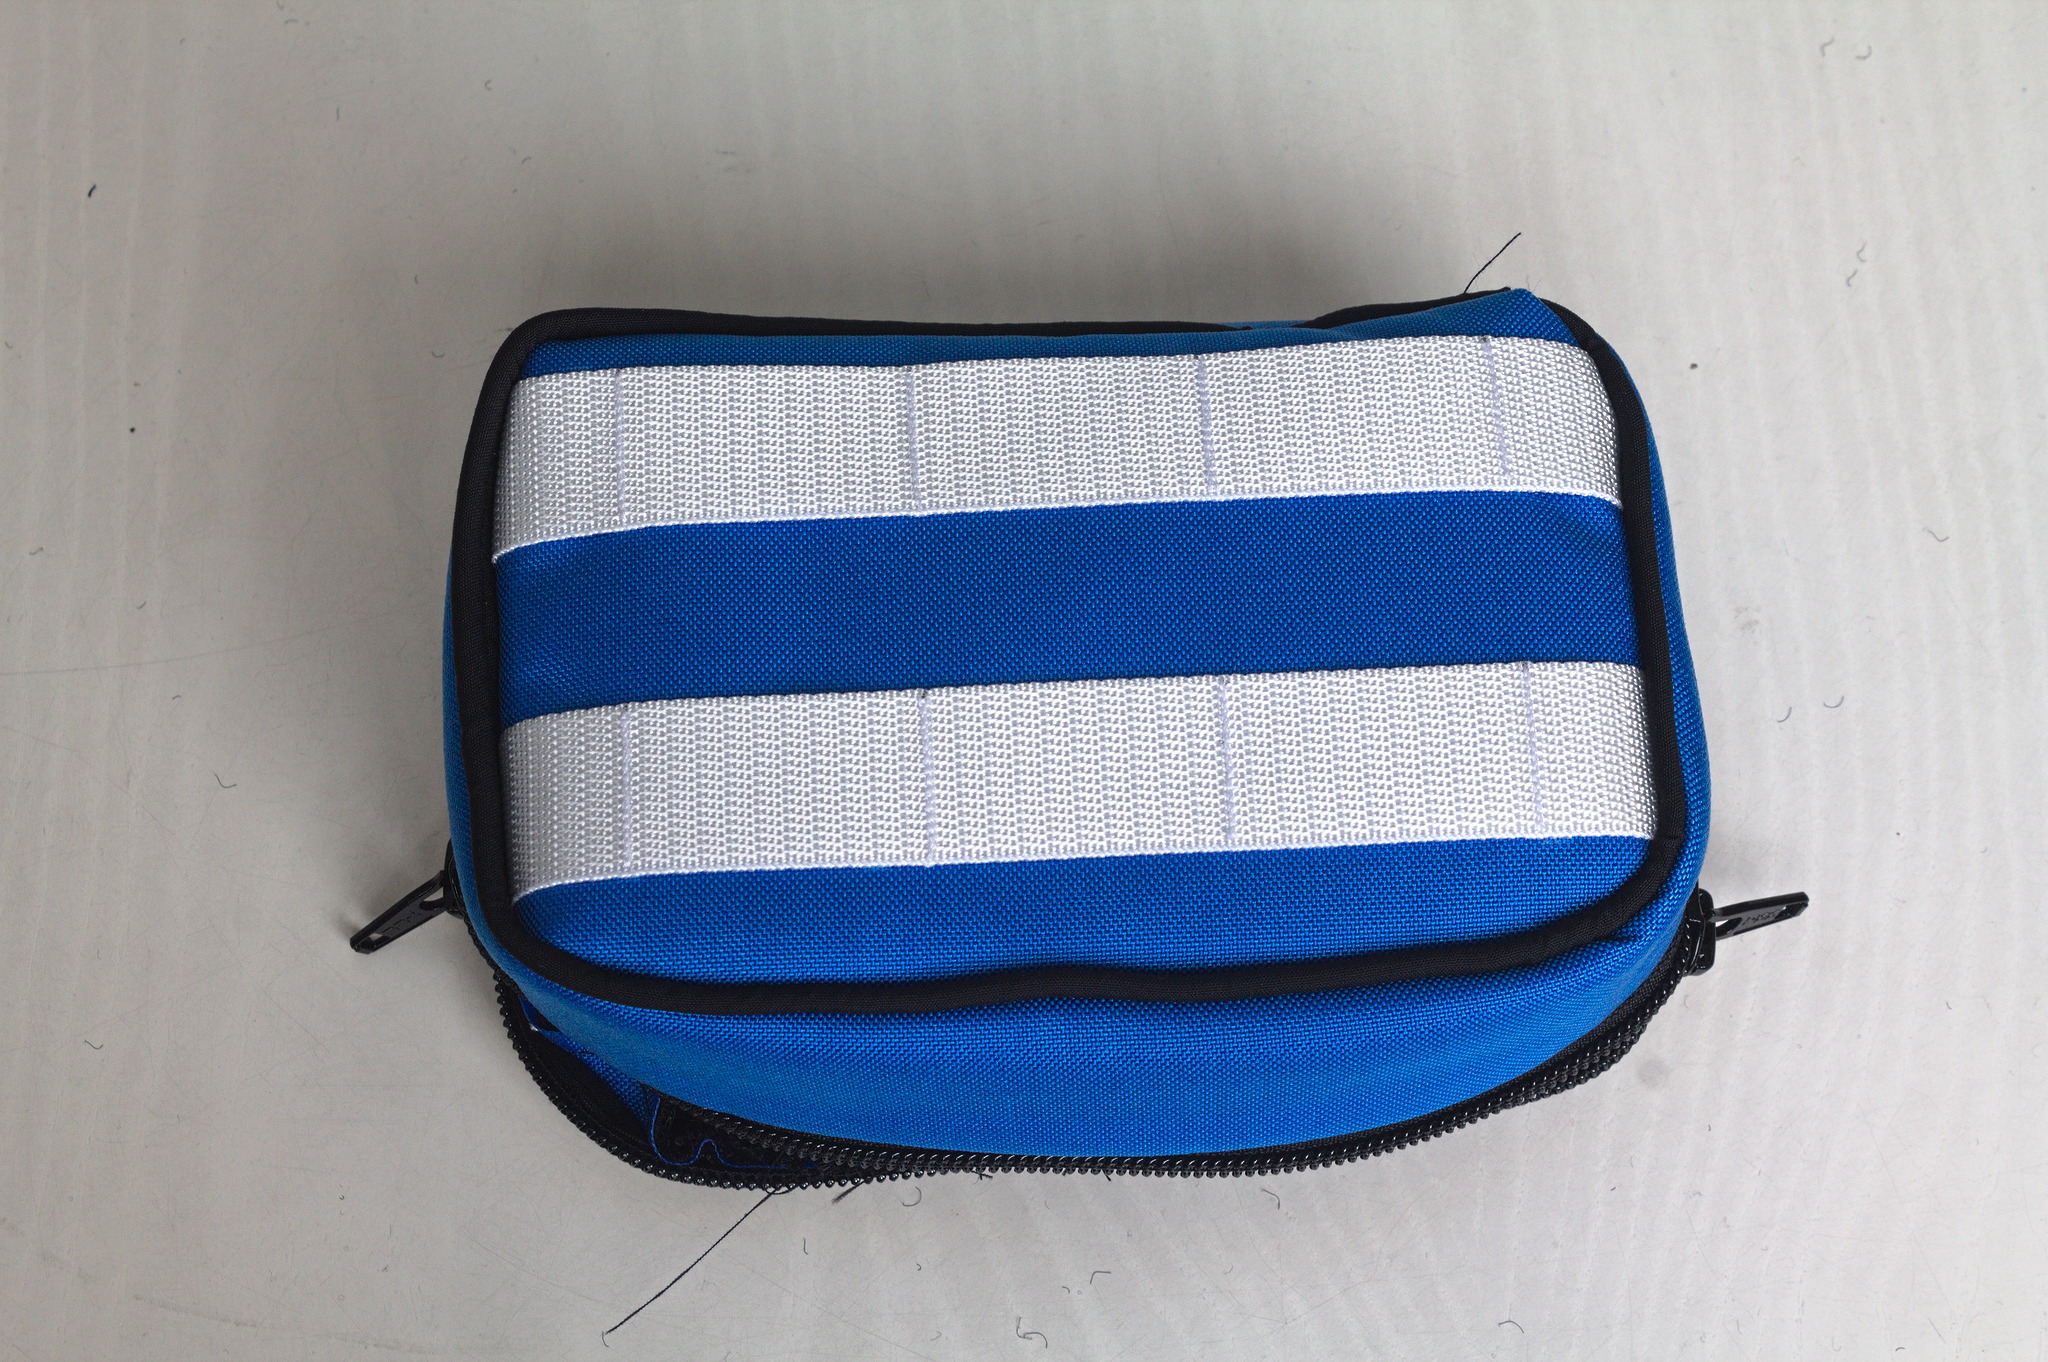
This is a semi-rigid rectangular pouch suitable as a carrying case for handheld devices, but also as a pencil case or packing cube.
View A has padding (or rigid plates) at the top and bottom, view B uses a padded lining to also give some protection to the sides.
Materials
The amounts of materials needed depend on the size of the pouch: smaller sizes will probably come out easily from leftovers from other projects, but print out the pattern to be sure of the amounts needed before buying new fabric.
Fabric
For both views:
sturdy outer fabric: canvas, cordura;
optional: mesh or lining fabric for the pockets;
optional: fabric for piping: similar to the lining fabric for view A;
for view A:
lining fabric: plain cotton print, ripstop, lighter cordura;
padding material: thick interfacing;
for view B:
padded lining: 2-3 mm thick neoprene or 3d mesh.
Notions
a zipper as long as piece C in the pattern;
bias tape or other lightweight binding for the raw edges;
piping cord;
optional: elastic binding for the mesh pockets;
optional: 2.5 cm wide webbing;
matching sewing thread.
Pattern
Get the valentina pattern zippered_pouch.val and enter the
measurements in the Variables Table.
You have to set the following increments for the inner size of the pouch:
#inner_xthe width, i.e. the lenght of the side where the hinge will be;
#inner_ythe lenght, i.e. the other side of the top;
#inner_zthe height or thickness, i.e. the side that is partially taken by the zipper;
and the other increments:
#easeamount of ease added twice to each measurements to get the outer measurements: if you’re using a thick lining make sure to provite for it in here;
#zipperthe width of zipper that will be visible in the final pouch: teeth plus a bit of fabric on each side;
#sewing_allowancethe sewing allowance you want to use.
For convenience, these are some pre-configured patterns, as a printable PDF or valentina layout:
20 cm × 20 cm × 4 cm
20x20.pdf20x20_layout.vlt;10 cm × 10 cm × 1.5 cm, using just the zipper for the sides
10x10.pdf10x10_layout.vlt: requires a piece of zipper 32.5 cm long;to measure as a carrying case for the Pyra handheld
pyra_case.pdfpyra_case_layout.vlt.
Instructions
Cutting
Cut 2 of piece A, 1 of piece B and 1 of piece C from the outer fabric.
For view A also cut the same pieces from the lining, and 2 of piece A1 from the interfacing.
For view B cut 2 of piece A, 1 of piece B1 and 1 of piece C1 from the lining.
Also cut all pieces for the pockets.
Lining preparation
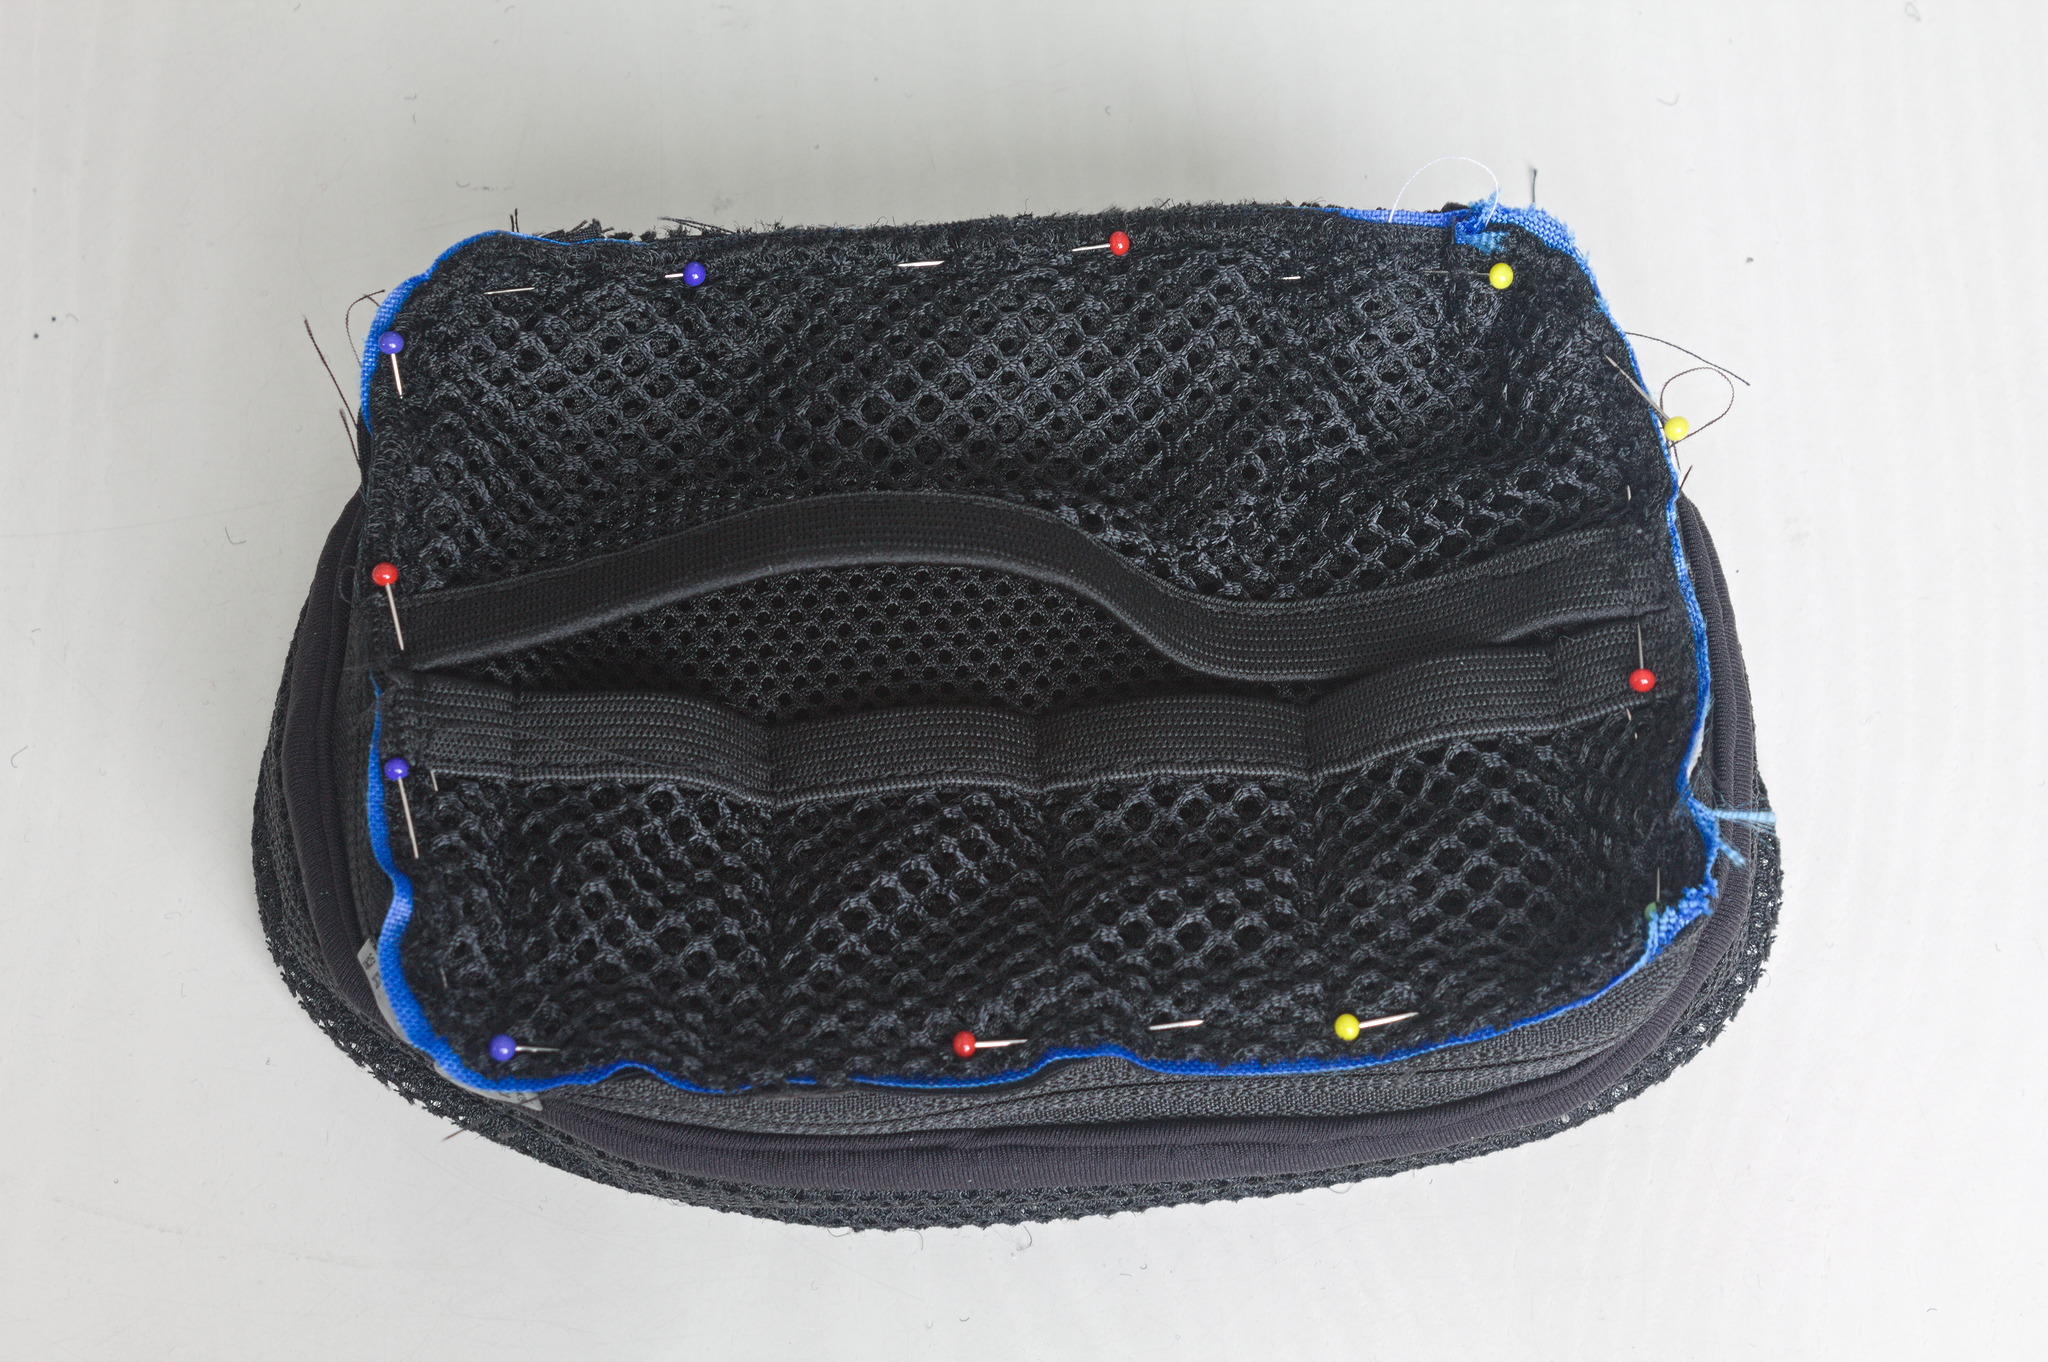
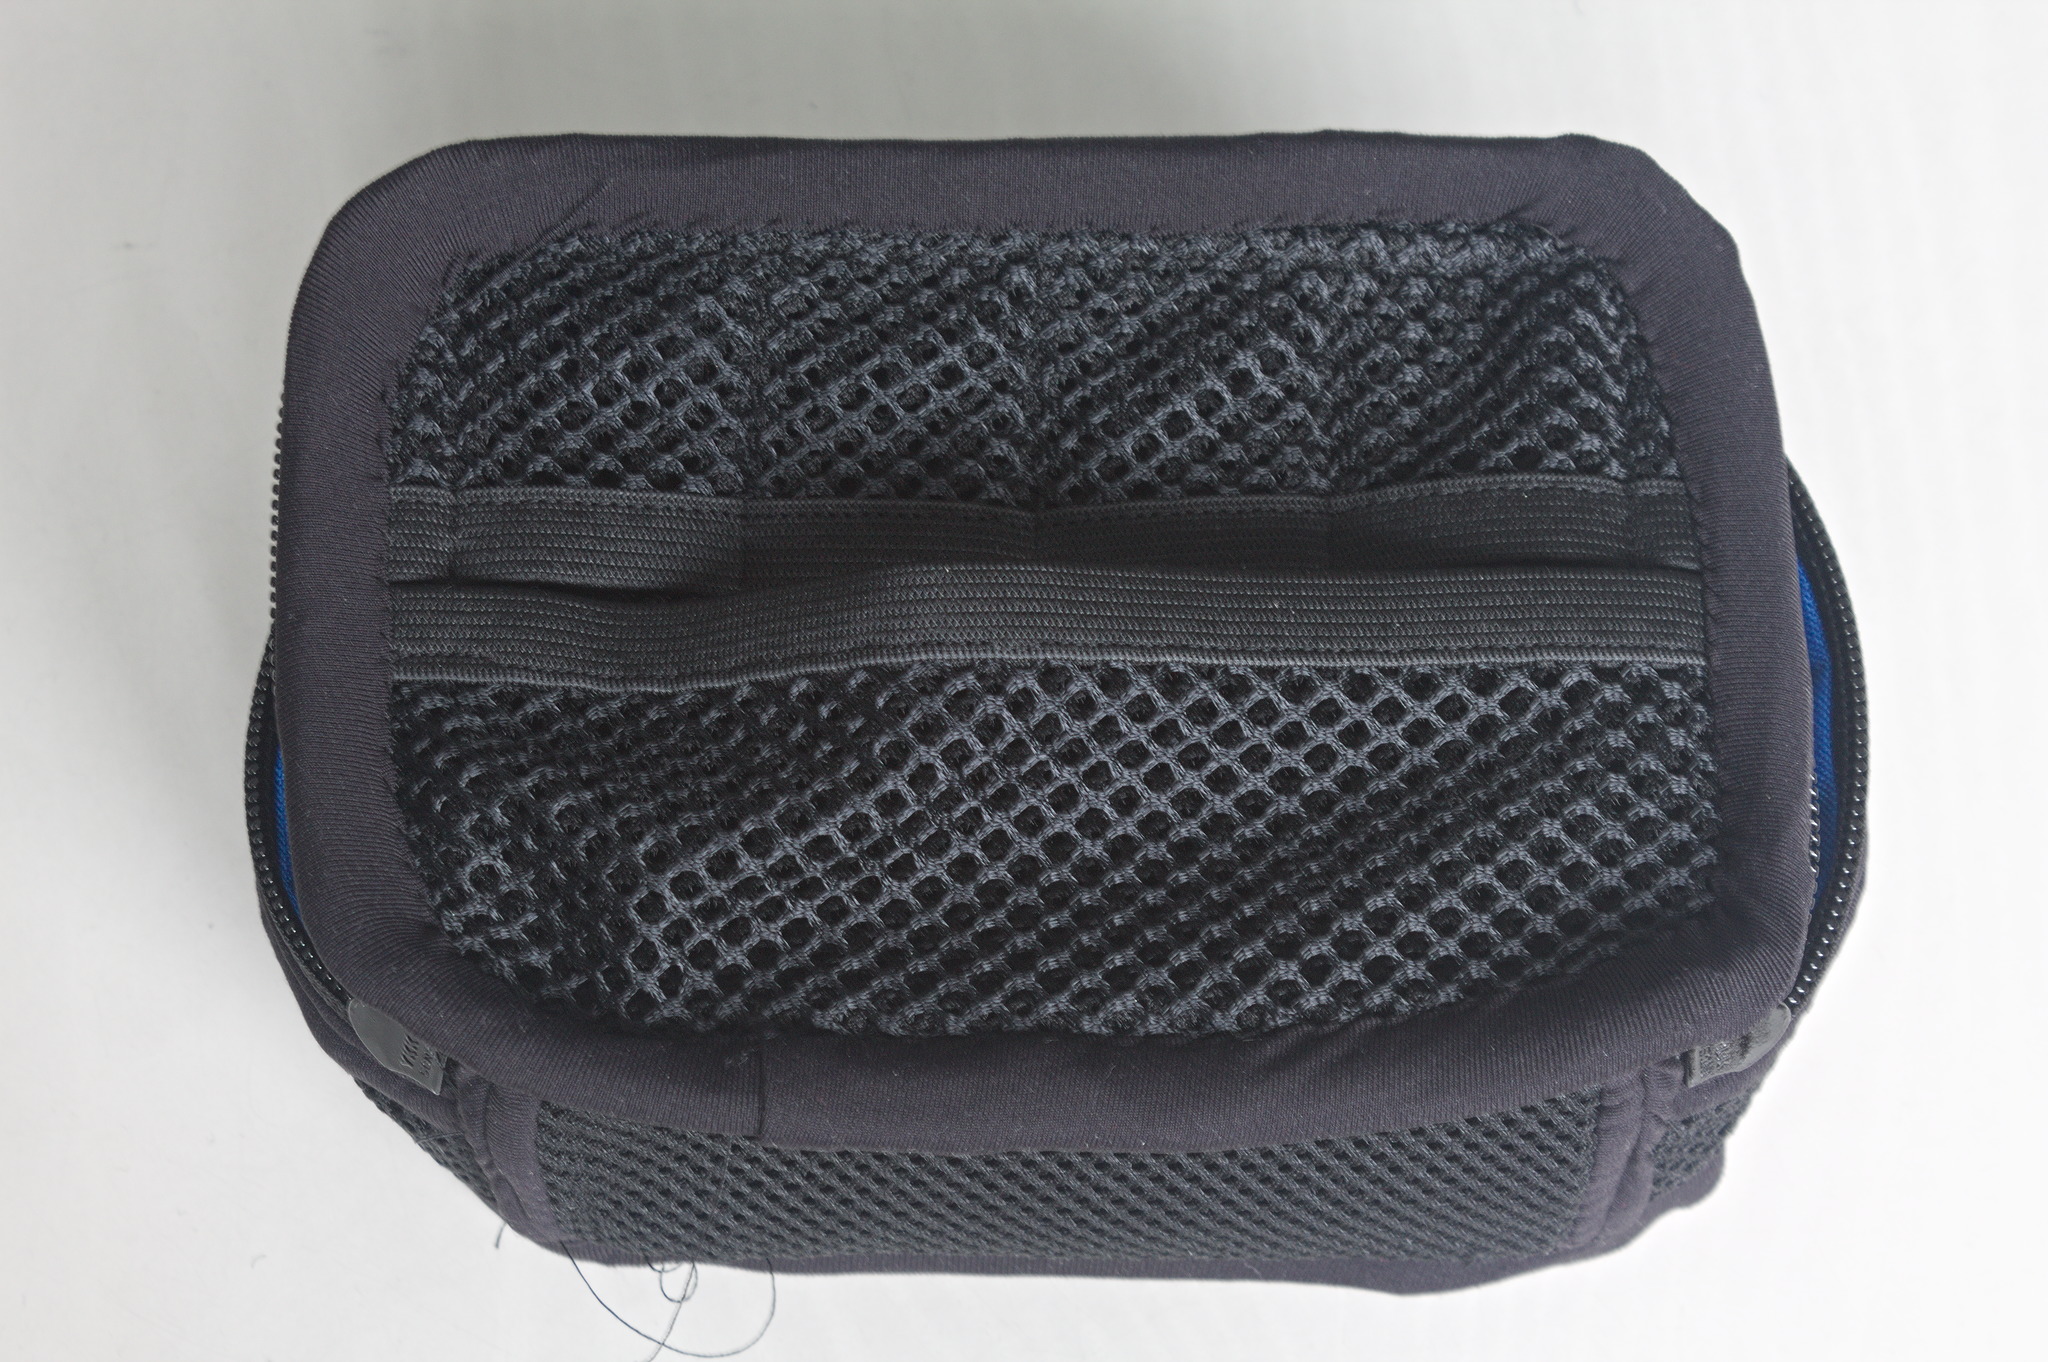
Sew all internal structure to the lining pieces A
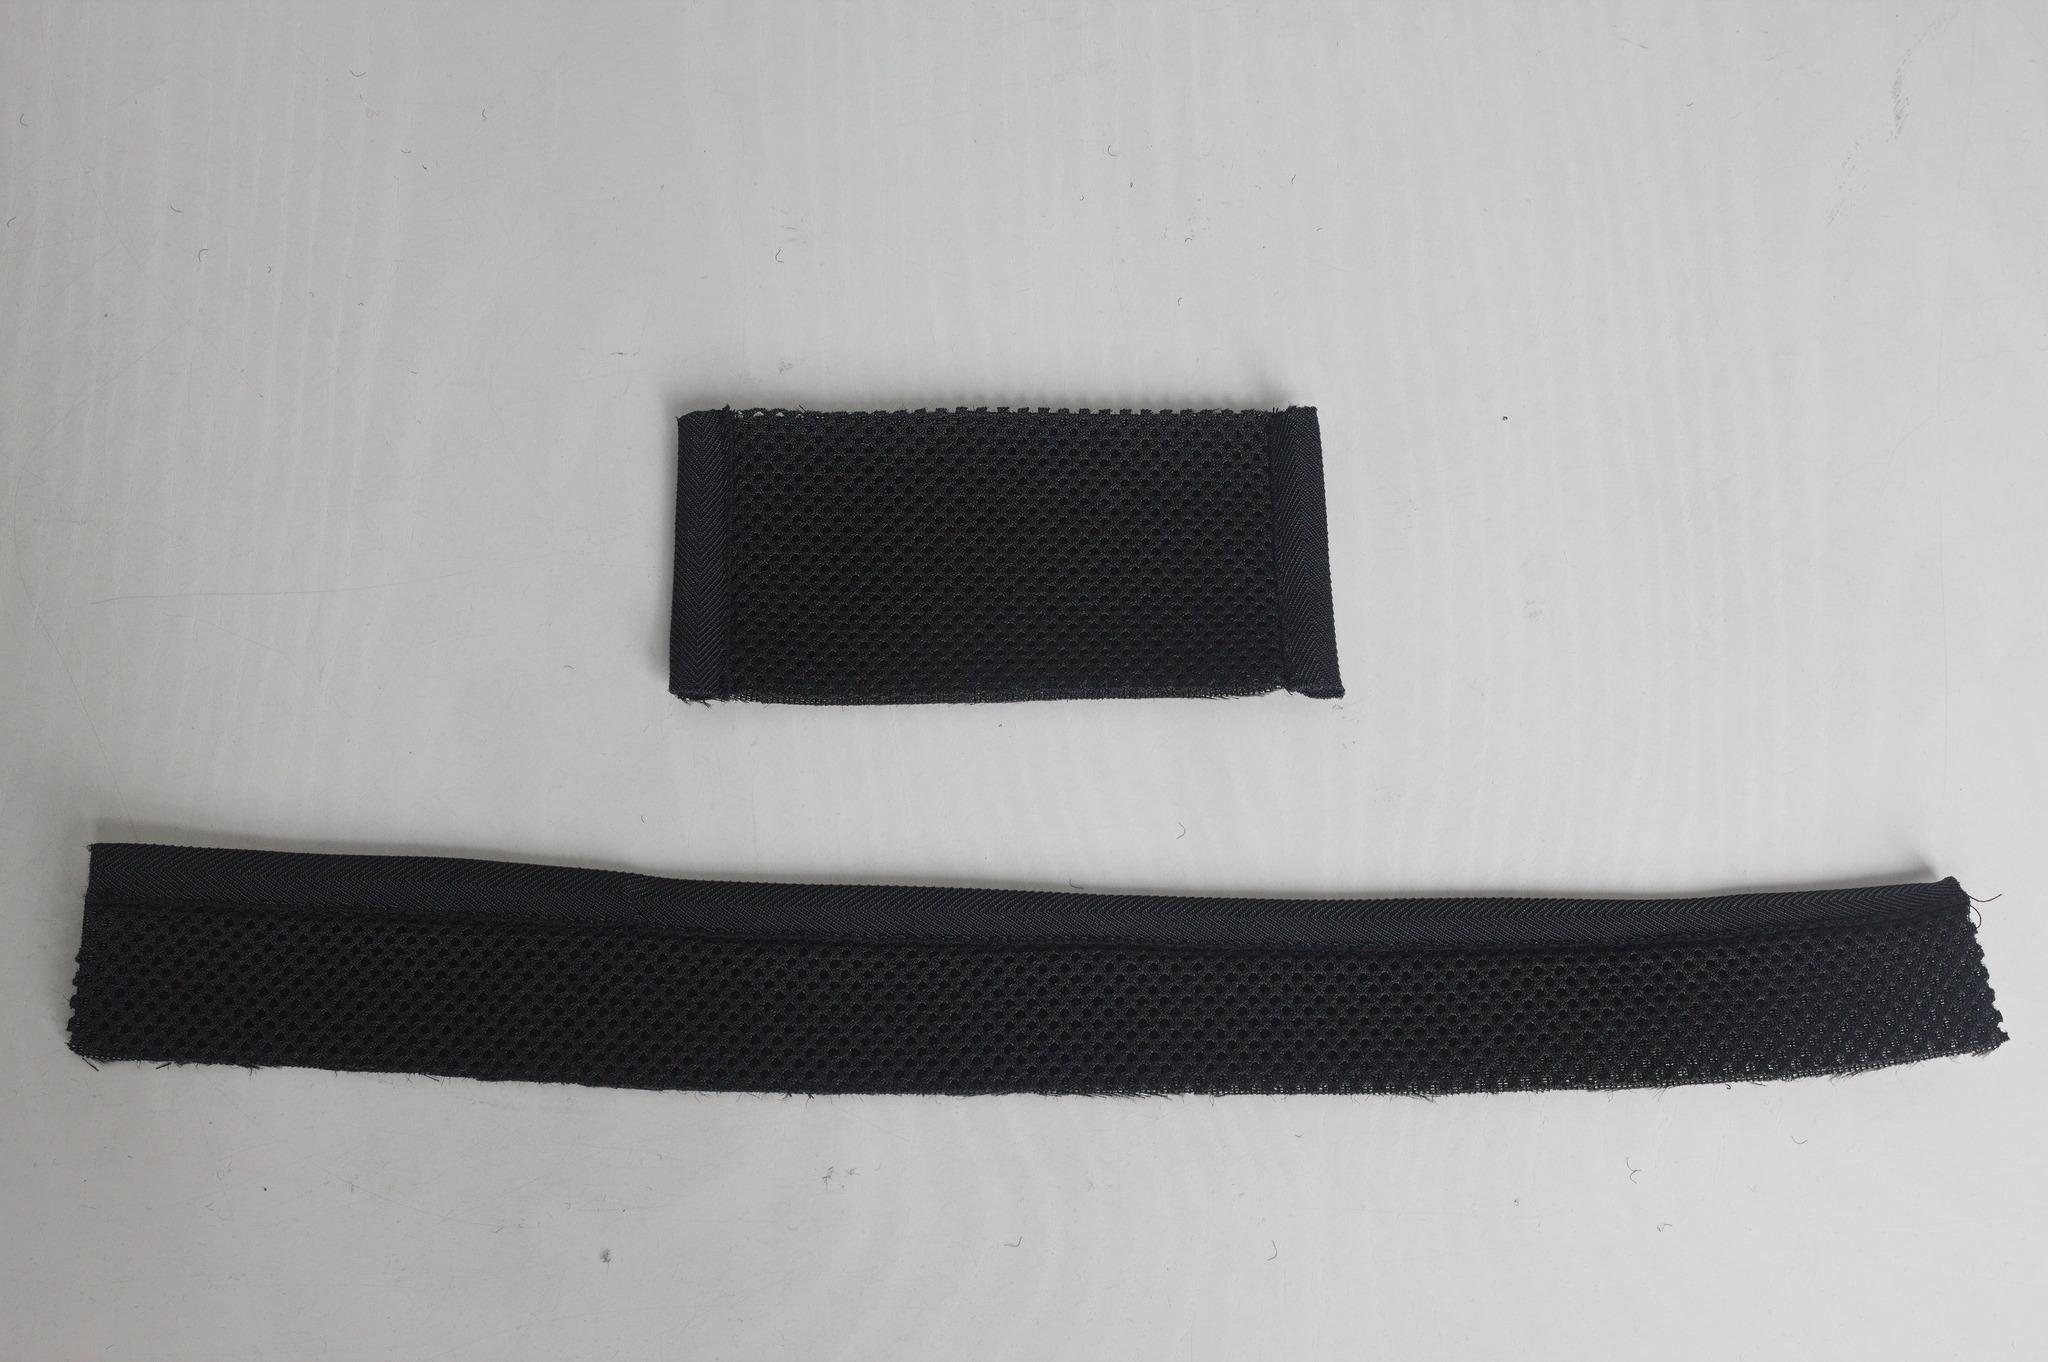
Half or 4/5 pockets
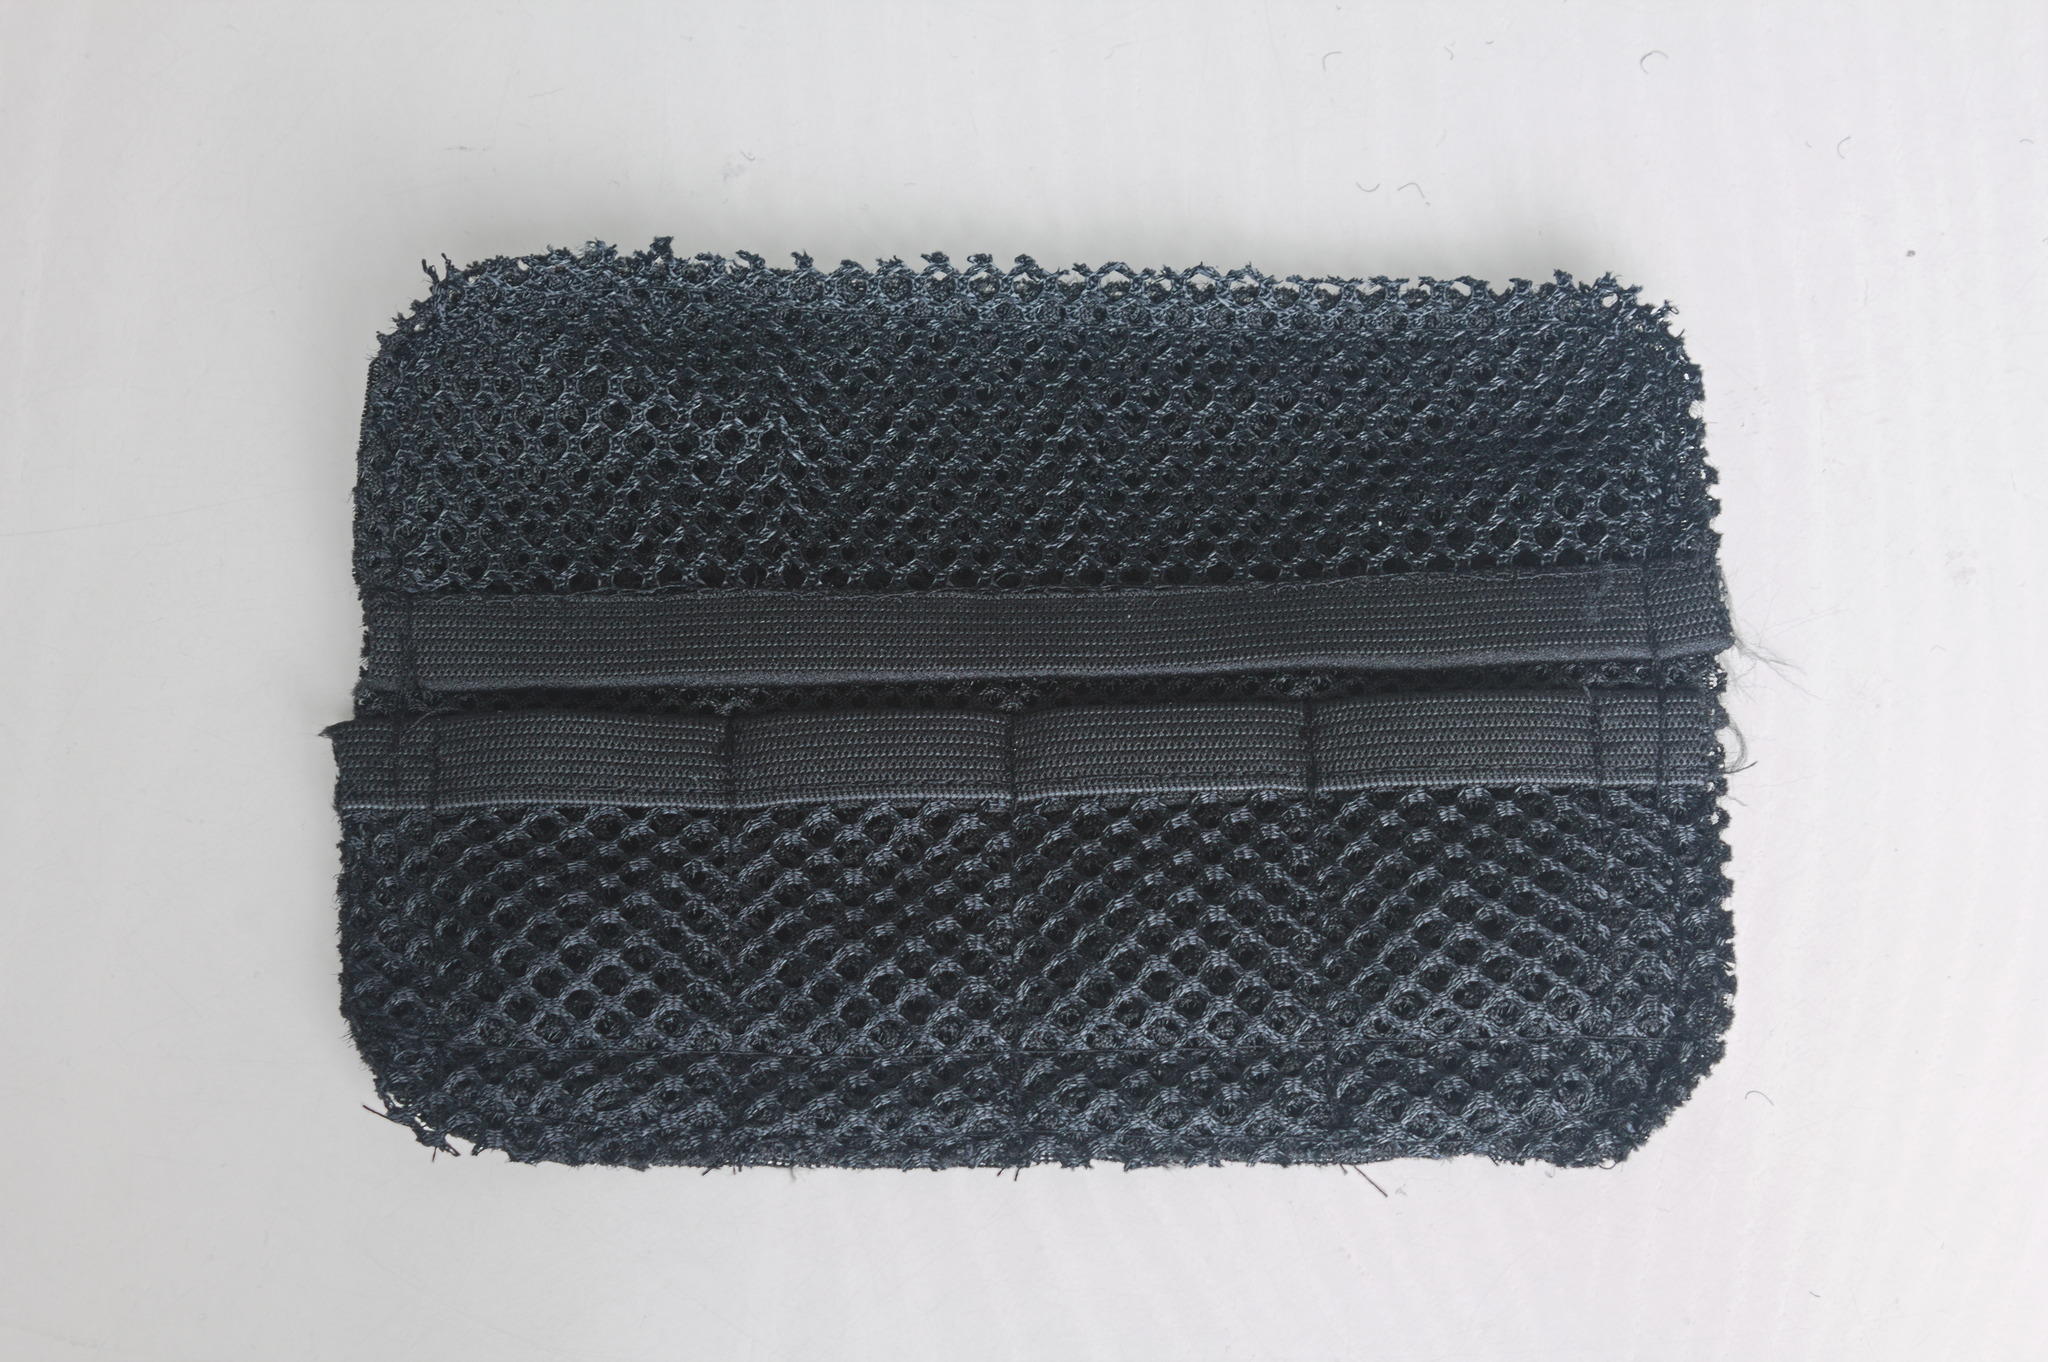
For each 4/5 or half pocket you want to add, cut one of piece D1 or D2 respectively in netting or pocketing.
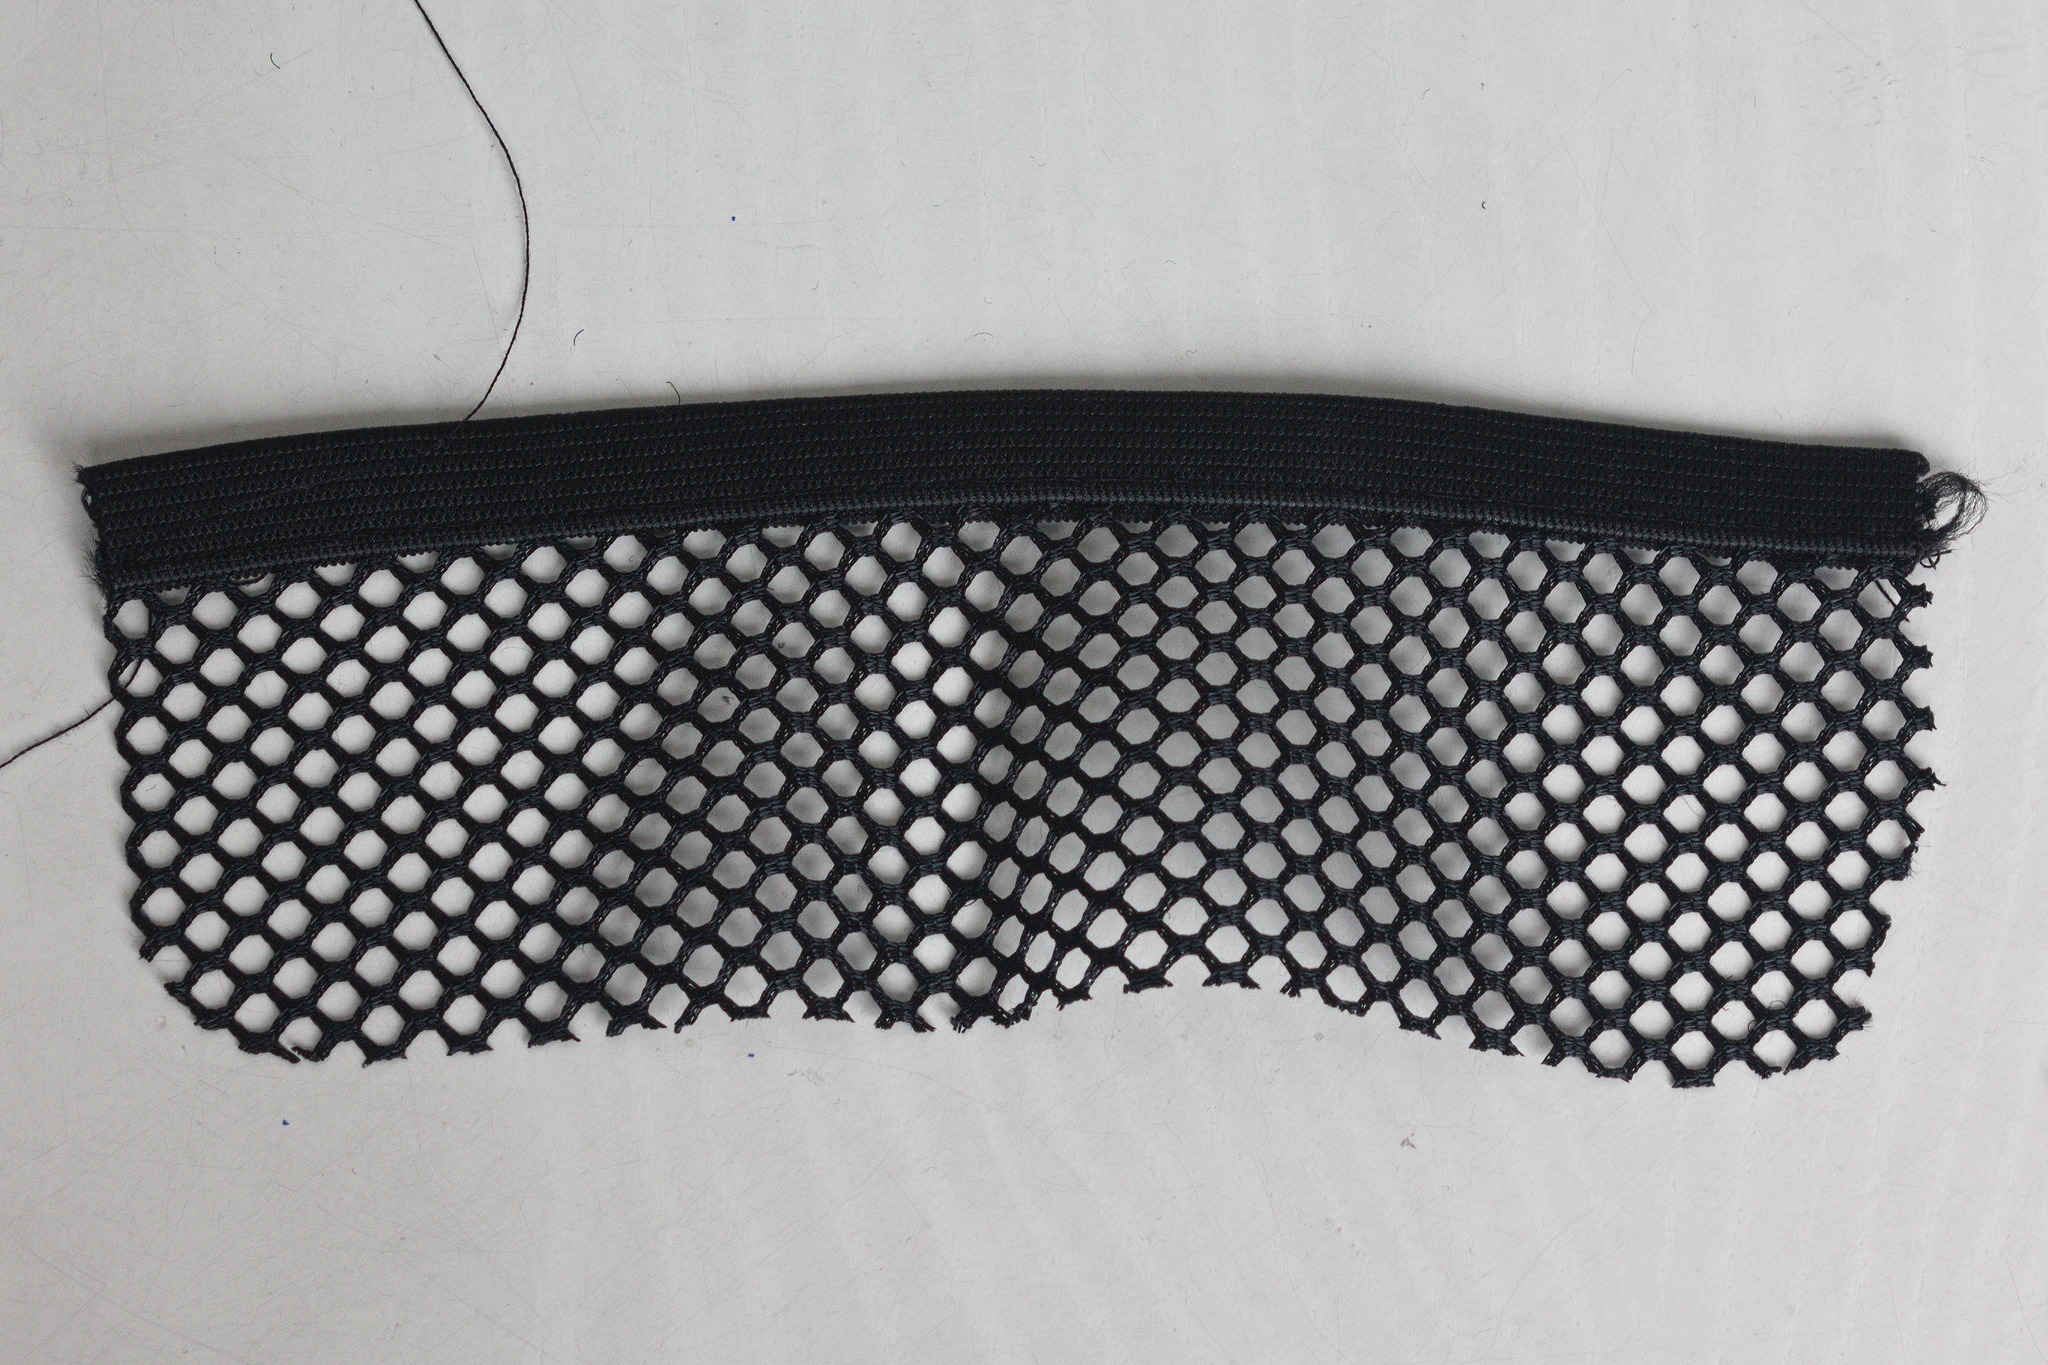
Bind the top edge of the piece.
Put the piece on top of a lining face, wrong side of the piece on the right side of the face piece, and machine baste around the border, in the sewing allowance, backstitching over the bound edges.
Optionally sew vertical lines to divide the pocket, starting from the bound edge and backstitching over it.
Treat as one with the face lining piece.
Zippered pockets
For each zippered pocket you want to add, cut one of piece A in netting or pocketing.
Put a zipper, as long as the width of the pouch, at about 3/4 of the height of the piece, wrong side of the zipper on the right side of the piece. Sew near the zipper teeth.
Carefully cut the piece below the zipper, fold the allowances out, and topstitch again with a zig-zag stitch over the zipper tape, catching the allowances.
Put the piece on top of a lining face, wrong side of the piece on the right side of the face piece, and machine baste around the border, in the sewing allowance.
Treat as one with the face lining piece.
Outer faces
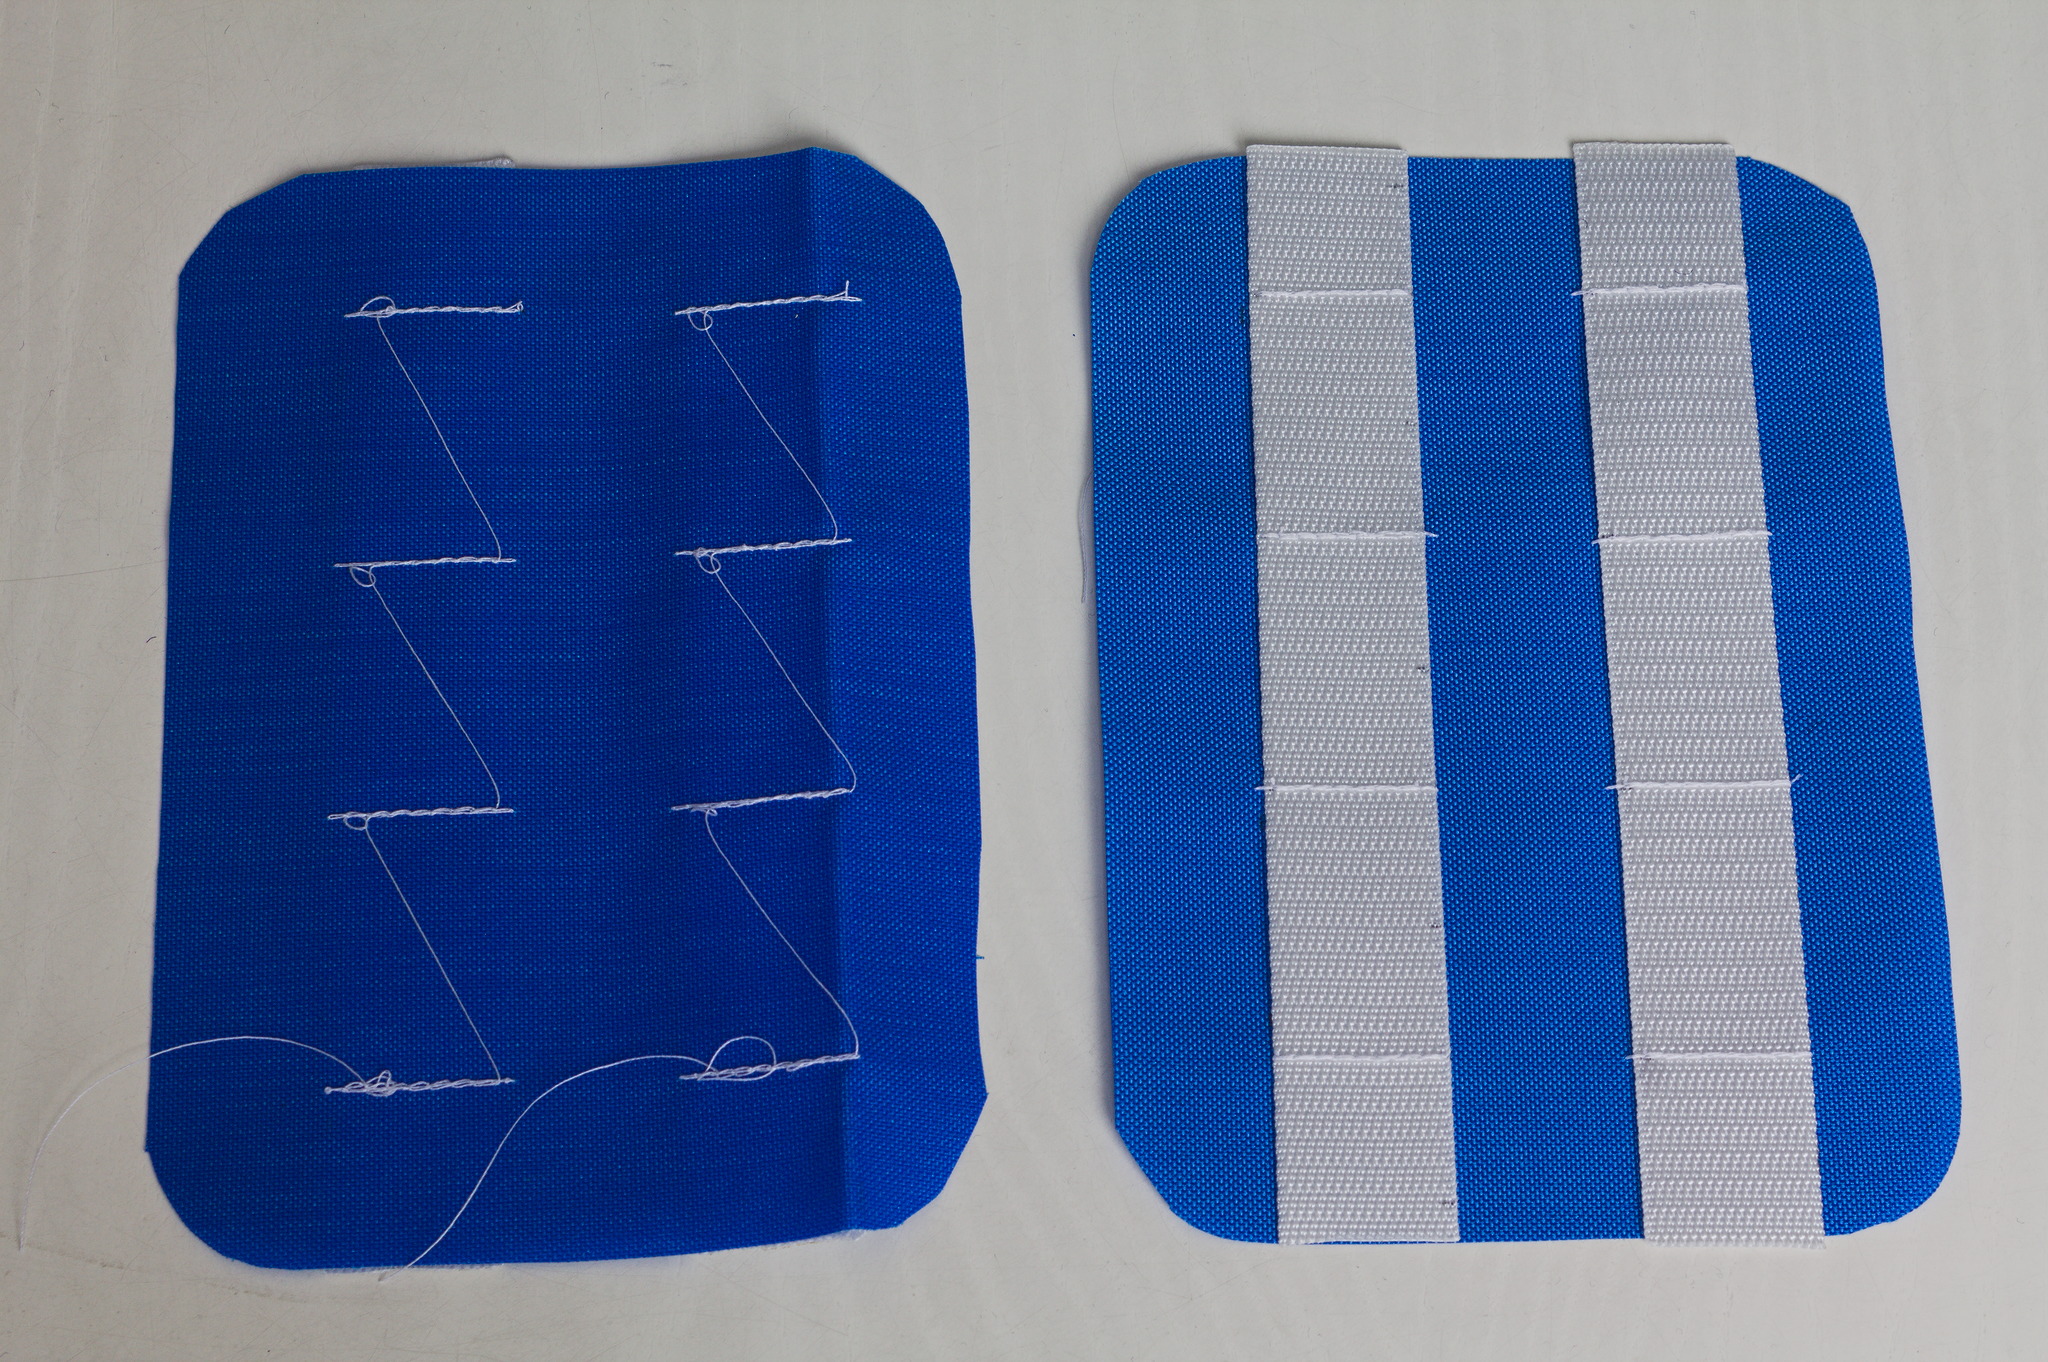
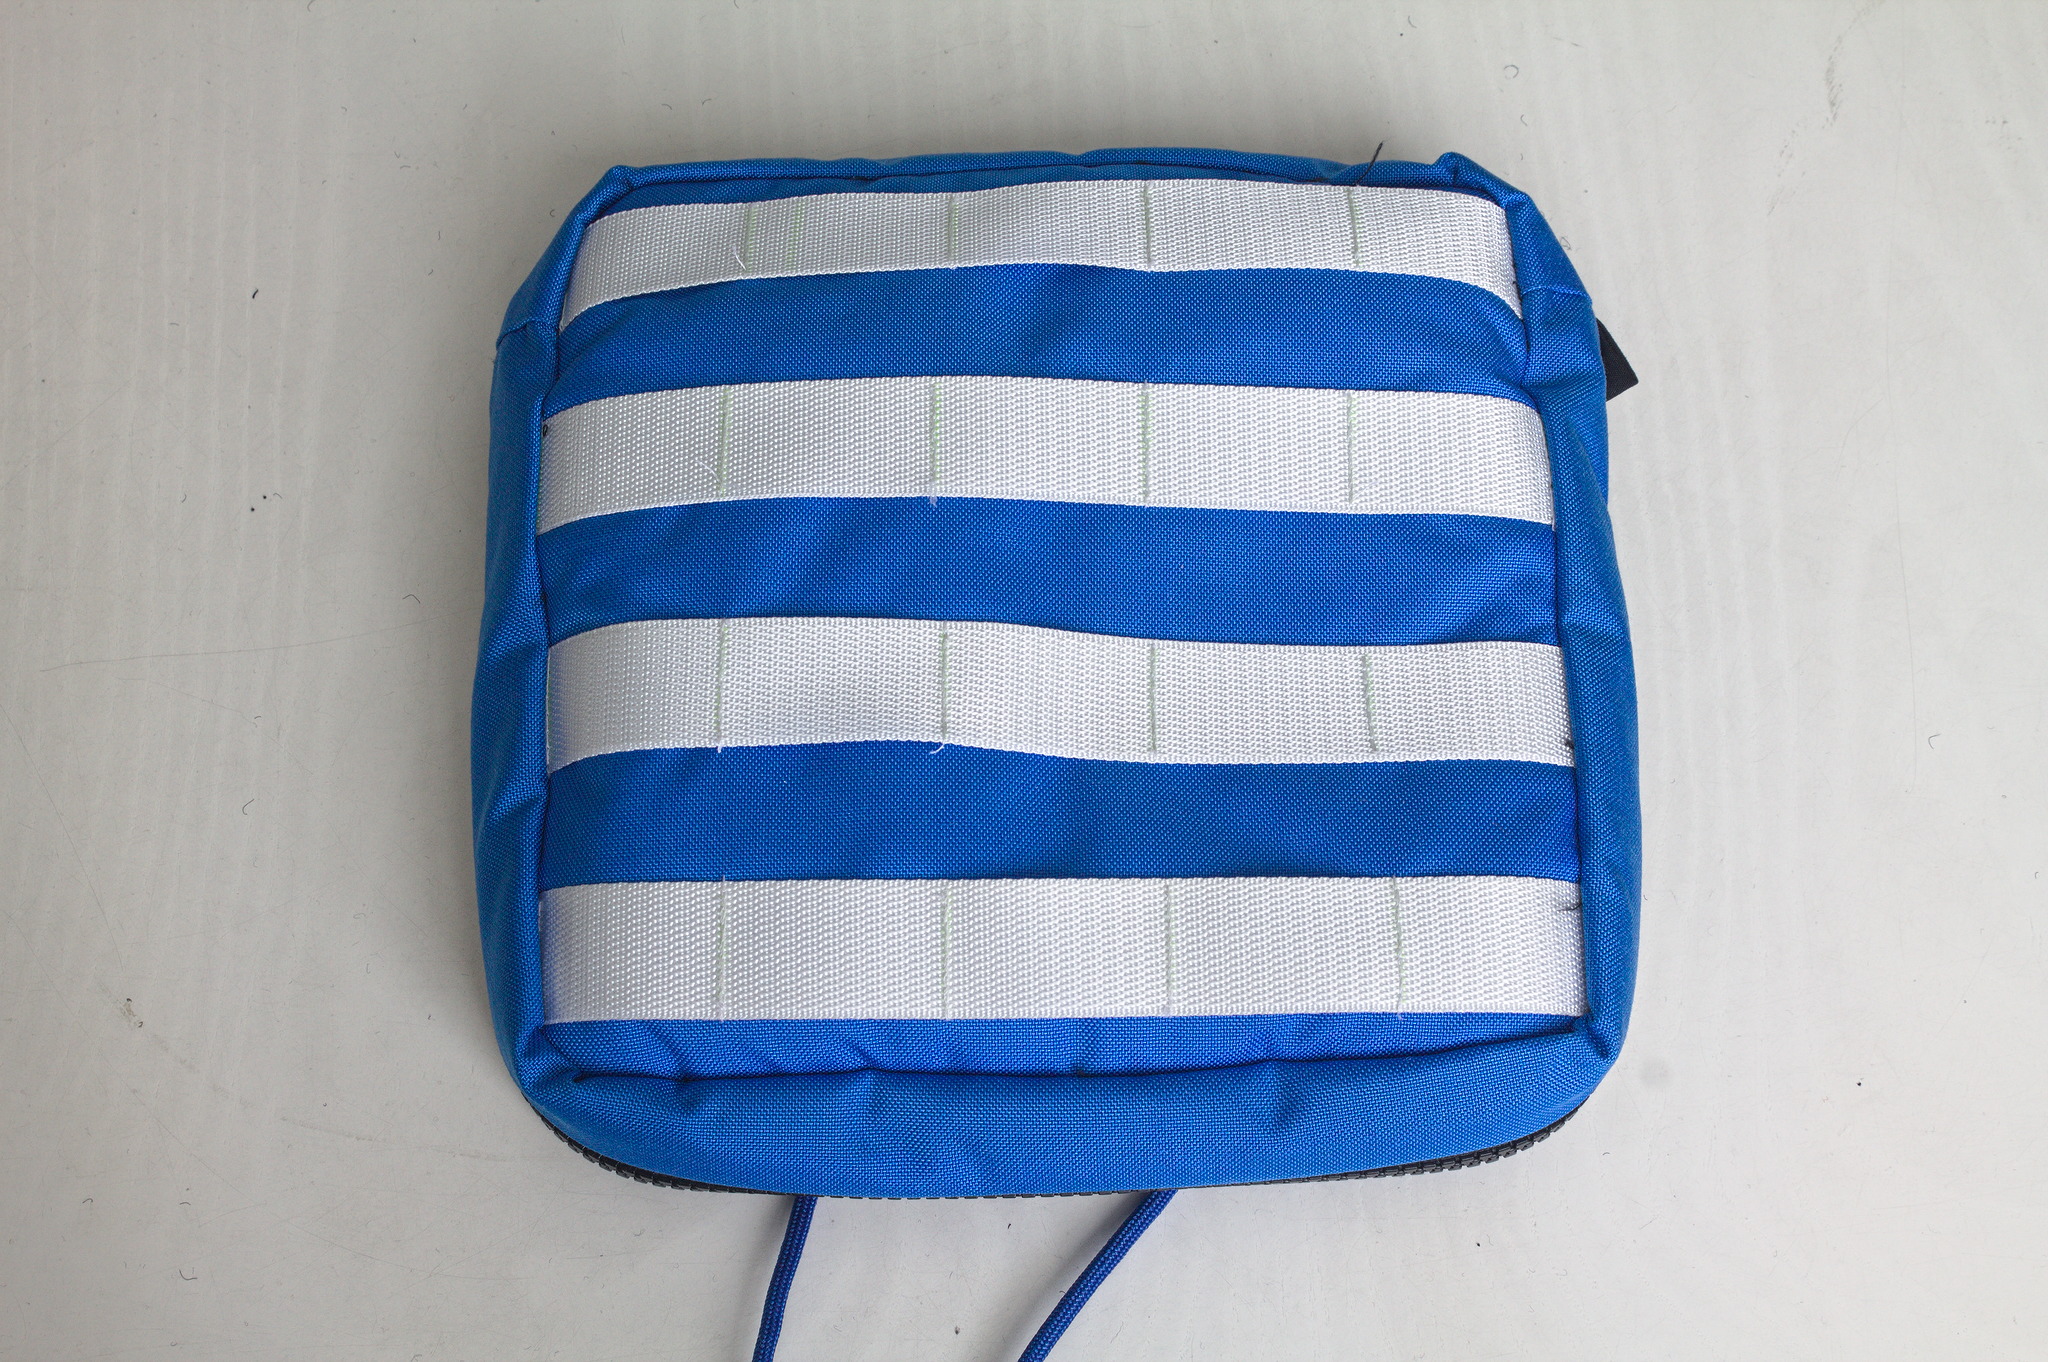
Cut strips of webbing that are as long as the width of the pouch, put them at one webbing width of distance from each other and sew every 4 cm to make a MOLLE-compatible pattern.
view A
Put piece A lining with the wrong side up, then piece A1 padding and piece A fabric with the right side up, machine baste all around the edges in the sewing allowances.
Treat as one.
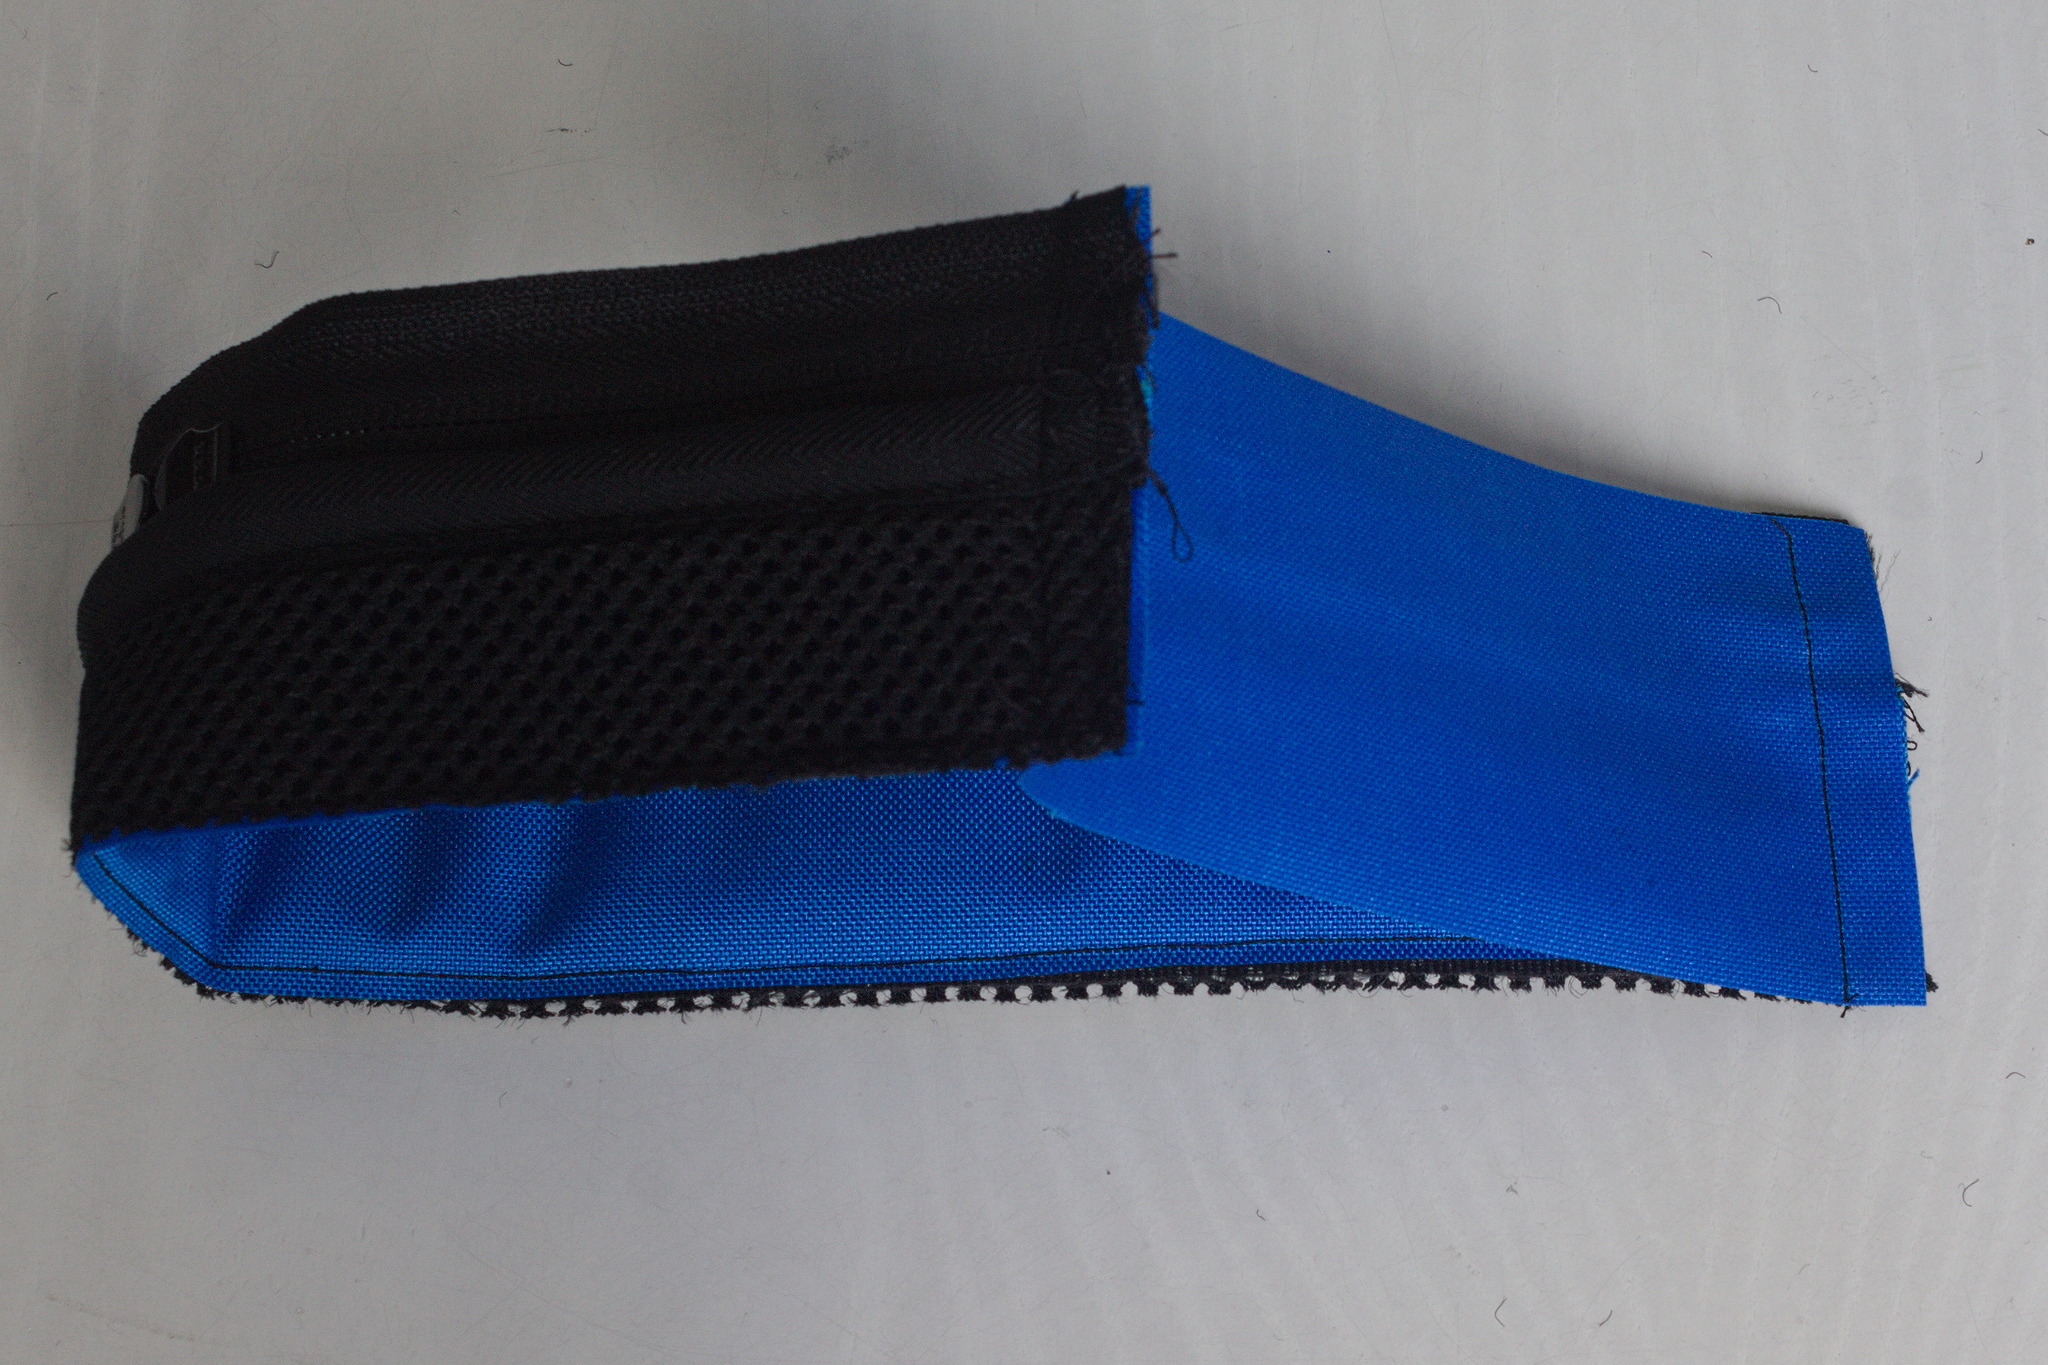
view B
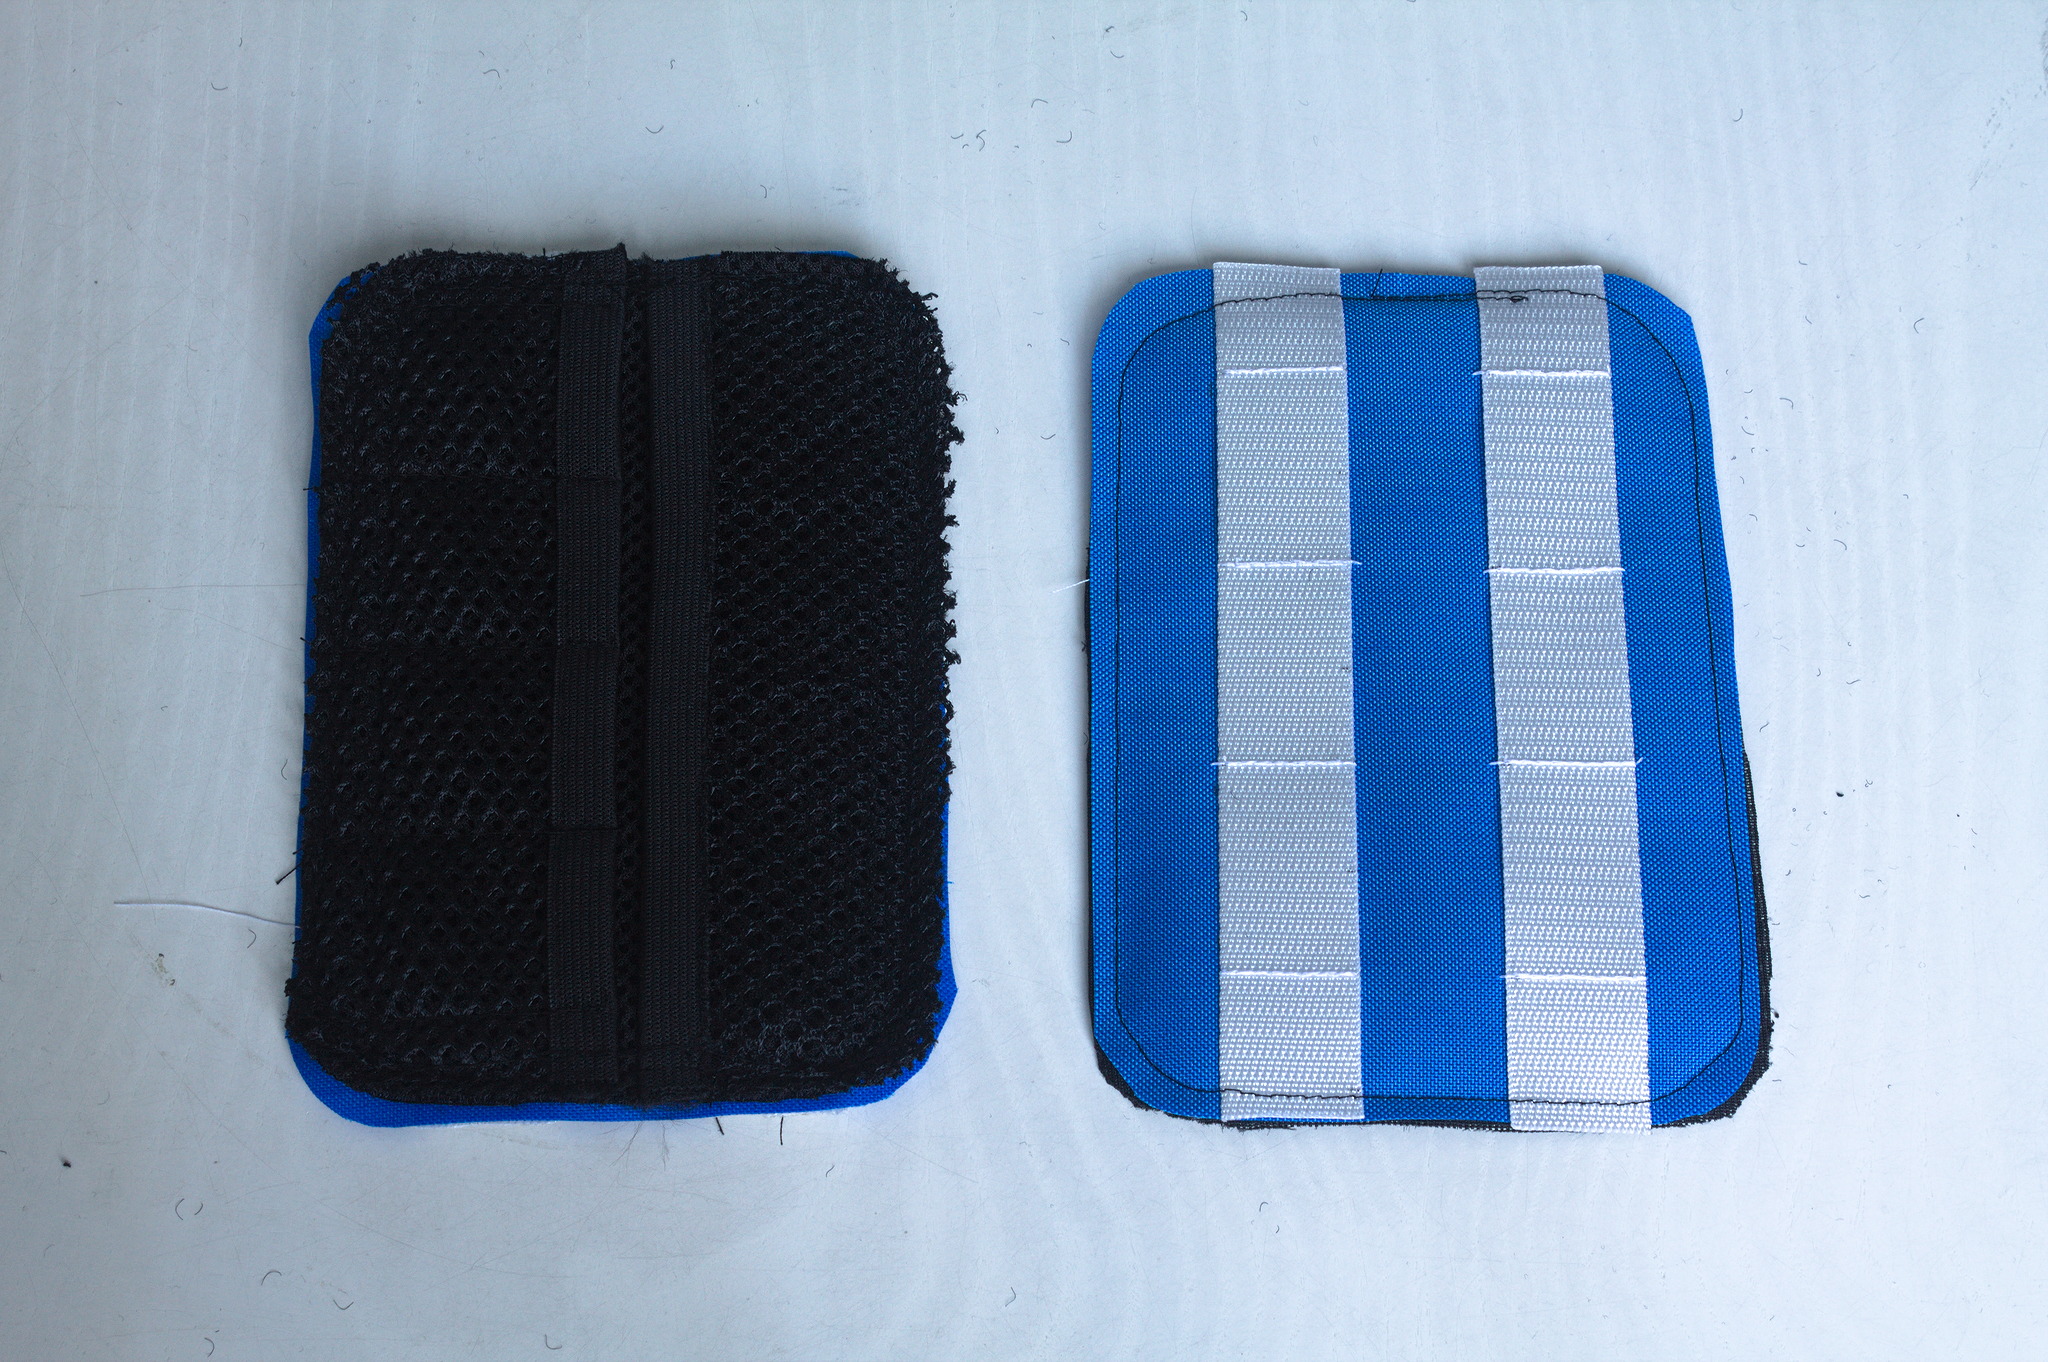
Put piece A fabric on piece A padded lining, wrong sides together, machine baste all around the edges in the sewing allowances.
Treat as one.
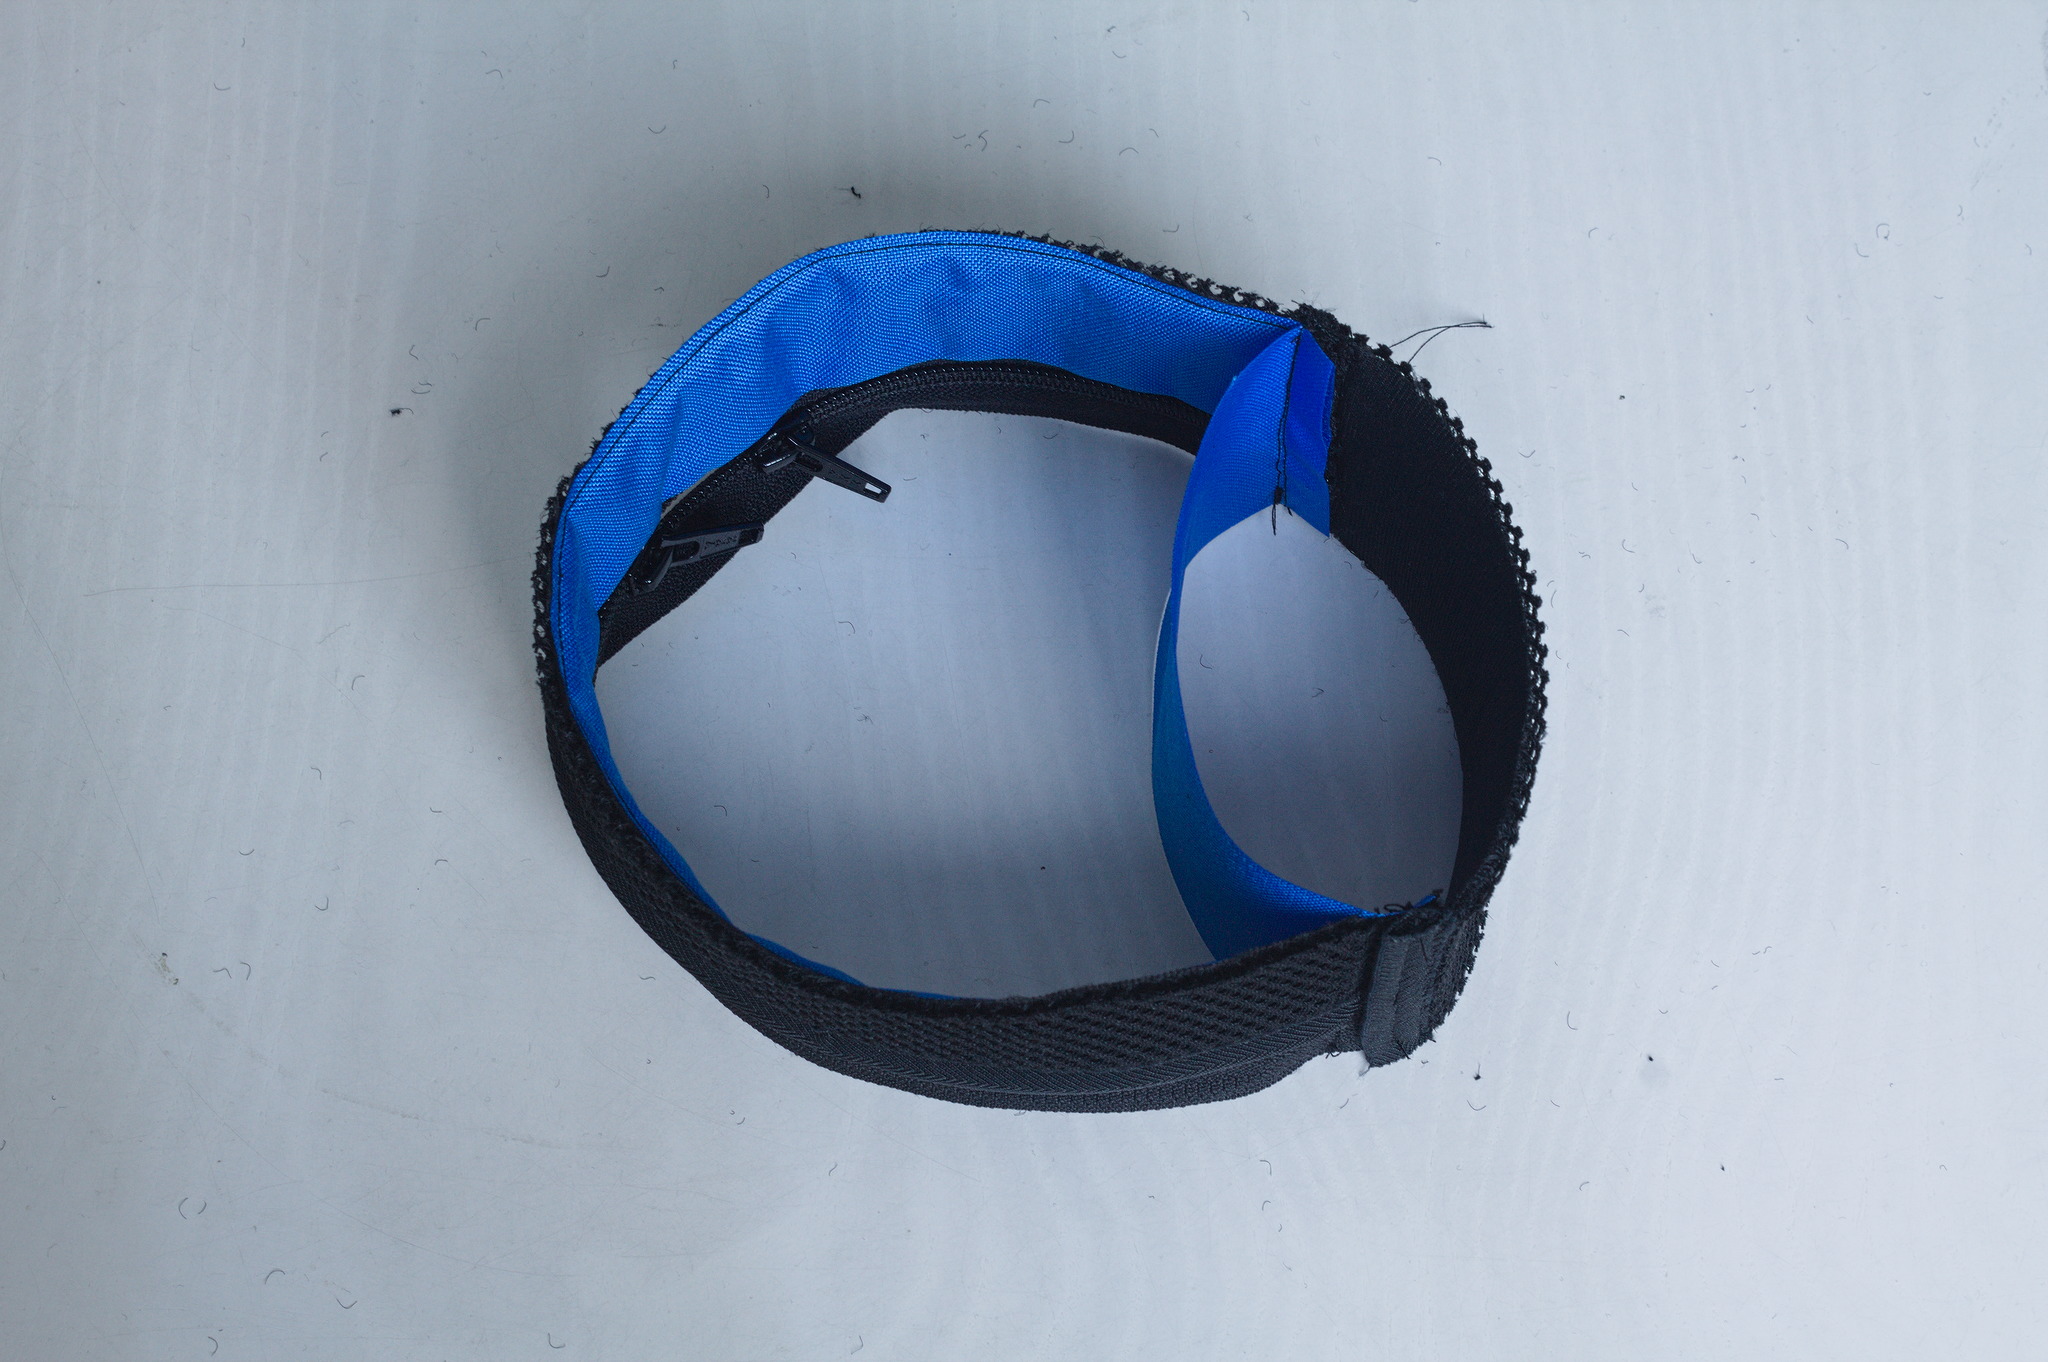
Sides
View A
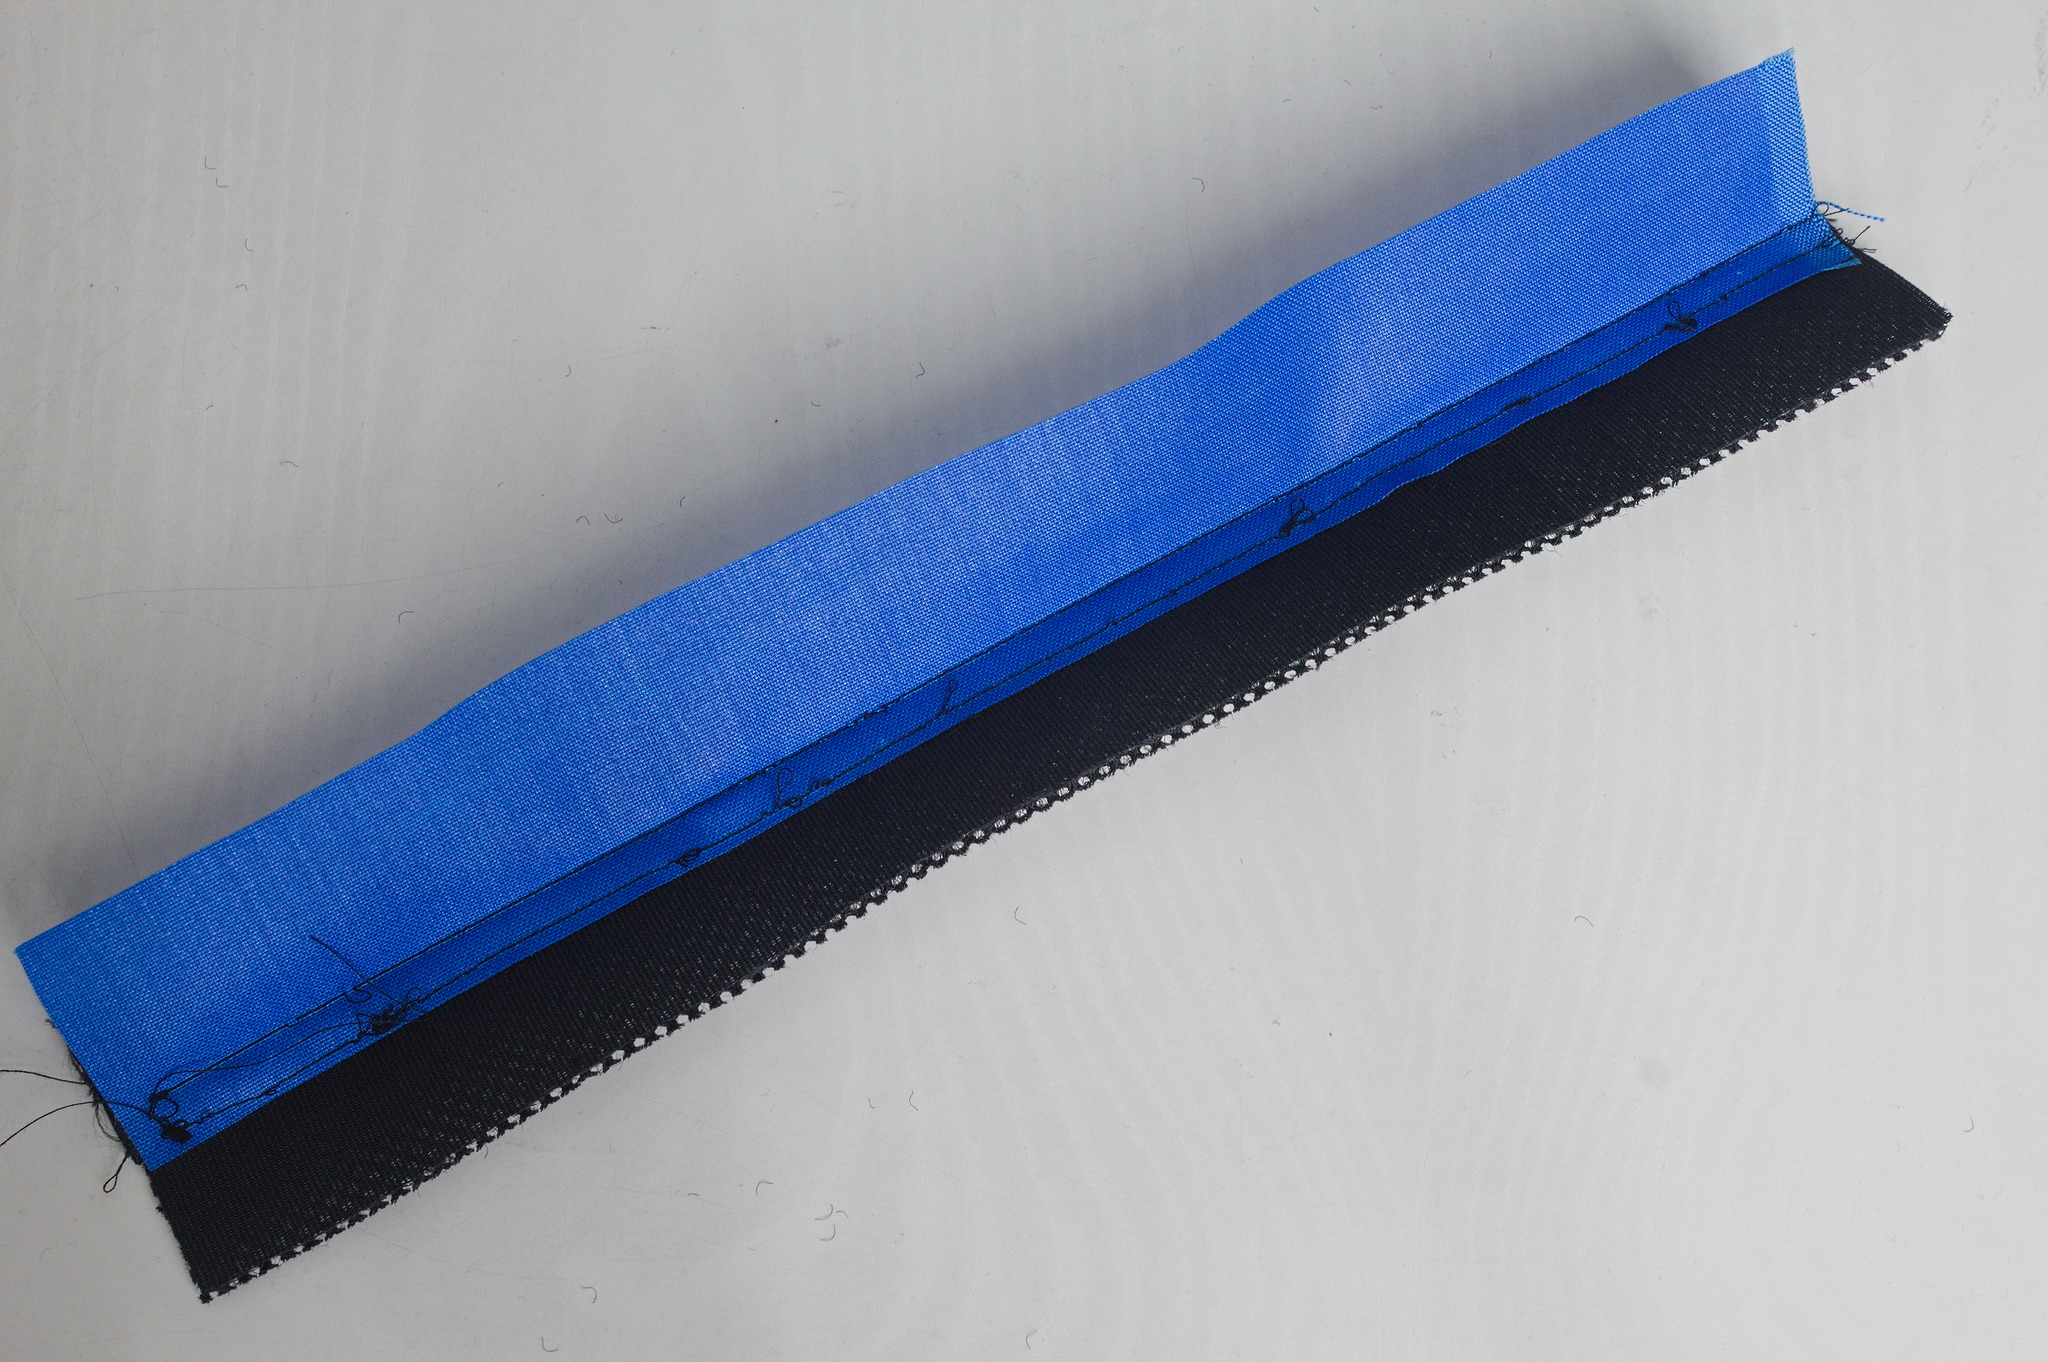
Sandwich the zipper between piece C fabric and lining, right sides together, making sure to align the allowance in such a way that when the seam is folded back the resulting piece will be as tall as piece B.
Sew the long seam, press it so that the wrong sides of fabric and lining touch each other, and the zipper comes out of the fold.
Machine baste the free edges of the fabric and lining together, treat as one.
If the zipper has free ends, finish it on both ends with a metal stopper or by sewing a few times over the teeth.
Sandwich the side between the pieces B of the fabric and lining, right sides together, sew.
Roll up the side so that the other short edge is aligned with the short edges of the hinge, still right sides together, sew.
Turn inside out pressing all of the allowances towards the hinge.
View B
Bind the top edge of piece C1 padded lining and the side edges of piece B1 padded lining.

Put the zipper on piece C fabric, right sides together, sew with the right allowance so that when the seam is folded open the resulting piece will be as tall as piece B.
Press the seam with both allowances towards the fabric.
Put the padded lining on top of the fabric, wrong sides together, so that the bottom edge is aligned; pin it to the allowances, open the seam and sew the lining to just the allowances of the fabric and zipper.
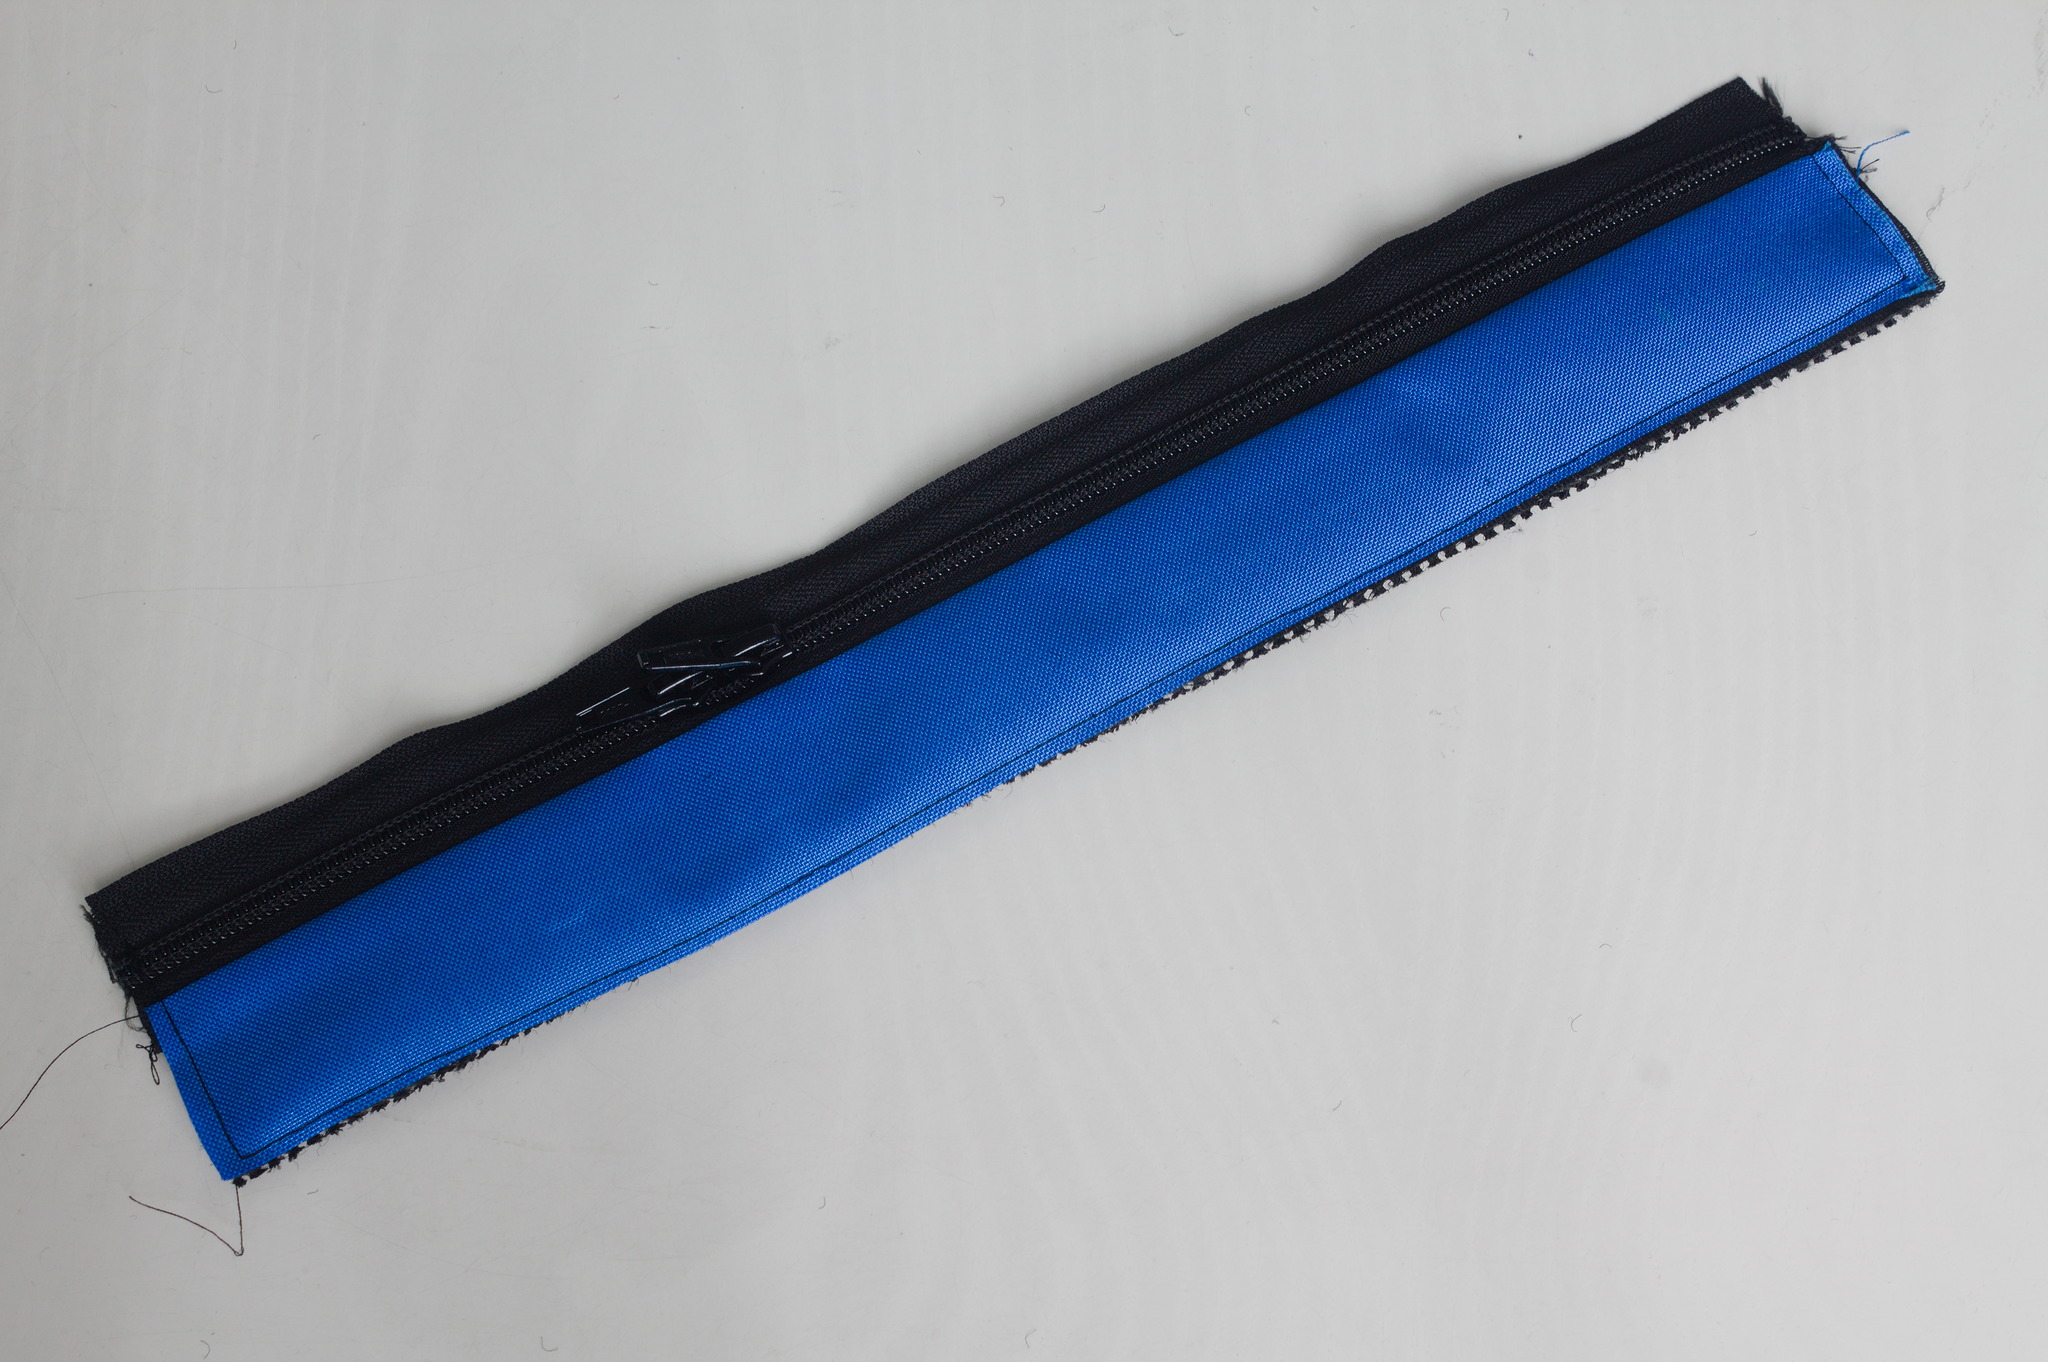
Put the lining back wrong sides together with the fabric, machine baste the free edges and treat as one.
If the zipper has free ends, finish it on both ends with a metal stopper or by sewing a few times over the teeth.
Put the side on piece B fabric, right sides together, sew one short edge, then align the other one and sew that too.
Press the allowances towards the hinge.
Put the padded hinge over the hinge, wrong sides together, and sew it to the allowances on both sides.
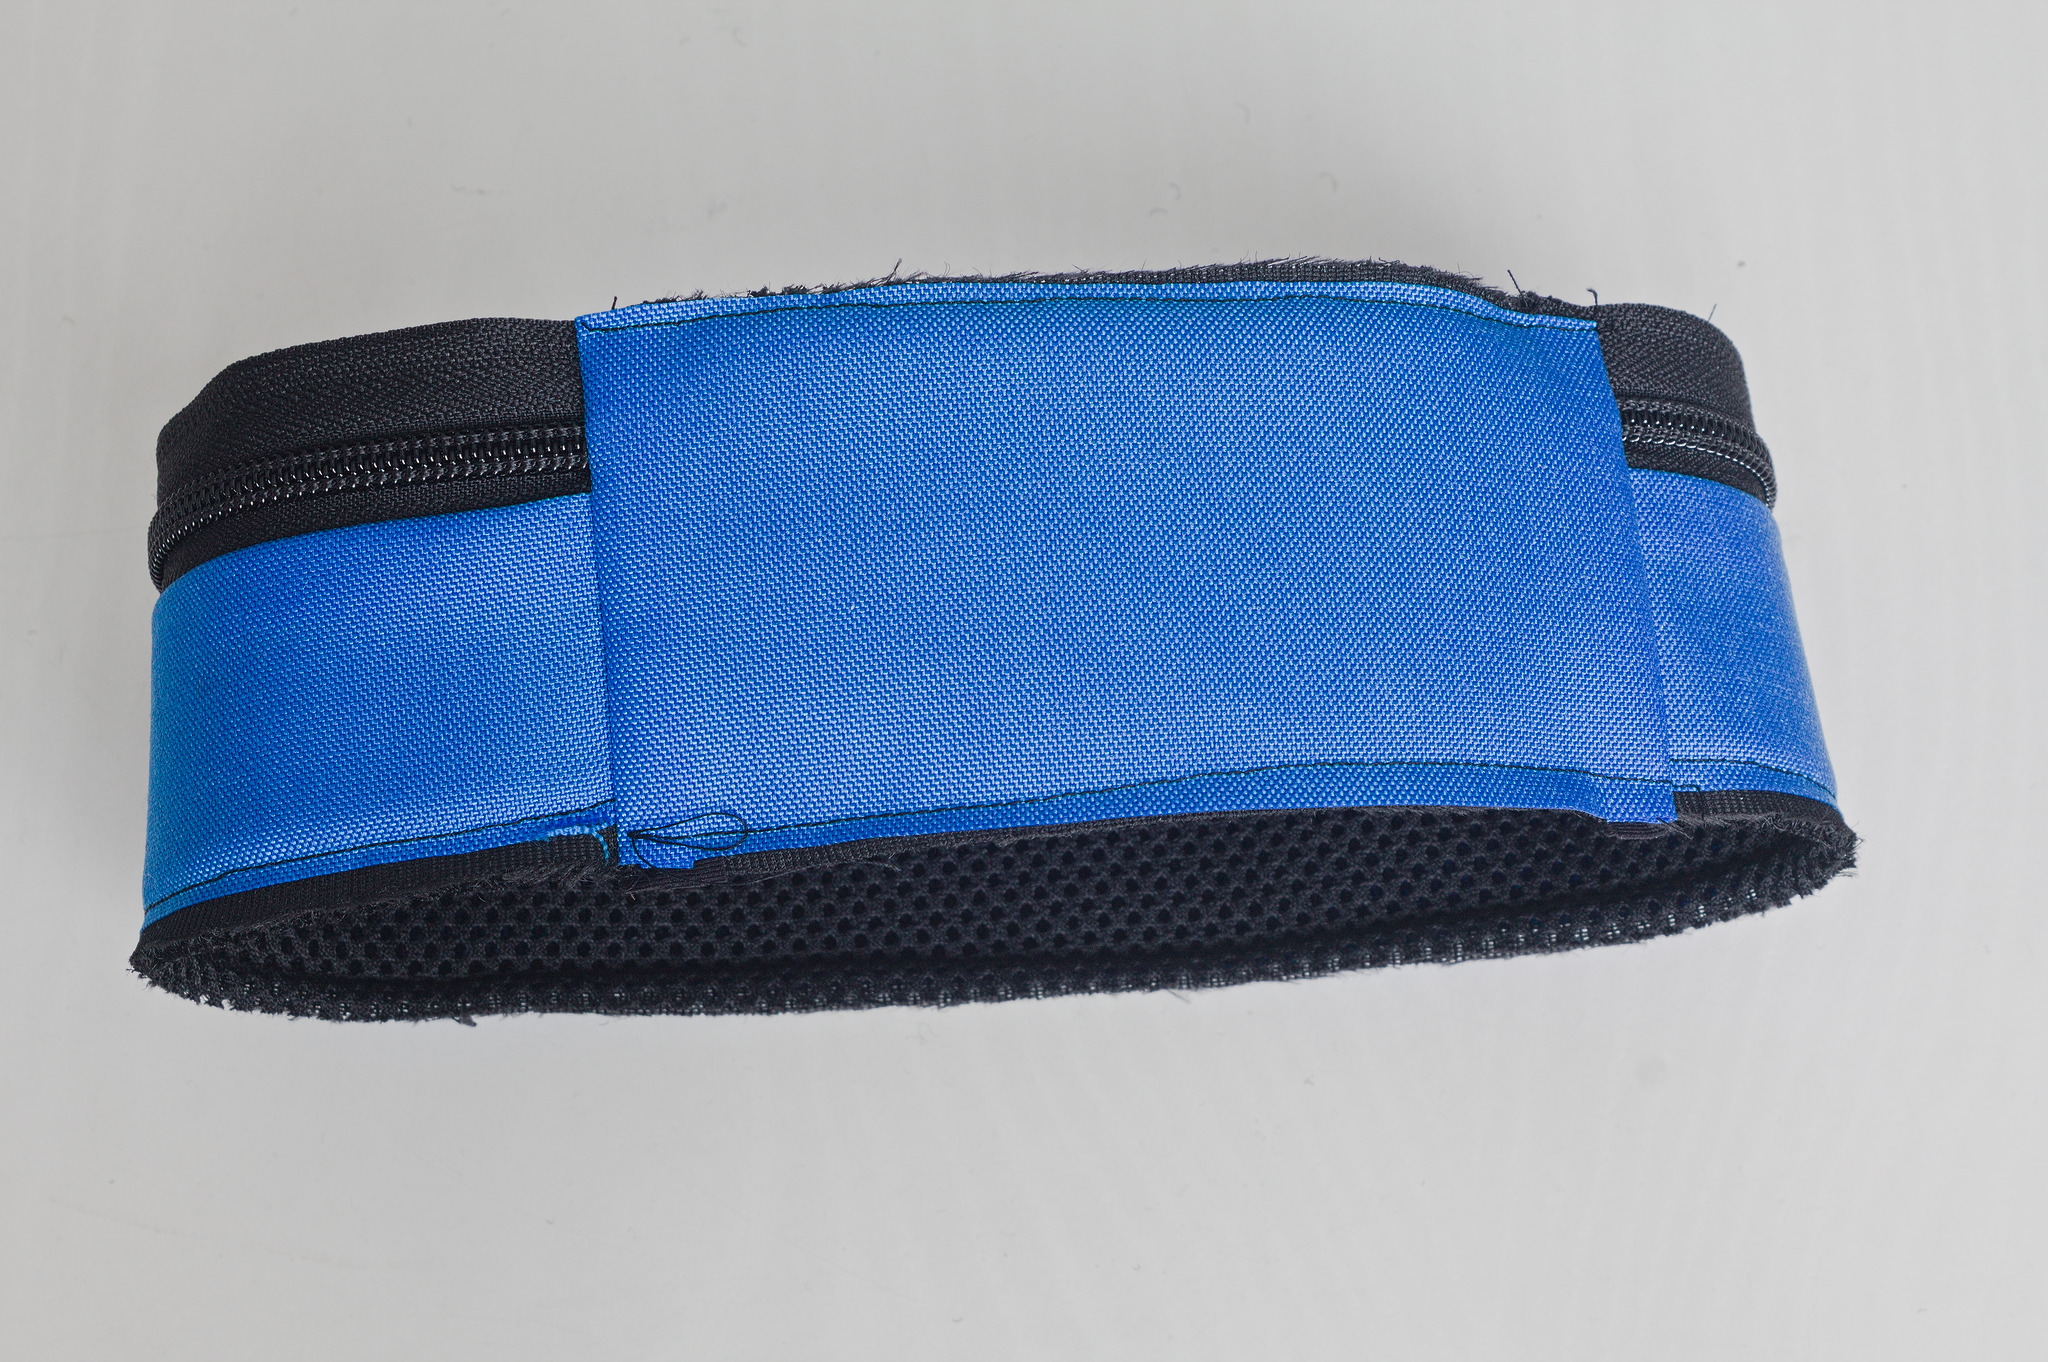
Machine baste the top and bottom of the hinge, and treat the full sides as one.
Piping
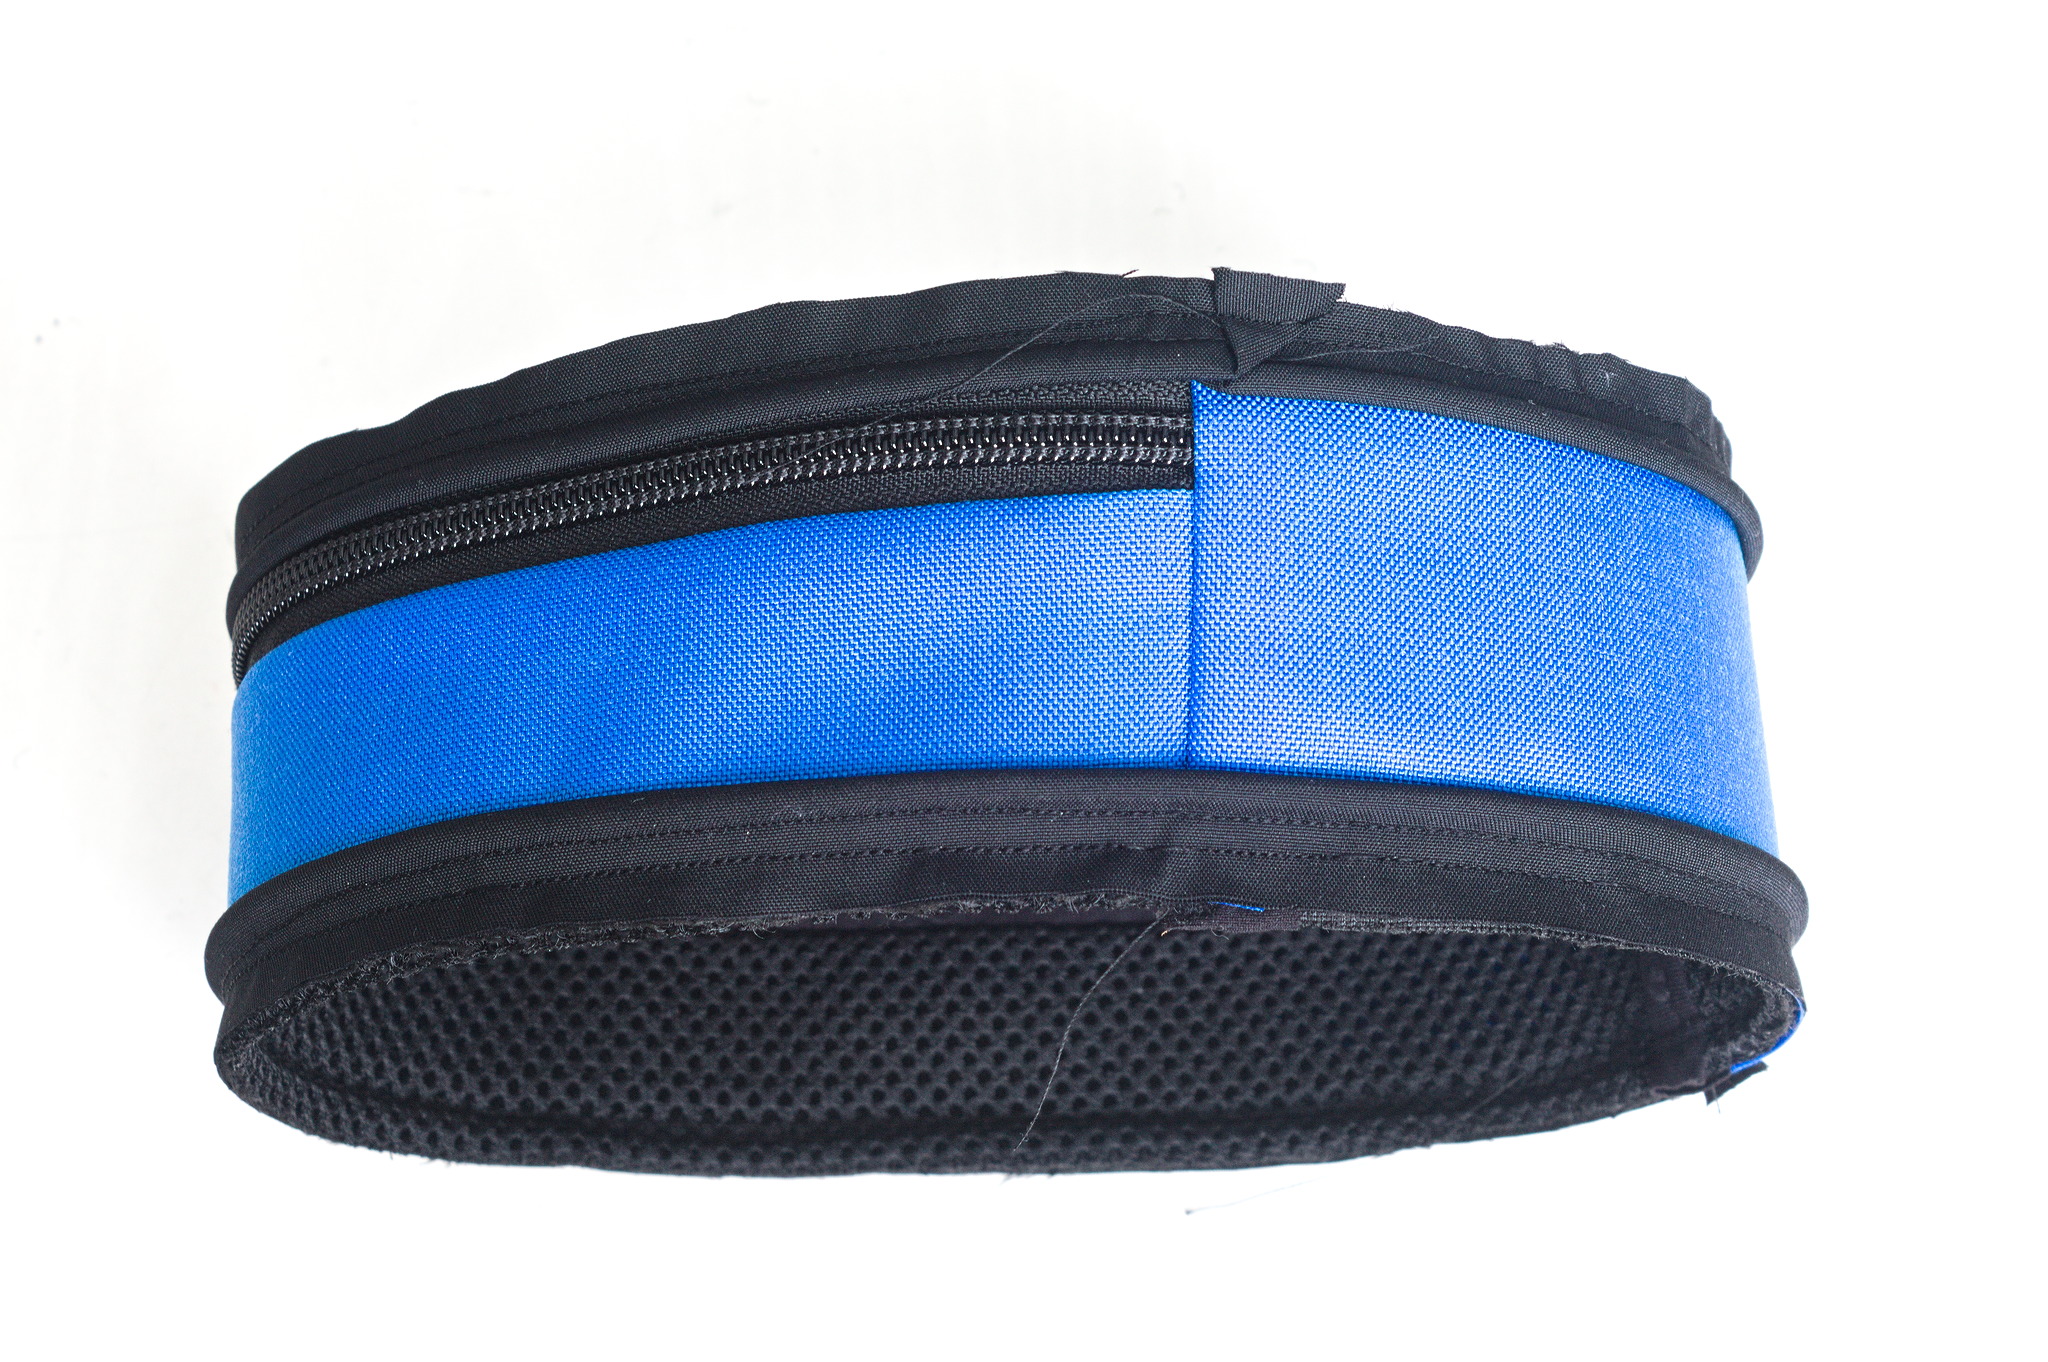
Prepare two strips of piping and baste them to the top and bottom of the sides, putting the joins close to the seams of the hinge.
Assembly
Right sides together, put the top face inside the sides, near the zipper, carefully sew all around. You may want to sew part of the front, cut the thread, move the zipper sliders out of the way and sew the rest of the seam.
Tip
when sewing keep the face on top and the sides at the bottom, and ease the excess fabric rather than having to pull on
Put the other top face right sides together inside the sides, making sure that the zipper is at least partially open, sew all around.
Fully open the zipper, turn inside out and check that all seams are ok.
Turn inside out again, sew binding on the remaining raw edges.
Gallery
The first version of this pouch, with no piping and too wide of an hinge. The 20 cm × 20 cm × 4 cm pattern is a fixed version of this.
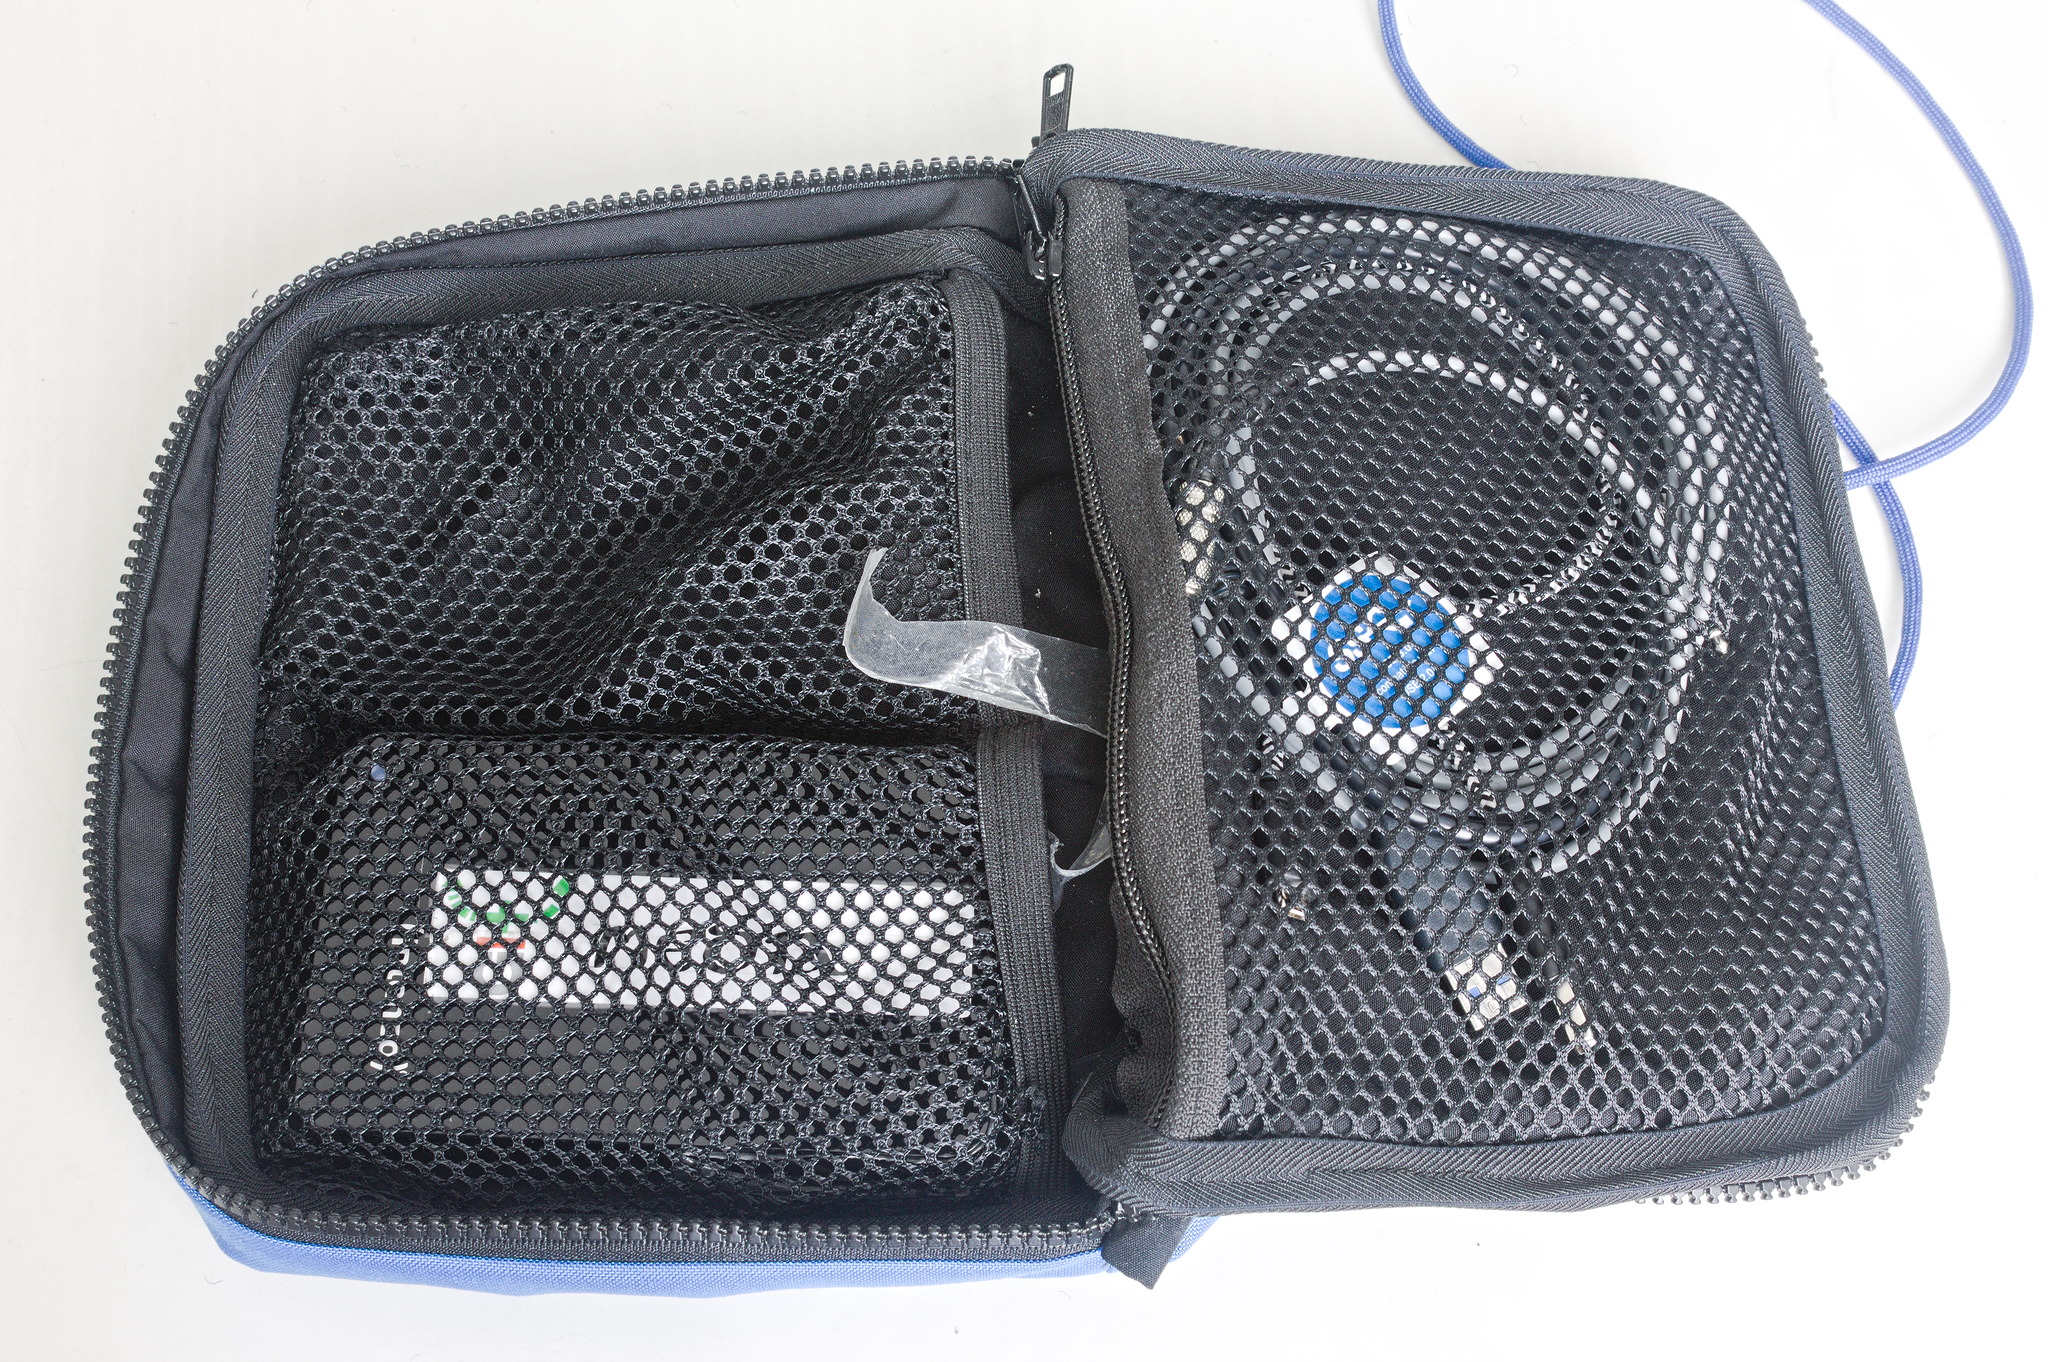
The first version of this pouch, open, showing spaces for two hard disks and a zippered pocket for cables.