Camisole

A simple camisole, designed for knit fabric.
This is an excellent project to use leftovers.
Materials
Fabric
~ 60 cm knit fabric with good elasticity.
You probably won’t need the full width of the fabric, unless it is very narrow.
Notions
~20 cm underwear elastic
sewing thread matching the fabric.
Pattern
Measurements
This pattern uses the Aldrich Drafting System.
You need to take the following measurements:
bust_circ(G04)Bust circumference.
waist_circ(G07)Waist circumference.
across_back_b(I08)Width of the back from armscye to armscye.
neck_circ(G02)Circumference at the base of the neck.
neck_back_to_waist_b(H19)Vertical distance from neck to waist on the back.
neck_back_to_highbust_b(H.21)Depth of the armscye.
the file ../../drafting_methods/aldrich/aldrich.vit is used by
default by the pattern file and has the list of needed measurements.
Pattern
Get the valentina file for the pattern,
camisole.val.
You may want to change the following increments in the Tables of Variables; the defaults are sensible.
finished_lengthlenght of the finished garment from the nape of the neck (the actual camisole will be shorter).
strap_widthwidth of the straps and of the binding for the back.
seam_allowanceenought for flat felled seams.
Instructions
Cutting
Cut the front and back pieces: they are identical, but both are given for convenience when arranging the pattern on fabric.
Cut also two straps, a facing for the back and a piece of underwear elastic 4 cm shorter than the binding.
Tip
When using fabric leftovers, if you don’t have a piece that is big enough you can add a seam at the center of the one or two of the pieces; flat fell like the side seams, starting with the wrong sides together and leaving the allowances on the outside.
Sewing
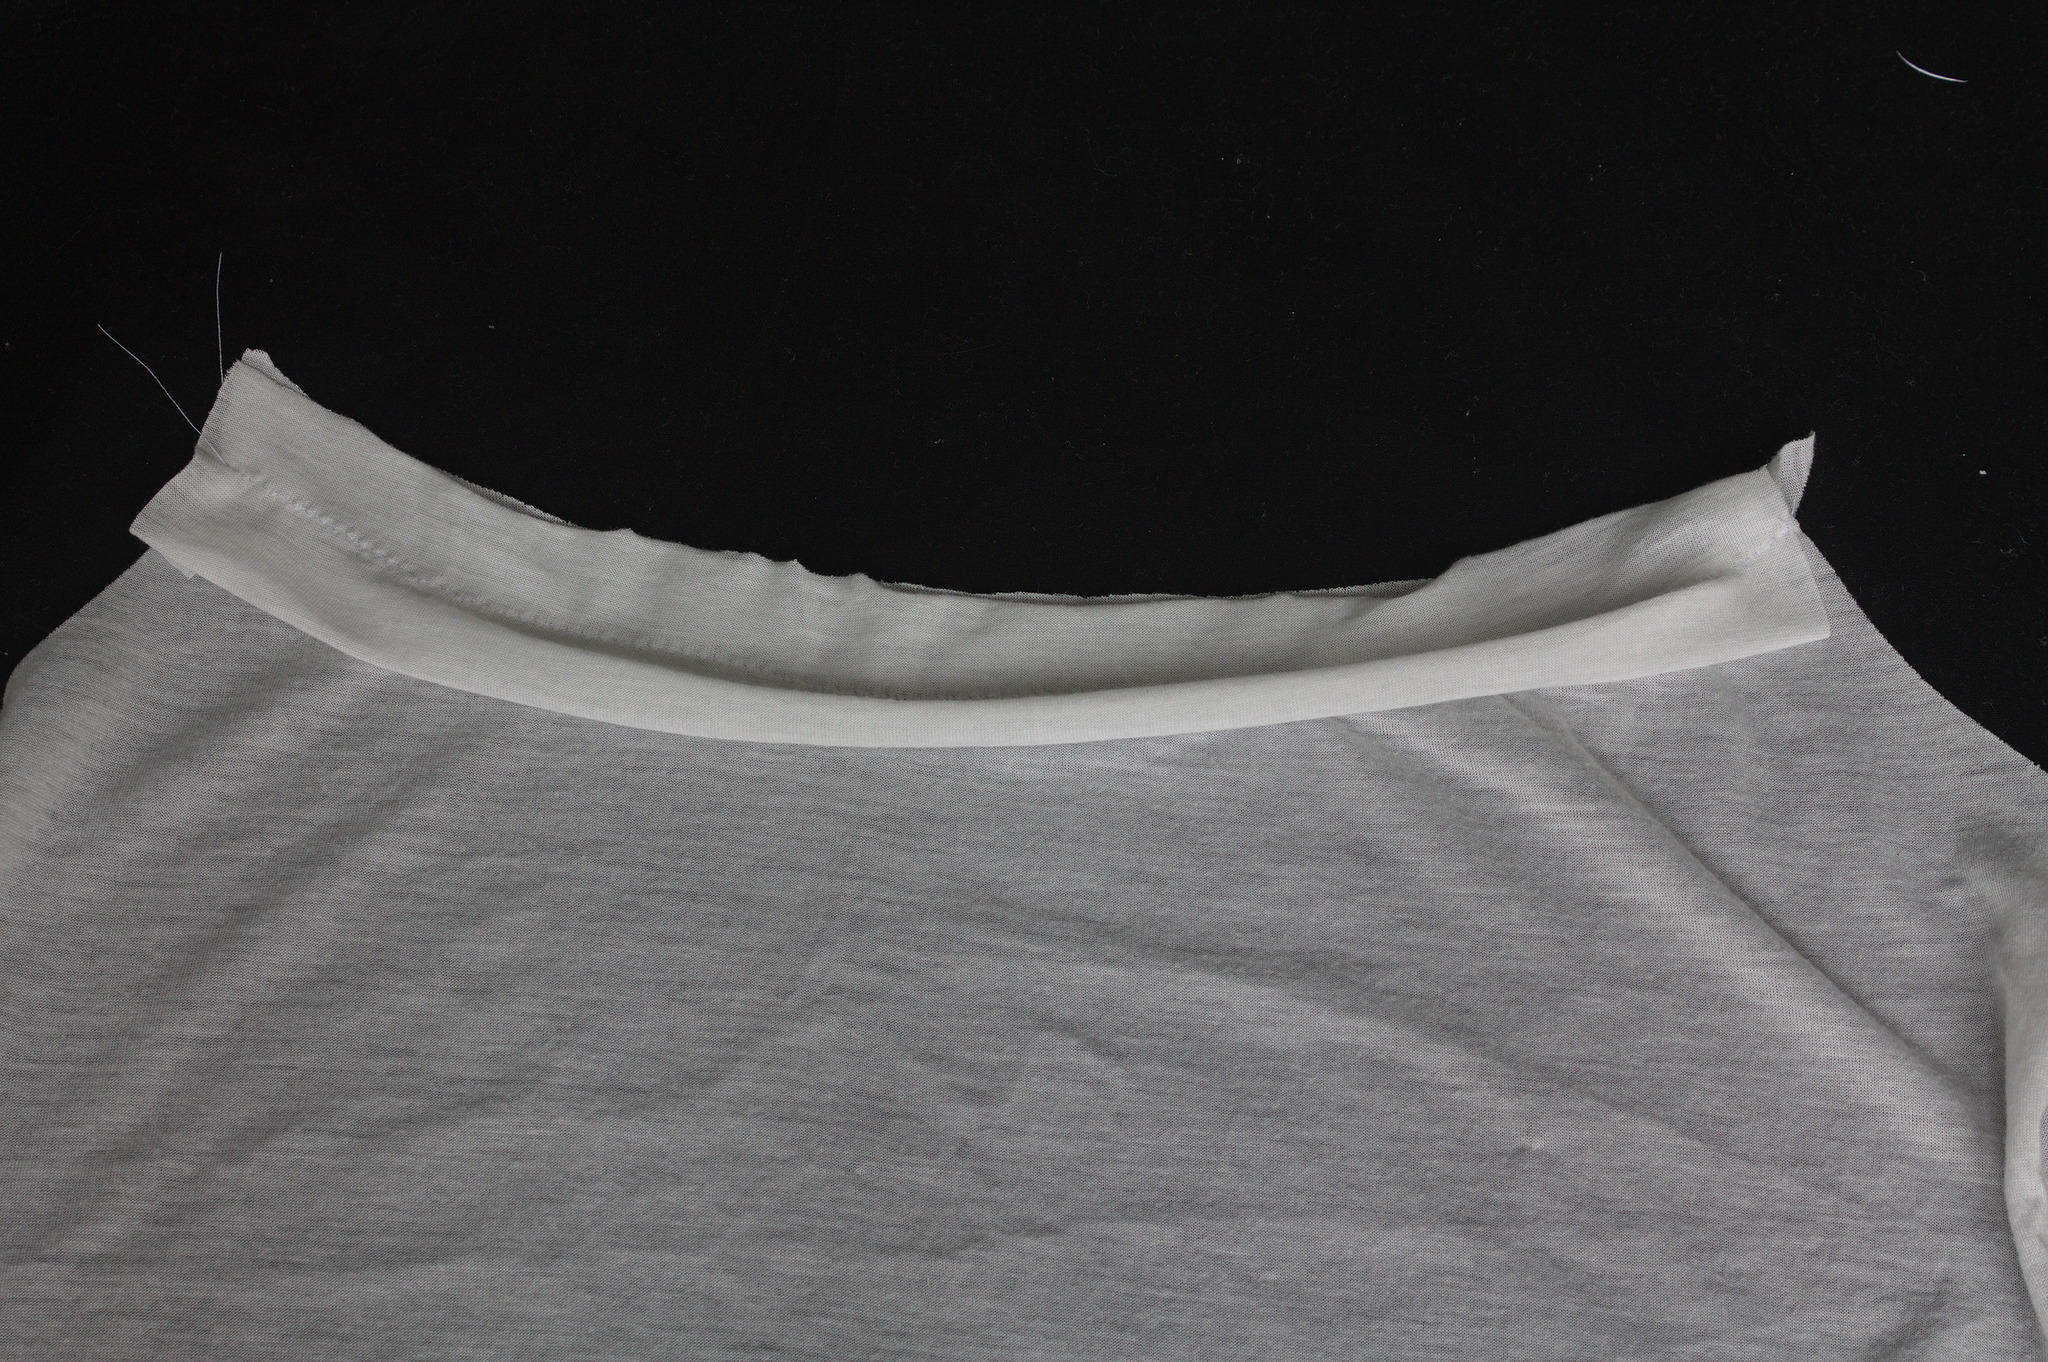
Right sides together, put the binding on the back piece, sew with a narrow zig zag.
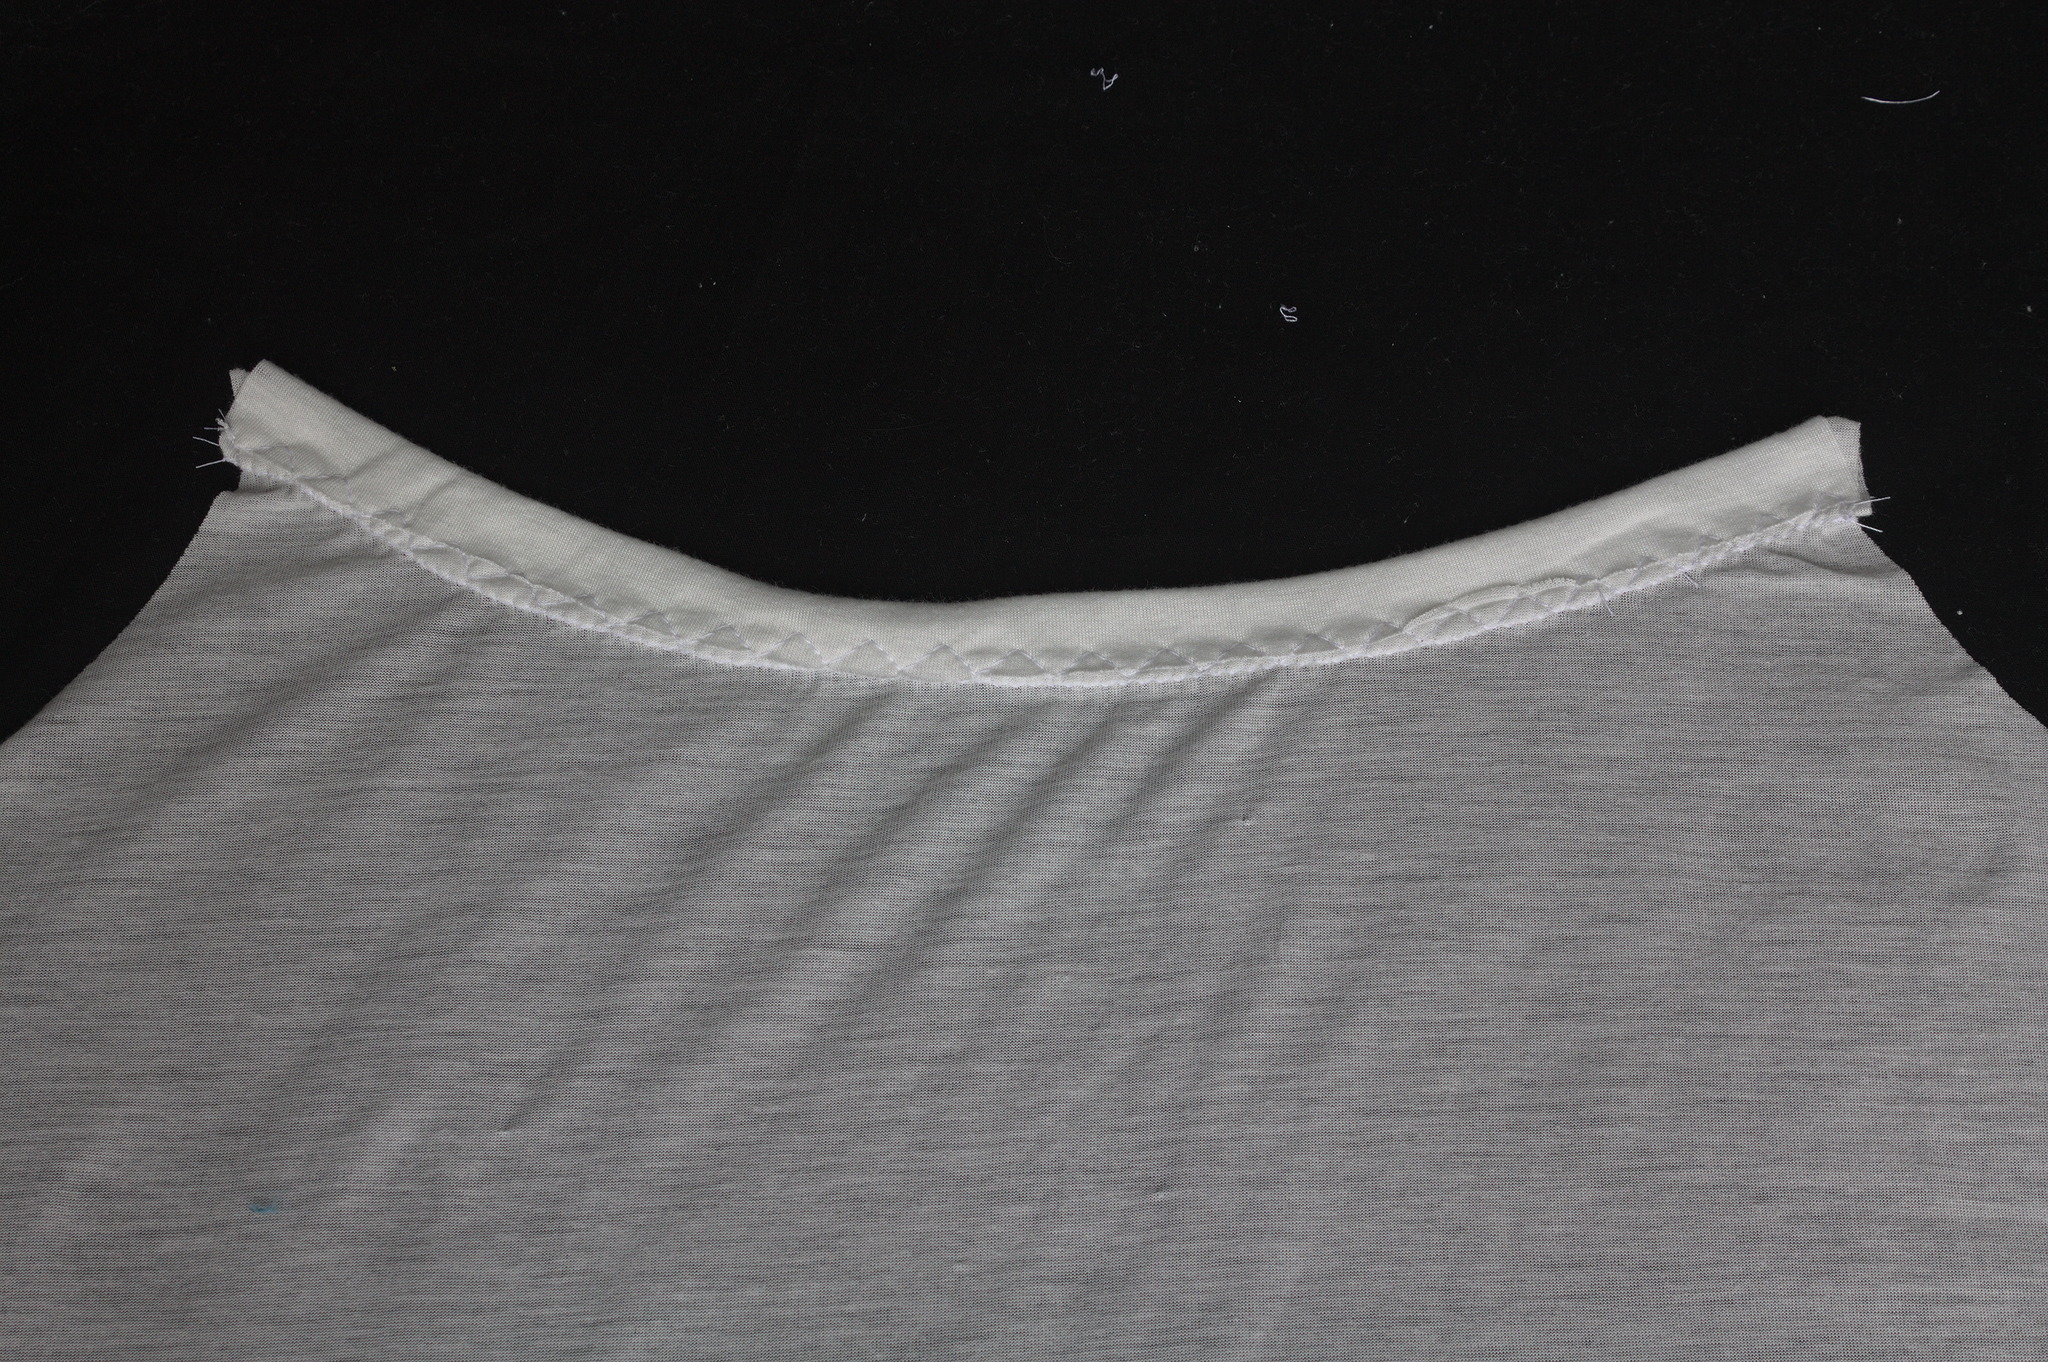
Press up, then fold the binding towards the back to cover the raw edges. Sew over the remaining raw edge of the facing with a 3-step zigzag.
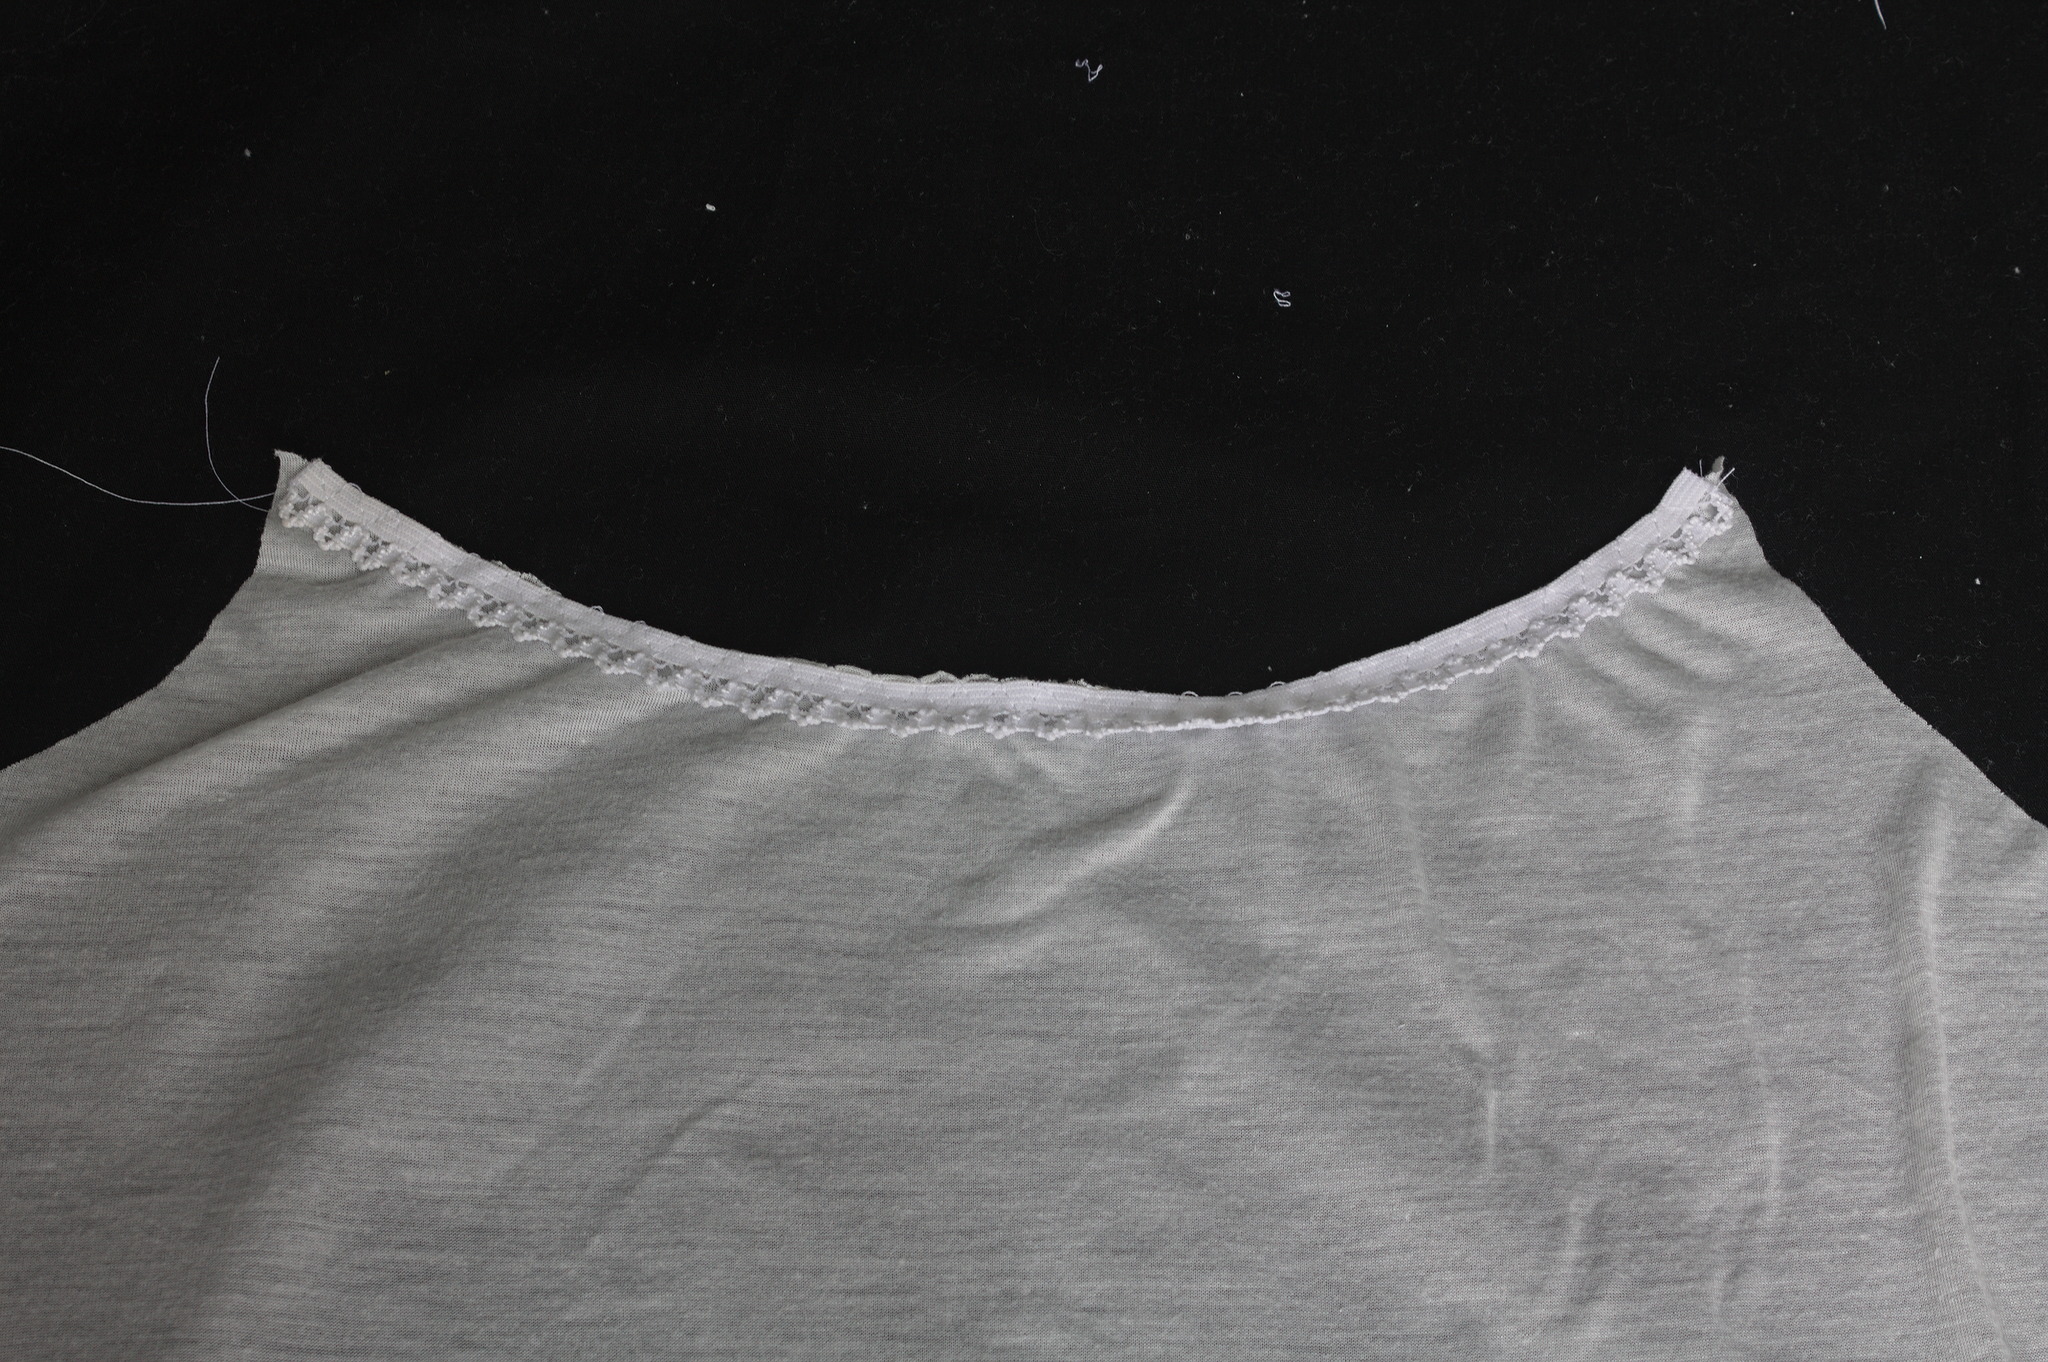
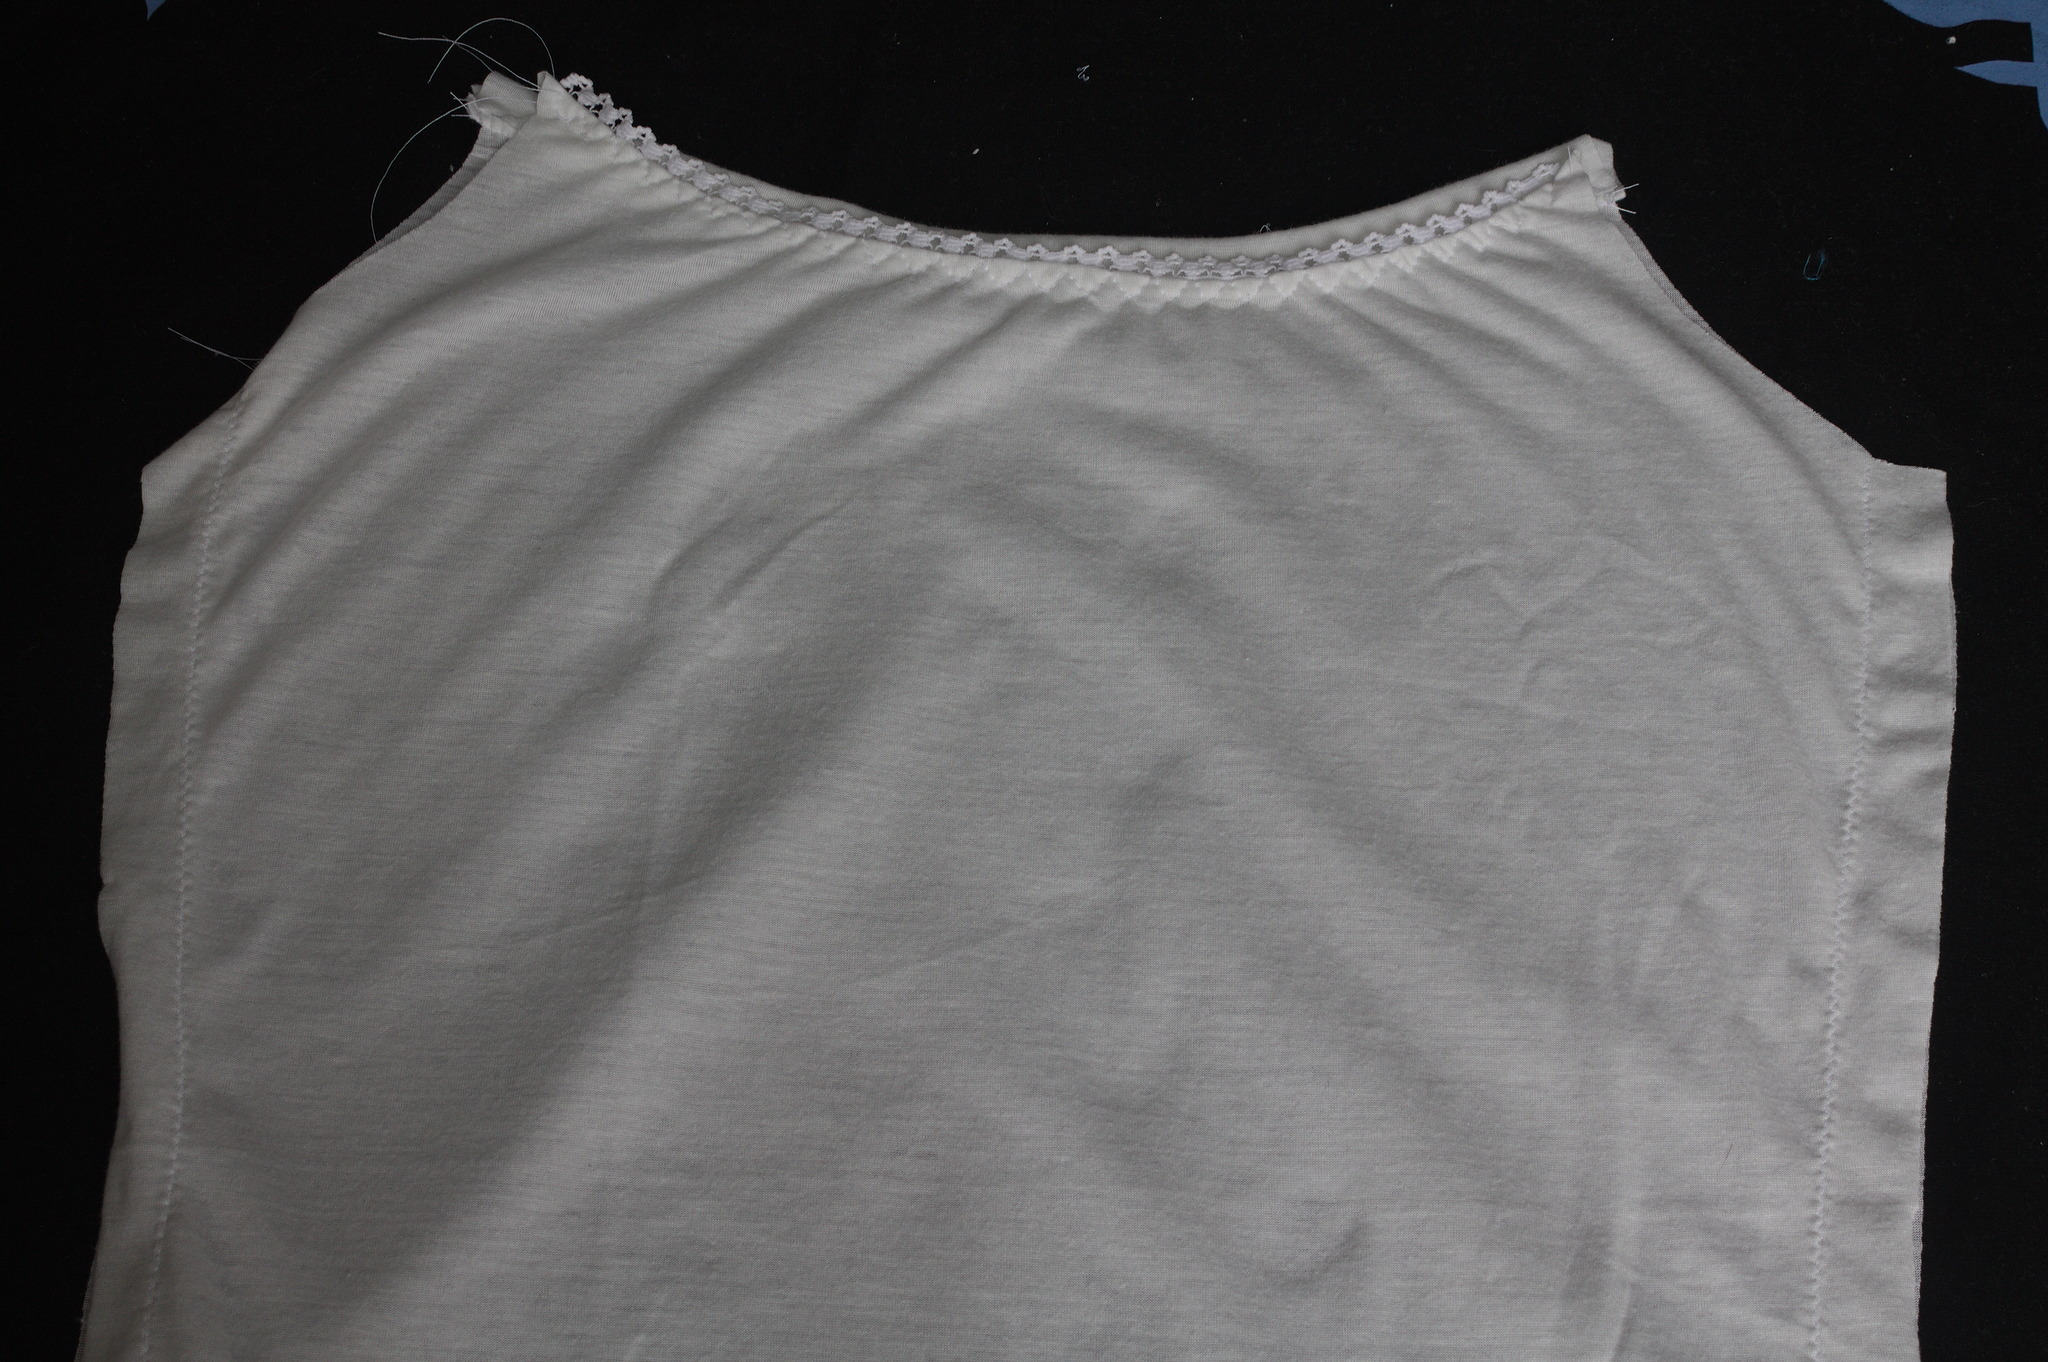
Right sides together, put the elastic on the top of the front piece, pulling the elastic to fit the neckline, sew with a 3-step zig-zag.
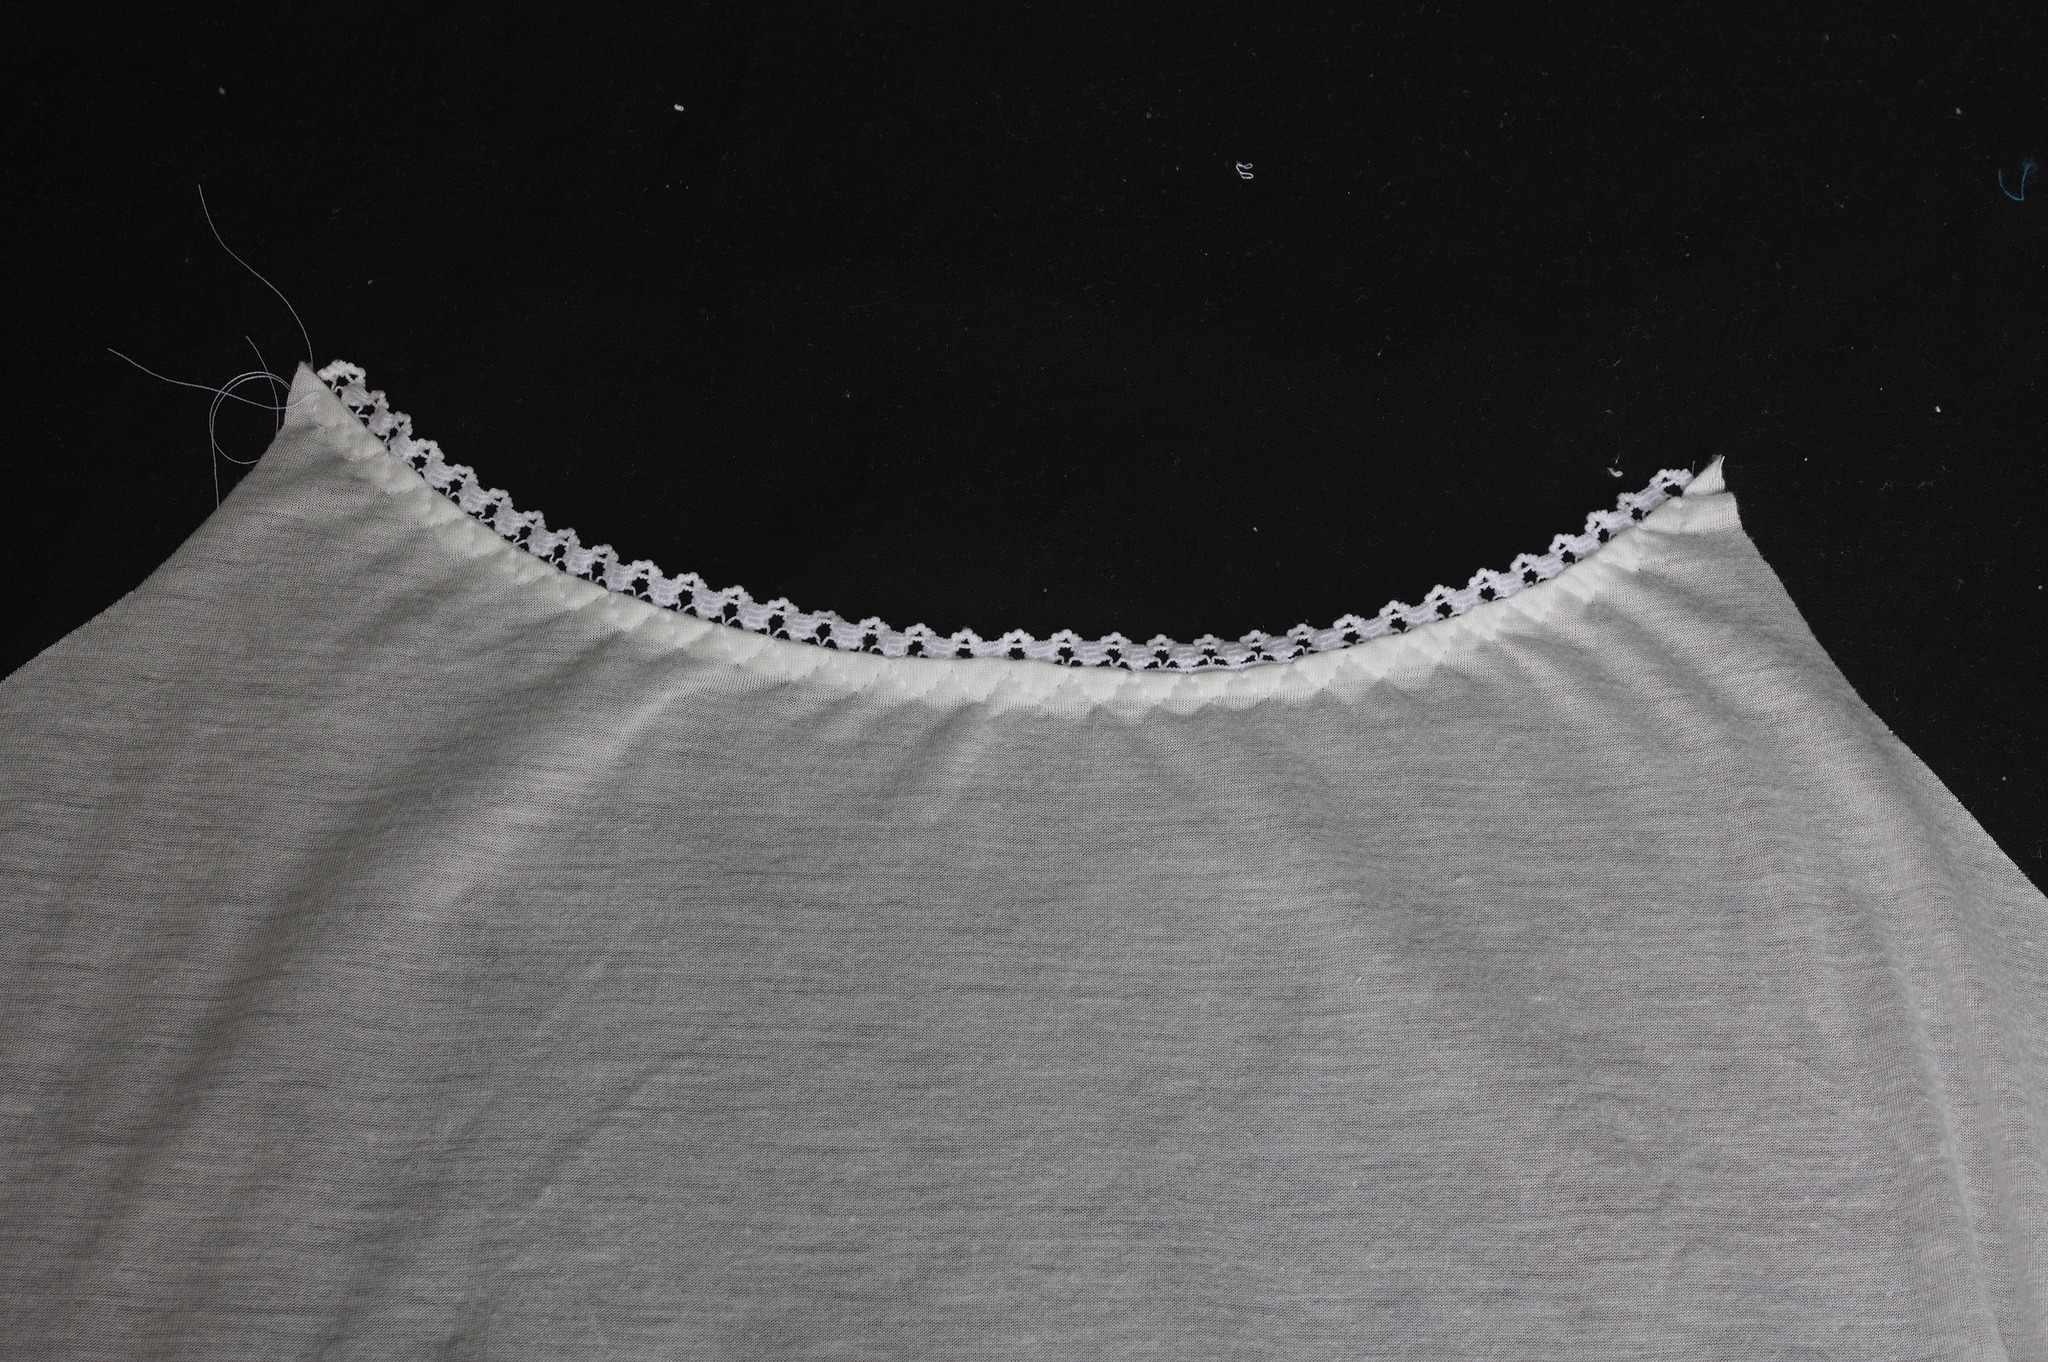
Press up, topstitch with a 3-step elastic.
Wrong sides together, put the front over the back, sew the side seams with a narrow zig zag.
Tip
the front and back are sewn wrong sides together so that the felled seam is on the outside, and the part that touches the skin is smoother.
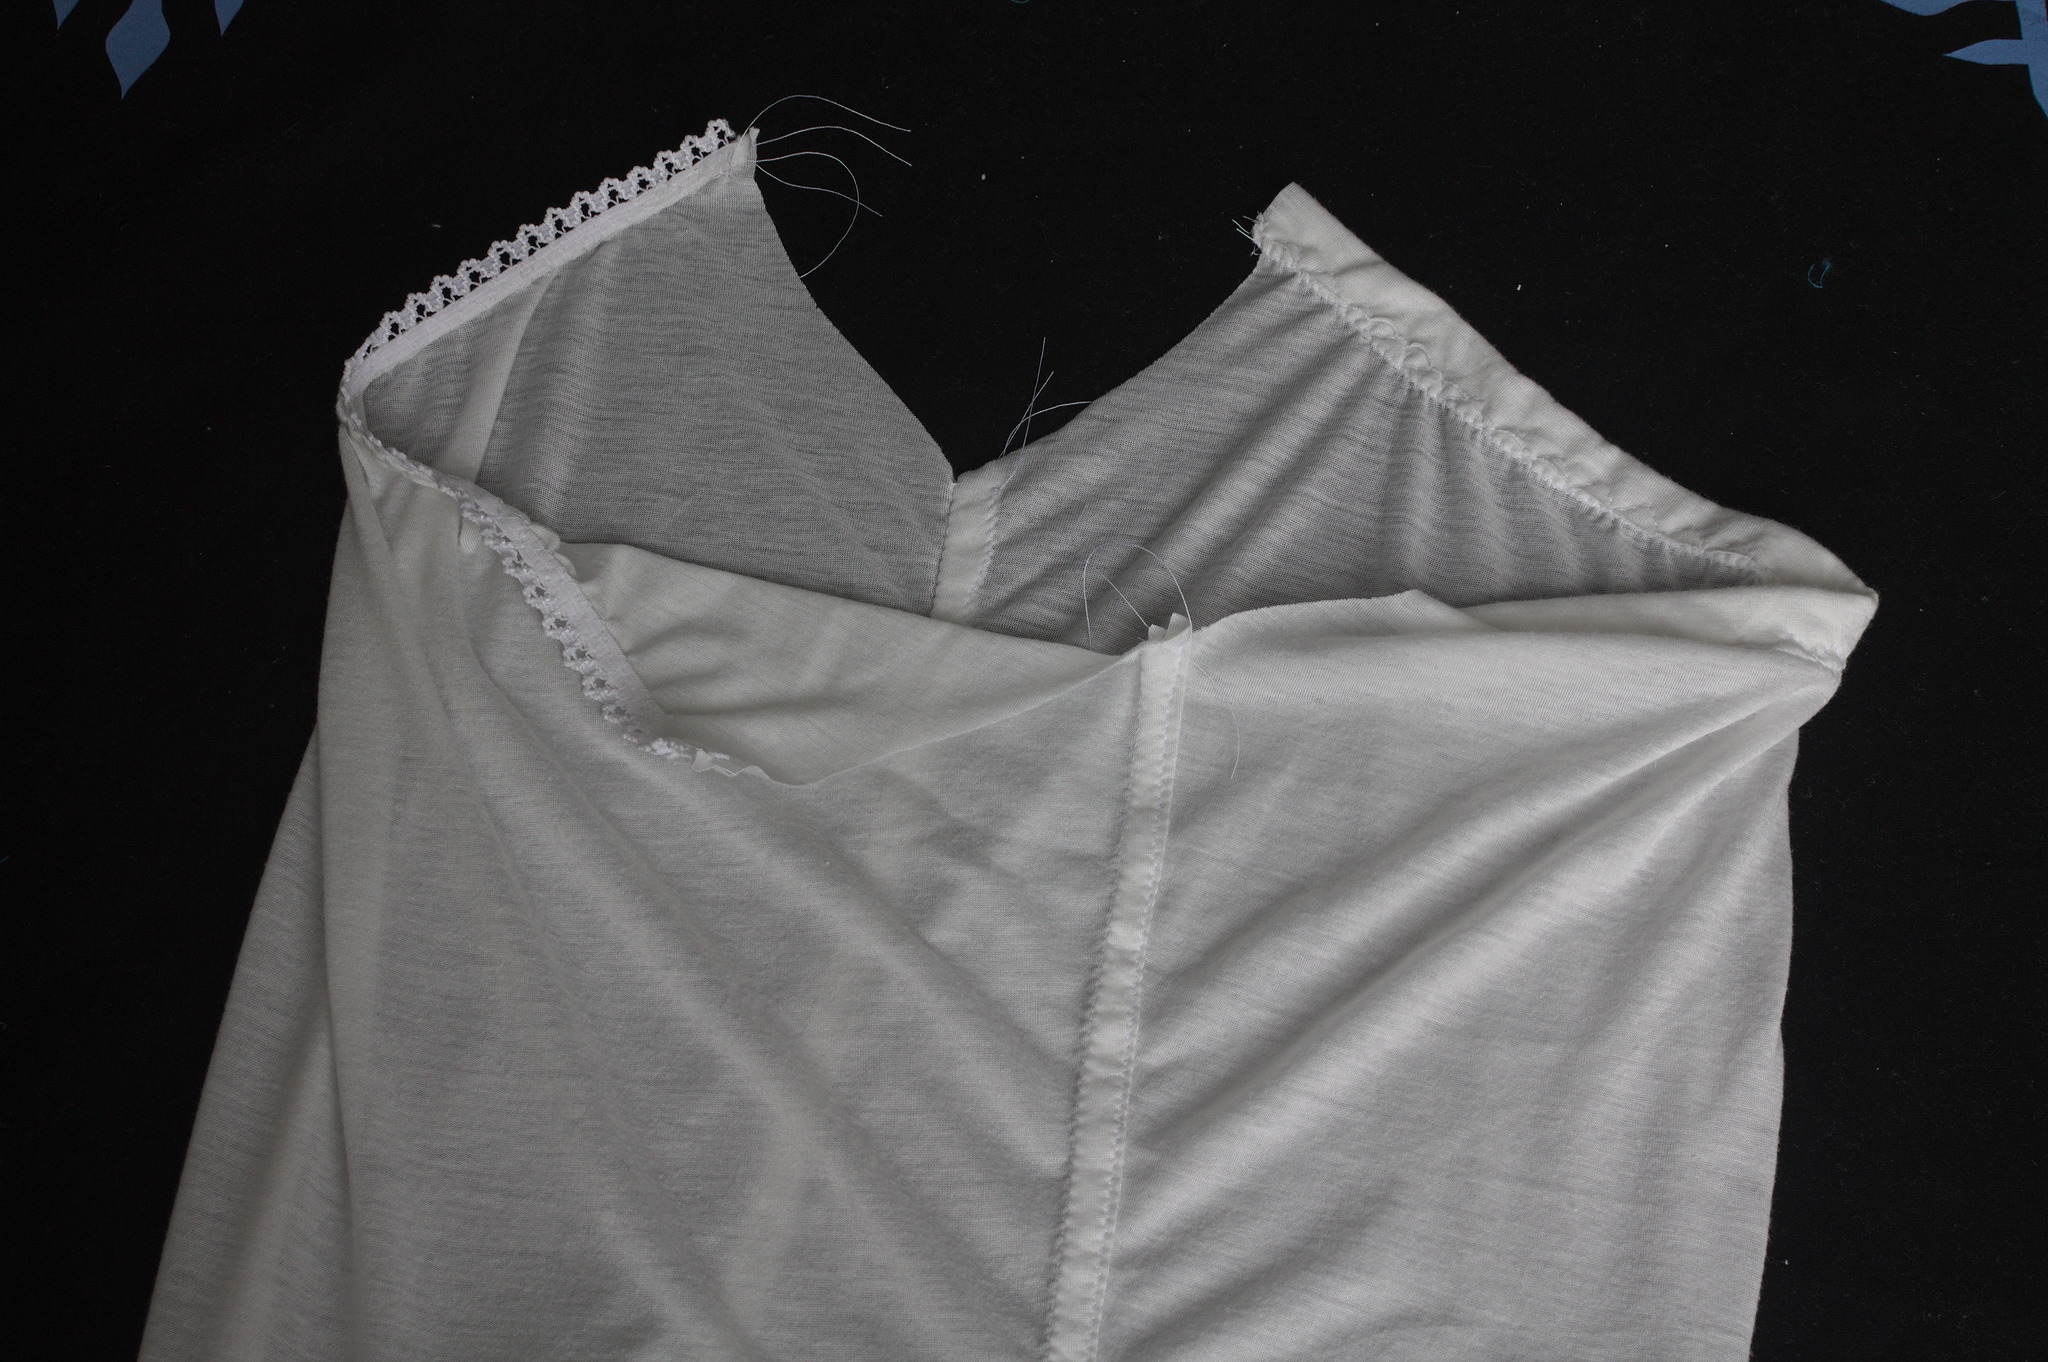
Press the allowances towards the back, trim the allowance of the back and fold that of the front to cover the raw edges, topstitch with a narrow zig zag to fell the seam.
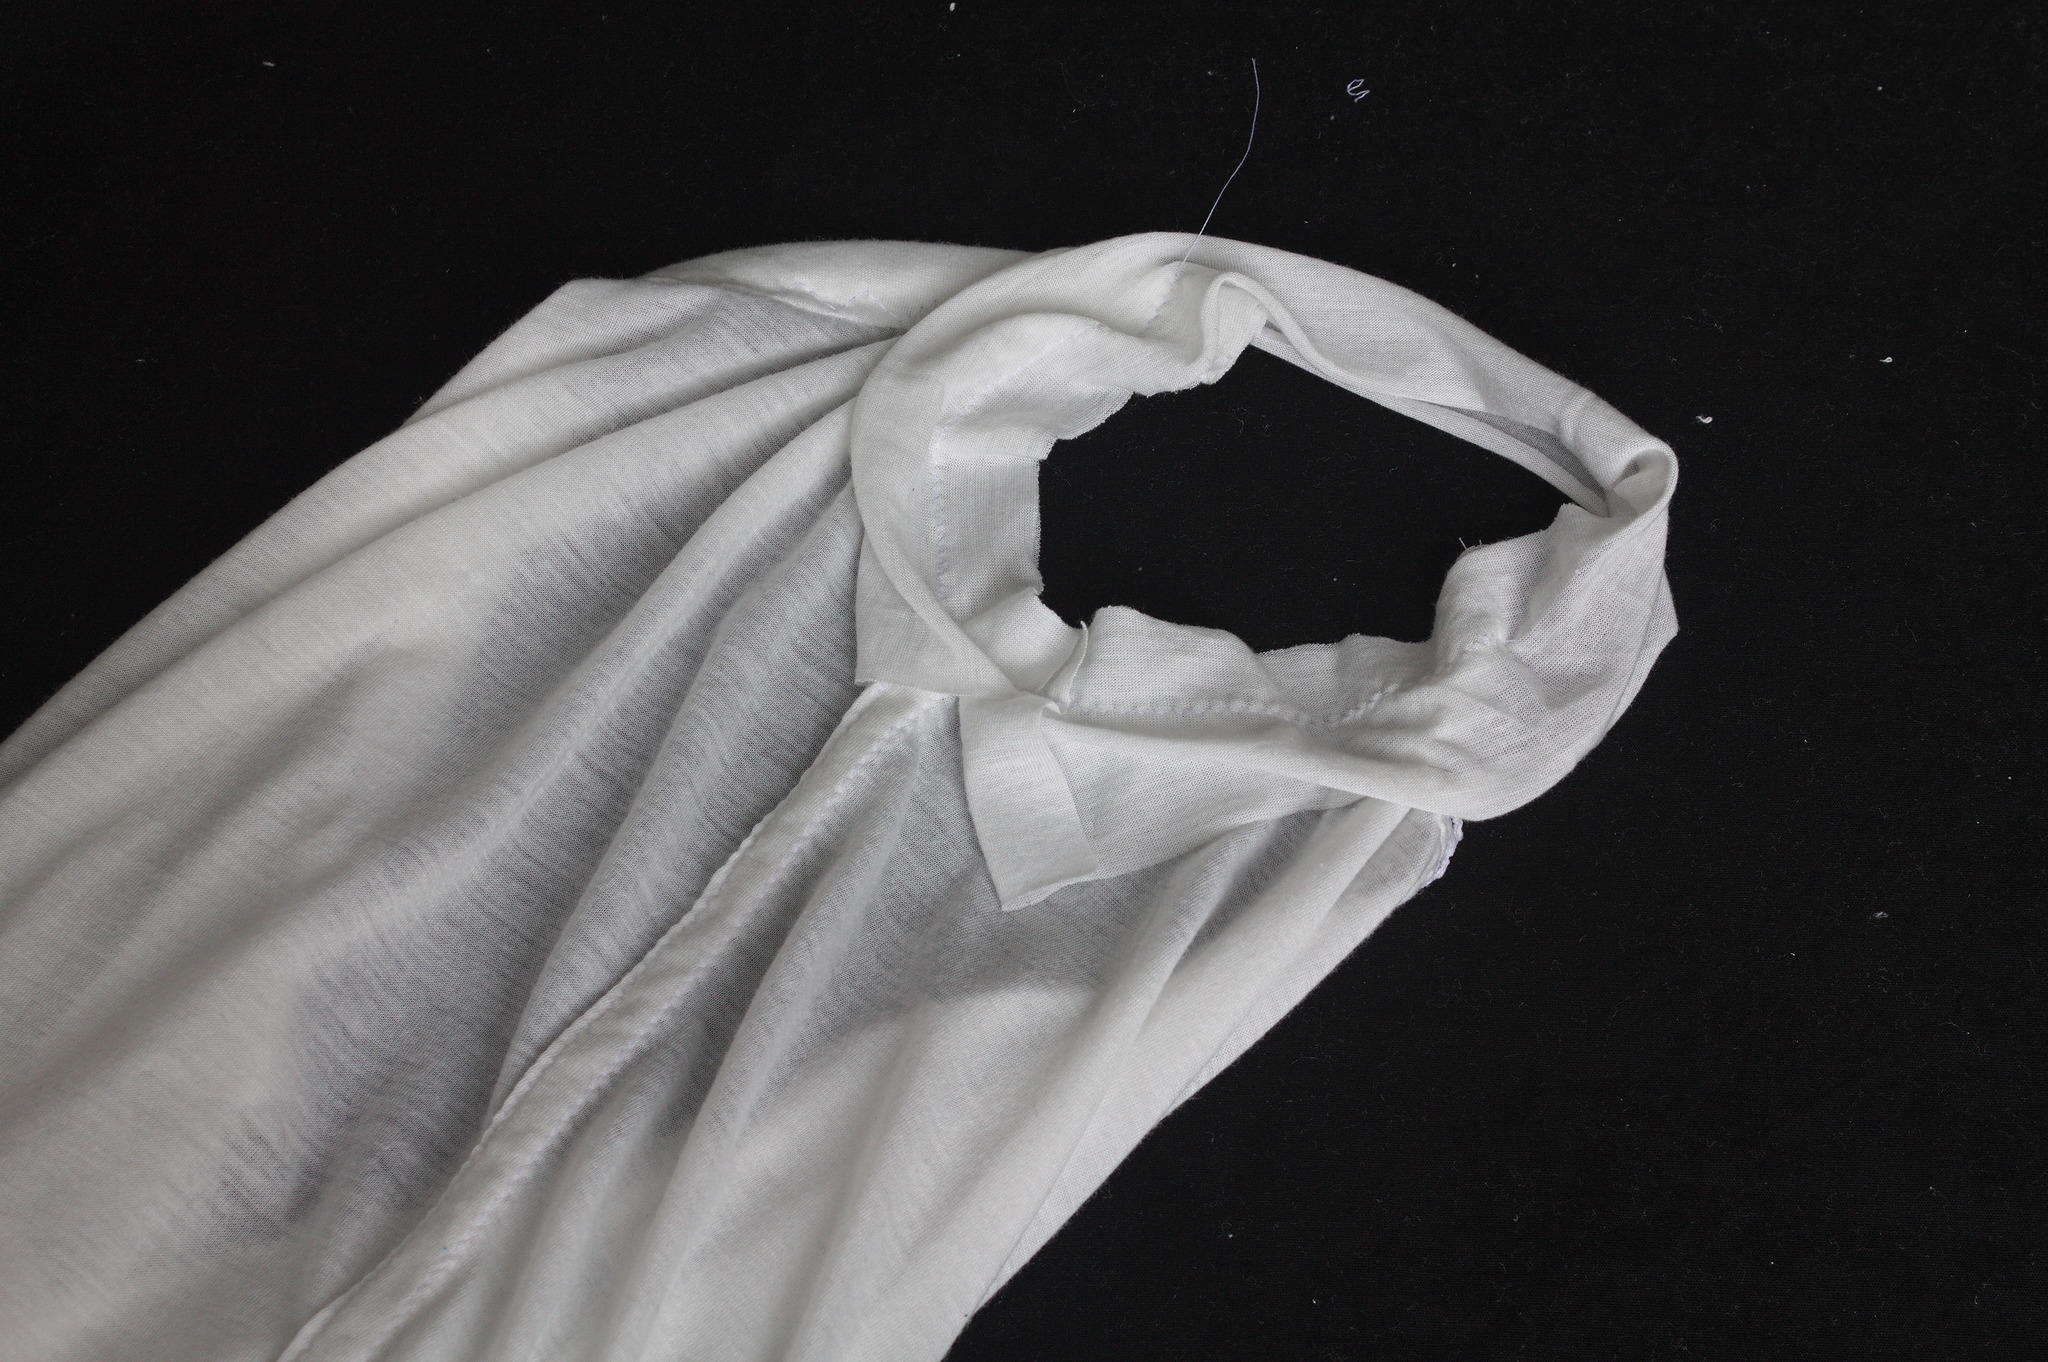
Right sides together, put the straps over the armholes, starting at the side seam and leaving the excess floating, sew with a narrow zig zag.
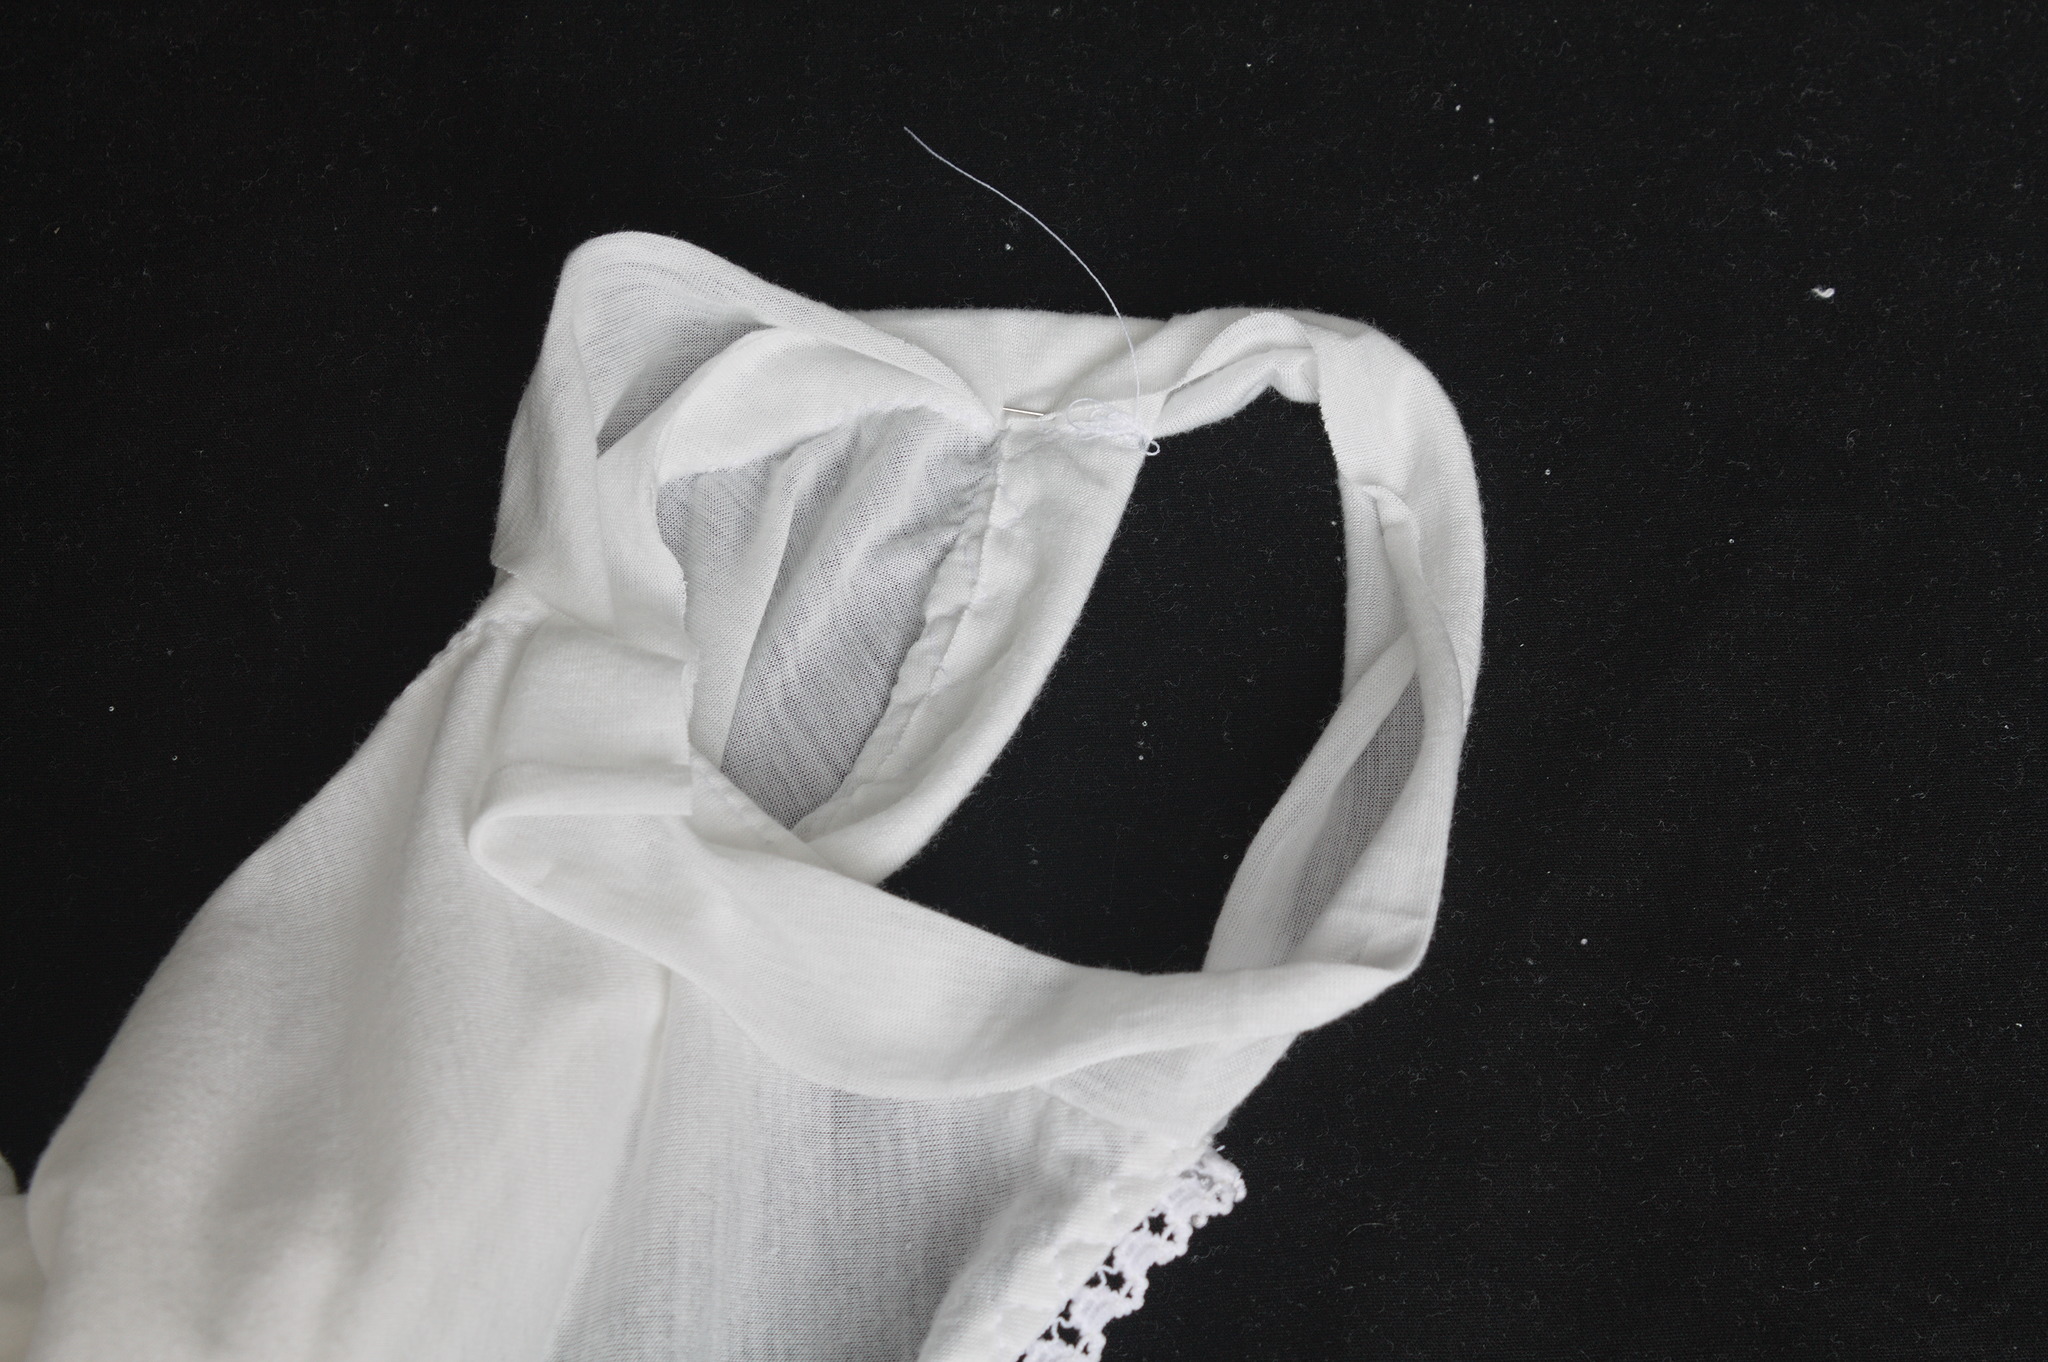
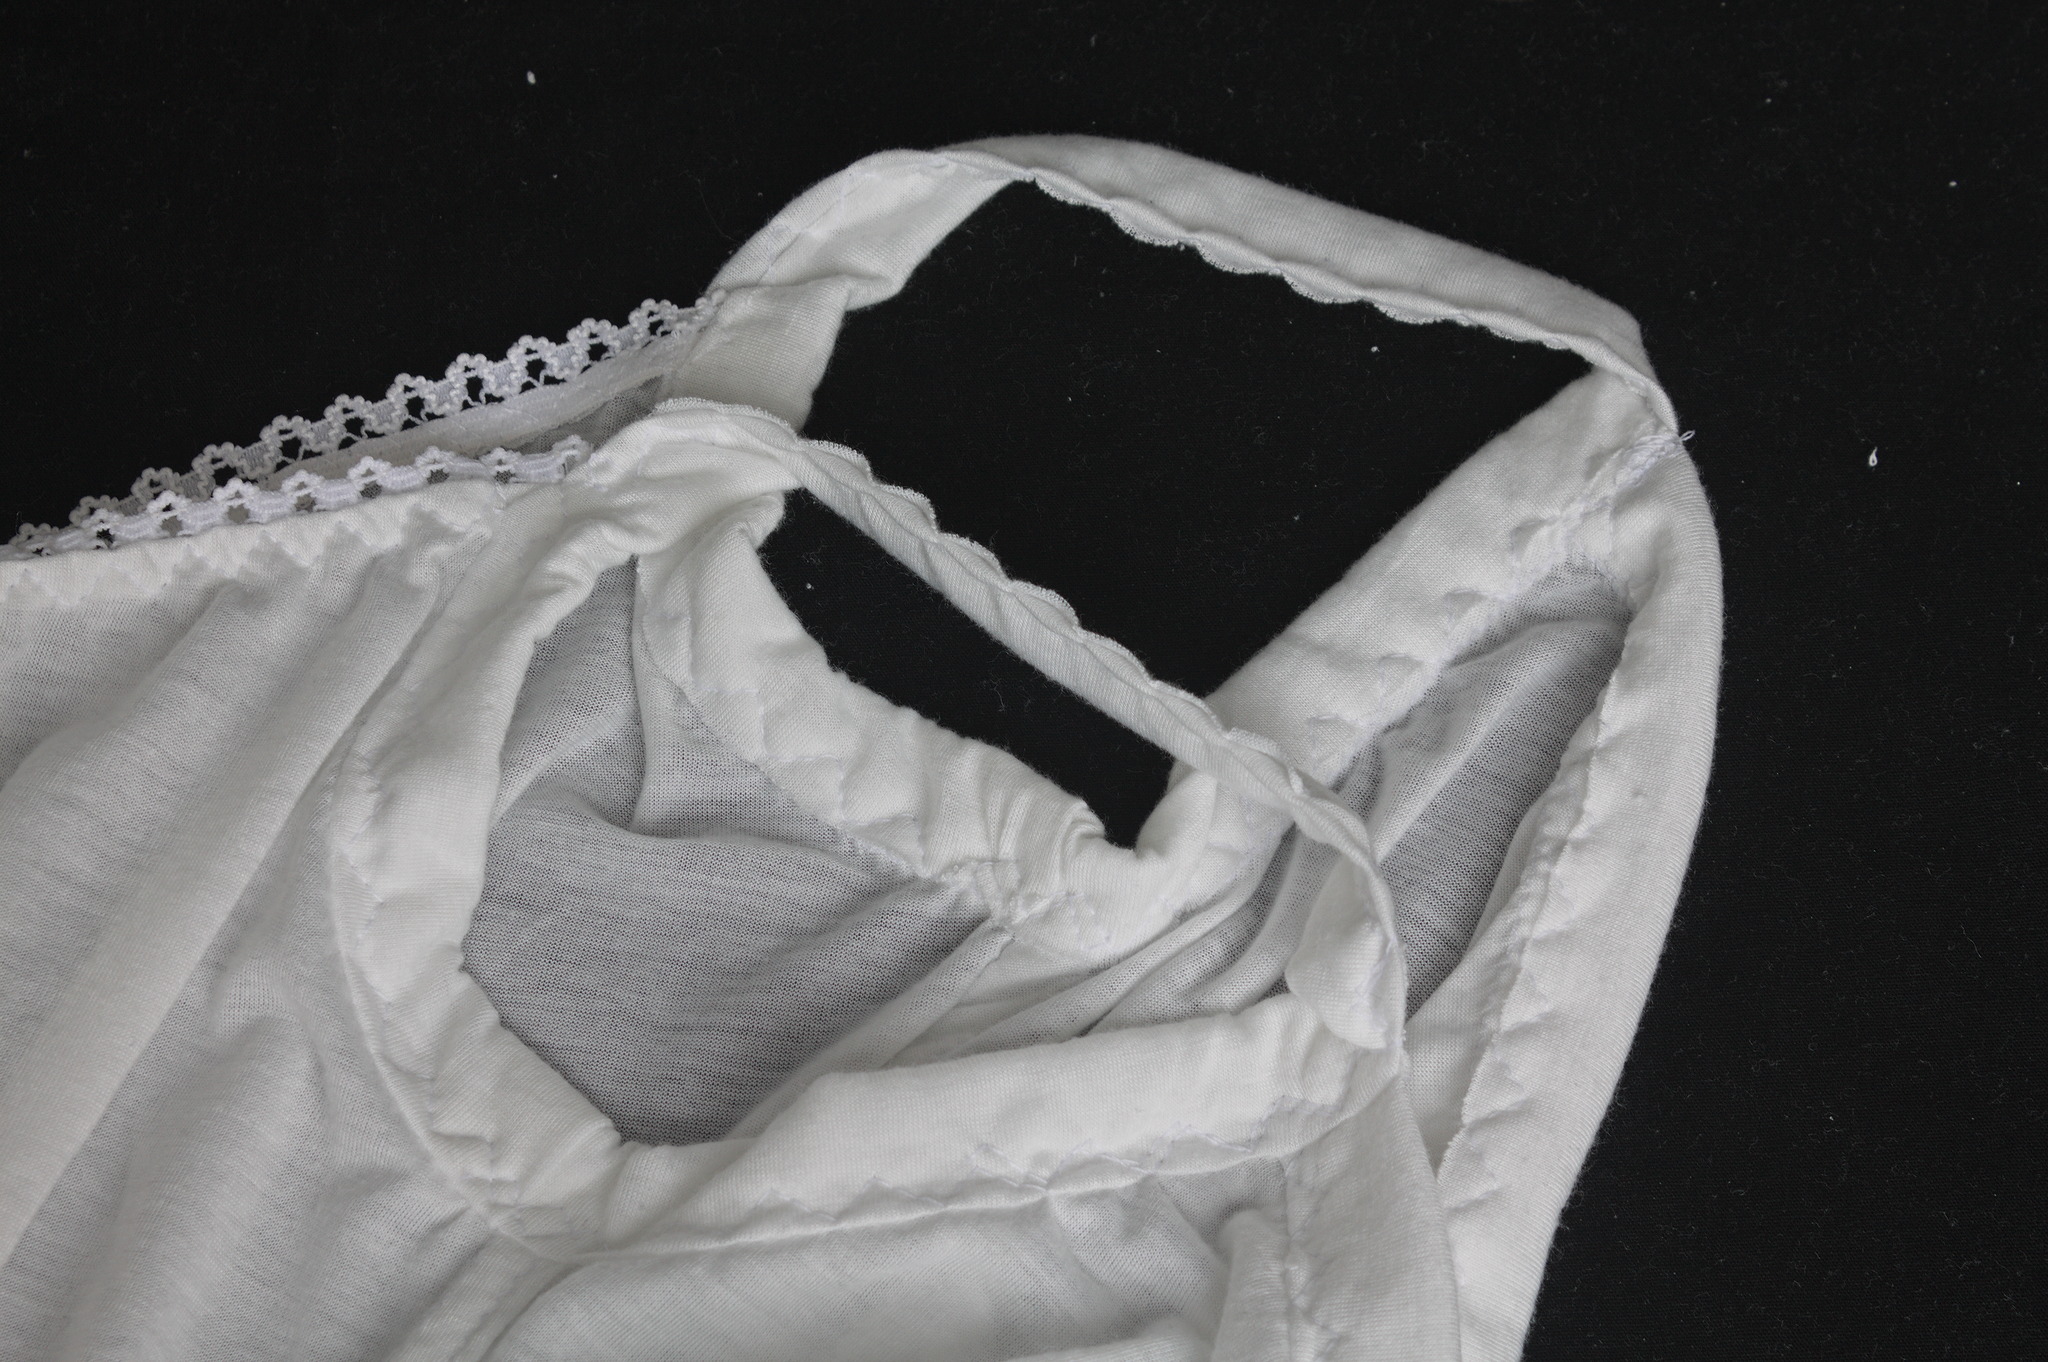
Fold the straps outwards and over the raw edge like you did with the binding, sew with a 3-step zig zag continuing also over the floating part.
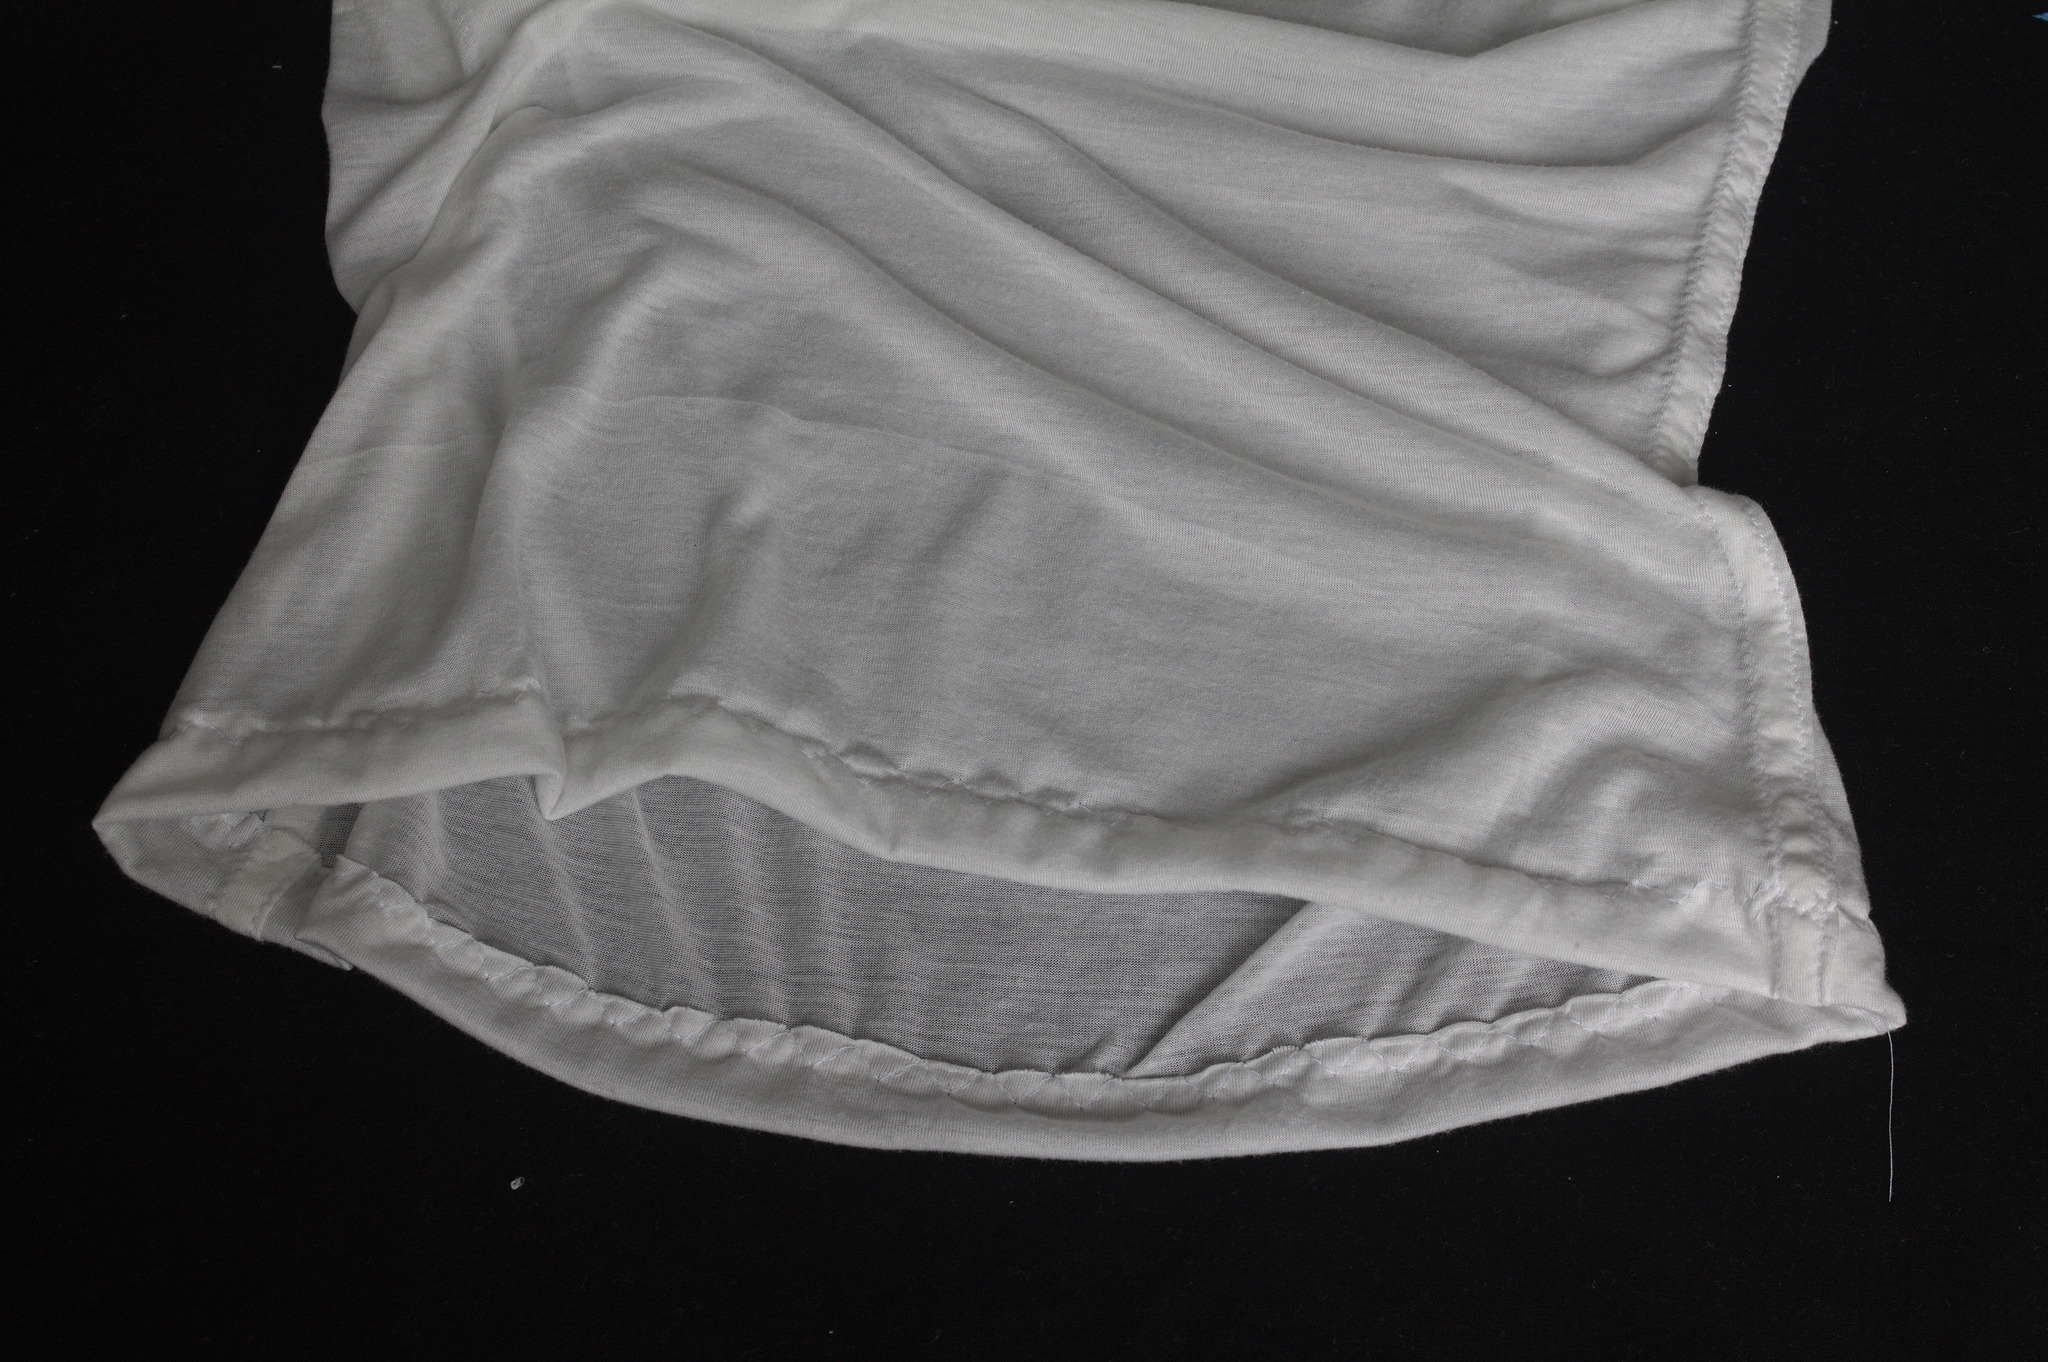
Fold up the hem 2 cm towards the inside, topstitch with a 3-step zig zag that catches the raw edge.