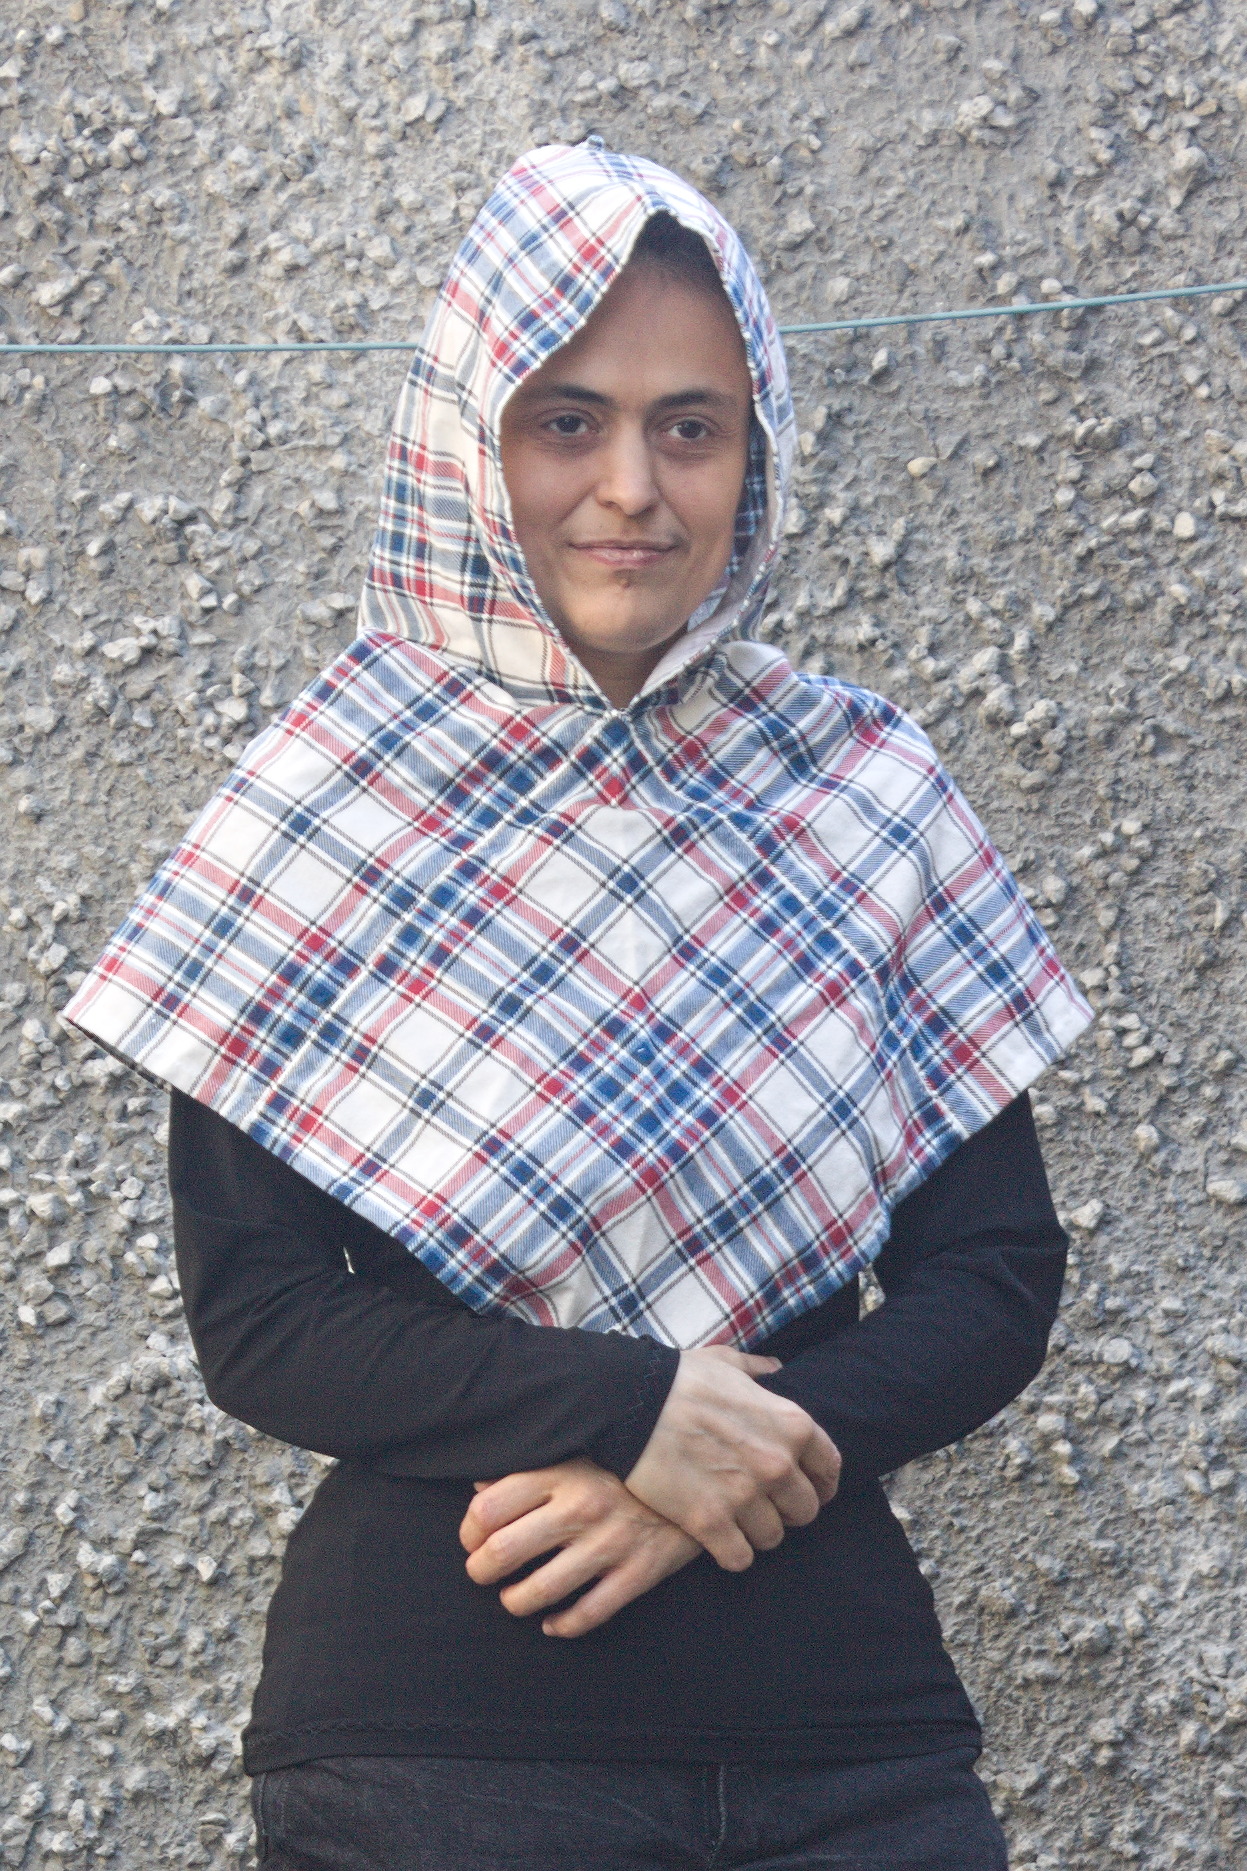
Square Hood
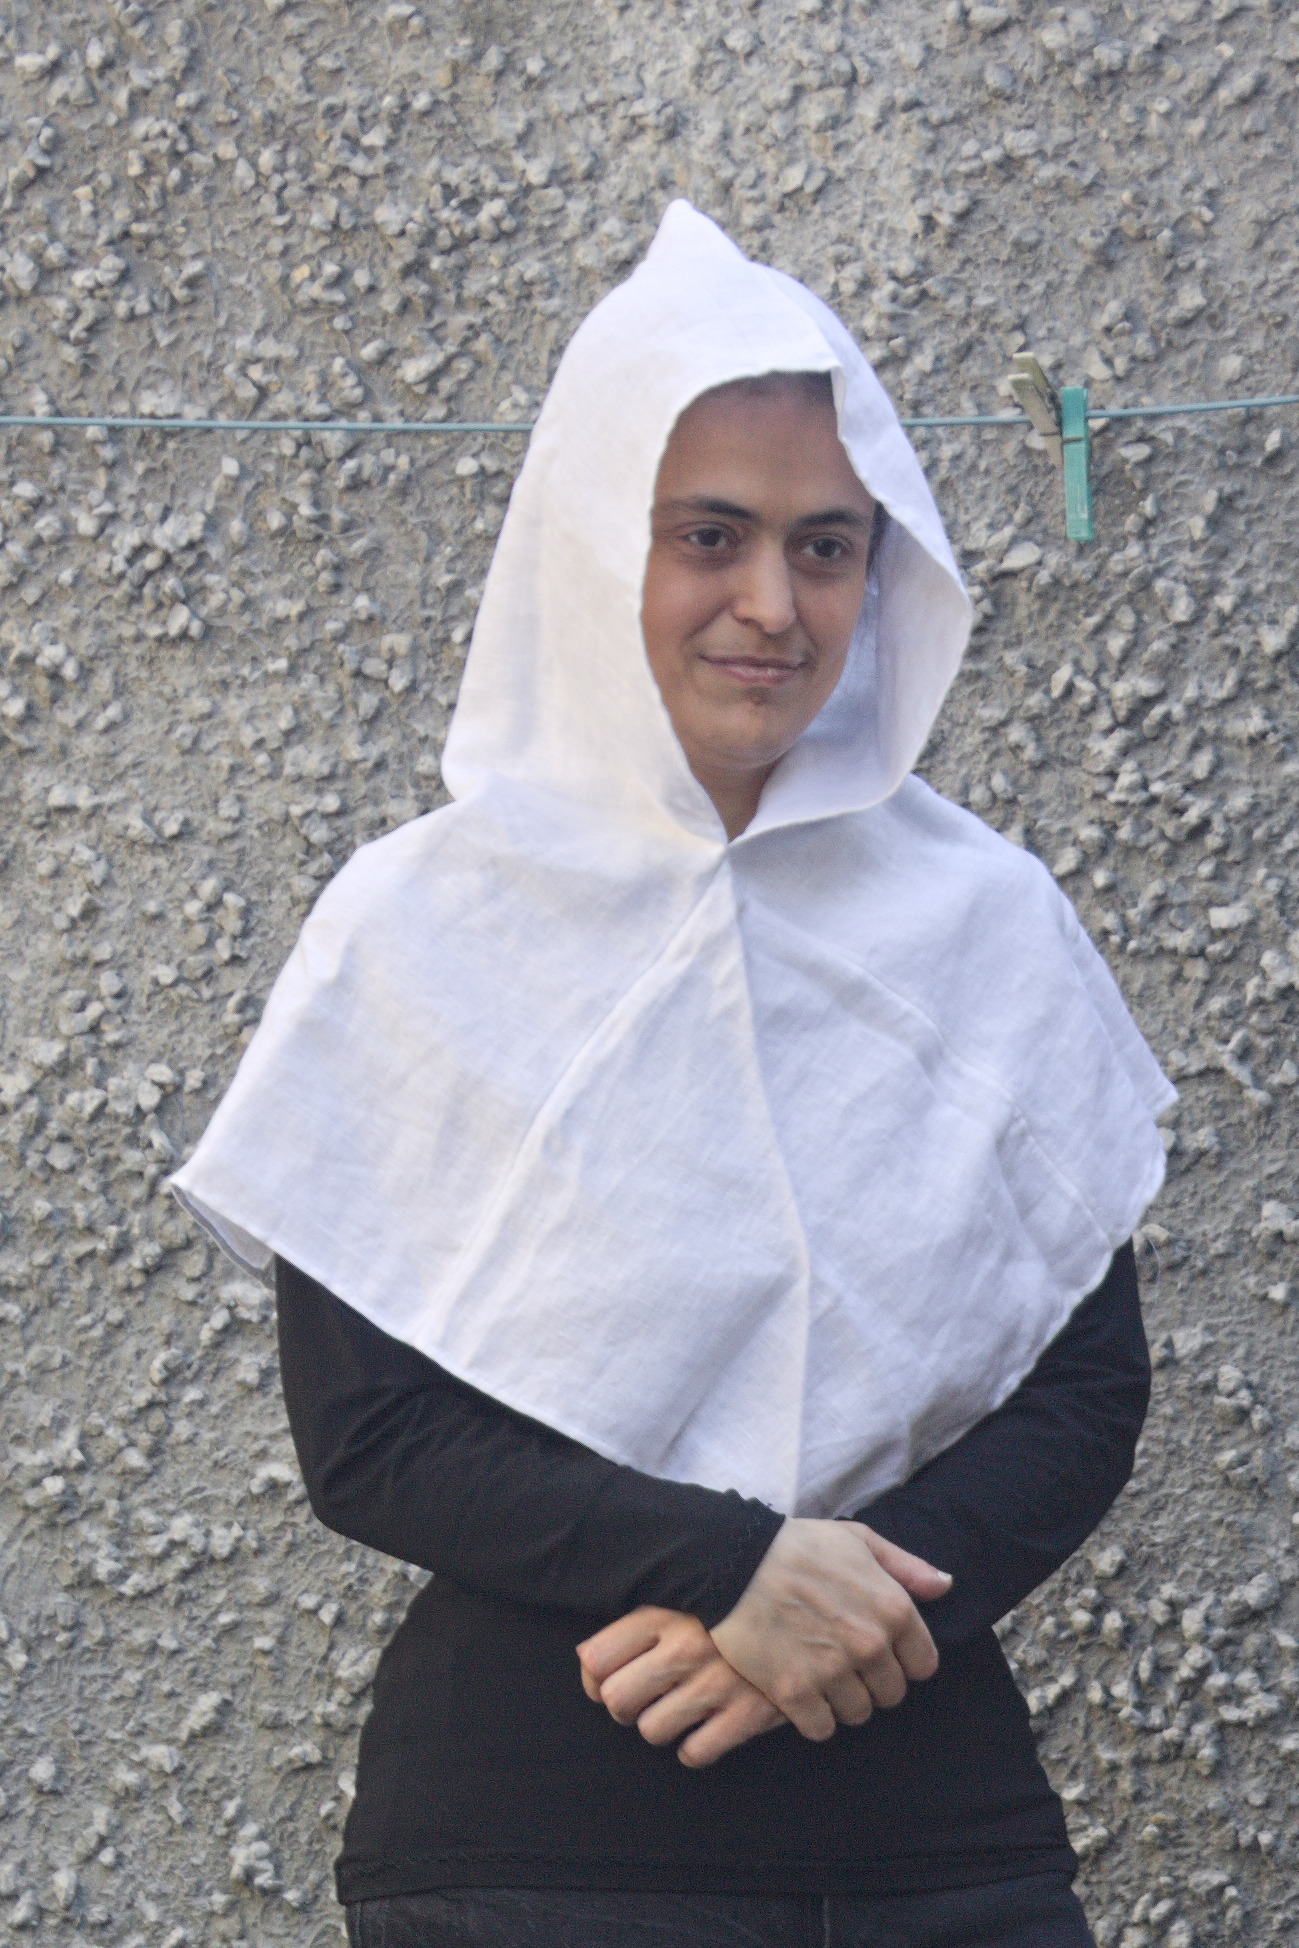
This hood is vaguely inspired by the Skjoldehamn Hood, in that the finished object has a vaguely similar shape, but uses a completely different construction method and pattern, suitable for very narrow fabric (e.g. one handwoven on a narrow loom).
The construction isn’t historically accurate for any specific time period, but uses hand stitches widely uses through history. It is based on hemming all panels and then whipstitching them together: if you don’t care about visible machine stitches you may do the hemming by machine, but then the assembly is just easier by hand.
It is also a low-waste project that only uses squares and rectangles, and thus can be done with relatively little fabric (for the amount of coverage) and few tools.
Materials
Fabric
70 - 80 cm of light to mid weight fabric such as wool or linen.
Notions
Matching sewing thread.
Pattern
Measure around your head, at the height of the forehead, and around the face from the top of the head to the chin; take the biggest measurement and divide it by two: this is the minimum width of the panels, if you want a deeper hood add maybe a cm or two. This will probably be somewhere between 30 and 35 cm. This will be the basic width.
Cut one rectangle as wide as the basic width and four times as long, plus 1-2 cm for a hemming allowance on all sides where you don’t have an usable selvedge, and two squares with a side of the basic width, plus the same allowance.
Instructions
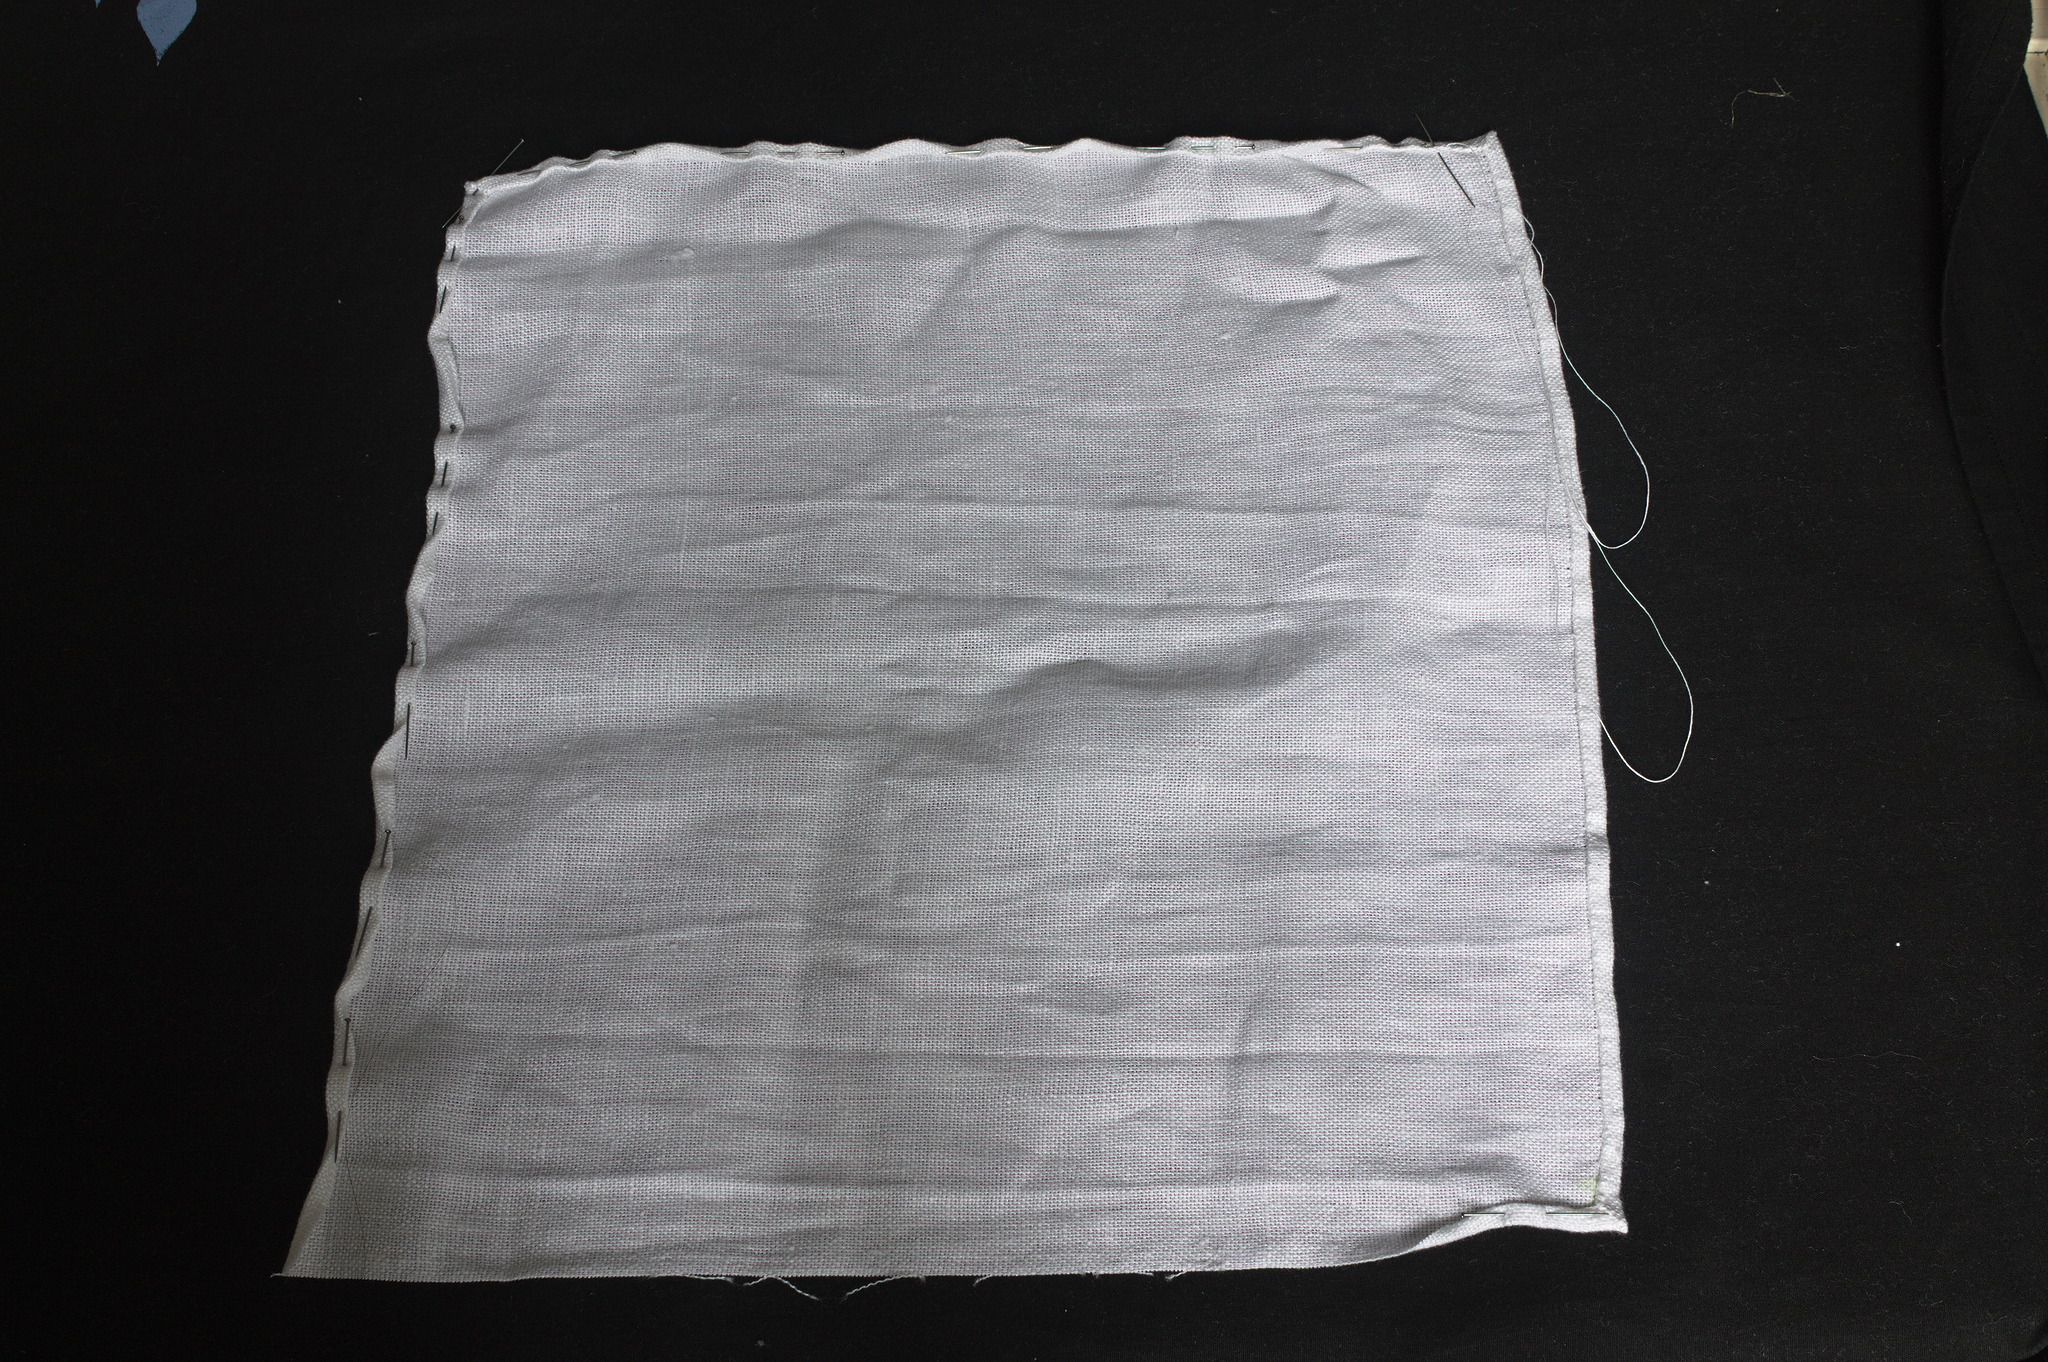
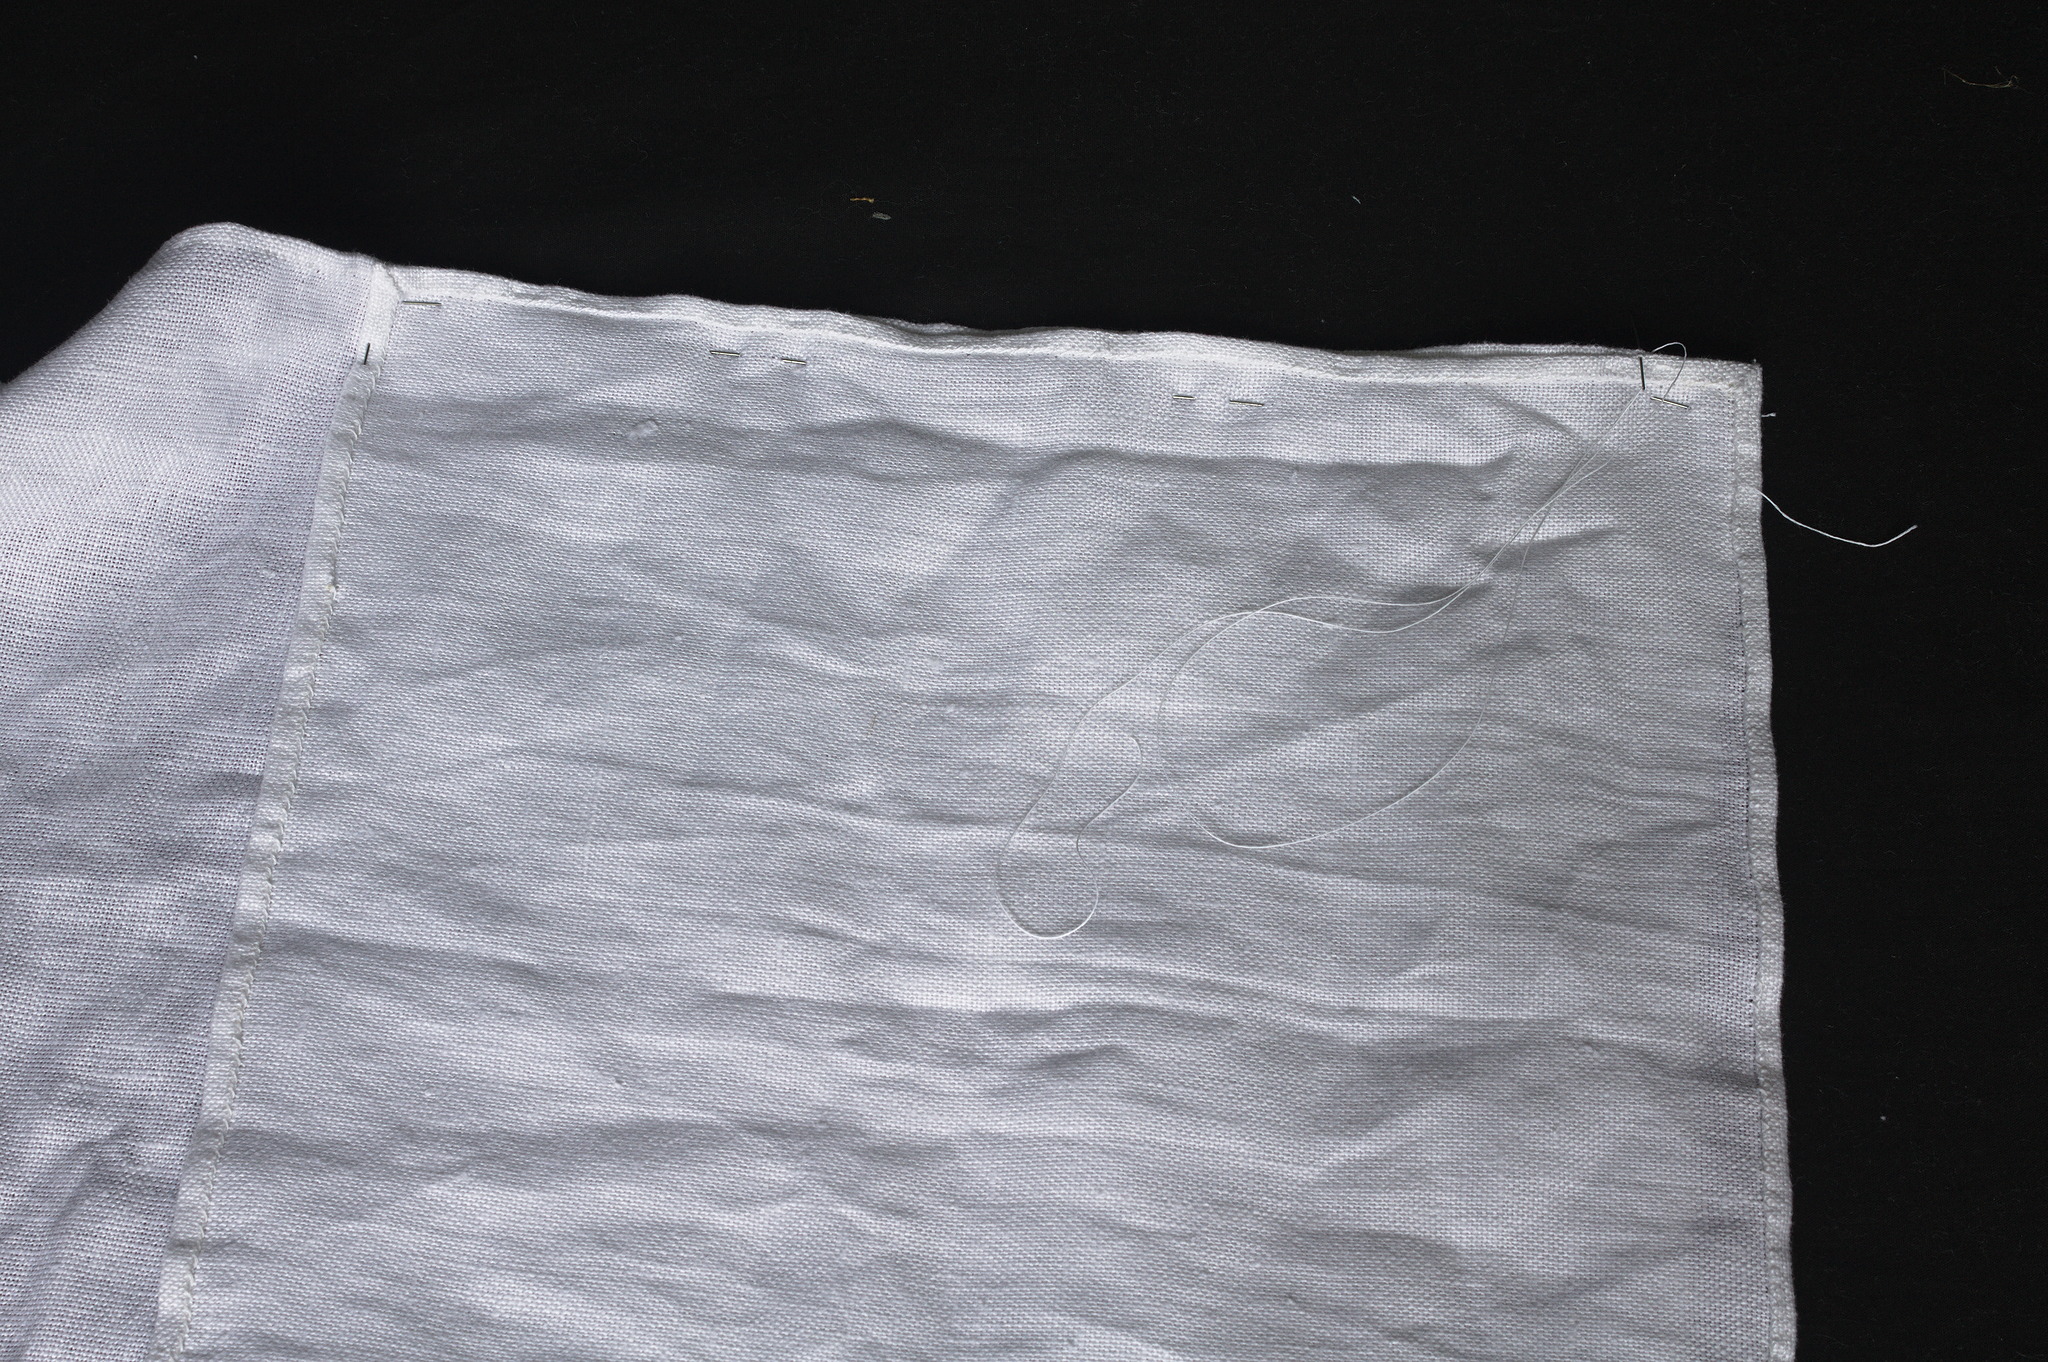
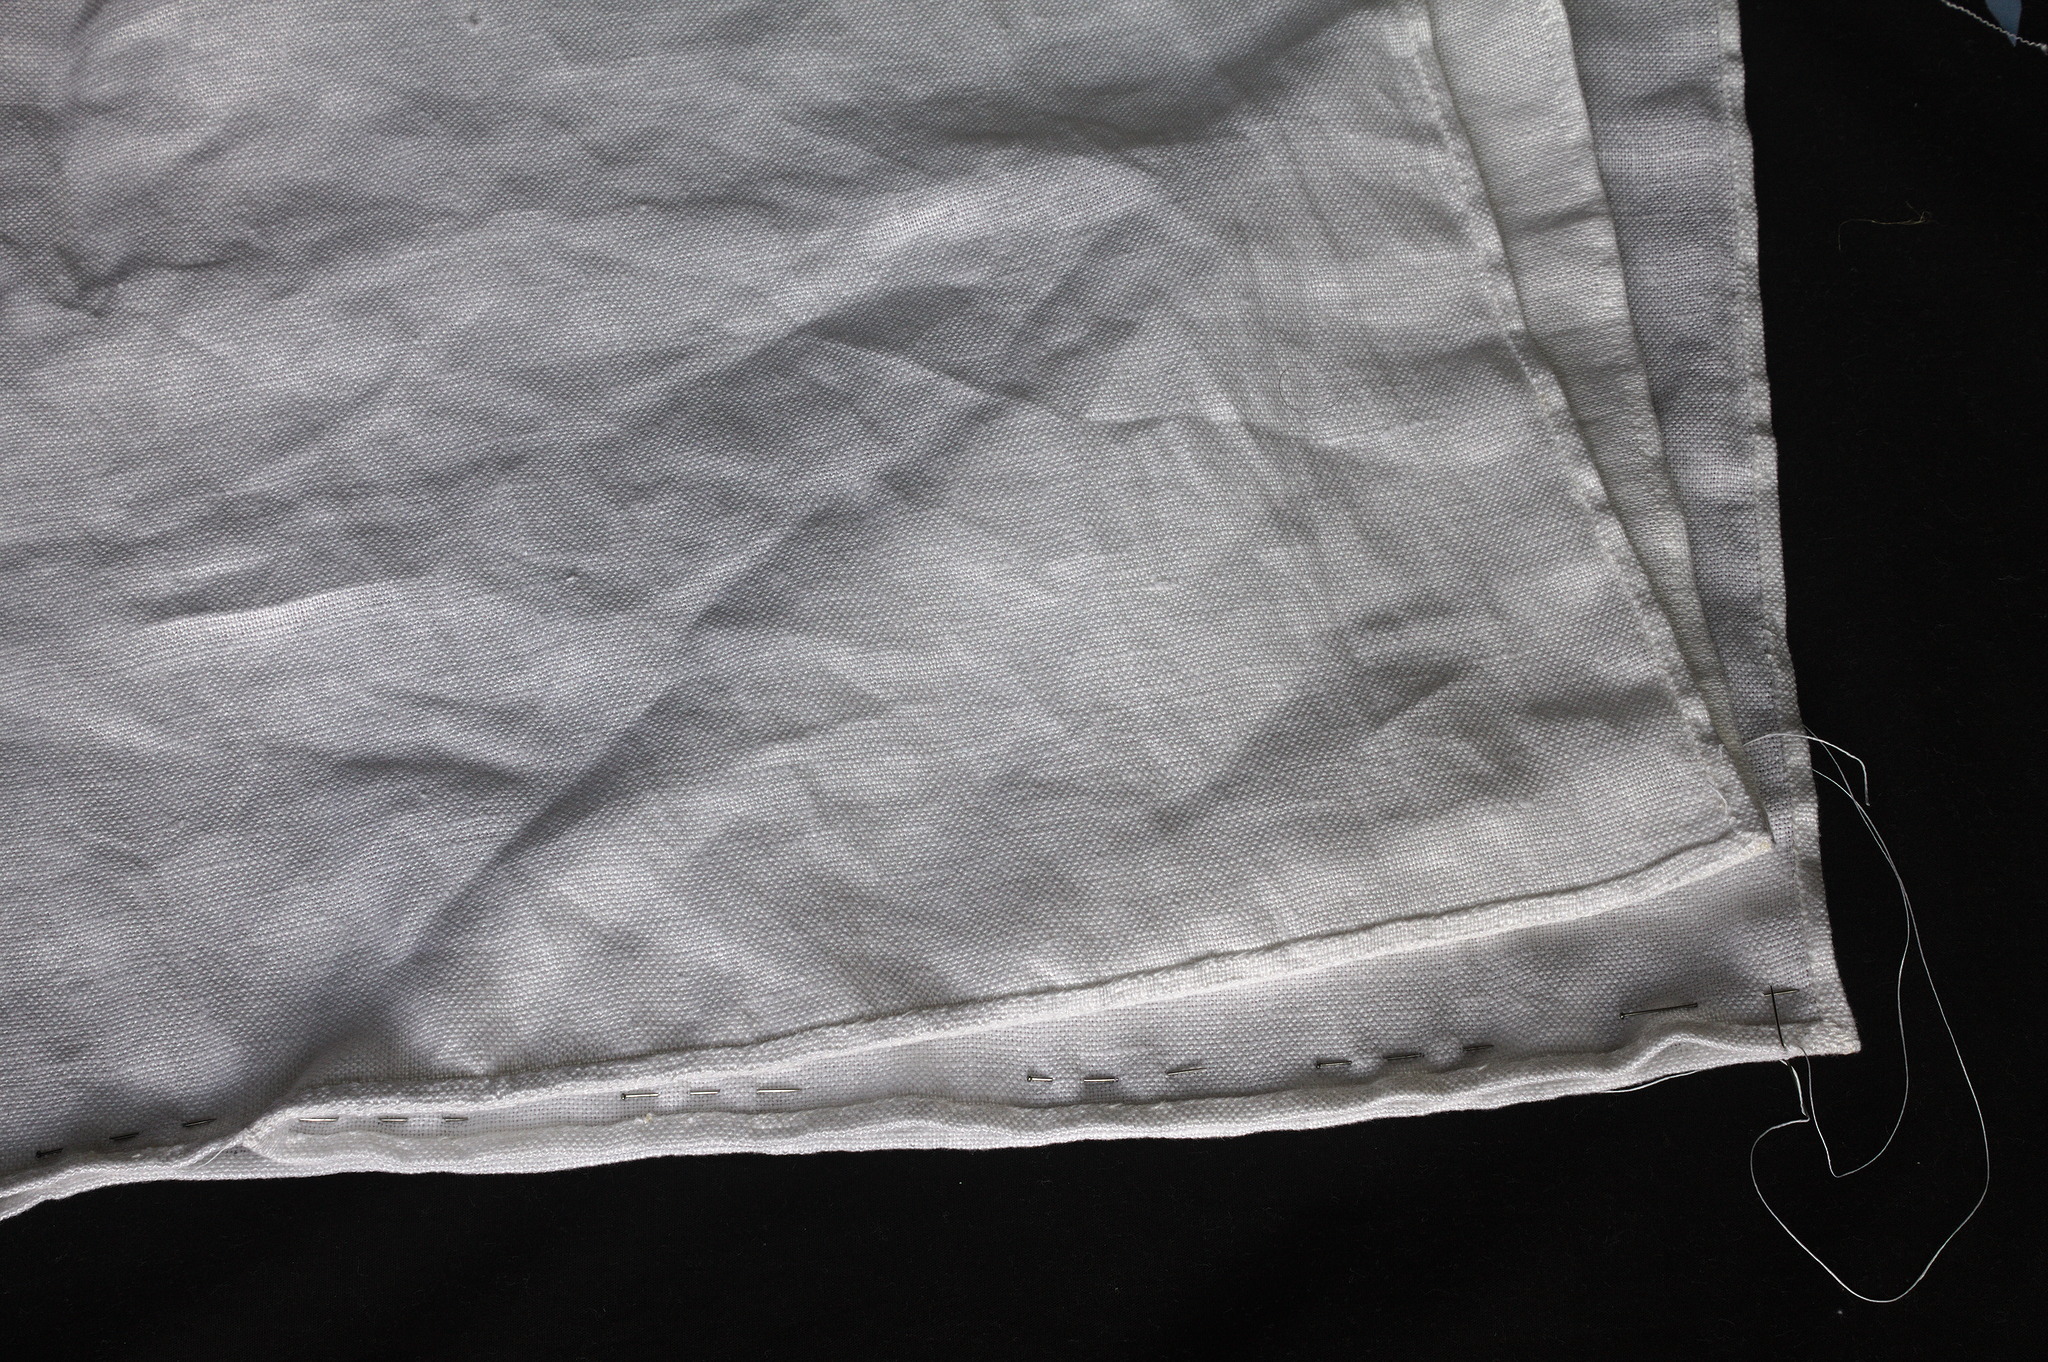
Hem all edges: fold down the raw edges twice towards the wrong side, mitering the corners, and either hemstitch down or topstitch with a running stitch.
Tip
If your fabric has plain selvedges, like those created by historical looms, you can avoid finishing that side and use it as-is.
Tip
When using heavier fabric that does not fray, like fulled wool, you can fold it just once towards the wrong side instead of twice, for less bulk.
Put one of the squares on one end of the long piece, right sides together, whipstitch one edge of the square to the long edge of the long piece, starting from the bottom of the hood and going up.
Fold the long piece in half, right sides together, fold the square in half on the diagonal, wrong sides together, and put it into the long piece in such a way as to form a gore.
Starting from the bottom whipstitch first the second leg of the square to the long piece
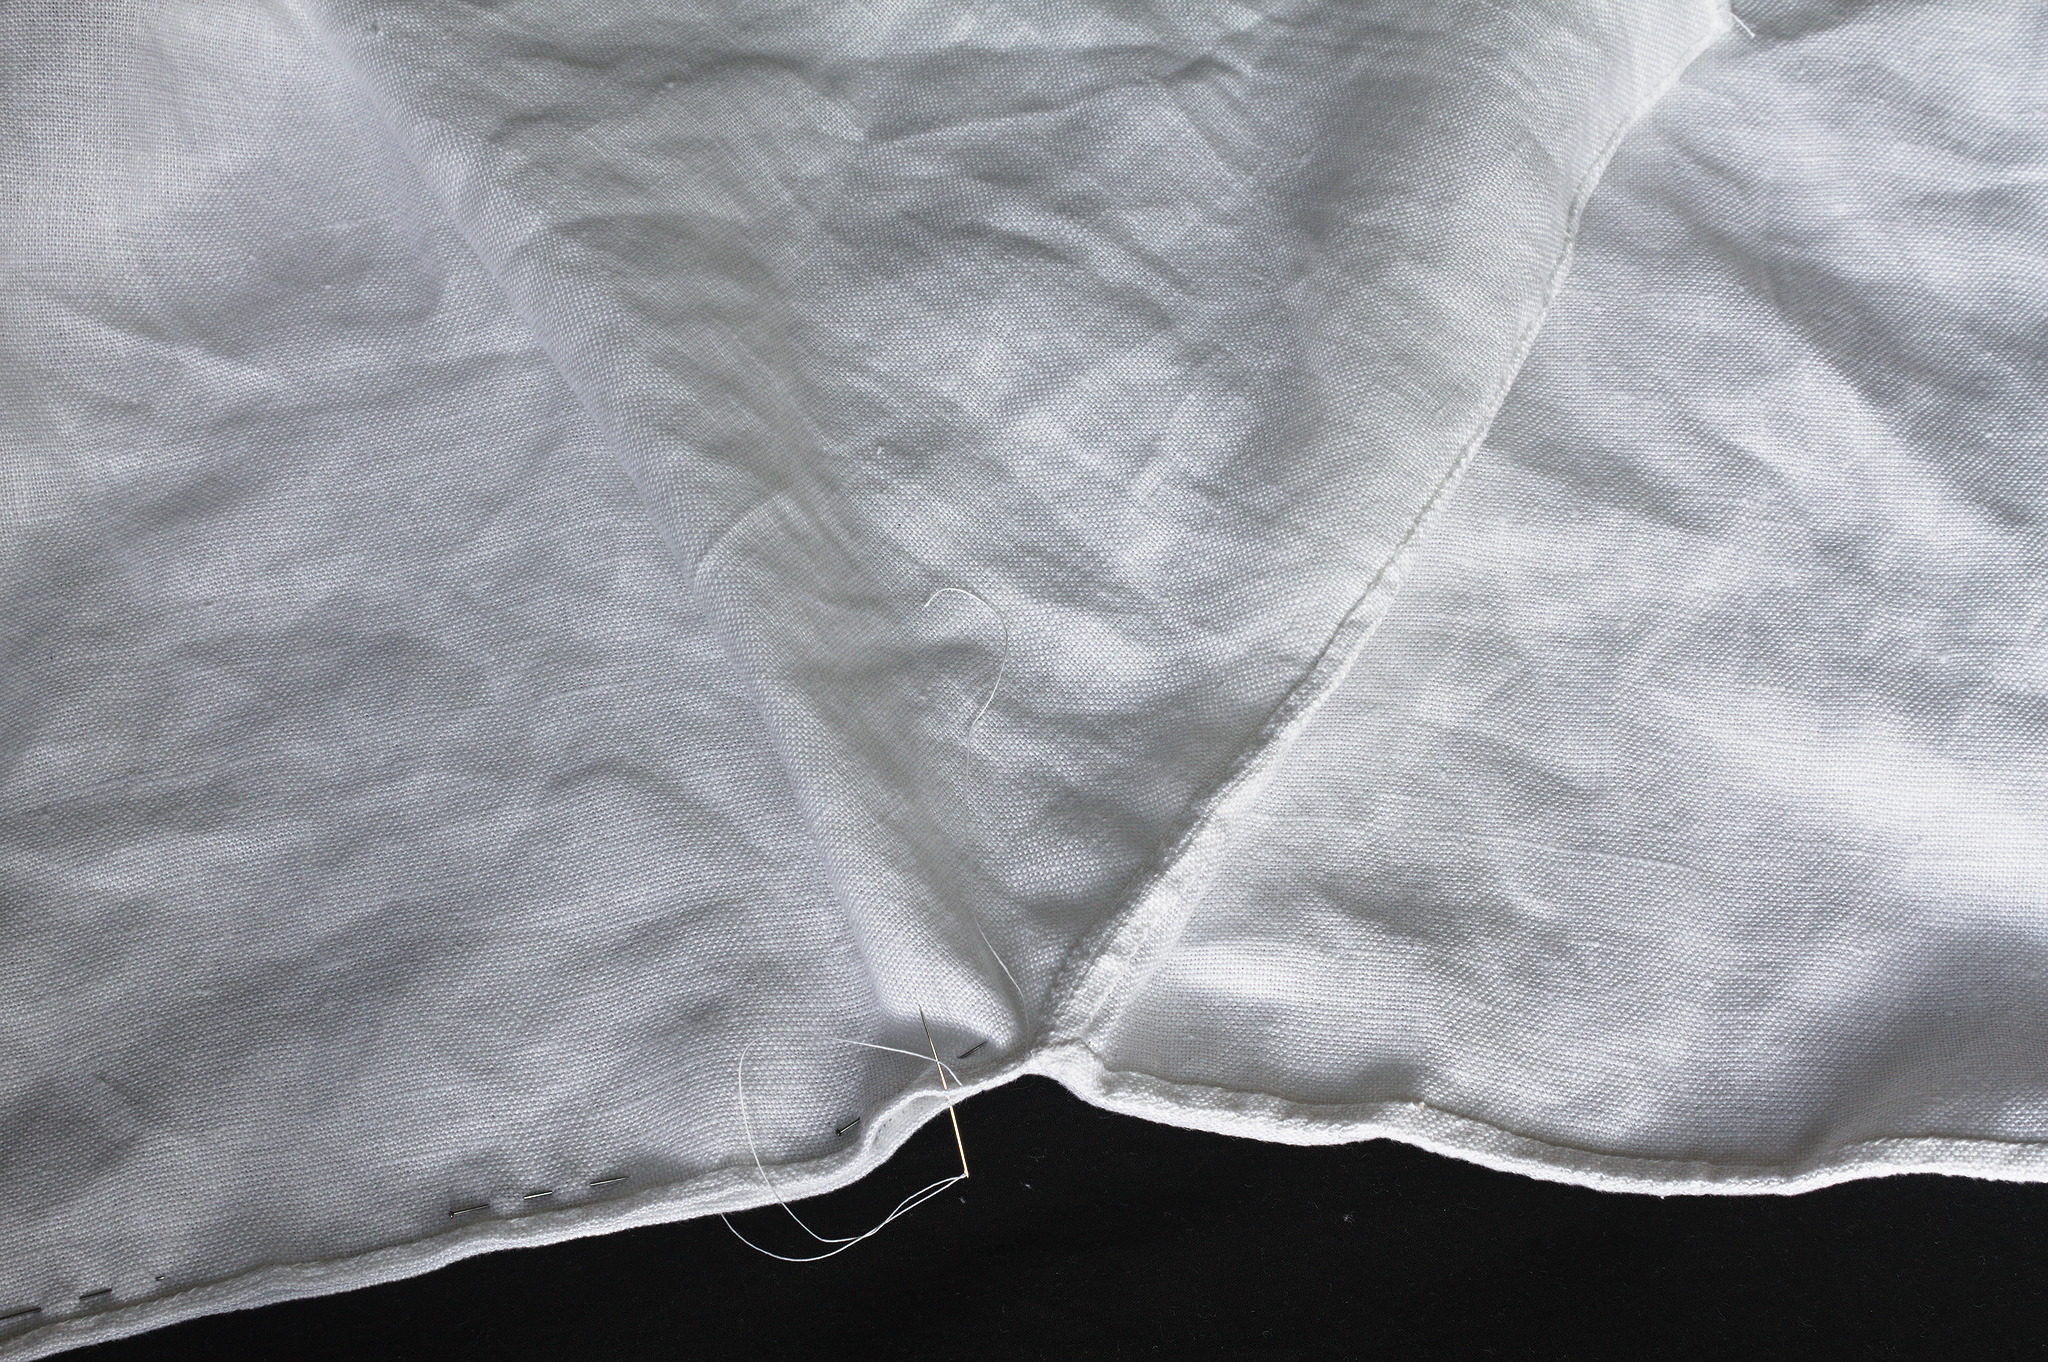
and then continue sewing up the back seam of the hood.
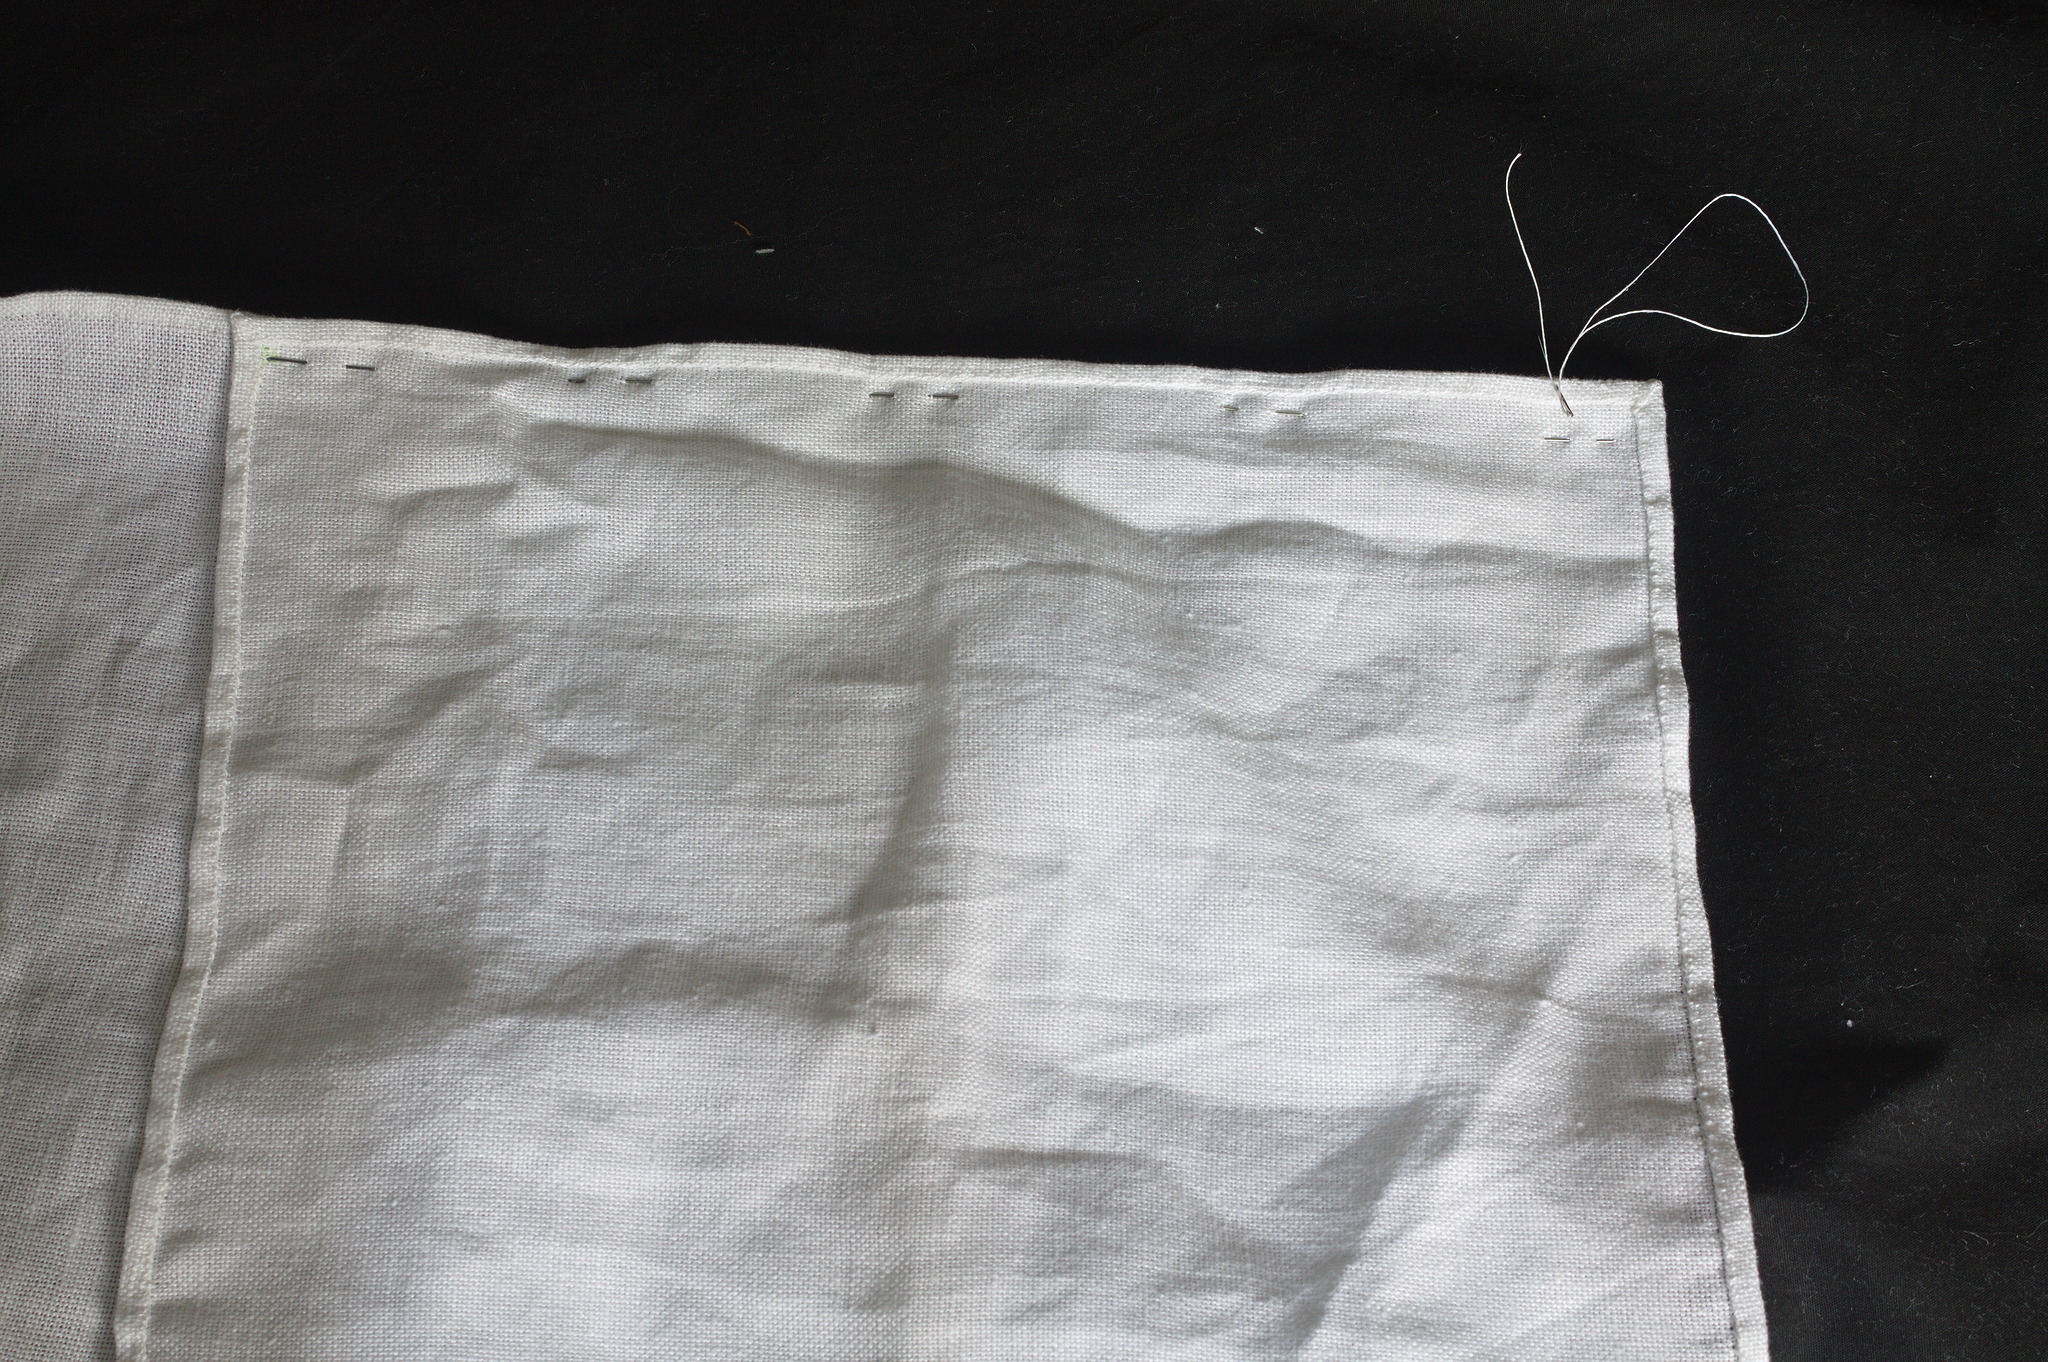
Repeat with the front gore: put the other square on the other end of the long piece, right sides together, and whipstitch starting from the hood and going up.
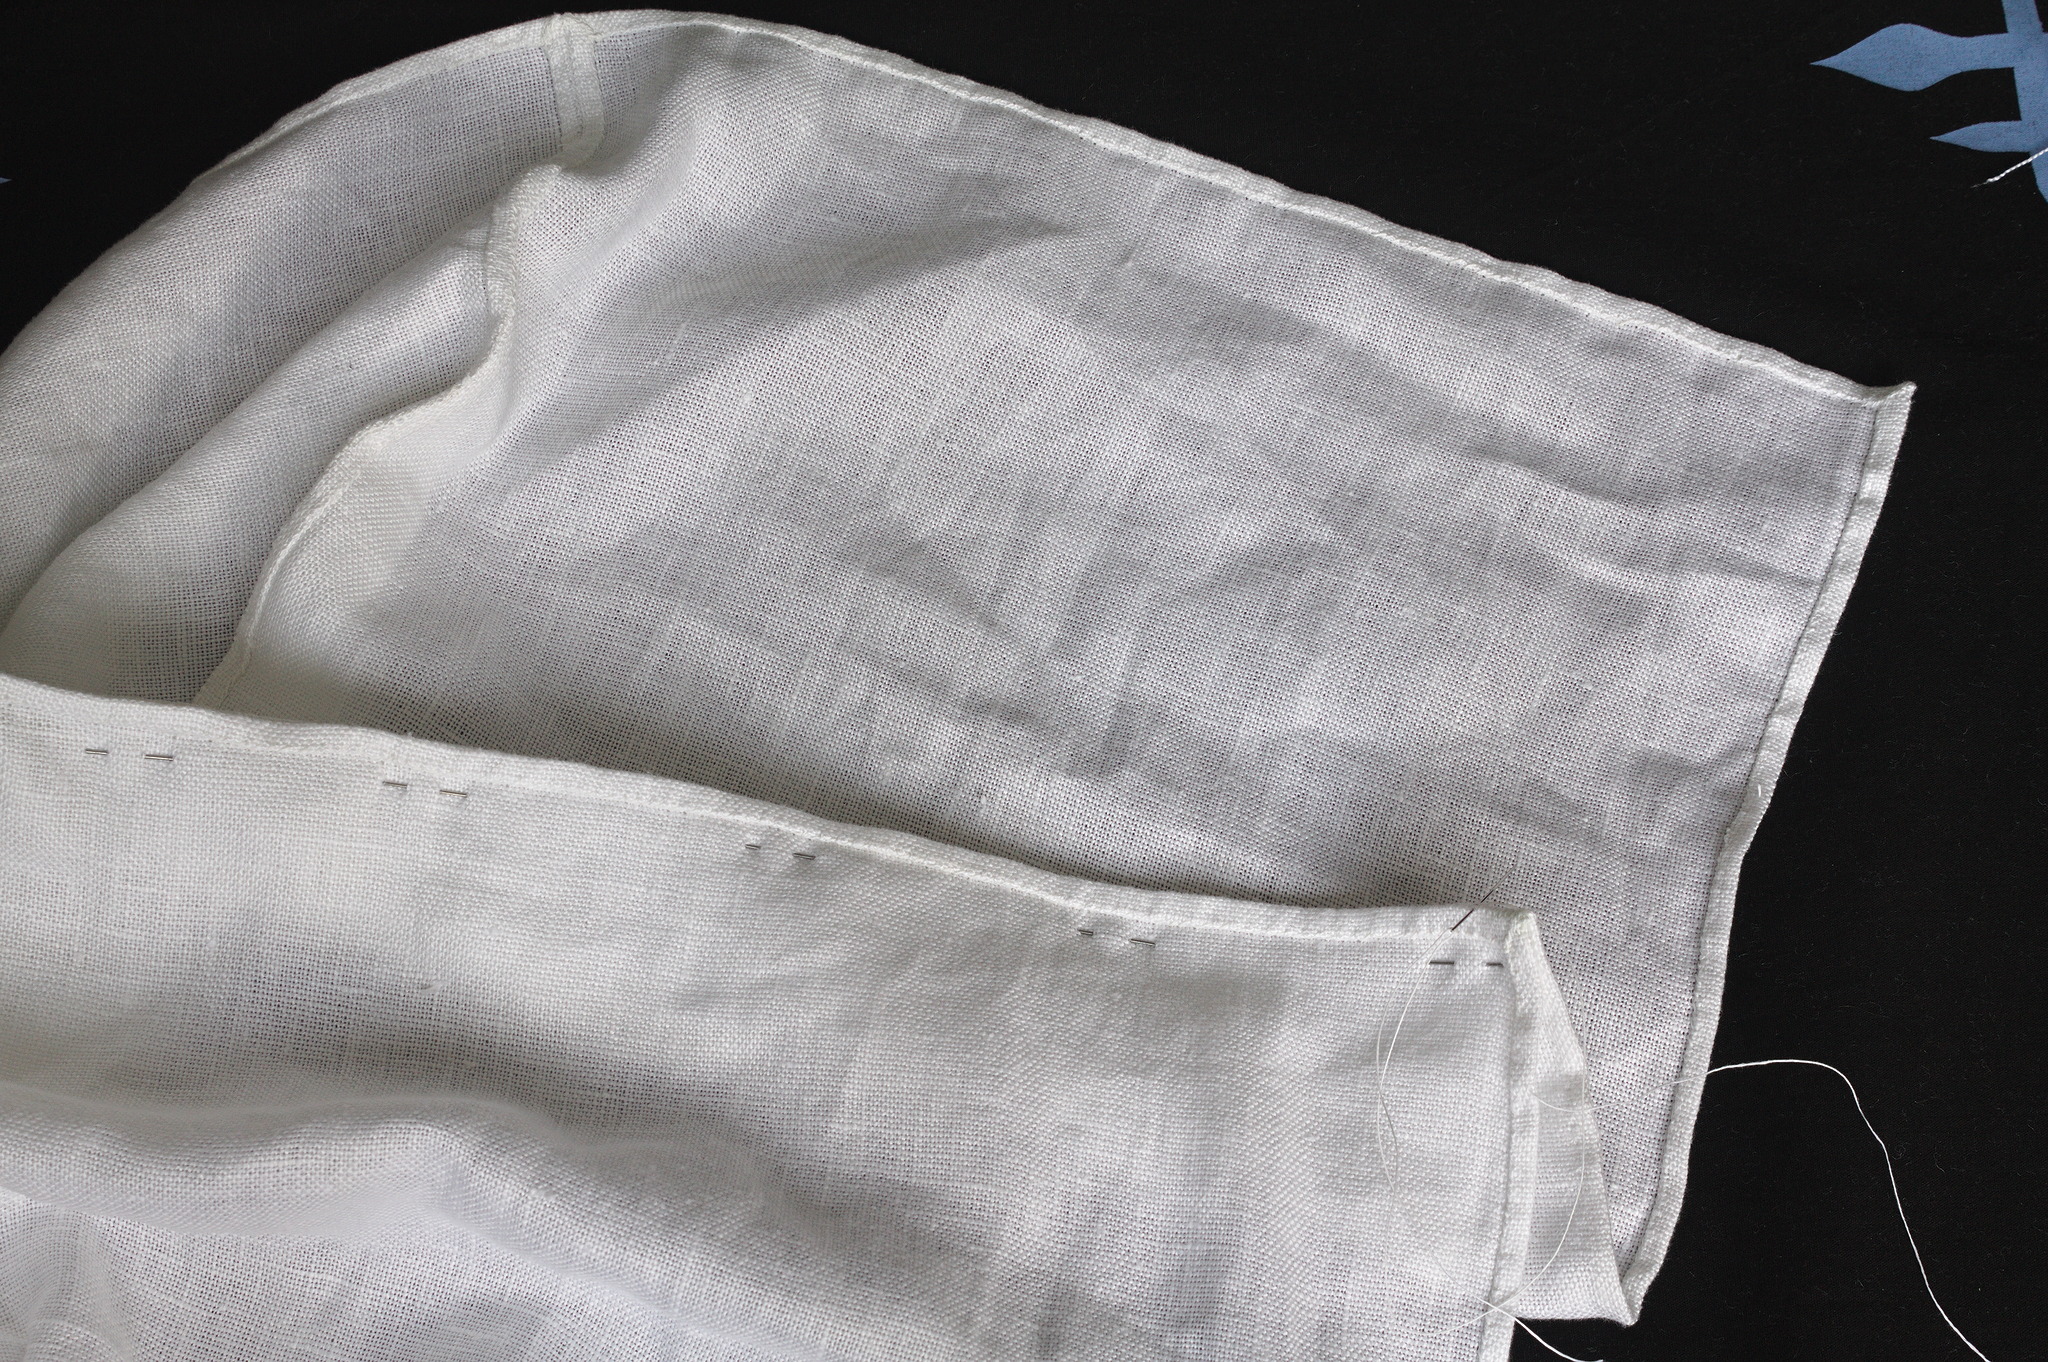
Then fold the gore on the diagonal, insert it into the hood as before, and whipstitch starting from the bottom, this time stopping just above the the point of the square to leave an opening for the face.
Variants
Lined hood
If your fabric requires, you can also line the hood: cut each piece twice in both fabric and lining.
On the outer fabric, press down all edges once by the hemming allowance, mitering the corners.
On the lining, press down all edges once by a couple mm more than the hemming allowance, mitering again the corners.
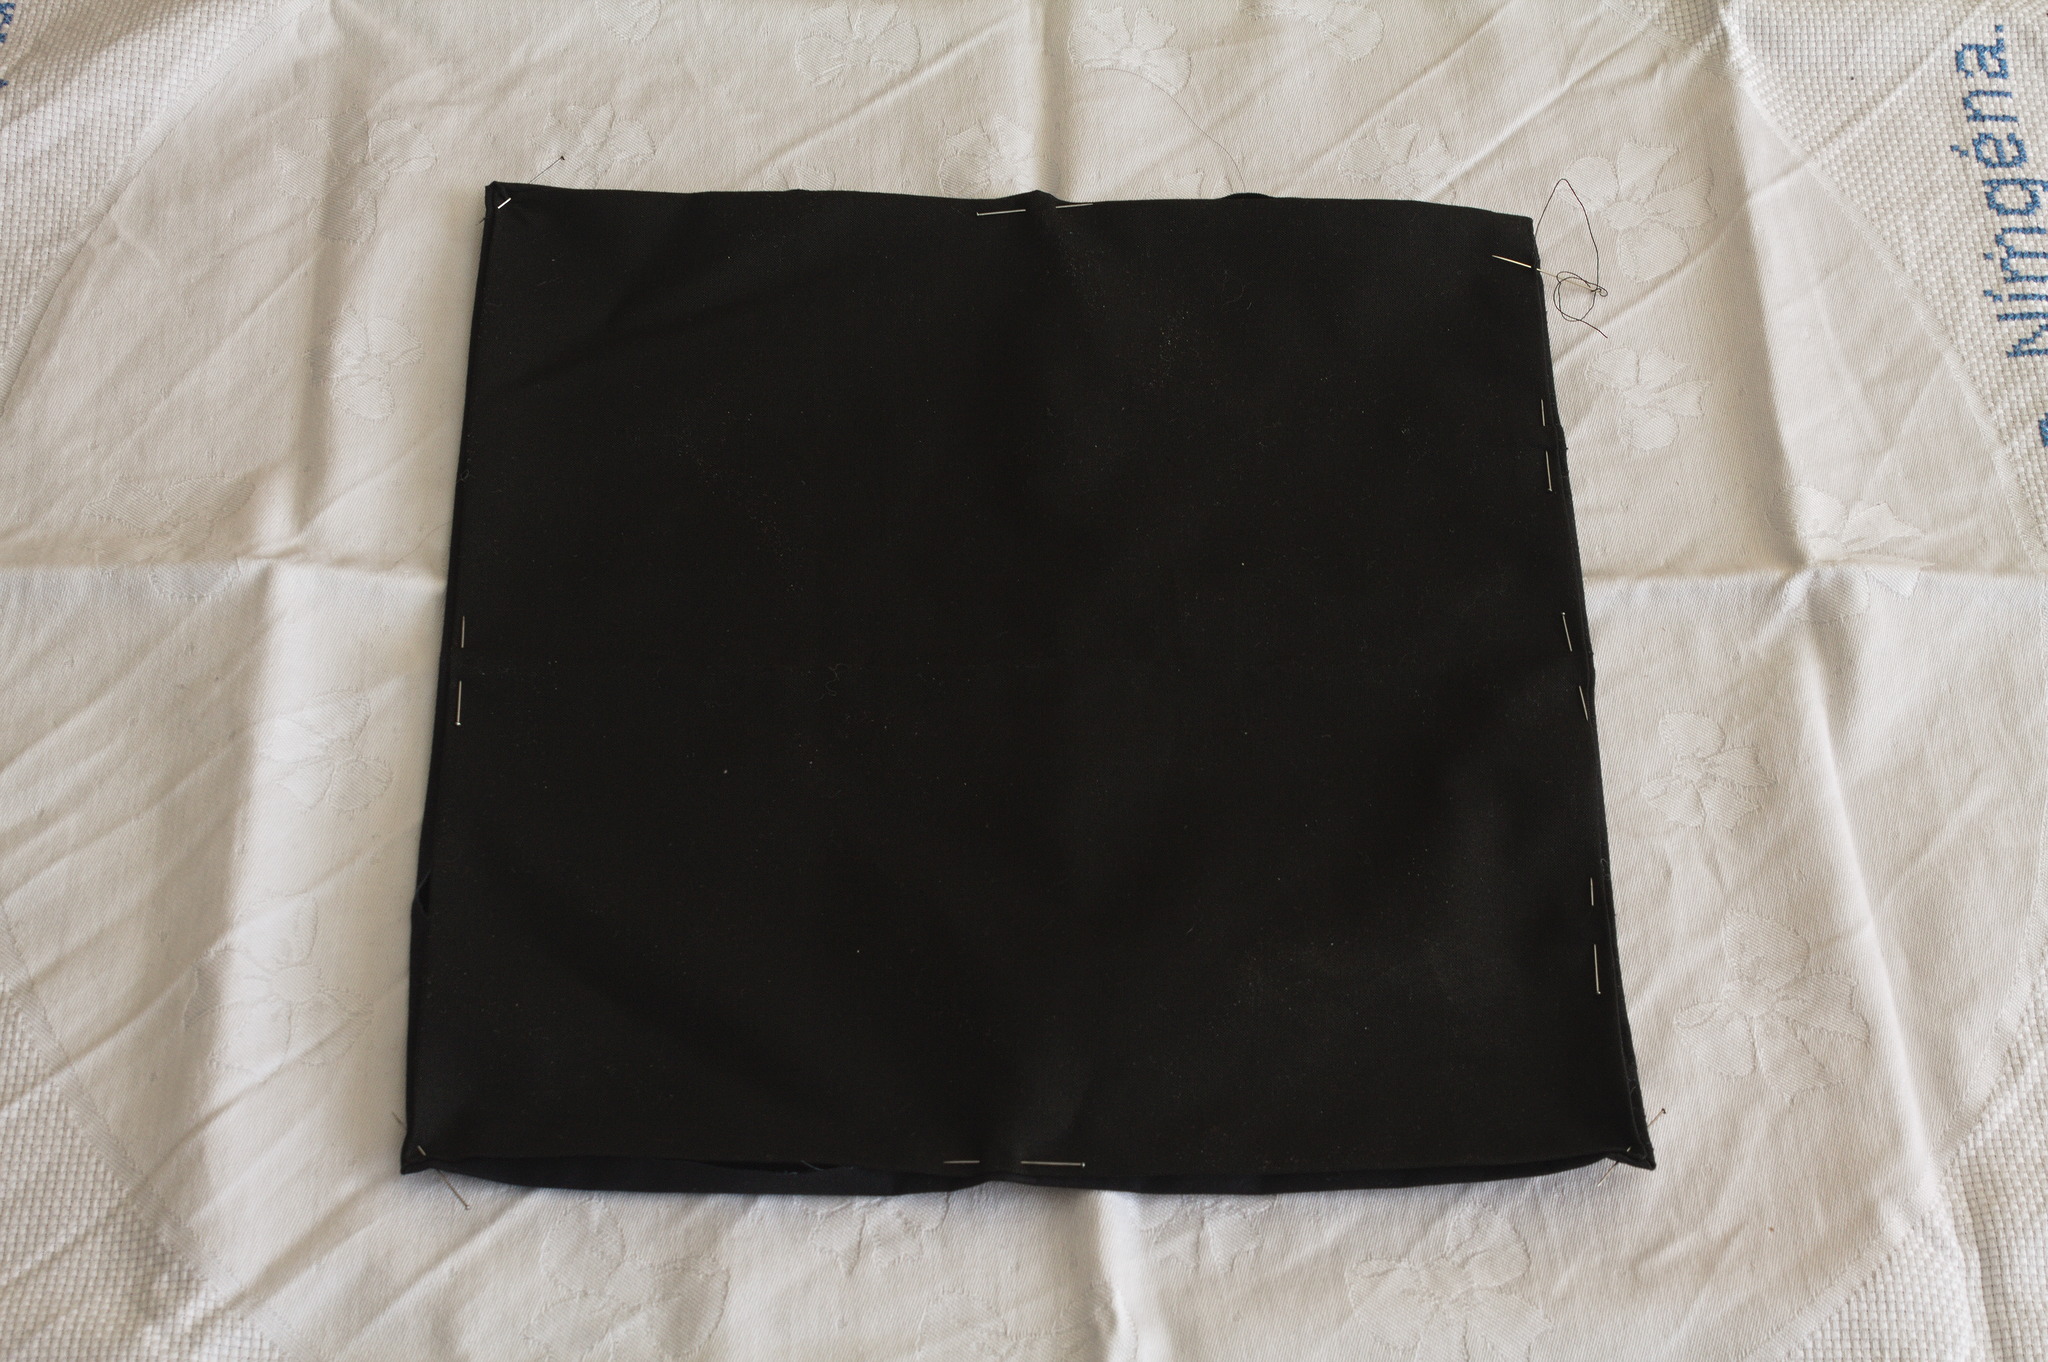
Put the lining over the outer fabric, wrong sides together, and hemstitch all sides.
Continue with the assembly instructions above.
Gallery
See Also
An article on the actual Skjoldehamn Hood, with pictures of the original and a reconstruction.