Low Waste Elastic Neck Top
This is a simple top made of rectangles with a gathered neckline (and optionally cuffs) that can be optionally worn off-the shoulders.
It’s a pretty quick and easy project that can be sewn by hand or by machine.
Materials
Fabric
About 1.5 m lightweight shirt material (cotton, linen, viscose…).
Because of the gathering, this pattern will require a pretty lightweight, woven material.
Notions
about 60 cm good looking elastic;
sewing thread to match the fabric.
Pattern
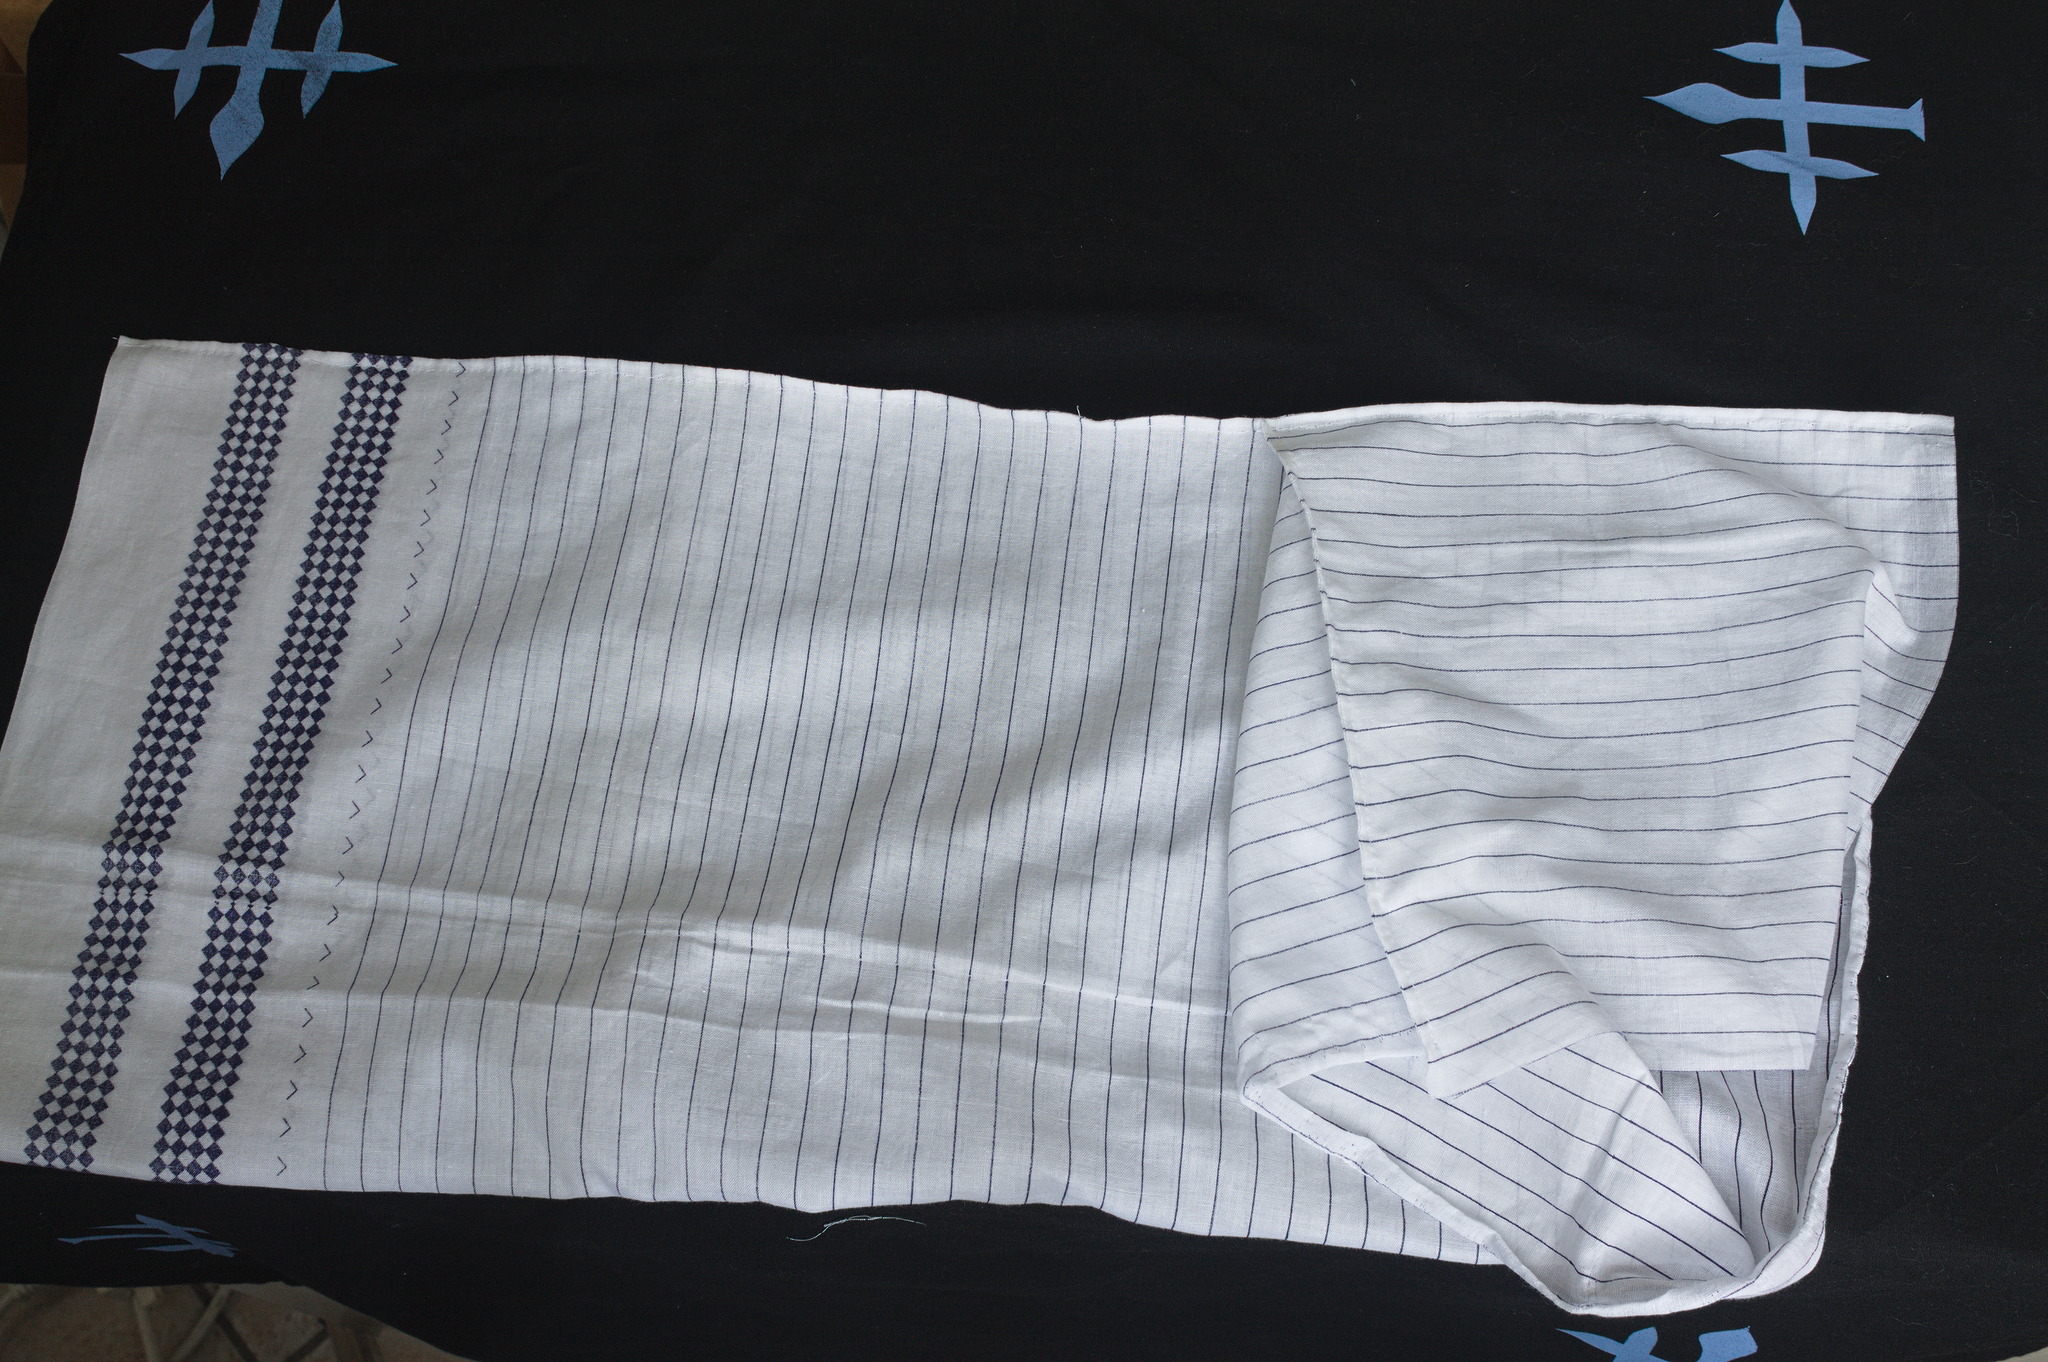
After straightening the cuts, measure your fabric; you can draw the pattern directly on the fabric, or make a scale drawing on paper first.
The fit of this garment is given mostly by the gathering, so the pattern dimensions don’t have to be precise and depend mostly on the size of the available fabric.

For fabric that is at least 140 cm wide, you can use the cutting scheme in the image above.
Measure the length of the sleeves, from the tip of the shoulder to the wrist, following the bent arm. Add as much extra length you want and measure this in the width of the fabric. The remaining width of the fabric will be the width of the front and back pieces: check that it is enough to go around the widest part of the body (bust, waist/belly or hips) with at least 40 cm ease
Divide the fabric on this measurement; divide the part with the front and back pieces in two, of equal length.
Measure around the top of the arm, add quite some ease, and make this the width of the sleeve; for an average arm something like 50 cm are a good starting measure, but feel free to go wider.
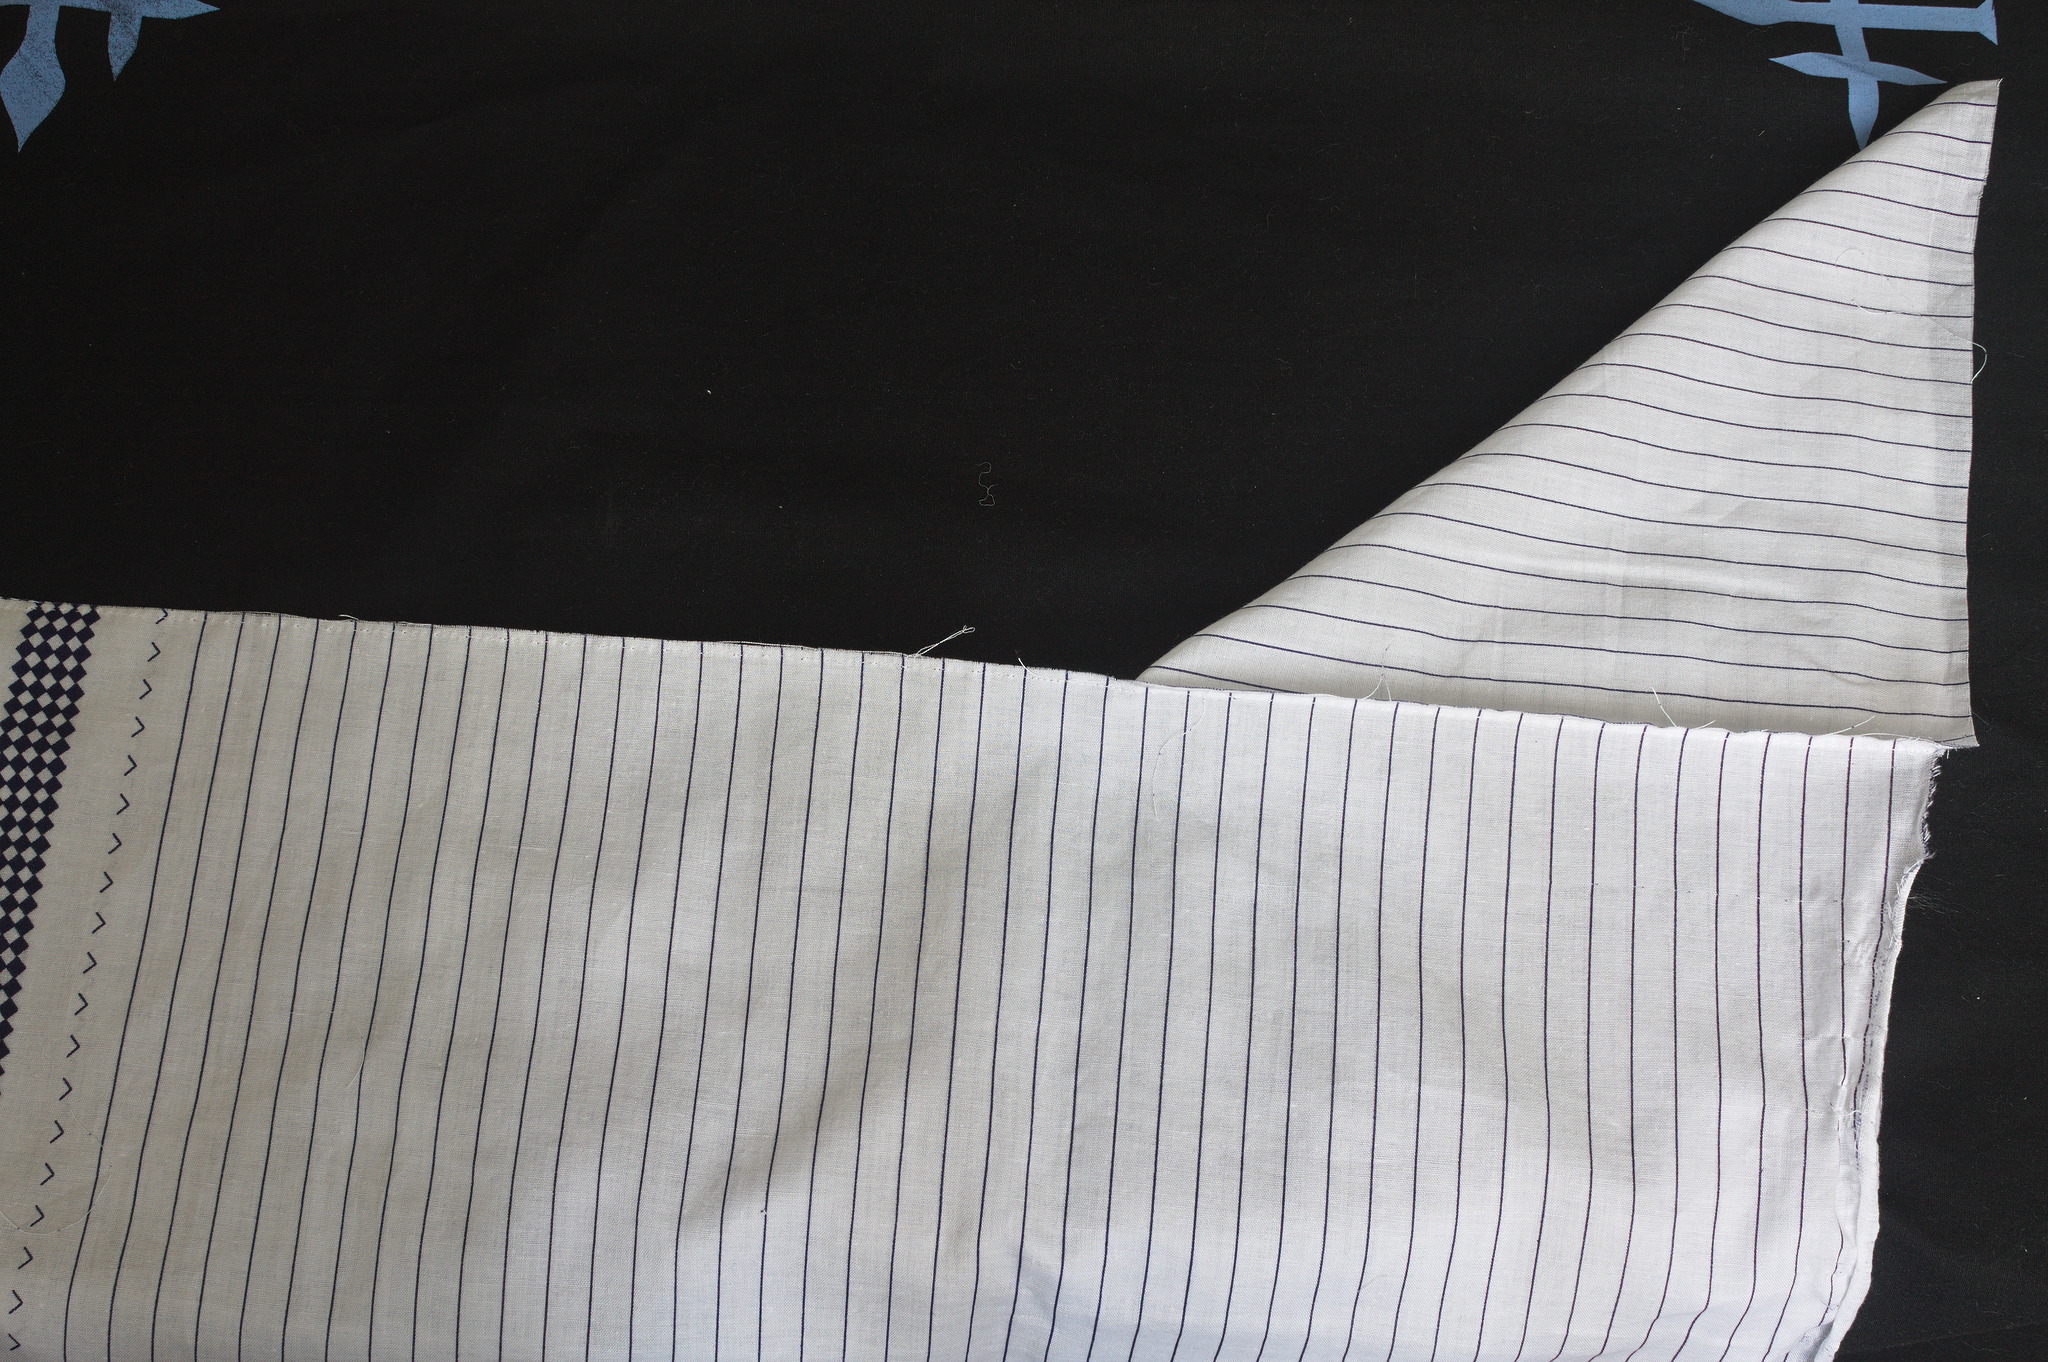
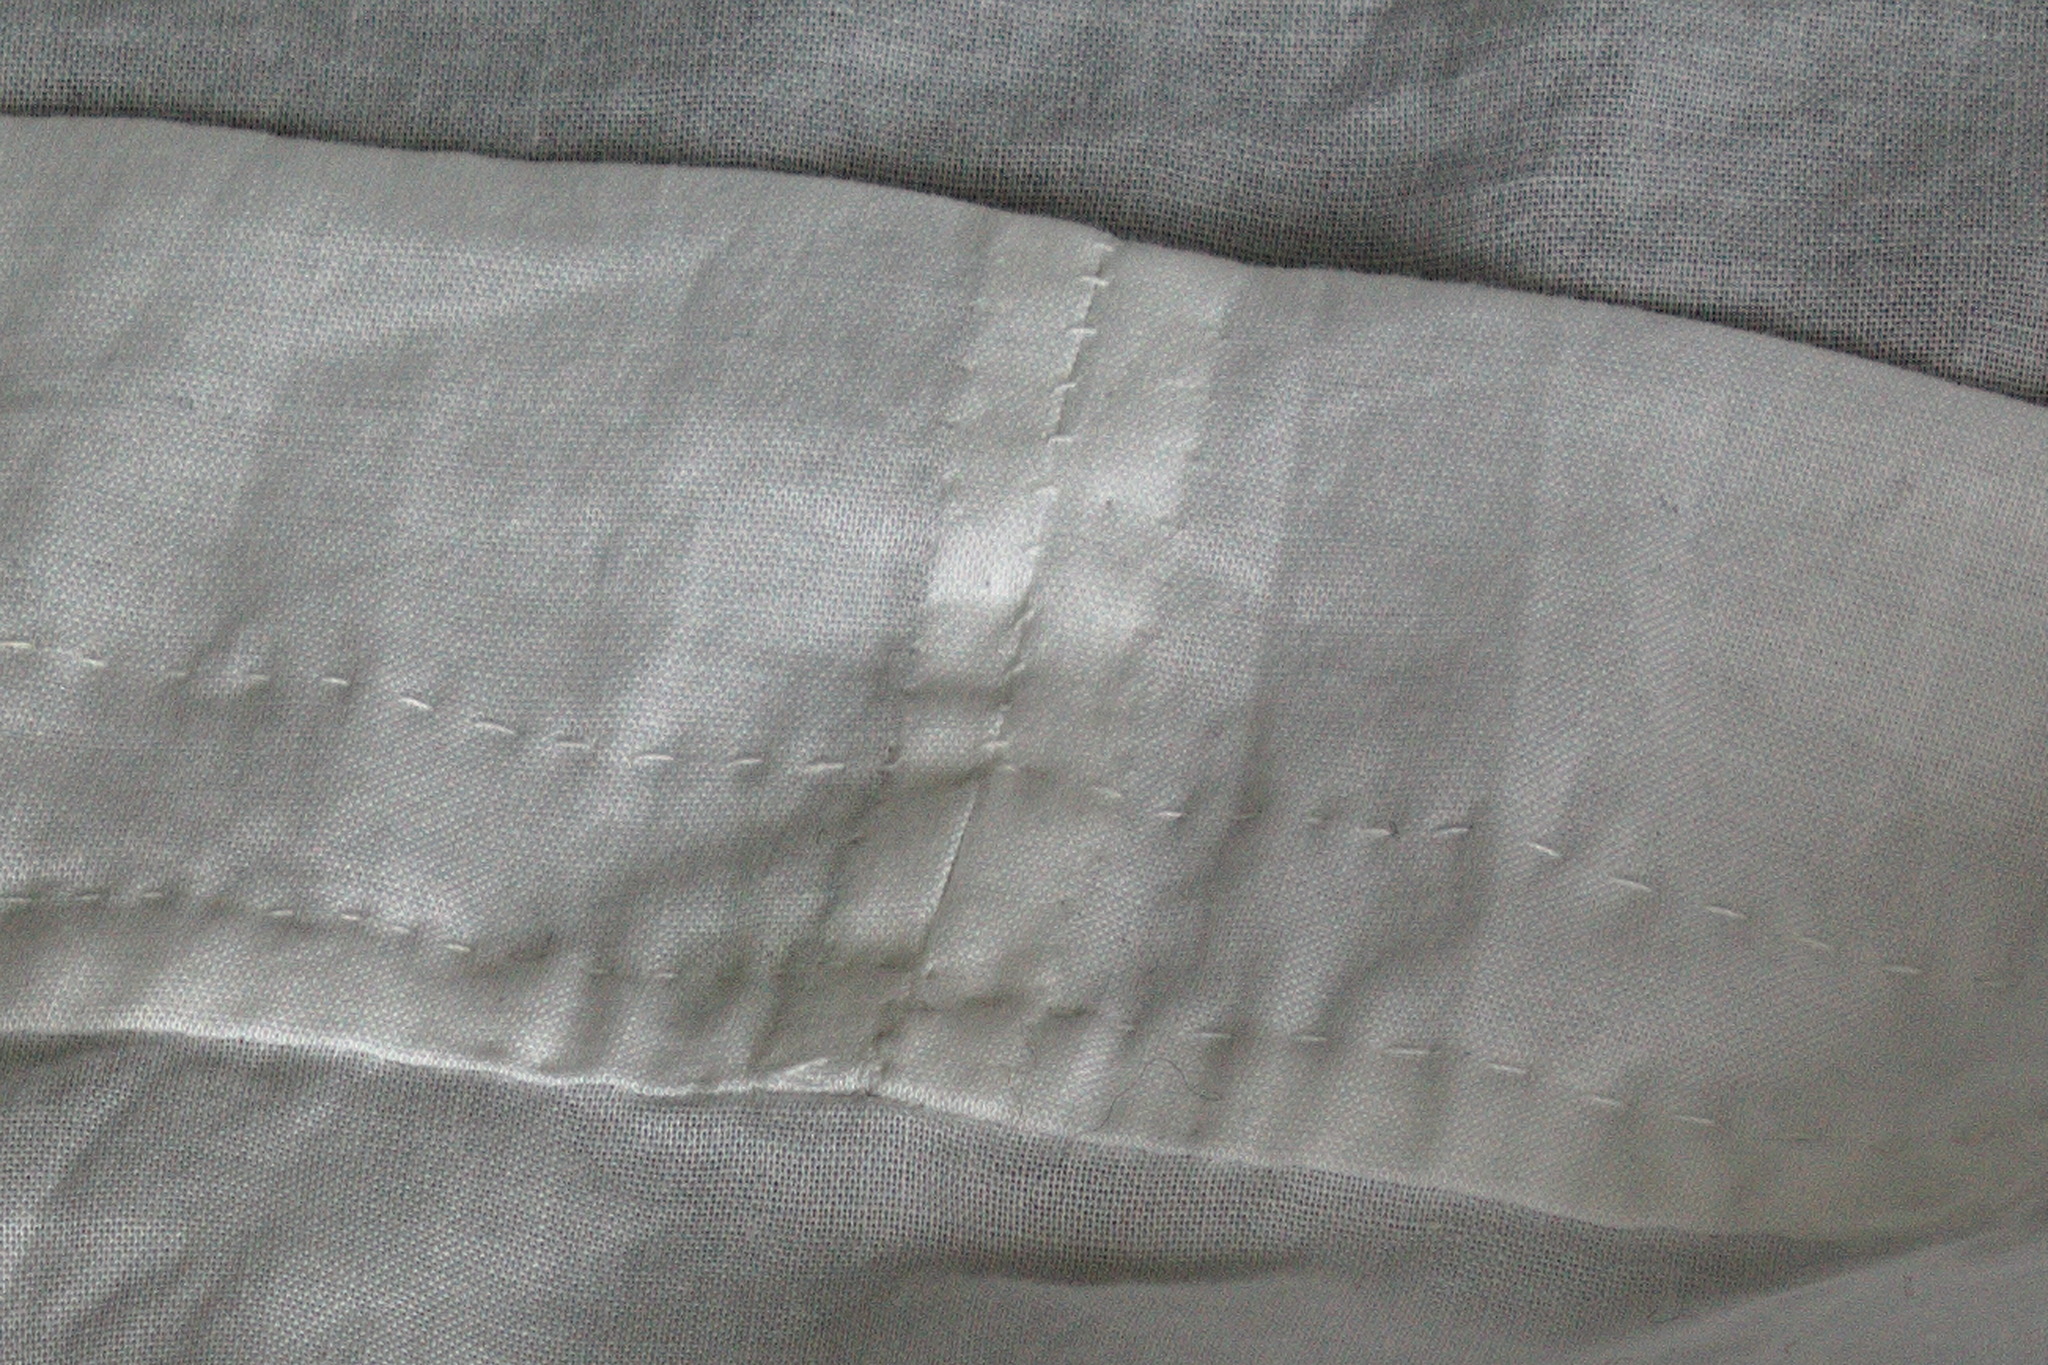
From the remaining part of the fabric cut enough stripes for the casing to go around the top of the body and the sleeves, 3 cm plus two sewing allowances high, and two square gussets for the sleeves with a side between 20 and 30 cm. Finally cut four small square gussets for the neck, with a side of around 4 – 5 cm, and cut them on the diagonal to make eight right triangles.

For narrower fabric or bigger pieces you can cut the sleeves from the full width of the fabric; the casing and the gussets can be cut from any remaining width beside the front and back.
Instructions
Cutting
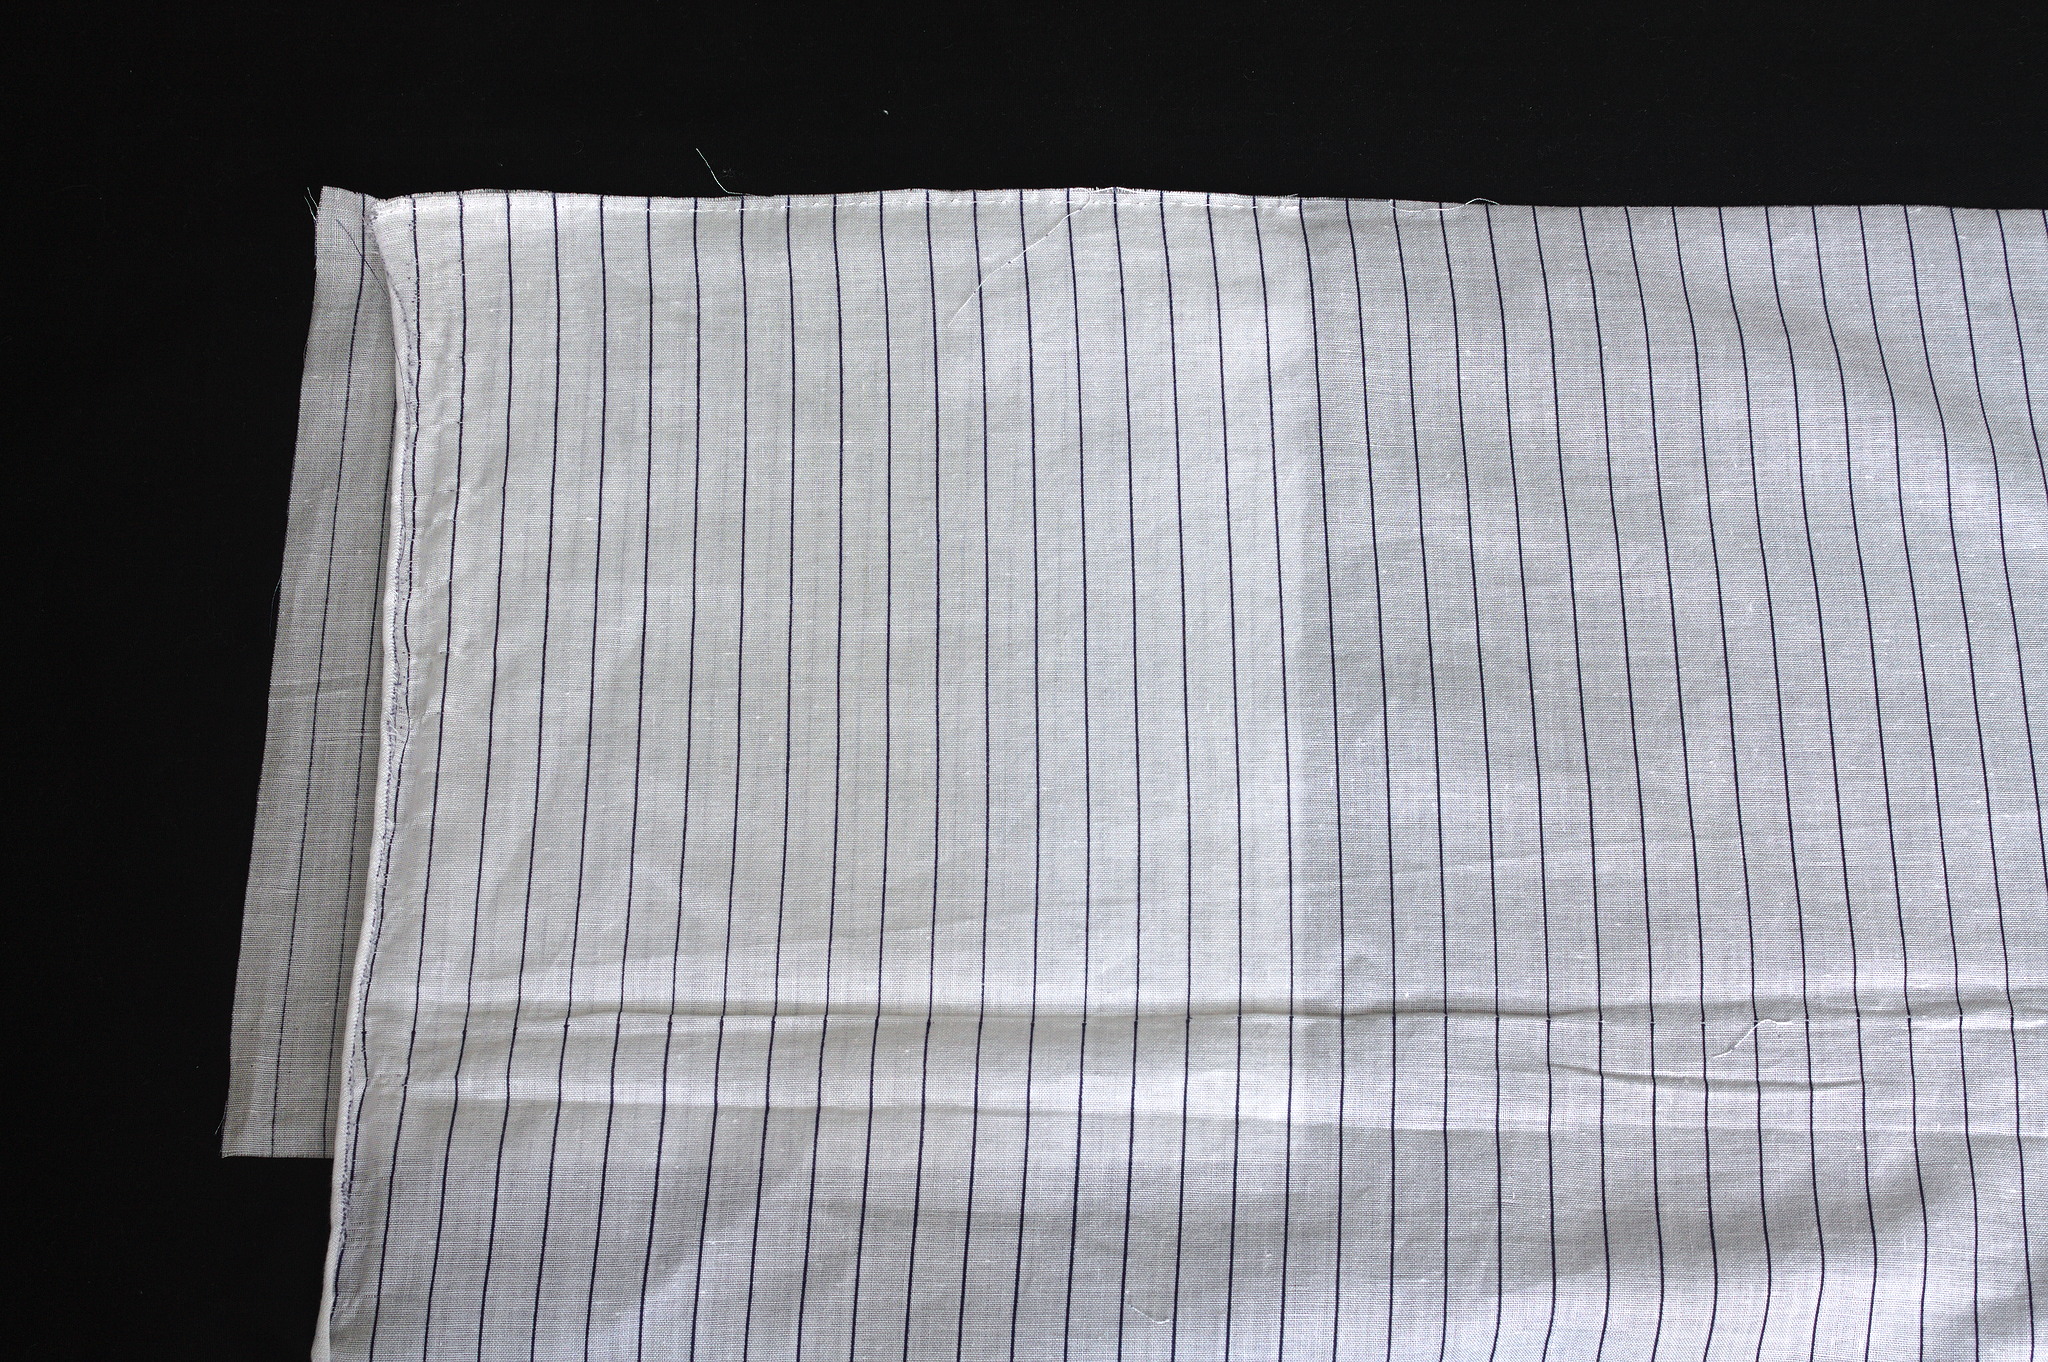
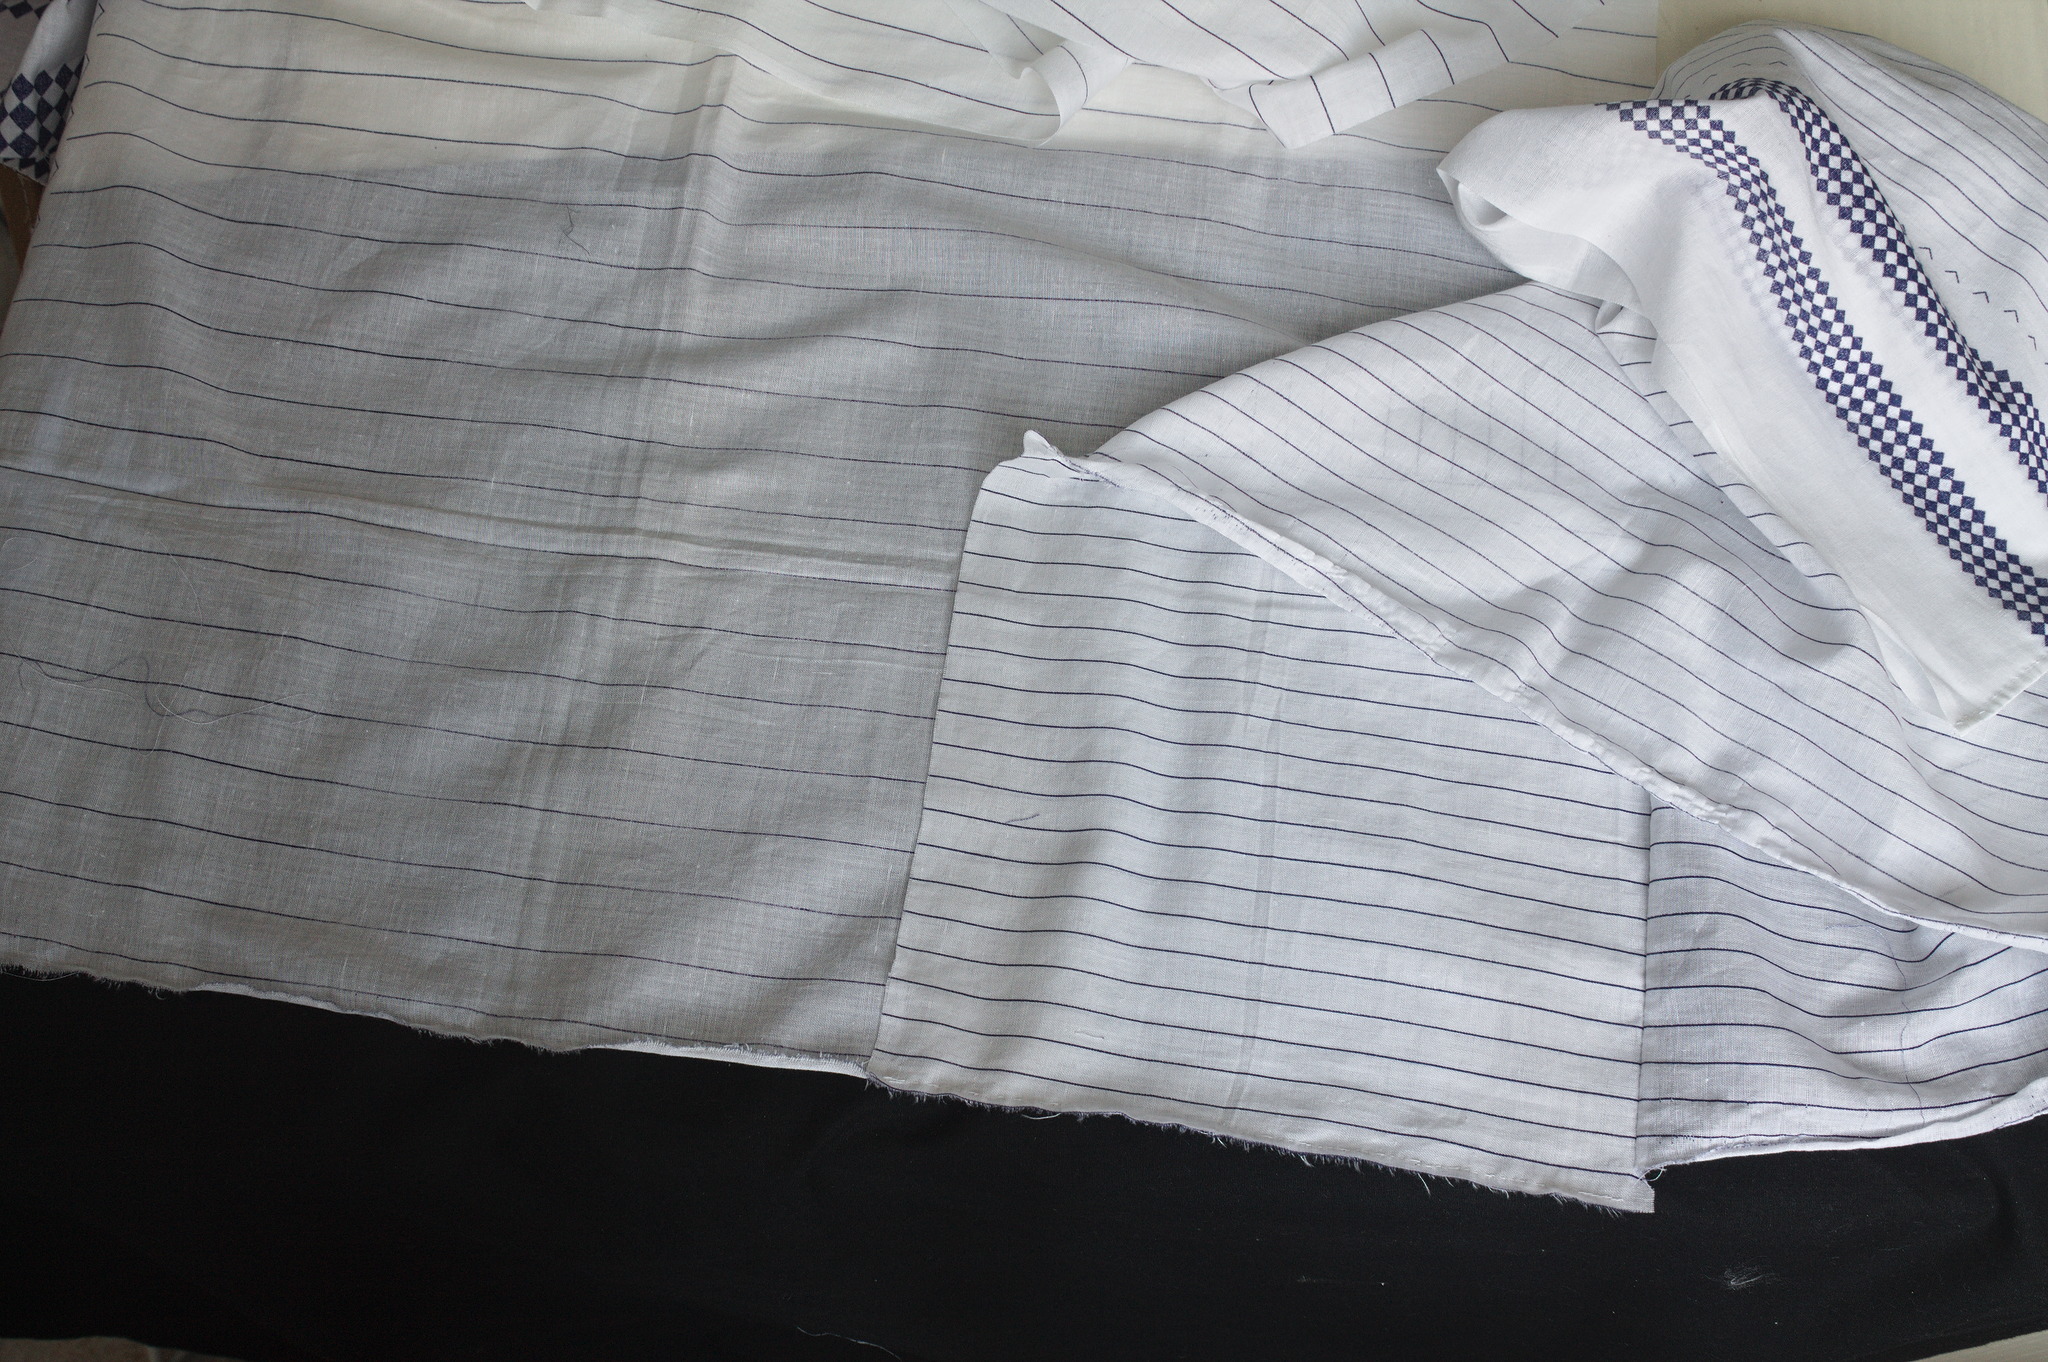
Cut all pieces taking care to follow the straight grain: depending on the fabric you may rip it or pull out a thread and follow that.
Sleeves
Wrong sides together, align one side of a gusset to the top of the sleeve so that the gusset extends by one seam allowance, sew with a bit less than half of the allowance.
Fold the gusset to that it makes a right triangle under the arm, put it on the other side of the sleeve, wrong sides together and sew with a bit less than half of the allowance starting from the gusset and continuing with the length of the sleeve.
Tip
if sewing by machine you will want to stop at the point of the gusset, and start again the sleeve seam (or the side seam below); you may also want to stop a bit before the actual gusset point, and then sew it close by hand, for the best accuracy.
Press, turn the sleeve inside out, with right sides together, and sew again the same seams with a bit more than the allowance, starting with one side of the gusset and continuing with the other side of the gusset and down the length of the sleeve to make a french seam.
Repeat for the other sleeve.
Tip
if the pattern can only be matched between the gusset and the sleeve on one side, make sure to do it symmetrically on the two sleeves, so that the matching part can go on the front.
Body
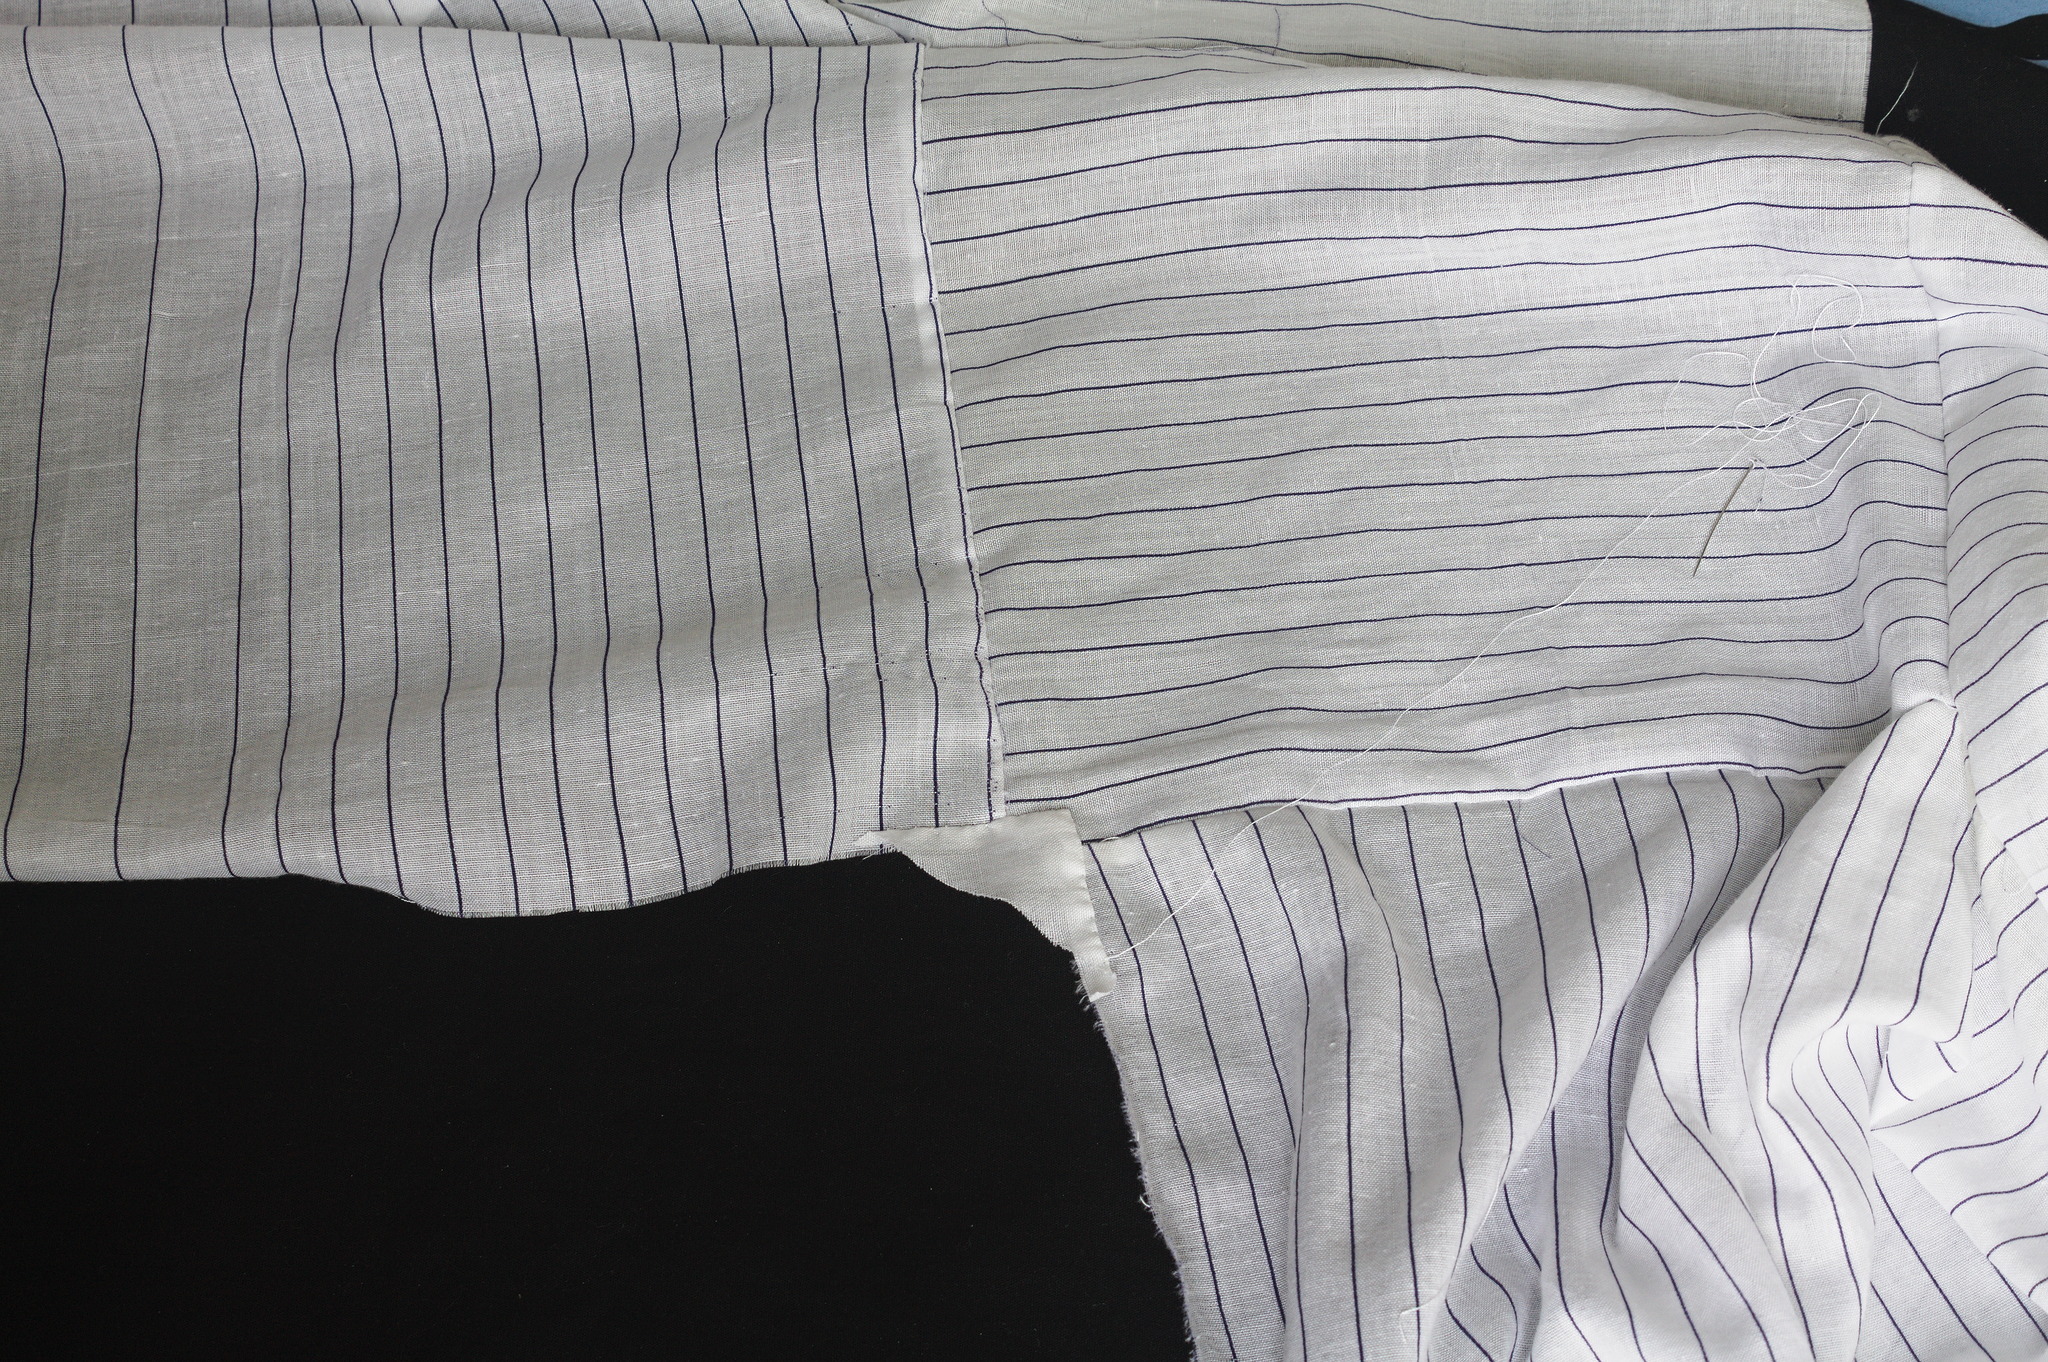
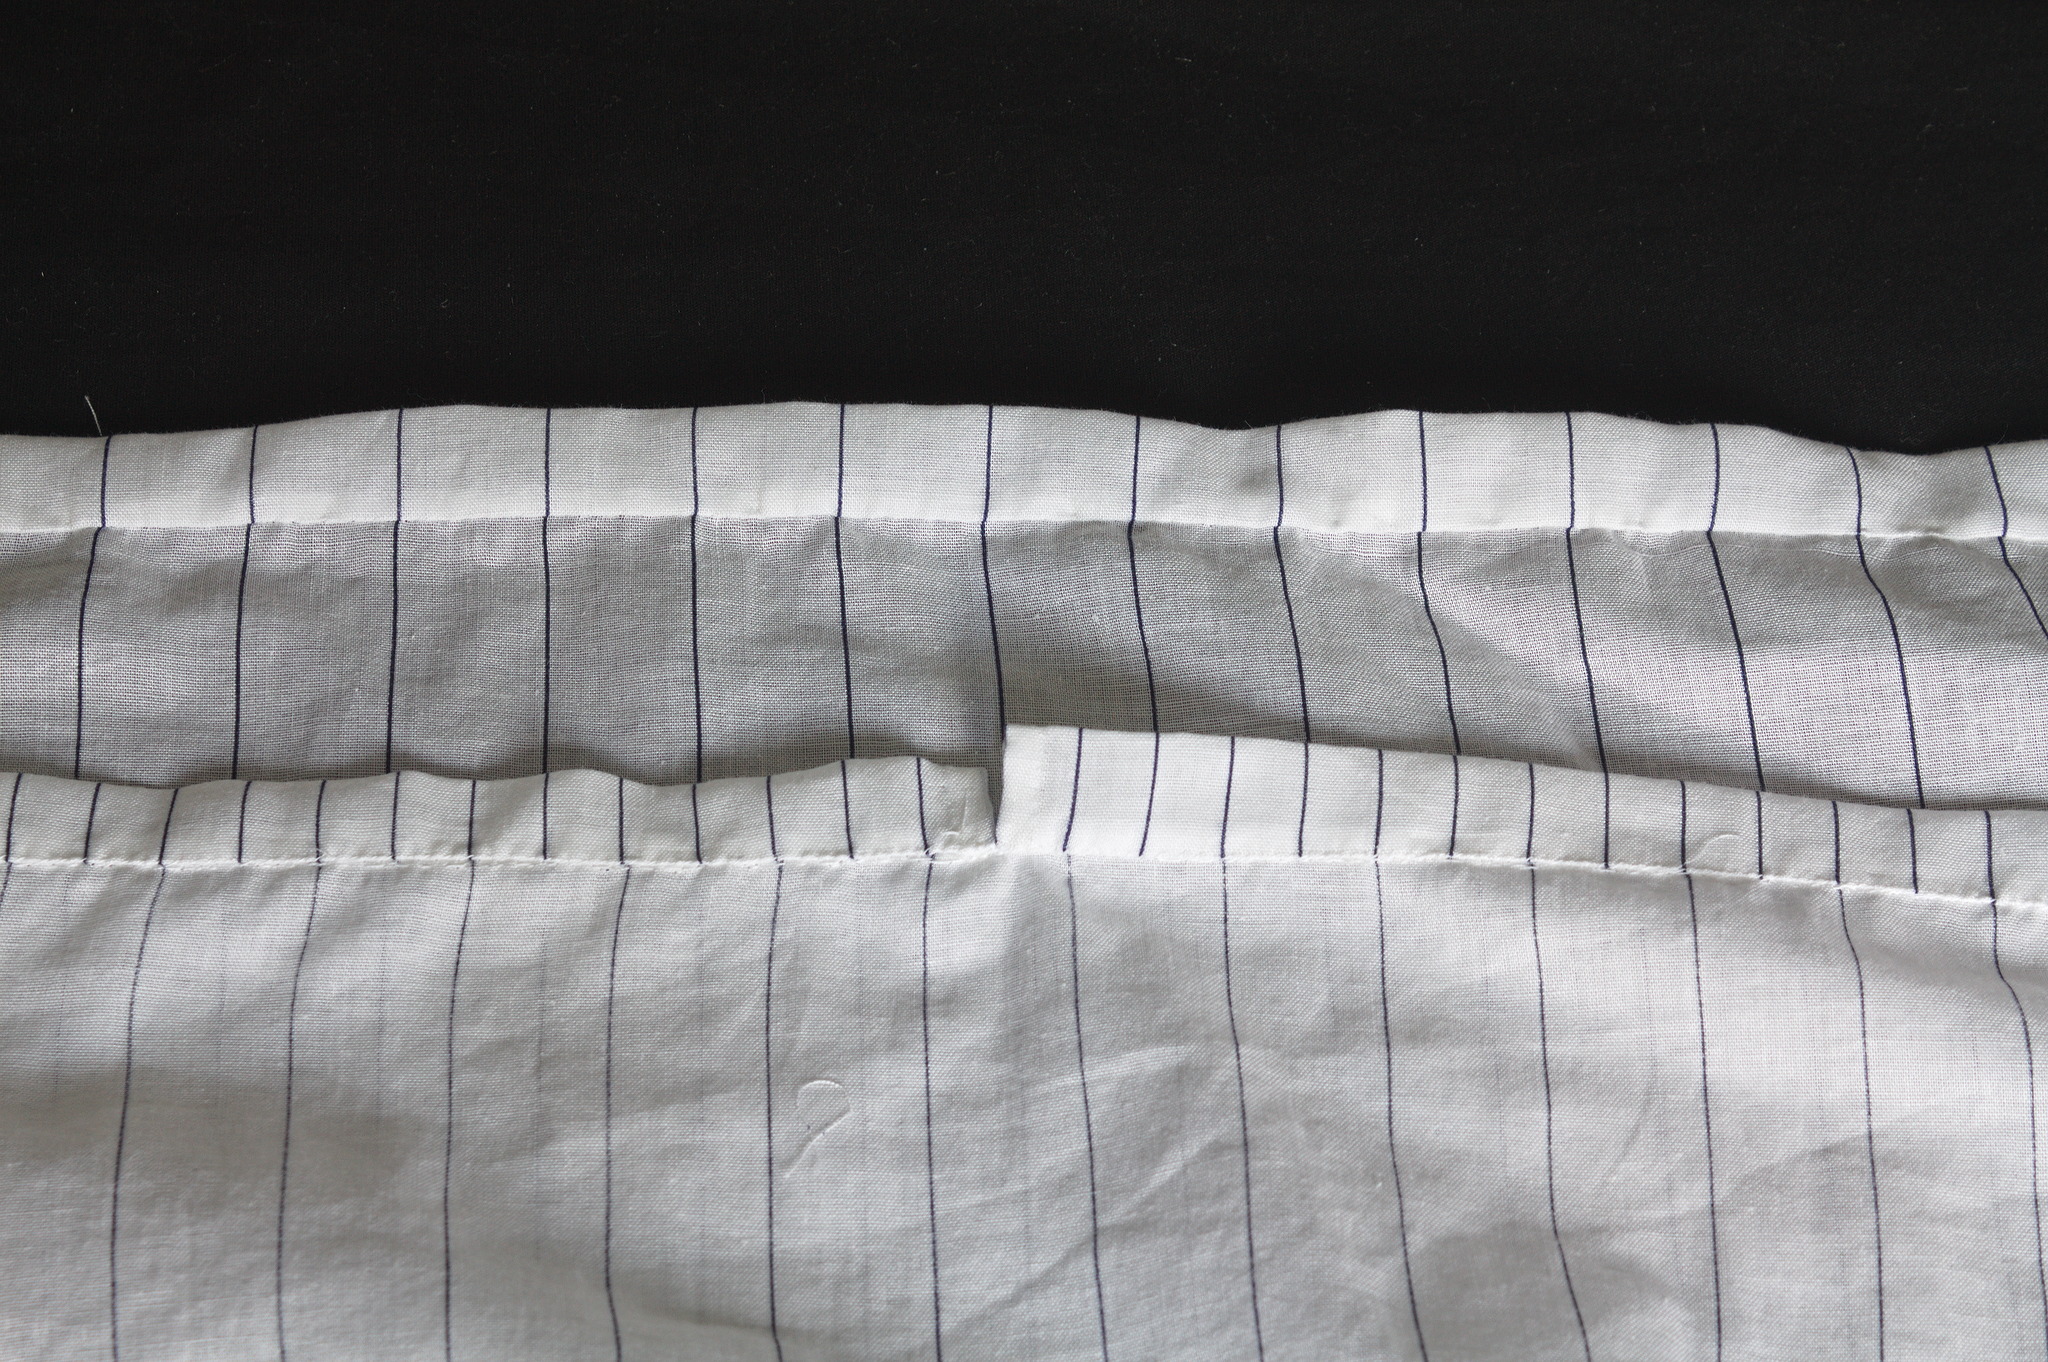
Put the gusset part of the sleeve on the front body piece, wrong sides together, so that the top of the body aligns with the seam between the gusset and the sleeve. Sew the gusset to the front with a bit less than the seam allowance.
Put the back body piece wrong sides together over the remaining gusset edge, again aligning the top of the body to the seam between gusset and sleeve, and sew with a bit less than the seam allowance starting from the gusset and then continuing sewing the back to the front down the side of the body.
Press, turn inside out, with right sides together, sew again the same seams, first the gusset to the front, then the gusset to the back, continuing down with the side seam, to make a french seam.
Repeat with the other side.
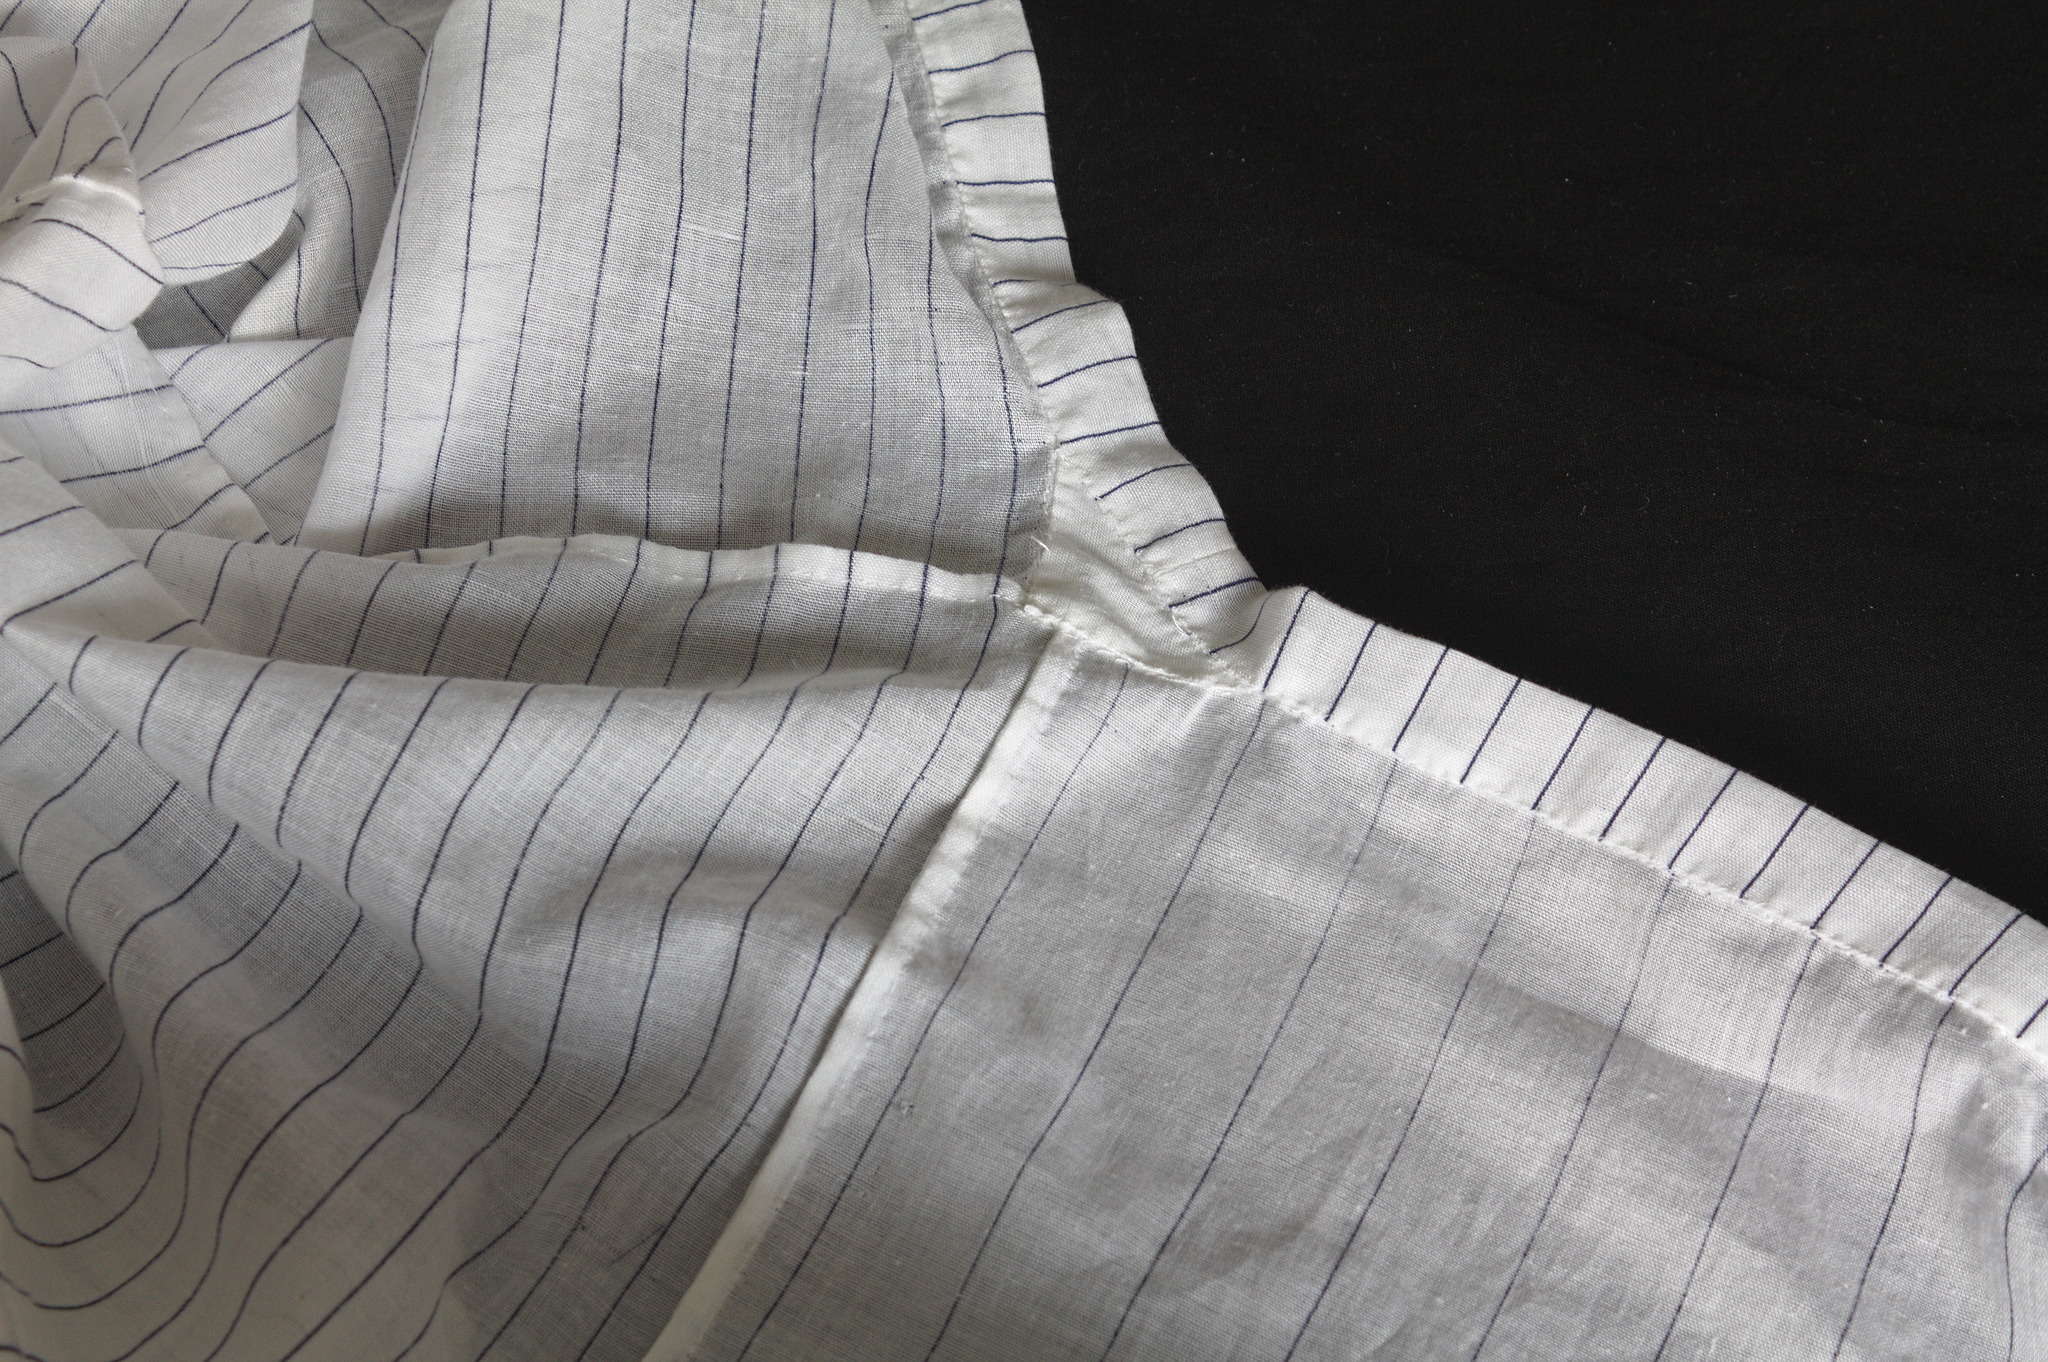
Fold down and press the straight grain edges of a neck gusset, put it over a corner between the body and the sleeve, wrong side of the gusset on the right side of the garment; topstitch or applique stitch it down.
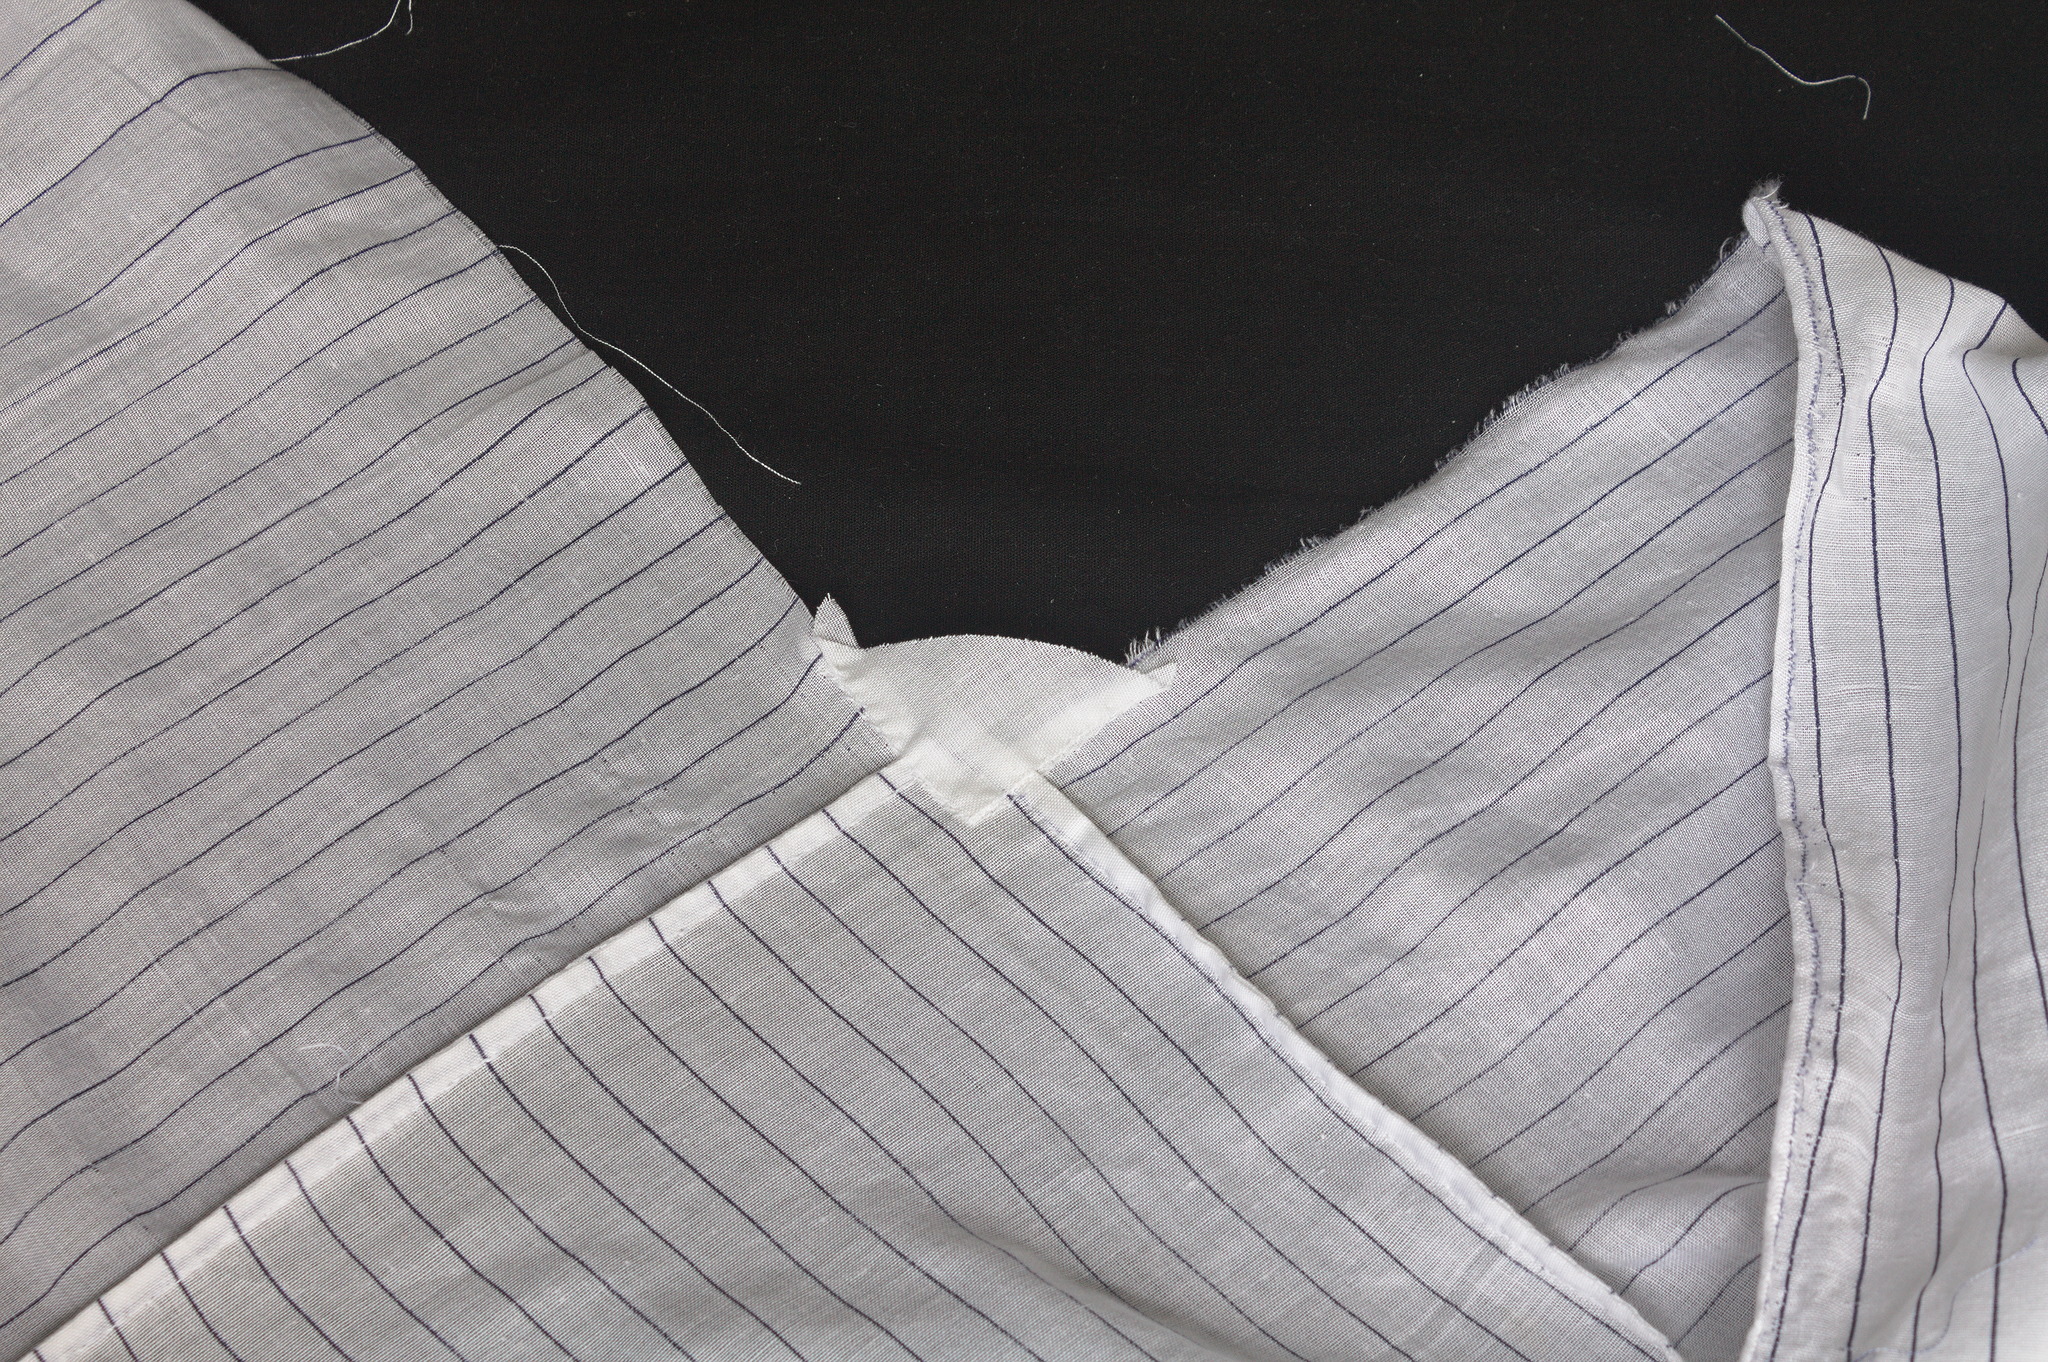
Fold down and press the straight grain edges of another neck gusset, put it wrong sides together over the gusset you’ve just applied and hemstitch it down, covering the right edges of the garment. Leave the bias edge free, as it will be covered by the casing.
Repeat with the four other gussets.
Casing
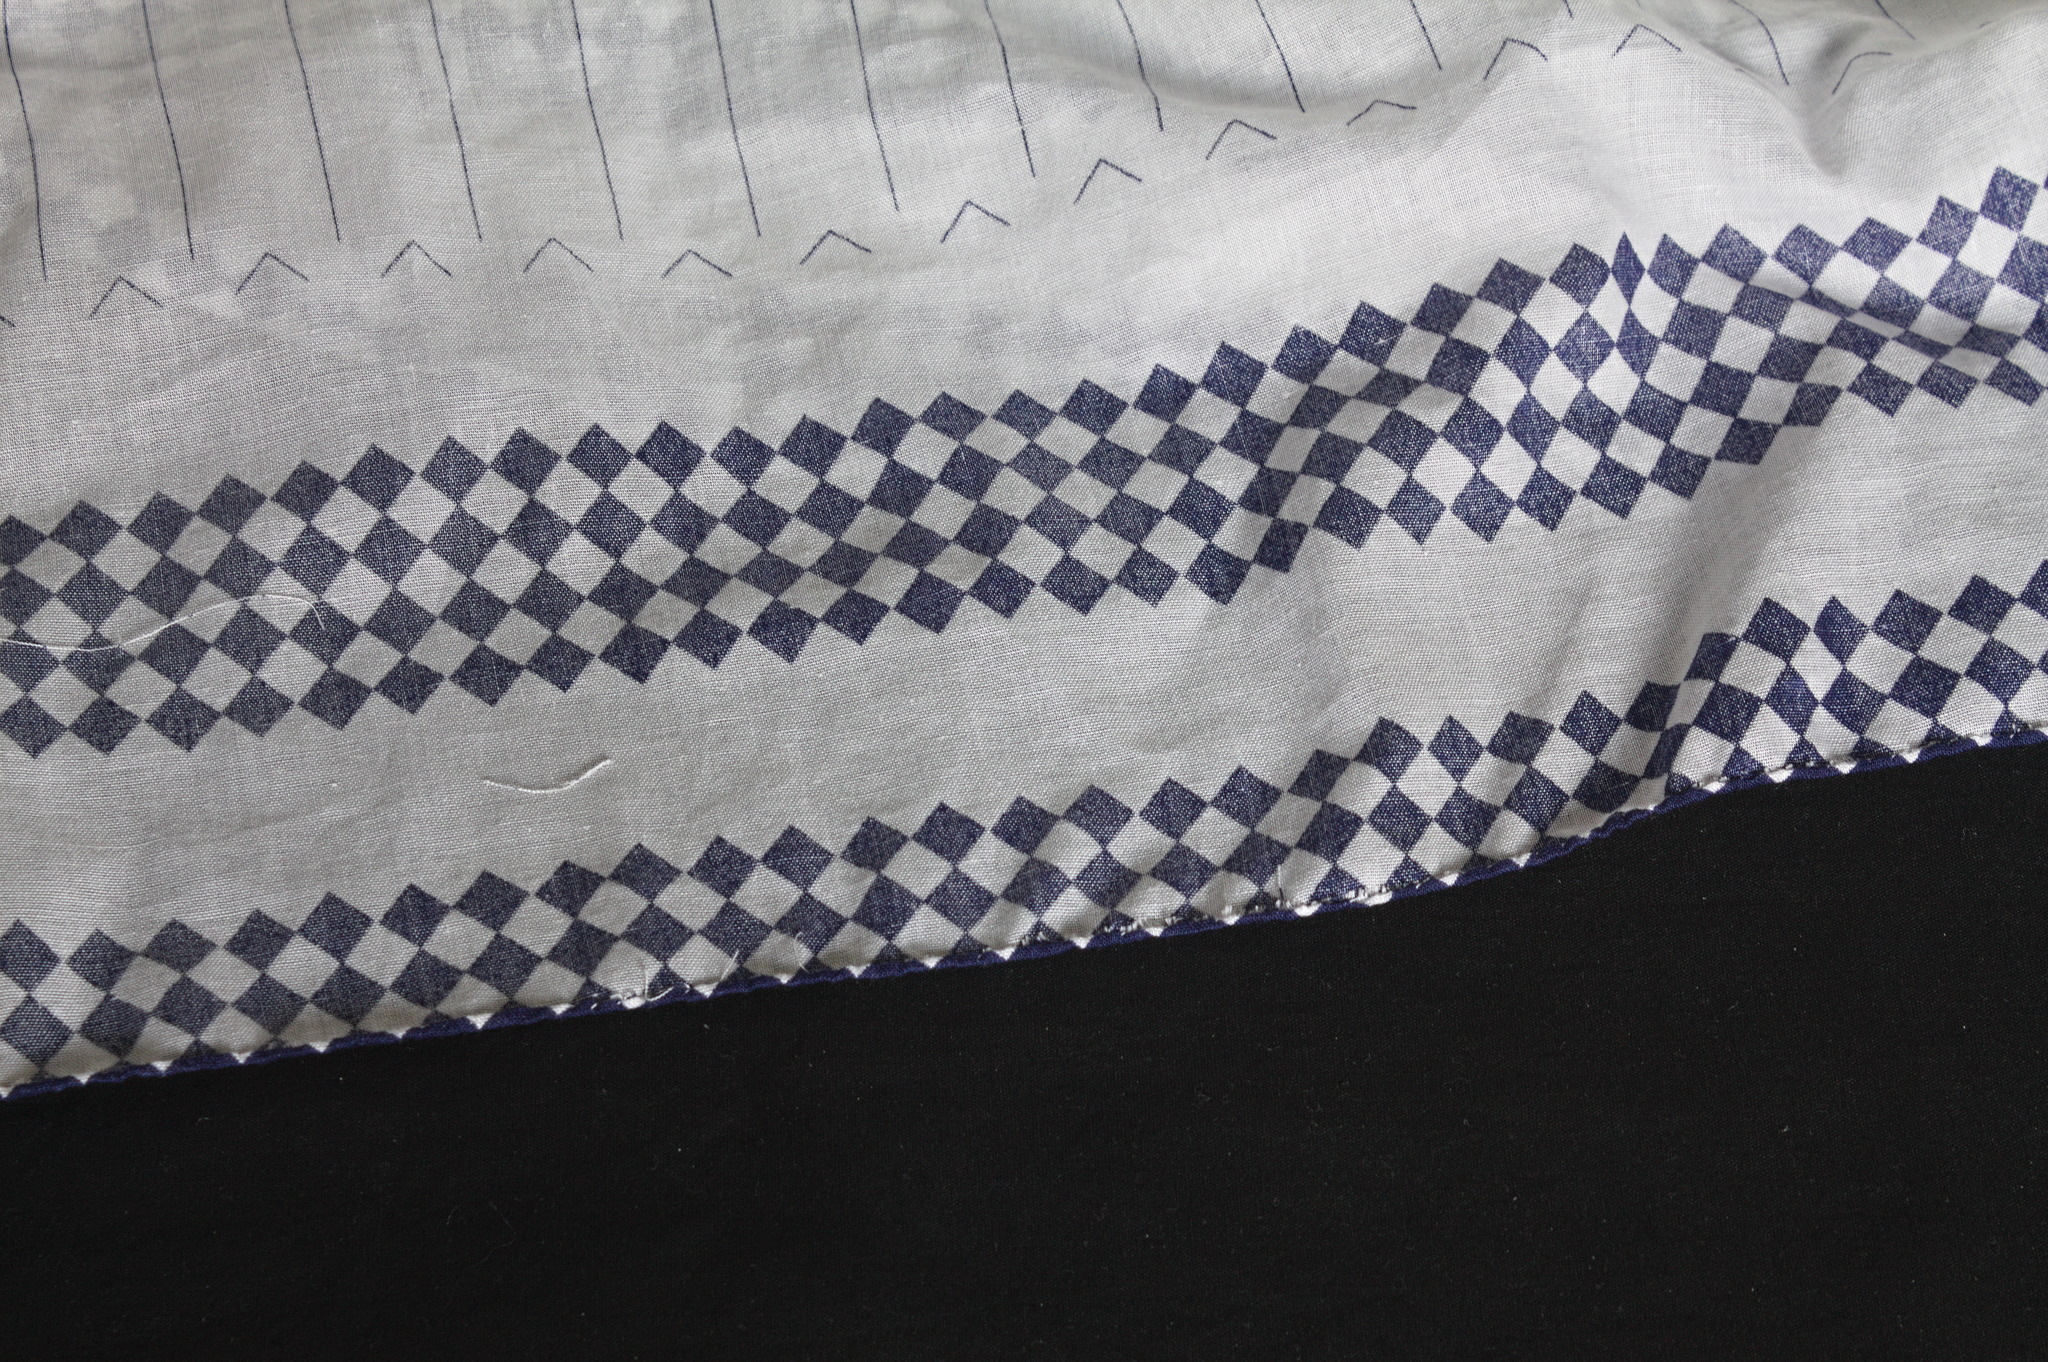
Sew the stripes for the casing together into a long strip.
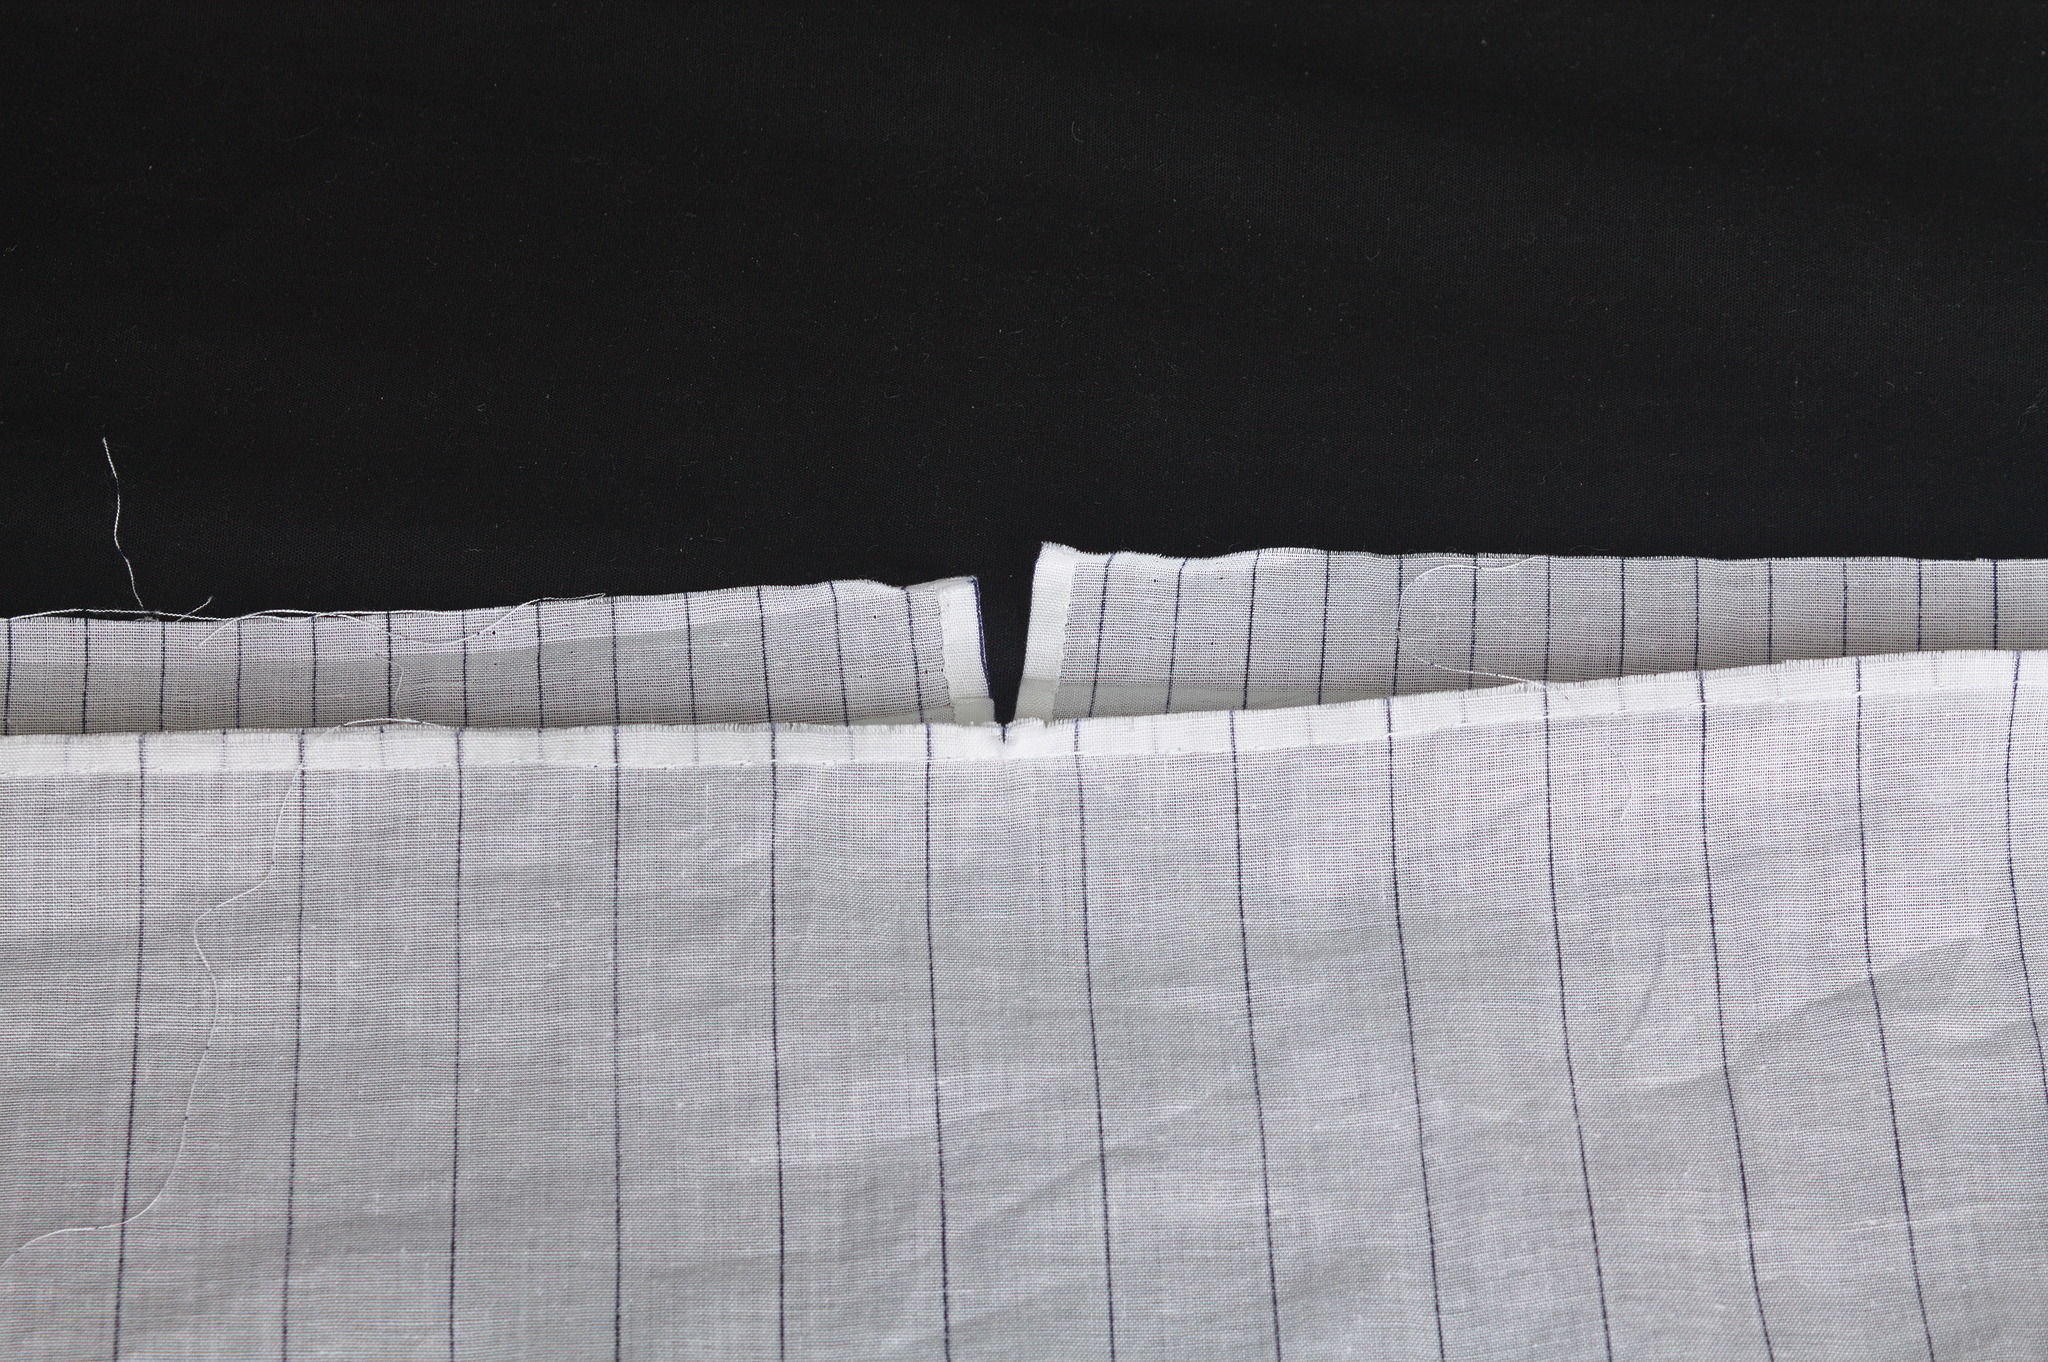
Hem one edge of the casing and put it right sides together on the top edge, starting from the center front; sew all around until you almost reach the center front, cut and hem the other end and finish sewing.
Tip
if sewing by hand you can also start sewing the individual strips to the body, joining them as needed just before you reach the end of each piece. This can be useful if you need to match a pattern.
The casing over the front and back
The casing over the neck gussets and sleeves
Press the casing up, fold it in half towards the back, press the raw edge up and hemstitch it to the back, covering all raw edges.
Finishing
Fold the bottom of the front and back twice towards the wrong side to make a narrow hem, either topstitch by machine or hemstitch by hand, or make a rolled hem by hand.
Use the same technique to make a hem on the sleeves.
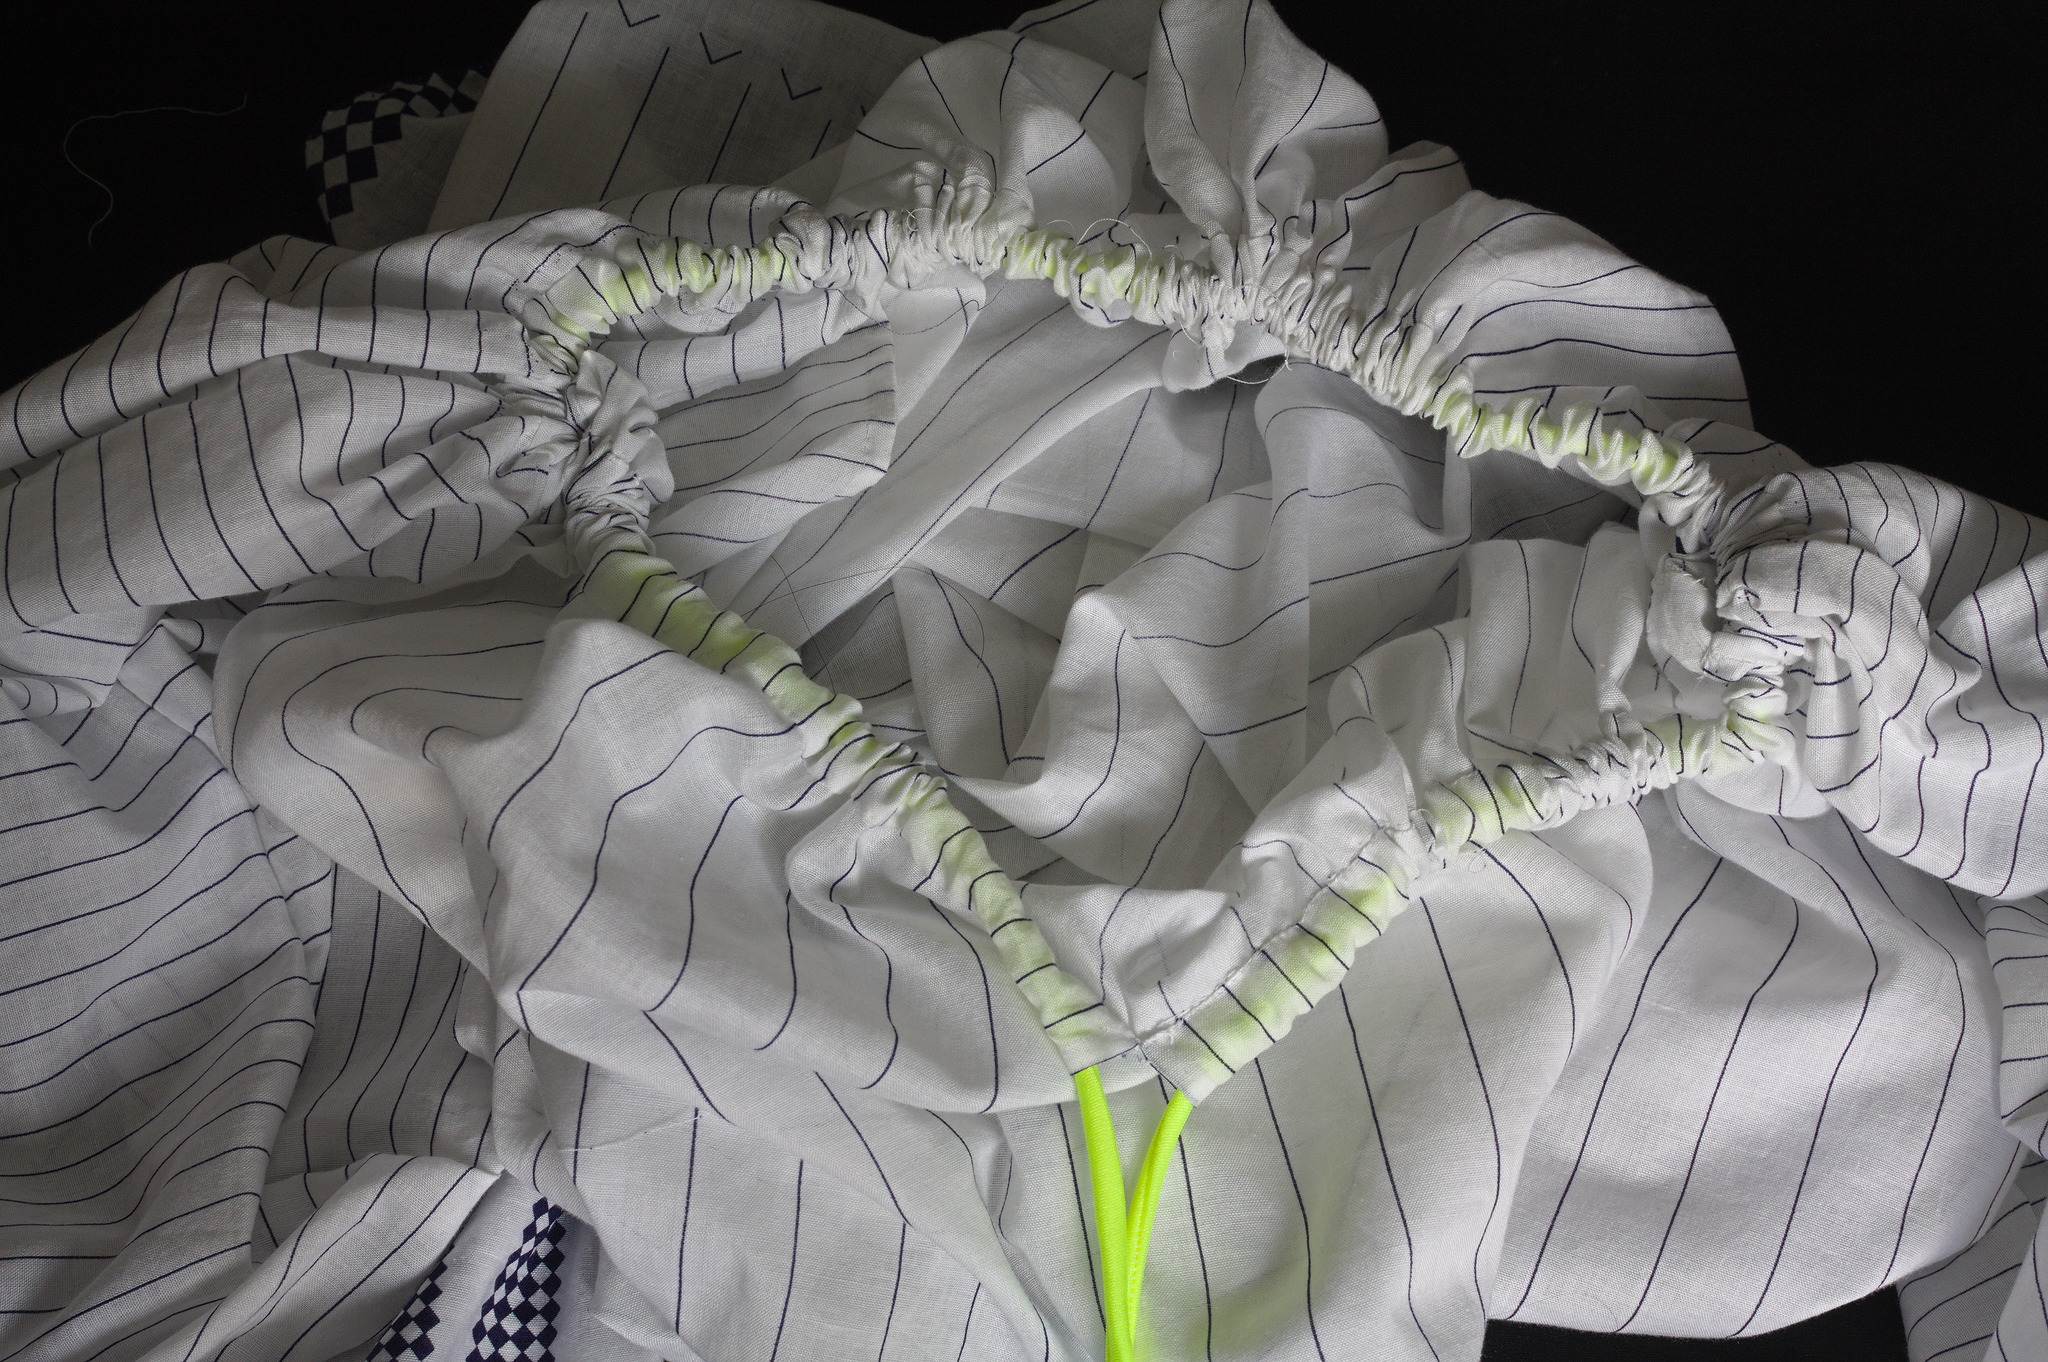
Cut a piece of elastic as long as you want the (widest) neckline to be, plus 40 cm; thread it through the casing, gathering the neckline, and close it with a knot in the front.
Variants
Gathered cuffs
To make gathered cuffs, fold back the edges of the sleeves by 1 cm twice towards the wrong side; hemstitch down to make a casing leaving 1.5 cm not sewn.
Cut enough elastic to go easily around the wrist plus allowance, thread it into the casing, sew it into a loop and finally close the casing.
This works best with sleeves that have been made extra long.
Ruffle-look casing
To add a small ruffle to the neckline, cut the casing strips a bit higher, maybe 8-10 cm plus two sewing allowances.
Attach them to the top like in the instructions above, then sew a straight running stitch just above the raw edges and another one 1 cm above that, sew the casing edges together with an applique stitch outside the part between the wto straight seams, and insert the elastic between these two seams.
Gallery
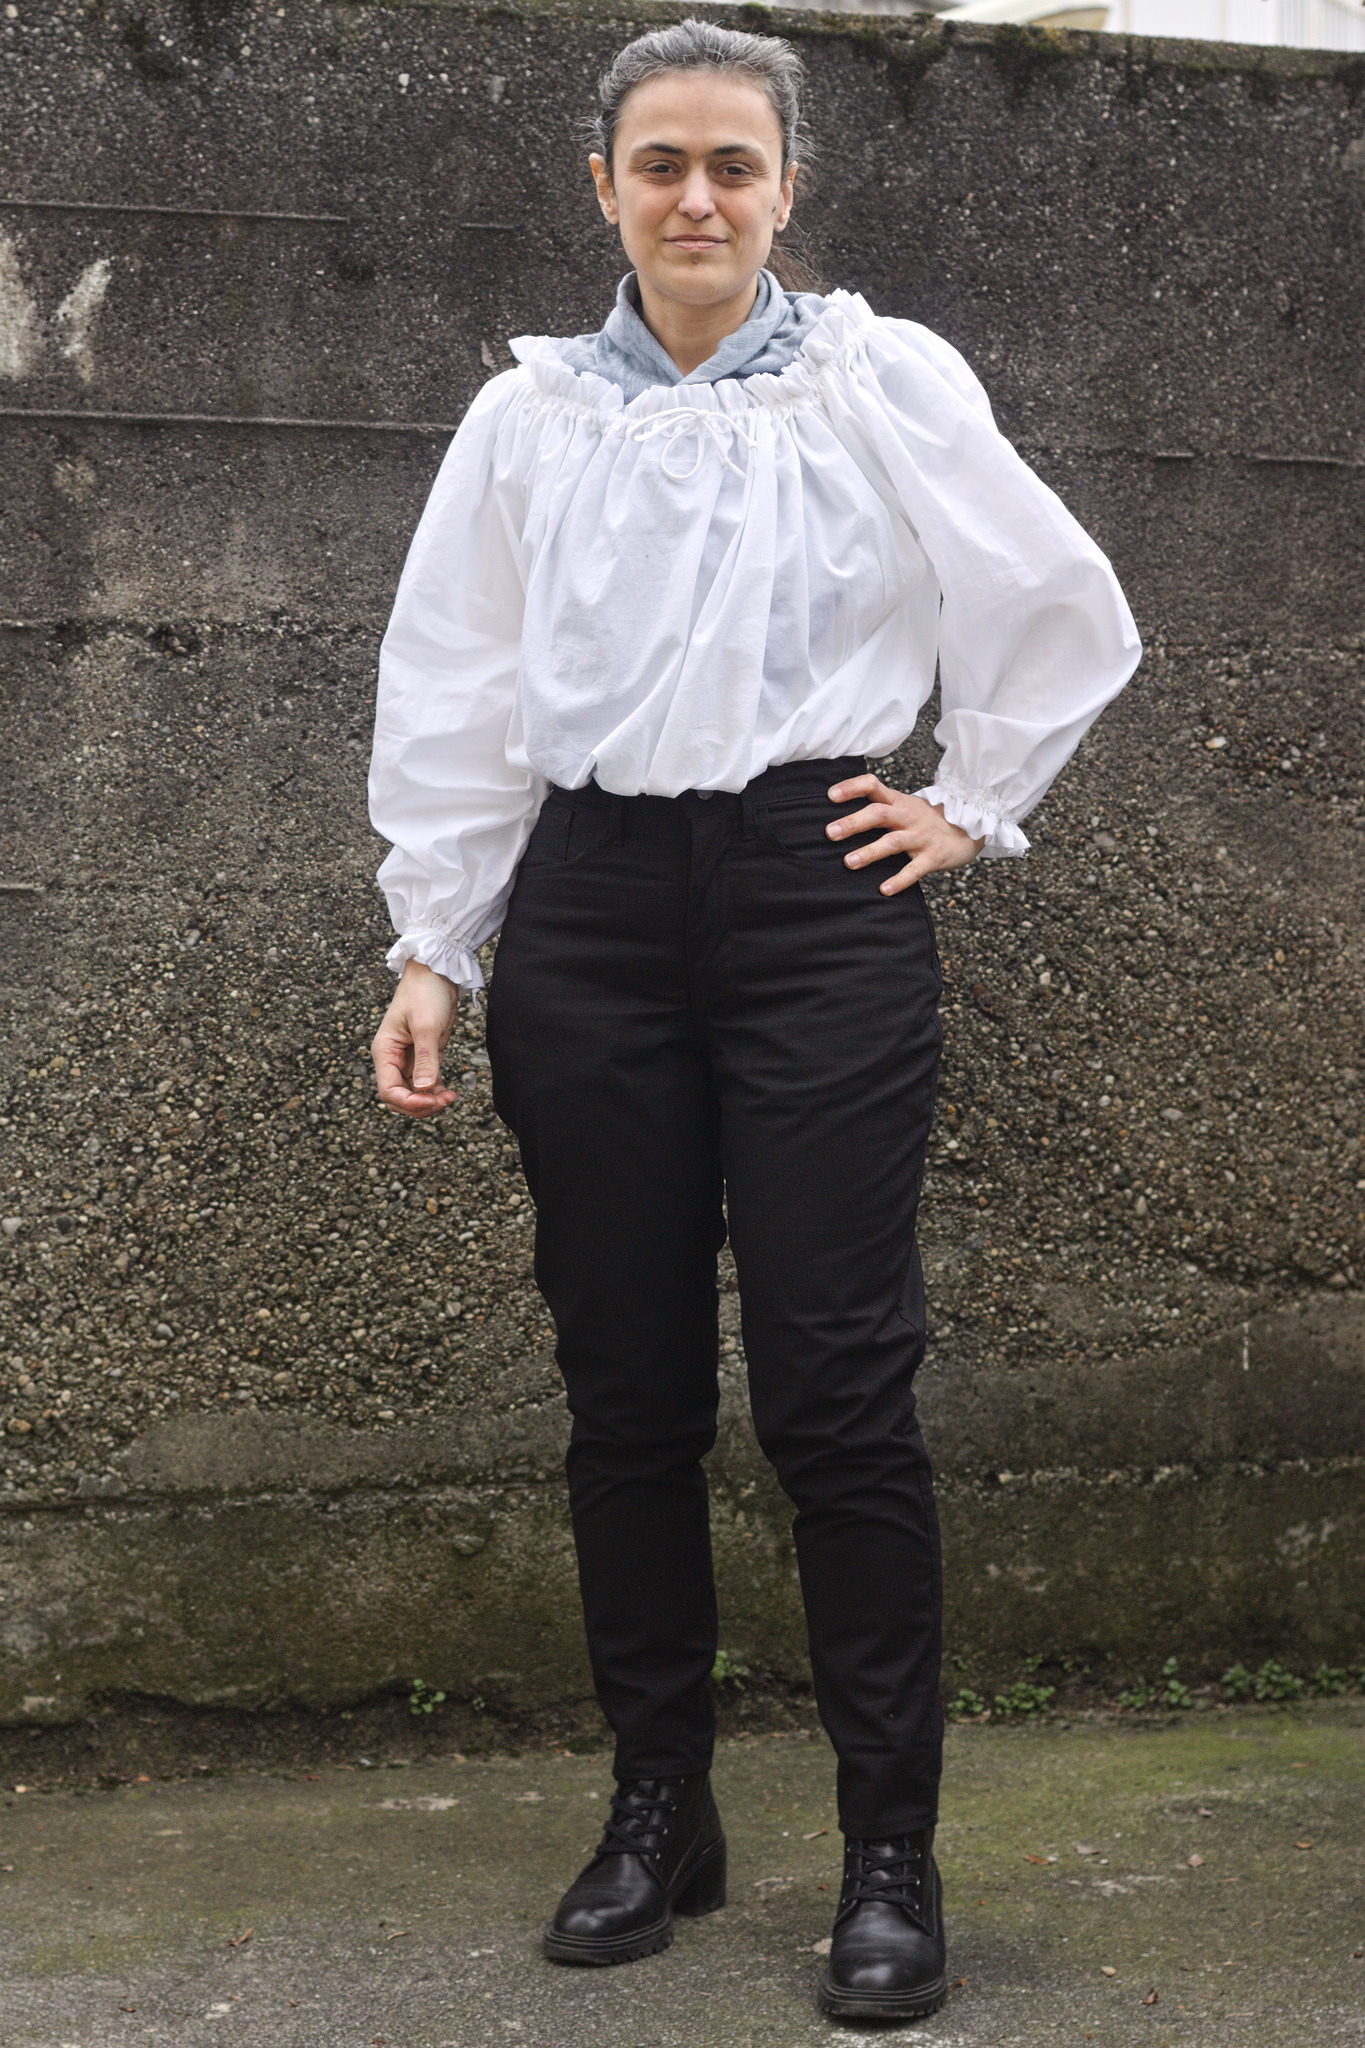
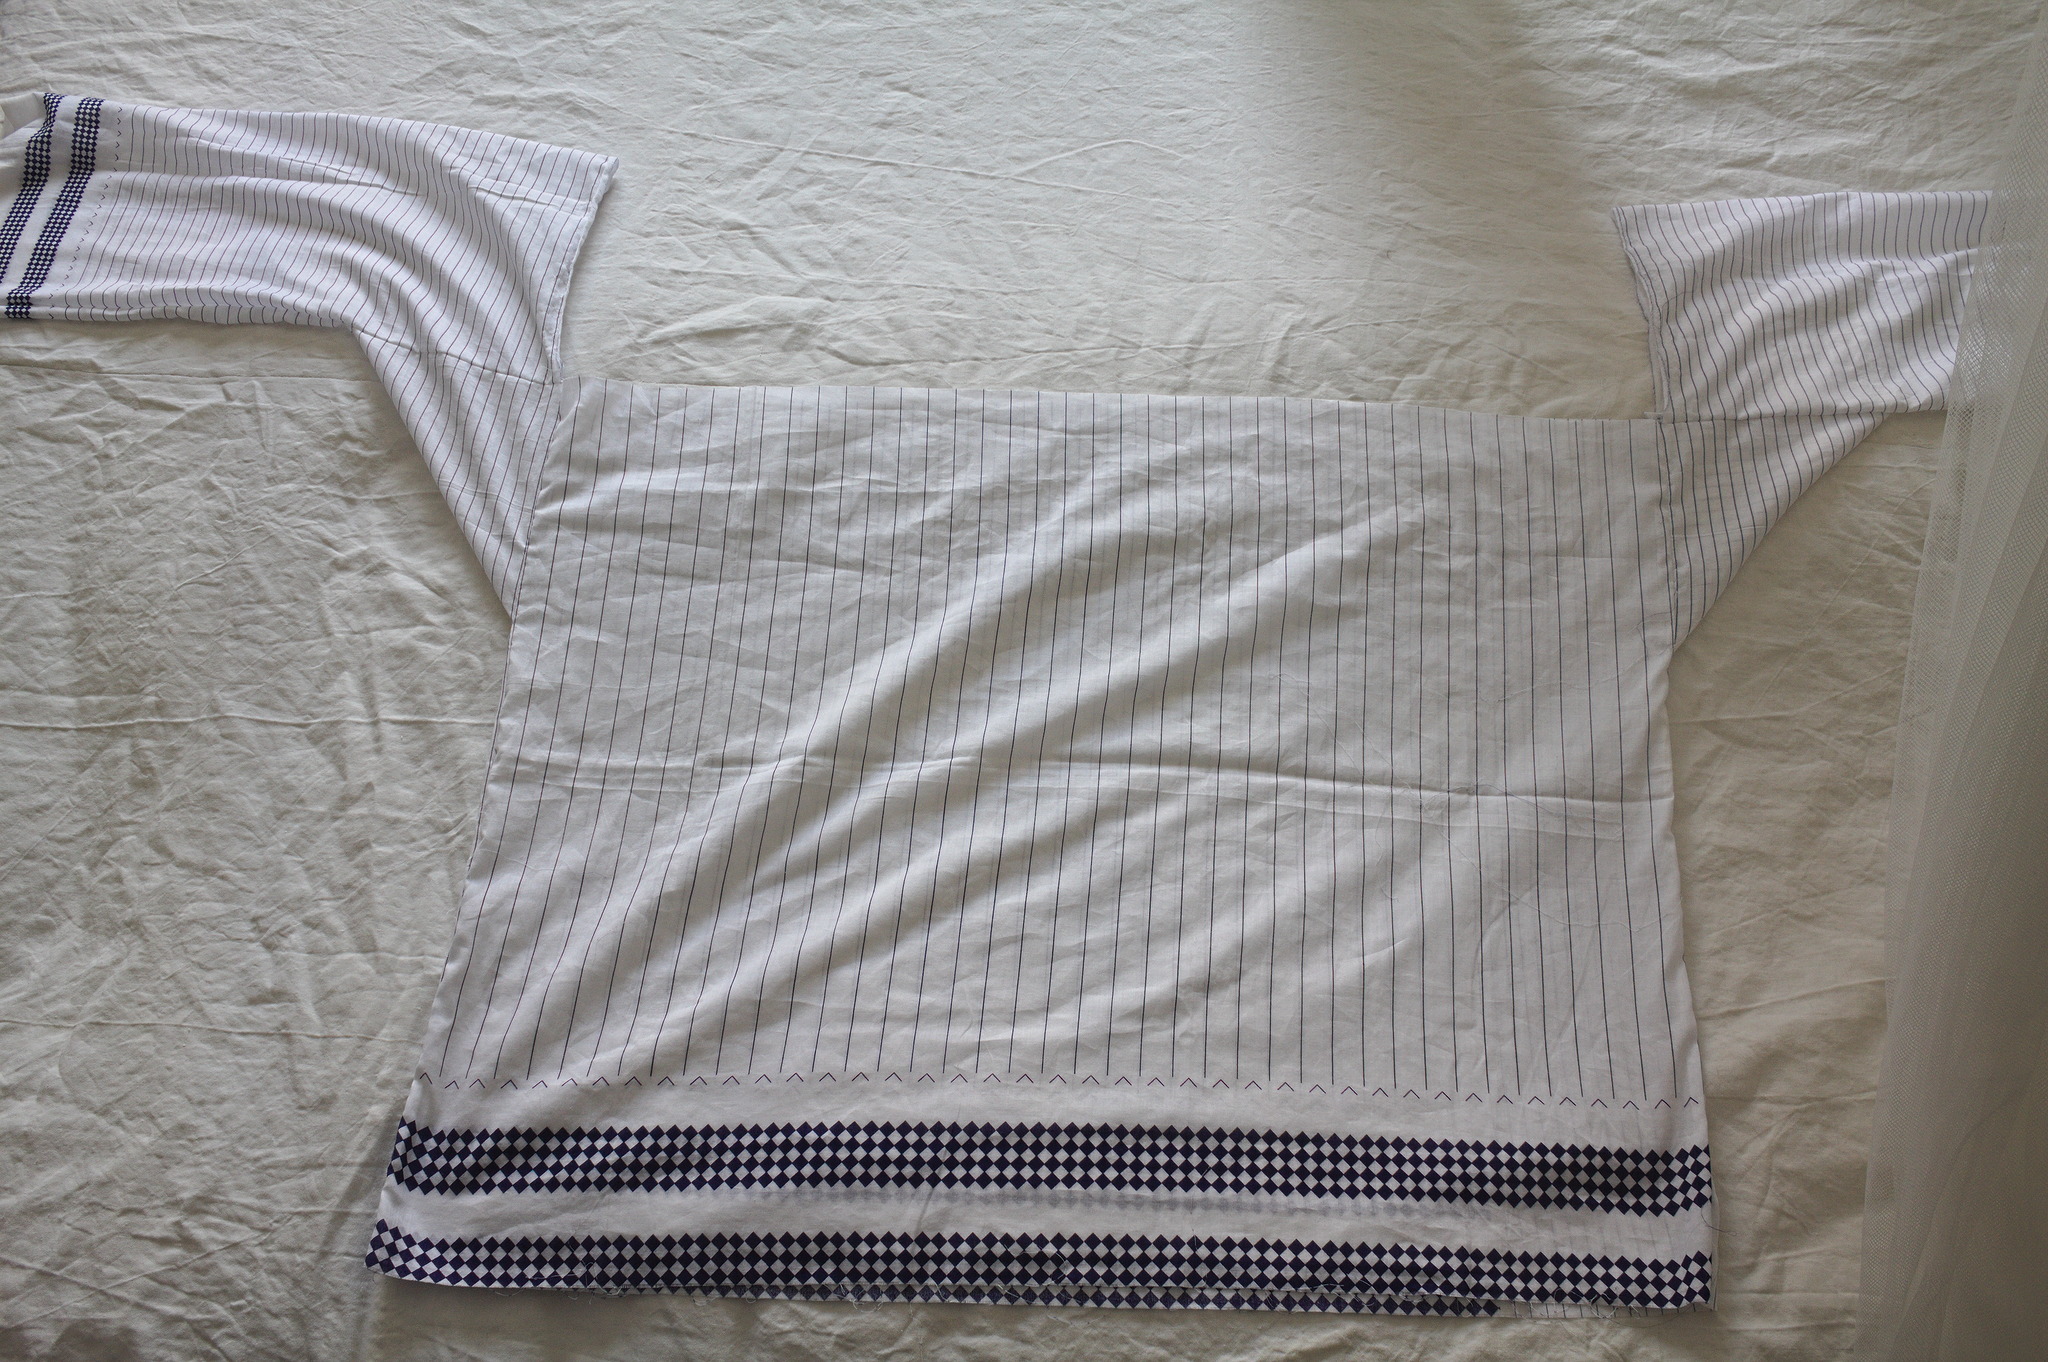
For reference, with a bust size of 84 cm, this top was made with fronts and backs 83 cm × 61.5 cm, sleeves 54 cm × 42 cm and 20 cm × 20 cm gussets.
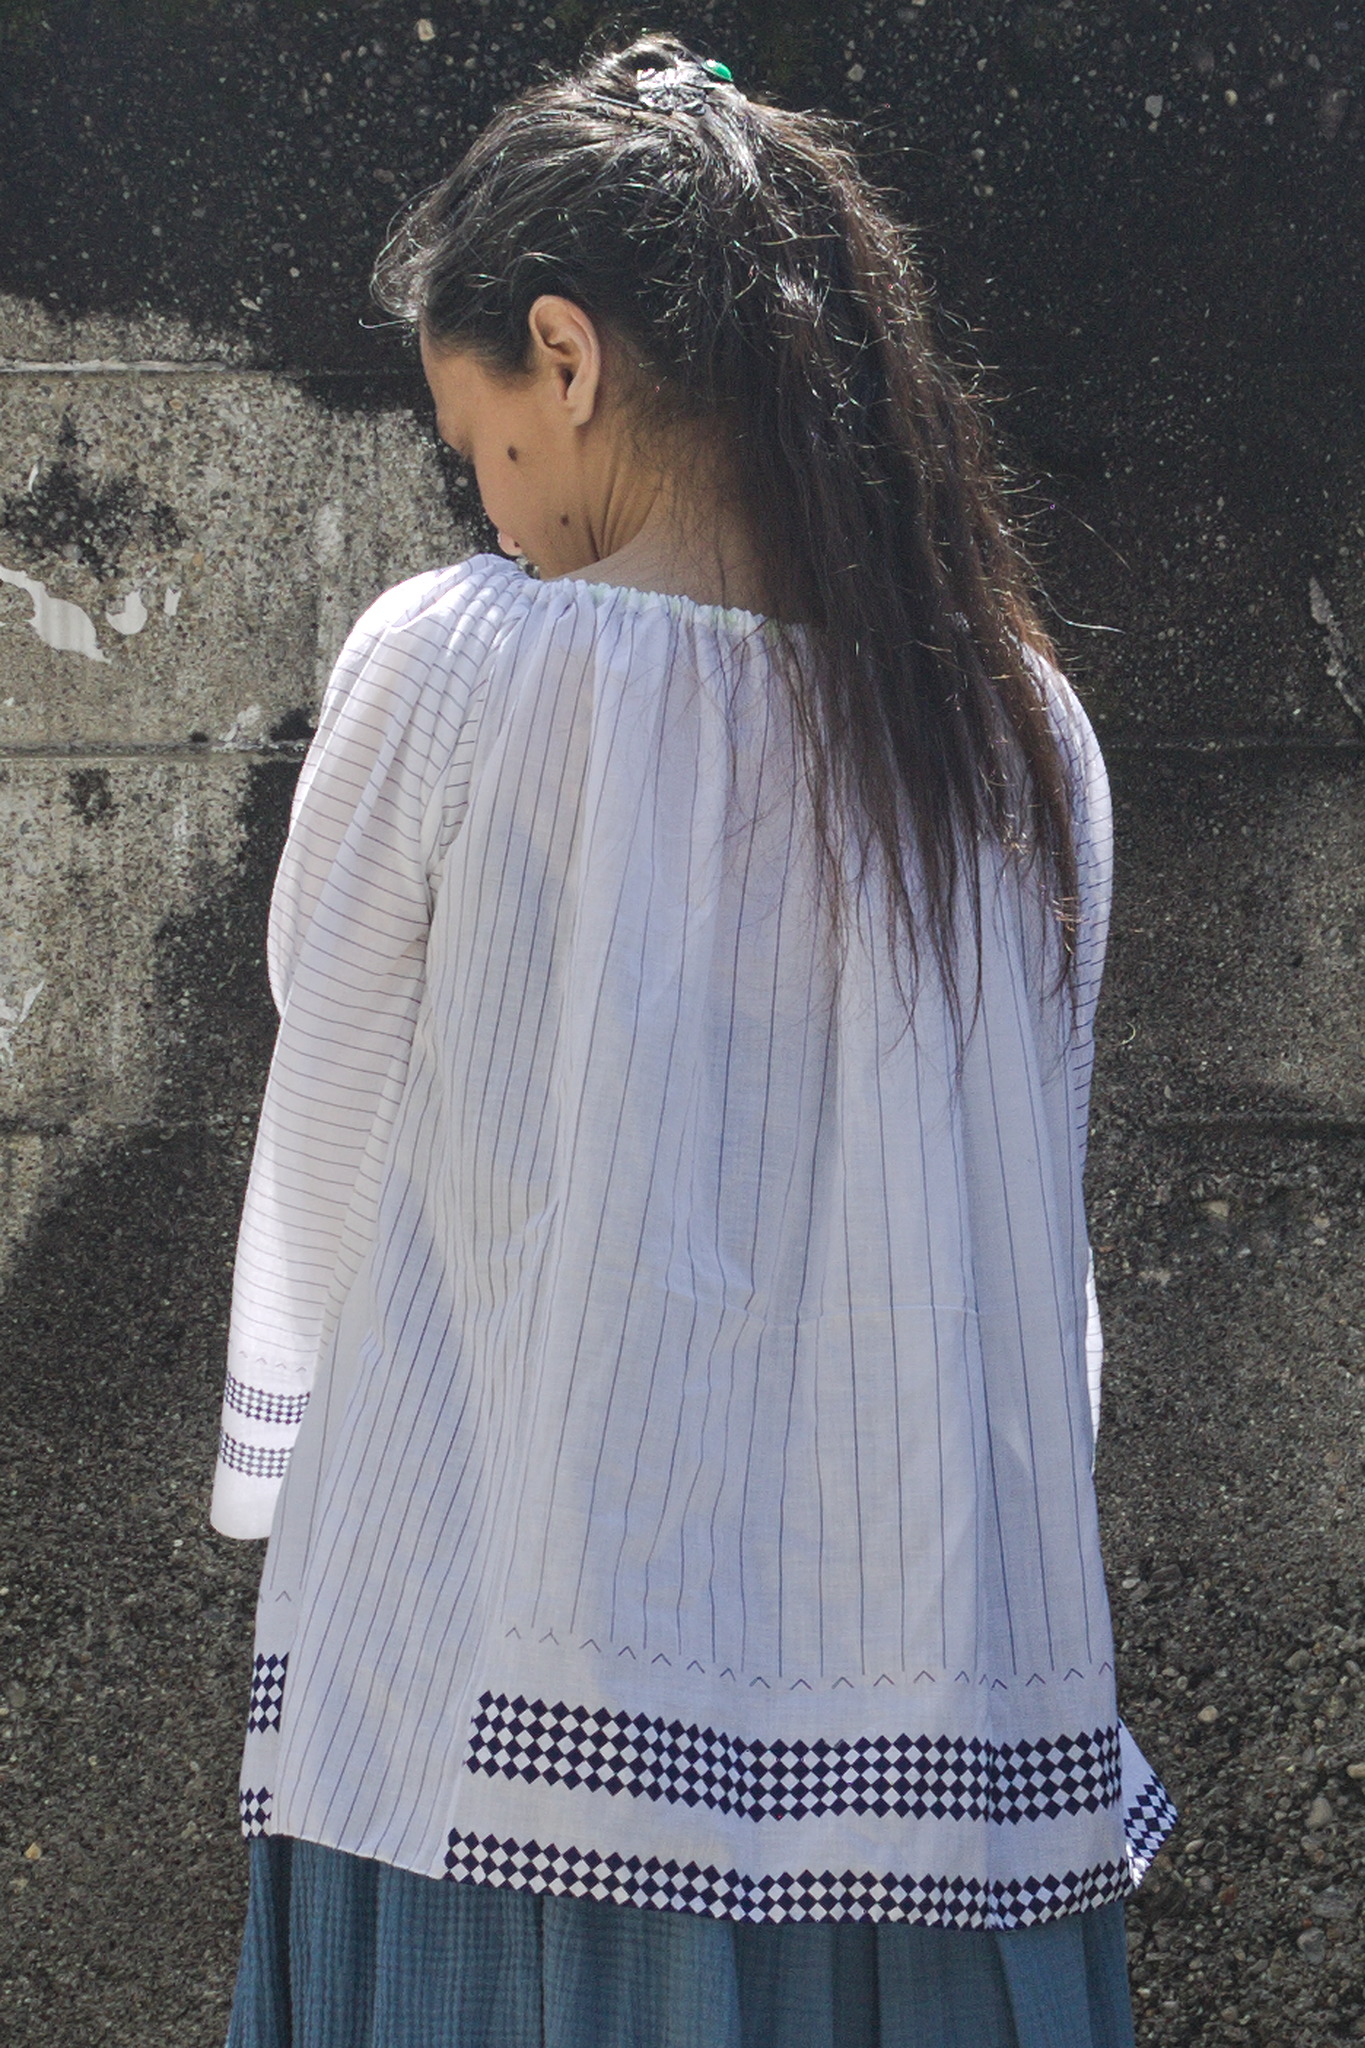
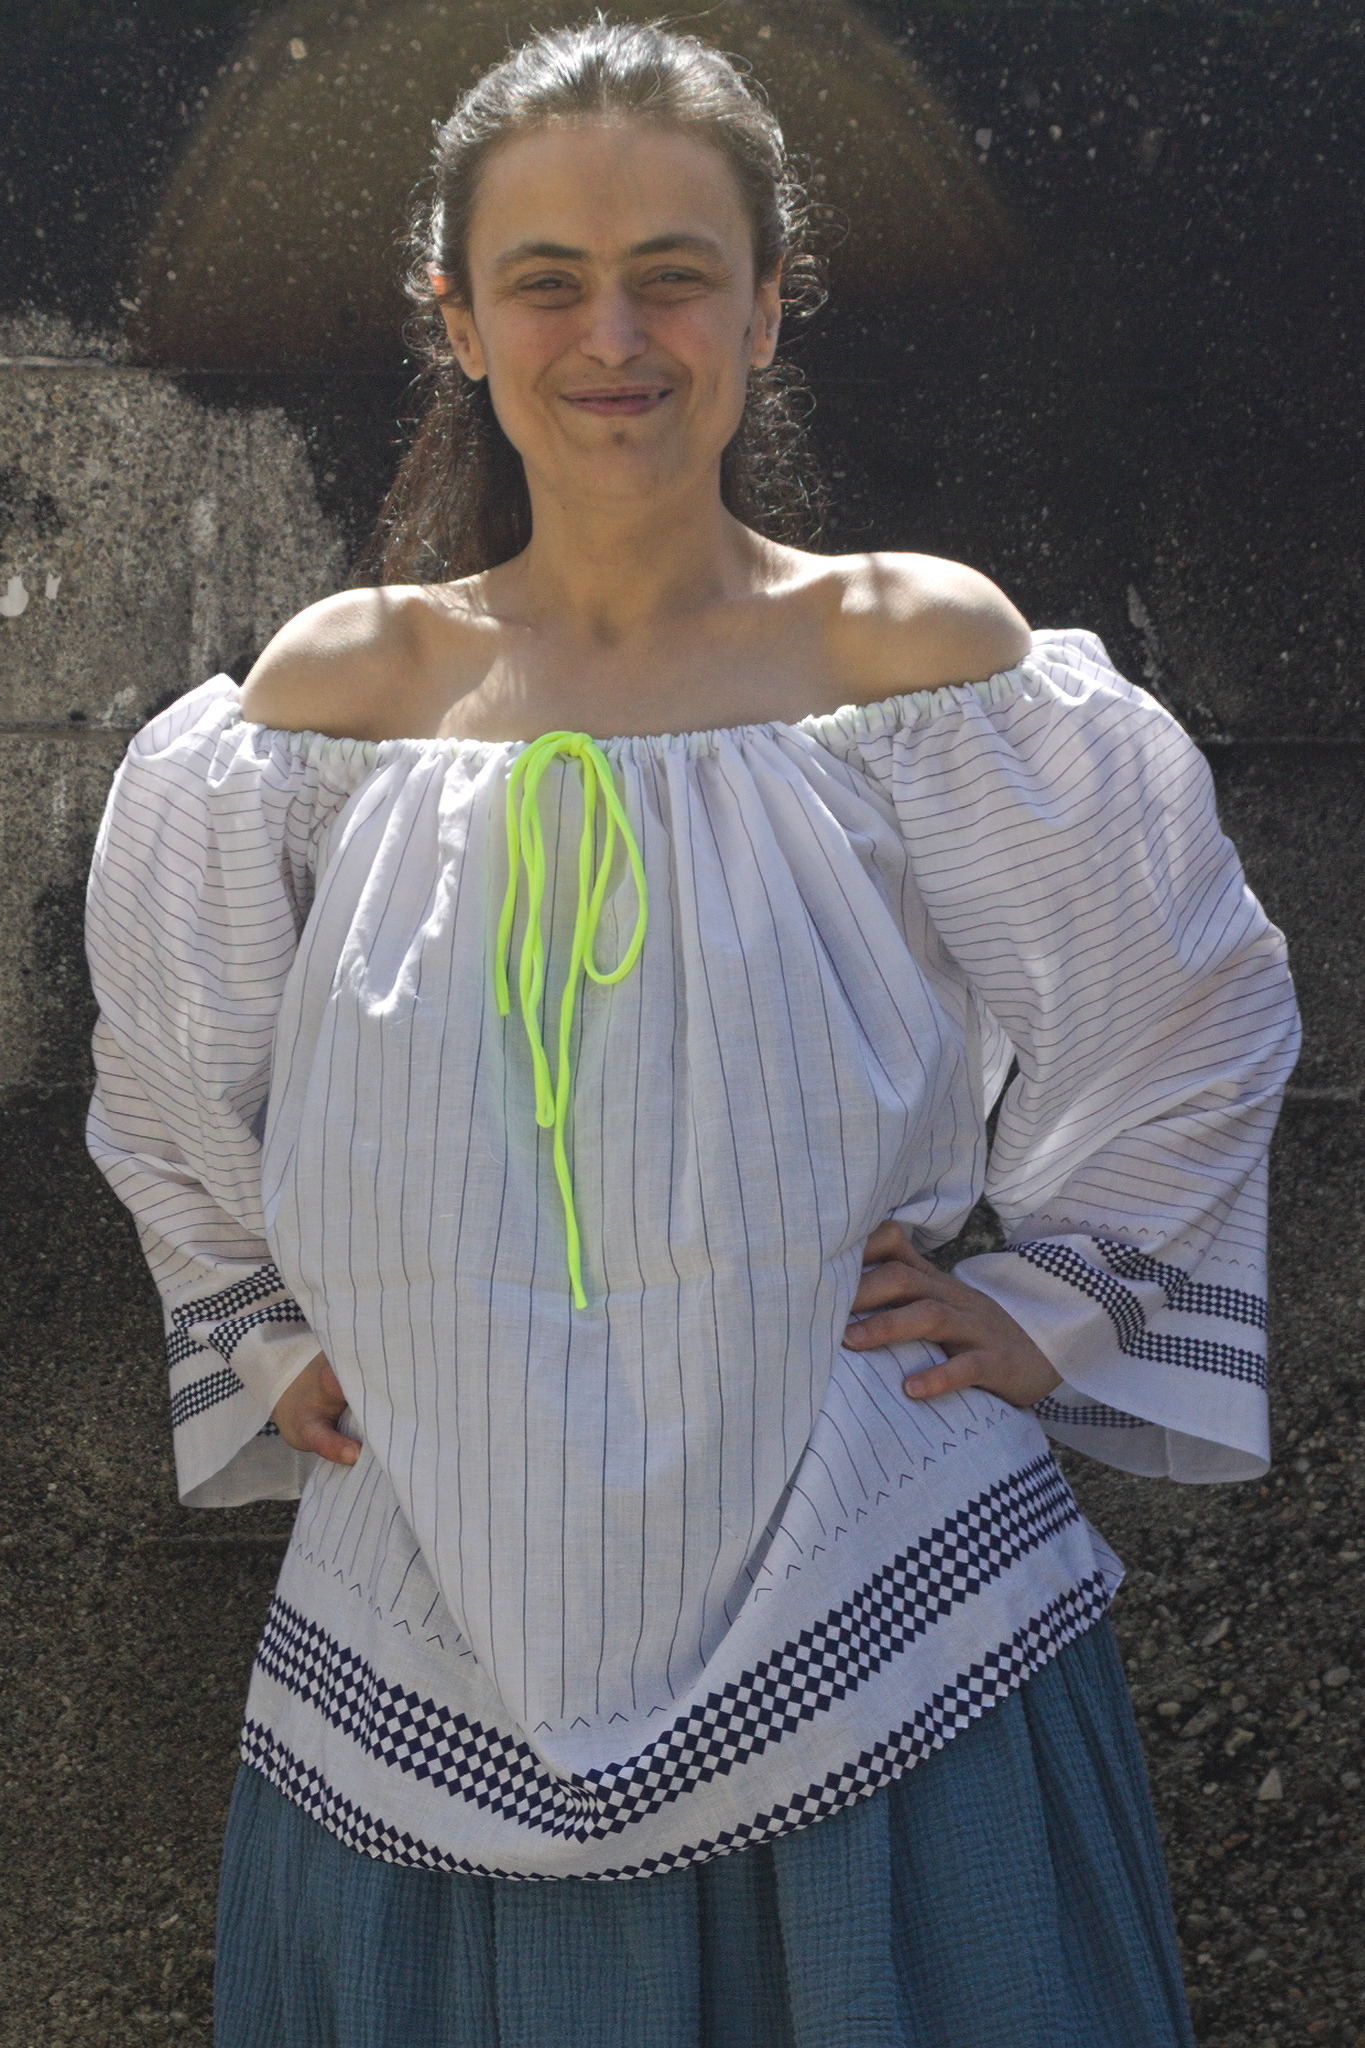
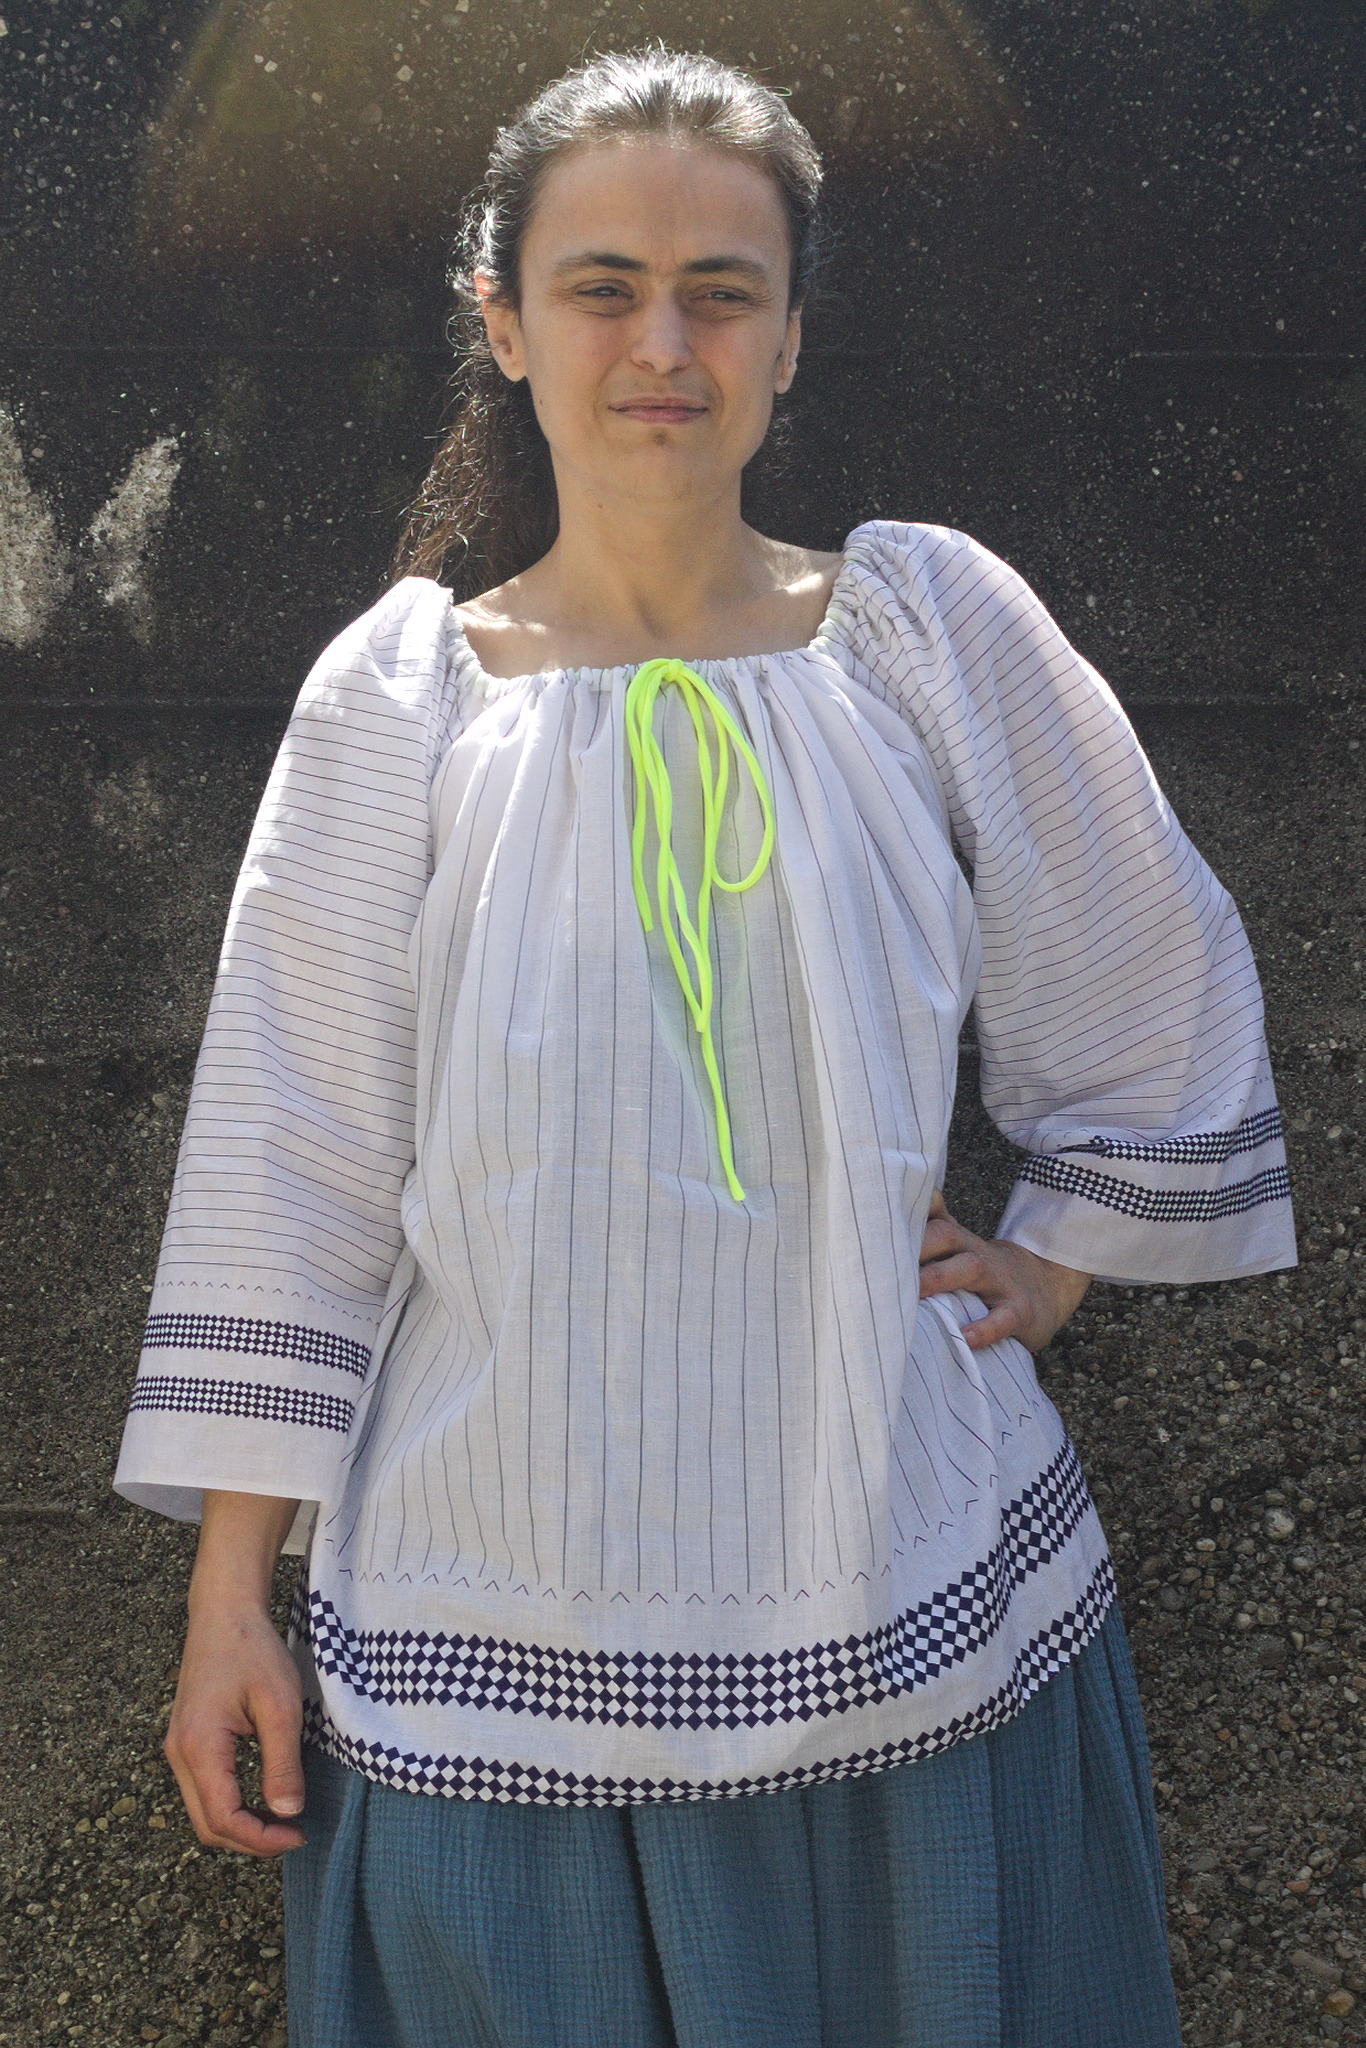
And this version, worn by the same person, was made with fronts and backs 86 cm × 72 cm, sleeves 60 cm × 57 cm and 30 cm × 30 cm gussets, plus 10 strips to finish the neck and cuffs.