Cartridge Pleated Skirt
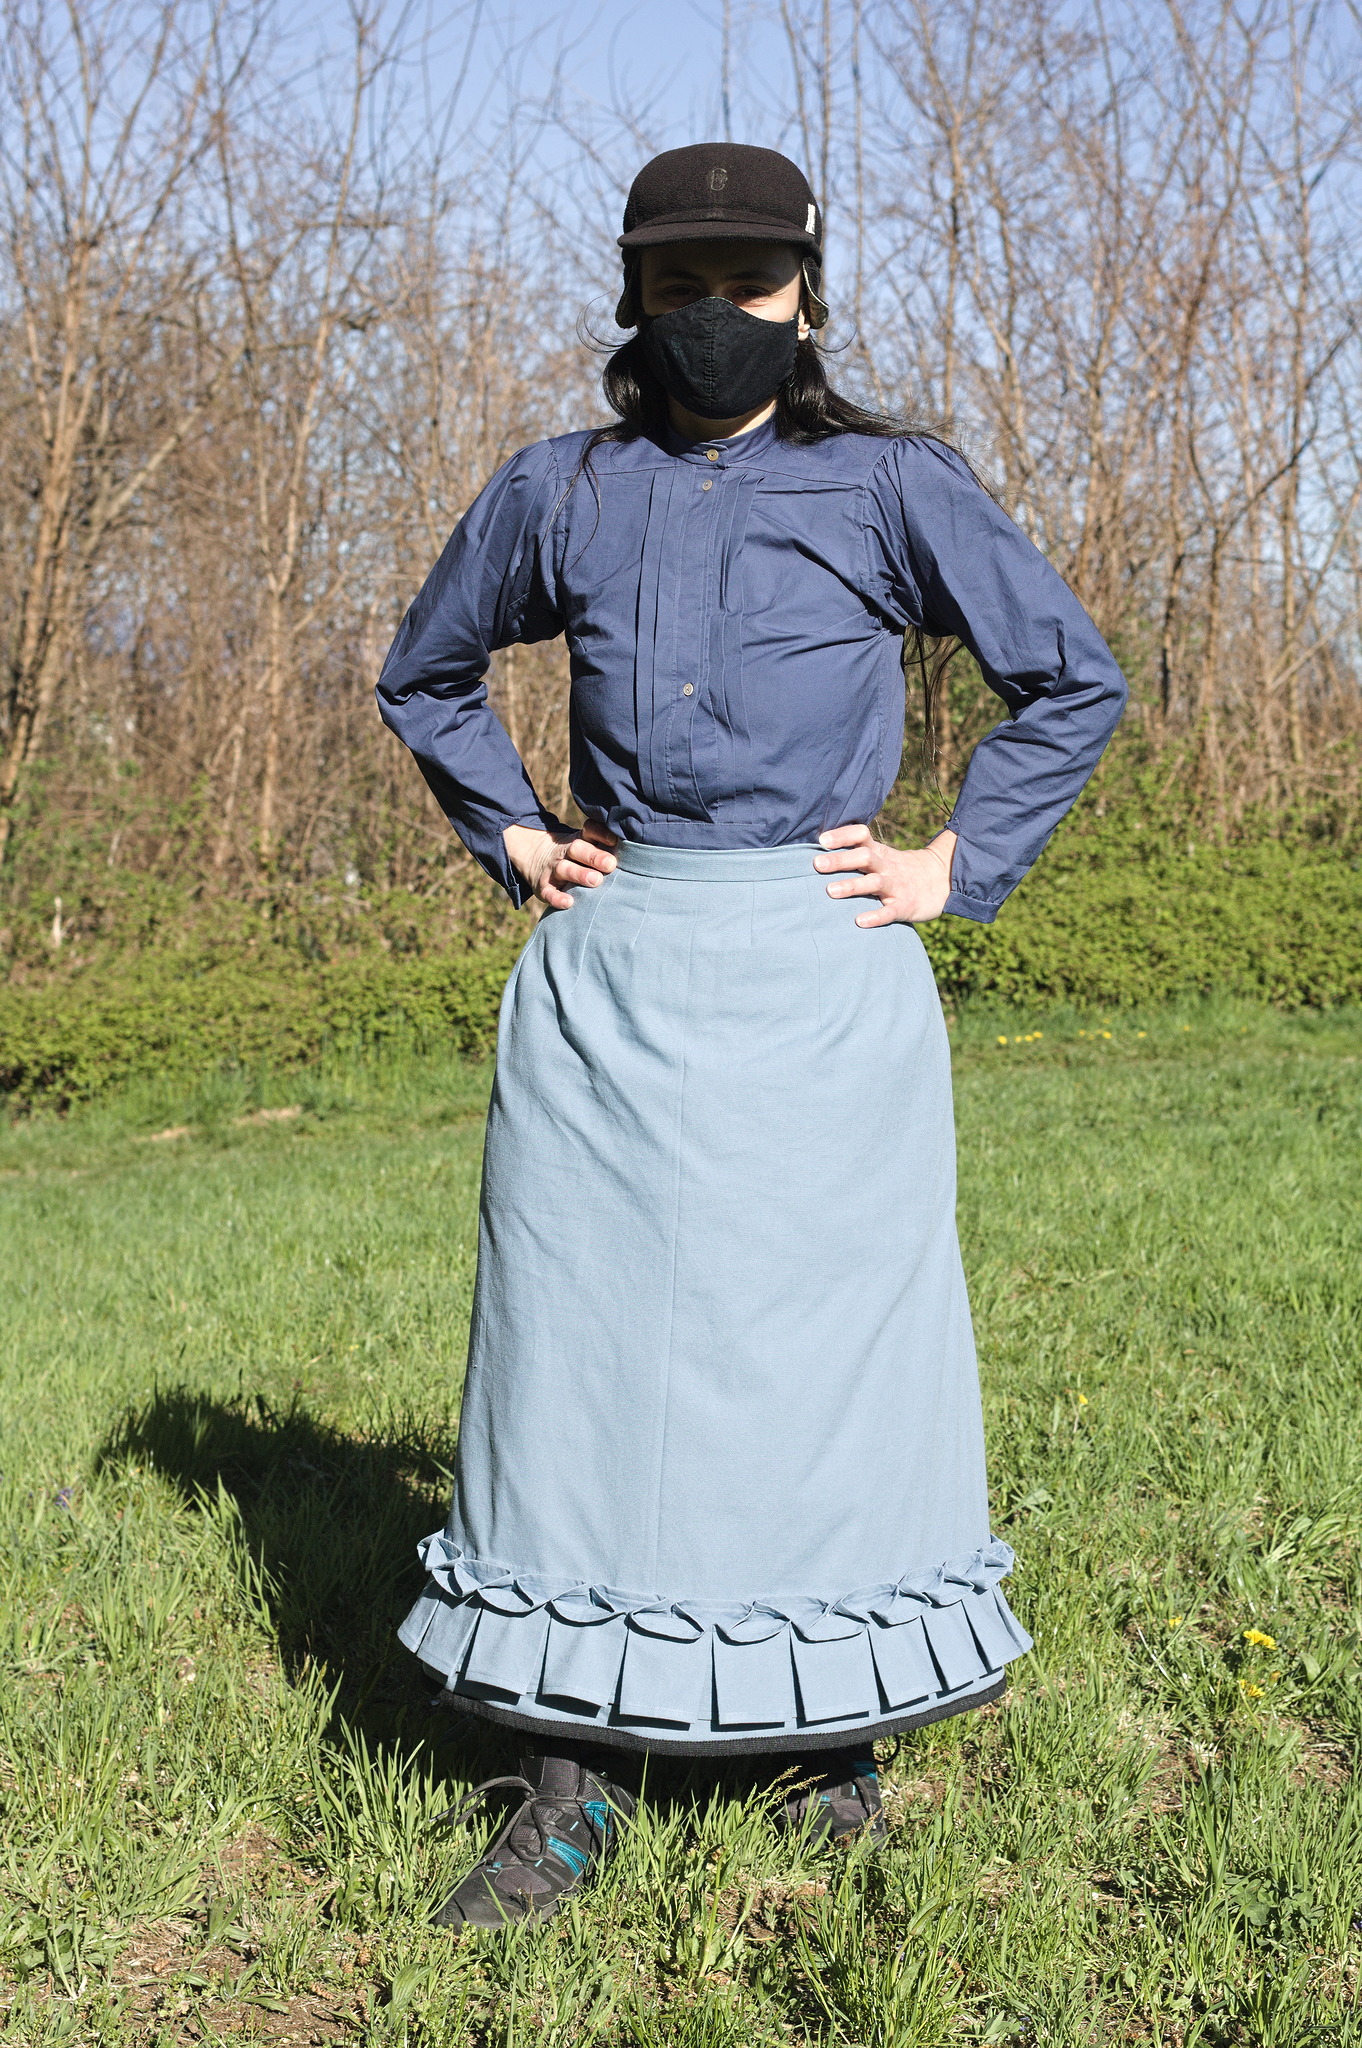
These are quite generic instructions for a skirt made of a long rectangle cartridge pleated into a waistband (or into a bodice).
As a general style, it can be useful for a variety of periods, including the mid 19th century and I believe Elizabethan period, but also many styles of European folk dress.
These instructions add a waistband and attach the cartridge pleats to it: for many historical styles you will have to skip the waistband and attach the pleats directly to a finished bodice.
These instructions assume handsewing: attaching the cartridge pleating needs to be done by hand, but as usual all (running) backstitches can be sewn by machine with a straight stitch without showing, and prick stitching and hem/applique stitching can be visibly substituted by a straight (or decorative) topstitch.
Materials
Fabric
At least 2 to 3 m of skirt fabric : mid-weight cotton, linen, silk or wool;
70+ cm sturdy fabric for the hem facing.
Notions
sewing thread to match the fabric;
stronger thread for the gathering seam, e.g. linen buttonhole;
optional stiffening for the hem facing (tarlatan or sturdy linen);
at least 3 m wool braid or hem protector for the bottom edge.
Pattern
You need the following measurements, taken over the underpinnings and skirt supports you plan to use:
length from your waist to the hem of the skirt, over the skirt supports;
circumference of the skirt support at the hem;
circumference of the waist.
The skirt will be made of panels that are as wide as the full width of the fabric and as high as the length of the skirt plus 5 (heavier fabric) - 10 (lighter fabric) cm at the top and 2 cm at the hem (total 7 - 12 cm).
You need enough panels to make a skirt that is wider than the circumference of the skirt supports: with modern 150 cm wide fabric two panels may be just enough for a relatively narrow skirt, worn over petticoats, but a crinoline cage will almost always require at least three panels.
Similarly for the hem facing you need to piece together enough rectangles 20 cm tall to cover the full circumference of the skirt.
Finally, if you’re not attaching the skirt directly to a bodice, you’ll need a waistband: a rectangle as wide as your waist measurement plus 2 cm allowance plus the width of an optional placket, and twice as tall as the desired waistband height (e.g. a total of 8 cm), plus another rectangle in facing fabric that is half a cm smaller in both directions.
Note
you can also make the waistband from just a rectangle of the main fabric that is as wide as described above and four times as tall as the desired height, e.g. a total of 16 cm.
Instructions
Panels
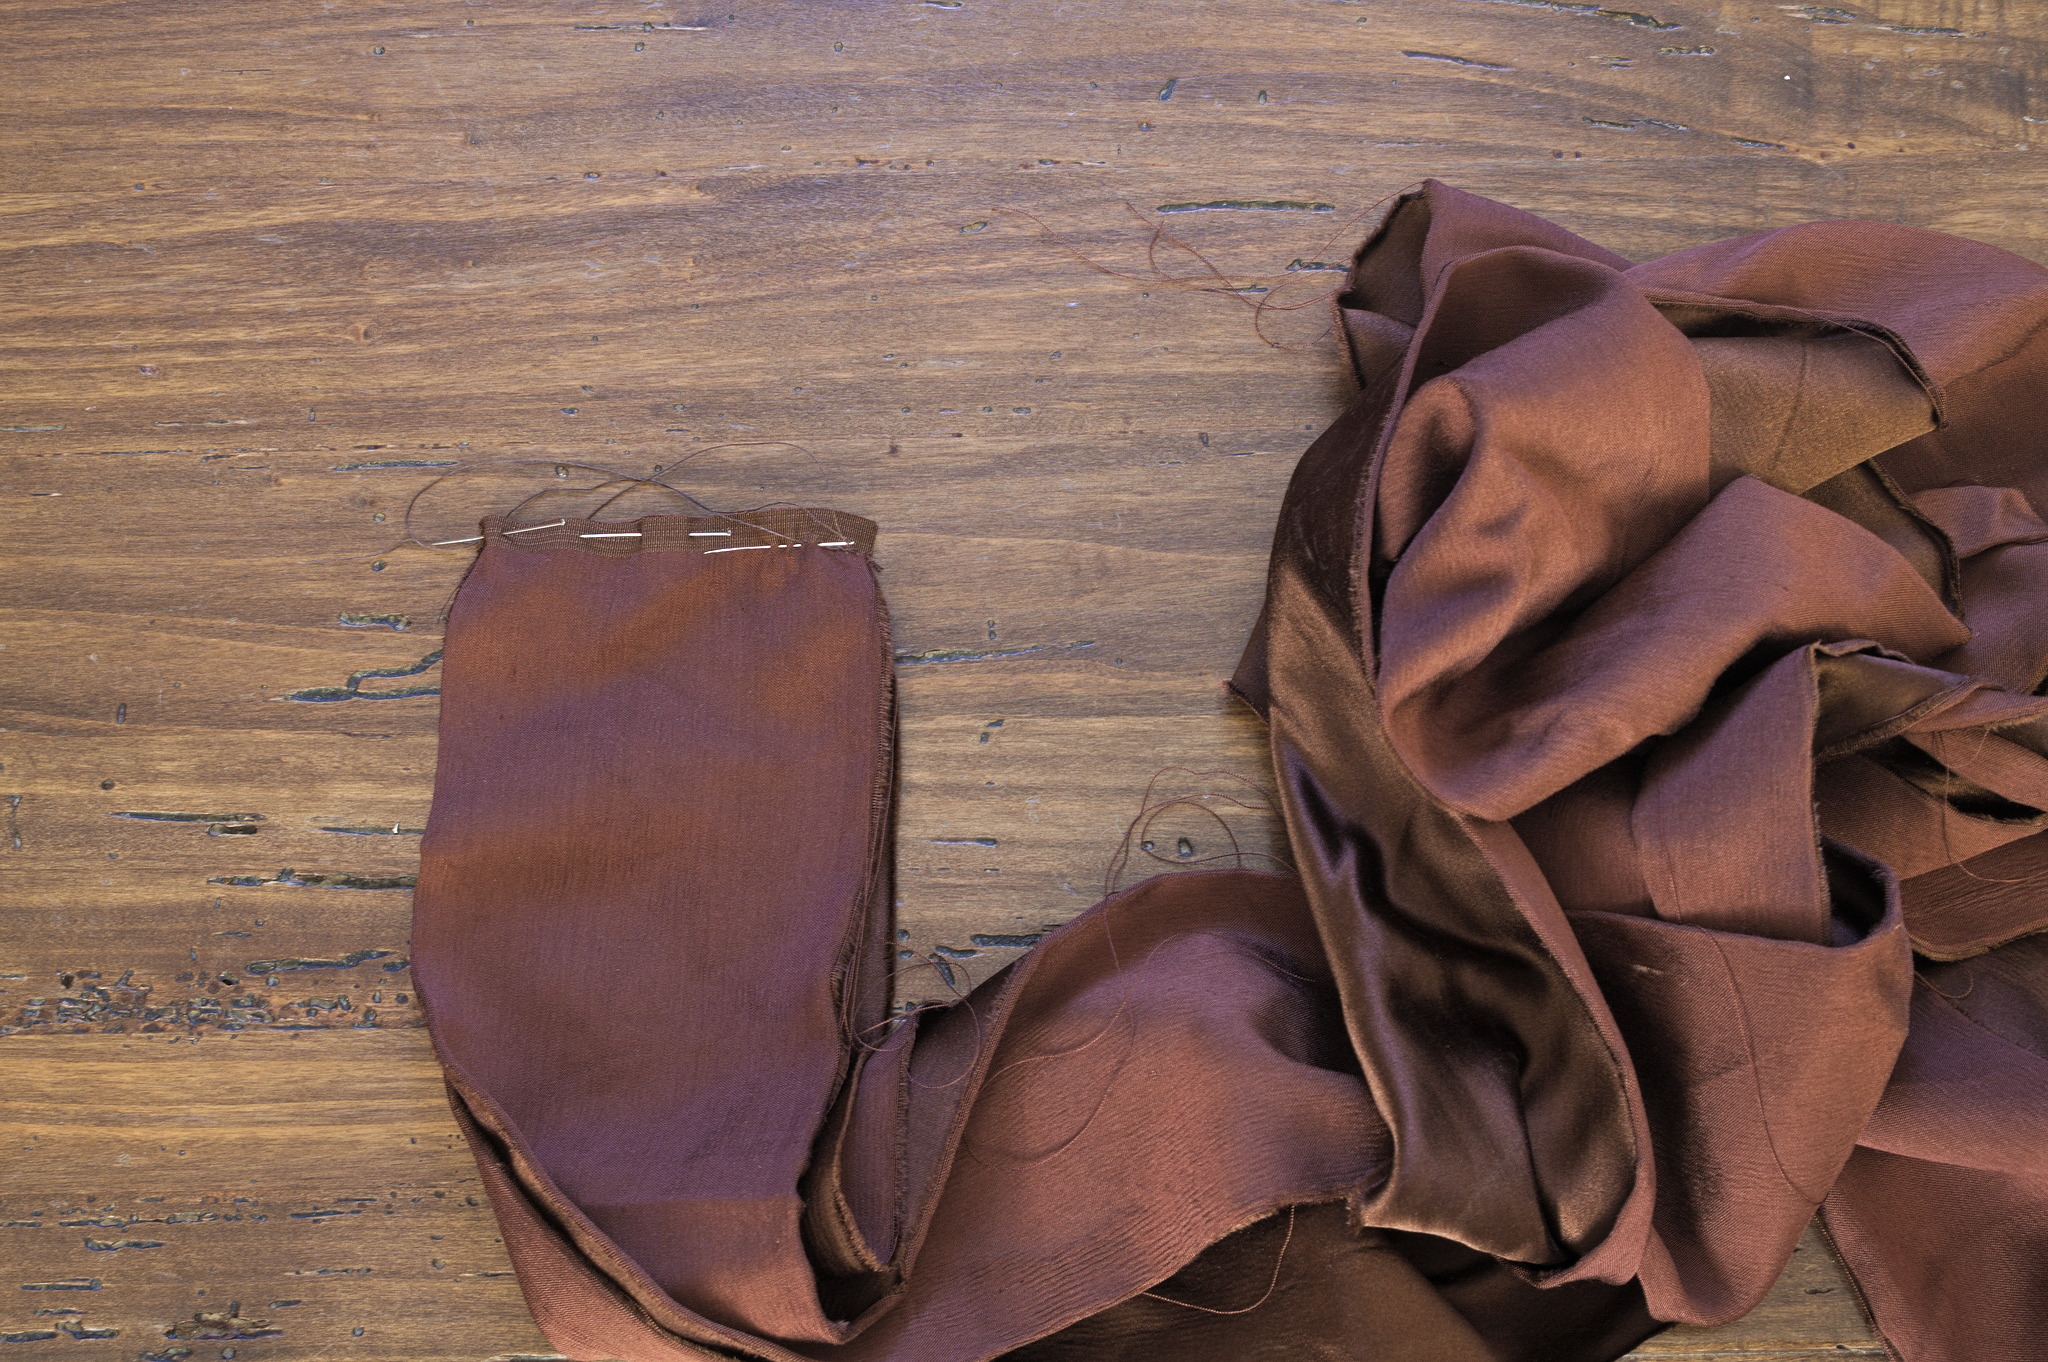
Put two panels on each other, right sides together, sew one of the side seams with a running backstitch, starting from the hem and stopping at 30 - 35 cm from the top.
Press open; if you don’t have a selvedge also press the raw edge under towards the seam.
If you have a selvedge on both sides pressing the seam open may be enough, otherwise press the seam open, then fold the raw edges under and press them; working from the right side, sew the raw edges down with a prick stitch, i.e. a backstitch where the stitch in the front is much shorter than the stitch on the back, catching just a couple of threads of the fabric; stop this seam at some point before the top, as you will finish it after folding down the top edge.
Tip
if your edges are raw rather than selvedges, you can also sew the side seams with a mantua maker’s stitch, which already encloses the raw edges.
Repeat the same for the other seams between panels: if you want to add pockets stop again at 30 - 35 cm from the top and resume sewing for the top 10 - 15 cm, otherwise continue until the top edge.
On these seams also sew the prick stitch up to the top edge of the fabric, or at least until past the place where it will be folded down.
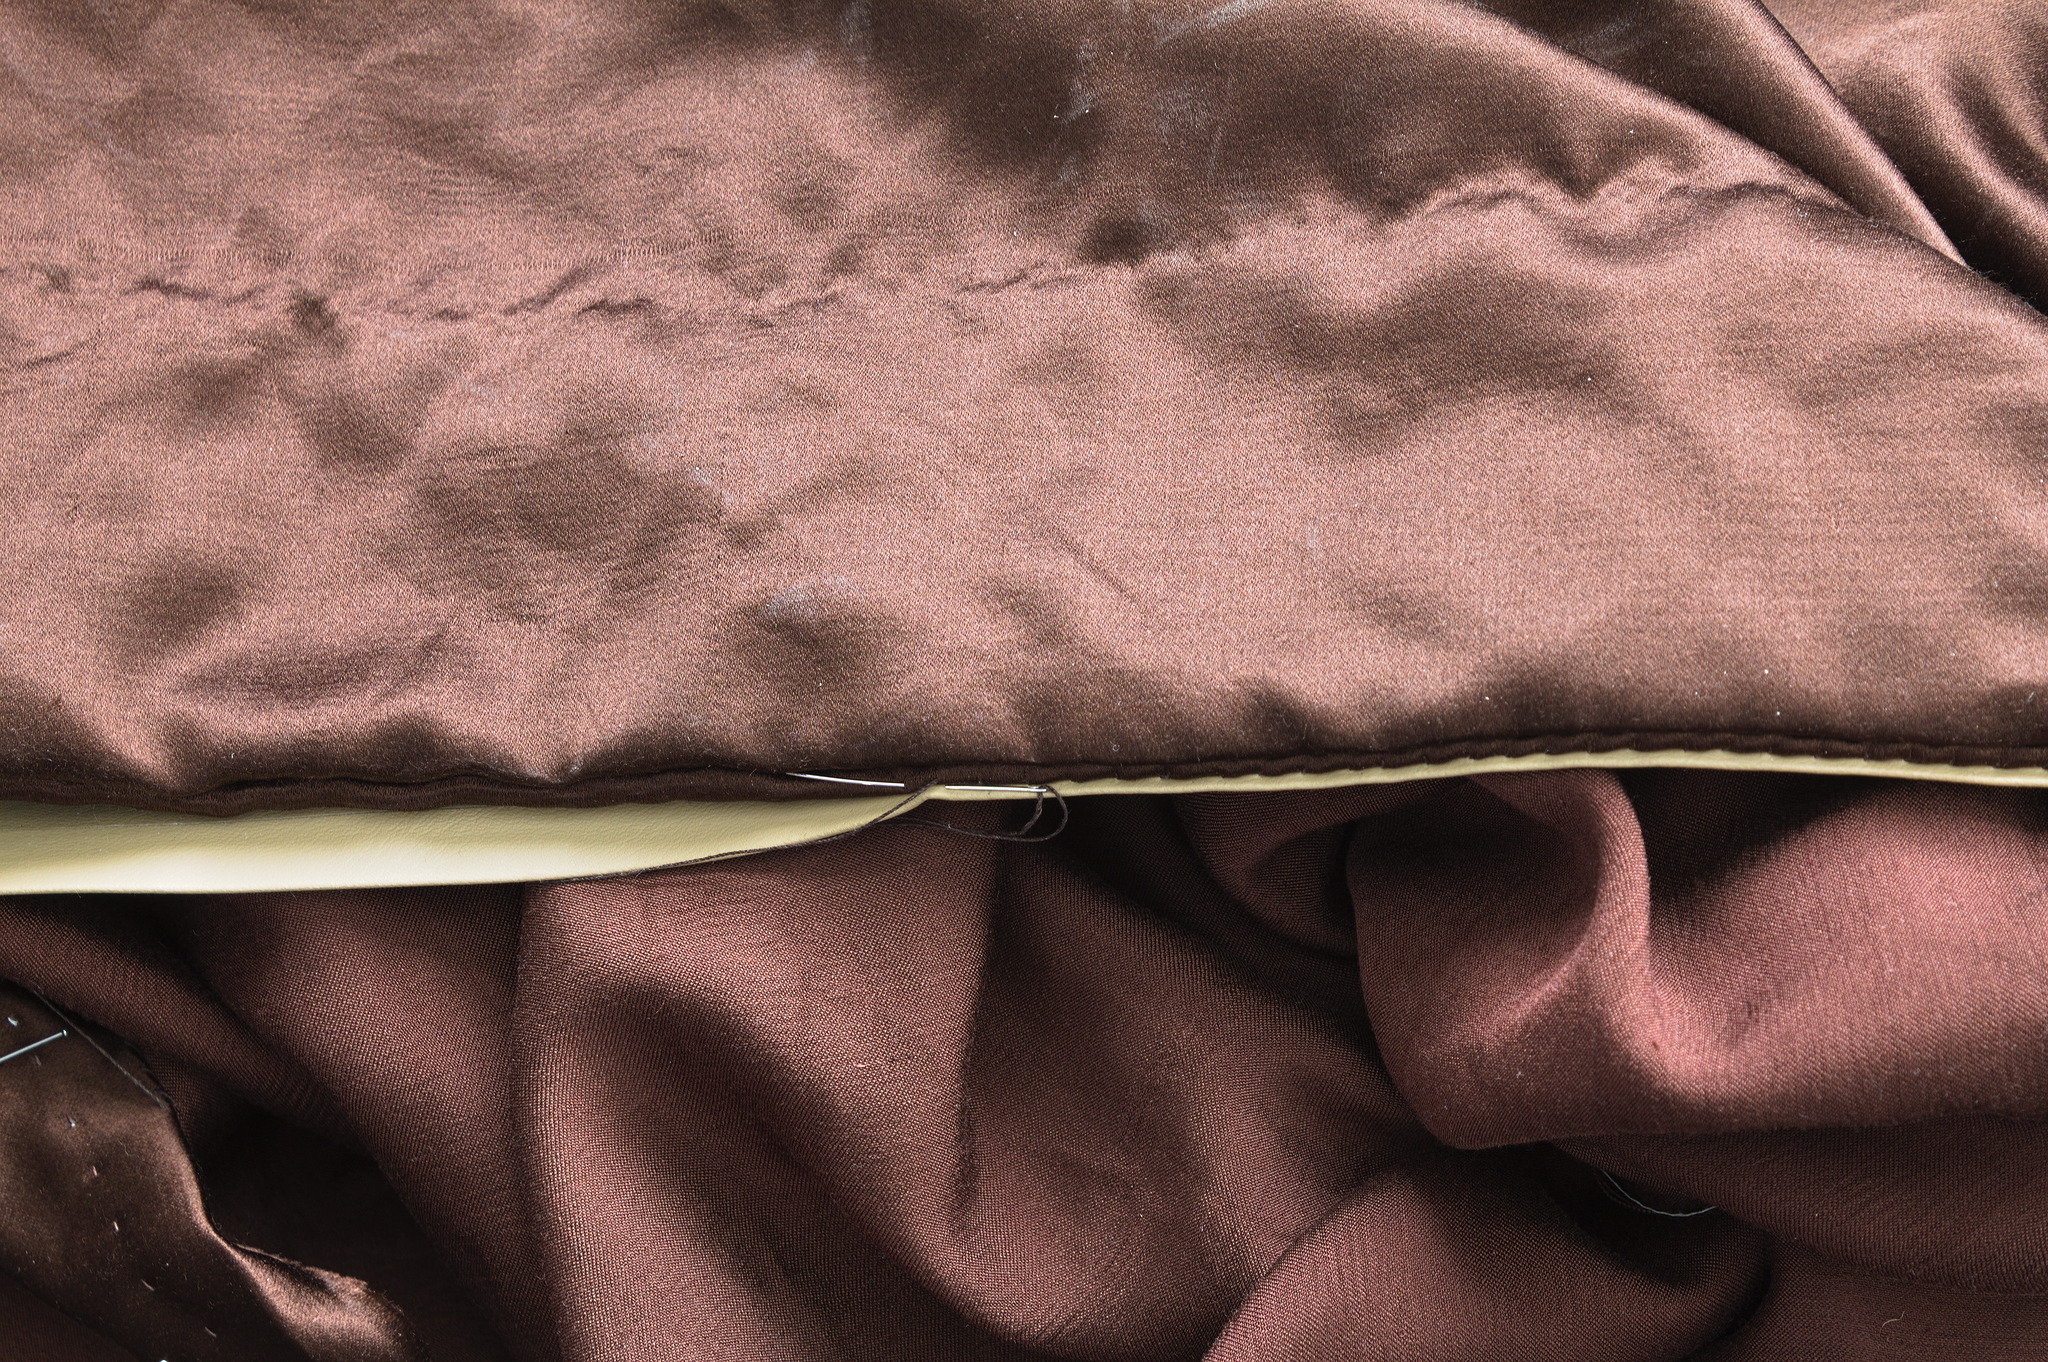
Hem
Right sides together, sew the facing strips together with a running backstitch.
Press open. There is no need to finish any raw edge as they will be encased under the facing.
Fold and press under the raw edge on one short side of the facing.
Also press one of the long sides of the facing by 1 cm towards the wrong side.
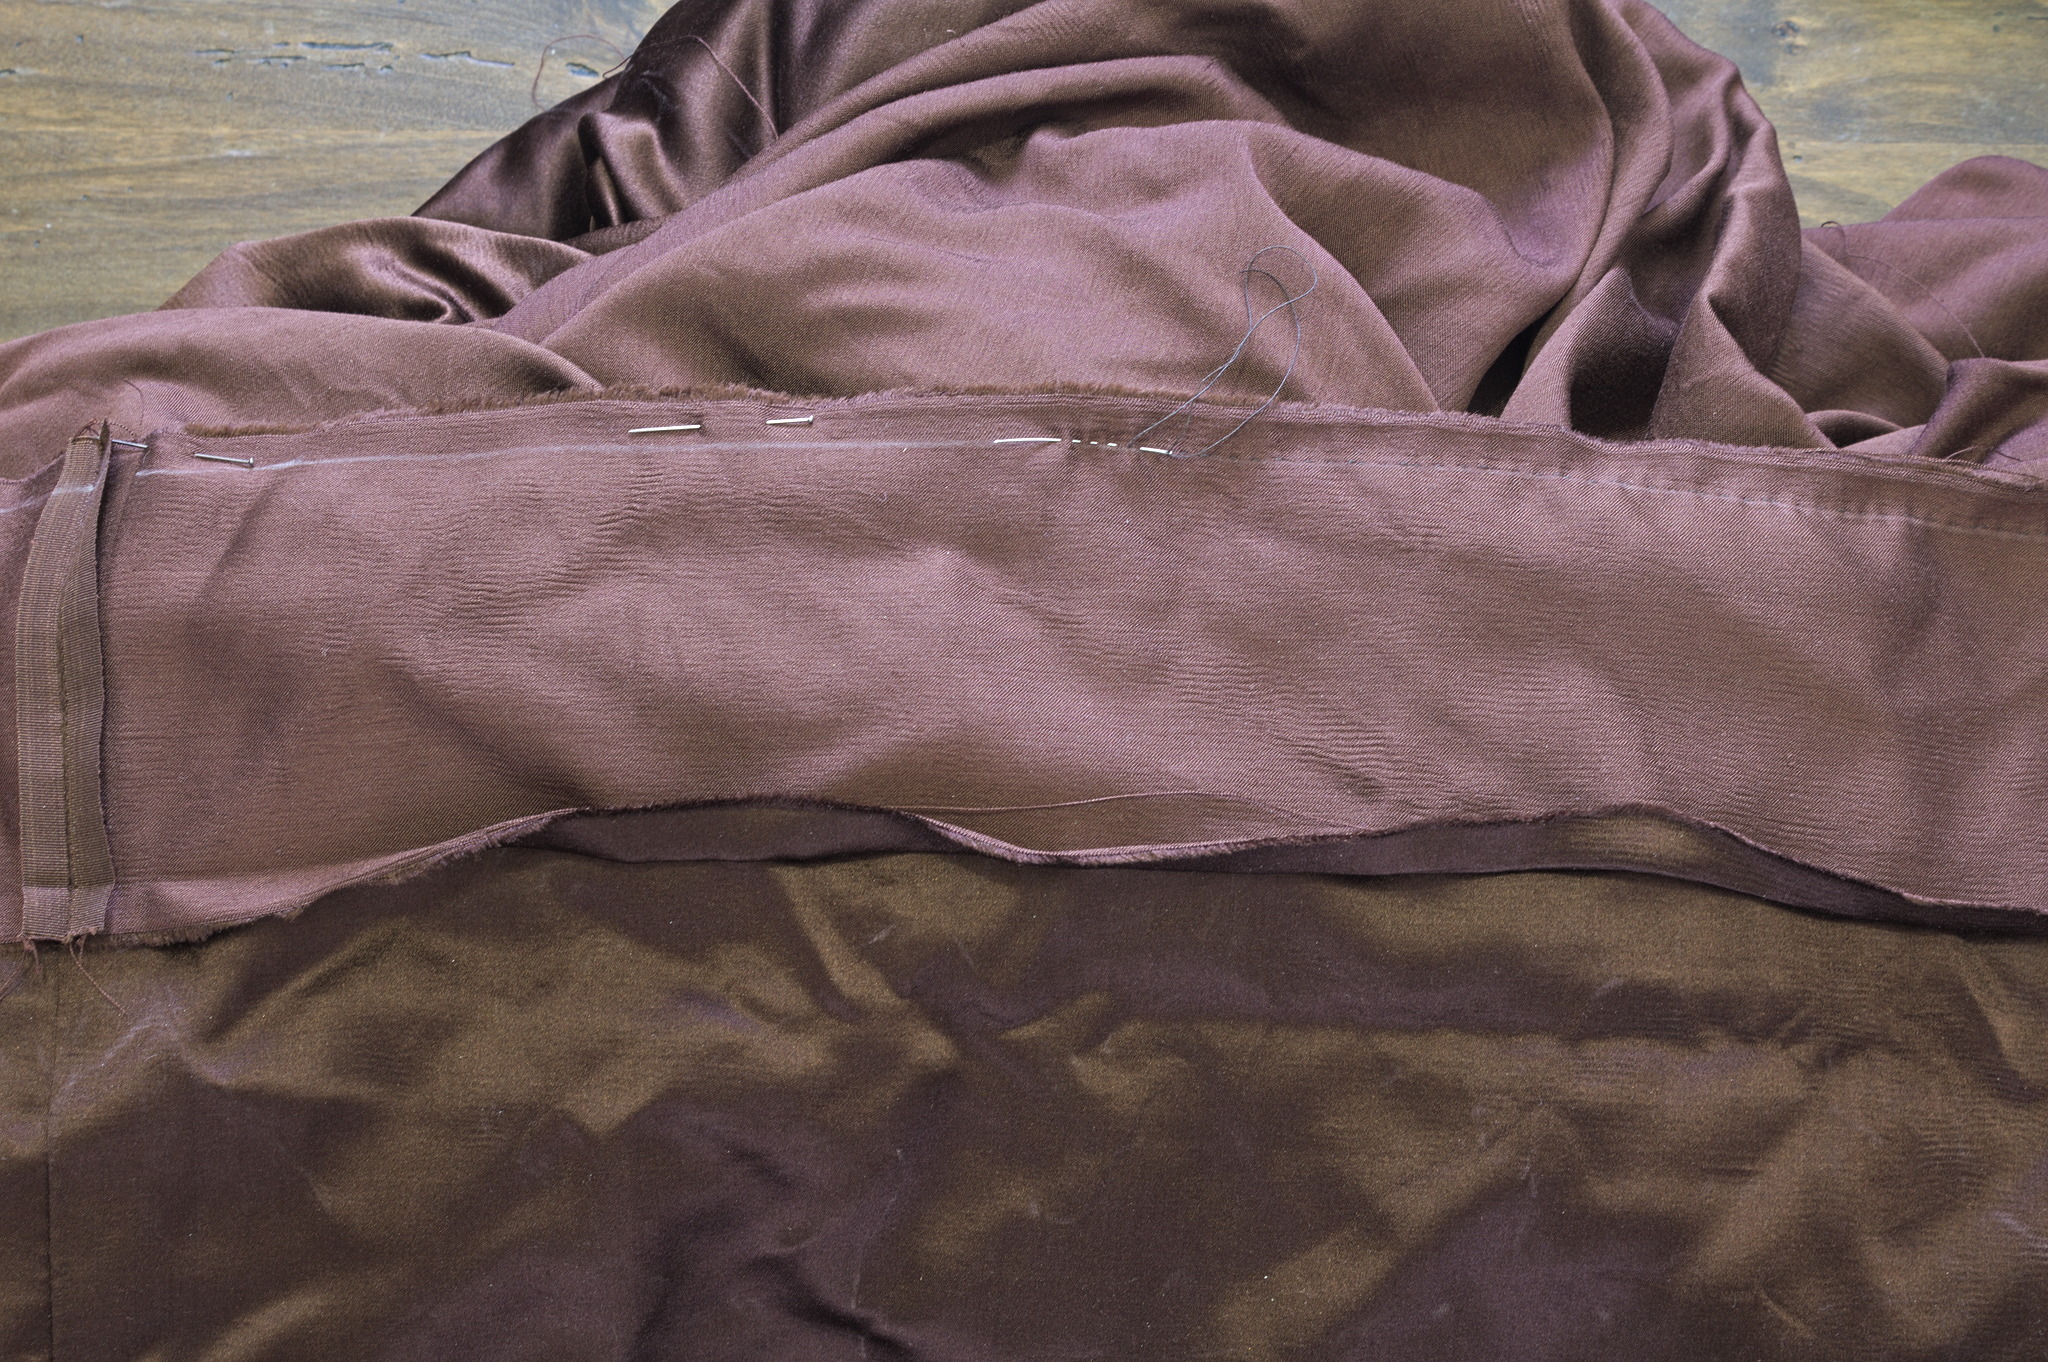
Right sides together, put the non-folded side of the facing on the hem of the petticoat, starting from the folded edge at the center back of the skirt, sew with a running backstitch.
Press flat and then press up.
Tip
if the facing is in a “ugly” fabric you should press the facing up in such a way that about 1 mm of the main fabric shows on the back, to make sure that none of the facing shows on the front.
If, on the other hand, the facing is in the same fabric as the skirt, or a nicely contrasting one, you can press it in such a way that about 1 mm of the facing shows on the front, giving a sort of piping effect.
In the latter case, if the skirt doesn’t touch the ground you may also skip the skirt protector, and change the whole facing when the hem gets ruined.
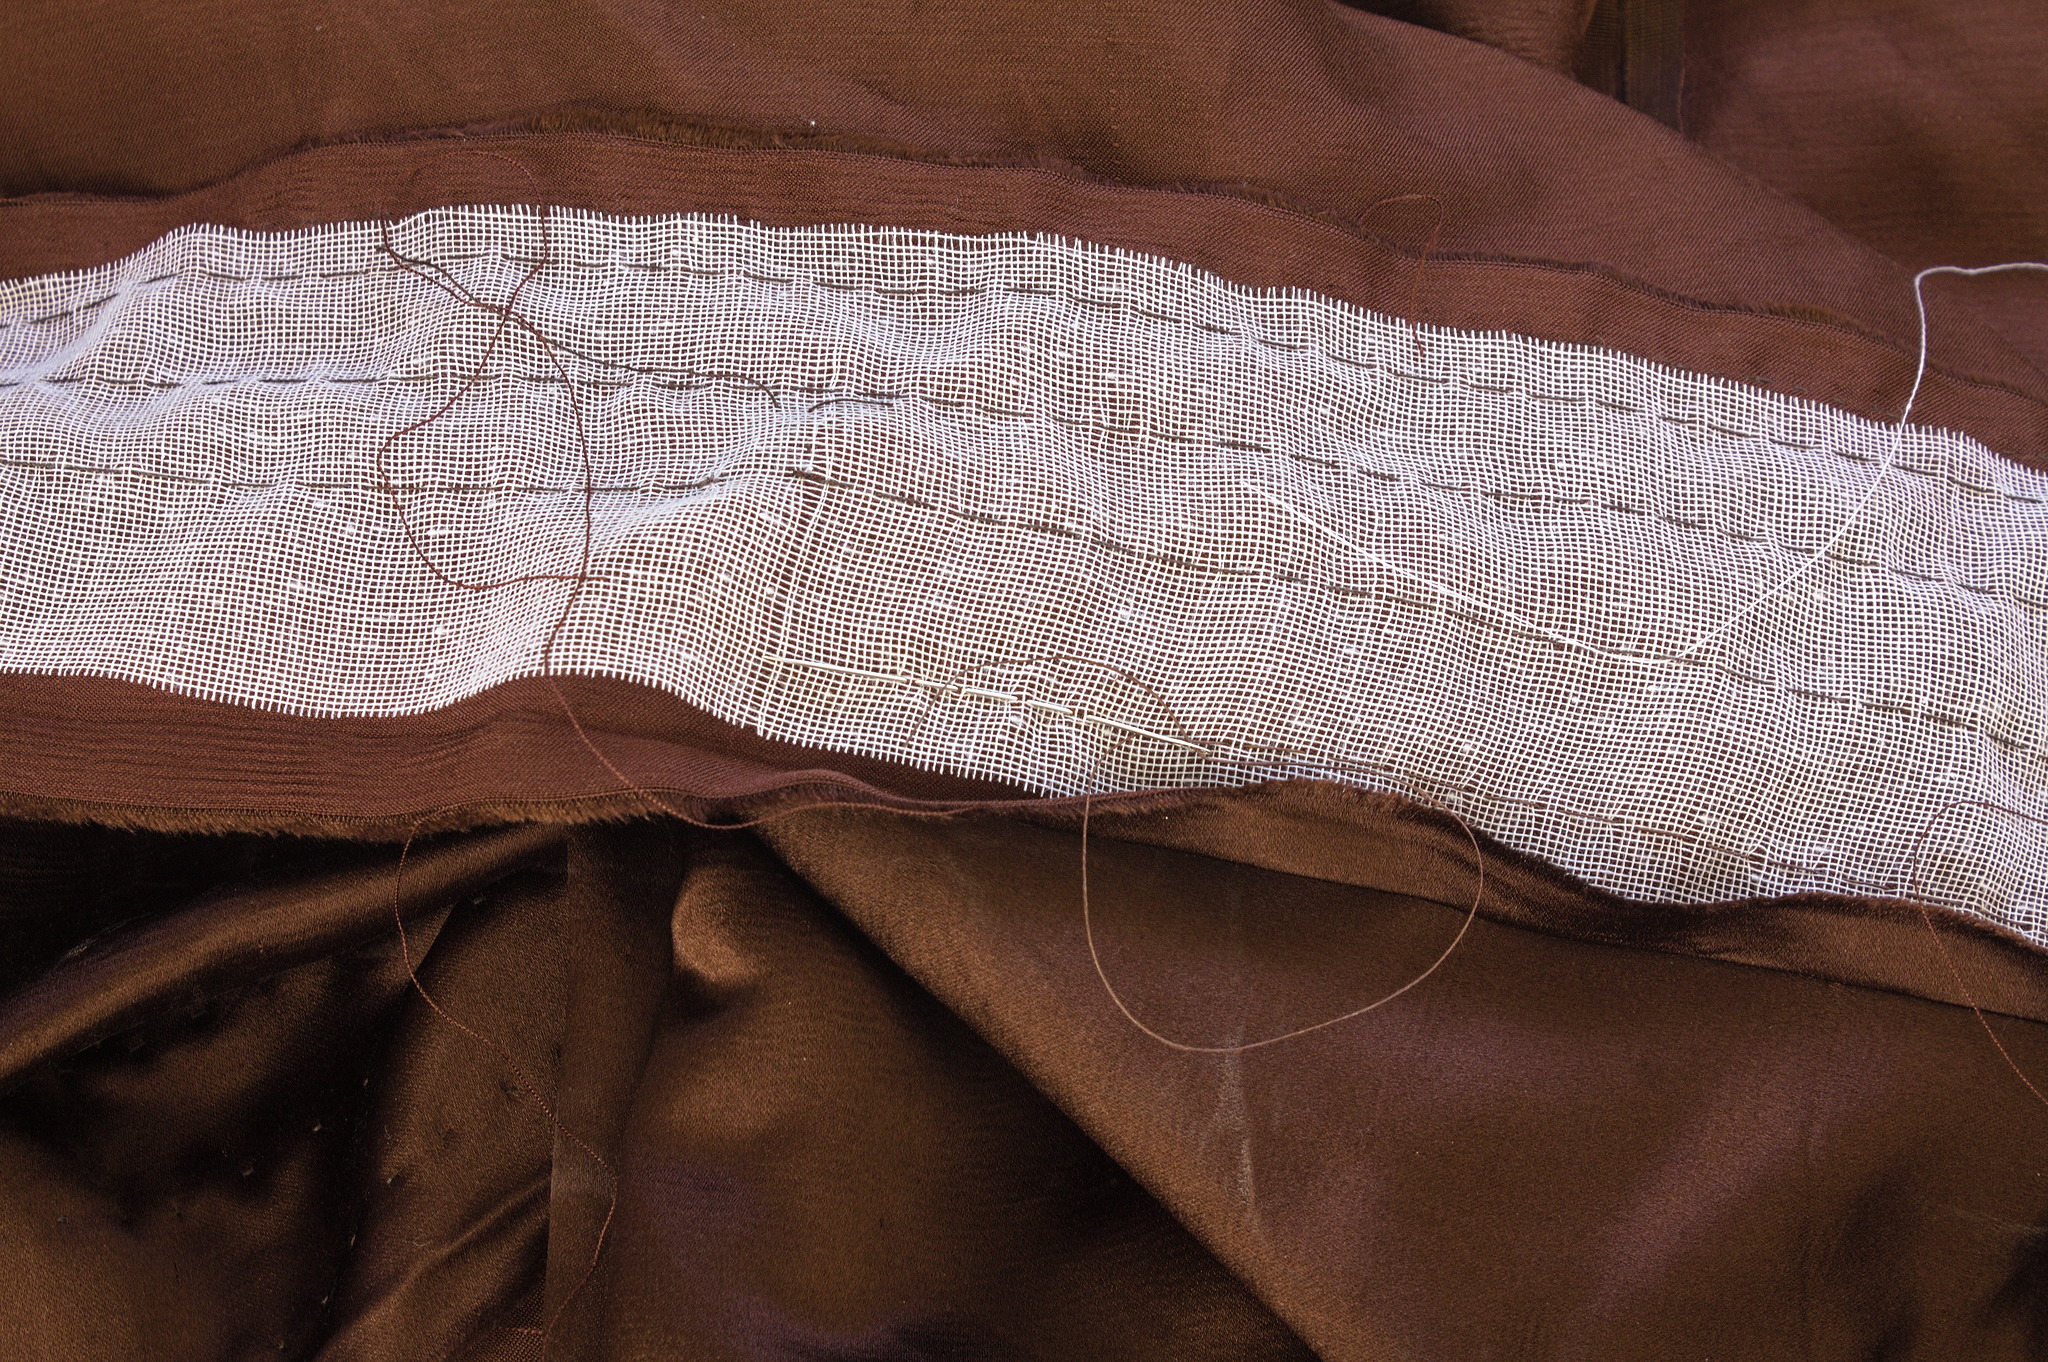
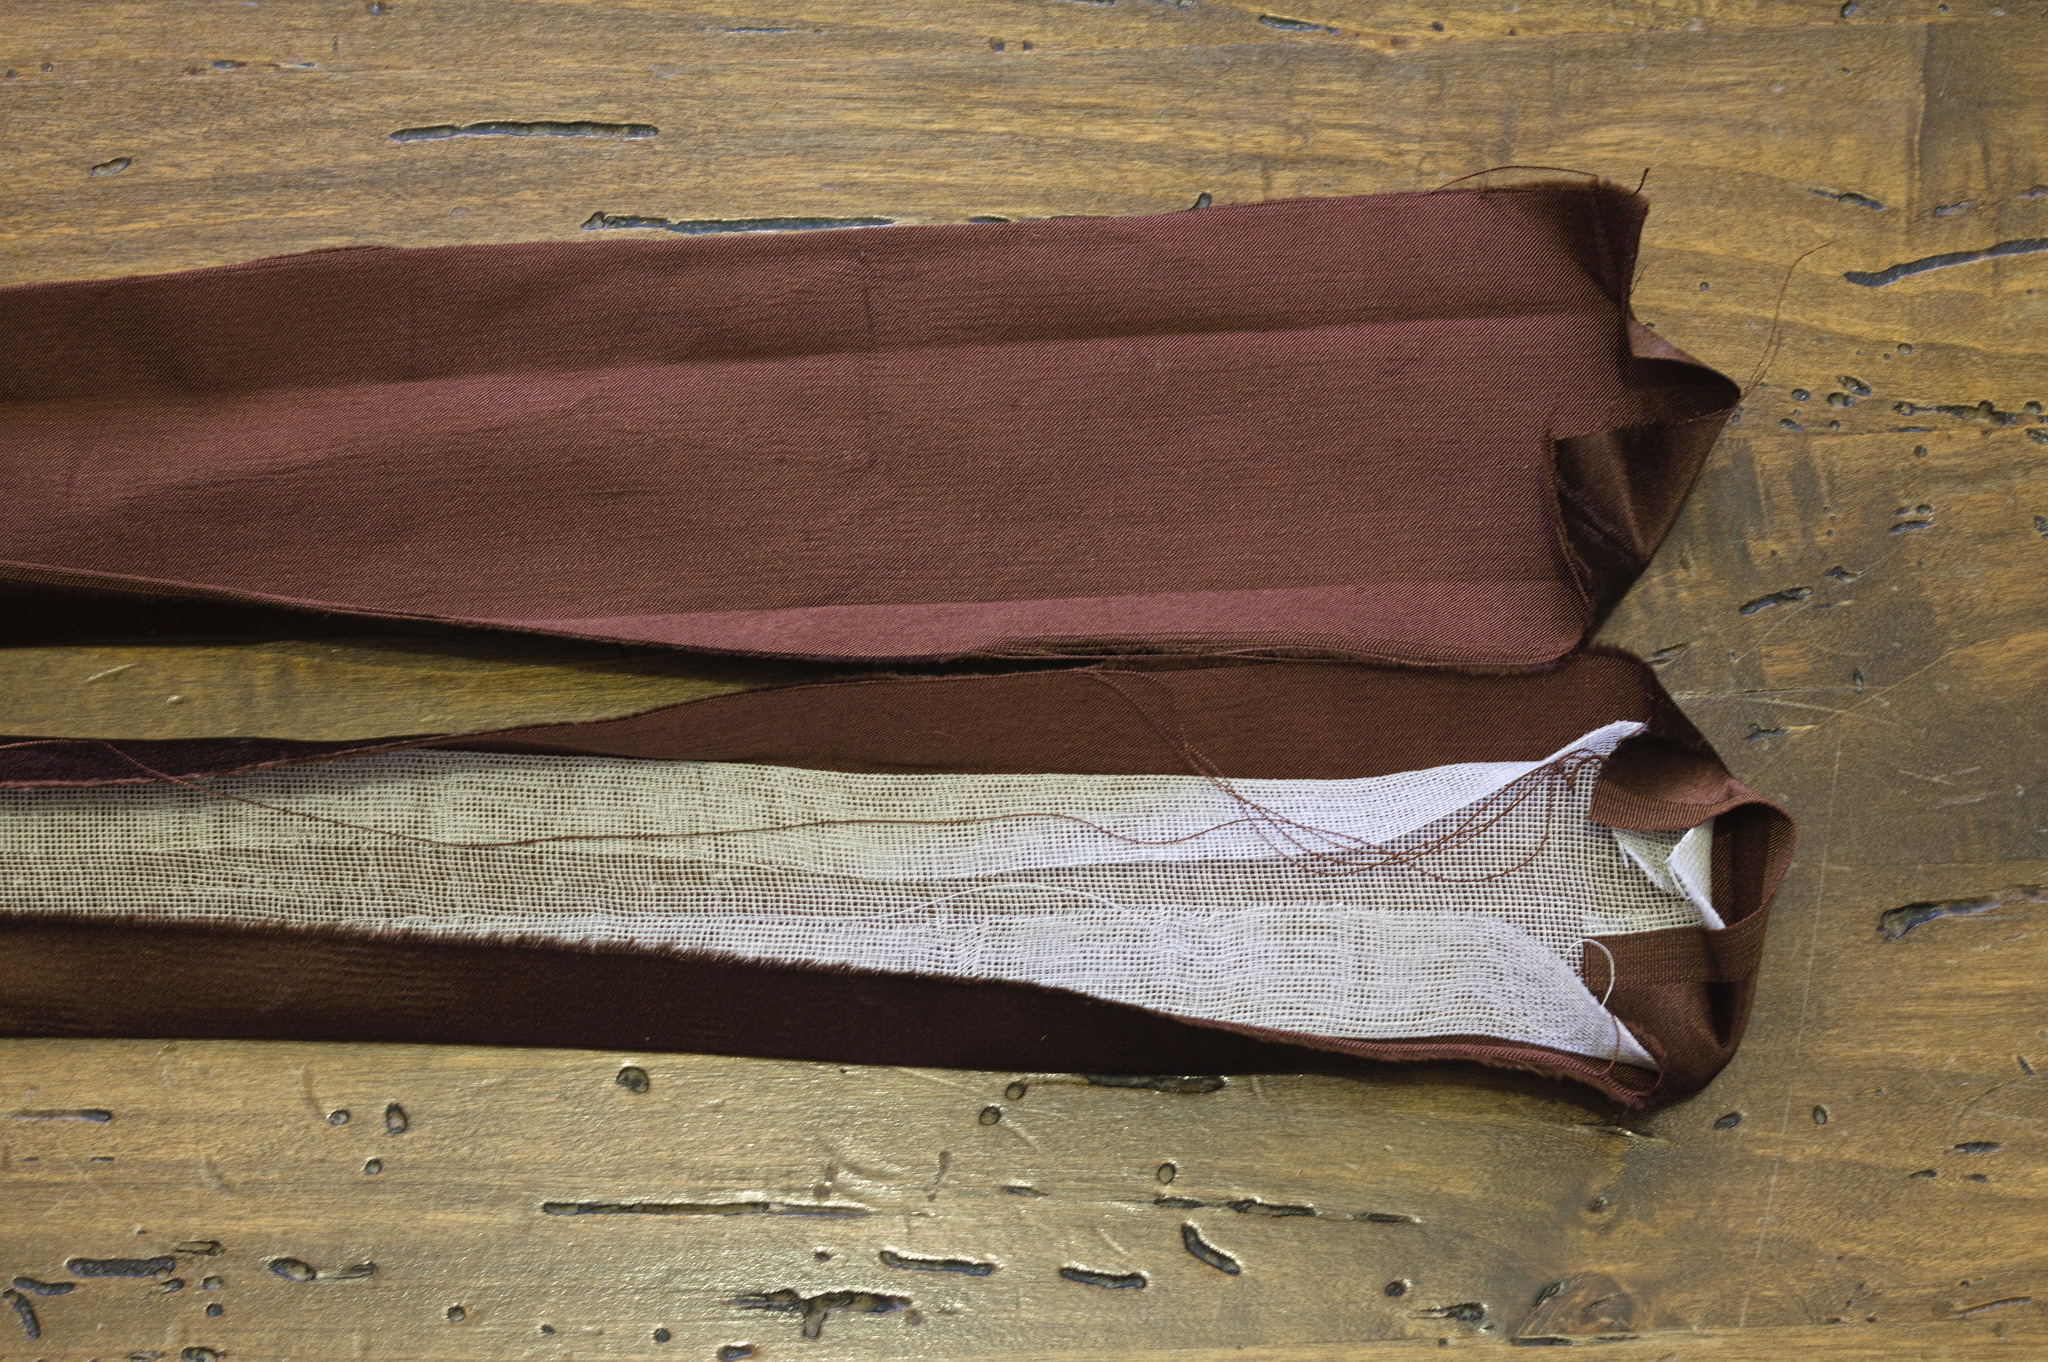
Optionally, sew the additional stiffening to the facing with multiple lines of running stitch.
Hemstitch the top of the facing to the skirt.
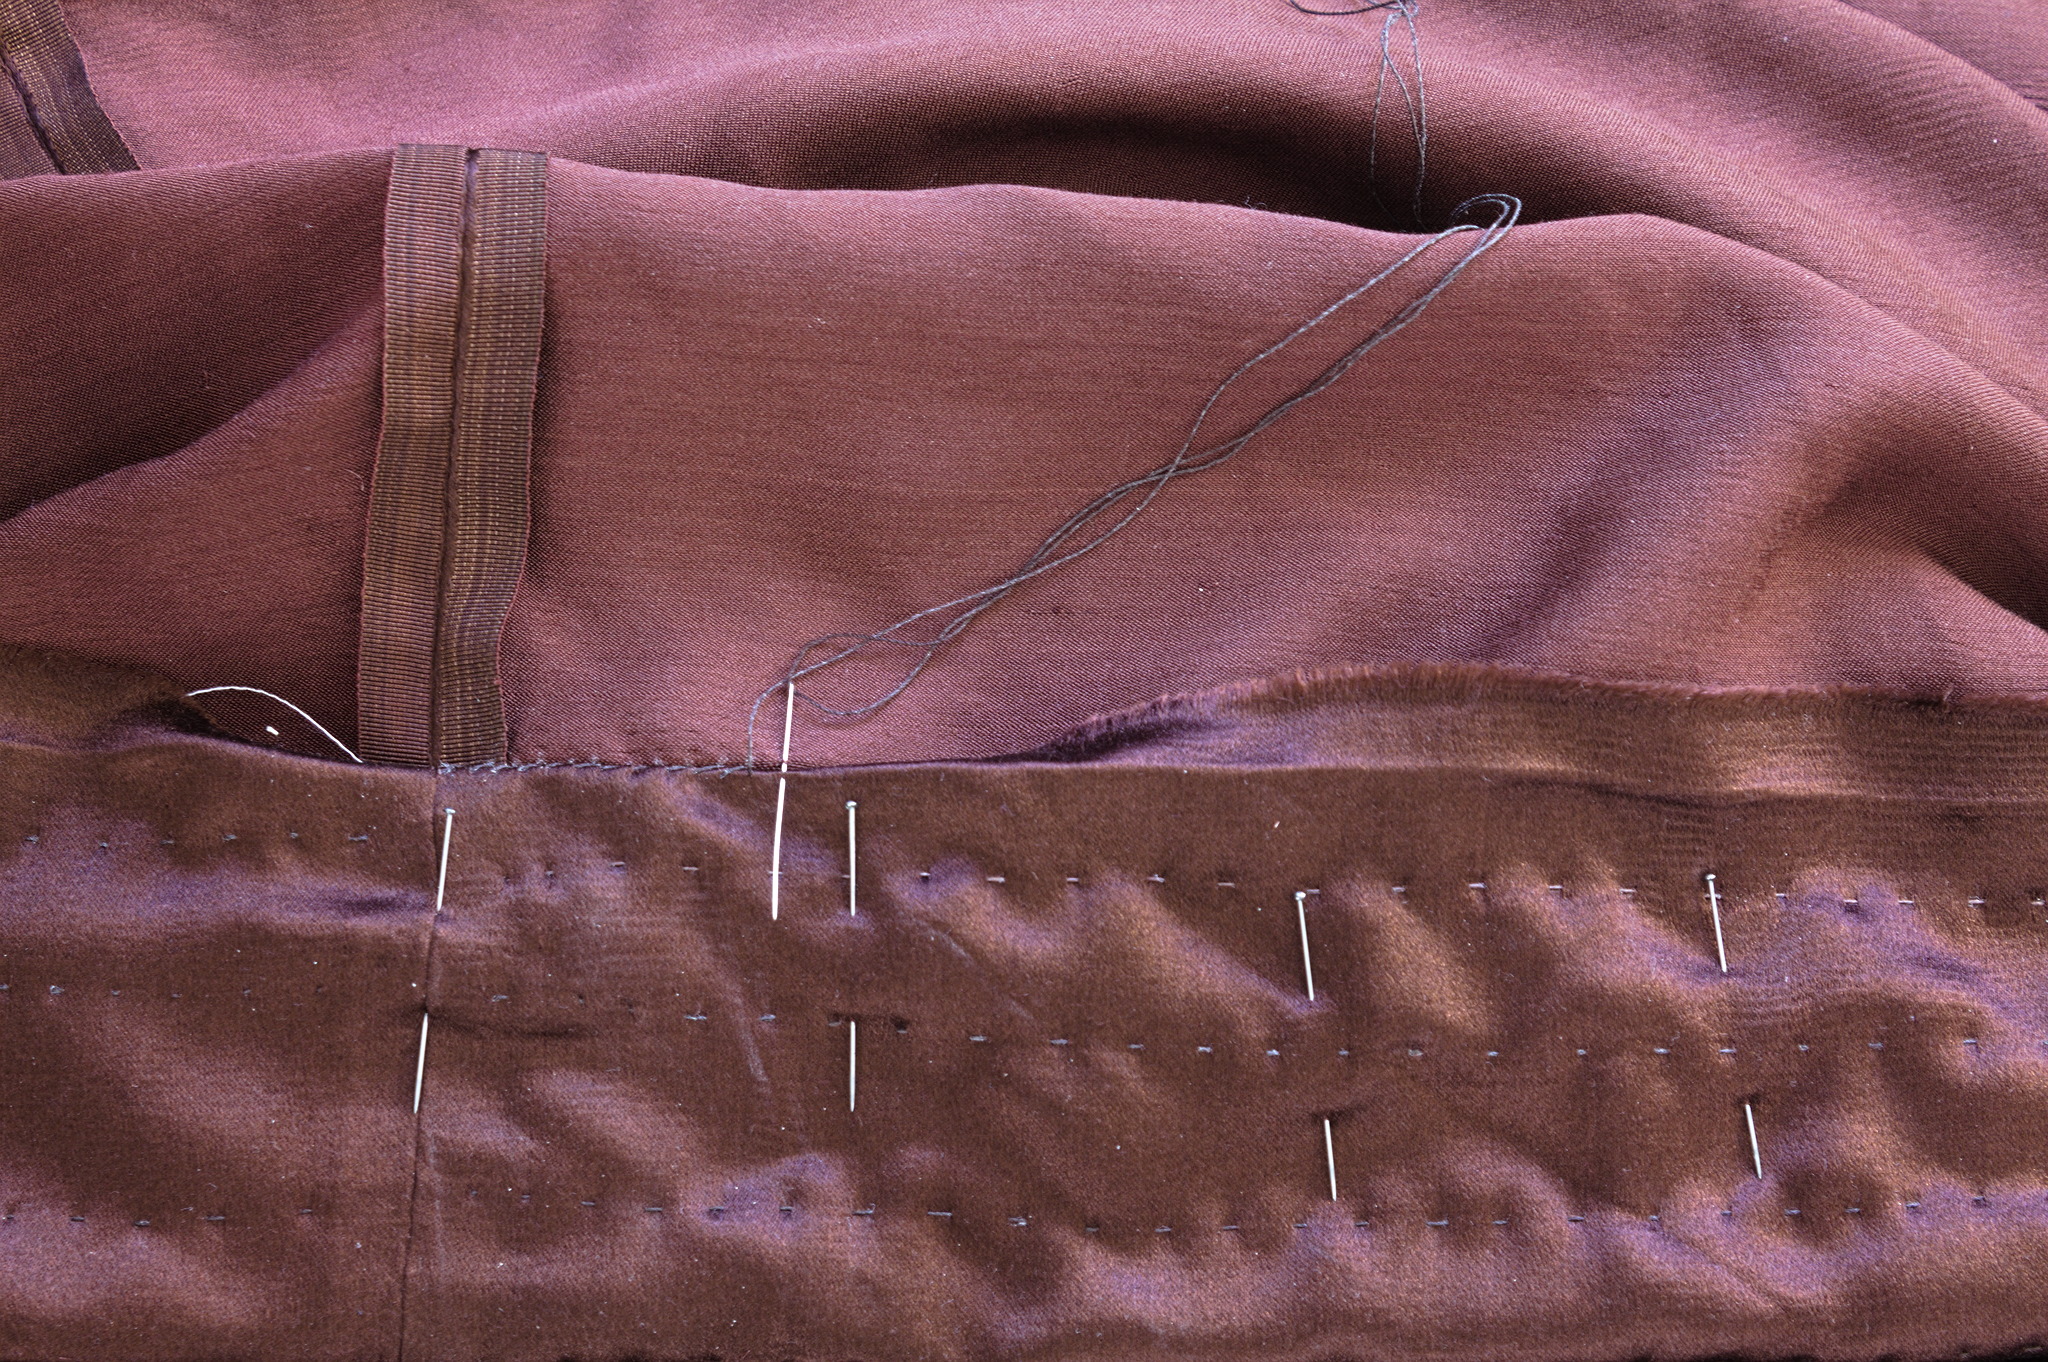
Applique stitch the skirt to the hem protector, letting about 1 mm of the protector show in the front;
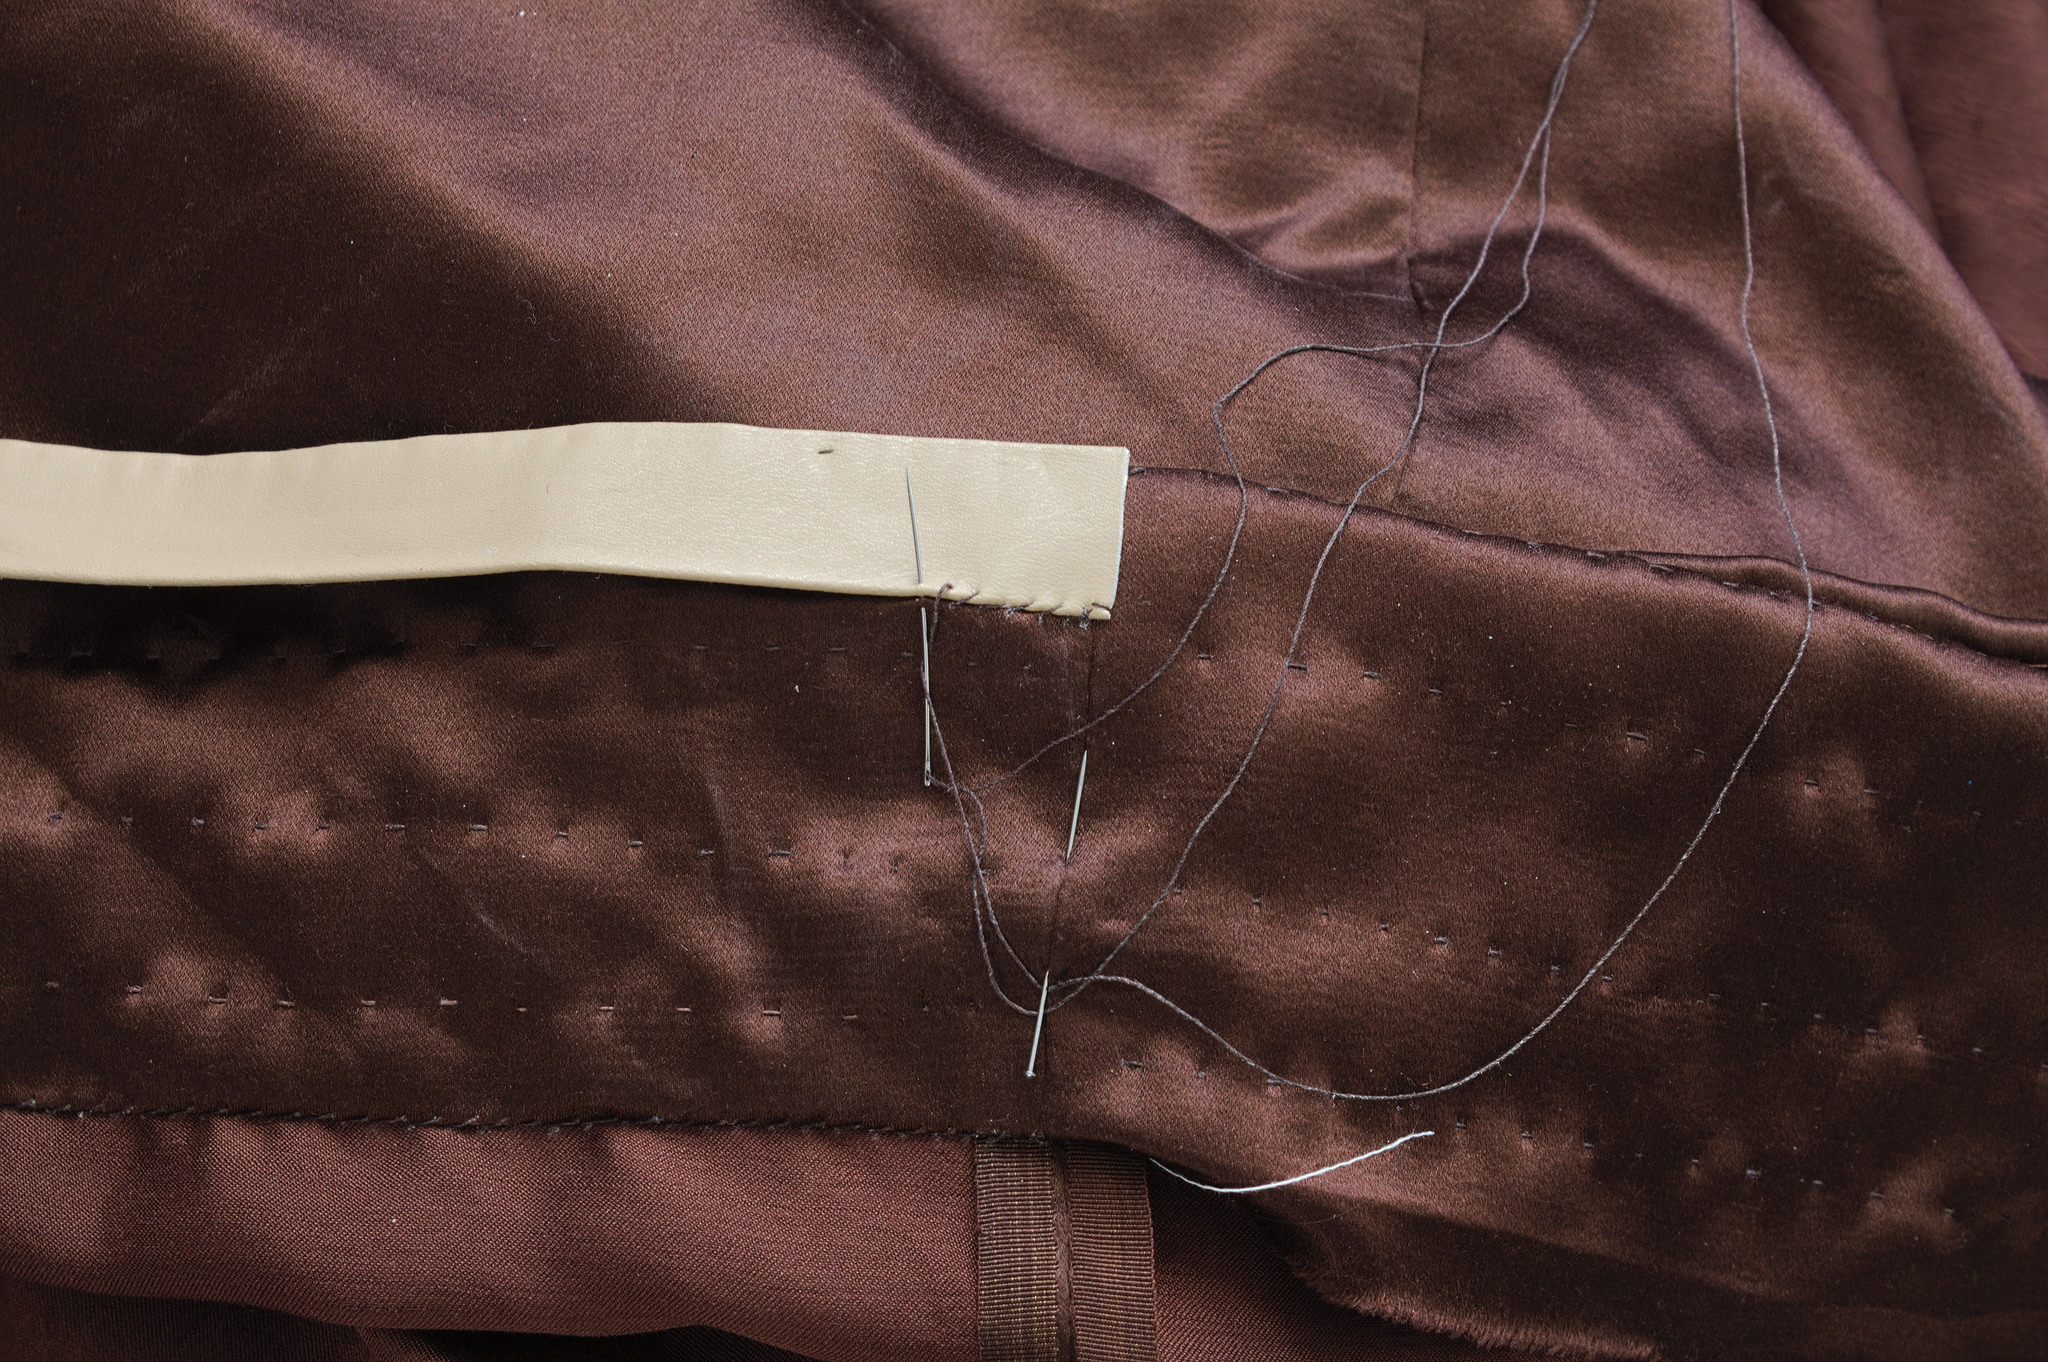
and hem stitch the other side of the hem protector to the skirt, catching only the facing.
Top edge
If your fabric is heavier, fold it down the top edge 5 cm, finish the raw edge e.g. with whipstitches or by covering it with tape.
If using a lighter weight fabric, fold down the top edge 5 cm twice, to add a bit more body to the pleats.
Finish the prick stitch around the slit, sewing down the folded edge of the fabric.
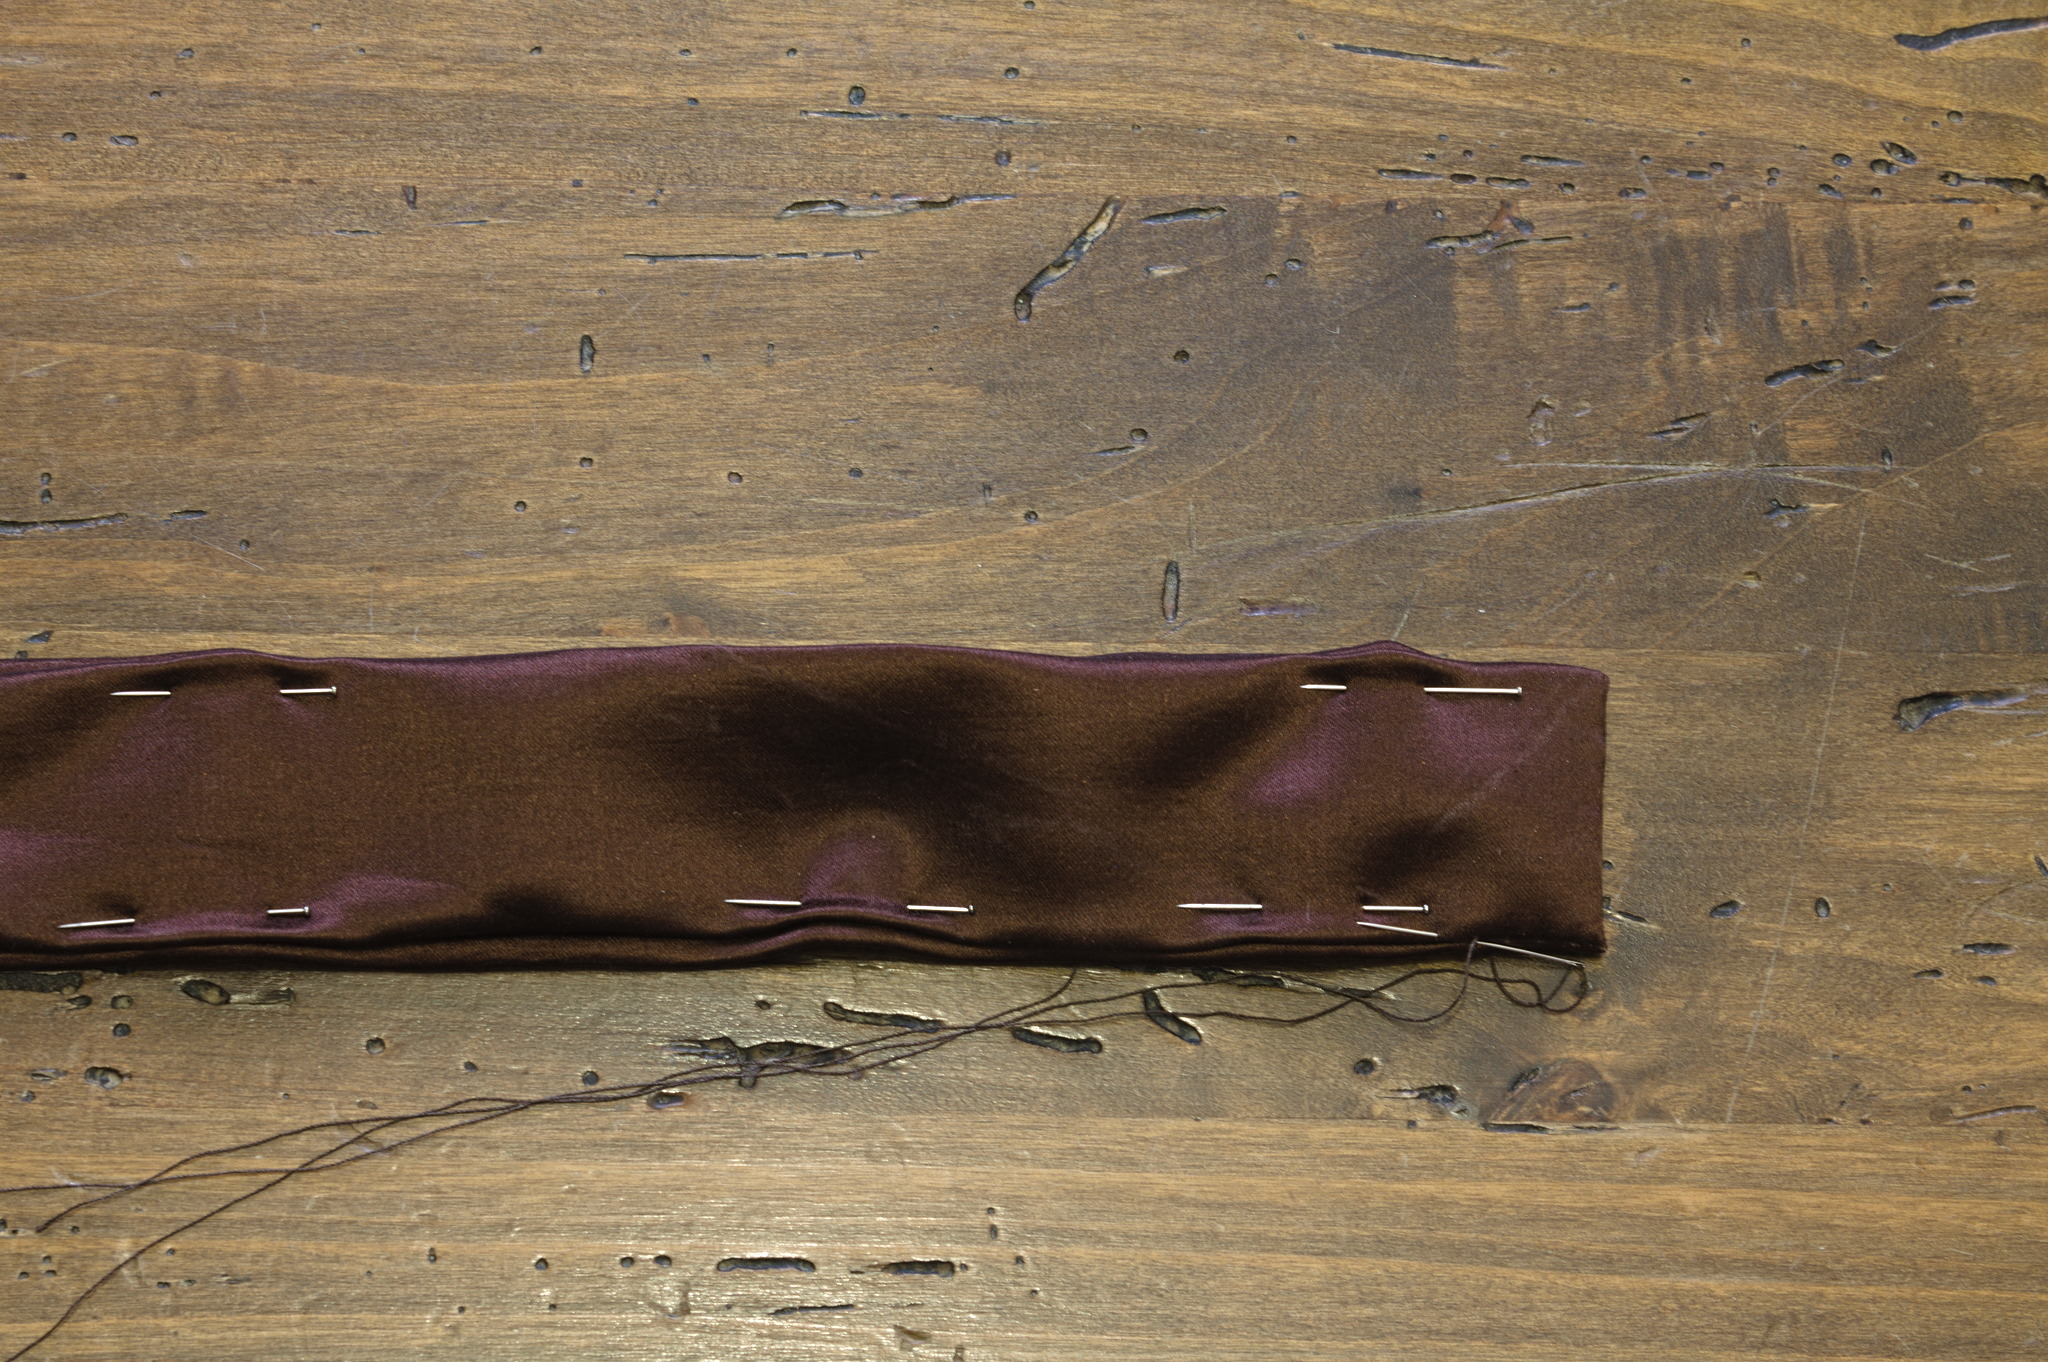
Waistband
Fold the allowances at the short ends of the waistband towards the wrong side, press. Fold the long edges also to the wrong side so that they touch in the middle, press.
Repeat with the waistband facing, folding the edge so that it’s slightly smaller than the waistband front.
Put the facing on top of the waistband, applique stitch the facing to the waistband, only catching the allowances of the latter.
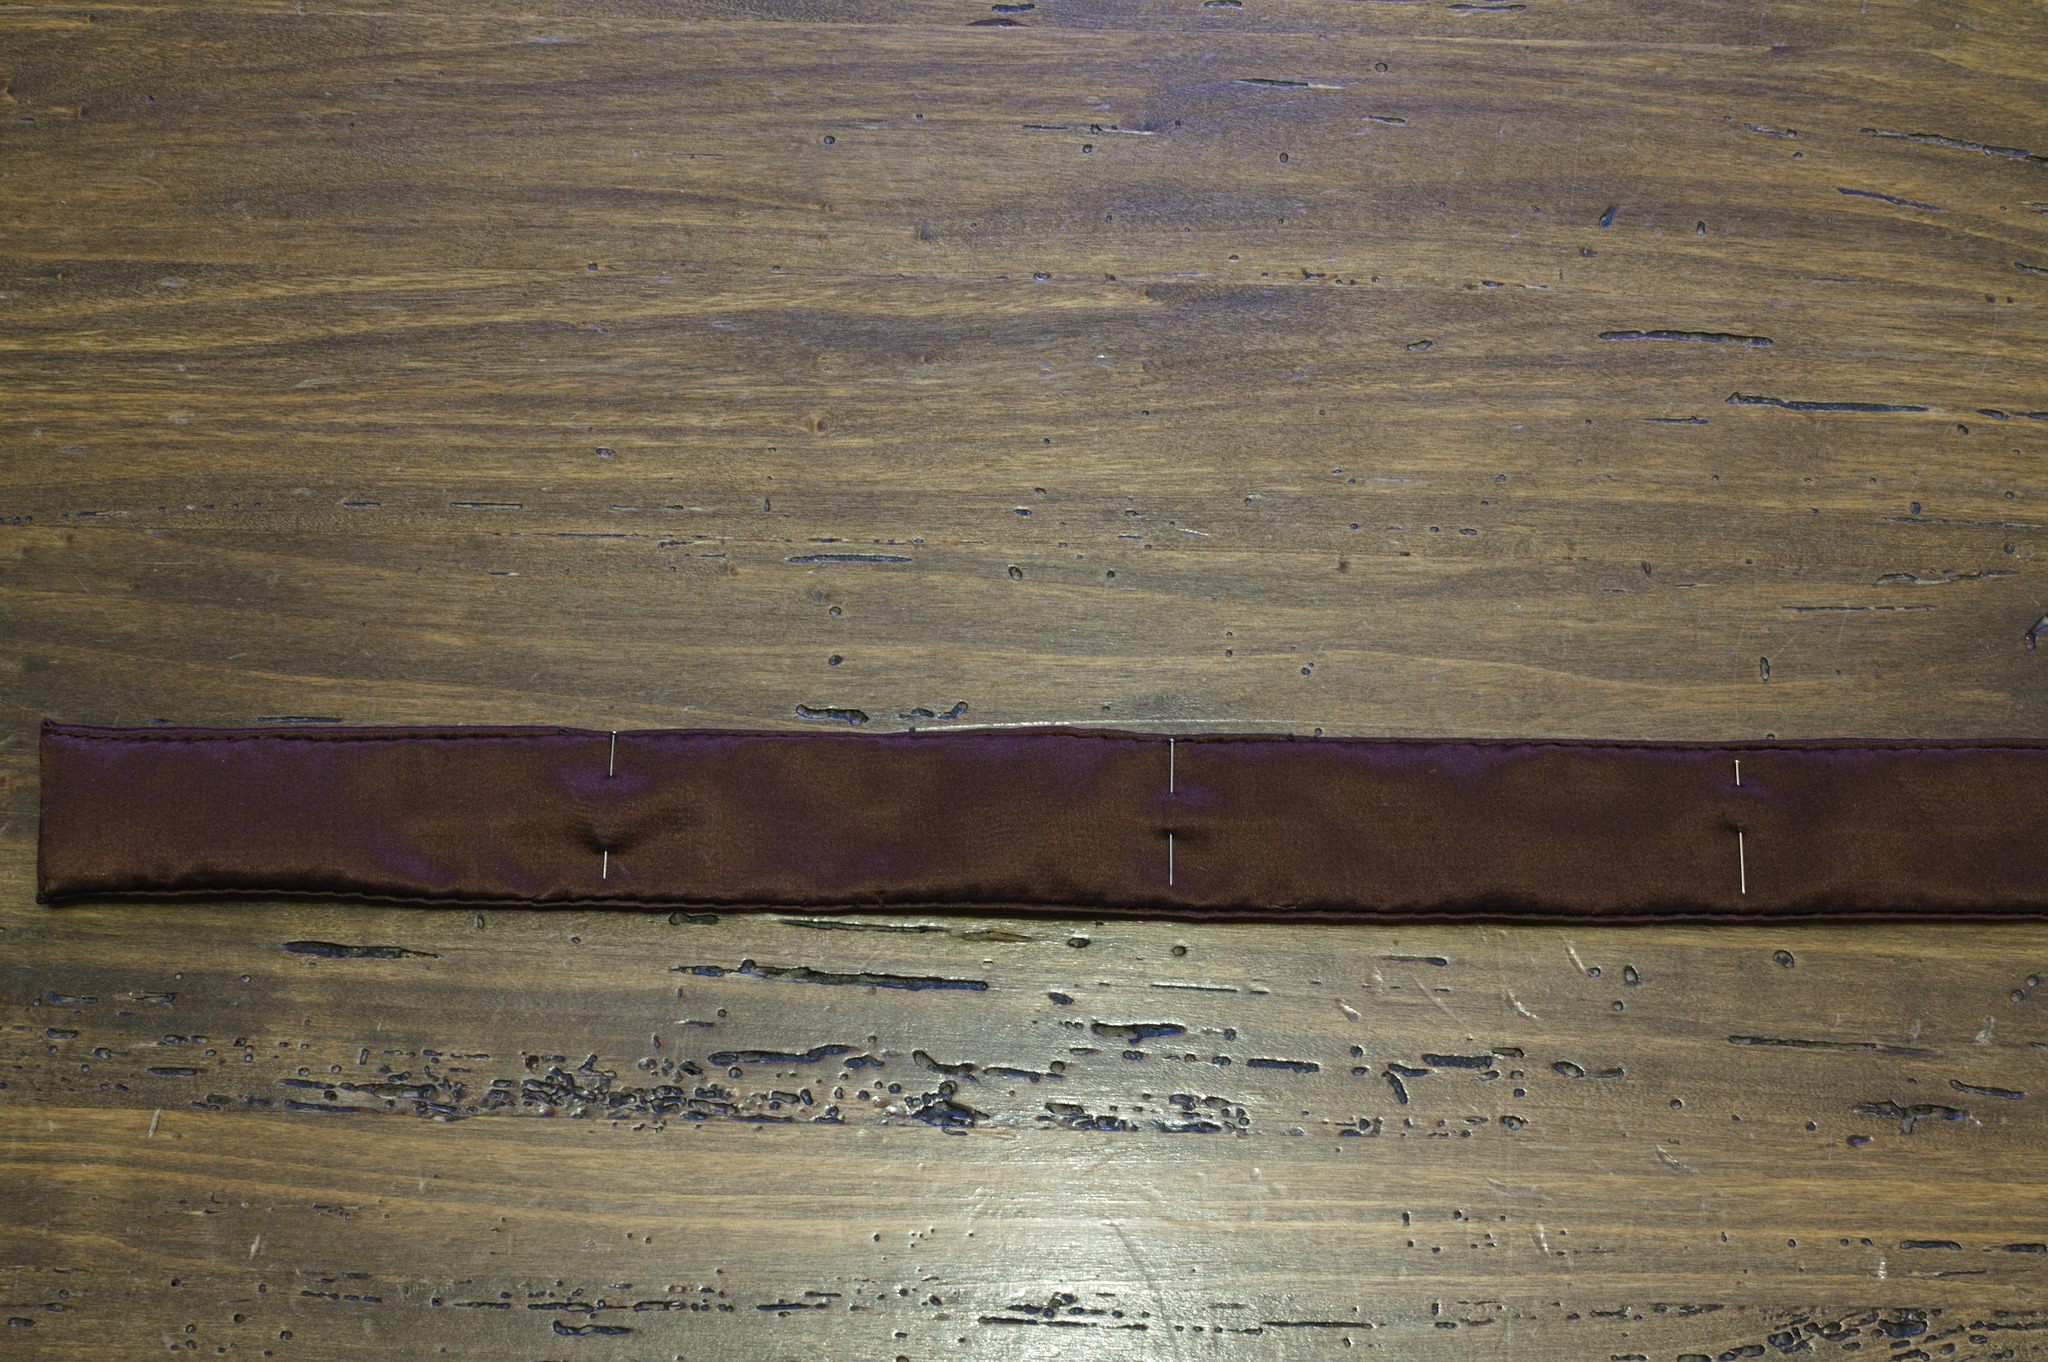
Divide the waistband in as many parts as there are panels (and optionally half that measure), mark these points.
Cartridge Pleating
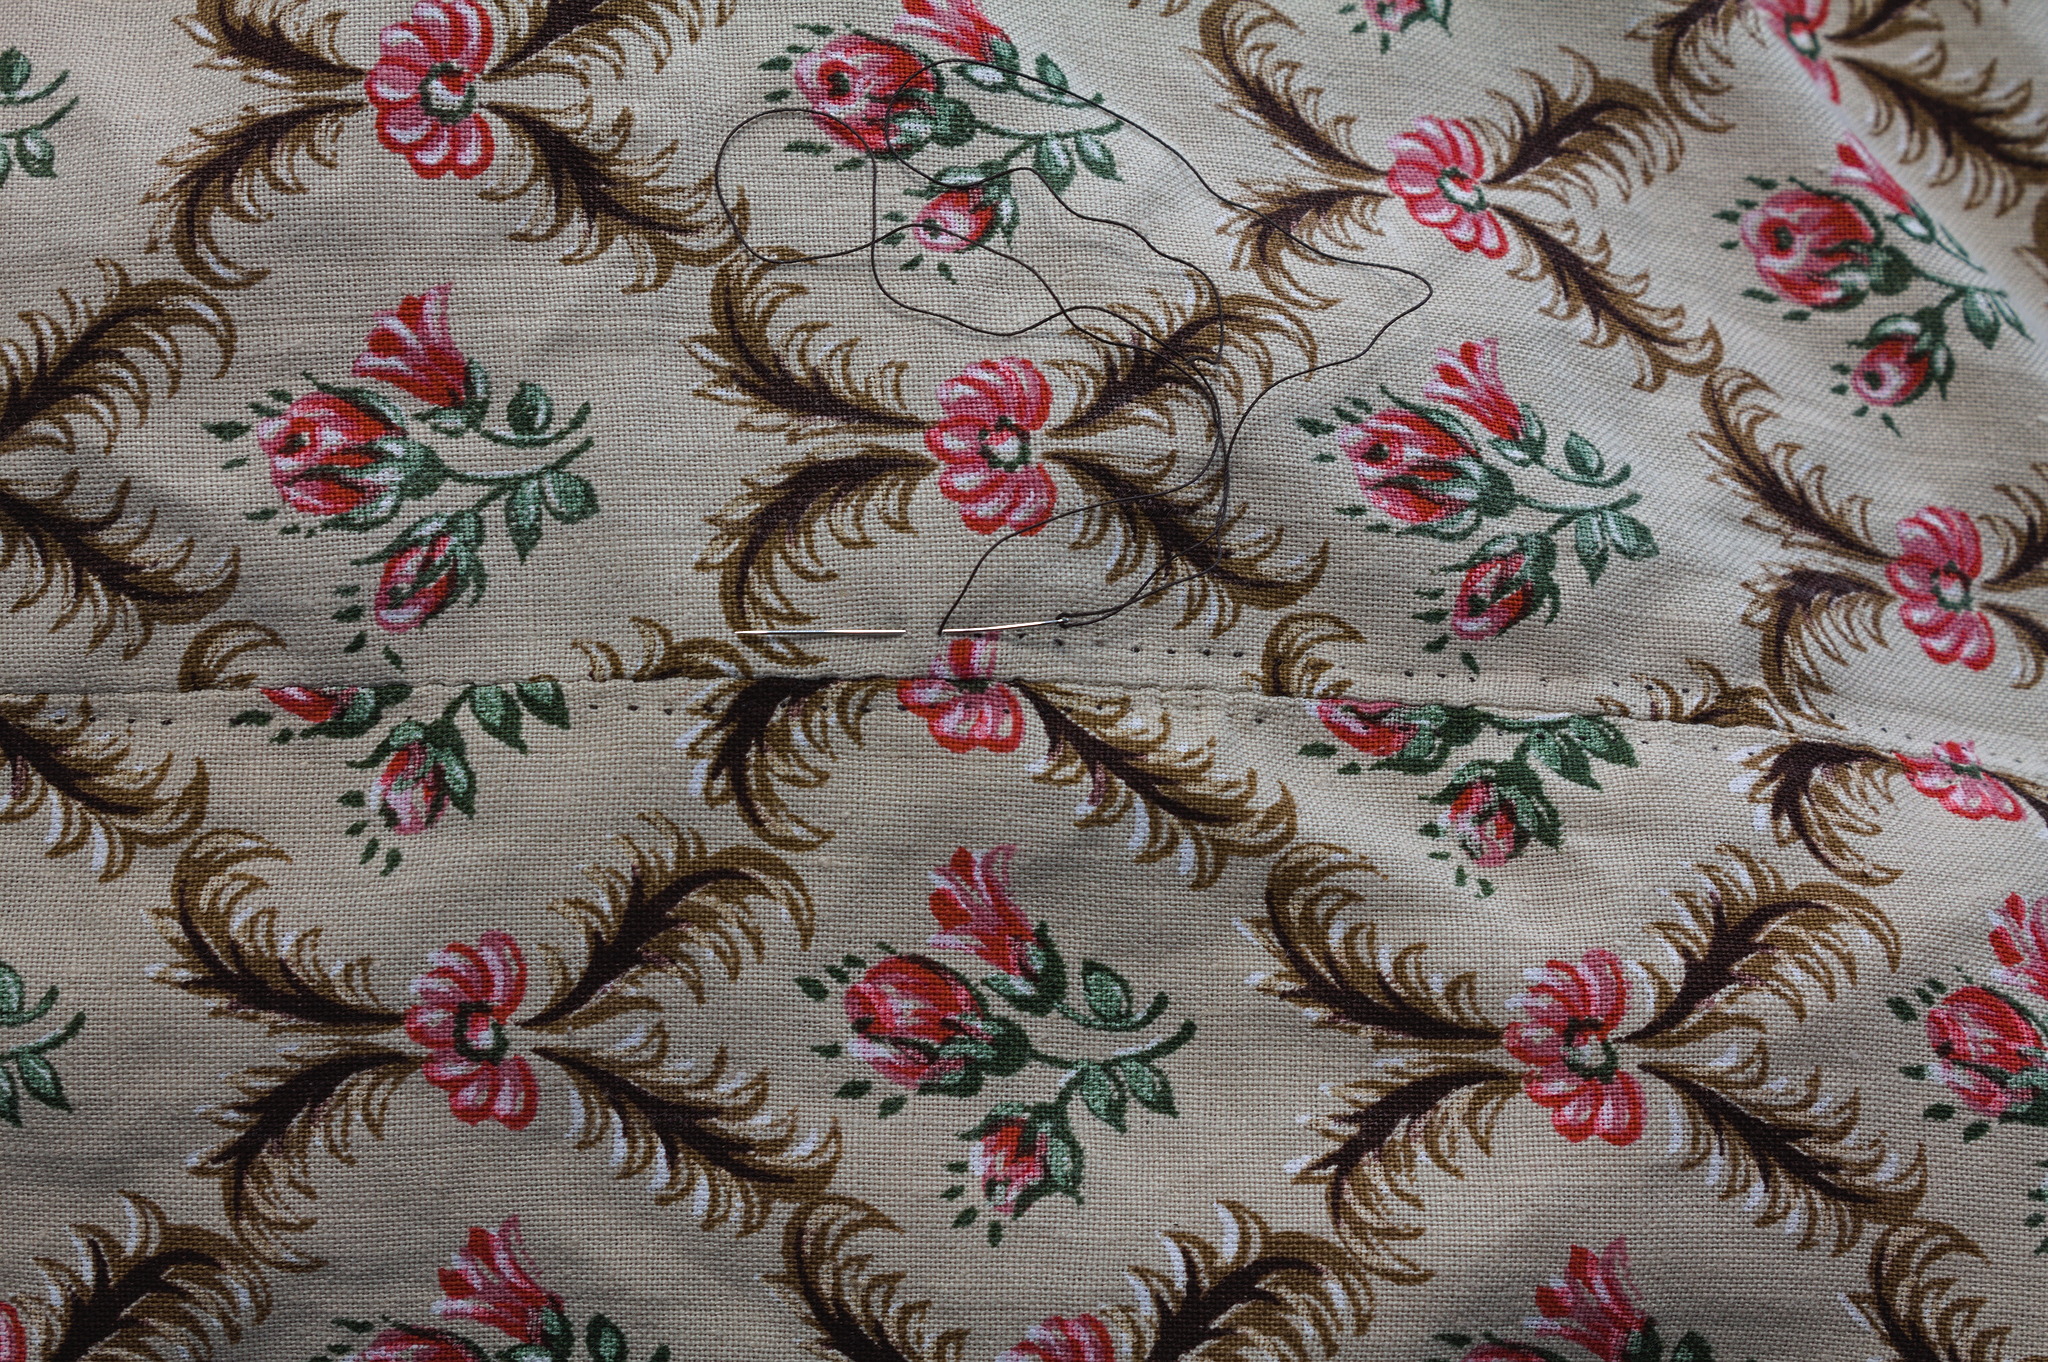
Draw three lines horizontal on the top of the skirt, on the wrong side, starting at 1 cm from the folded edge and with 1 cm between the lines.
Mark the vertical positions for the cartridge pleated stitches at a distance of 0.5 - 2 cm from each other, depending on the weight of the fabric, and starting at half such distance from the slit edge.
Mark also the position of the center of each panel.
Tip
if the fabric doesn’t mark easily you can pin a sheet of paper with the markings to the skirt, follow those markings and tear the paper out before pulling the fabric to gather it.
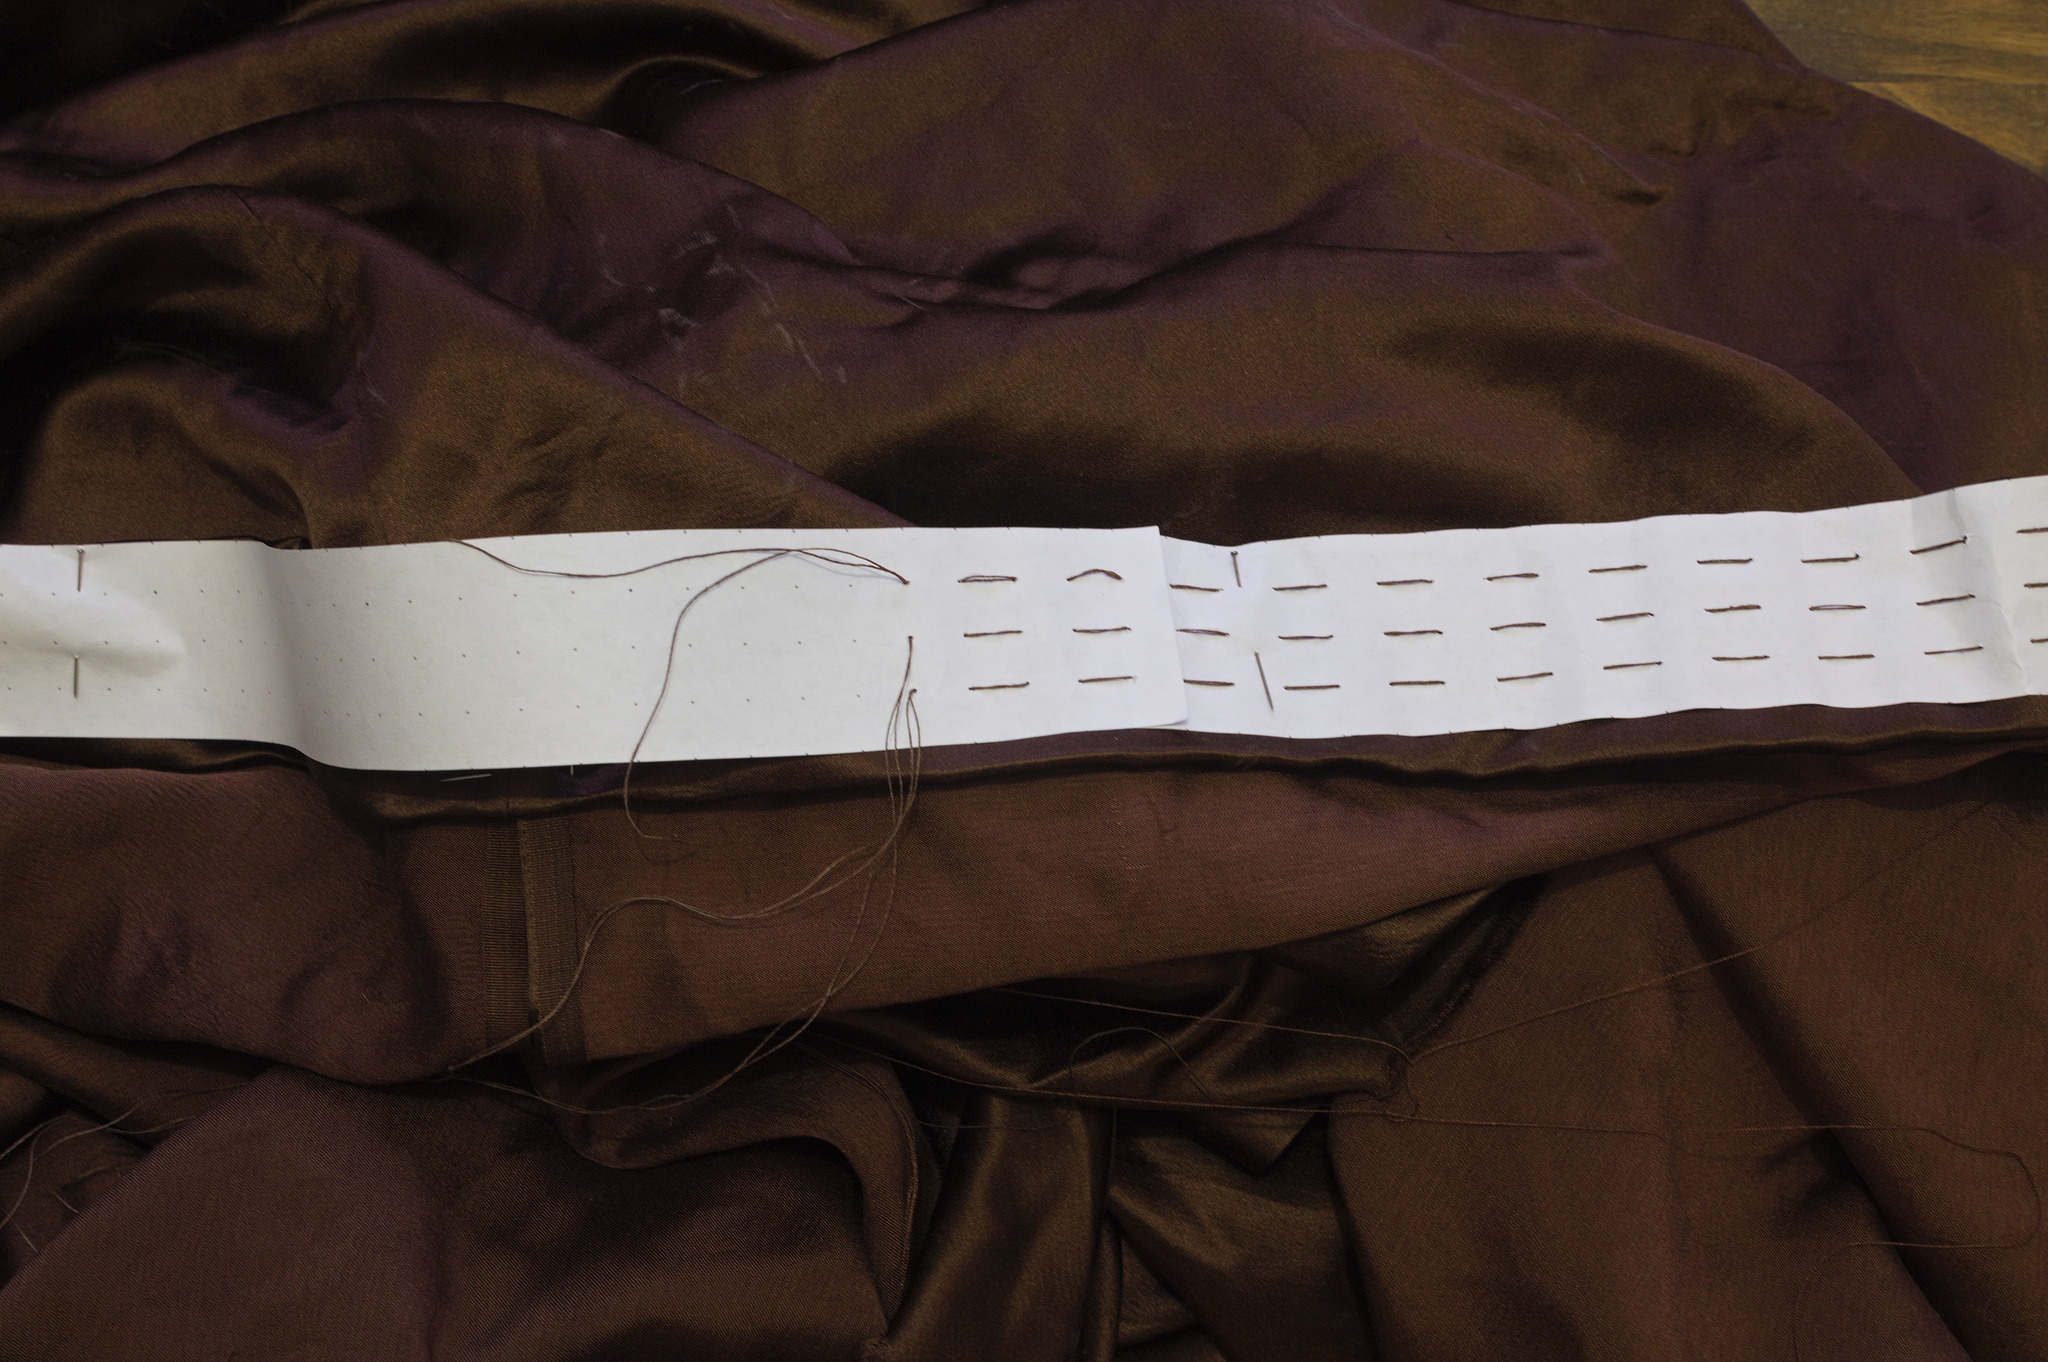
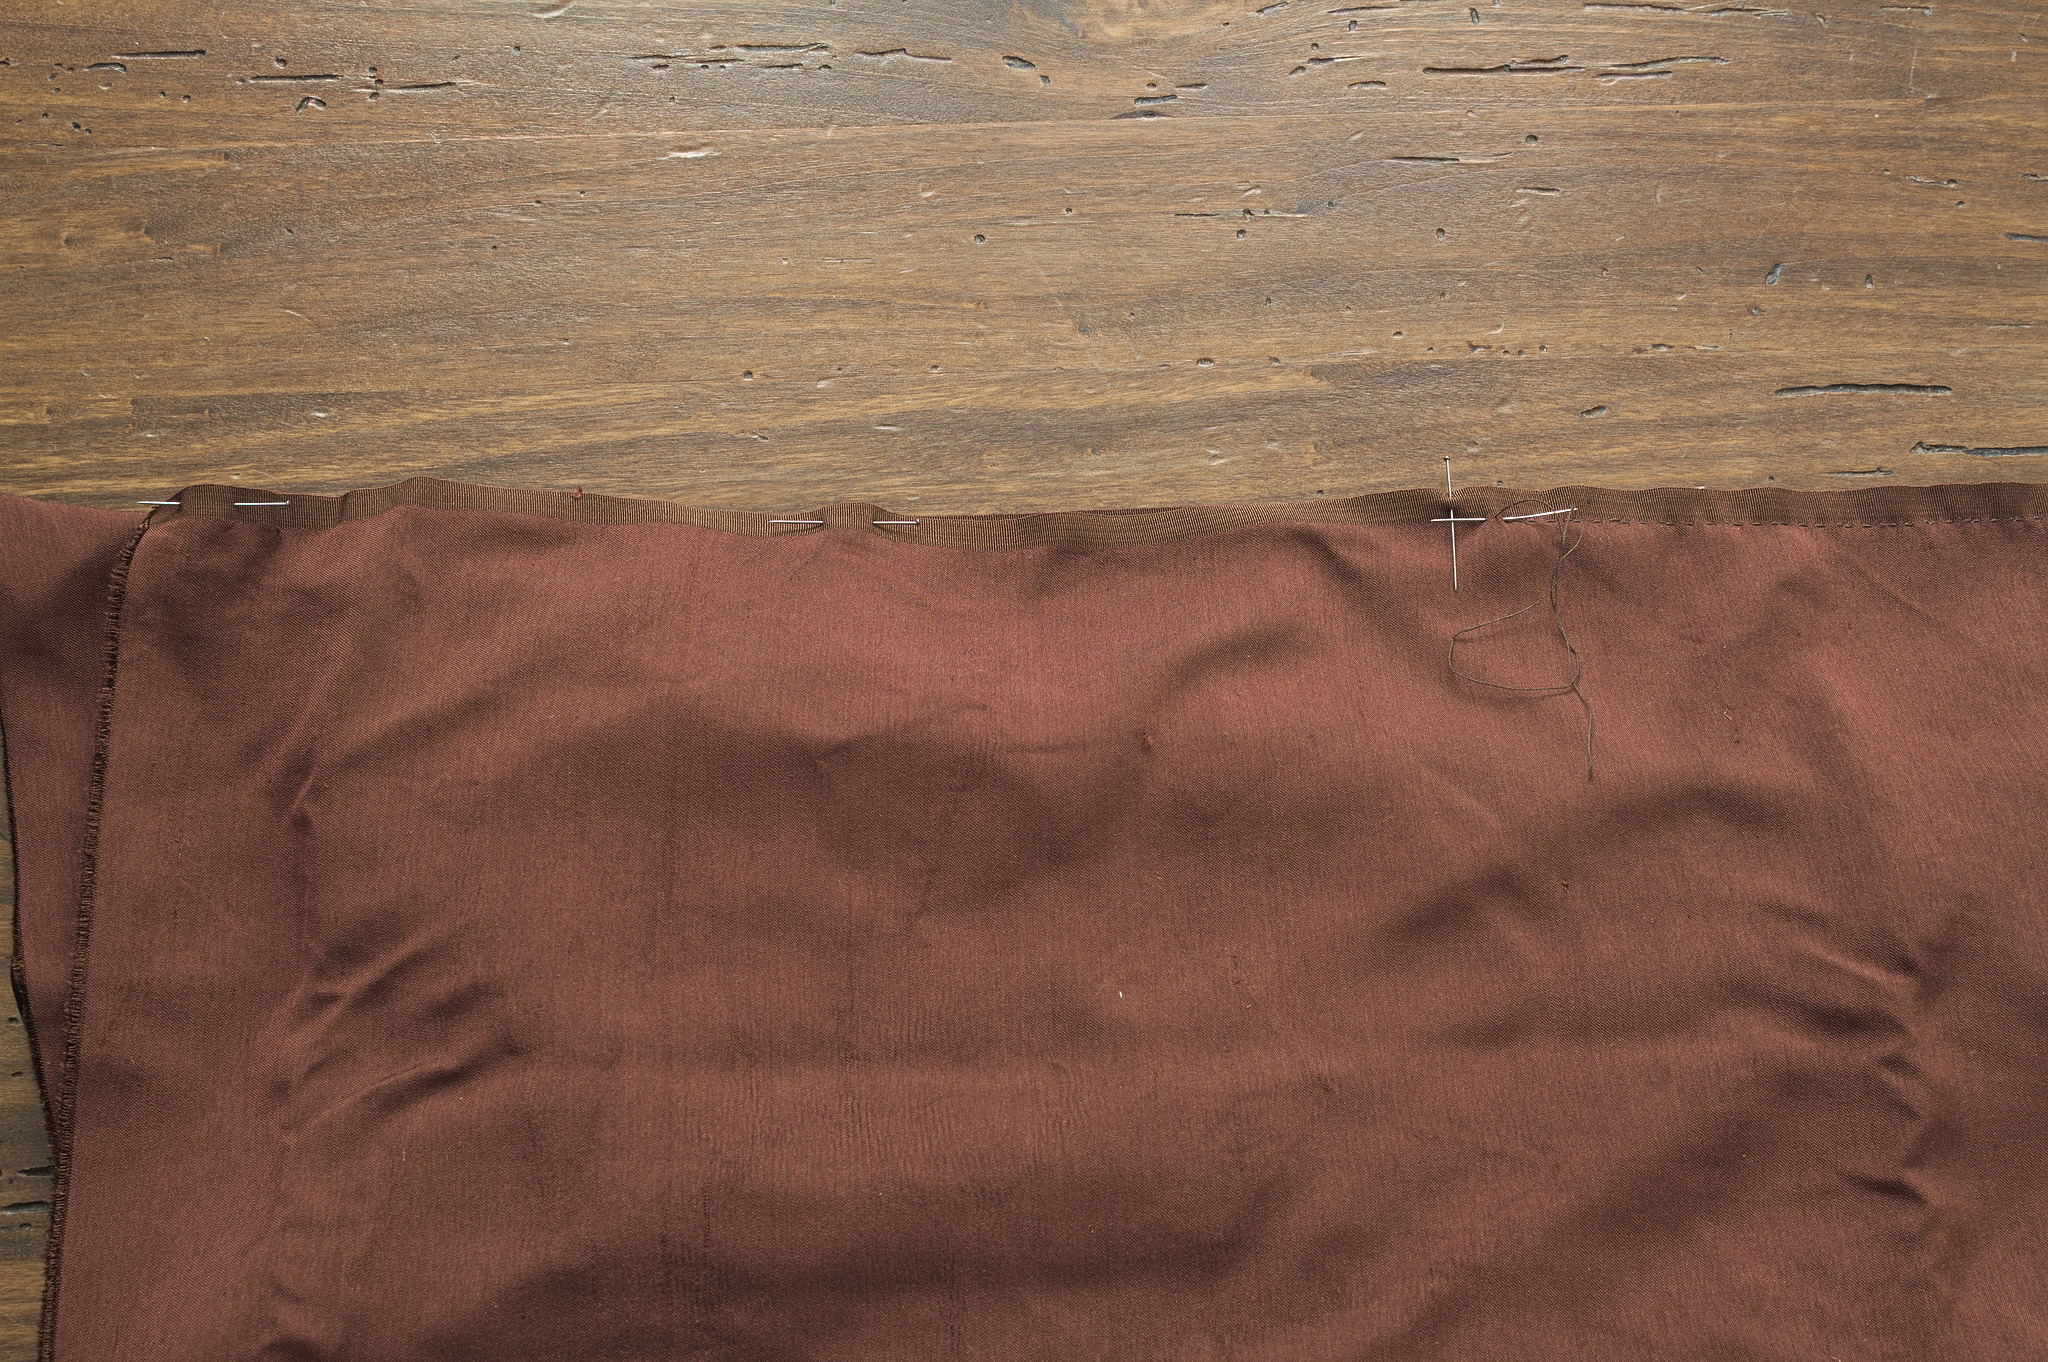
Cut three pieces of strong thread a bit longer than the waistband; fix them in place at one end of the skirt with 2-3 backstitches in place, then start running each one at the positions you have marked before, starting from the wrong side of the skirt.
After you’re out of thread, start running the second row, and then the third.
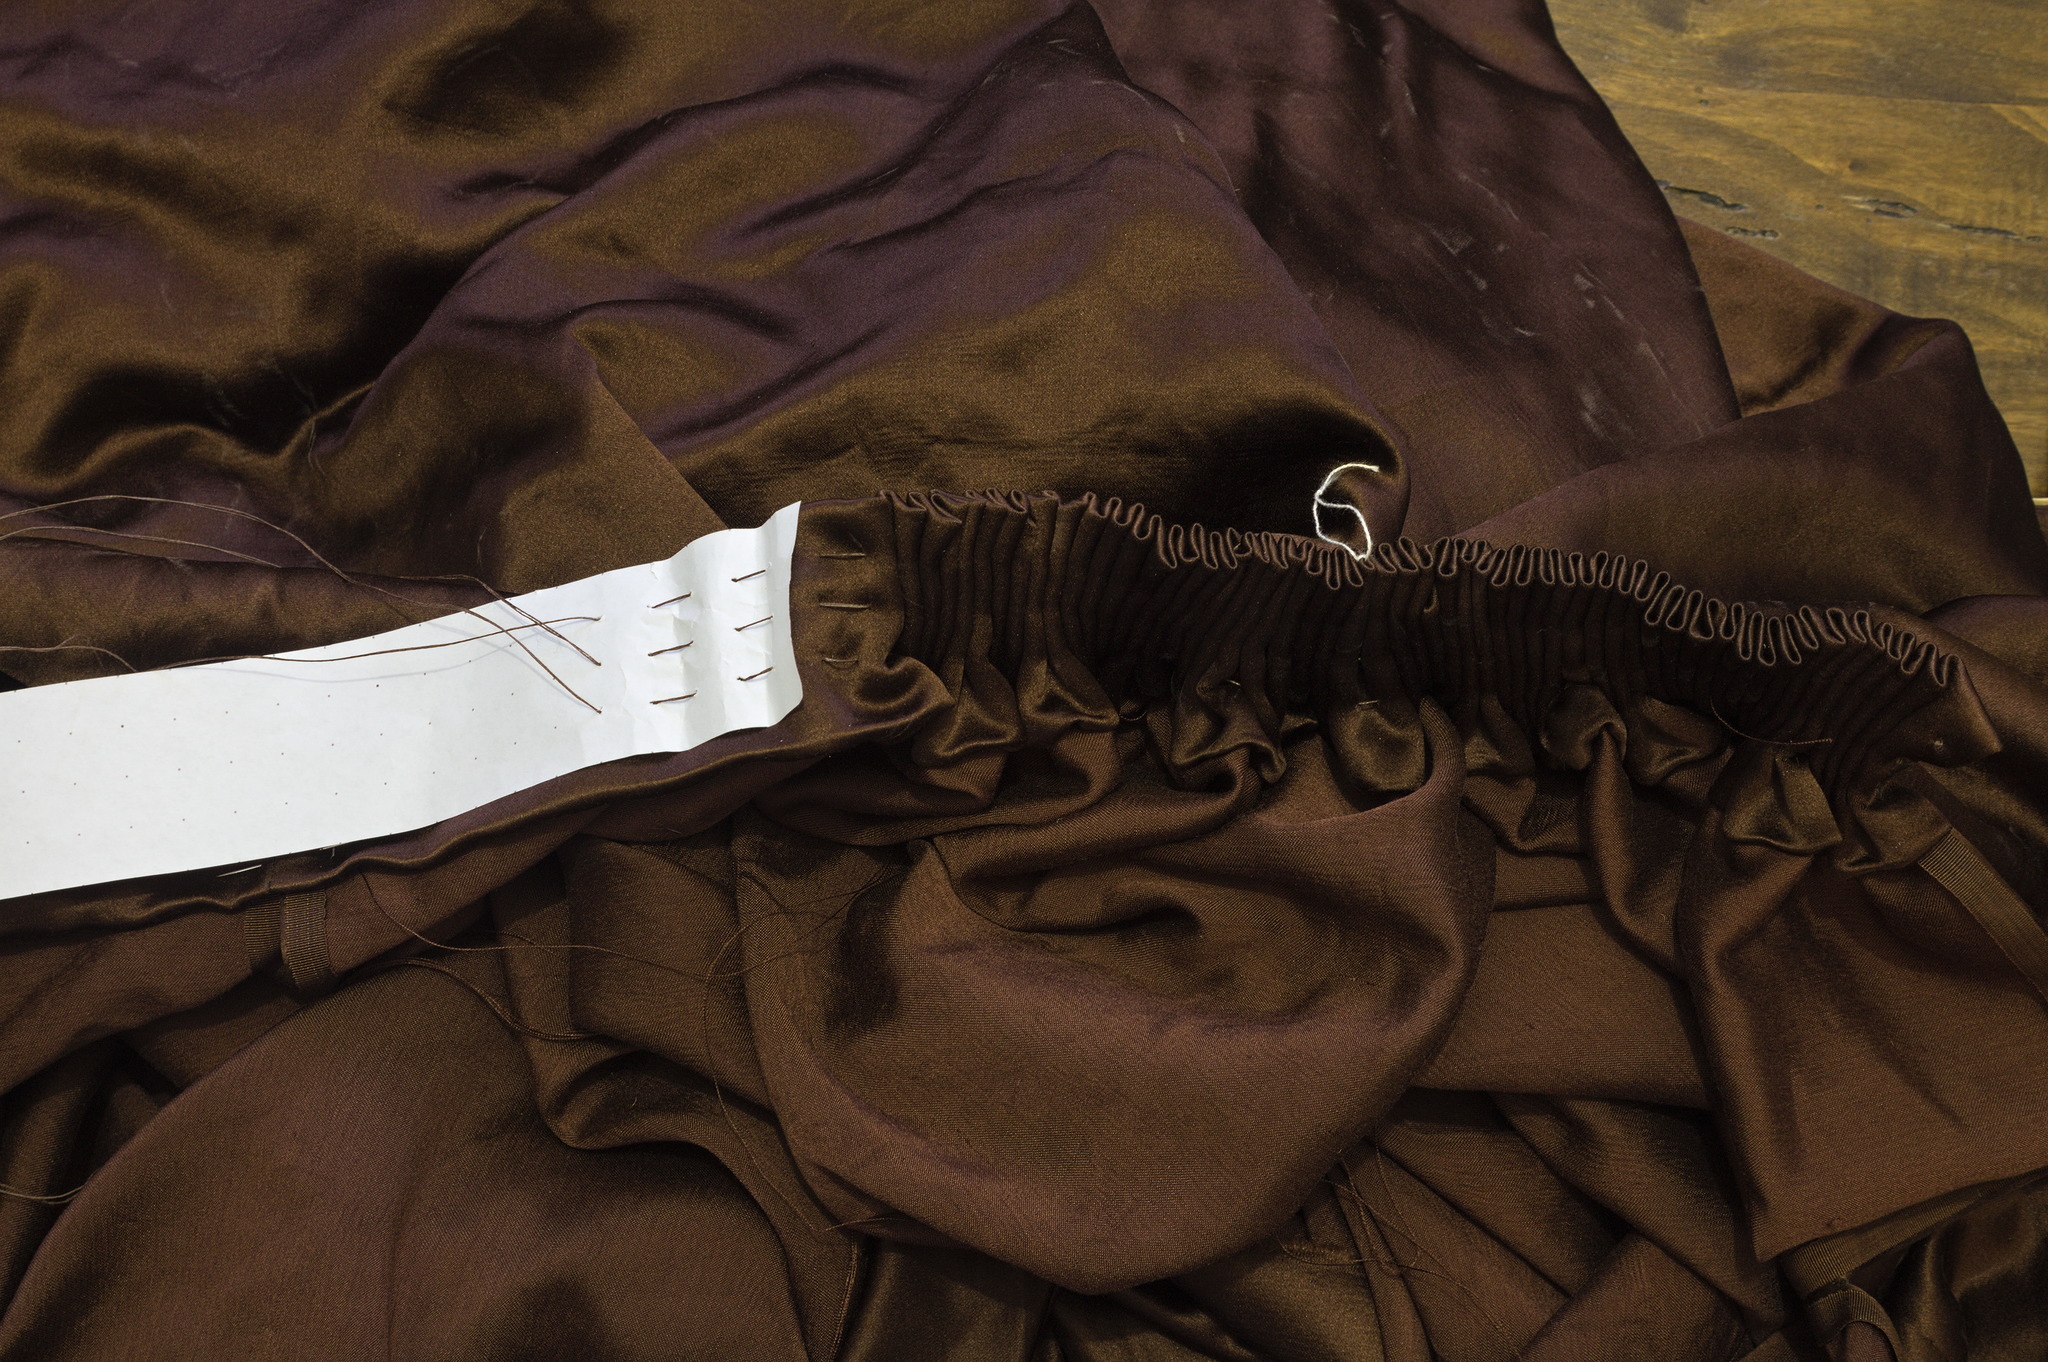
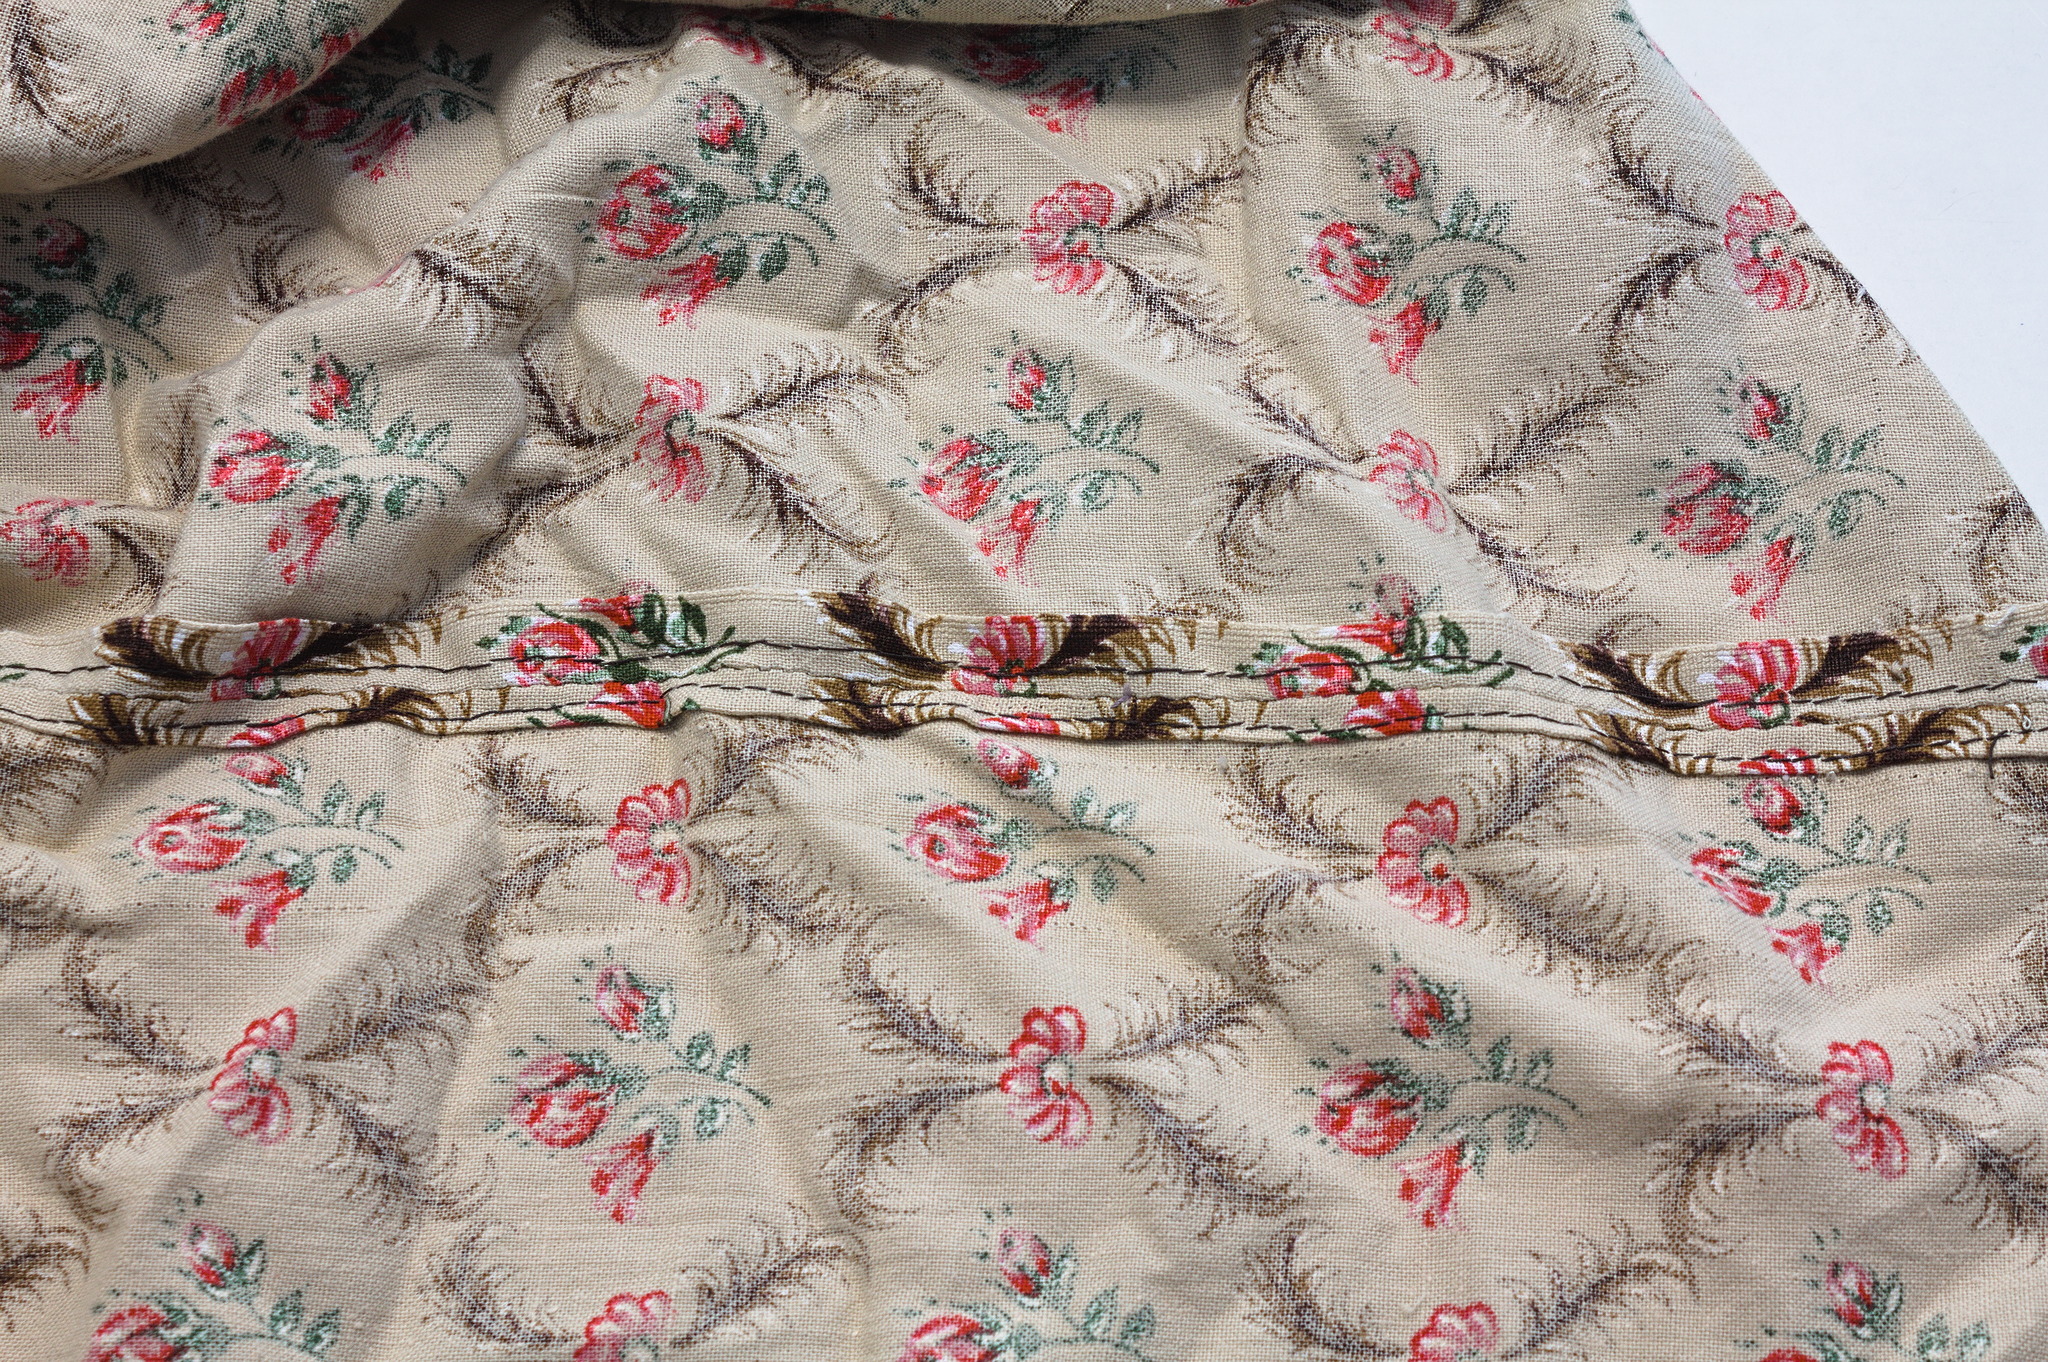
Then pull on the threads to start gathering the fabric and freeing more thread, and resume running, starting with the first thread.
Tip
if one of the threads break, you can leave as long a tail as you can, tie a new one to it and keep and continue working with it.
If more than one thread breaks, or a thread breaks in multiple places, I’d recommend starting from scratch with a stronger thread.
Right sides together, pin the waistband to the skirt in the places you have marked before, arranging the pleats so that they are distributed evenly, but don’t fasten off the threads at the ends yet.
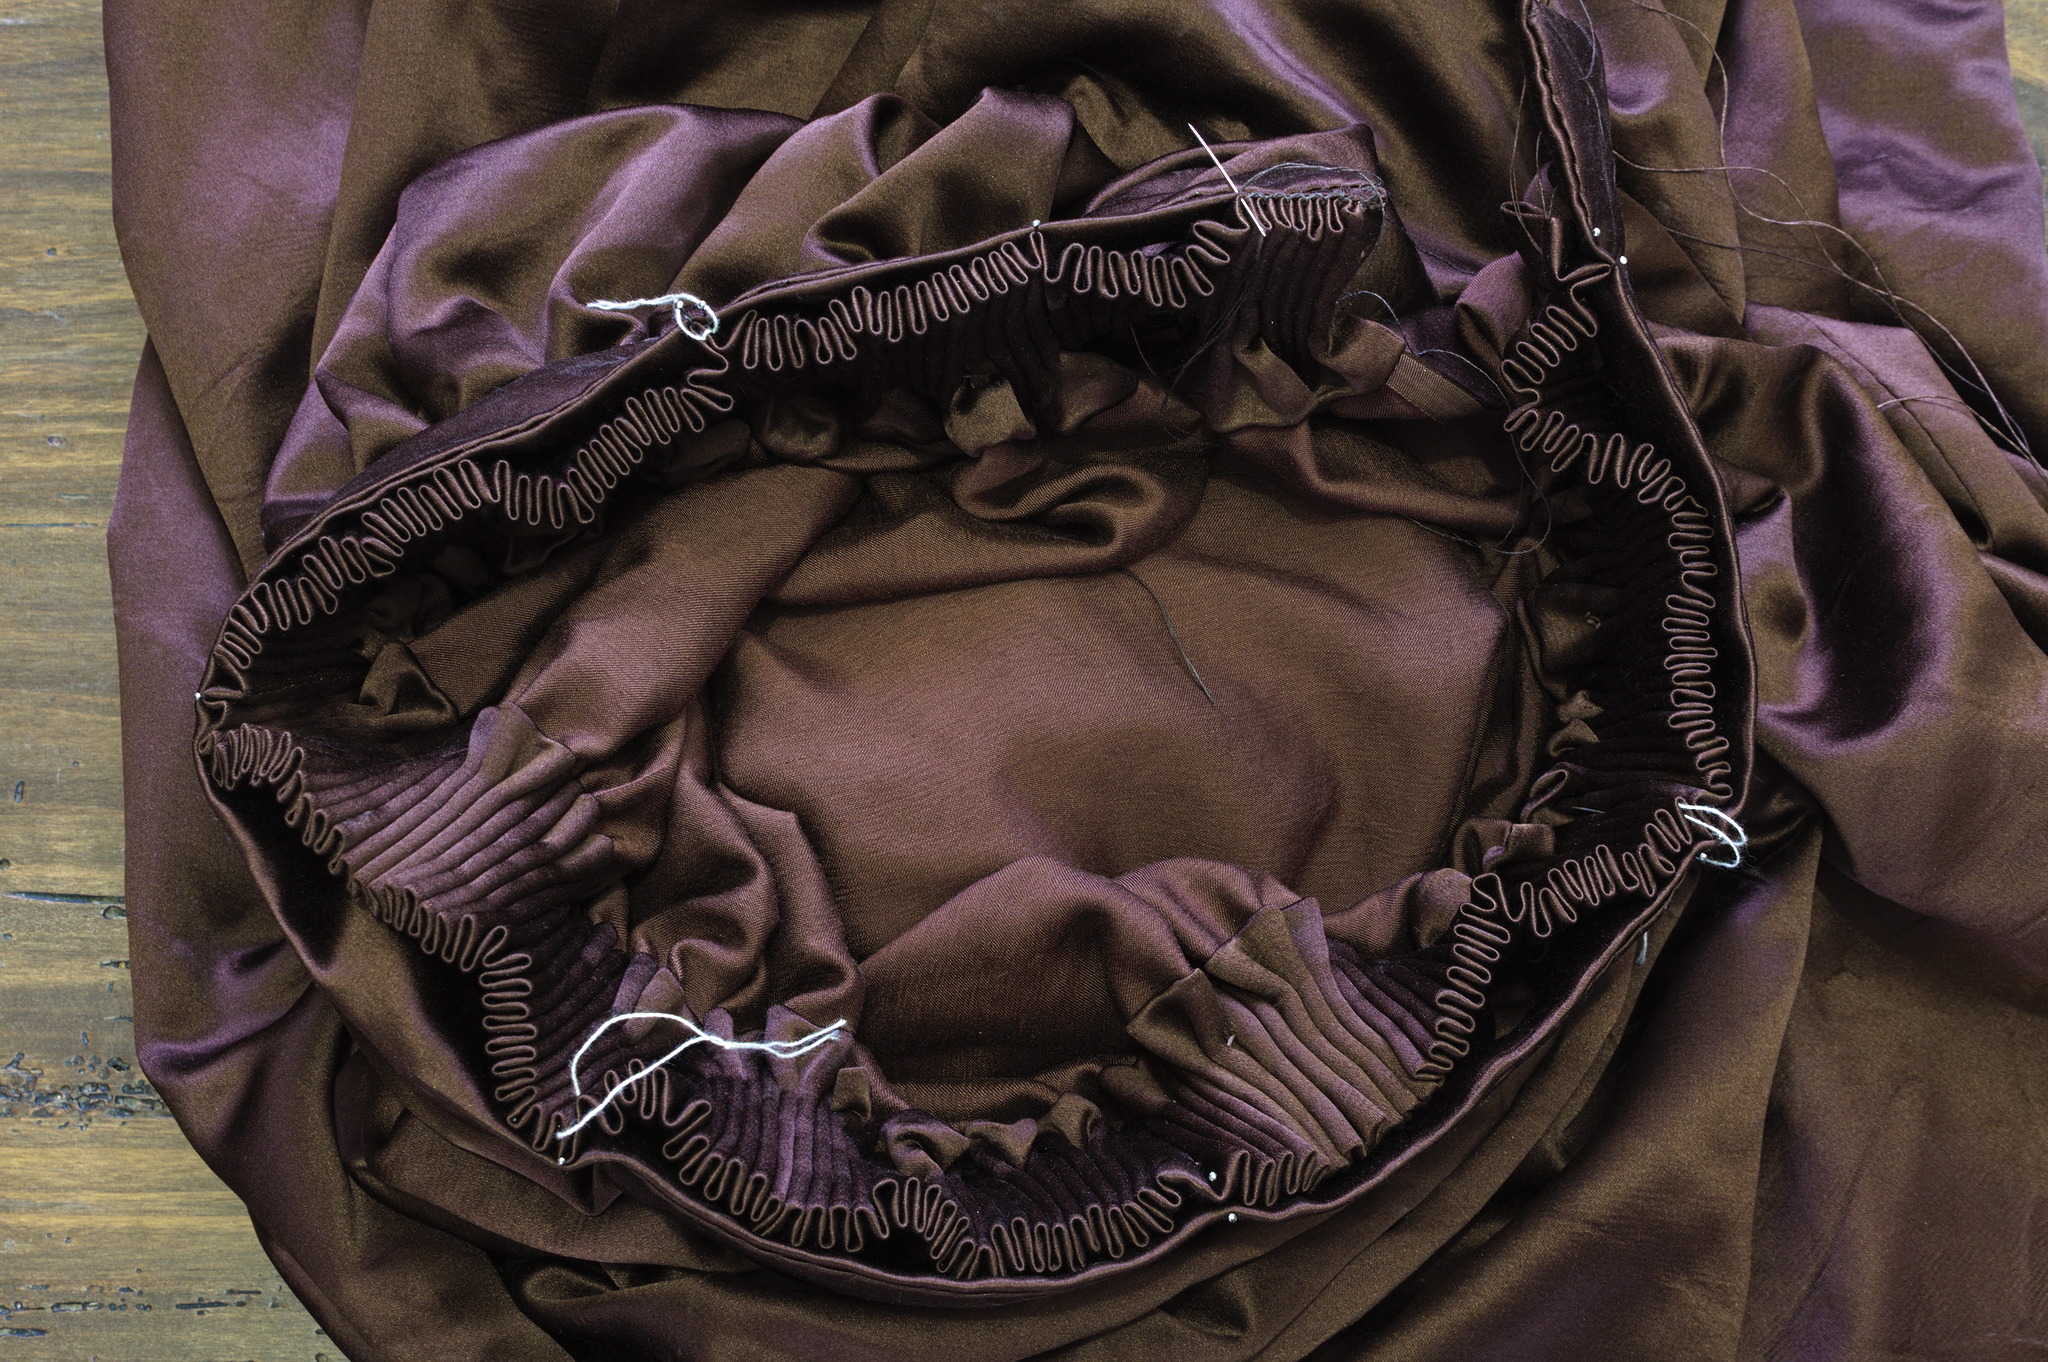
Using again the strong thread, sew the waistband to the skirt with a whipstitch, catching each pleat twice for additional strength.
Finishing
Add hook an eyes or another closure of your choice to the waistband.
Put the skirt on, arrange the pleats on the gathering threads so that they are balanced and allow the shirt to close, and fasten the threads with a few backstitches in place.