Drawstring Backpack
A drawstring backpack (or ten!) is an useful item to have around, a nice reusable container to wrap gifts in, but also an easy project for sewing beginners or to get experience with more demanding materials for more advanced sewists.
Materials
Fabric: about 100 cm × 50 cm, see below for suggestions;
webbing, twill or grosgrain tape: 60 cm, 2.5 cm width;
cord: 4 meters;
2 minibiners;
sewing thread.
For beginners I’d strongly recommend using a sturdy cotton fabric and cotton tape, possibly matched with jute cord.
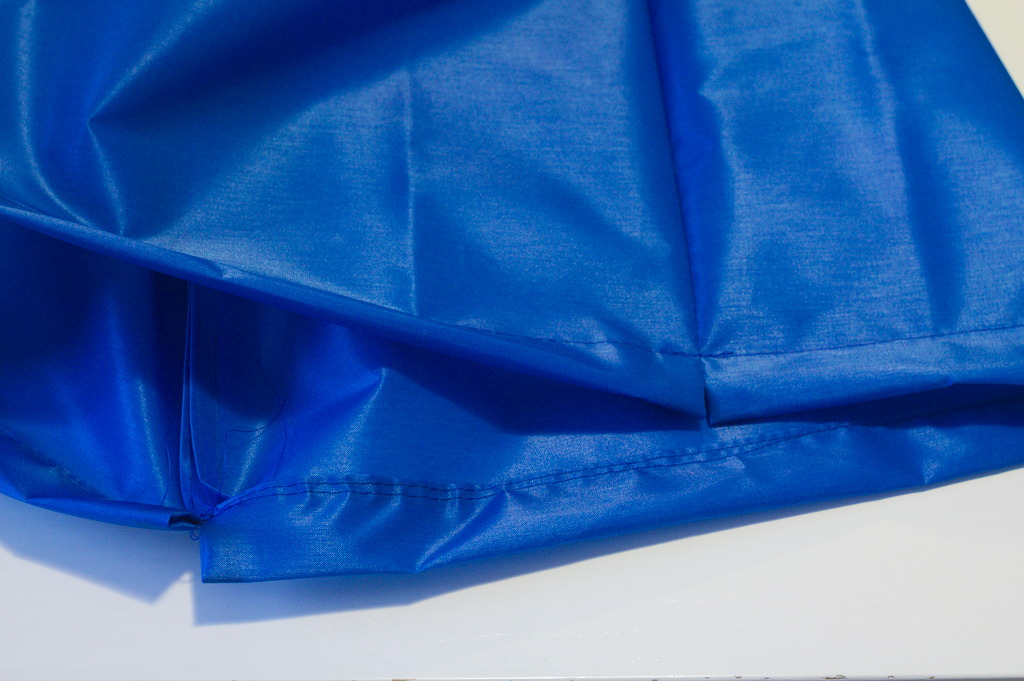
For people who are confortable working with slippery materials (or are ready to start working on those), a lightweight water repellent fabric such a silnylon makes a pretty useful backpack; in this case nylon or polyester webbing and paracord are a good match.
Instructions
Tip
If using coated, water repellent fabric, you want to minimize holes, so use a longer stitch than usual (e.g. 3 mm) and avoid using pins as much as possible, only using them in the sewing allowances.
Do however backstitch at the start and end of all seams, for stability.
Binder clips are useful to keep things in place without making holes, even if they can’t do miracles on extra slippery fabric like silnylon.
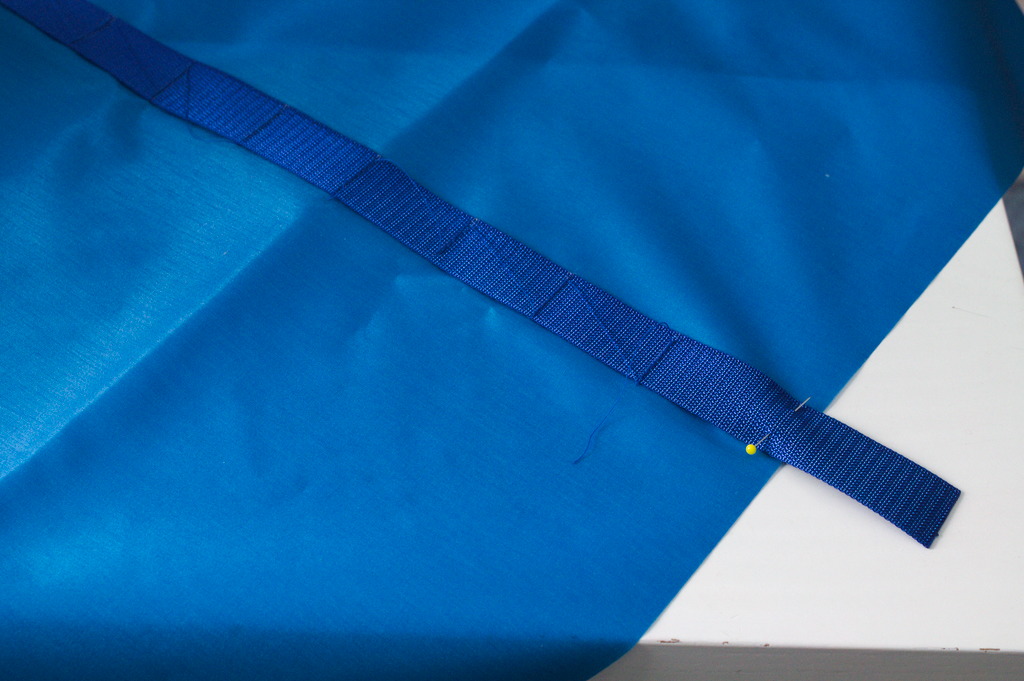
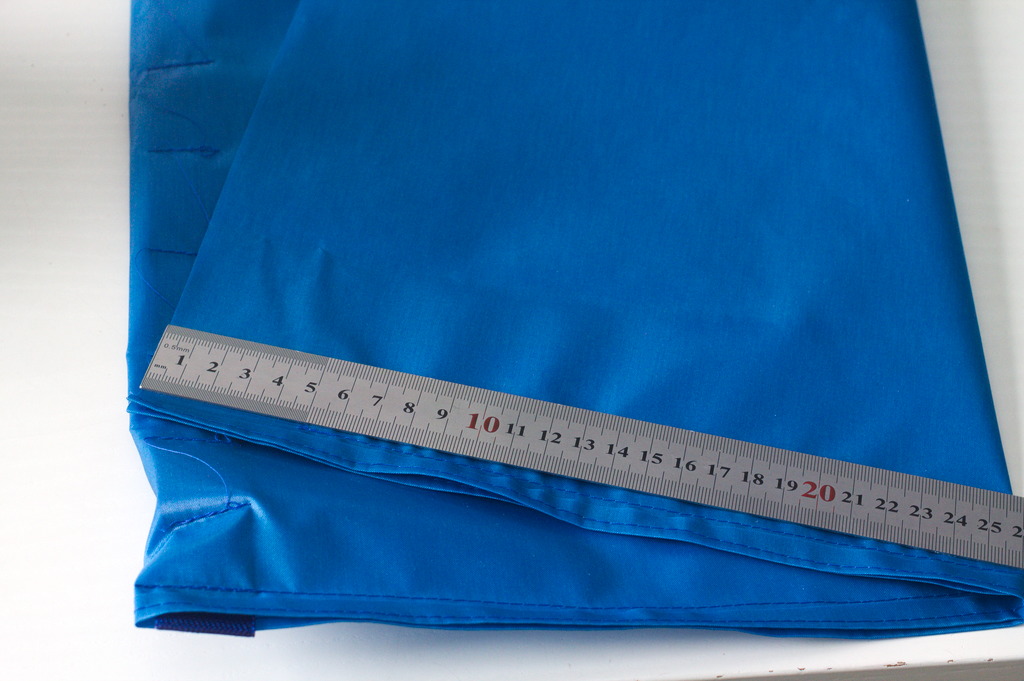
Fold the fabric in half on the long edge to find the middle, and put the webbing on the right side, centered on the fabric; open the fabric. Starting from the center of the webbing measure every 4 cm and sew it to the main body, backticking on each seam.
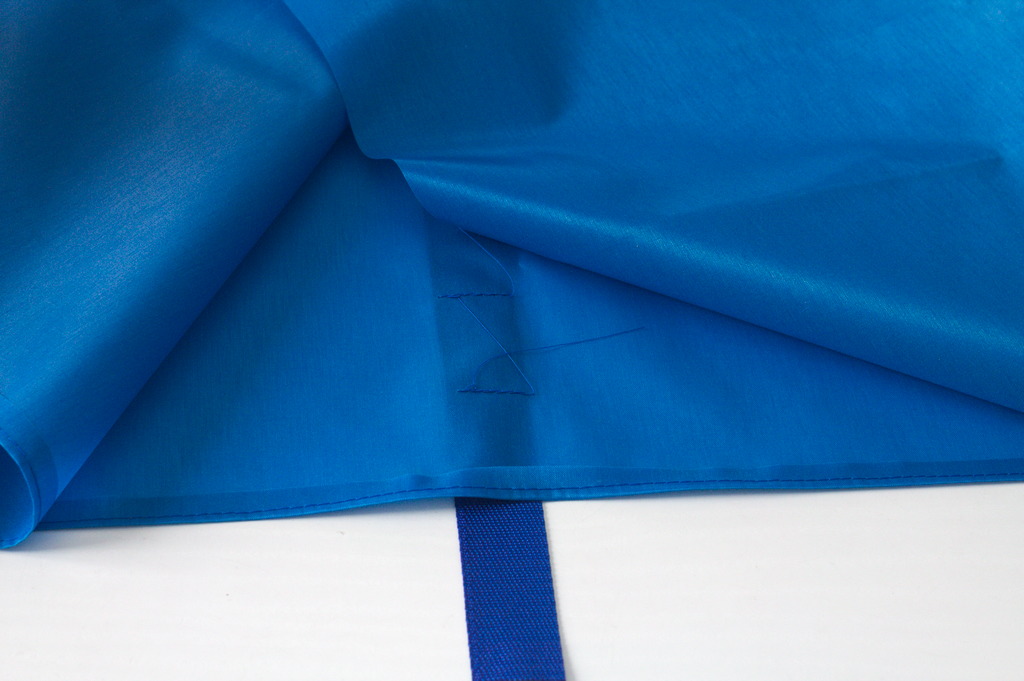
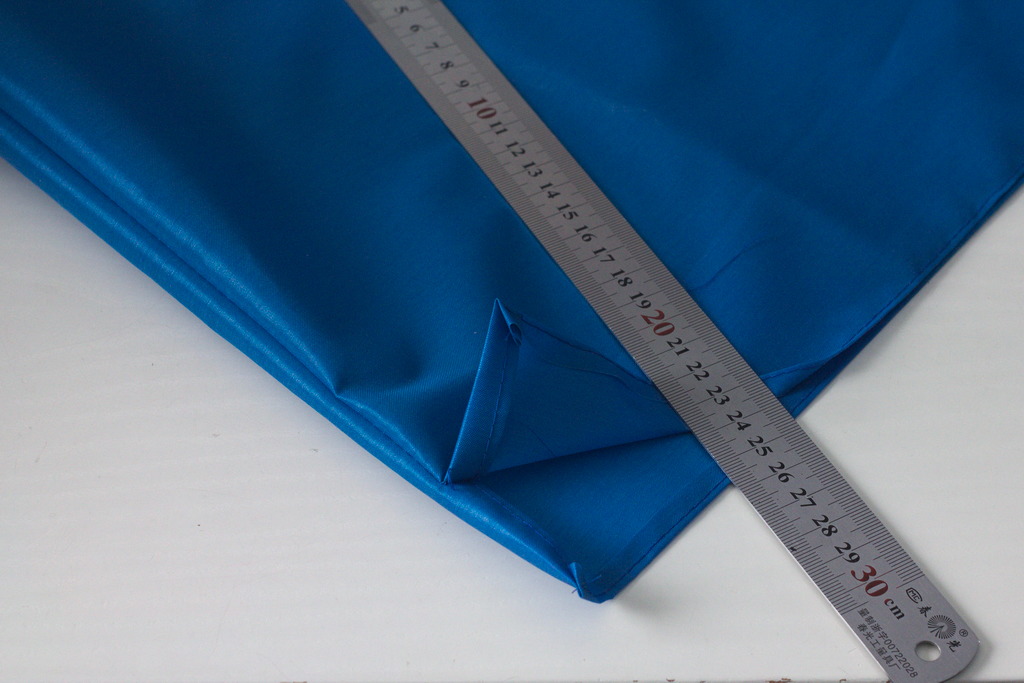
Fold the long sides towards the wrong side by 1 cm, sew 1-2 mm from the fold, leaving the webbing free.
Place the right sides together, folding the webbing so that its edge is aligned to the (just folded) edge of the fabric, sew the sides with 1 cm allowance, stopping 5 cm from the top; turn inside out.
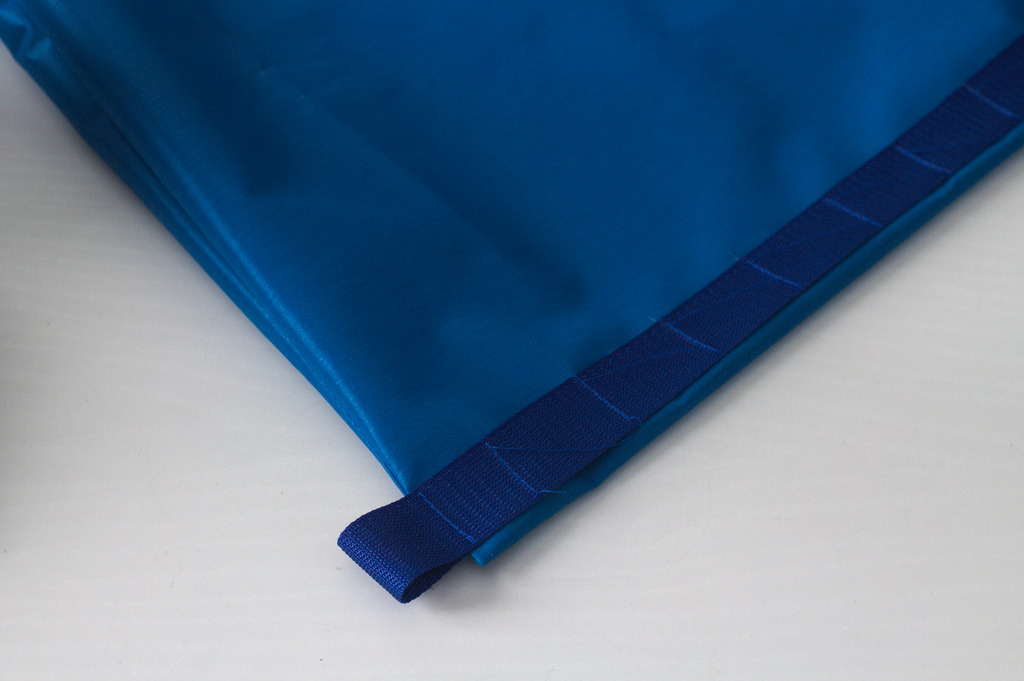
Sew and backtack on the webbing at about 1 mm from the border to stabilize the loop.
Fold down the top edges by 1 cm, sew again 1 mm from the edges.
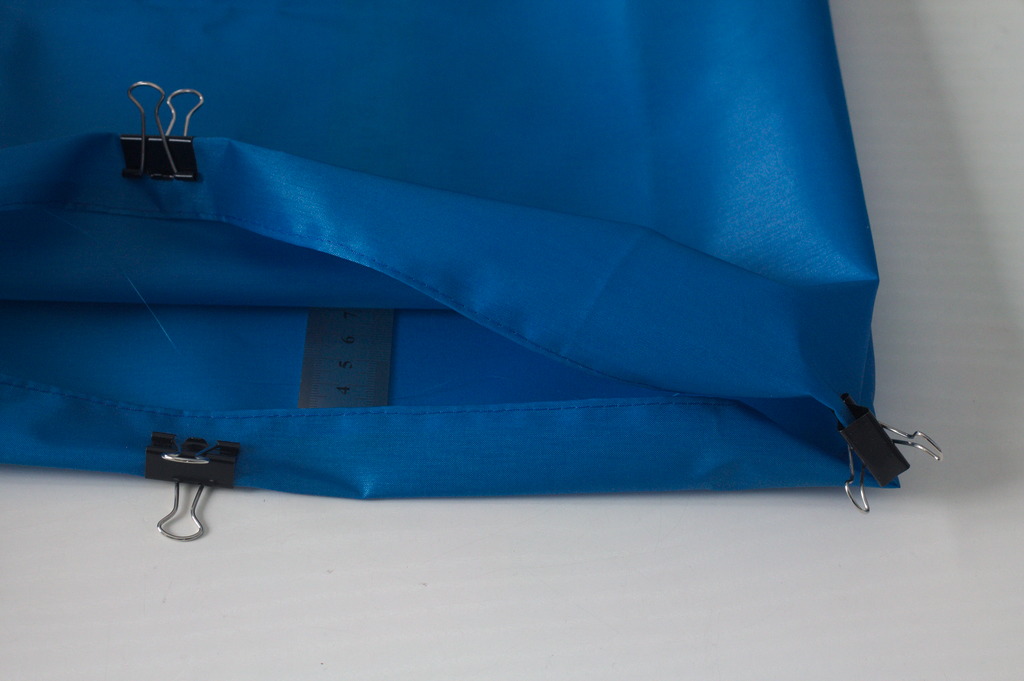
Fold down again 2.5 cm and sew to create a channel for the drawstrings, backticking near both side seams to add stability.
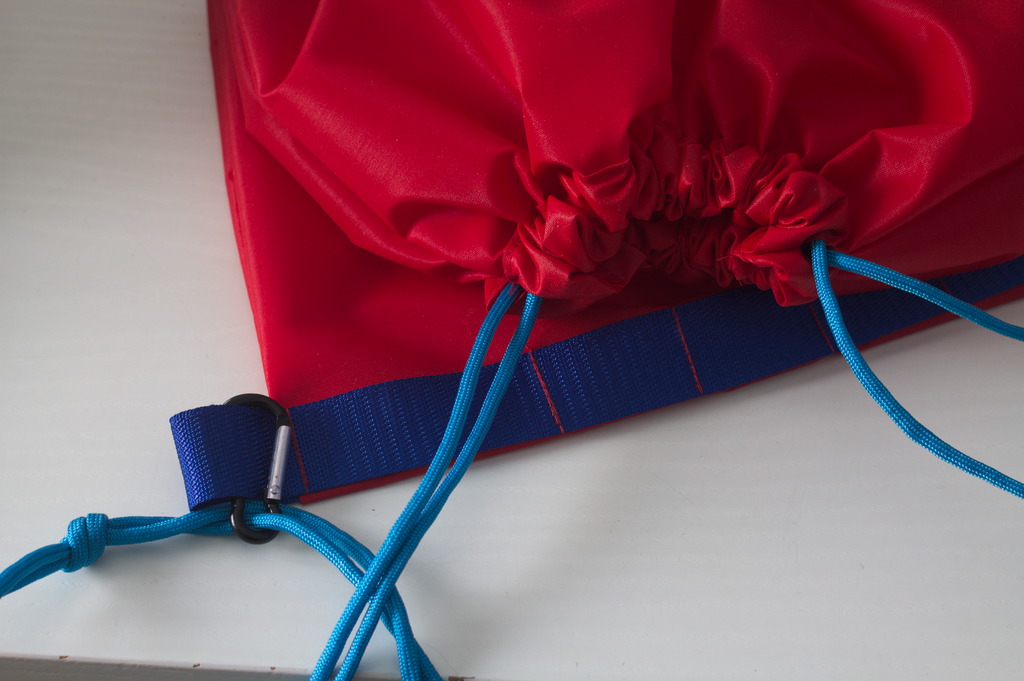
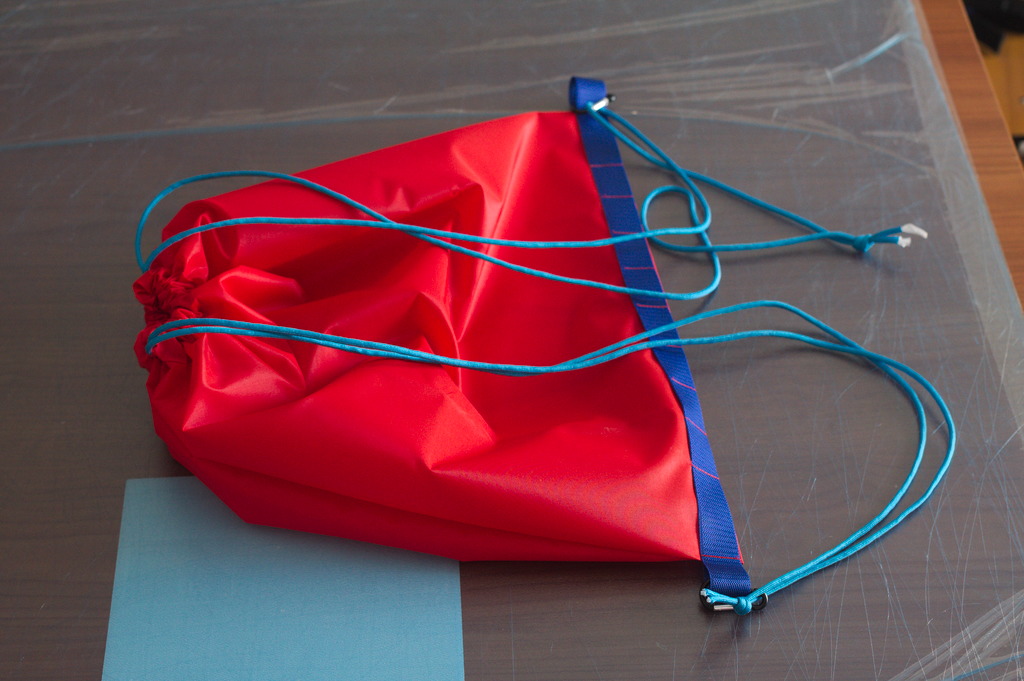
The channel will have two openings: insert the cords so that they exit from the opposite corners, make a few knots at the bottom and attach them to the webbing loops with minibiners so that you can adjust the lenght.