Pair of Pockets
In the 18th and parts of the 19th century, pockets for women were an accessory not attached to any garment, but tied around the waist and worn under the skirt (the more modest and privacy-respecting way) or on top of it (for convenience, usually done just by the working classes).
Beside being significantly bigger than what is usually found in modern womenswear clothing (but not necessarily the ones found in the ones from the 19th century), they have the advantage of not letting the weight of the contents hang from the fabric of a garment, and thus they are a good match to ligtweight skirts or ones made from knit fabric.
Or, since it’s the 2020s and there is no sense of decency anymore :D one can wear them on top of a pair of jeans, visible to anybody.
Historical pockets were quite diverse: a good overview of their history is in [BF19] (or a very short version in [VM21]), and an internet search will get you lots of historical examples to reproduce or take inspiration from, as well as people who made their own pockets and publish instructions, some of which are listed in the See Also section.
This is just one way to make a pair of pockets which works and is easy enough to do; if you are so inclined the rabbit hole of historical construction methods can offer you many hours of research and making.
I sew most of my pockets by hand, as it is a quick and easy project, but machine sewing is also an option, especially for more modern variants. To sew by machine, lockstitch where the instructions say to backstitch, and topstitch instead of hem/applique-stitching.
Materials
Fabric: about 40 cm of strong cotton or linen;
optional, about 40 cm of dense cotton or linen for a lining;
2.4 m edge binding (bias or straight);
1.5 m tape;
sewing thread.
This is of course a great way to use scraps and leftovers, and if you don’t have enough fabric to make a pair there are plenty of historical examples of single pockets mounted on a tape of their own.
For the edge binding you can use finished tape, folded in half, or strips of fabric, cut either on the straight grain (generally more historically accurate) or the bias, folded in half and with the raw edges folded towards the inside.
For the tape that runs around the waist you can use finished tape, or fabric folded like the edge binding.
Pattern
The pattern for these pockets is a vaguely pear shaped bag with a slit in the top half of the front, often more than 40 cm deep. If you’re not reproducing an existing pocket you may want to download my own pattern, which has the width and height of a B4 sheet and is on the smaller end of typical historical sizes:
pockets_B4.svgSVG source, can be scaled to taste;
pockets_B4-A4.pdfPDF, tiled on two A4 sheet;
Instructions
If you want to make embroidered pockets it’s easiest to do on the fabric before cutting it: mark the outline and slit of the pocket and embroider leaving a clear space around those markings of at least half the width of your binding.
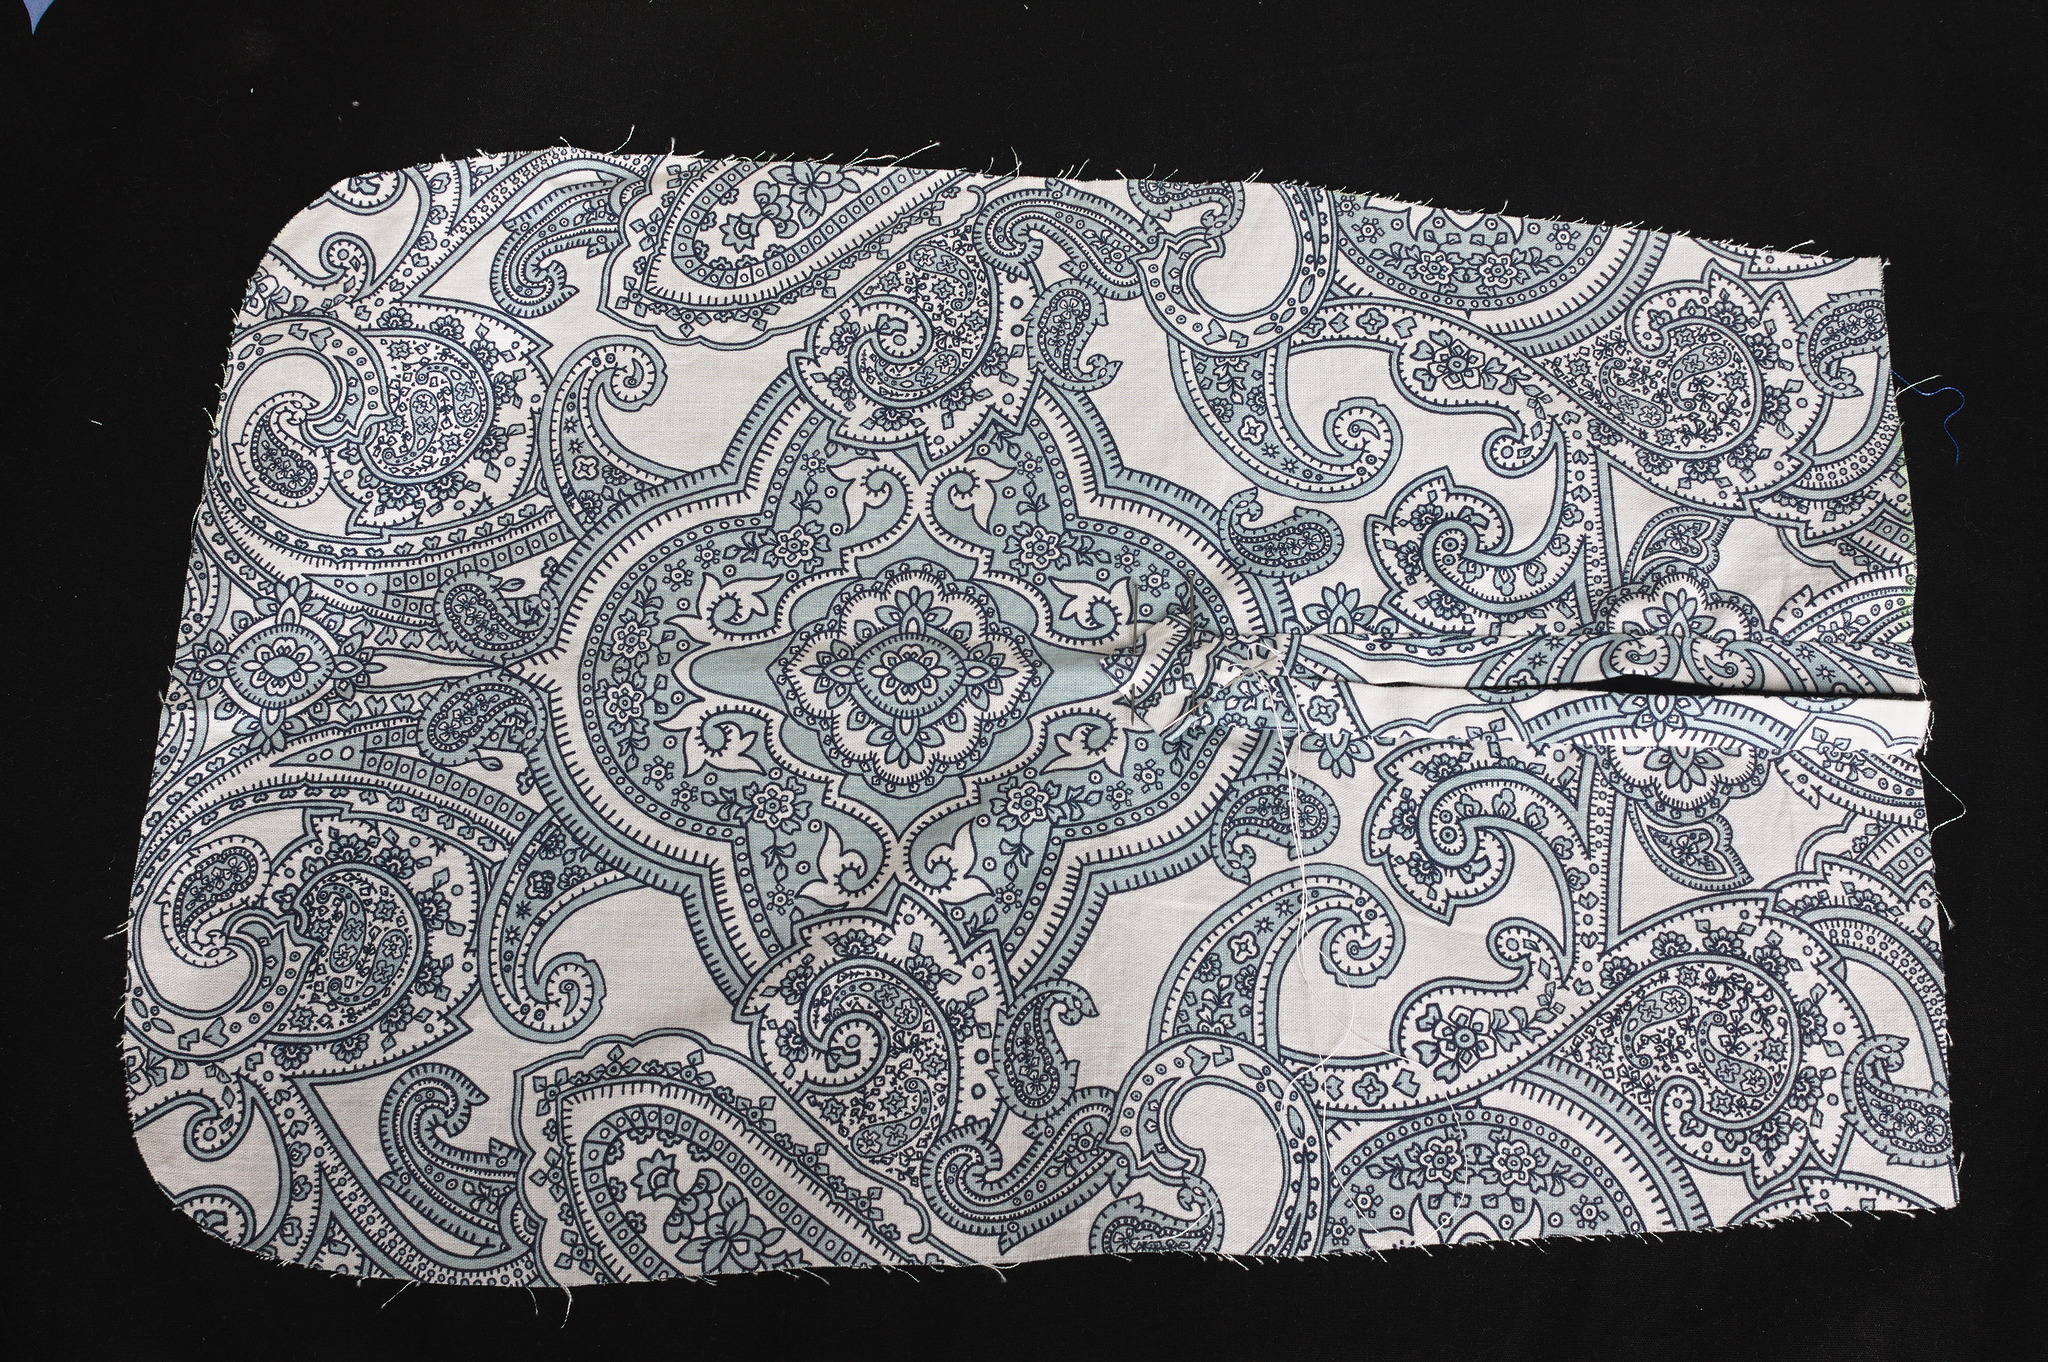
Cut the pattern four times in your fabric. If you need to protect the back of the fabric (e.g. because it is embroidered and the contents may catch on it) also cut the pattern four times in lining.
If using a lining, lay it on the wrong side of each panel, baste it and from now on treat as one.
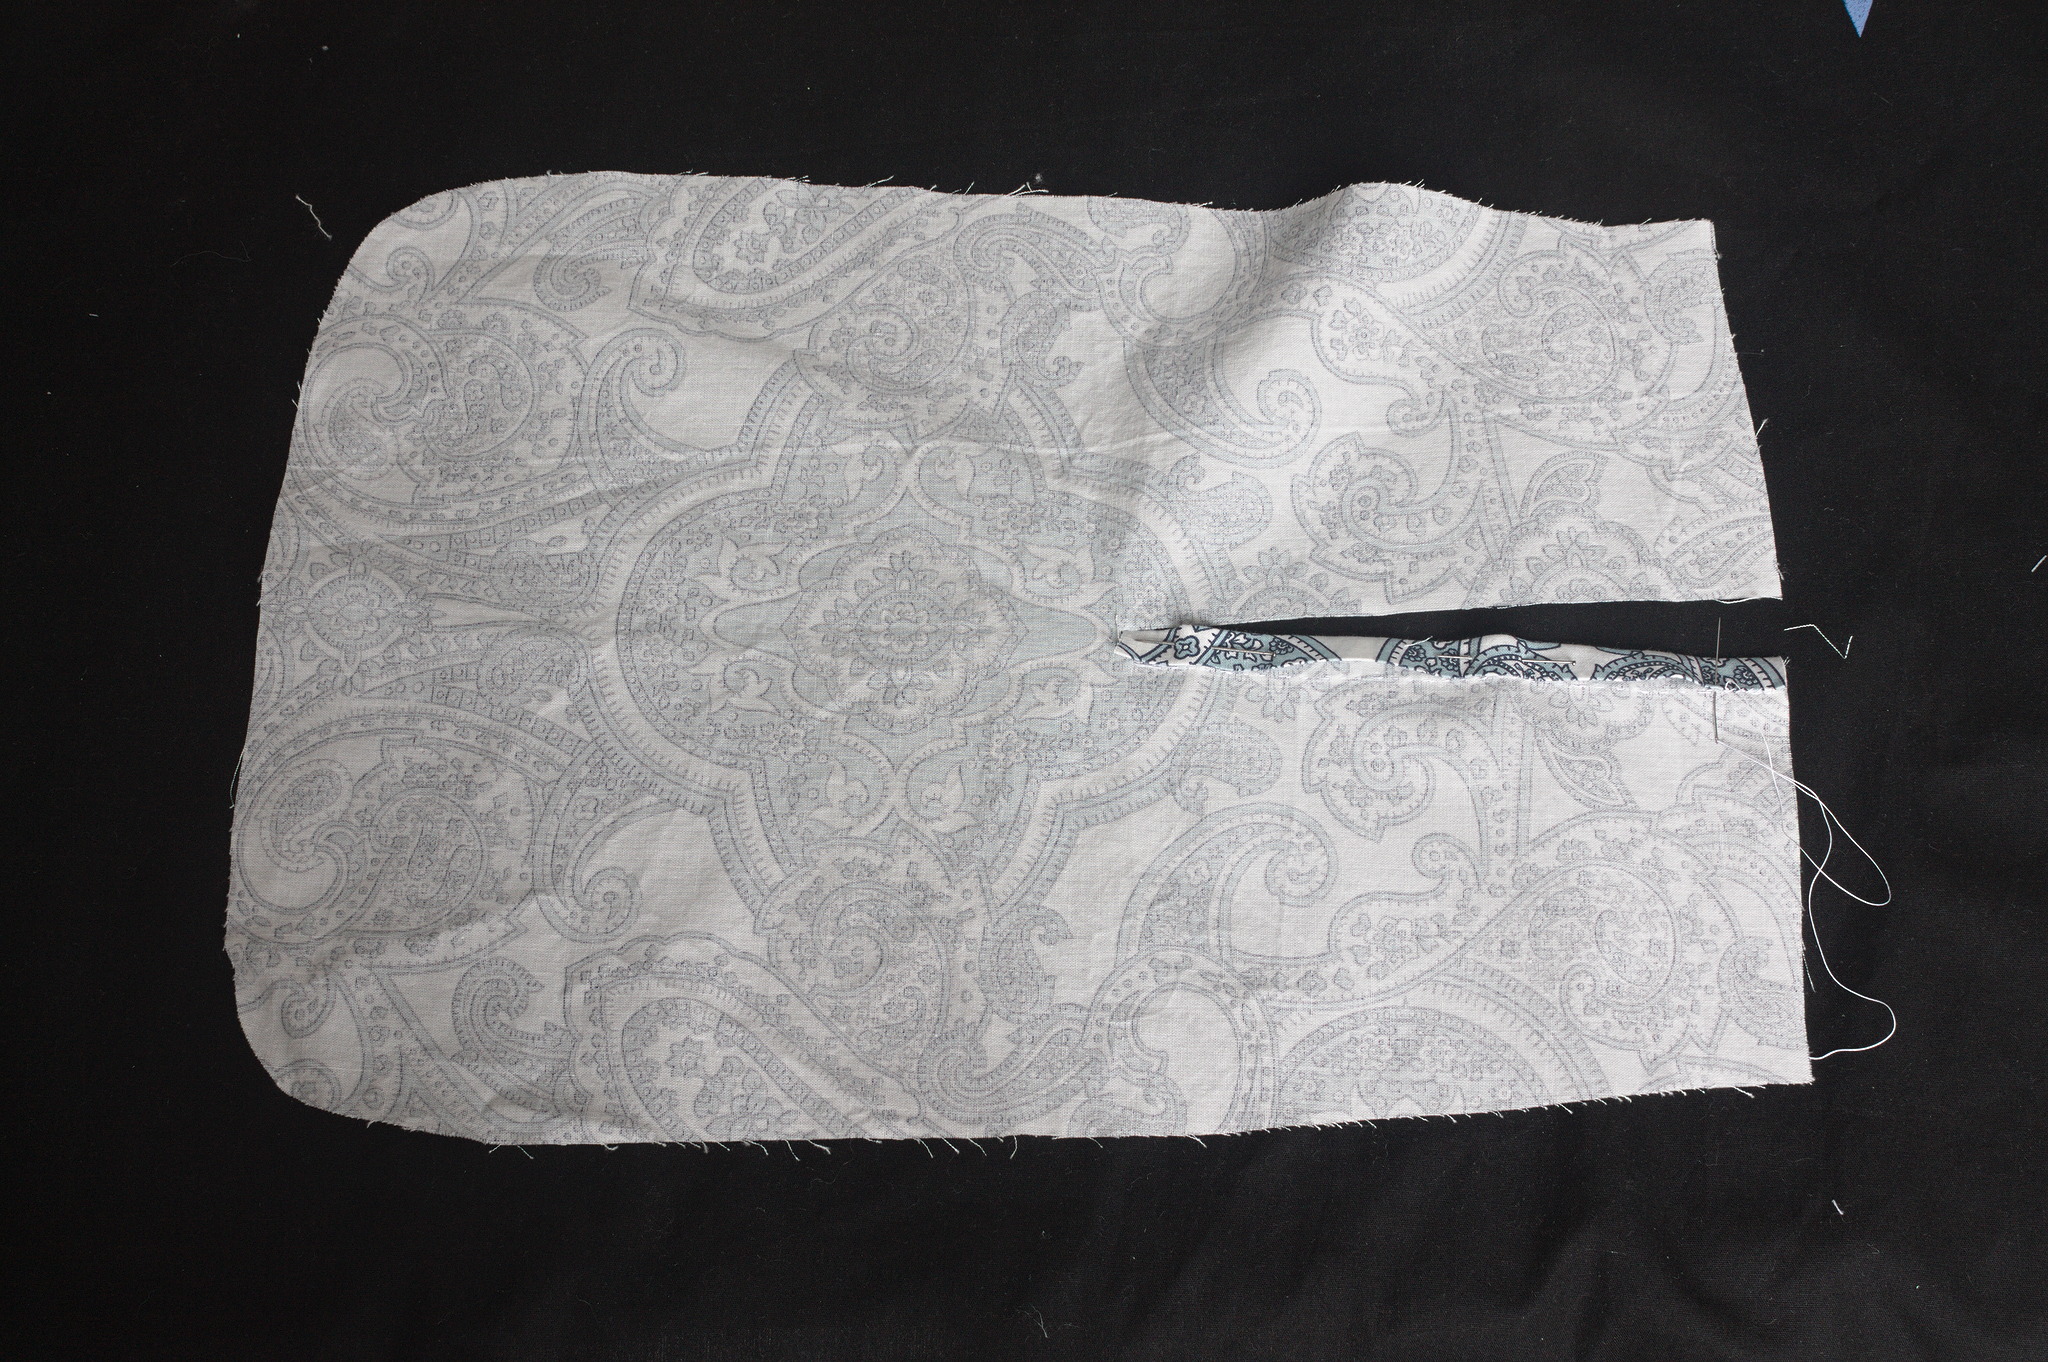
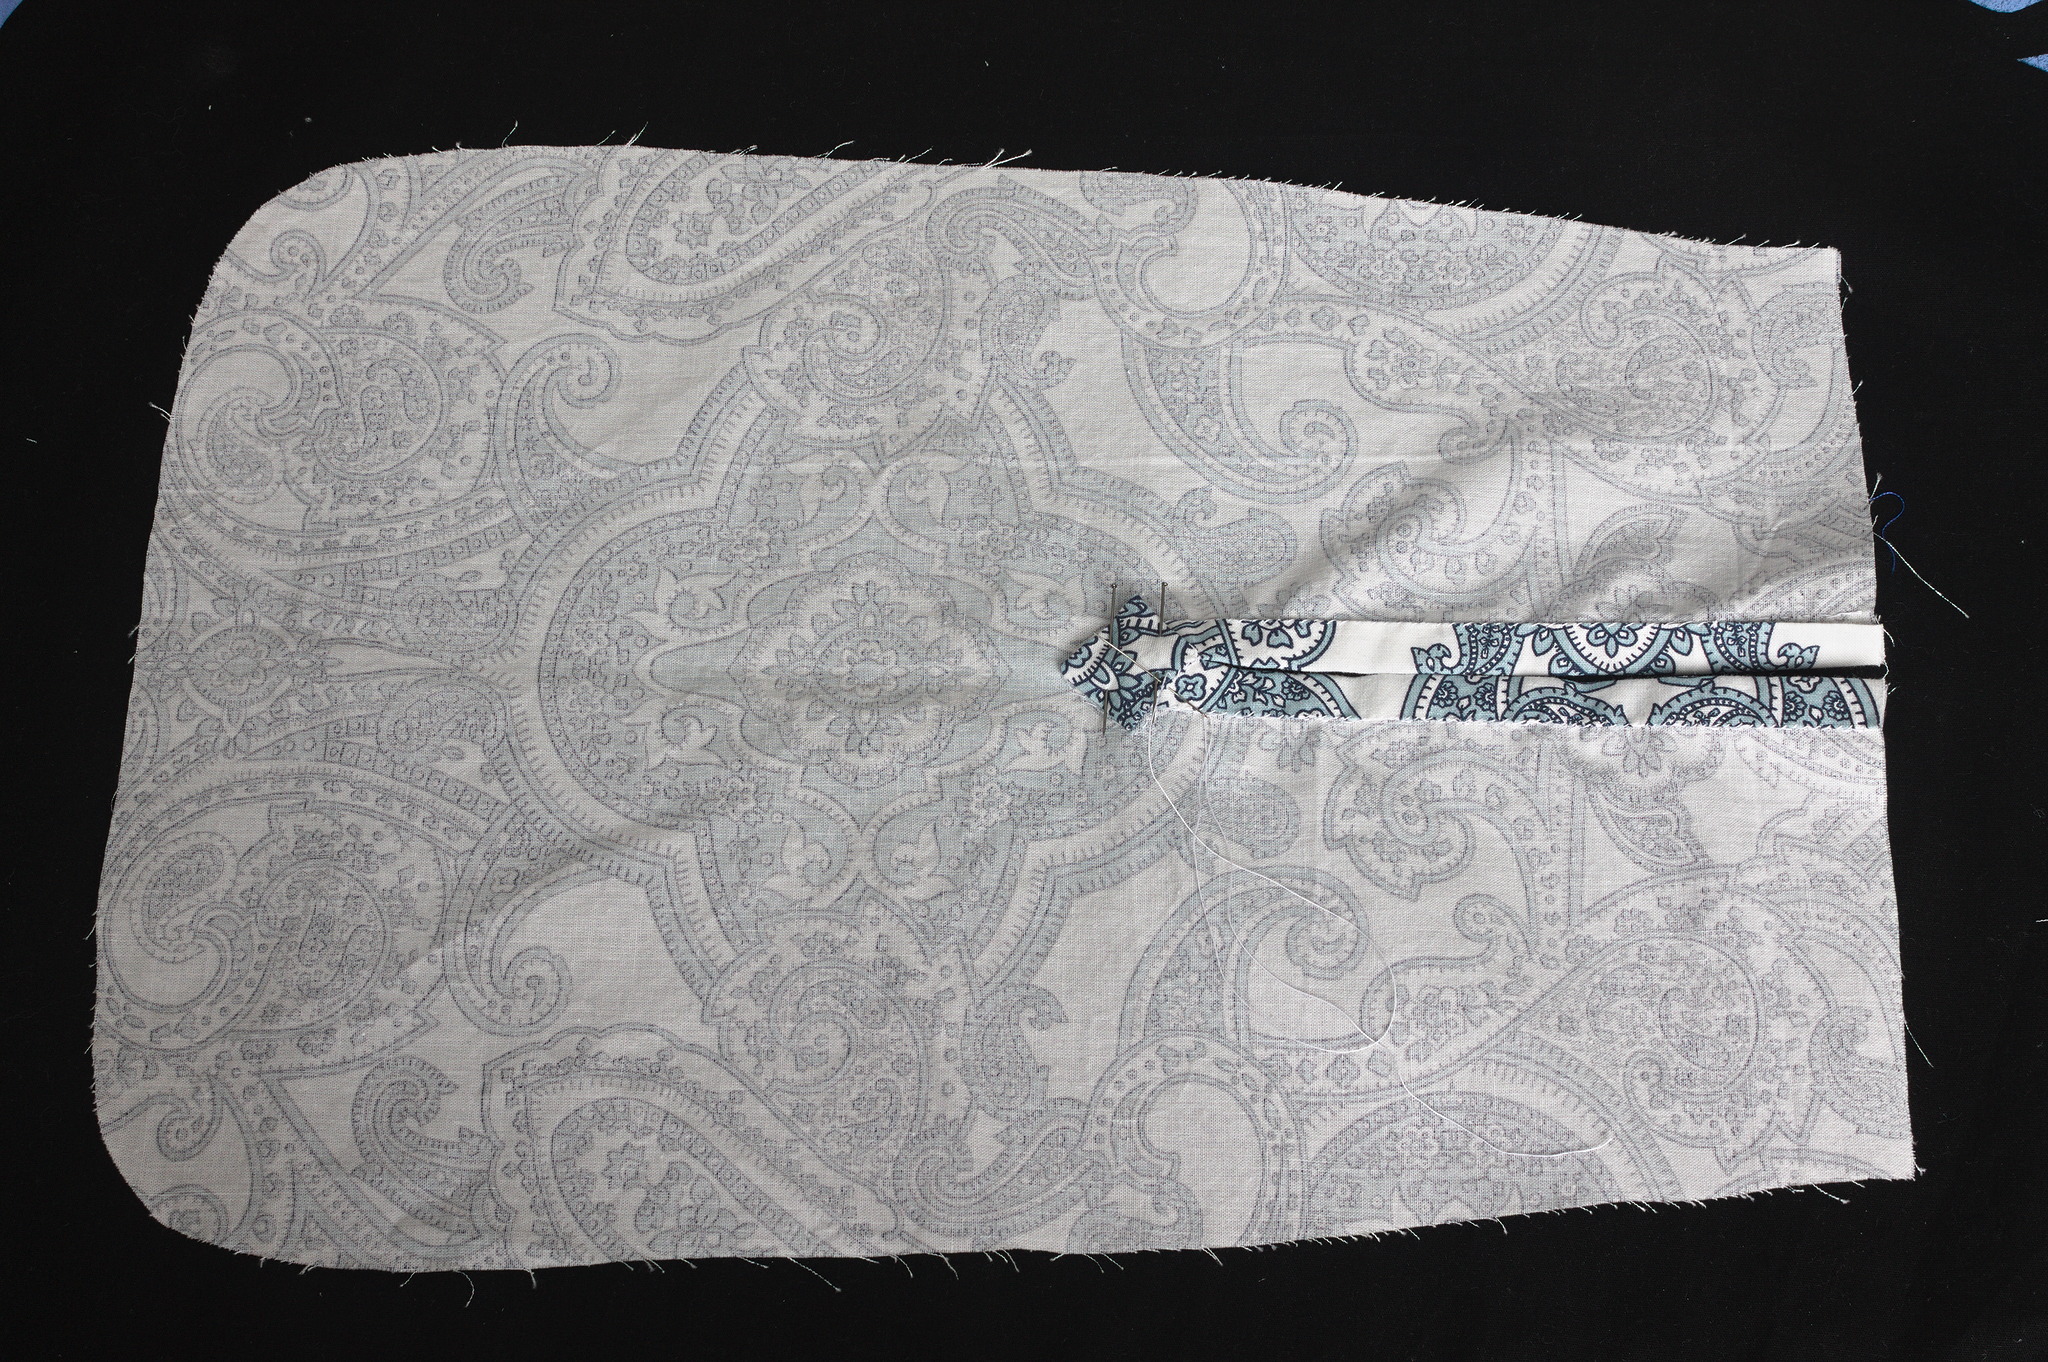
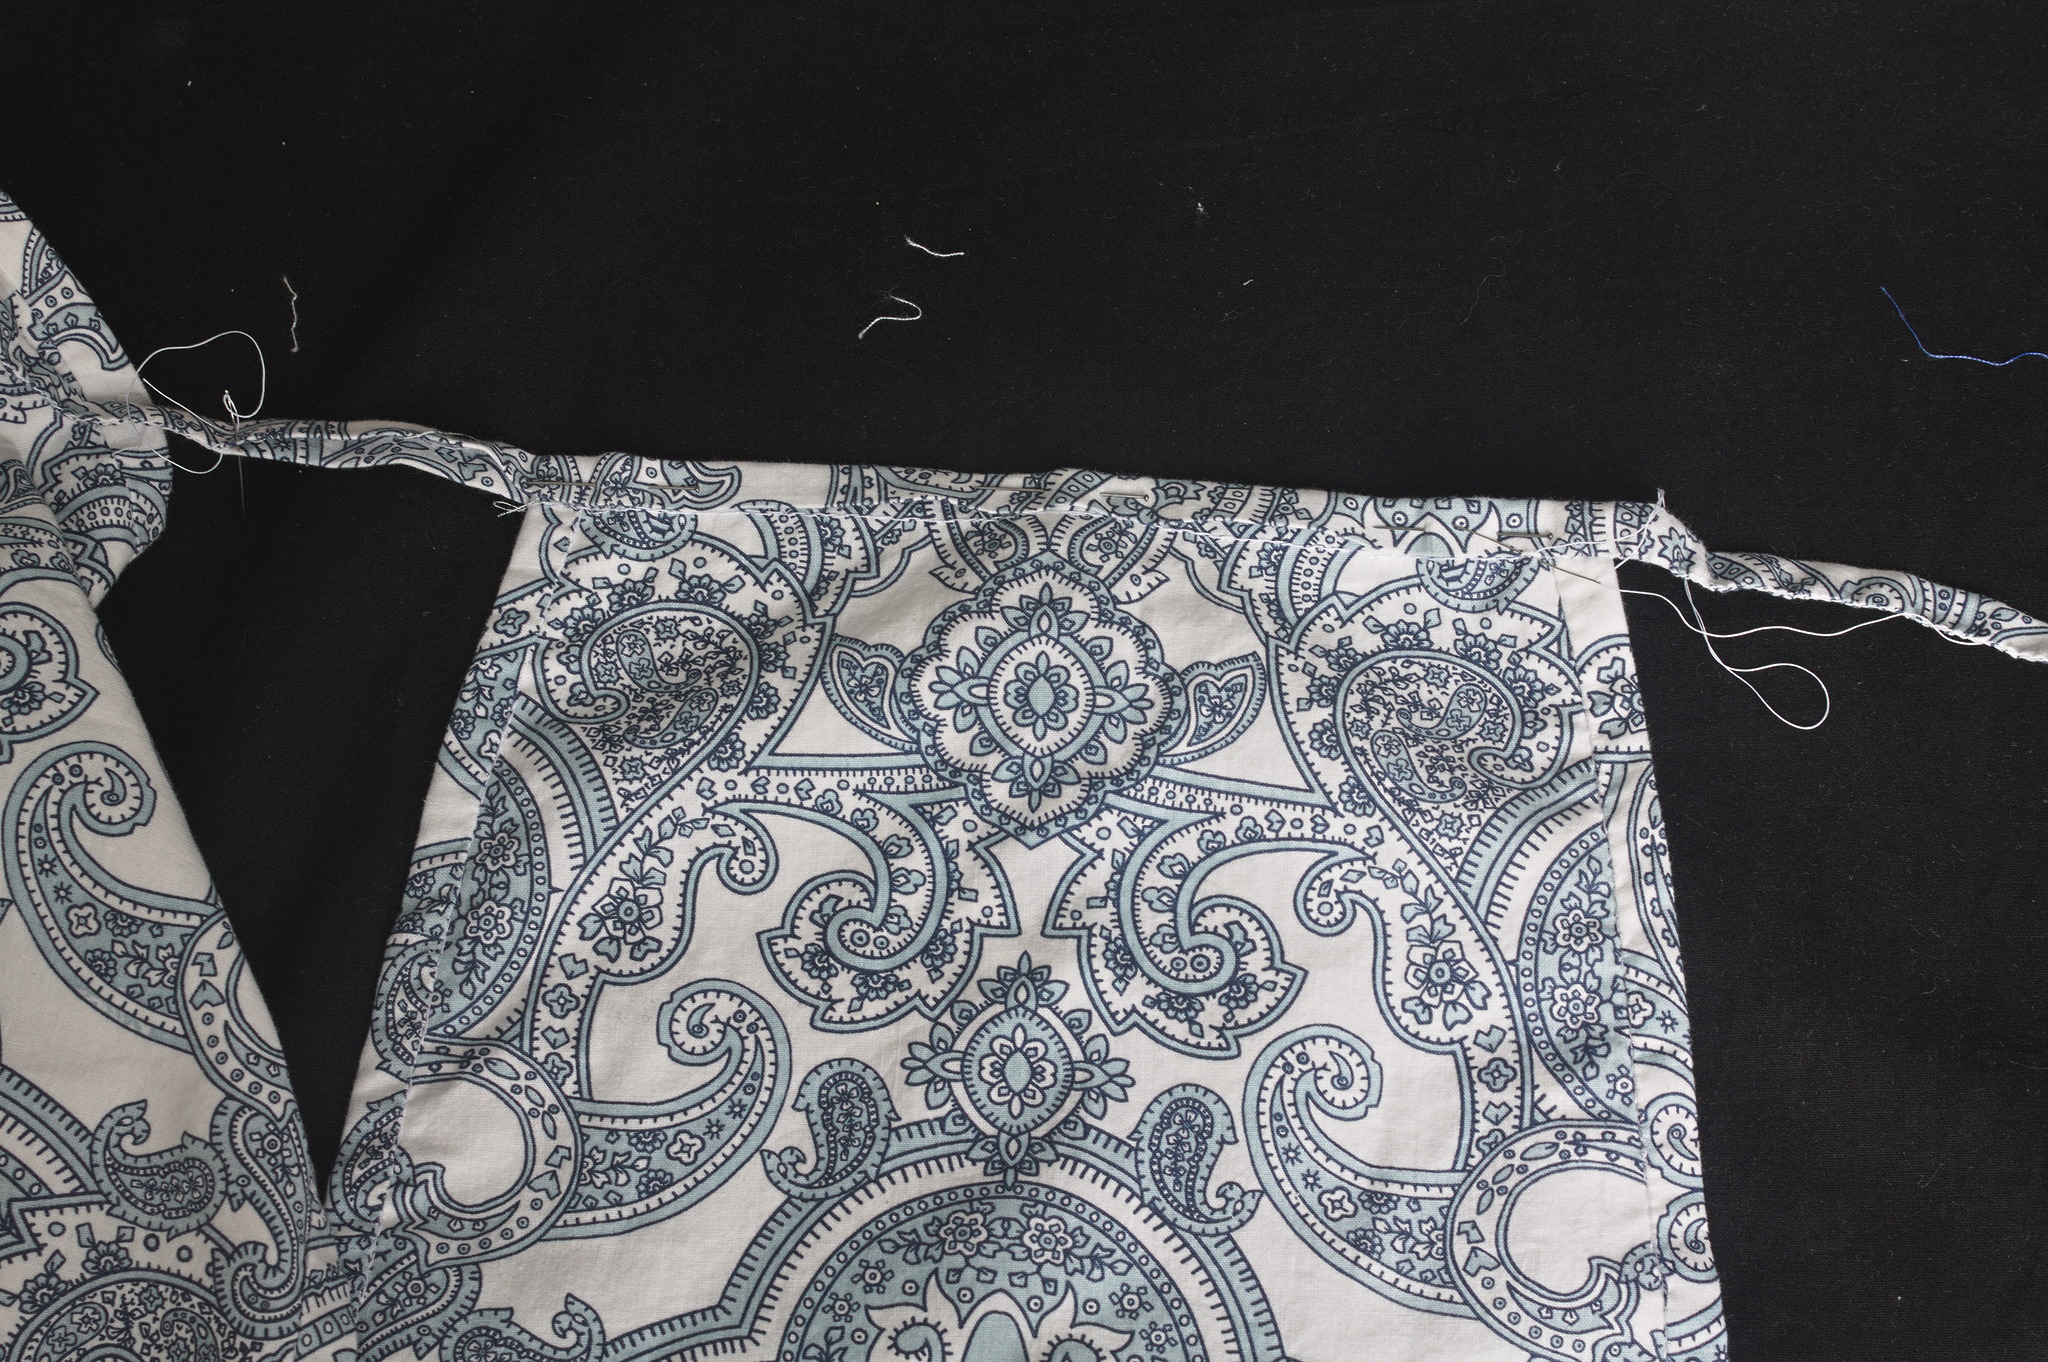
Cut the slit on two of the panels, bind both sides.
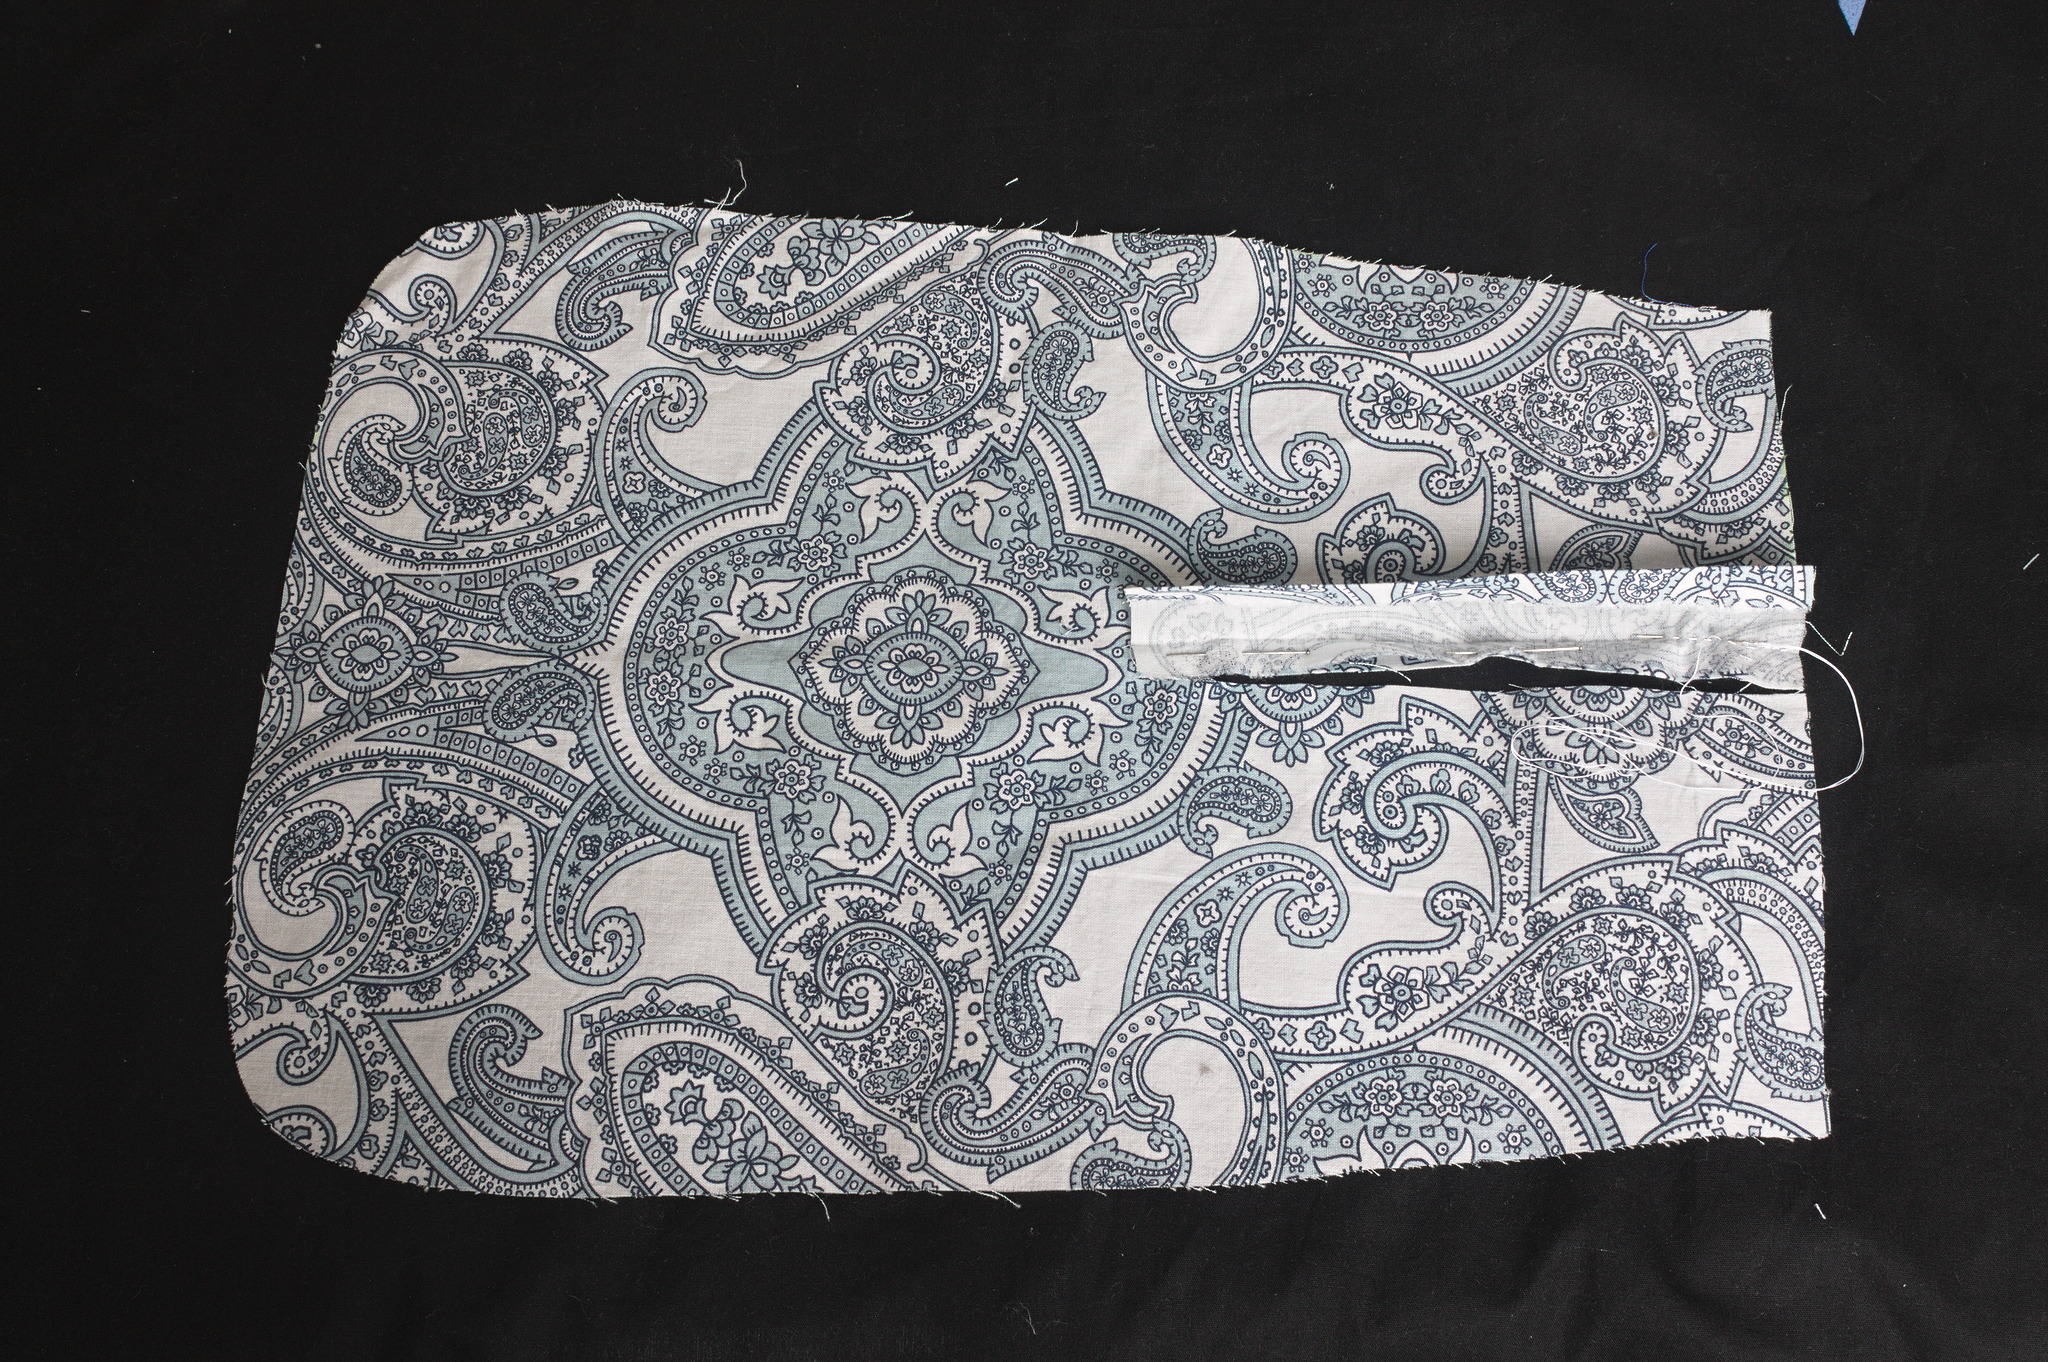
If your binding has raw edges, align one raw edge of the binding to the raw edge of the slit, right sides together, backstitch on the fold of the binding
press towards the wrong side and hemstitch down.
If your binding is a tape with finished edges, fold it in half, pin it over the raw edge of the slit, applique stitch on the right side and then hemstitch the wrong side.
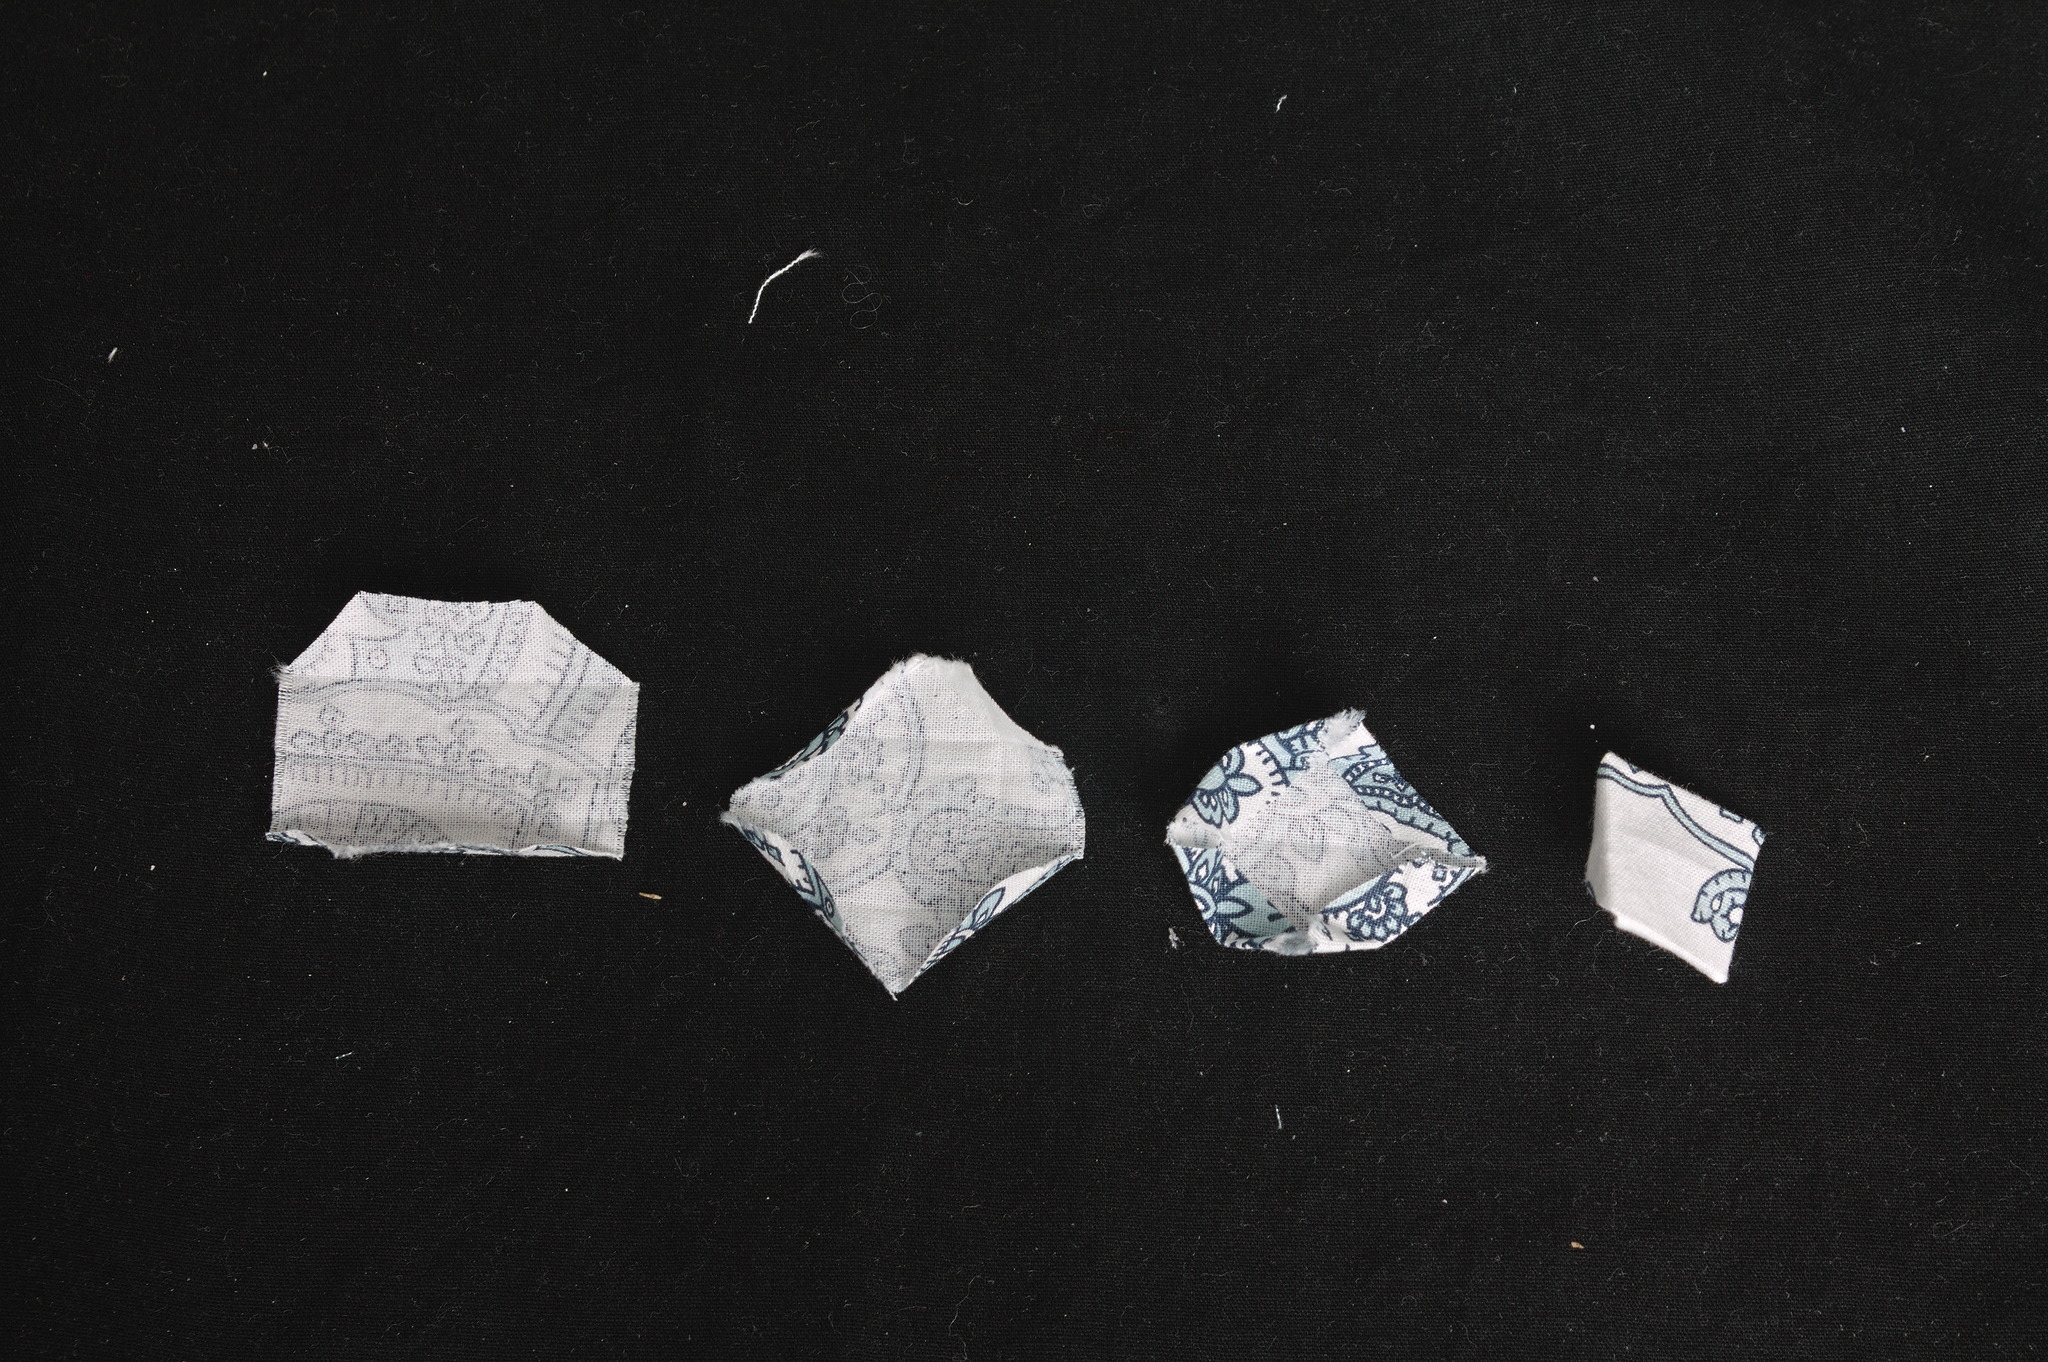
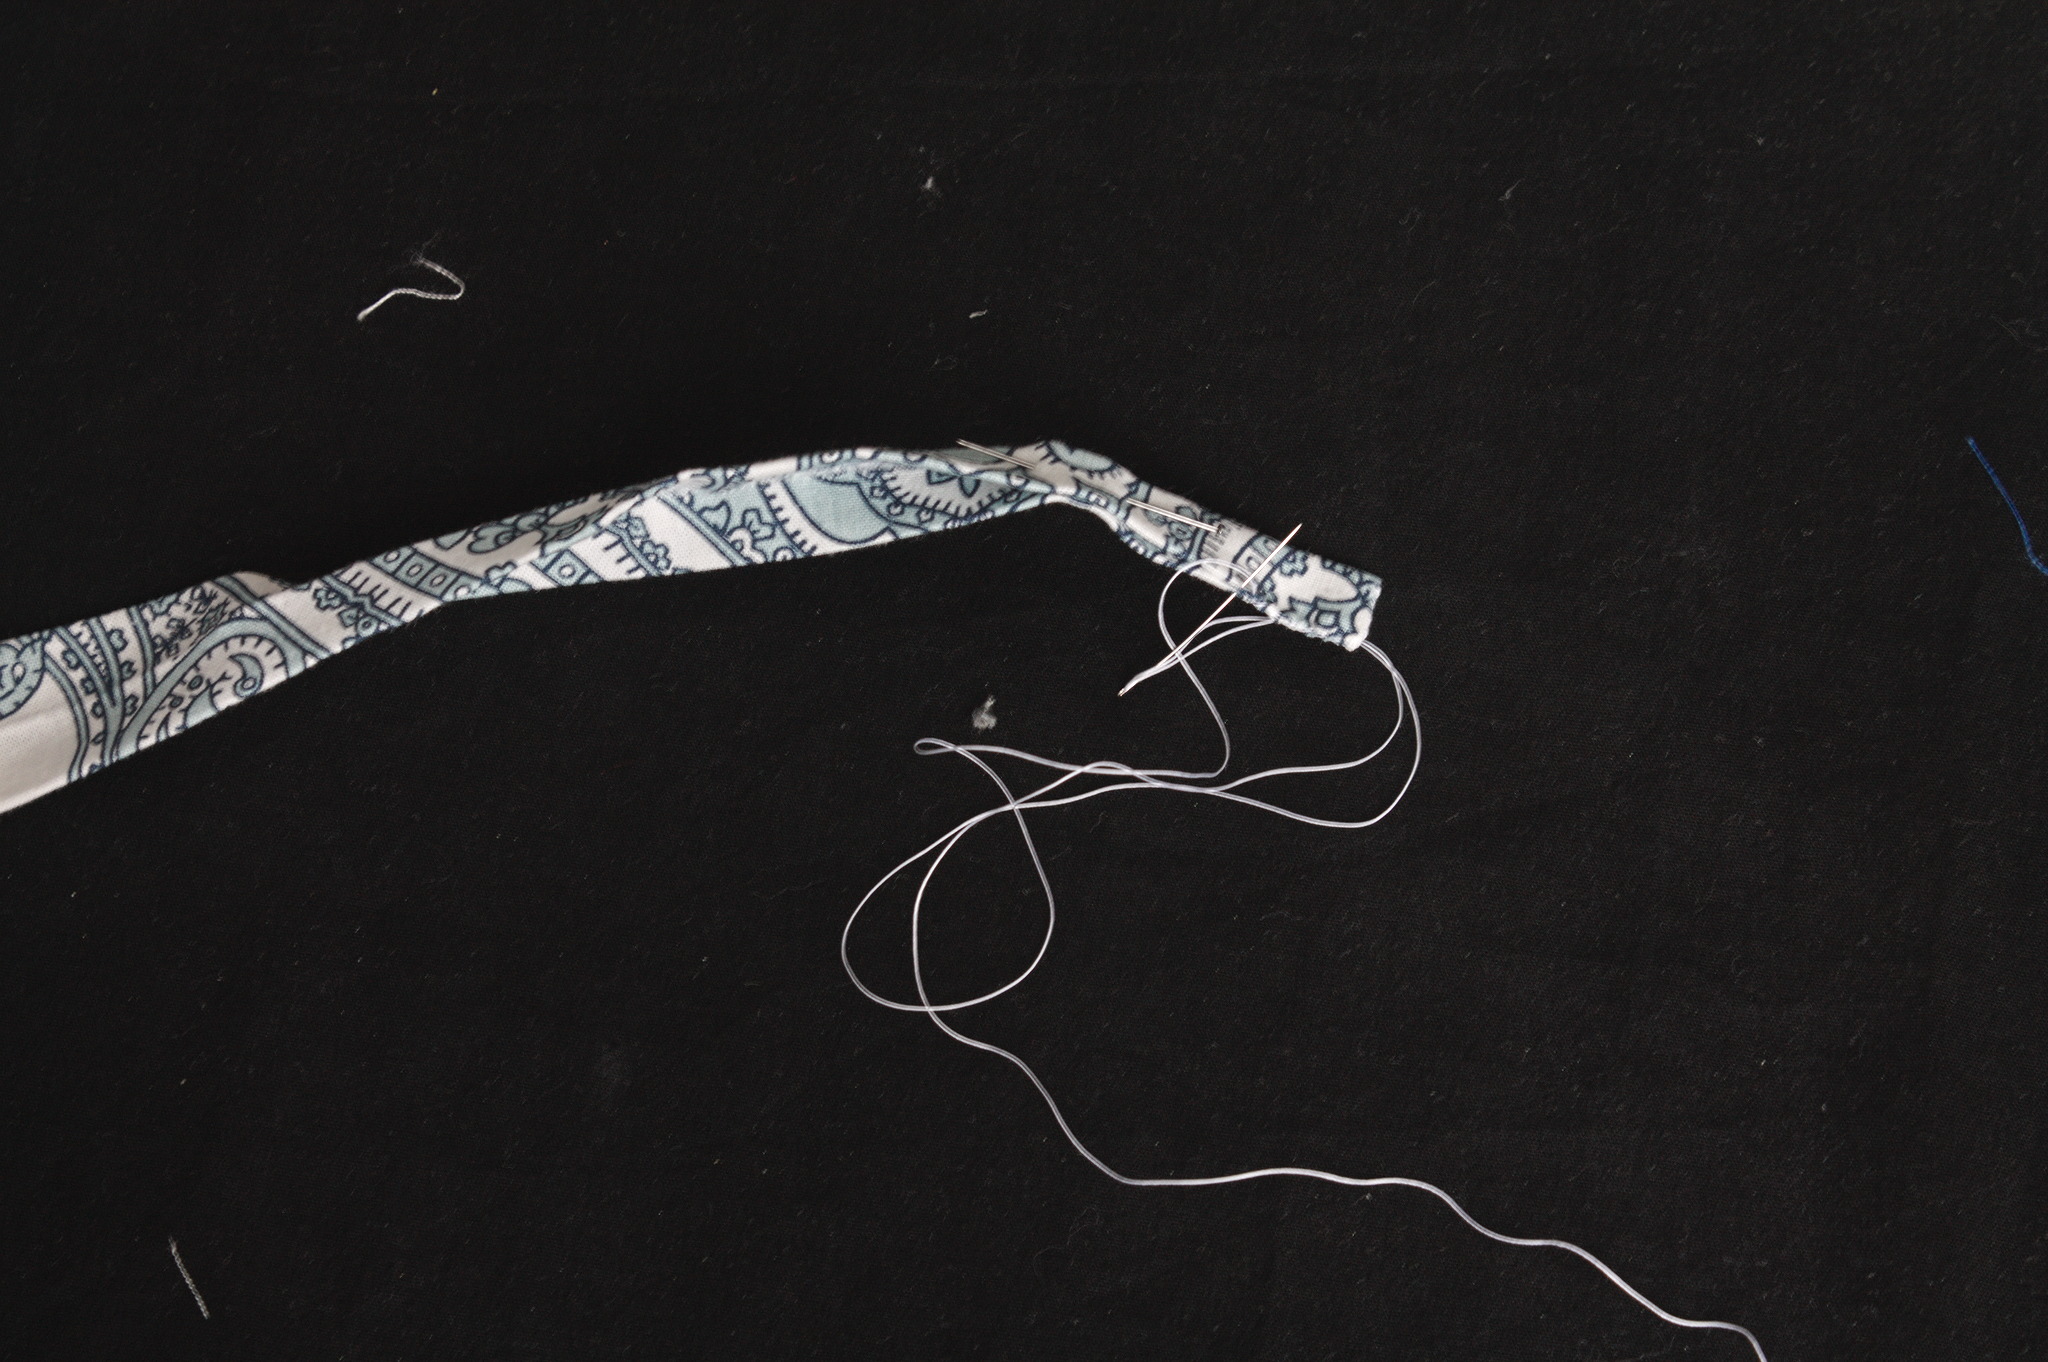
Cut four small patches (two per pocket) from the scraps of fabric, fold their edges towards the wrong side and sew it at the end of the slit on both sides to reinforce the weak point,
applique stitching to the rigth side
and hemstitching to the wrong.
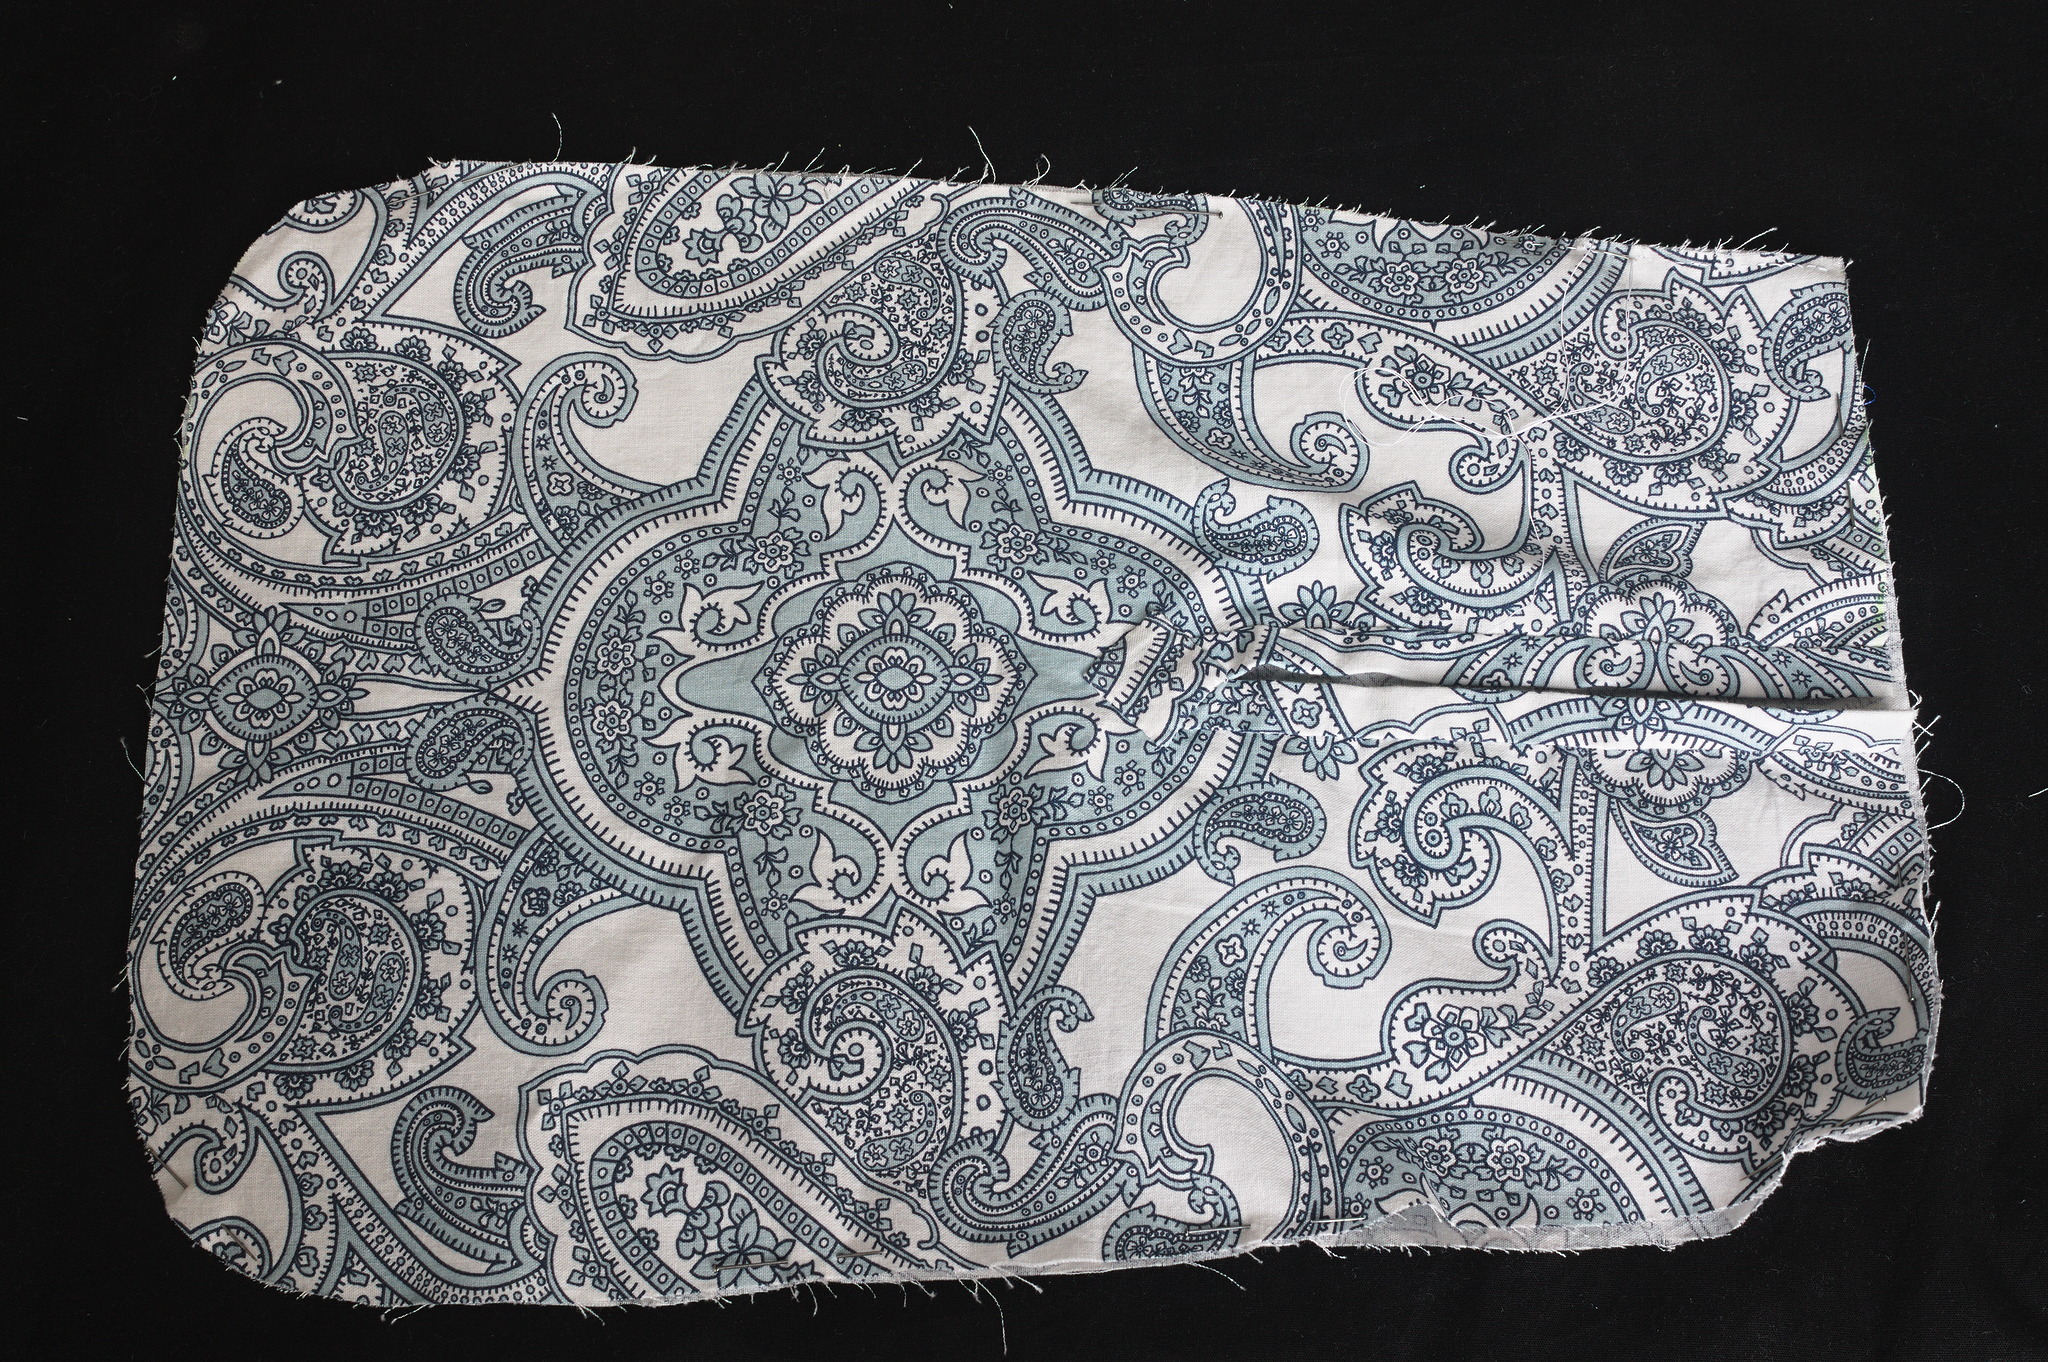
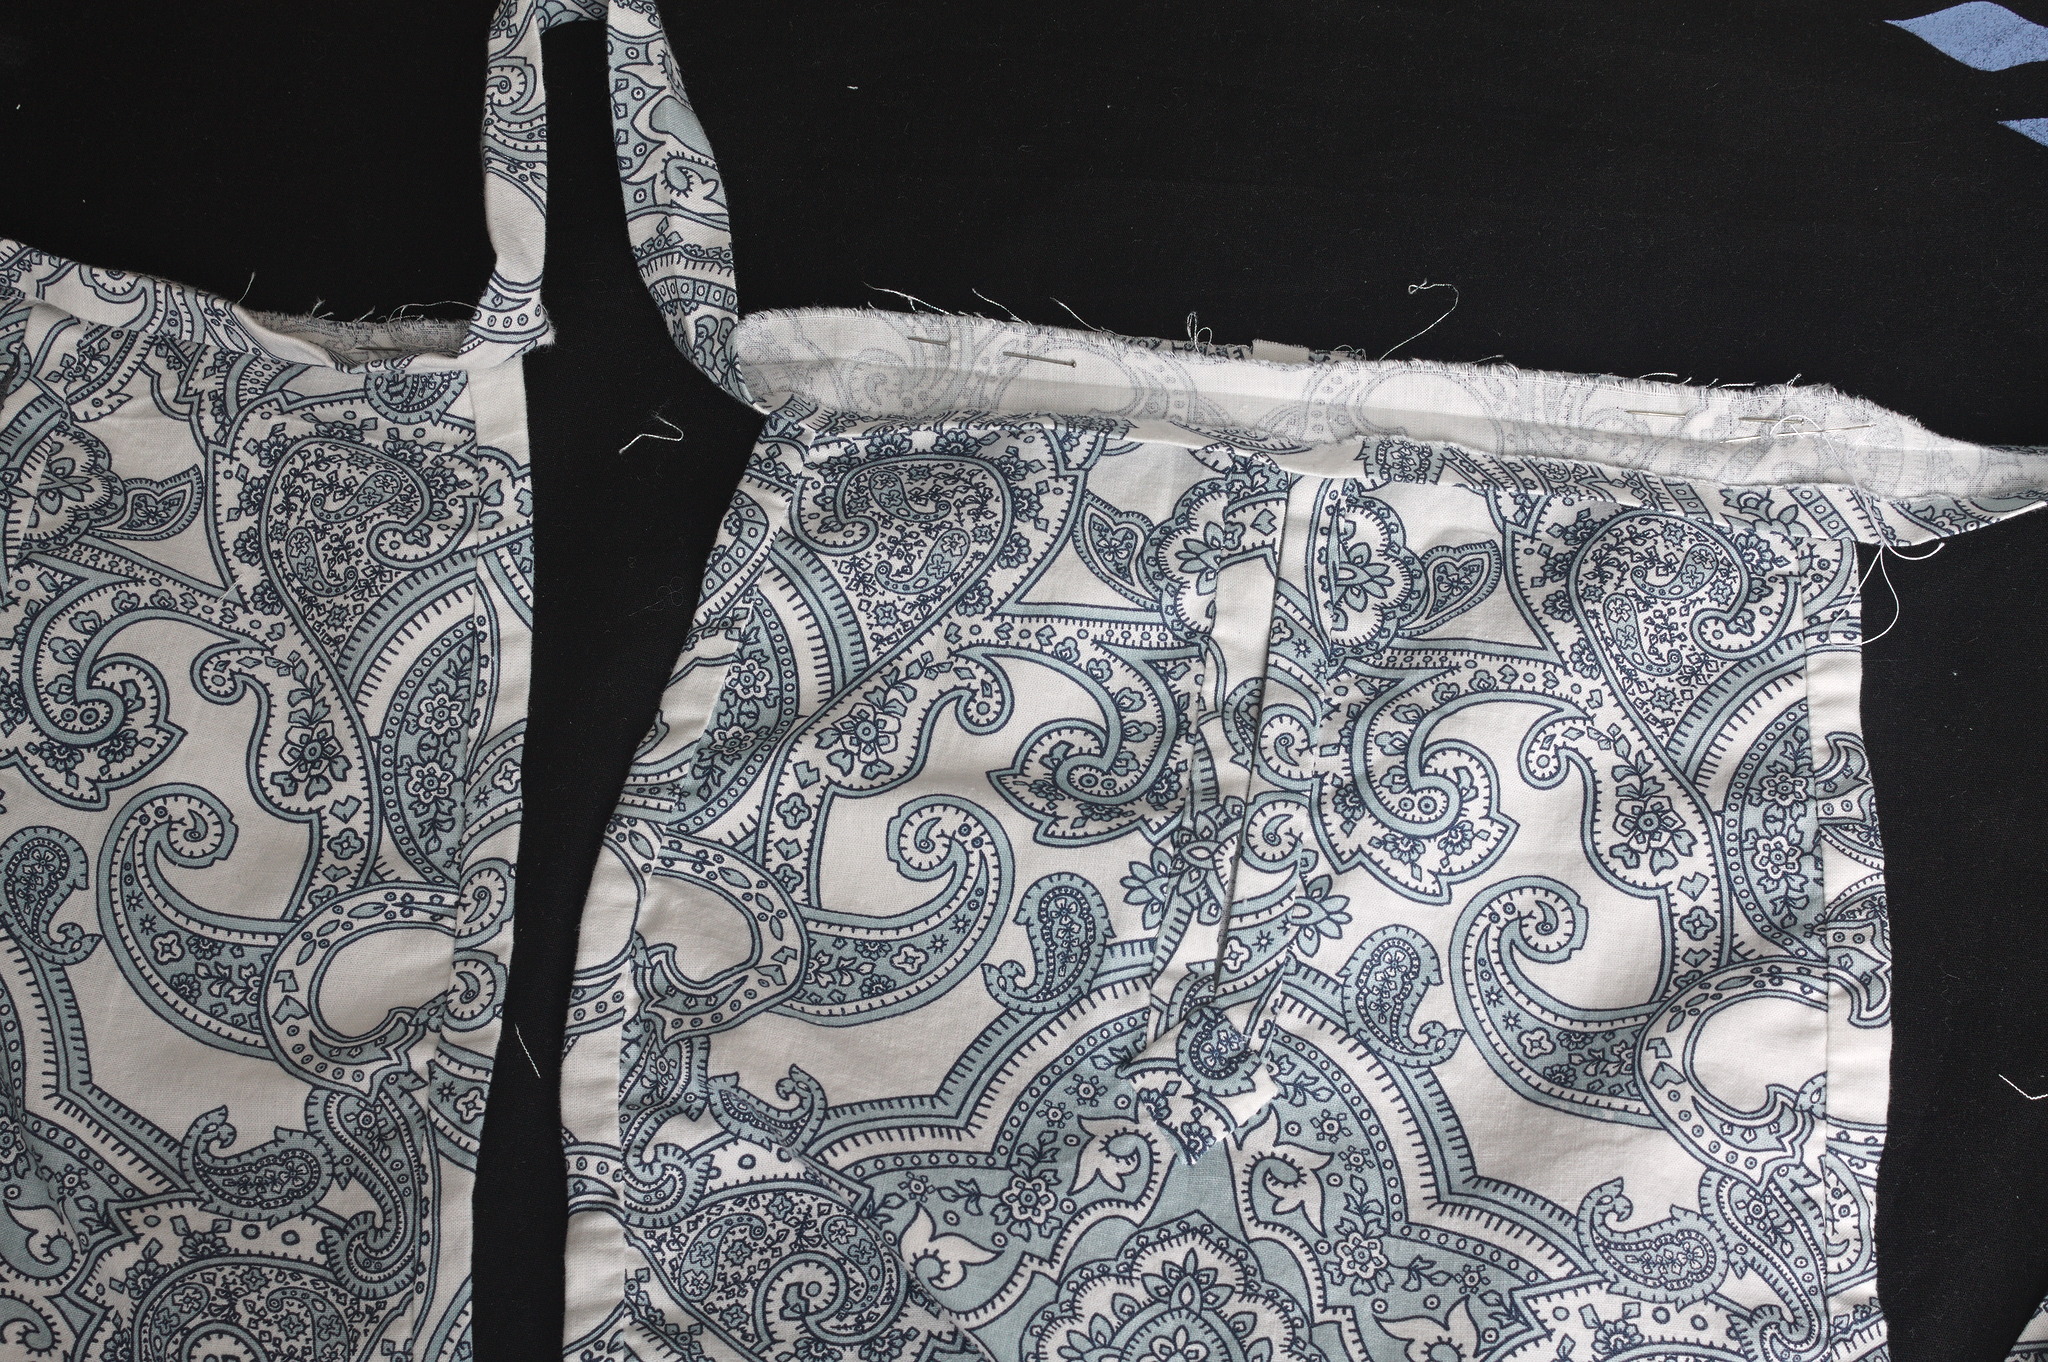
Put one panel with a slit on top of a panel with no slit, wrong sides together, backstitch all around it at 5 mm from the edge.
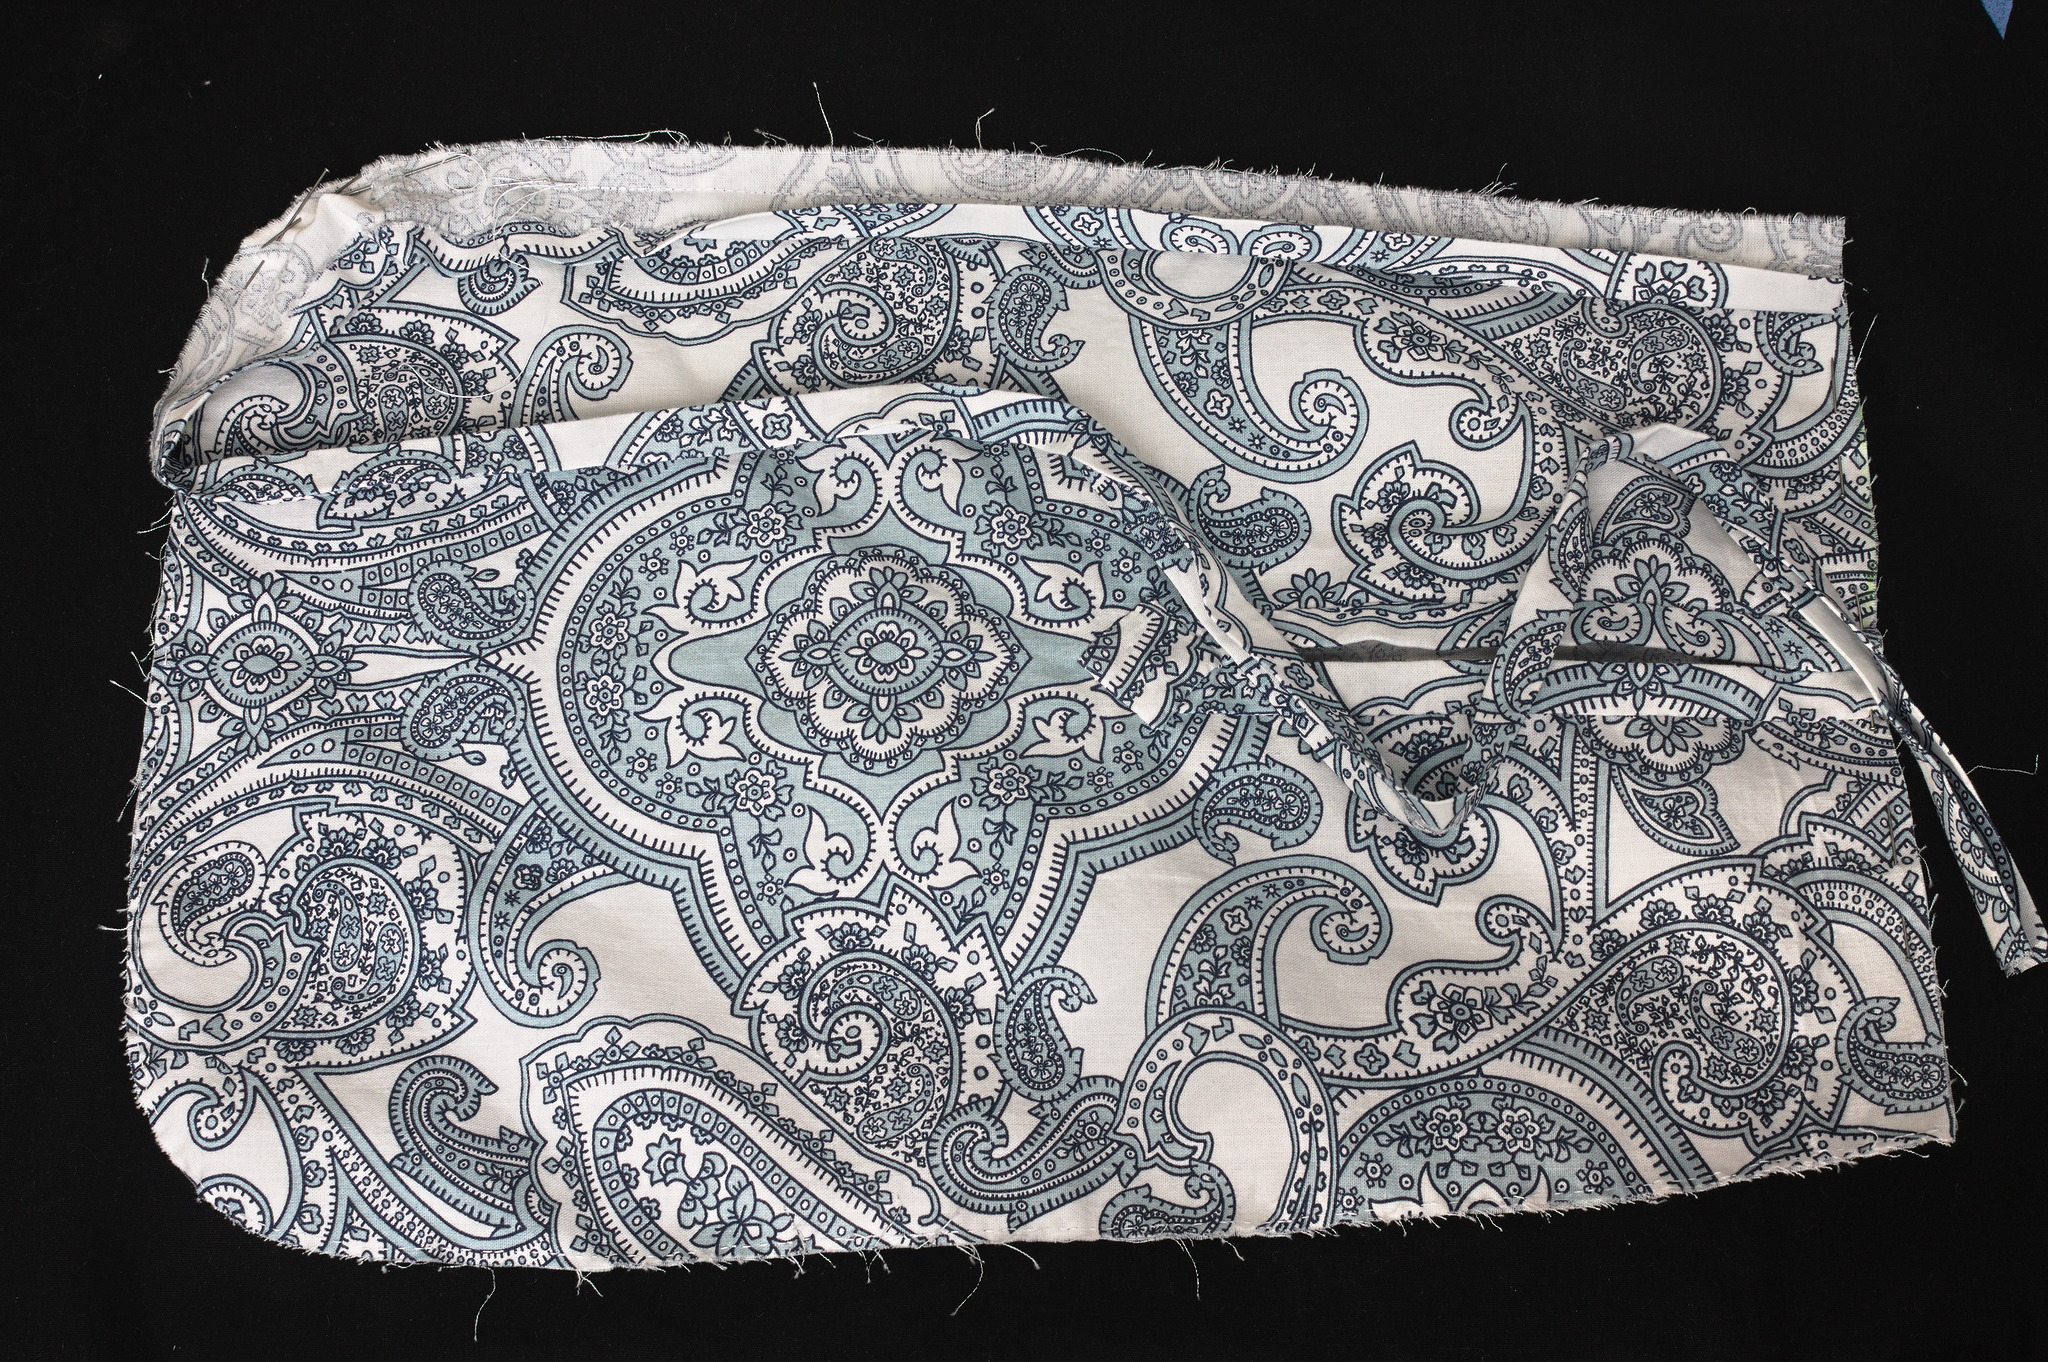
Bind the side and bottom edges using the same tecnique used for the slit, carefully following the curves at the bottom.
Cut a piece of tape long enough to go around the waist and be tied, pin the top edge of the two pockets on top of it so that they are symmetrical and lie at the right position for the slits in your skirts.
Tip
If you’re making more than one pair of pockets, put them at different distances from the front, so that you can choose the ones that fit better with the line of each skirt you’re wearing.
If using tape with raw edges, first sew the pockets to the tape, right sides together,
then fold down the tape and whipstitch it closed starting from one end
and continuing on the back of the pockets, and to the other end.
If using finished tape, hemstitch the tape to the pocket at the bottom edge of the tape.
Put another piece of tape on top of just the front of each pocket, folding down the raw edges, applique stitch it to the pocket and to the tape at the sides; whipstitch the two tapes at the top, enclosing the raw edge of the pocket.
Fold down the ends of the long tape, hemstitch them down to finish even these raw edges.
Your pair of pockets is done!
Gallery
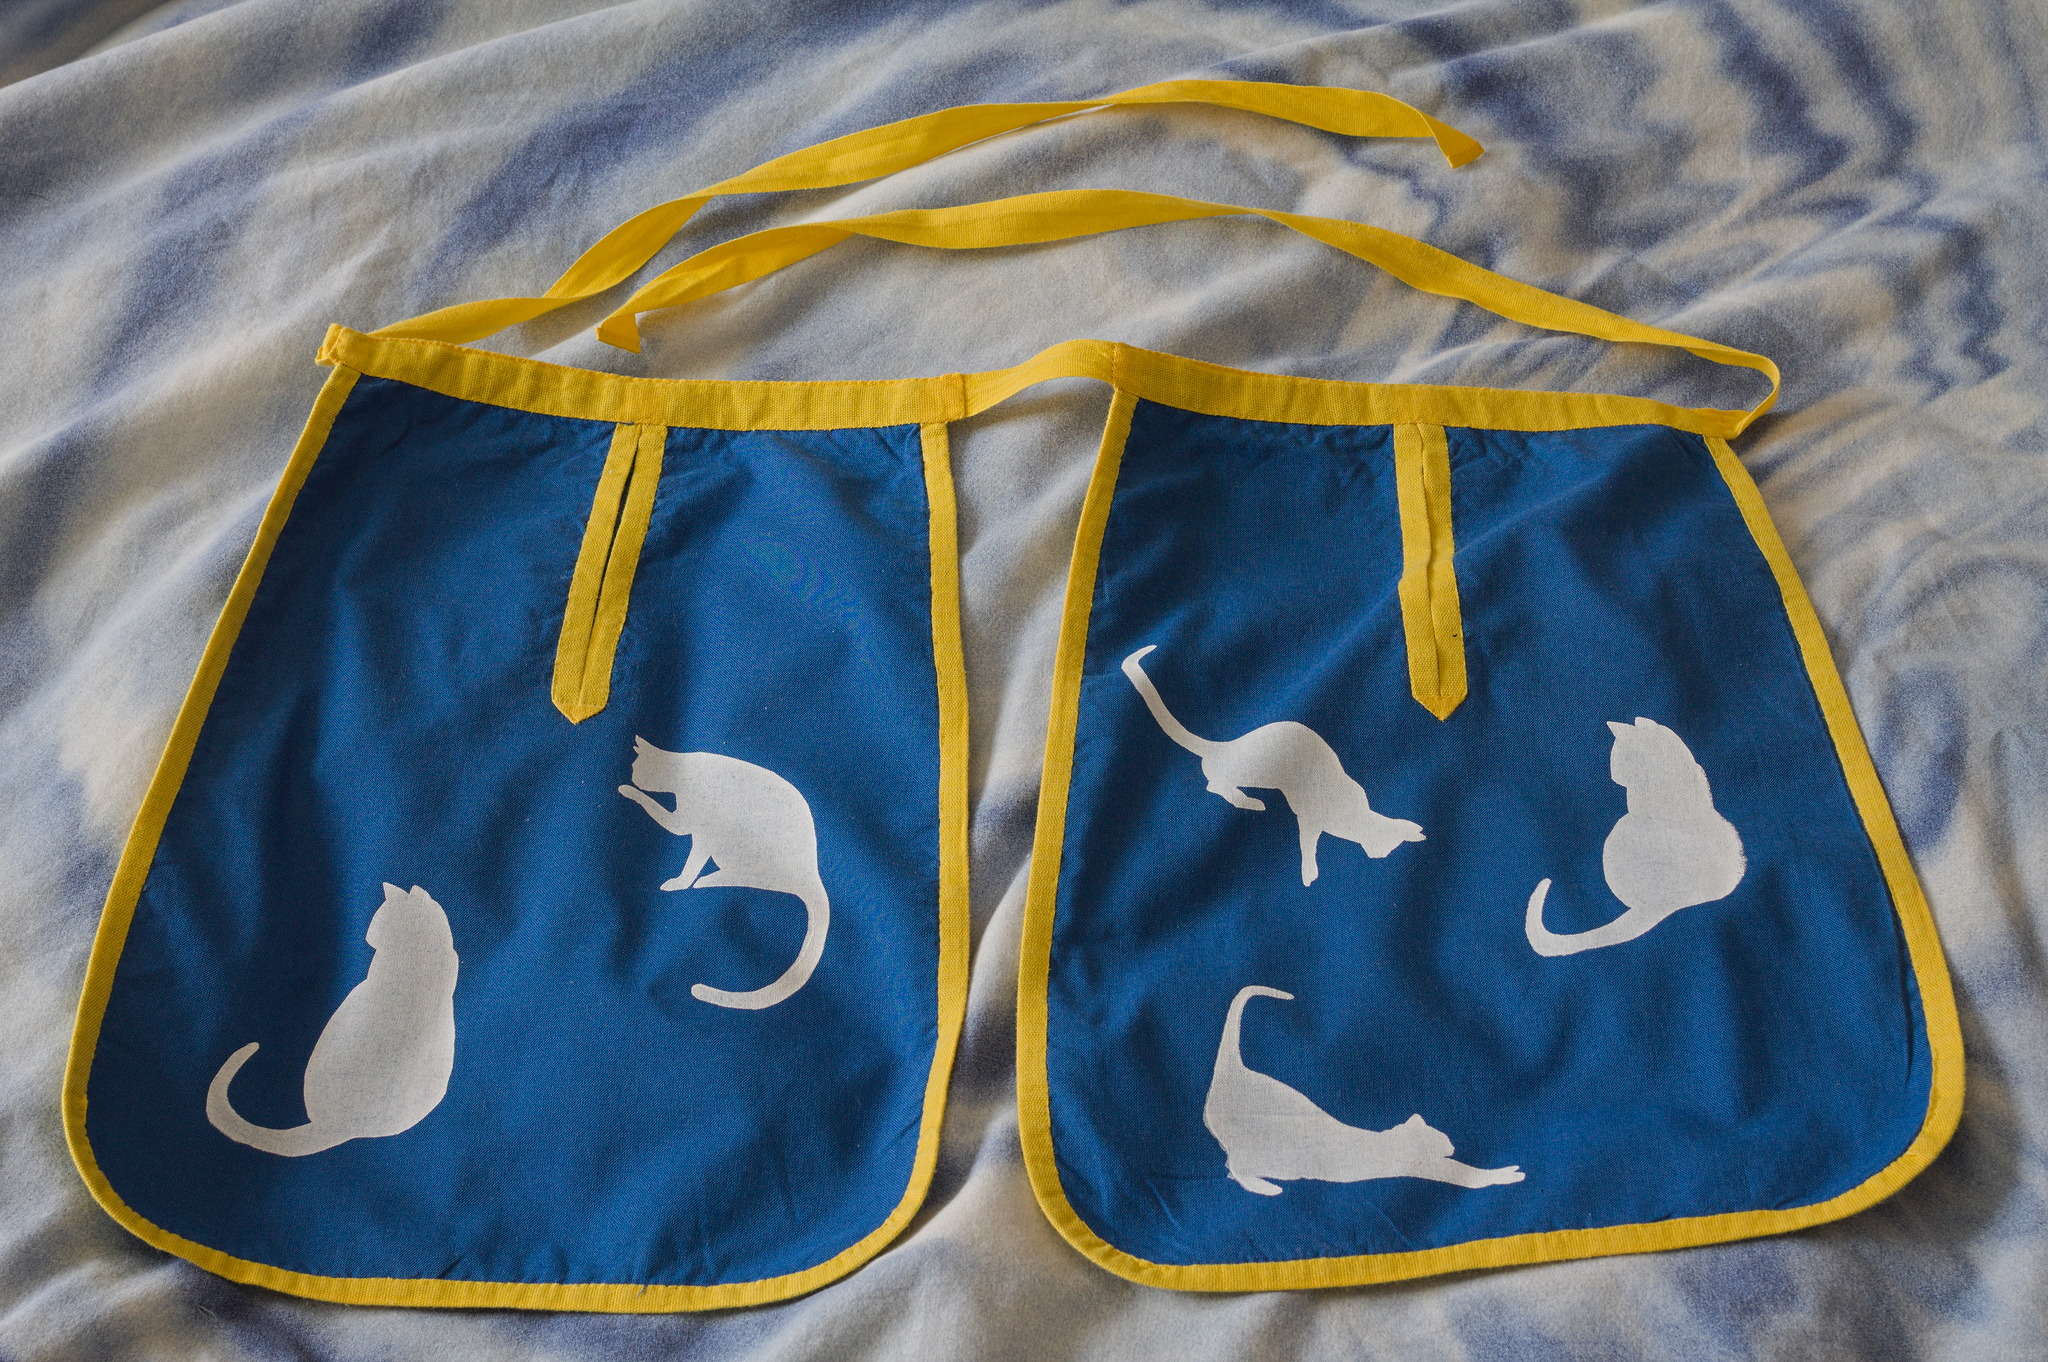
Simple DITTE cotton pockets with tape binding and screenprinted cat siluettes.
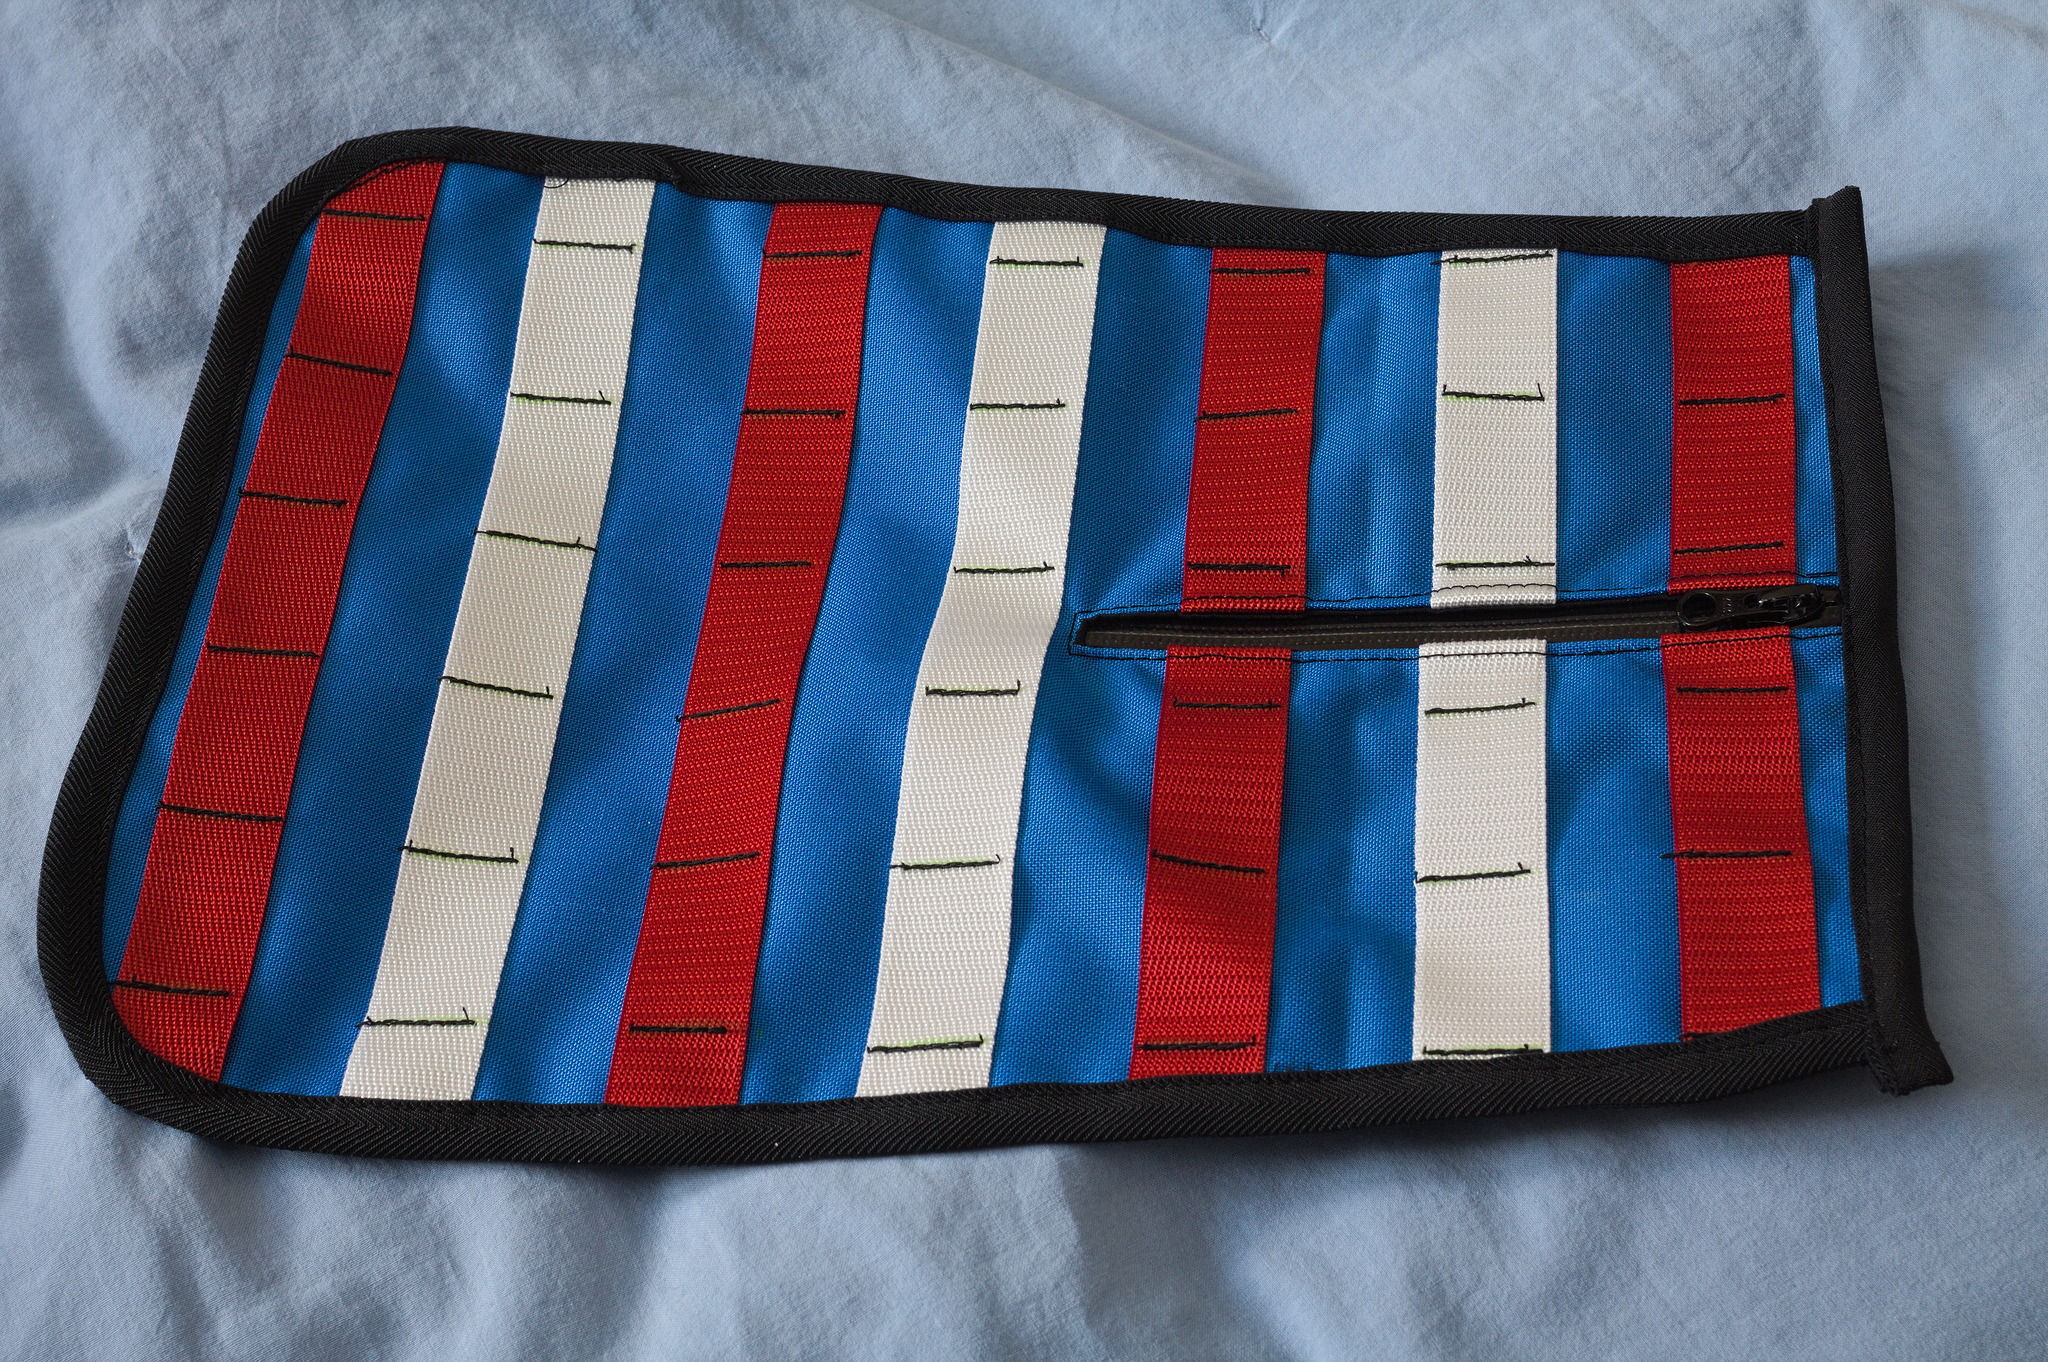
As a sort-of-joke, I also made a pocket using technical fabric, a water repellent zipper and MOLLE webbing, sewn like on the Modular Backpack Base.
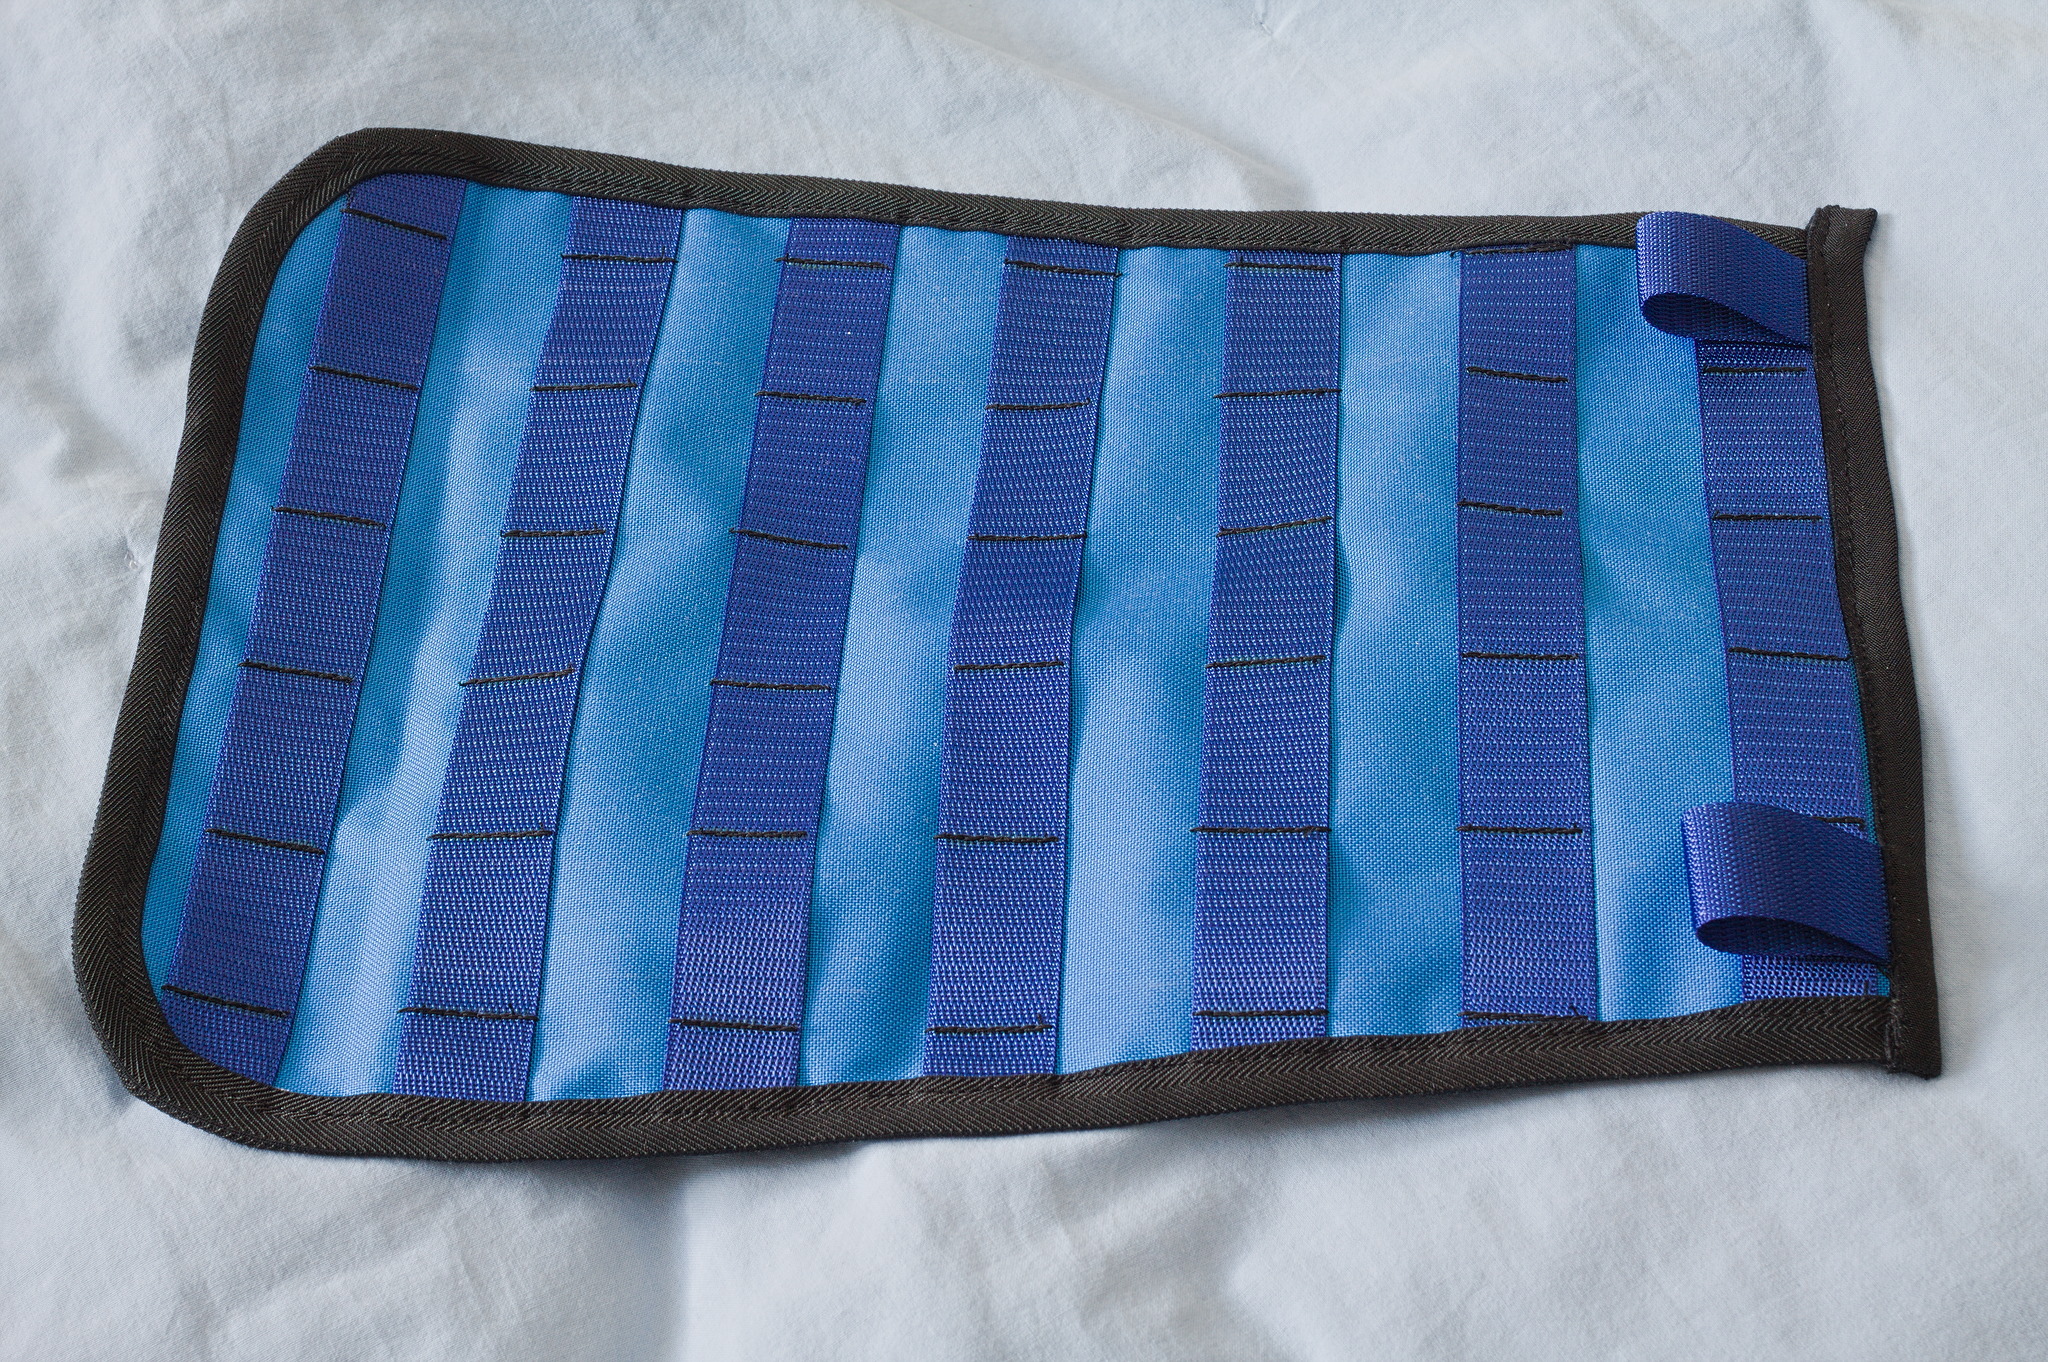
The back of the same pocket, with two additional belt loops to be able to wear it also when not using a MOLLE base.
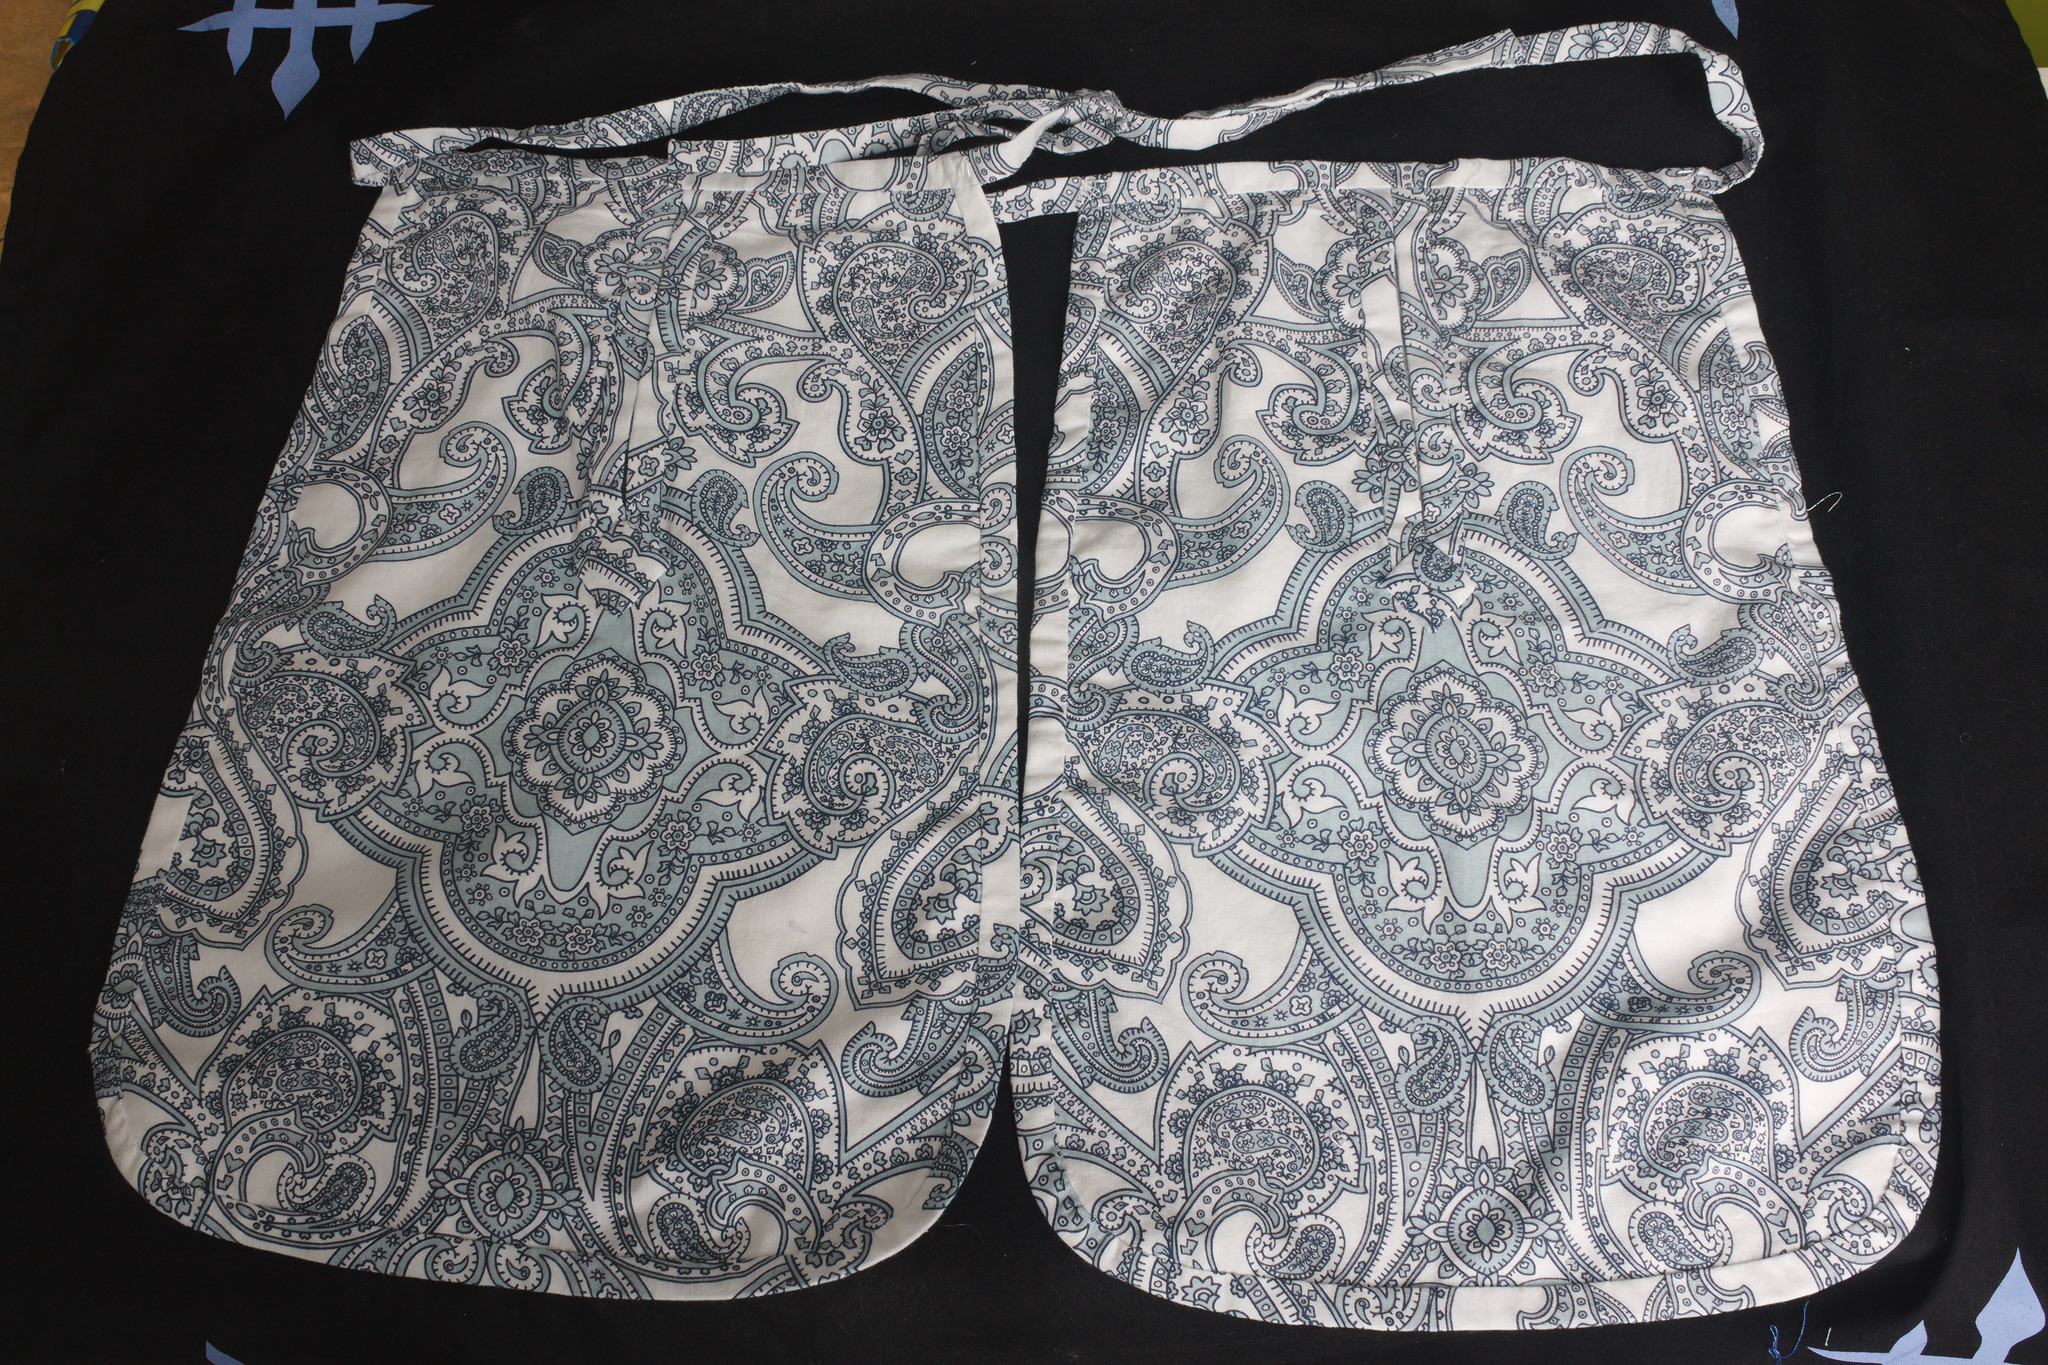
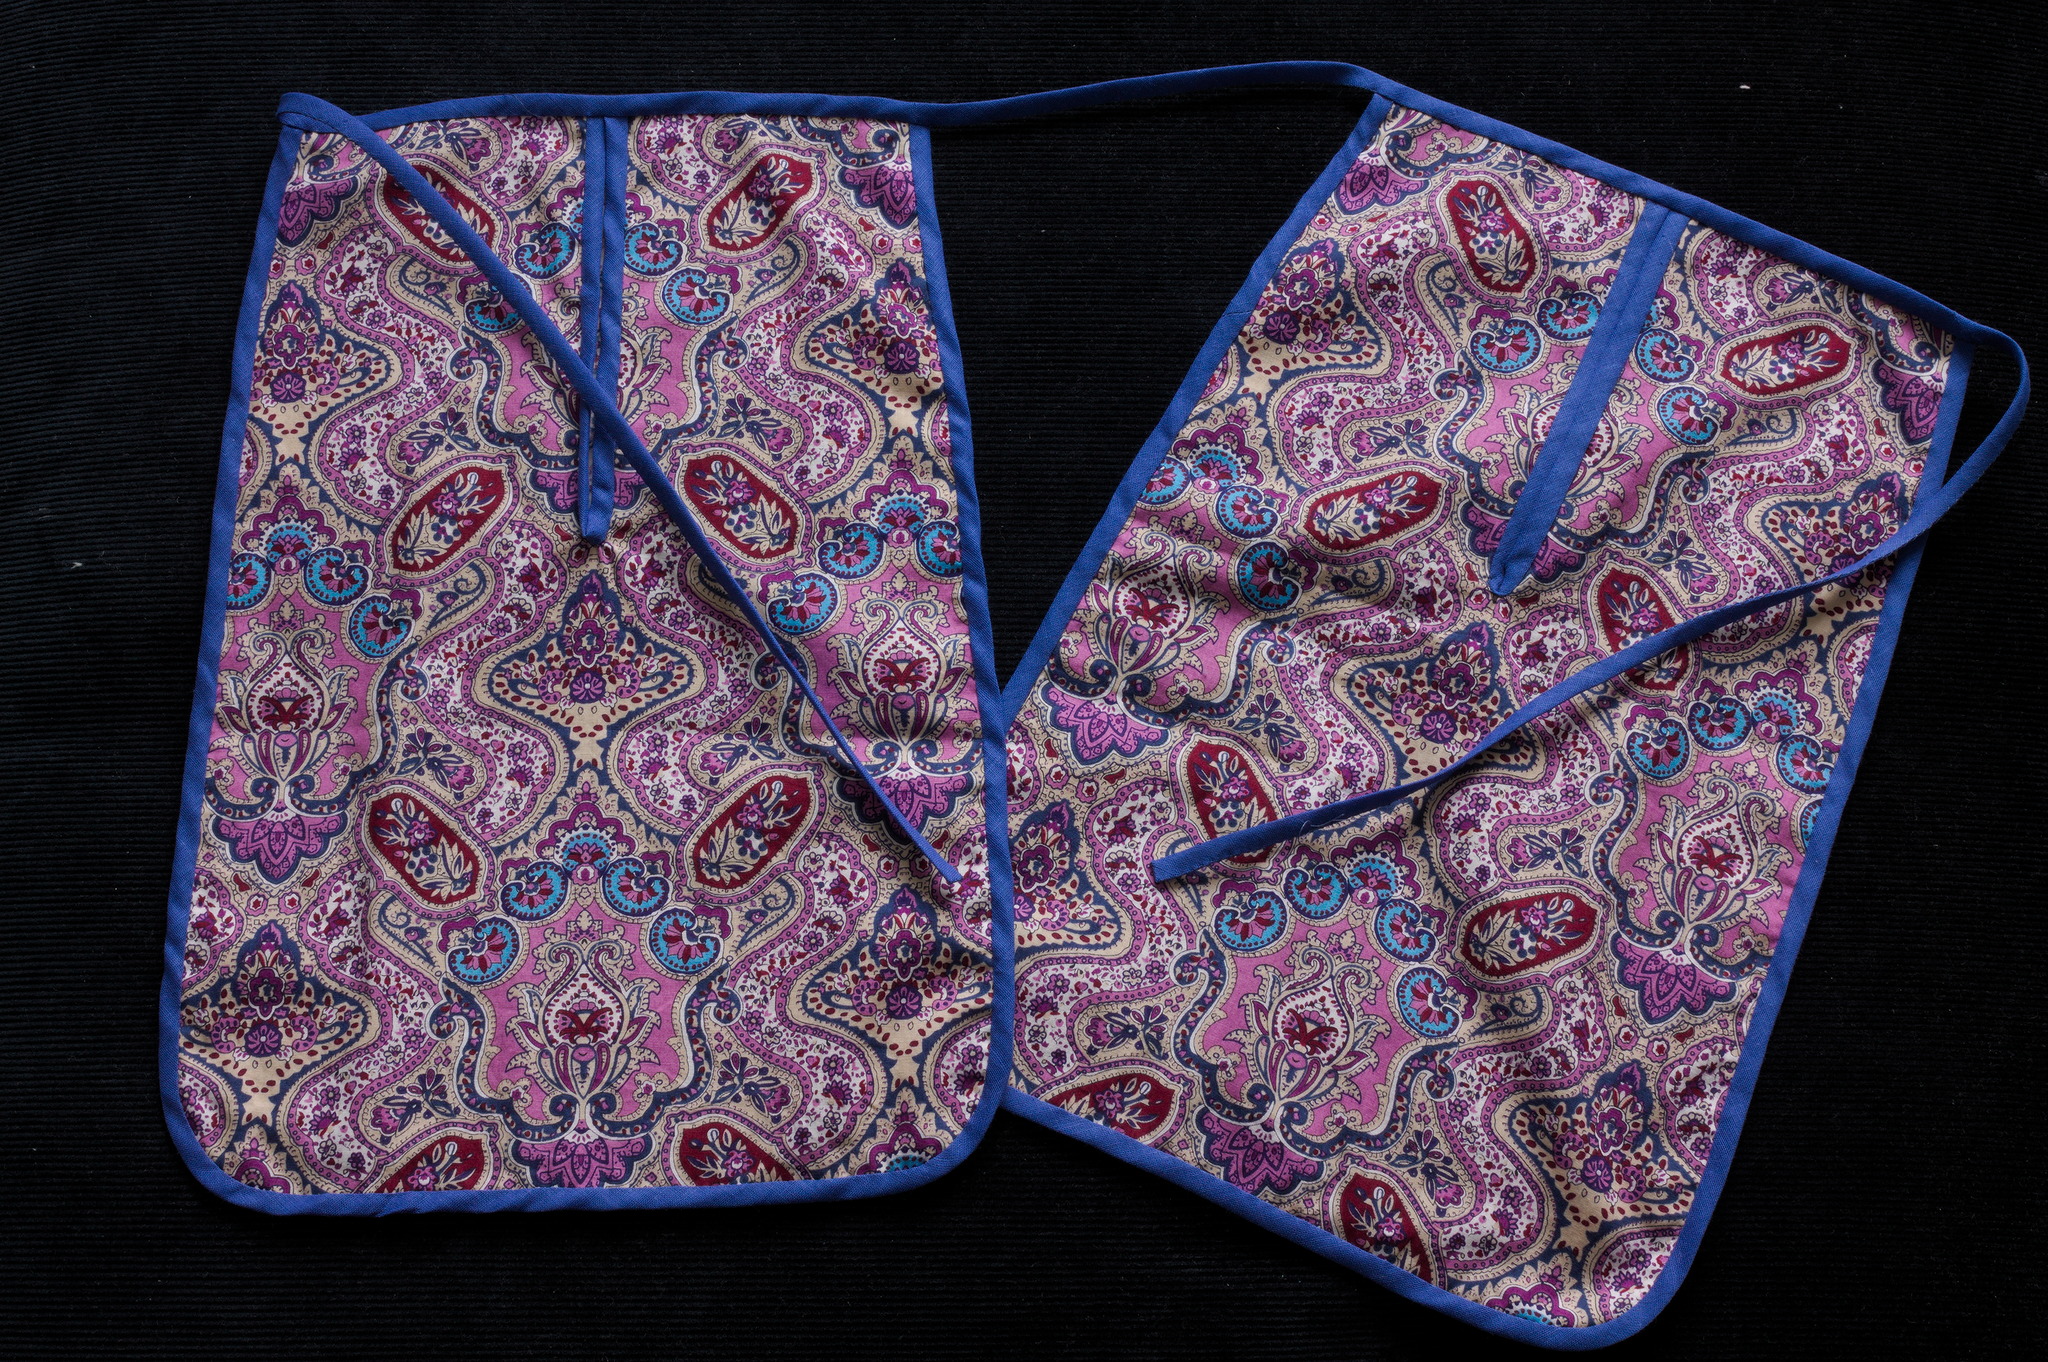
A pair of pockets made out of leftovers of a JÄTTEVALLMO duvet cover.
See Also
In the 2020s, pockets are IN, at least in the online sewing community: this is a small selection of people who made their own pockets.