Shoulder Sack
This bag style is, I believe, pretty common among reenactors of epochs between the Middle Ages and the 18th century, and I’ve found online a list of period depictions of similar bags .
It is a convenient style of bag that can be used to carry clothing and other goods.
These instructions aren’t historically accurate, but at least the one sewn by hand are vaguely plausible, since they use stitches and techniques with a long history.
The instructions for machine sewing give a bag with visible machine stitching that is probably not appropriate for any reenactment, but are suitable for an historically-inspired variant made with modern technical fabric.
Materials
Less than 1 m sturdy linen or cotton fabric, or lightweight waterproof synthetics;
matching sewing thread.
Pattern
This bag is made out of a rectangle of fabric as high as the length and twice as wide as the width of the finished bag, plus sewing allowances on all four sides.
To hang comfortably from the shoulder a length of about 1 m looks good, and if you’re using narrow fabric (~80 cm) using the full width is convenient.
Instructions by Hand
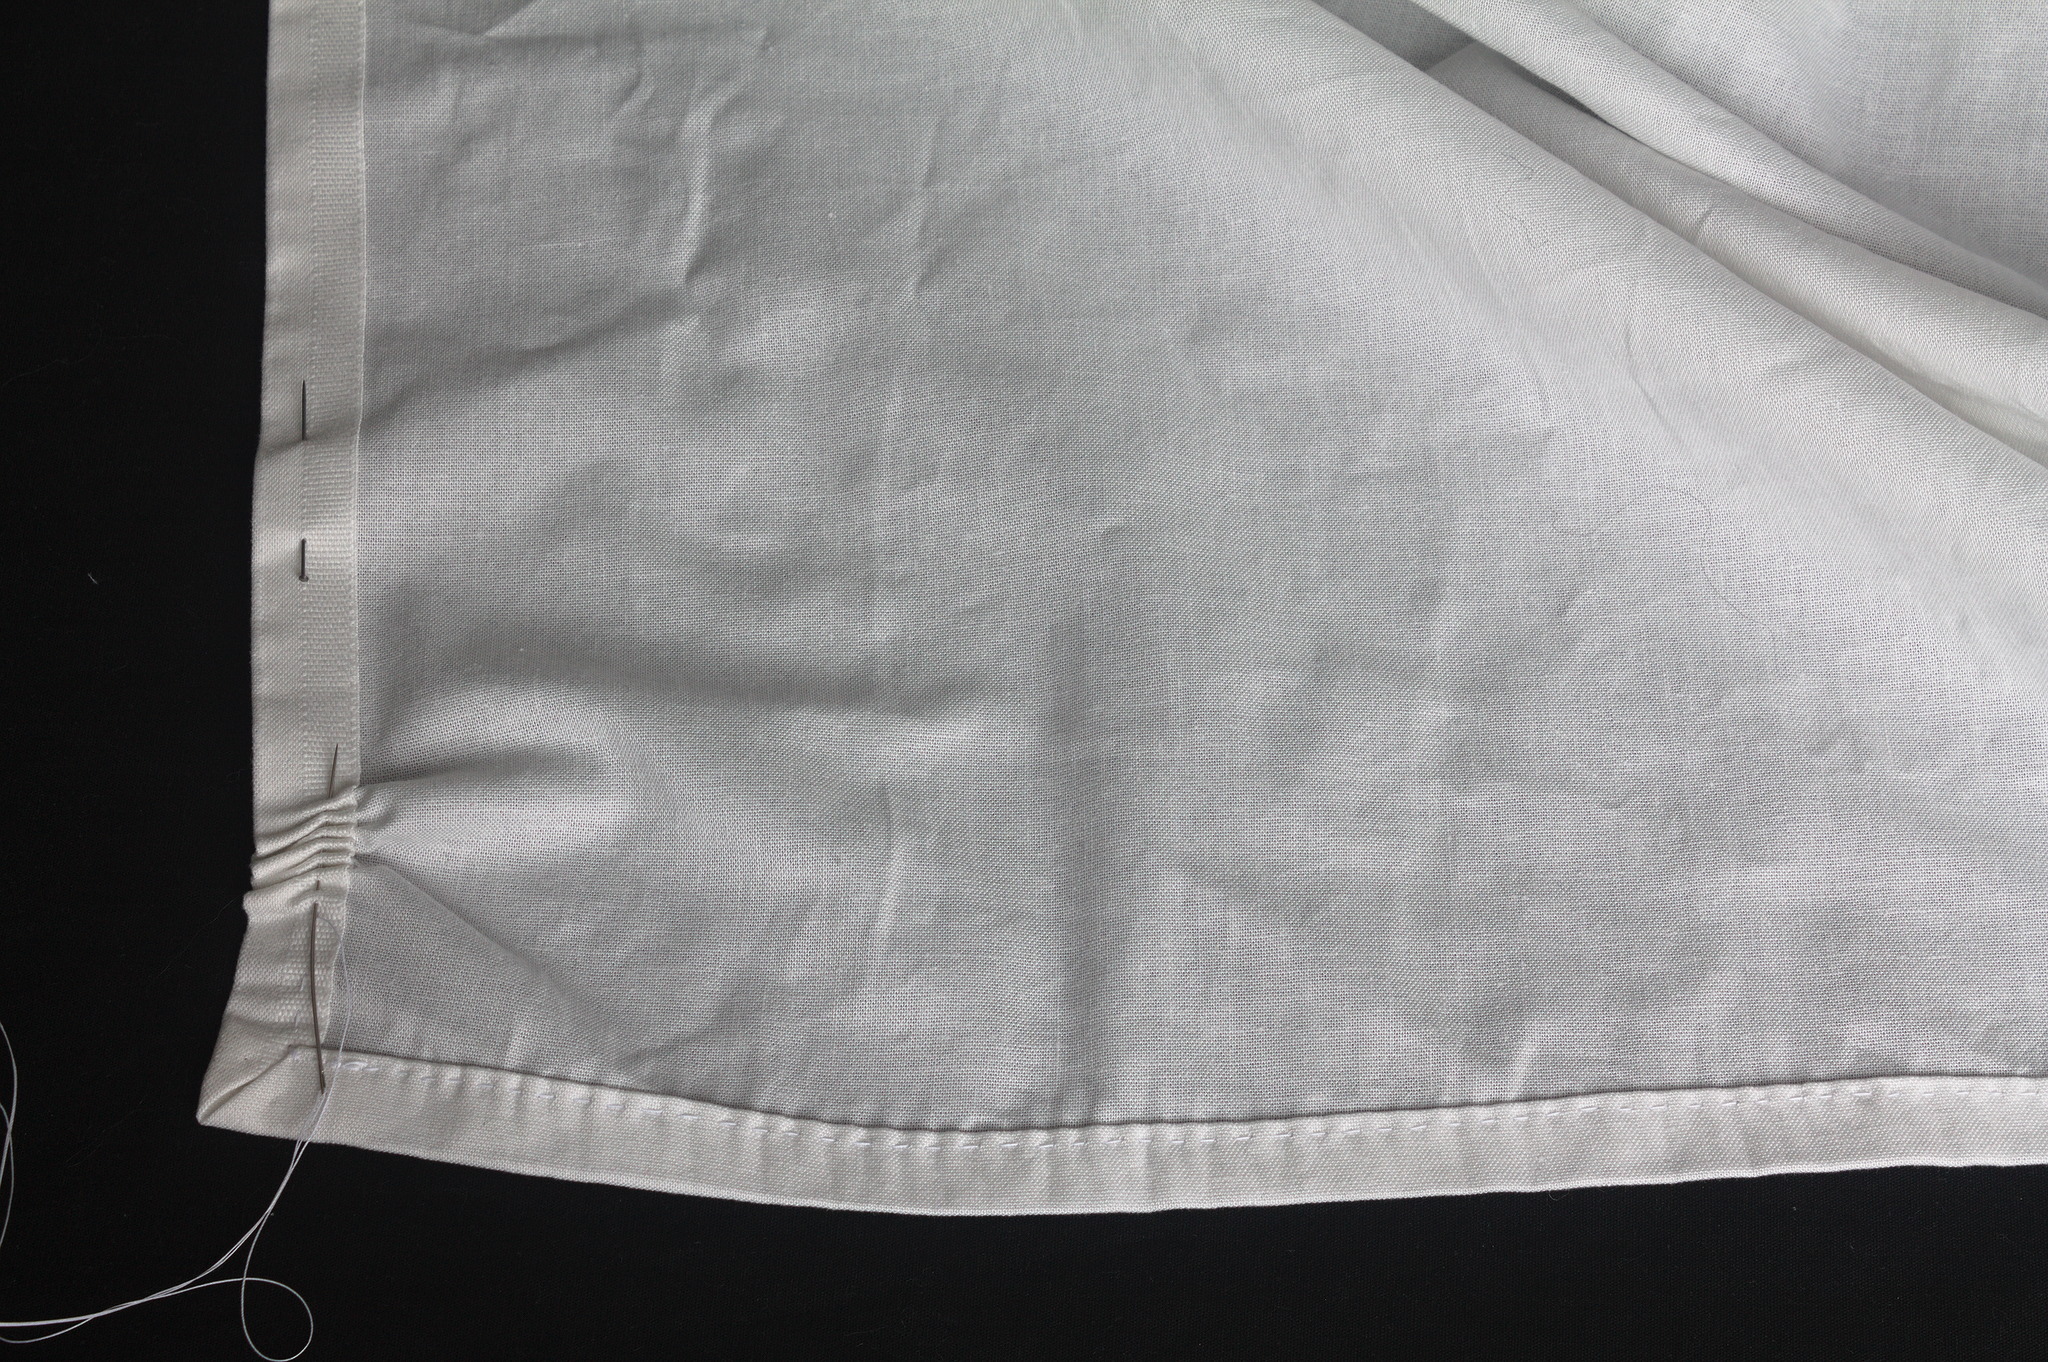
Fold down all four edges of the fabric by the sewing allowance twice to form a hem, sew with a running stitch.
Tip
for thick fabric that does not unravel folding the edge just once may be enough.
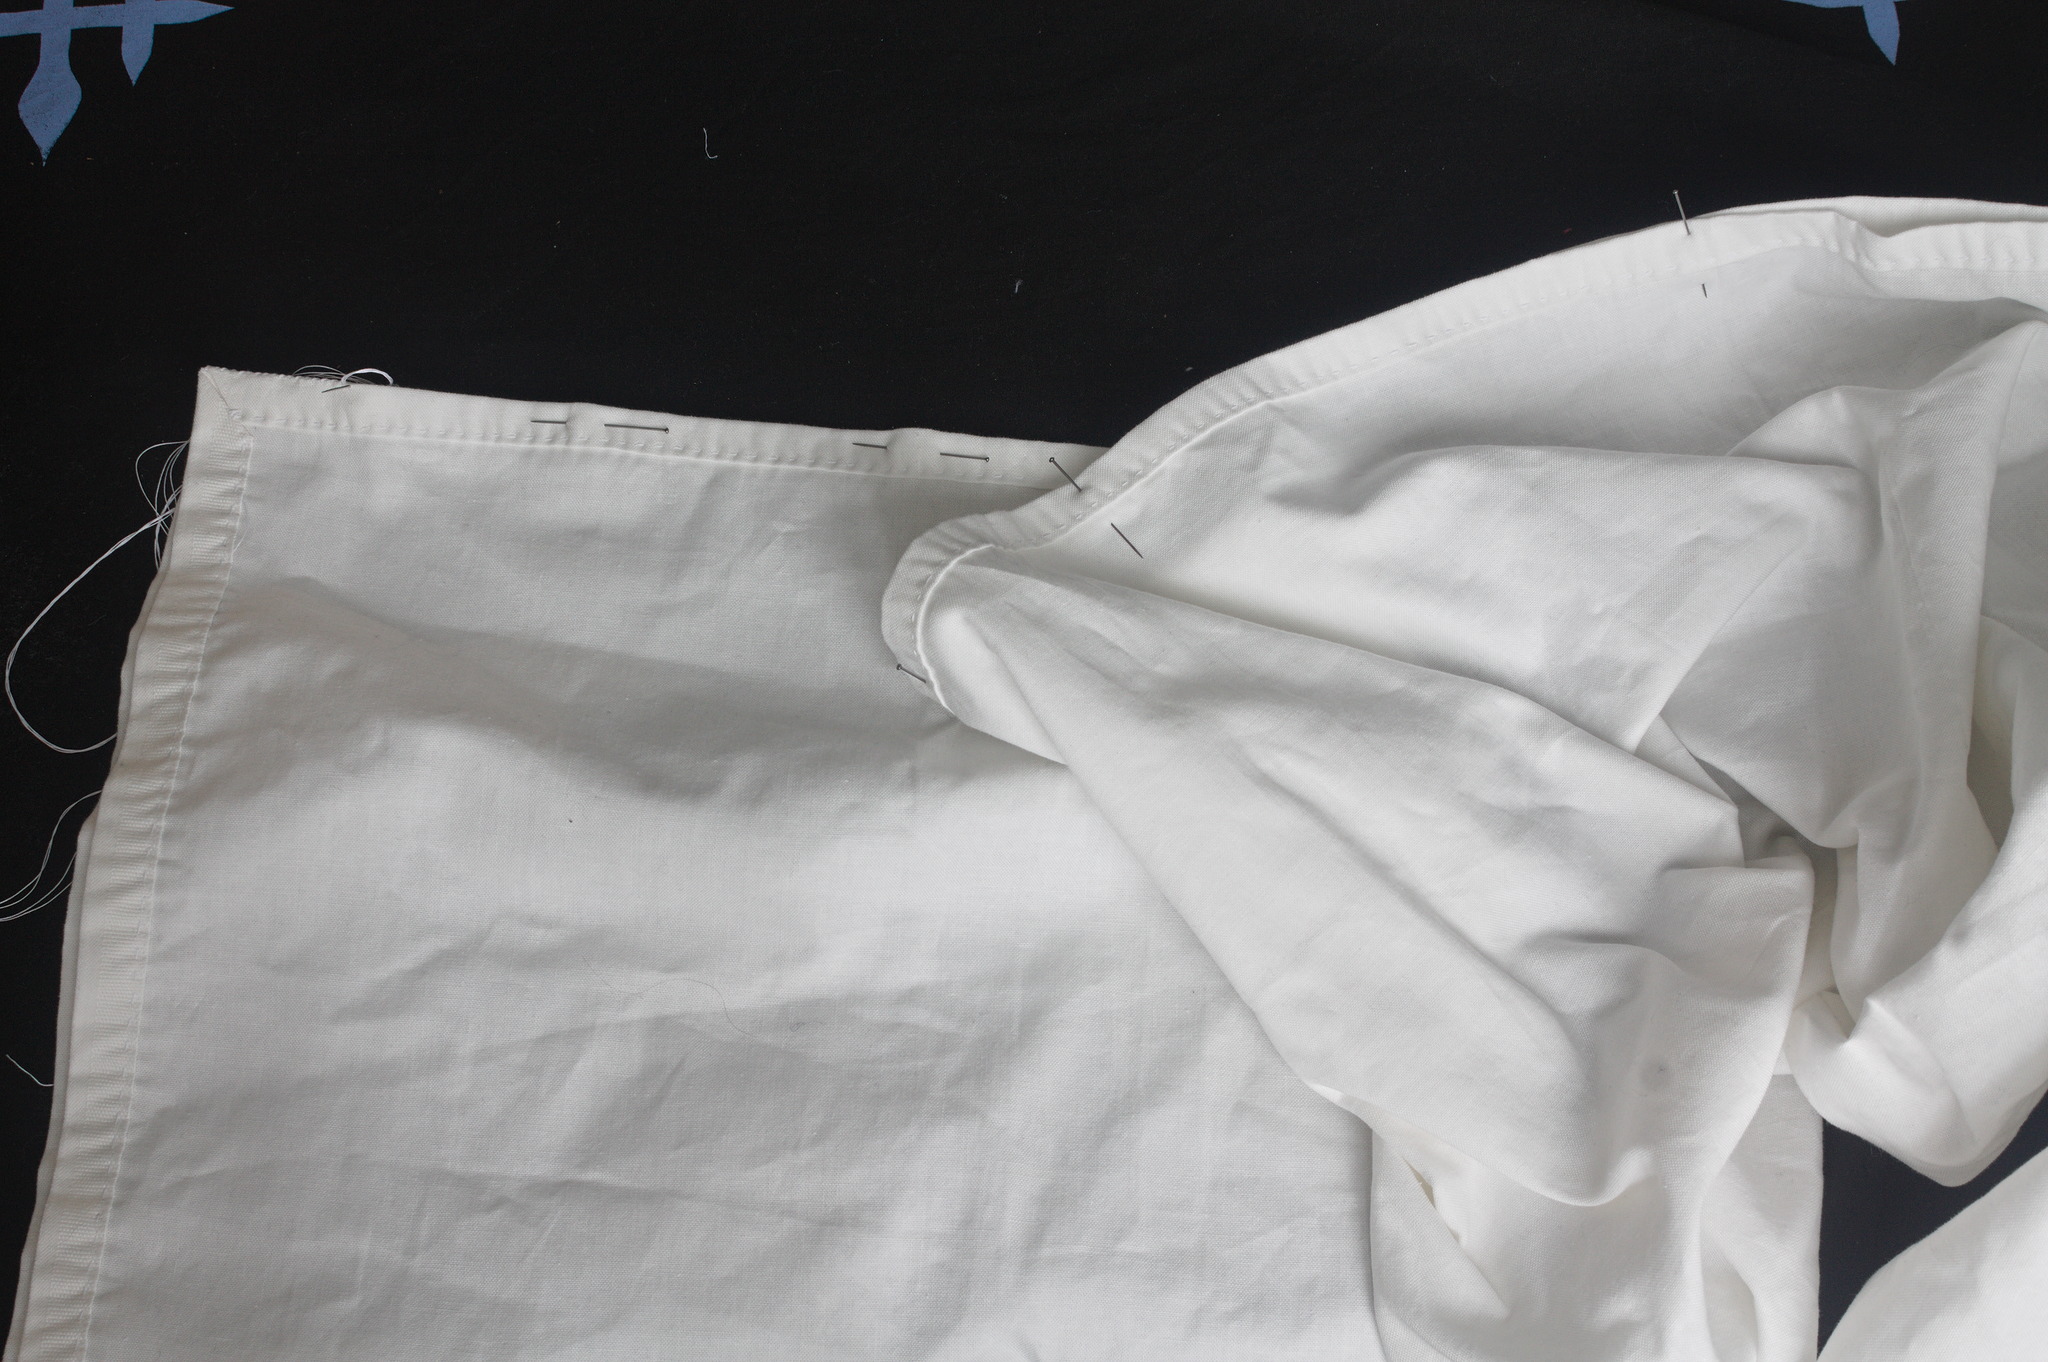
Using either a strong thread or up to four strands of regular sewing thread, waxed, whipstitch together two long edges for 3/8 of the length from each end, leaving a slit in the middle that is 1/4 of the full length.
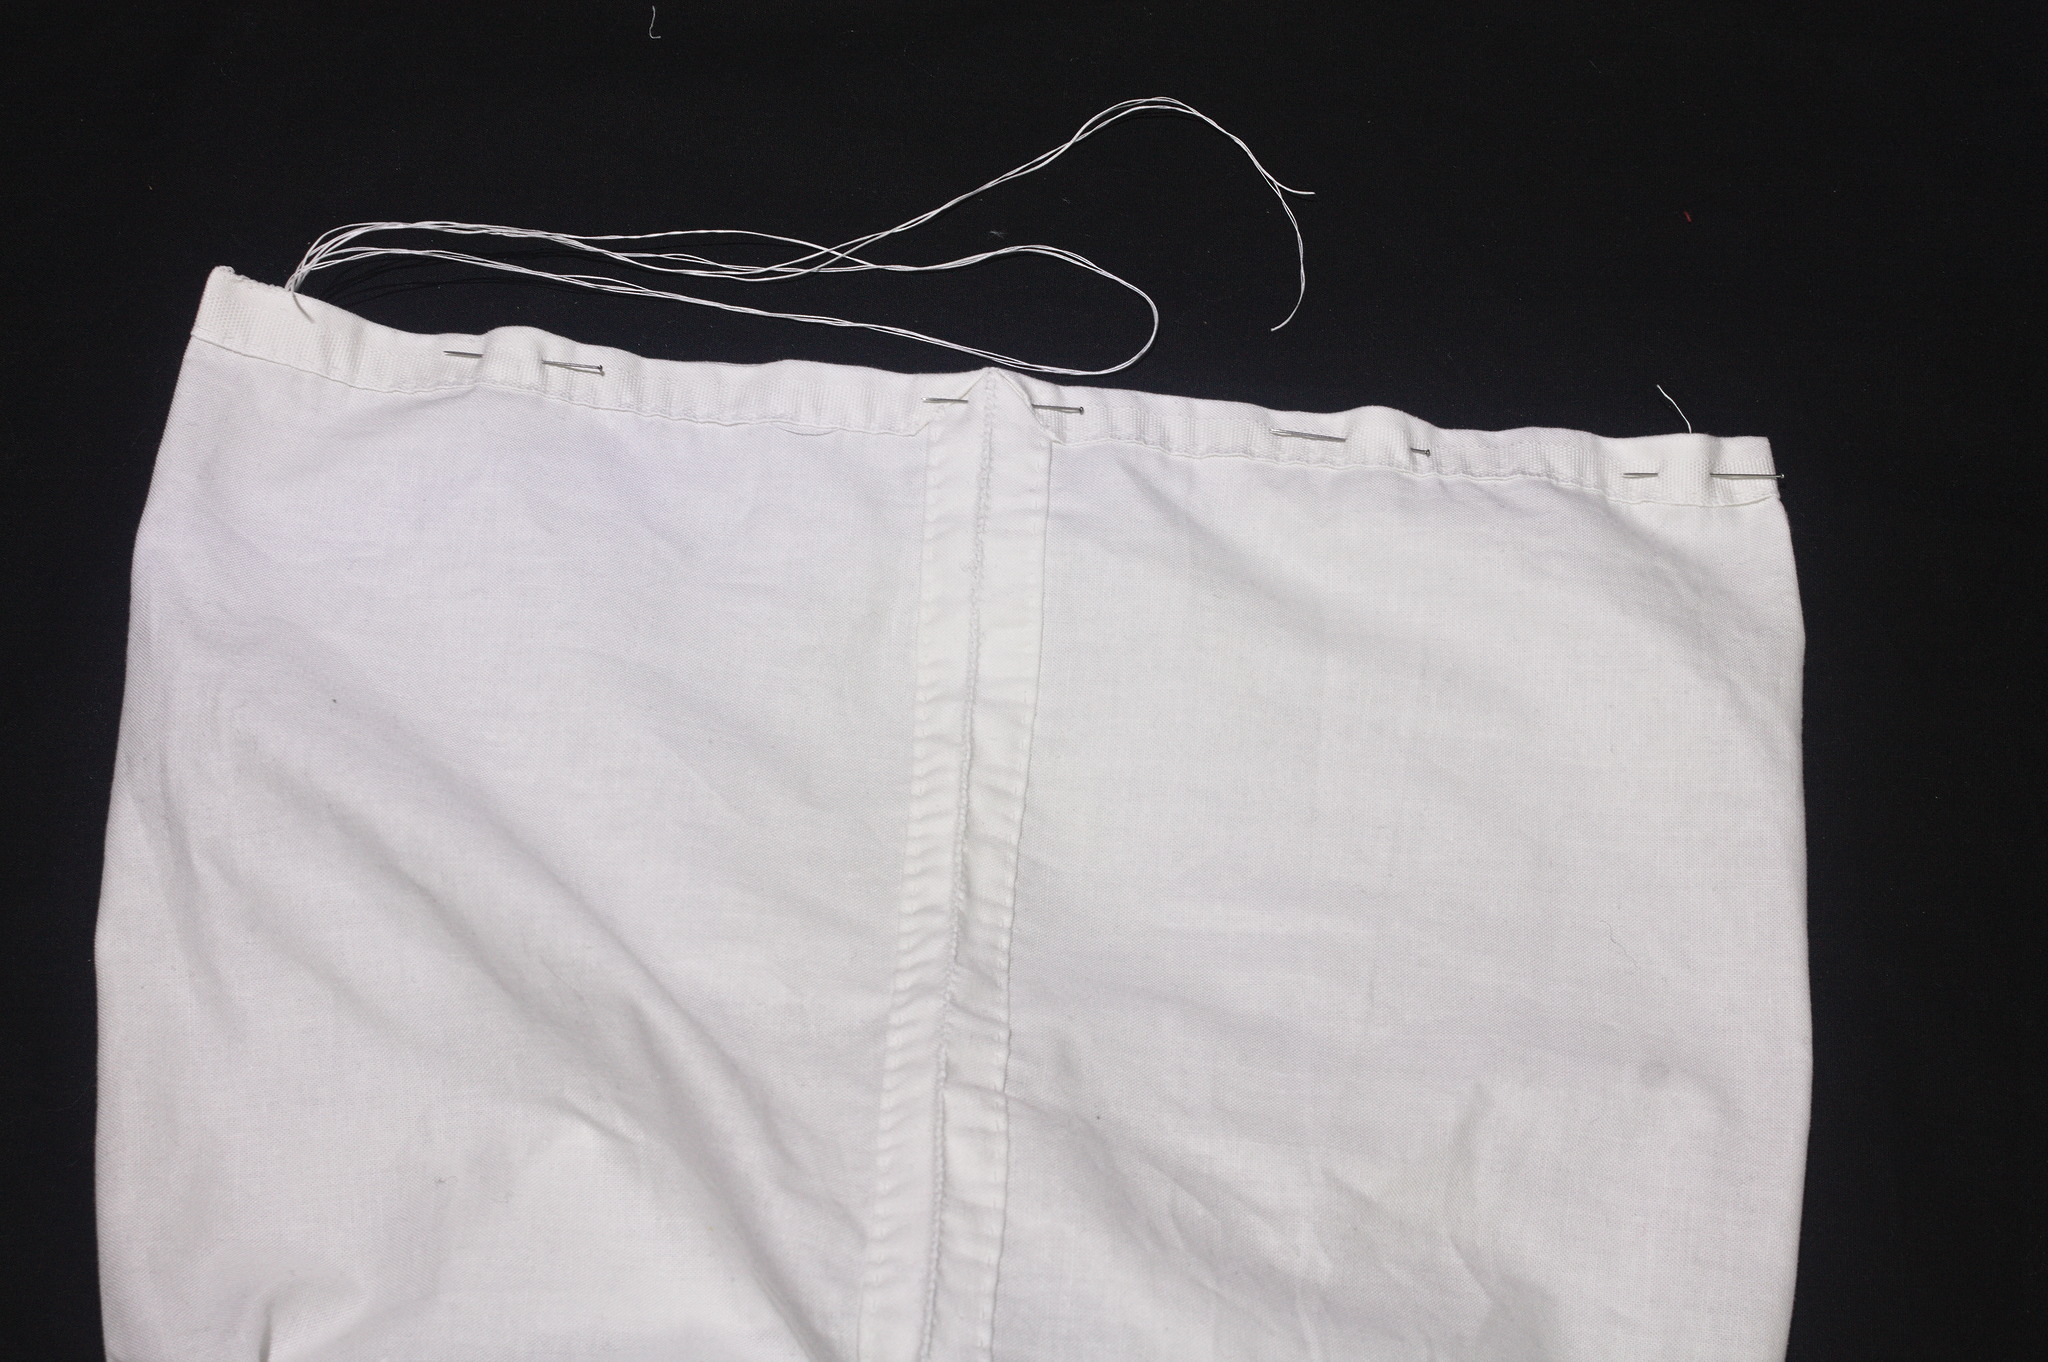
Fold the fabric so that the long seam + slit is in the middle, and whipstitch closed the short edges.
Instructions by Machine
Tip
If using coated, water repellent fabric, you want to minimize holes, so use a longer stitch than usual (e.g. 3 mm) and avoid using pins as much as possible, only using them in the sewing allowances.
Do however backstitch at the start and end of all seams, for stability.
Binder clips are useful to keep things in place without making holes, even if they can’t do miracles on extra slippery fabric like silnylon.
Right sides together, align the long sides of the fabric and sew with a double sewing allowance 3/8 of the length from each side, leaving a slit in the middle.
Fold down all four edges of the fabric by the sewing allowance twice to form an hem, topstitch.
Wrong sides together, flatten the tube so that the seam is in the middle of one side, sew the short ends at a bit less than one sewing allowance from the raw edge.
Turn inside out, right sides together, and sew again the short ends at a bit more than the sewing allowance from the last seam to form a french seam.
Turn inside out so that the wrong sides are inside and the bag is finished.
See also
For some historically researched examples, see:
Carrysack from Martebo by Johan Käll
The sack from Martebo by Maria of In deme jare Cristi
Historical Sew Monthly 2017: #2 Re-make by Miriam / Blackcatsews