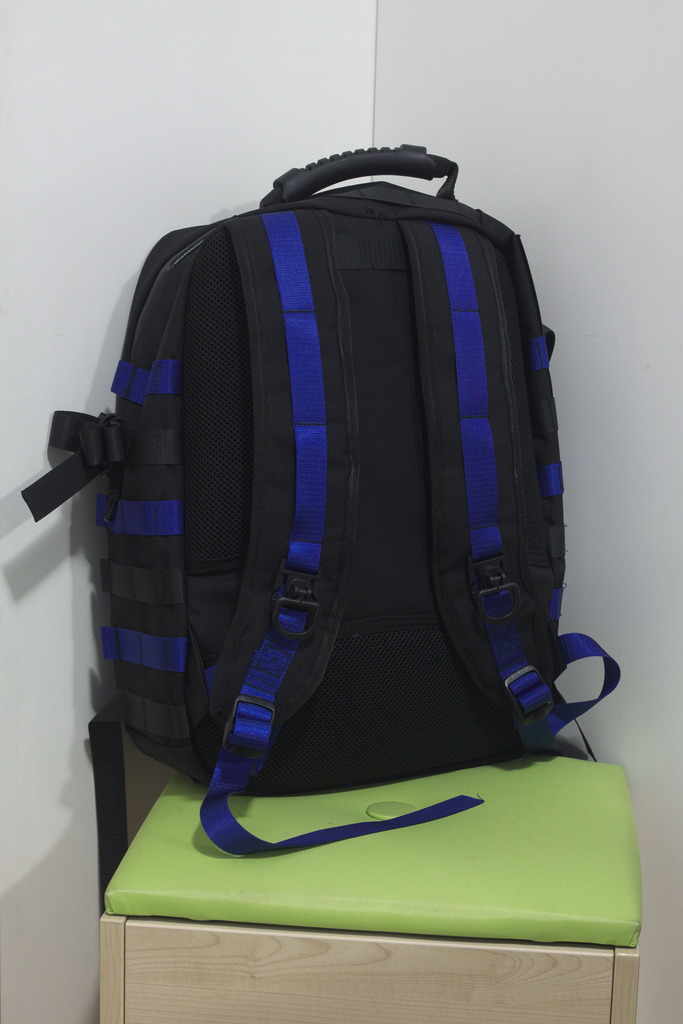
Modular Backpack Base

This is a basic day pack with MOLLE knock-off/compatible webbing, so that it can be expanded with accessories.
It isn’t a beginner’s project, as it requires quite some sewing confidence and a sewing machine able to sew through multiple layers of heavy materials and sew both straigt and zig-zag stitches.
Materials
You will need:
60 cm outer fabric (e.g. coated cordura);
70 cm lining fabric (e.g. ripstop nylon or uncoated, lightweight cordura);
a piece of 3D mesh less than 60 cm × 42 cm;
two pieces of rigid padding about 30 cm × 42 cm: a rigid foam, or a rigid sheet plus softer foam
a piece of heavy padding less than 30 × 42 cm (for the back): 8-10 mm EVA foam or neoprene;
a piece of lighter padding less than 30 × 42 cm (for the shoulder straps): 3-4 mm EVA foram or neoprene;
10 meters 2.5 cm webbing (with the color scheme in the pictures this would be a bit more than 3 meters in the fabric color and a bit more than 6 meters in the accent color);
7 meters twill webbing to bind the raw edges:
1 meter waterproof zipper plus sliders etc (to make a 90 cm long zipper);
33 cm round or thin elastic;
1 handle;
termoplastic sewable feet;
2 ladderlocks;
2 side release buckles;
heavyweight sewing thread (regular all purpose thread isn’t strong enough).
Pattern
The pattern is available in the following formats:
componible_backpack_base.valvalentina file where the measurements can be customized;
componible_backpack_base-copyshop.pdfA0 PDF file for copyshop printing;
componible_backpack_base-A4.pdfA4 tiled PDF file for home printing.
the latter two formats are based on a finished measurement of 30 cm × 42 cm × 15 cm (width × height × depth) with 1.2 cm left for the zipper.
Instructions
Tip
Any time coated / water resistant fabric is involved, only use pins in the sewing allowance, and use a long seam (e.g. 4 mm) to minimize holes in the coating and preserve the water resistance. Binder clips are useful to keep things together while sewing, and so is masking tape, depending on the cases. In the pictures you can see what I used in most cases.
Tip
When working with webbing and edgebinding measure the amount you need, cut and seal the edges with a flame to prevent fraying.
Tip
When sewing TPU-coated fabric sometimes the machine may have issues carrying it; in that case put a piece of tissue paper on the coating while sewing and rip it out afterwards.
Cut all fabric and lining parts according to the pattern, using the given sewing allowance (usually 2.5 cm). Cut the padding according to the pattern, without the sewing allowances. Cut the rigid padding about 5 mm smaller than the pattern.
Attach the webbing and other accessories to the fabric panels.
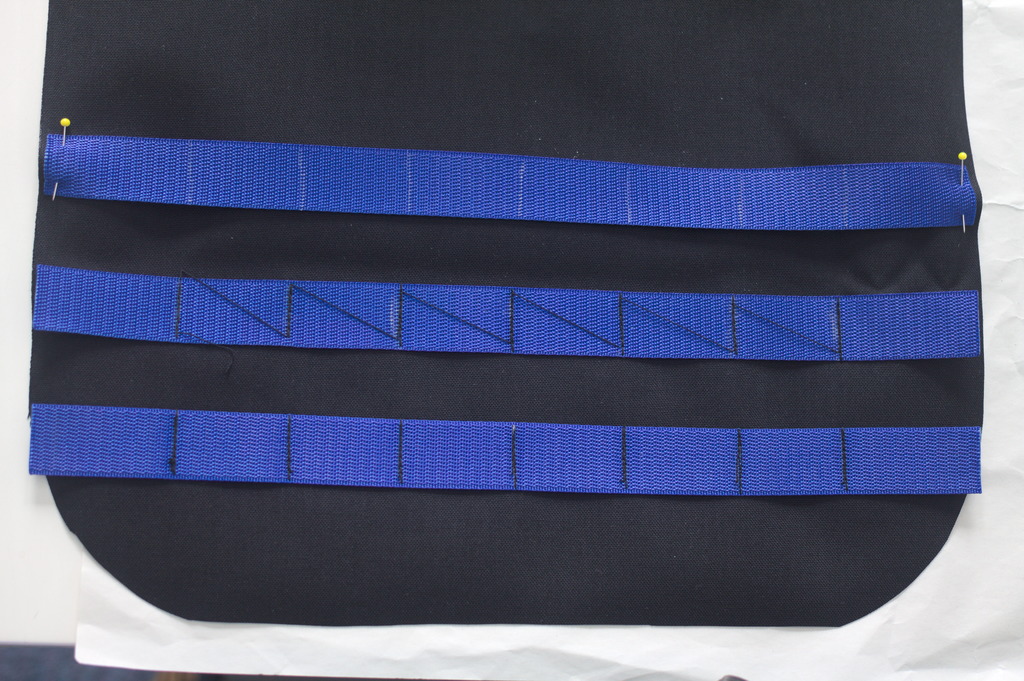
Cut 8 pieces of webbing as long as the front panel is wide, seal their edges; draw transversal lines at the center and every 4 cm to both edges using chalk or a similar disappearing marker.
Put the webbing on the right side of the front panel, starting 5.5 cm from the top, and sew on every mark, backtacking once on every line.

Cut 8 pieces of webbing 15 cm long, seal their edges on a flame, fold down one end 2 cm and sew. Also cut 4 pieces of webbing 60 cm long, seal their edges.
Put this webbing on each side panel, with the unfolded edge aligned to the back edge of the panel and sew every 4 cm from seam near the folded edge. Start 3.5 cm from the bottom with a short piece, then a long one, 3 short, another long and a short one near the top.
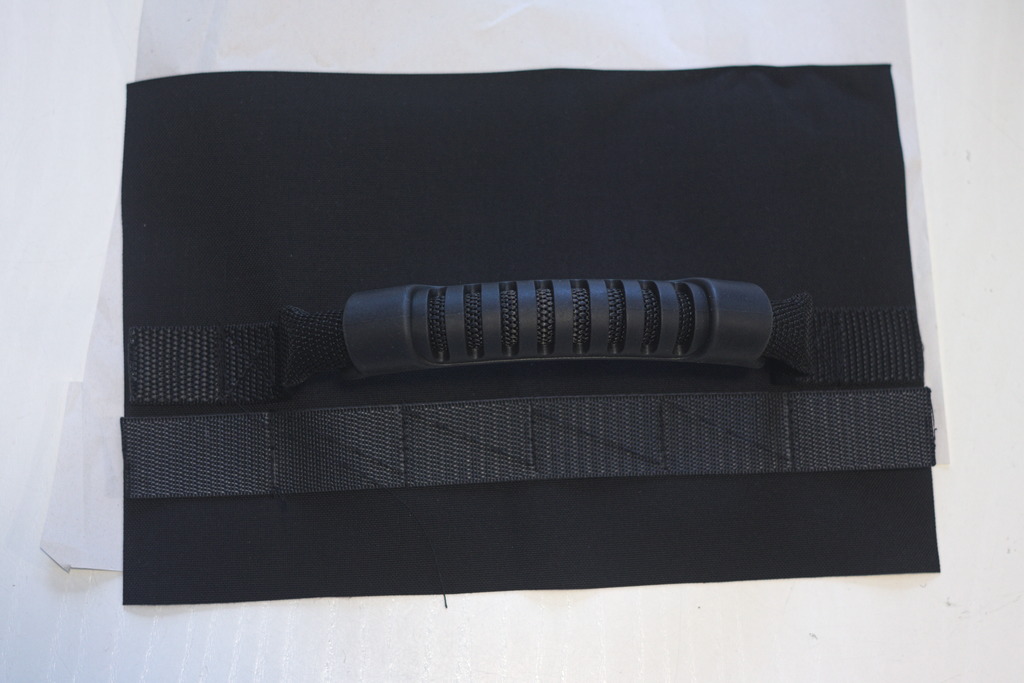
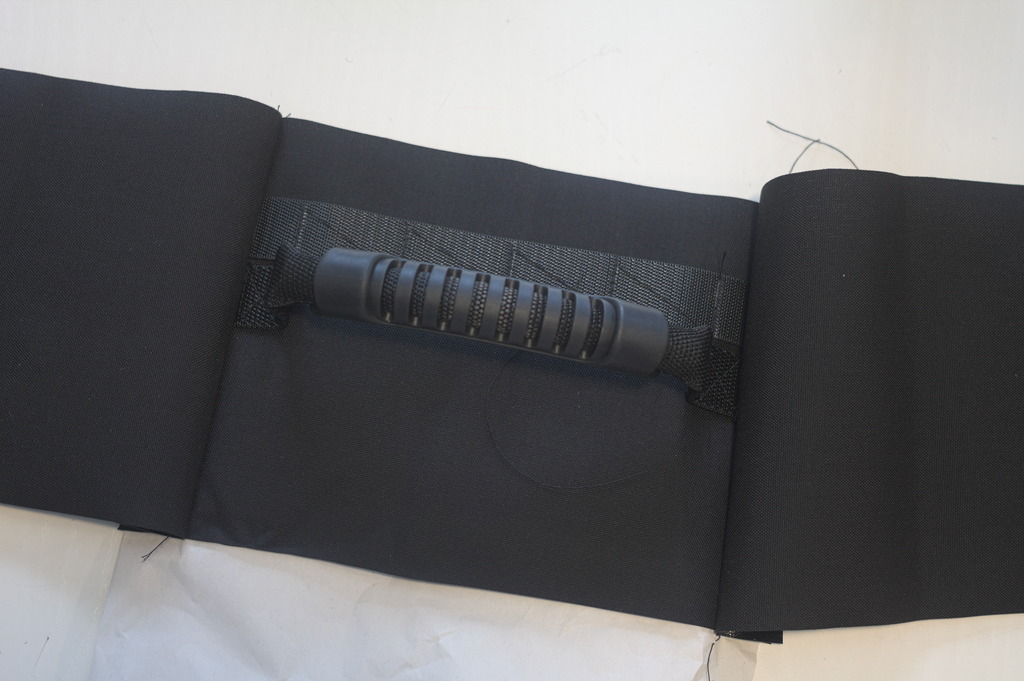
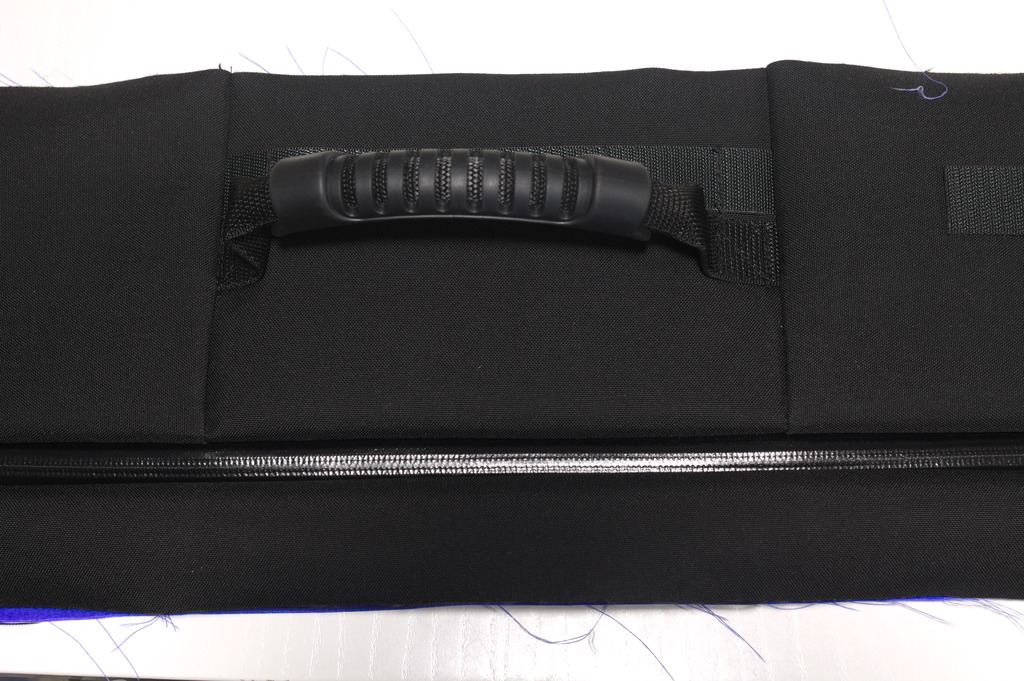
Attach the handle to the top panel, aligning the webbing edges with the edges of the panel. If you want also attach a piece of webbing as long as the top panel towards the back, sewing as usual at the center and every 4 cm.
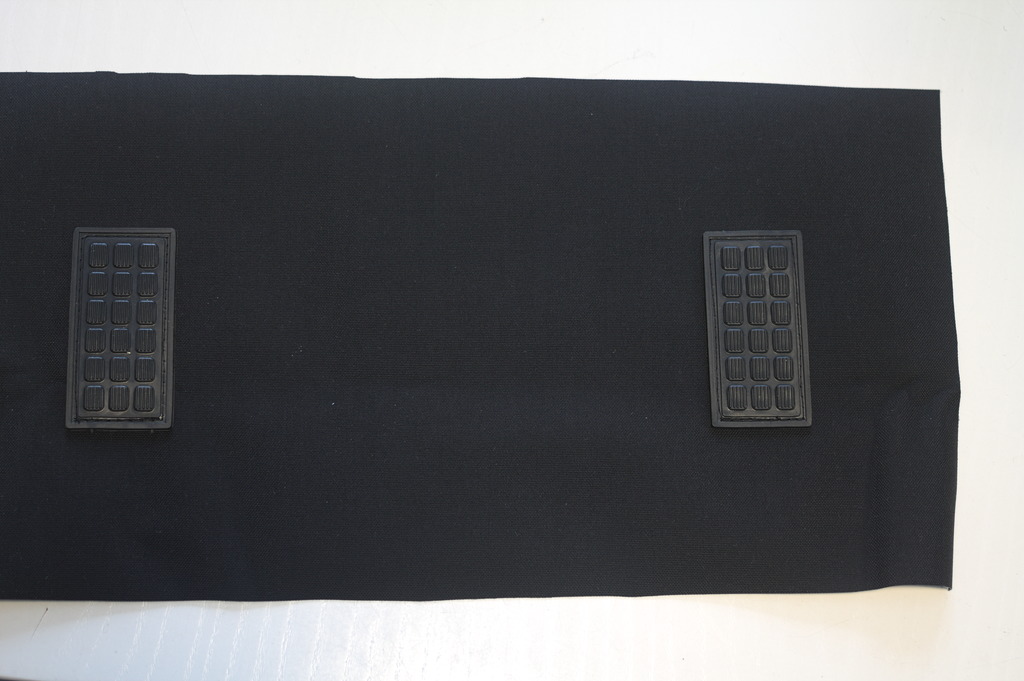
Sew the pads to the bottom panel.
Prepare the lining pieces
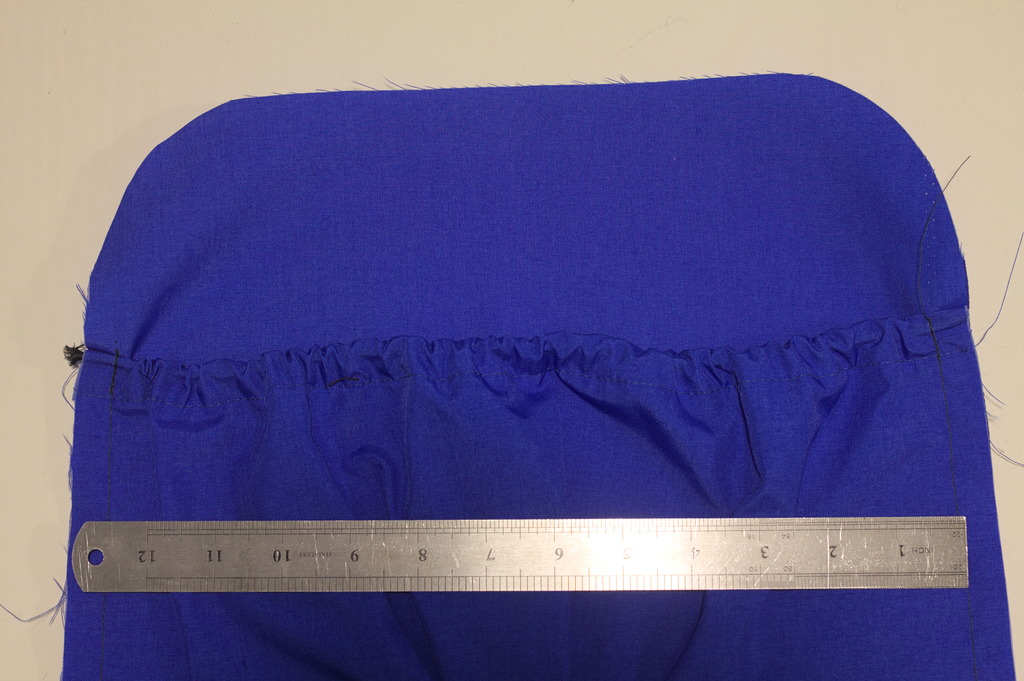
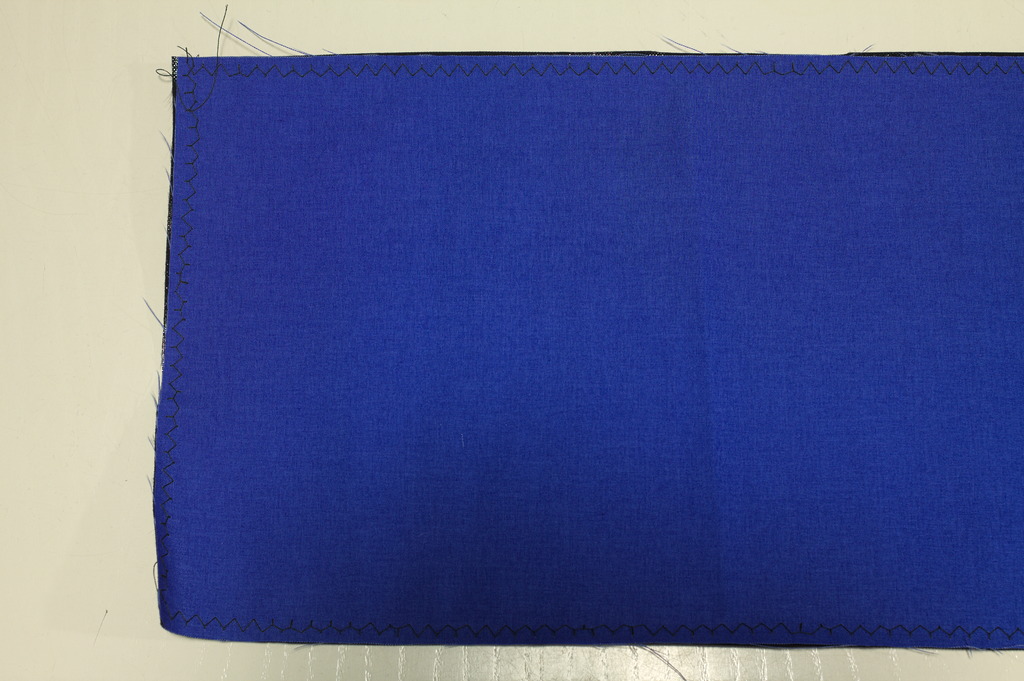
Take the inner pocket lining piece, zigzag the top edge, fold it down 1 cm and again 2 cm, sew 1-2 mm from the bottom fold to create a channel for the elastic.
Place the elastic in the casing, put the wrong side of the pocket on the right side of the back panel lining with a pleat at the center bottom, sew all around with a seaming allowance of 1.5 cm, backticking over the elastic.
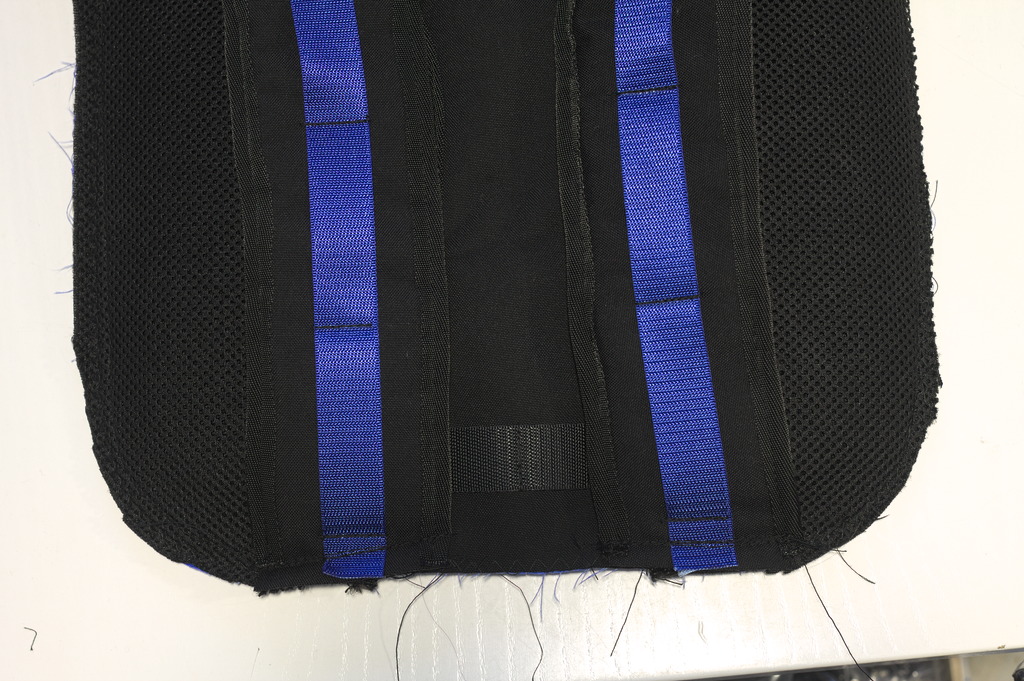
Attach the padding to the back
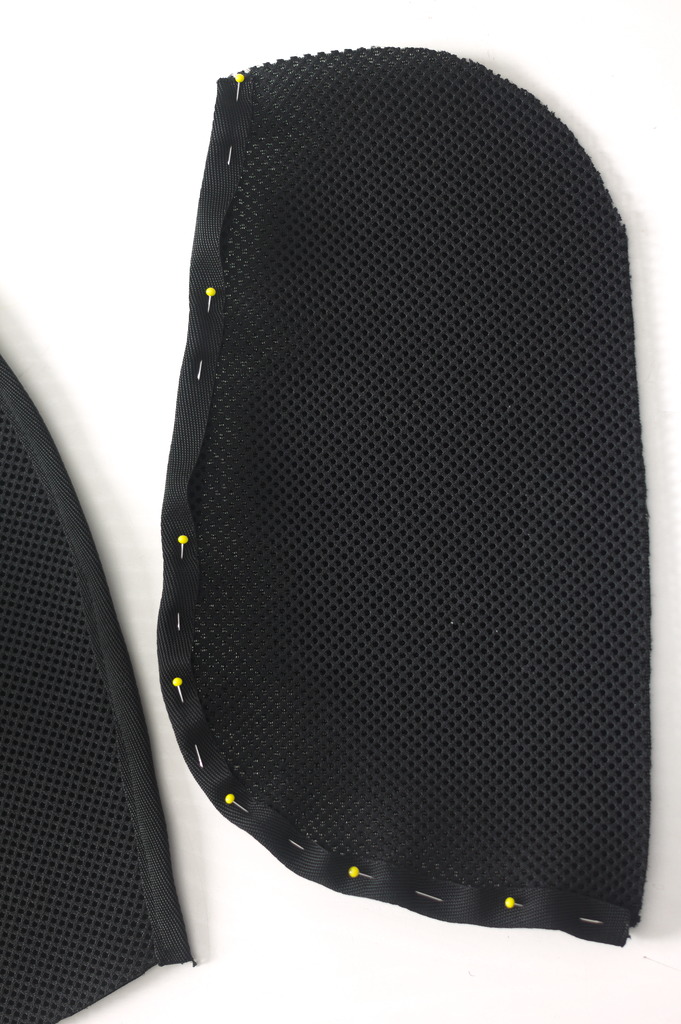
Bind the edges of the 3D mesh that will be visible with the twill webbing.
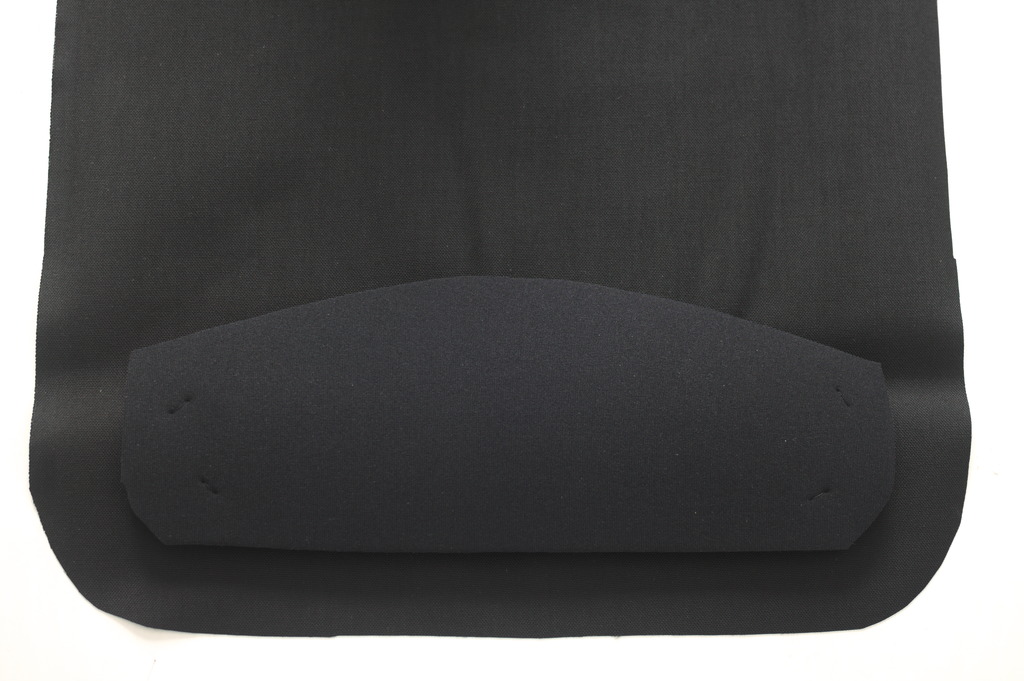
Baste by hand the heavy padding to the fabric back panel with a few stitches.
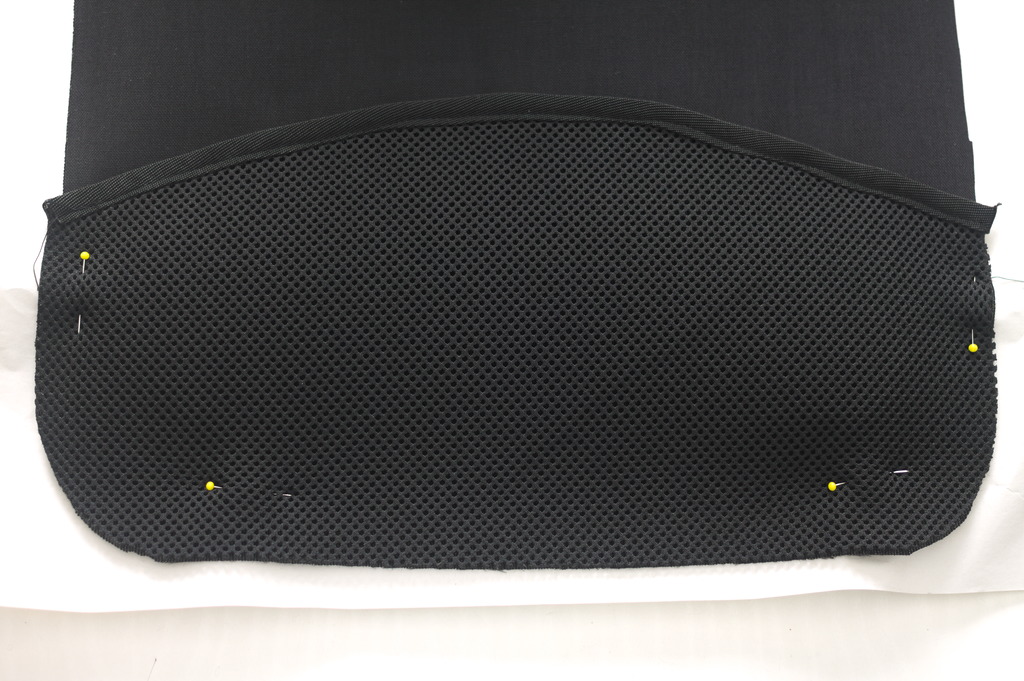
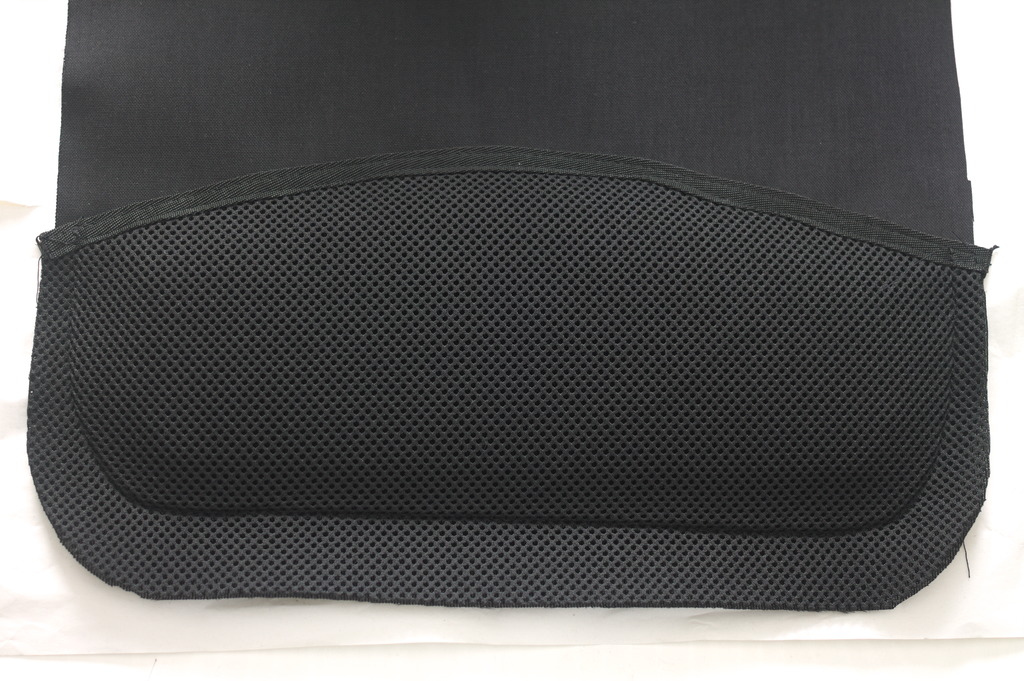
Put the 3D mesh on top and sew near the edge of the mesh, enclosing the padding.
Prepare the shoulder straps
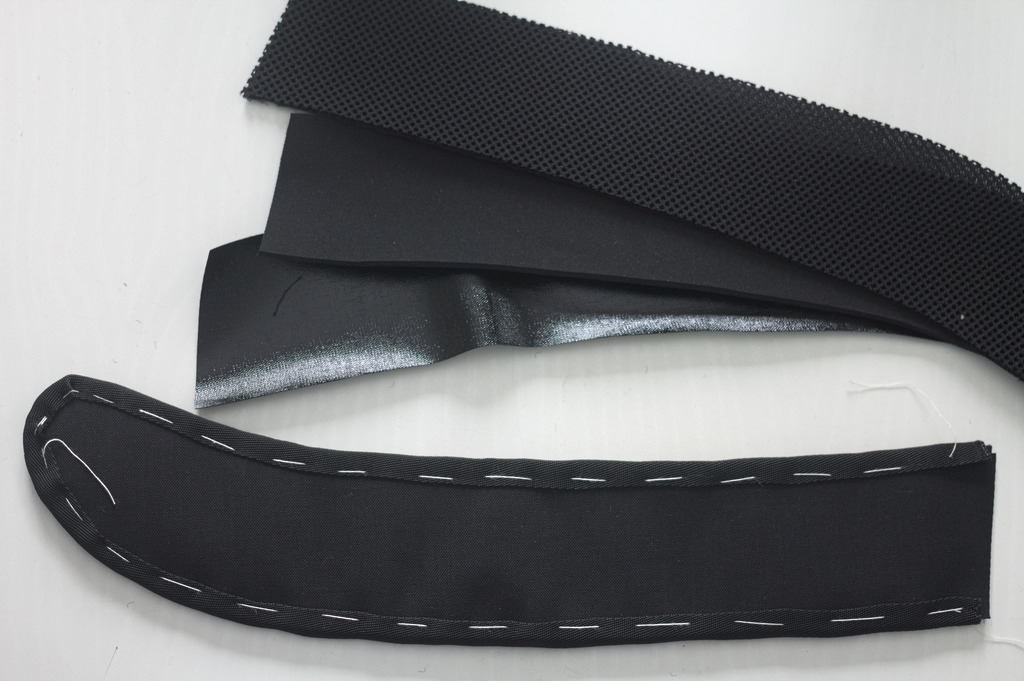
Sandwitch the light padding pieces between a layer of fabric and one of 3D mesh, bind the edges with the twill webbing.
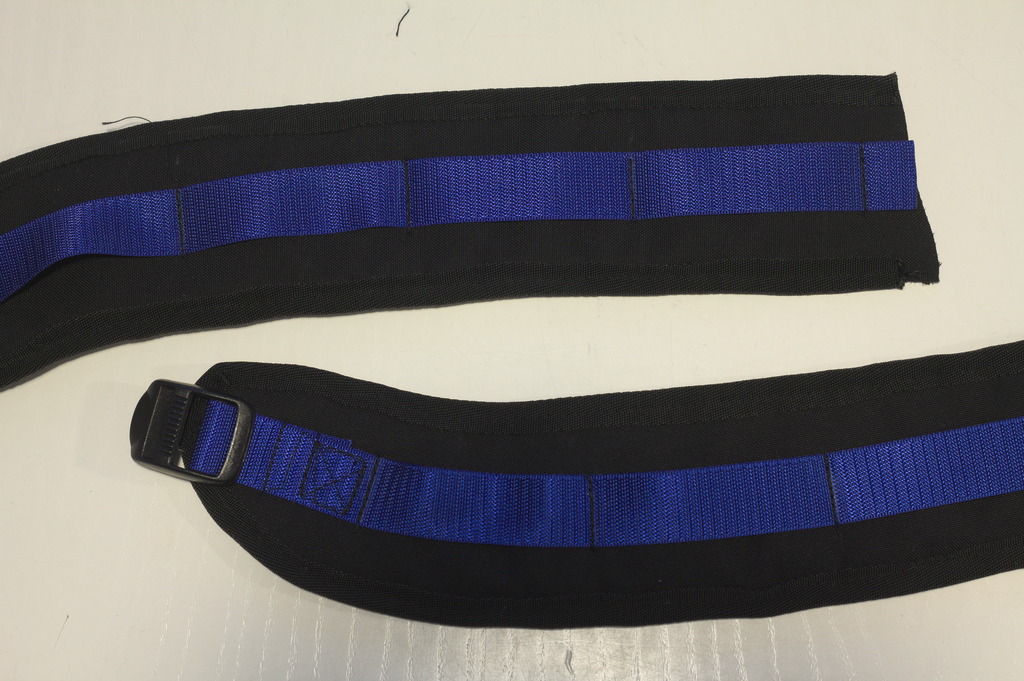
Cut two pieces of webbing 46 cm long, seal the edges and sew them to the shoulder straps near the top and every 8 cm, attaching the triglides near the bottom.
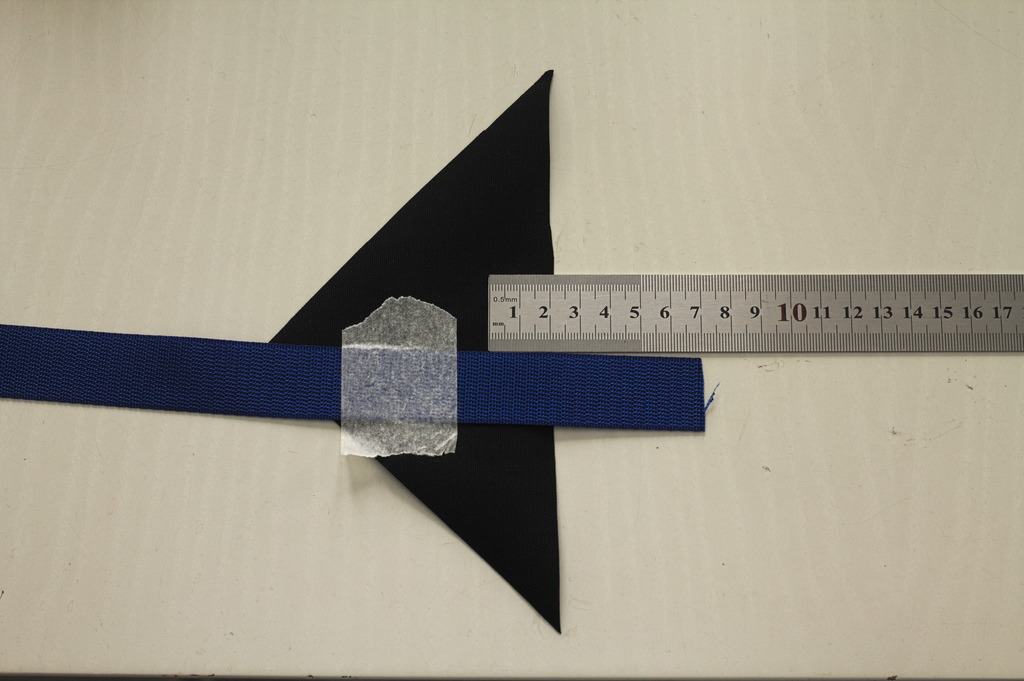
Cut two pieces of webbing 70 cm long, seal their edges.
Put one end on the right side of one small triangle of fabric, so that one edge goes from one corner to the middle of the long side, and there are 5 cm of webbing beyond the long side.
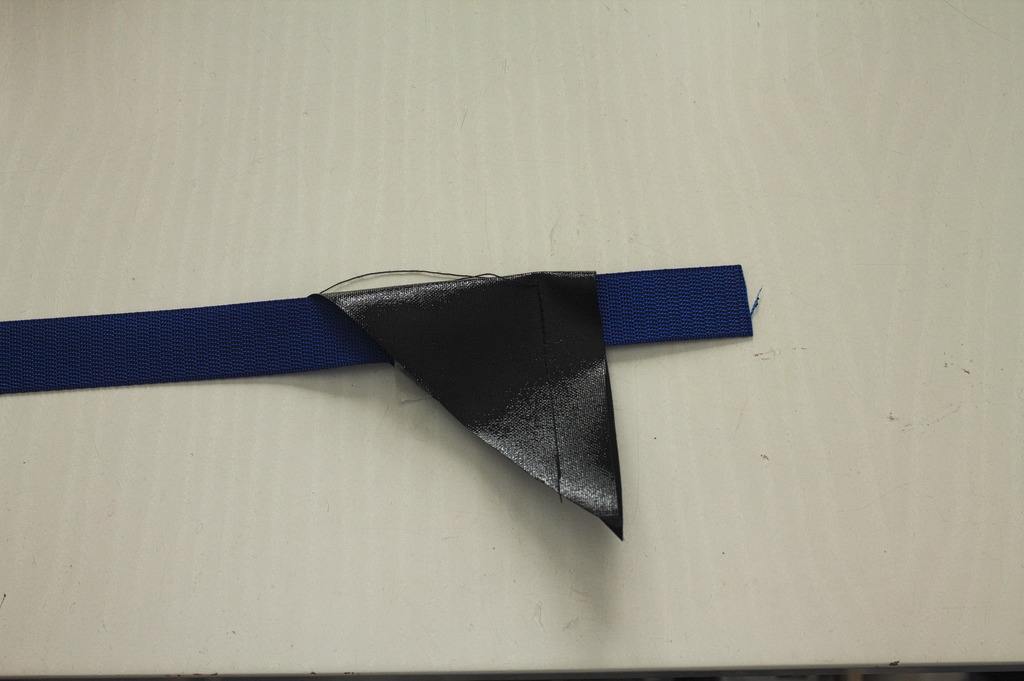
Fold the triangle in half, right sides facing, and sew 2.5 cm from the long edge.
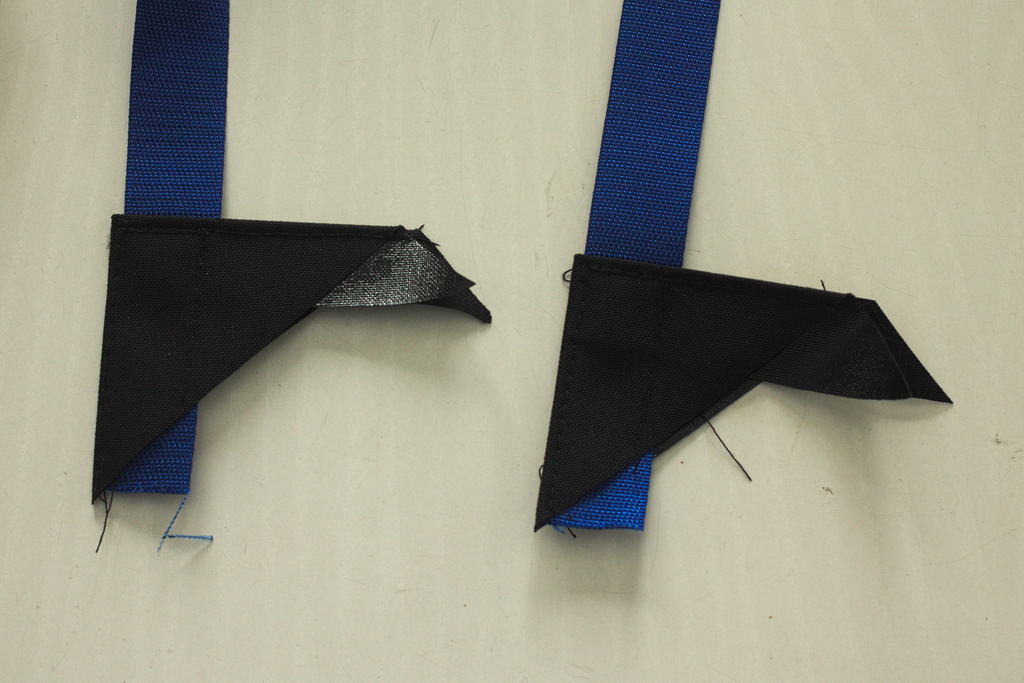
Turn the triangle inside out, topstitch near the edges of the webbing.
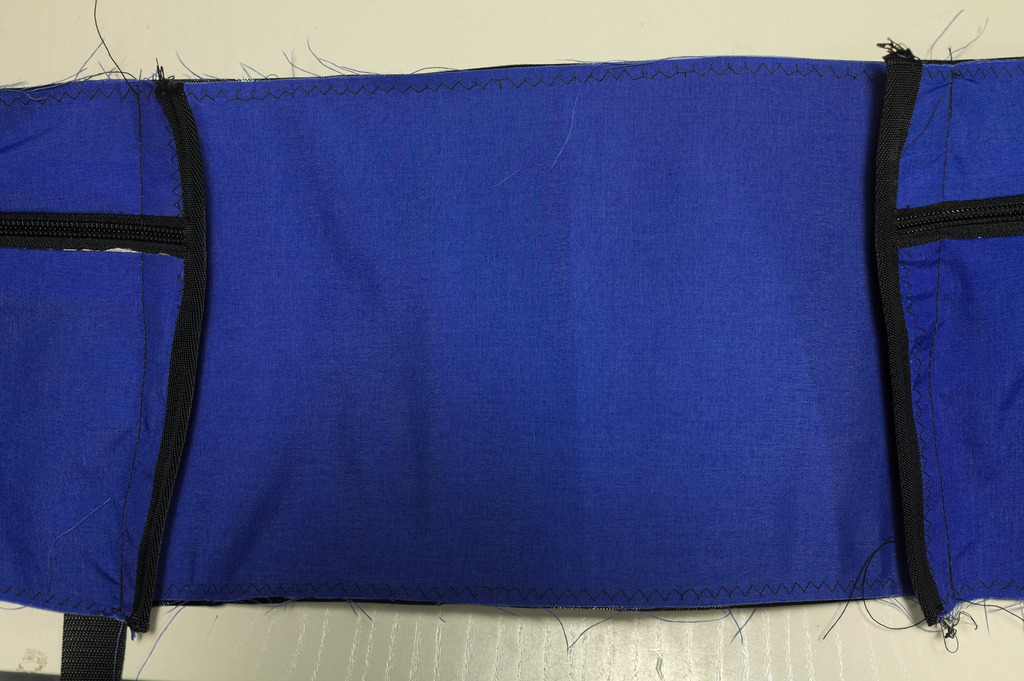
Assemble the sides / add the zipper
Place the top and one side panel of the fabric right sides together, sew the short side; repeat with the other side panel. Open the seam and (finger-)press the allowances towards the sides.
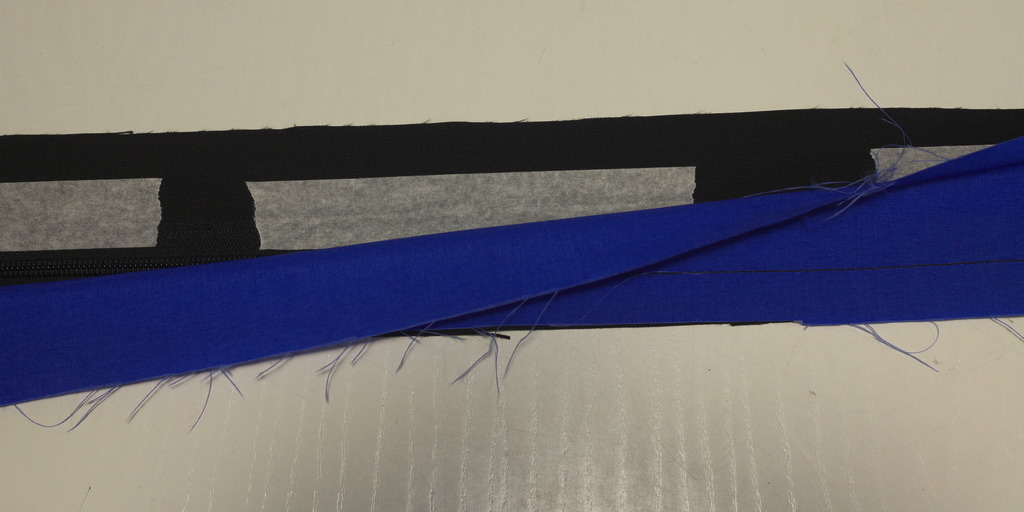
Place the right side of the zipper on the right side of the front side panel (the thin one that is in one piece) and place the right side of its lining on top of both; sew so that thr zipper is sandwitched between the two layers and turn them inside out so that the zipper protudes.
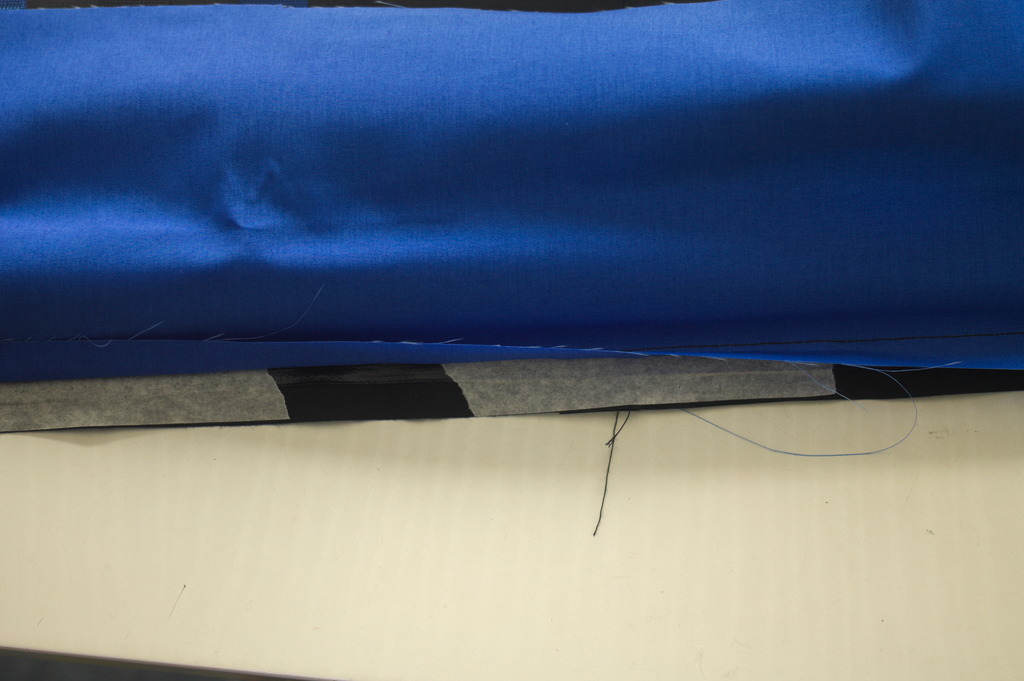
Place the right side of the zipper and assembled panel on the right side of the back side/top panel (the one assembled from the sides and top) and place the right side of its lining on top of both; sew as above and turn inside out.
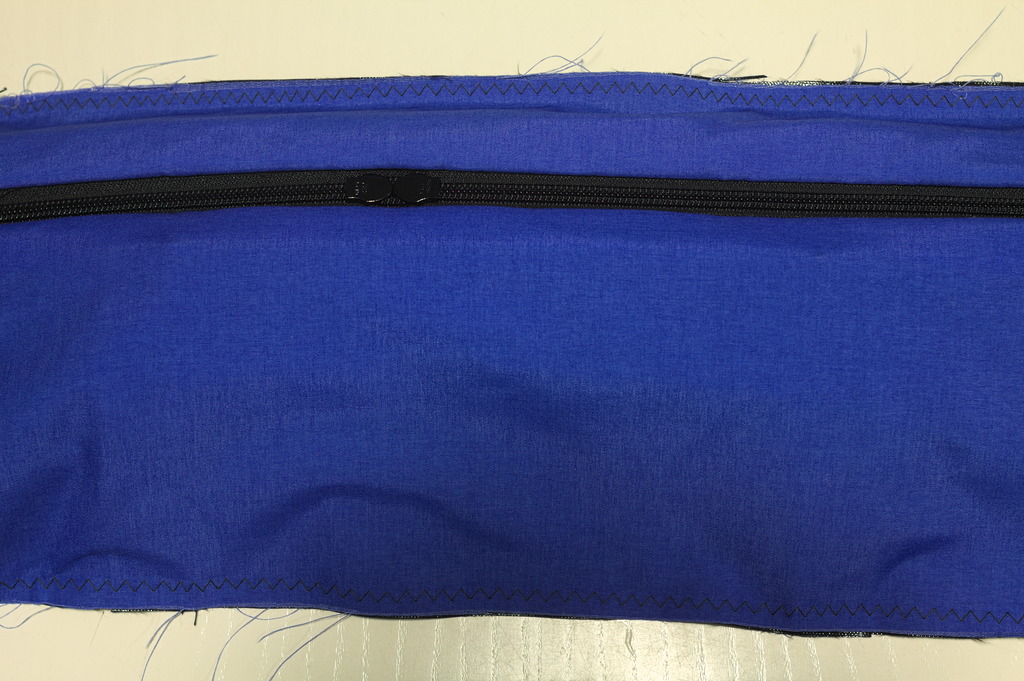
Insert the zipper pulls in the assembled top/sides.
Baste the lining
In this step we will attach all lining pieces to their fabric ones, wrong sides facing with a wide zig-zag stitch, so that they are easier to treat them as one while assembling the backpack and to prevent the raw edges from fraying before they are covered with tape.
Sew the lining and fabric of the top/side panels on the remaining raw edges.
Sew the lining to fabric of the bottom panel.
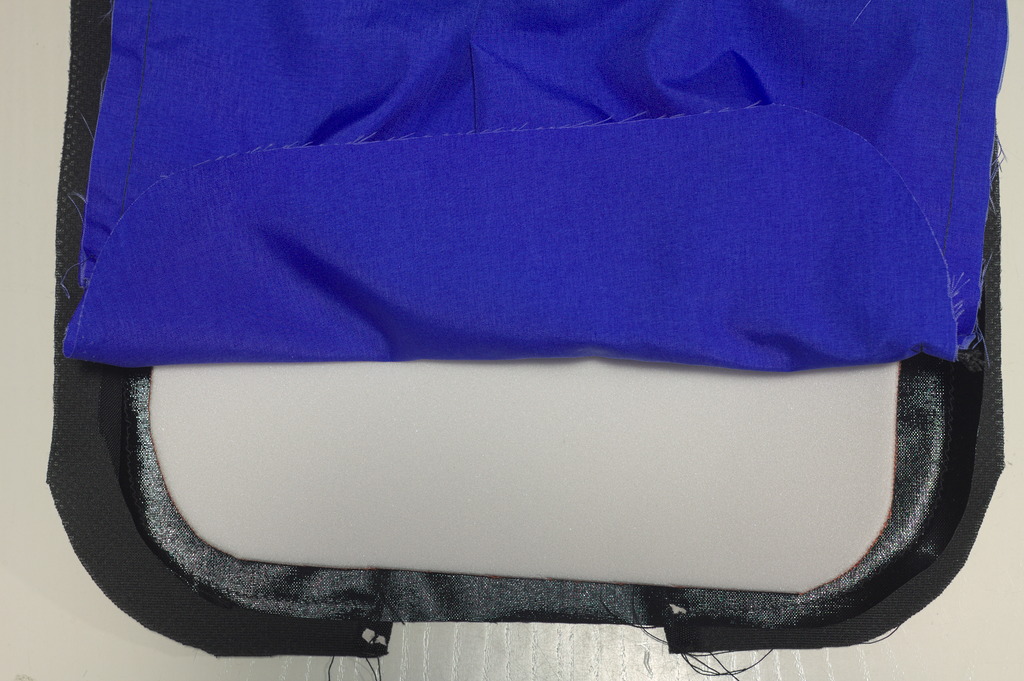

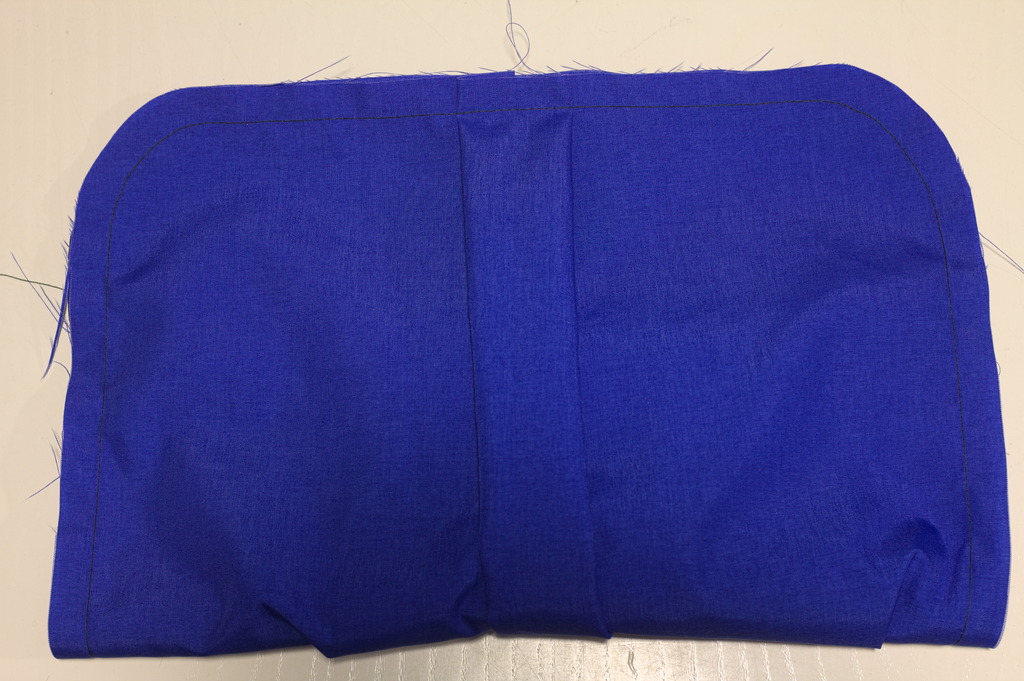
Sandwitch the rigid padding between the lining and the fabric of the front panel, sew all around the edges.
Sandwitch the rigid padding between the lining (including the pocket) and the fabric of the back panel, sew all around the edges.
Assemble the backpack
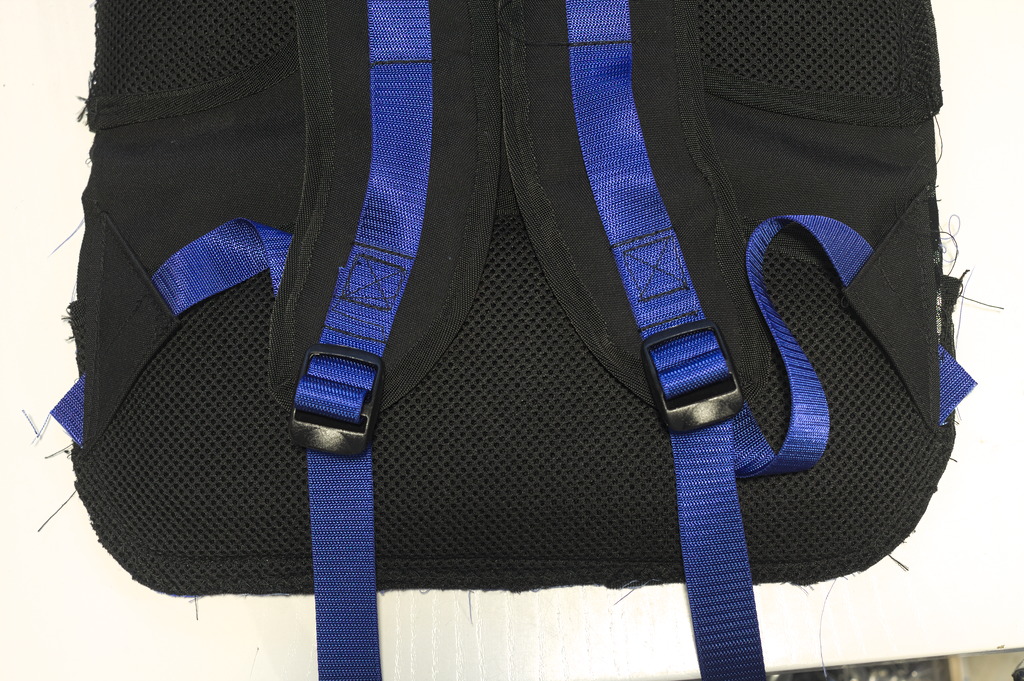
Sew the shoulder straps and the lower strap triangles to the back panel, 1.5 cm from the edge.

Place the bottom panel on the top/side panel, right (fabric) sides facing, sew on both short edges. Fingerpress the raw edges towards the bottom and bind them with twill webbing.
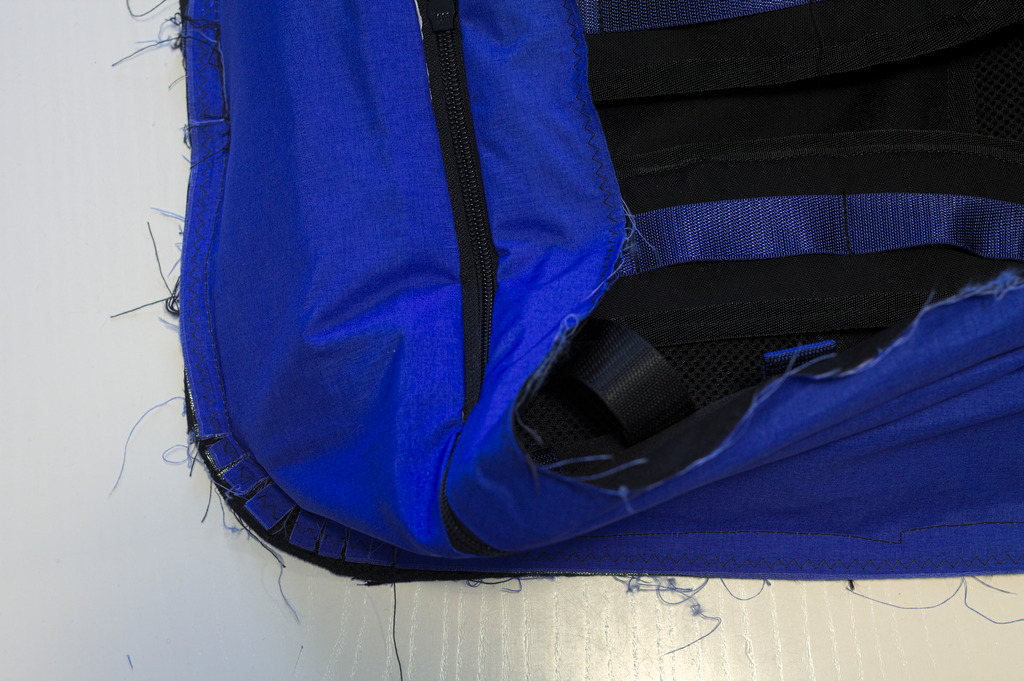
Place the right (fabric) side of the top/bottom/sides on the right side of the back, sew all around. You may have to clip the raw edges near the curves before sewing.
Open a few centimeters of the zipper.
Place the right (fabric) side of the top/bottom/sides on the right side of the front, sew all around. As above if needed clip the raw edges before sewing.
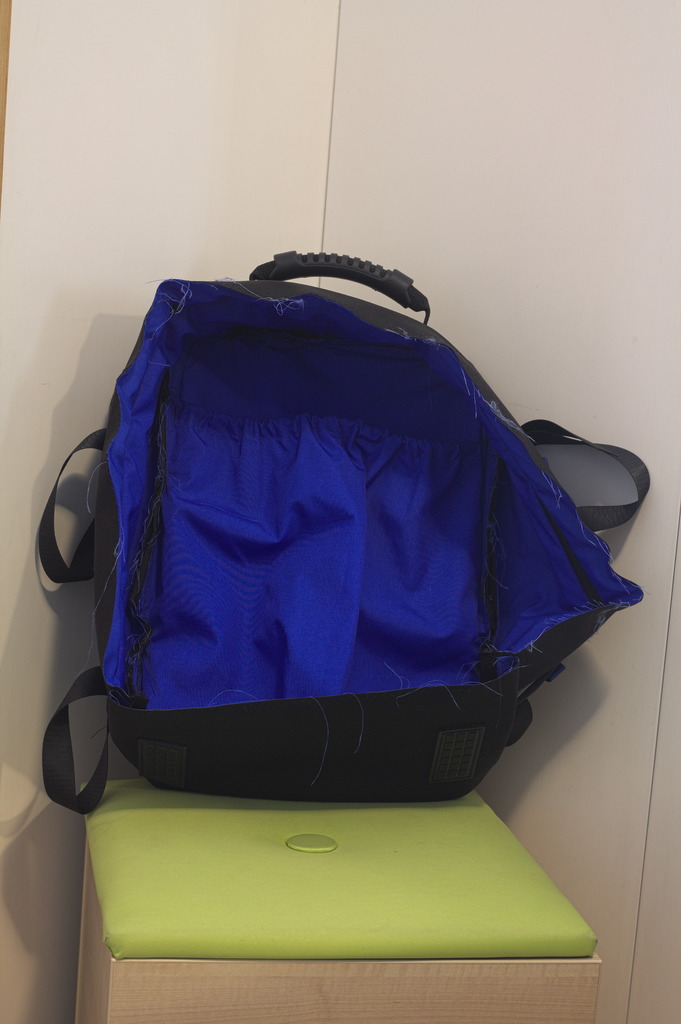
Bind the remaining raw edges with the twill webbing (this will require two pieces of twill webbing 157 cm long).
Turn the finished backpack inside-out, enjoy it and start planning accessories. :)