Roll Top Backpack
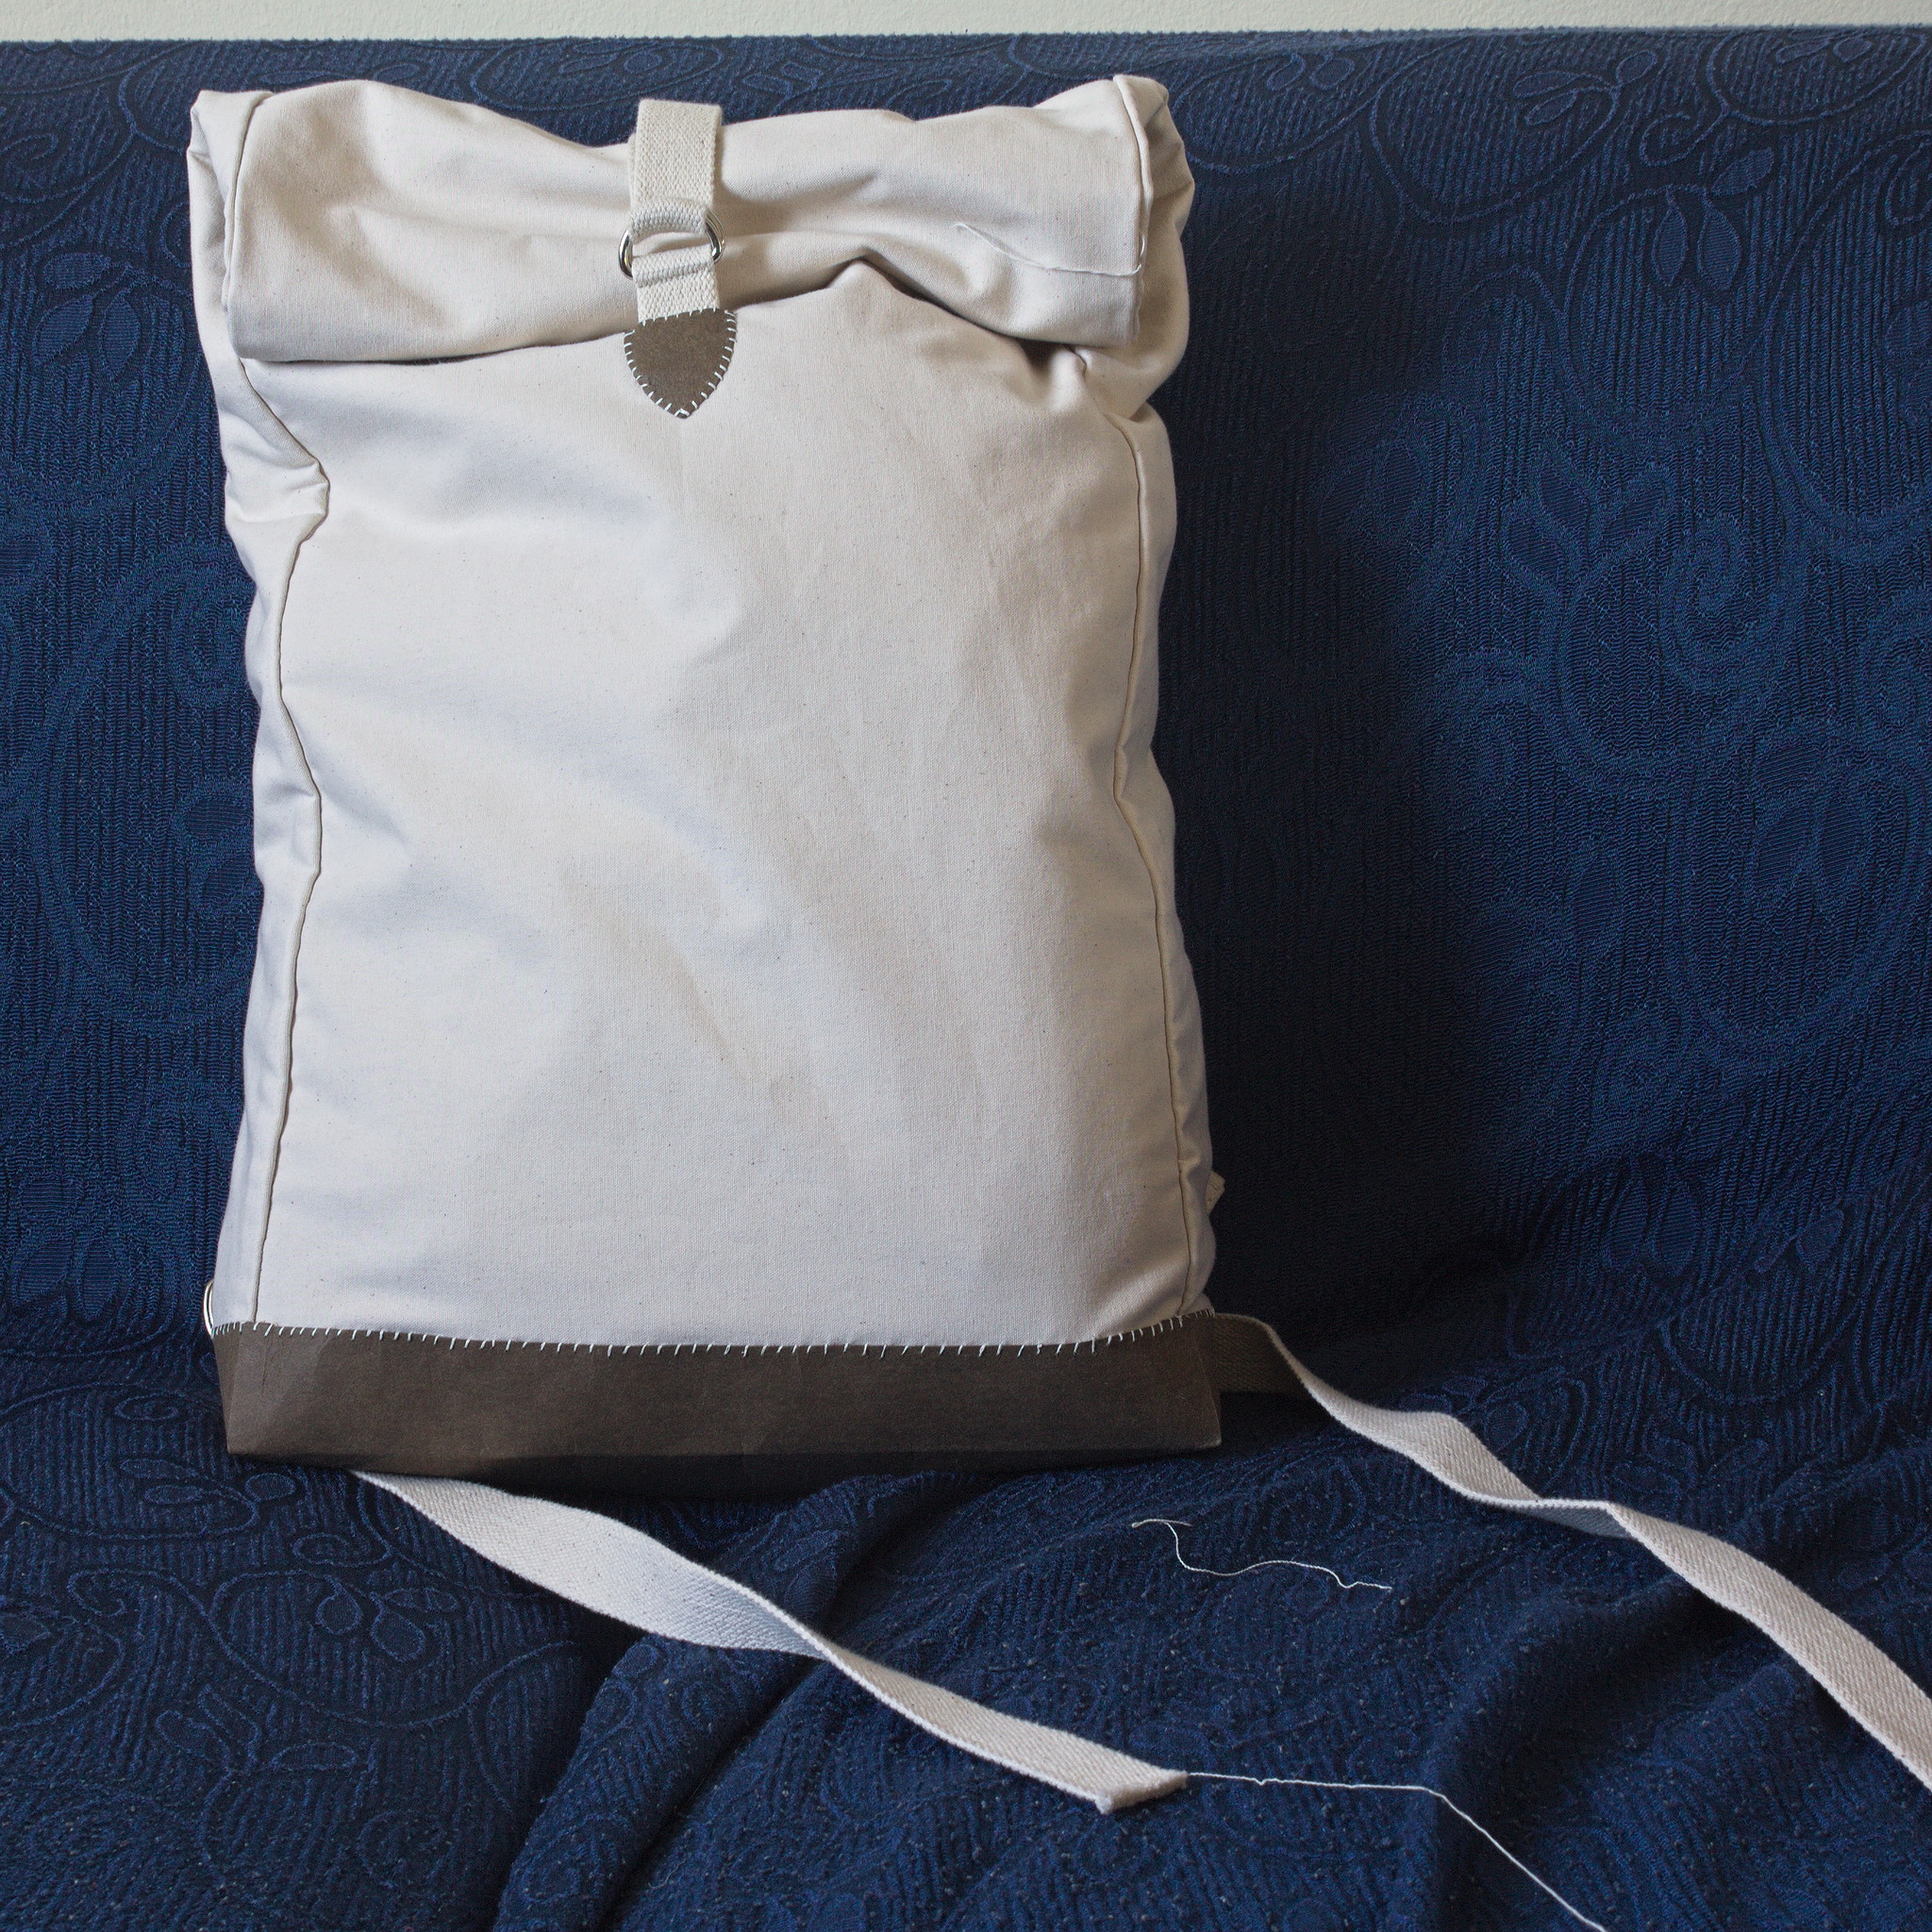
This is a simple backpack with a roll top closure.
The pictures show this backpack as being sewn completely by hand: this was because of some specific constraints of the project (mentioned in the blog post), and it shows that MYOG as a hobby can be accessible even when lacking a sewing machine.
Most of the constructions could of course be done by machine, but in that case I think it would be easier to bind the raw edges instead of felling them, and using the variant with box corners instead of a separate bottom. Attaching the leather-ish protection to the bottom needs to be done by hand, however.
Materials
Fabric
1 m outer fabric (e.g. waxed canvas);
1 m lining fabric (e.g. lighter canvas);
30 cm leather-like material for reinforcements.
Notions
2.1 m 25 mm webbing;
1.6 m 50 mm webbing;
4 50 mm D-rings;
2 25 mm D-rings;
glue suitable for the leather-like material;
strong sewing thread;
Pattern
Download the pattern from roll_top_backpack.val.
The file is set up to only print the pattern pieces for the bottom,
strap support and webbing cover, also available as a tiled PDF in A4
format: roll_top_backpack-A4.pdf; everything else are just
rectangles, and their measurements can be taken from the Variables Table
in valentina.
Instructions
Cutting
Cut all pieces as indicated on the patter, either the basic pieces or
the bc variants if making the Box Corners variant.
Back preparation
Note
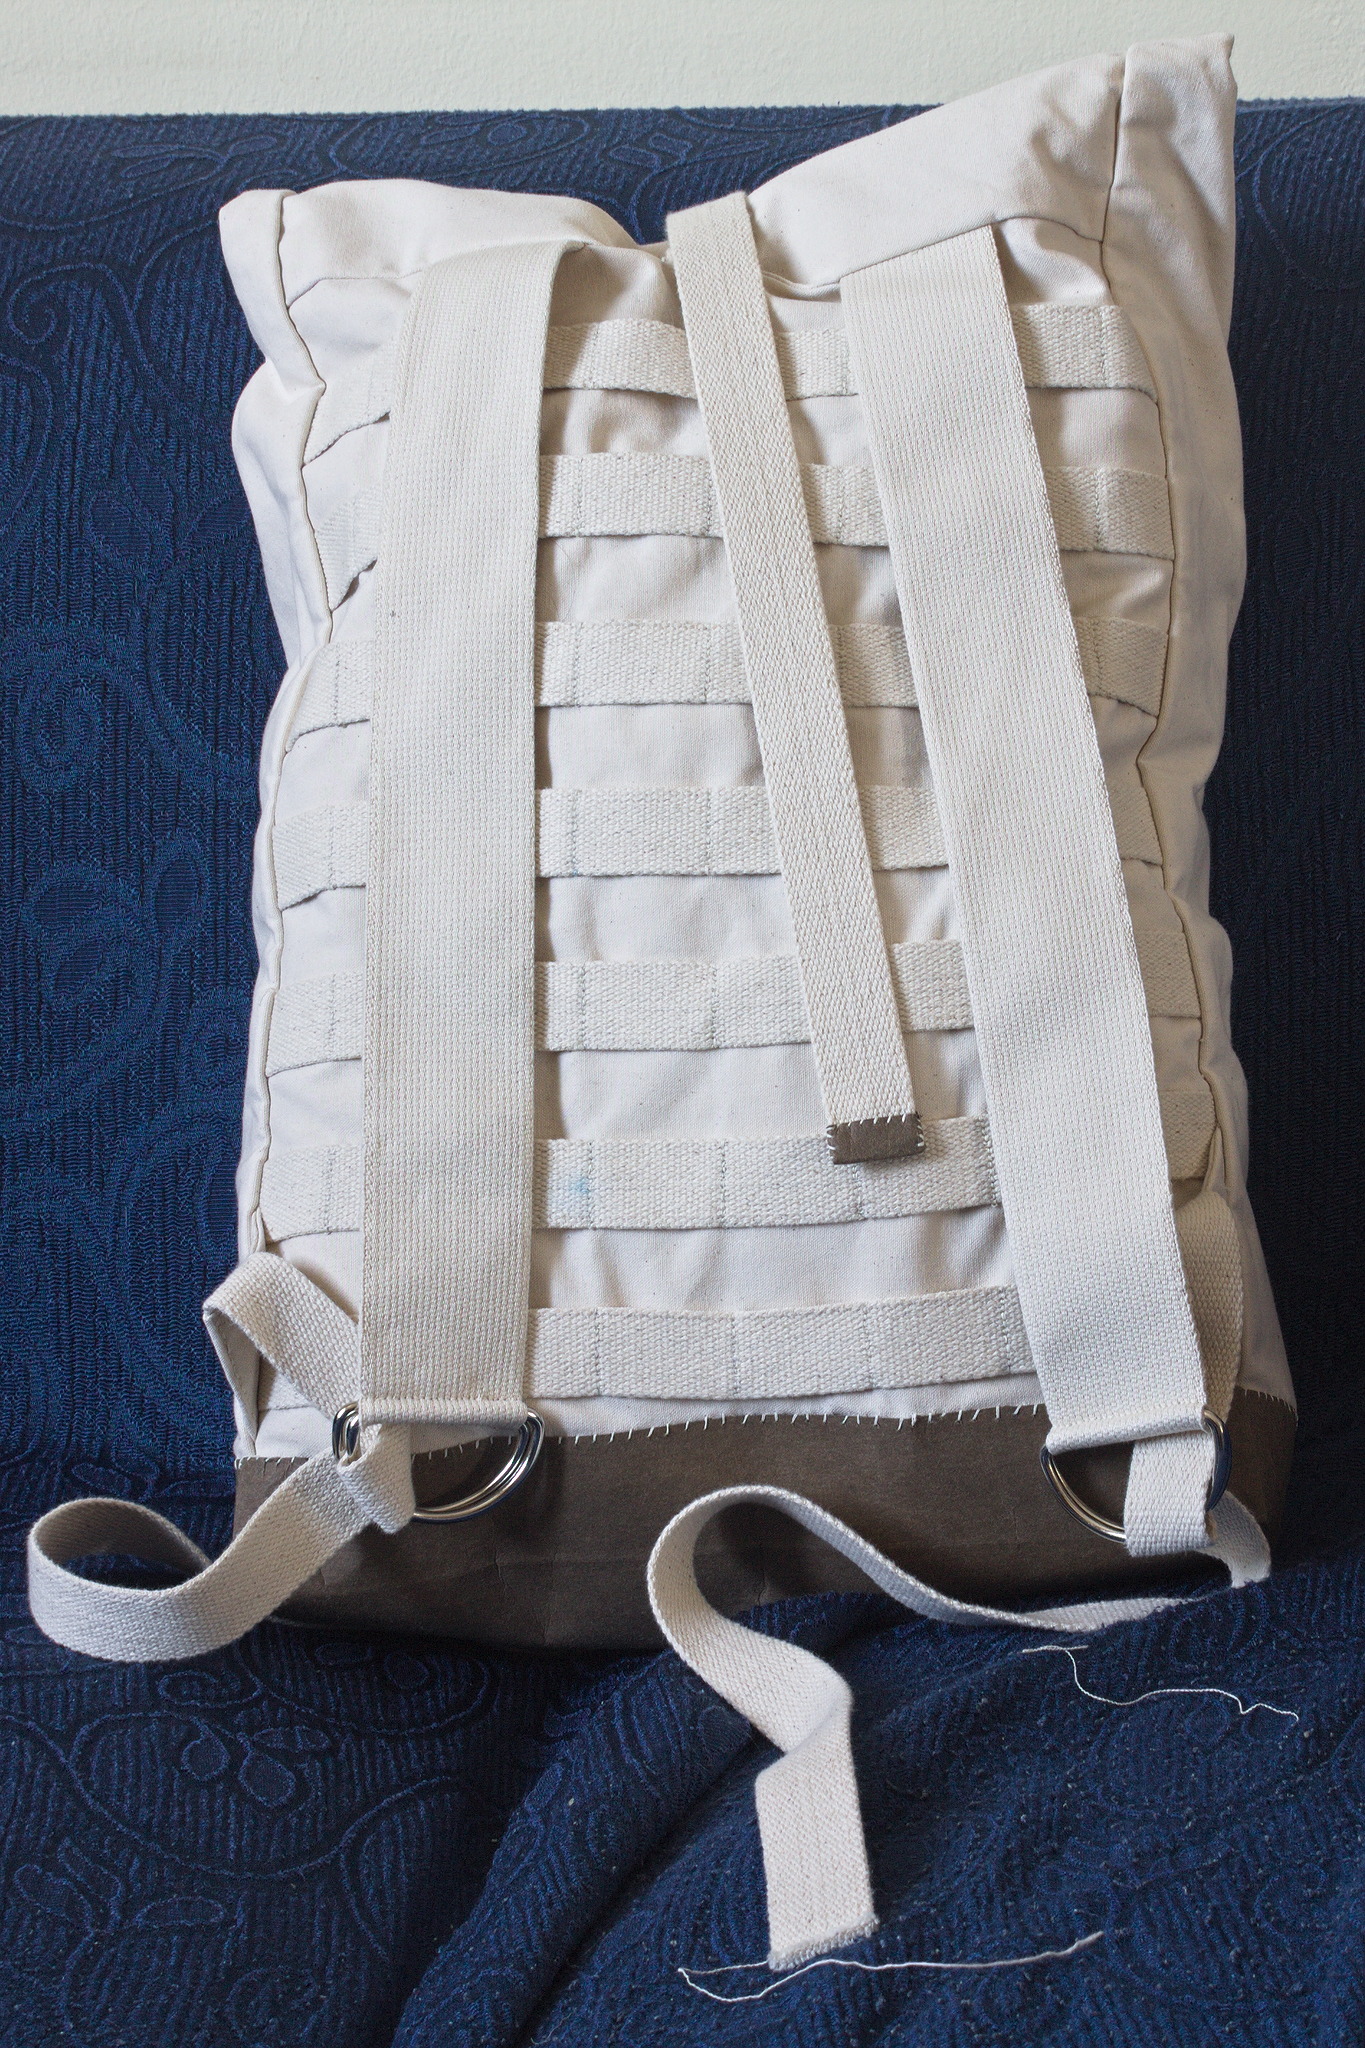
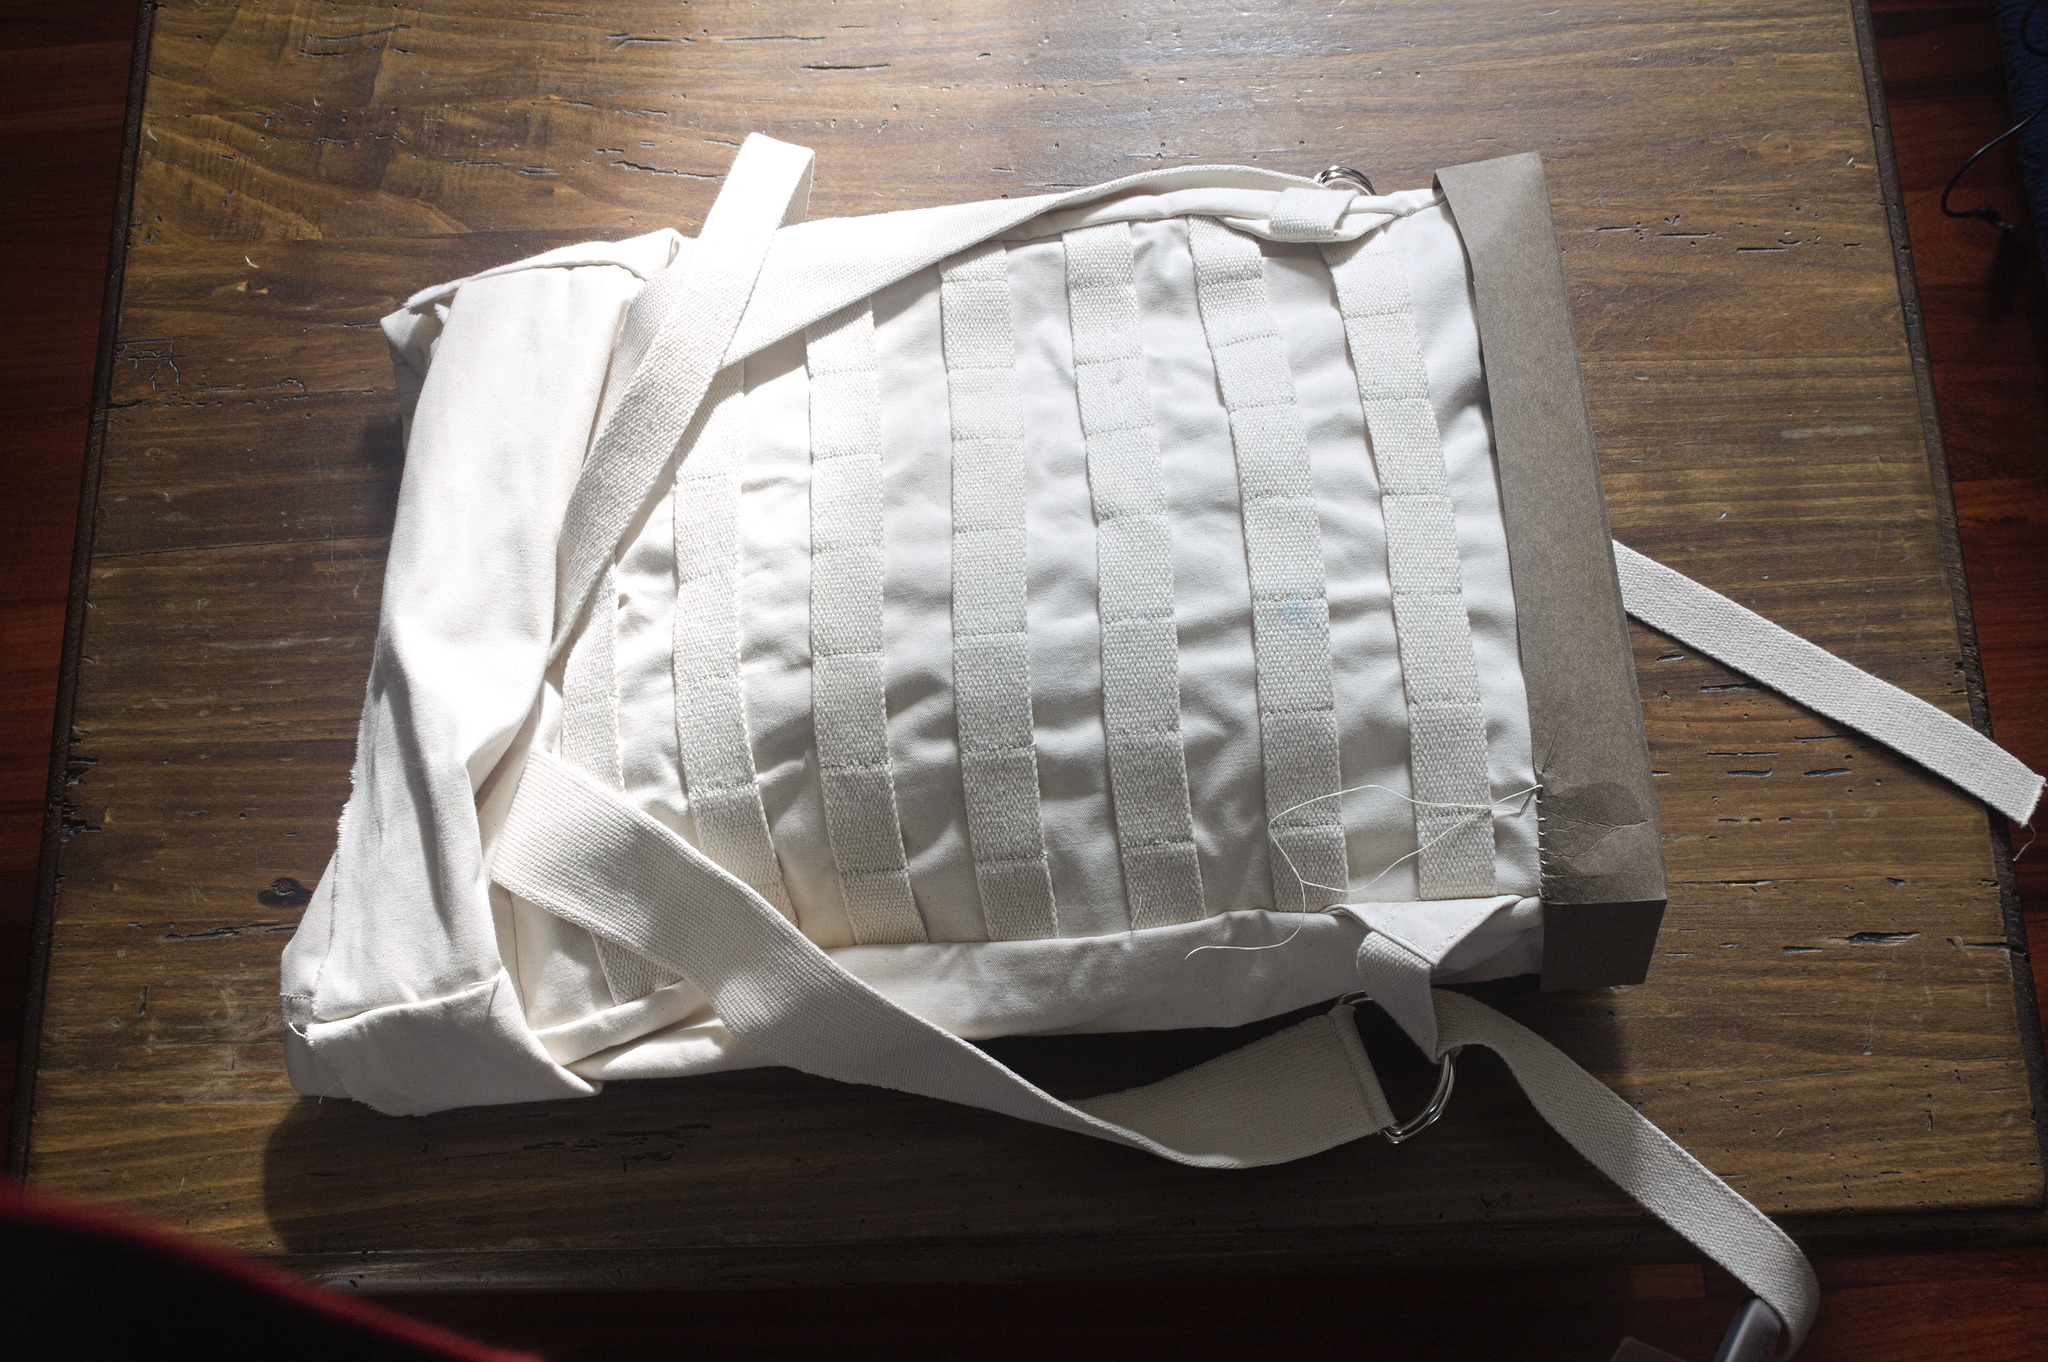
Optionally add a molle pattern to the back, to be able to attach some removable padding.
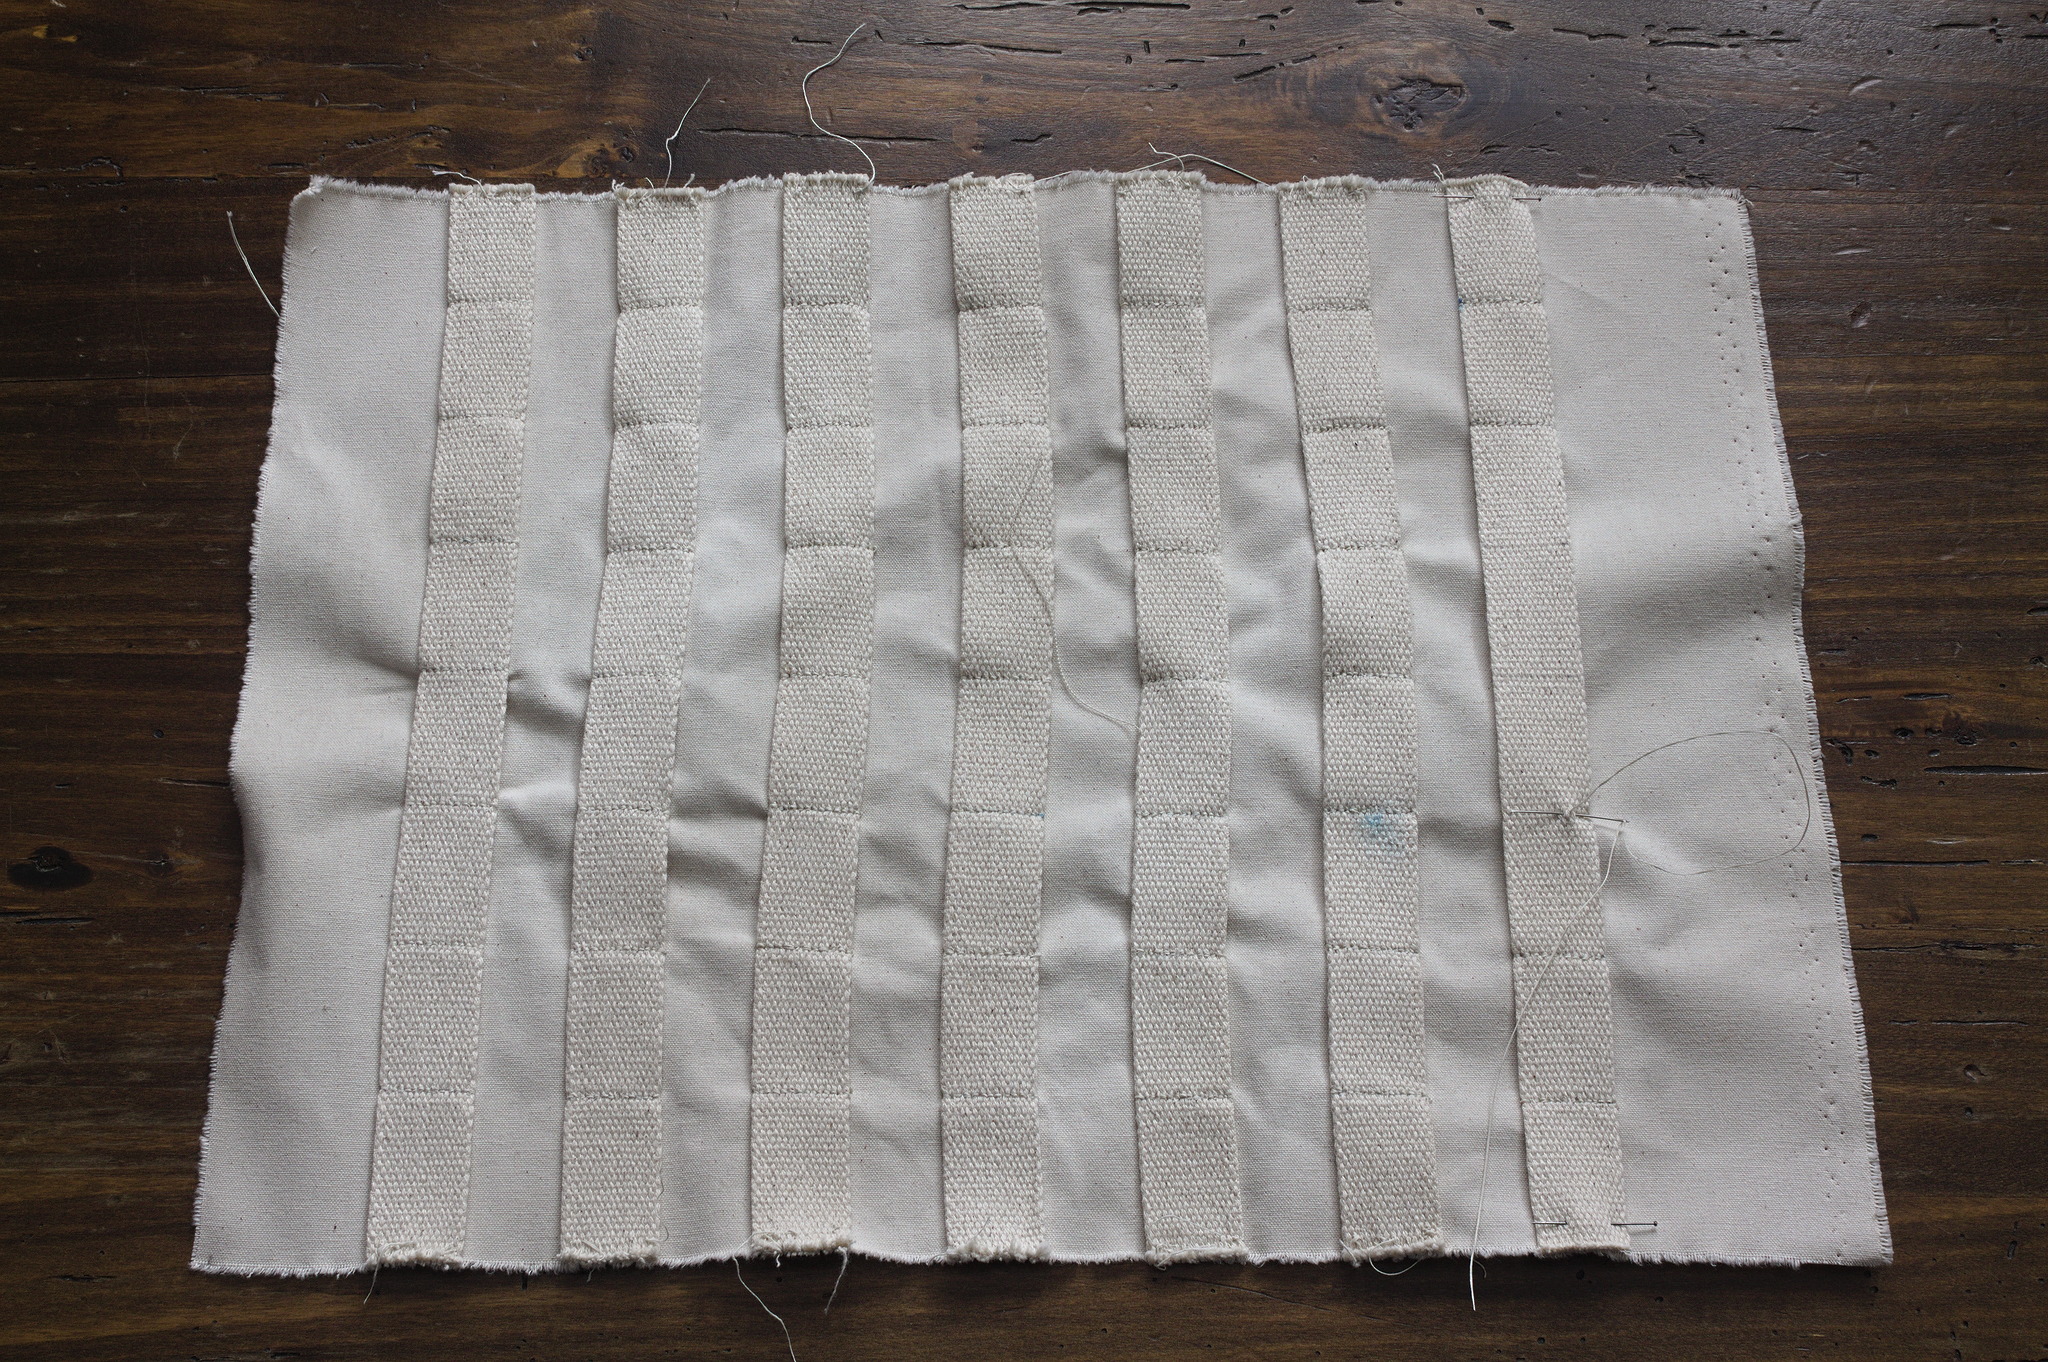
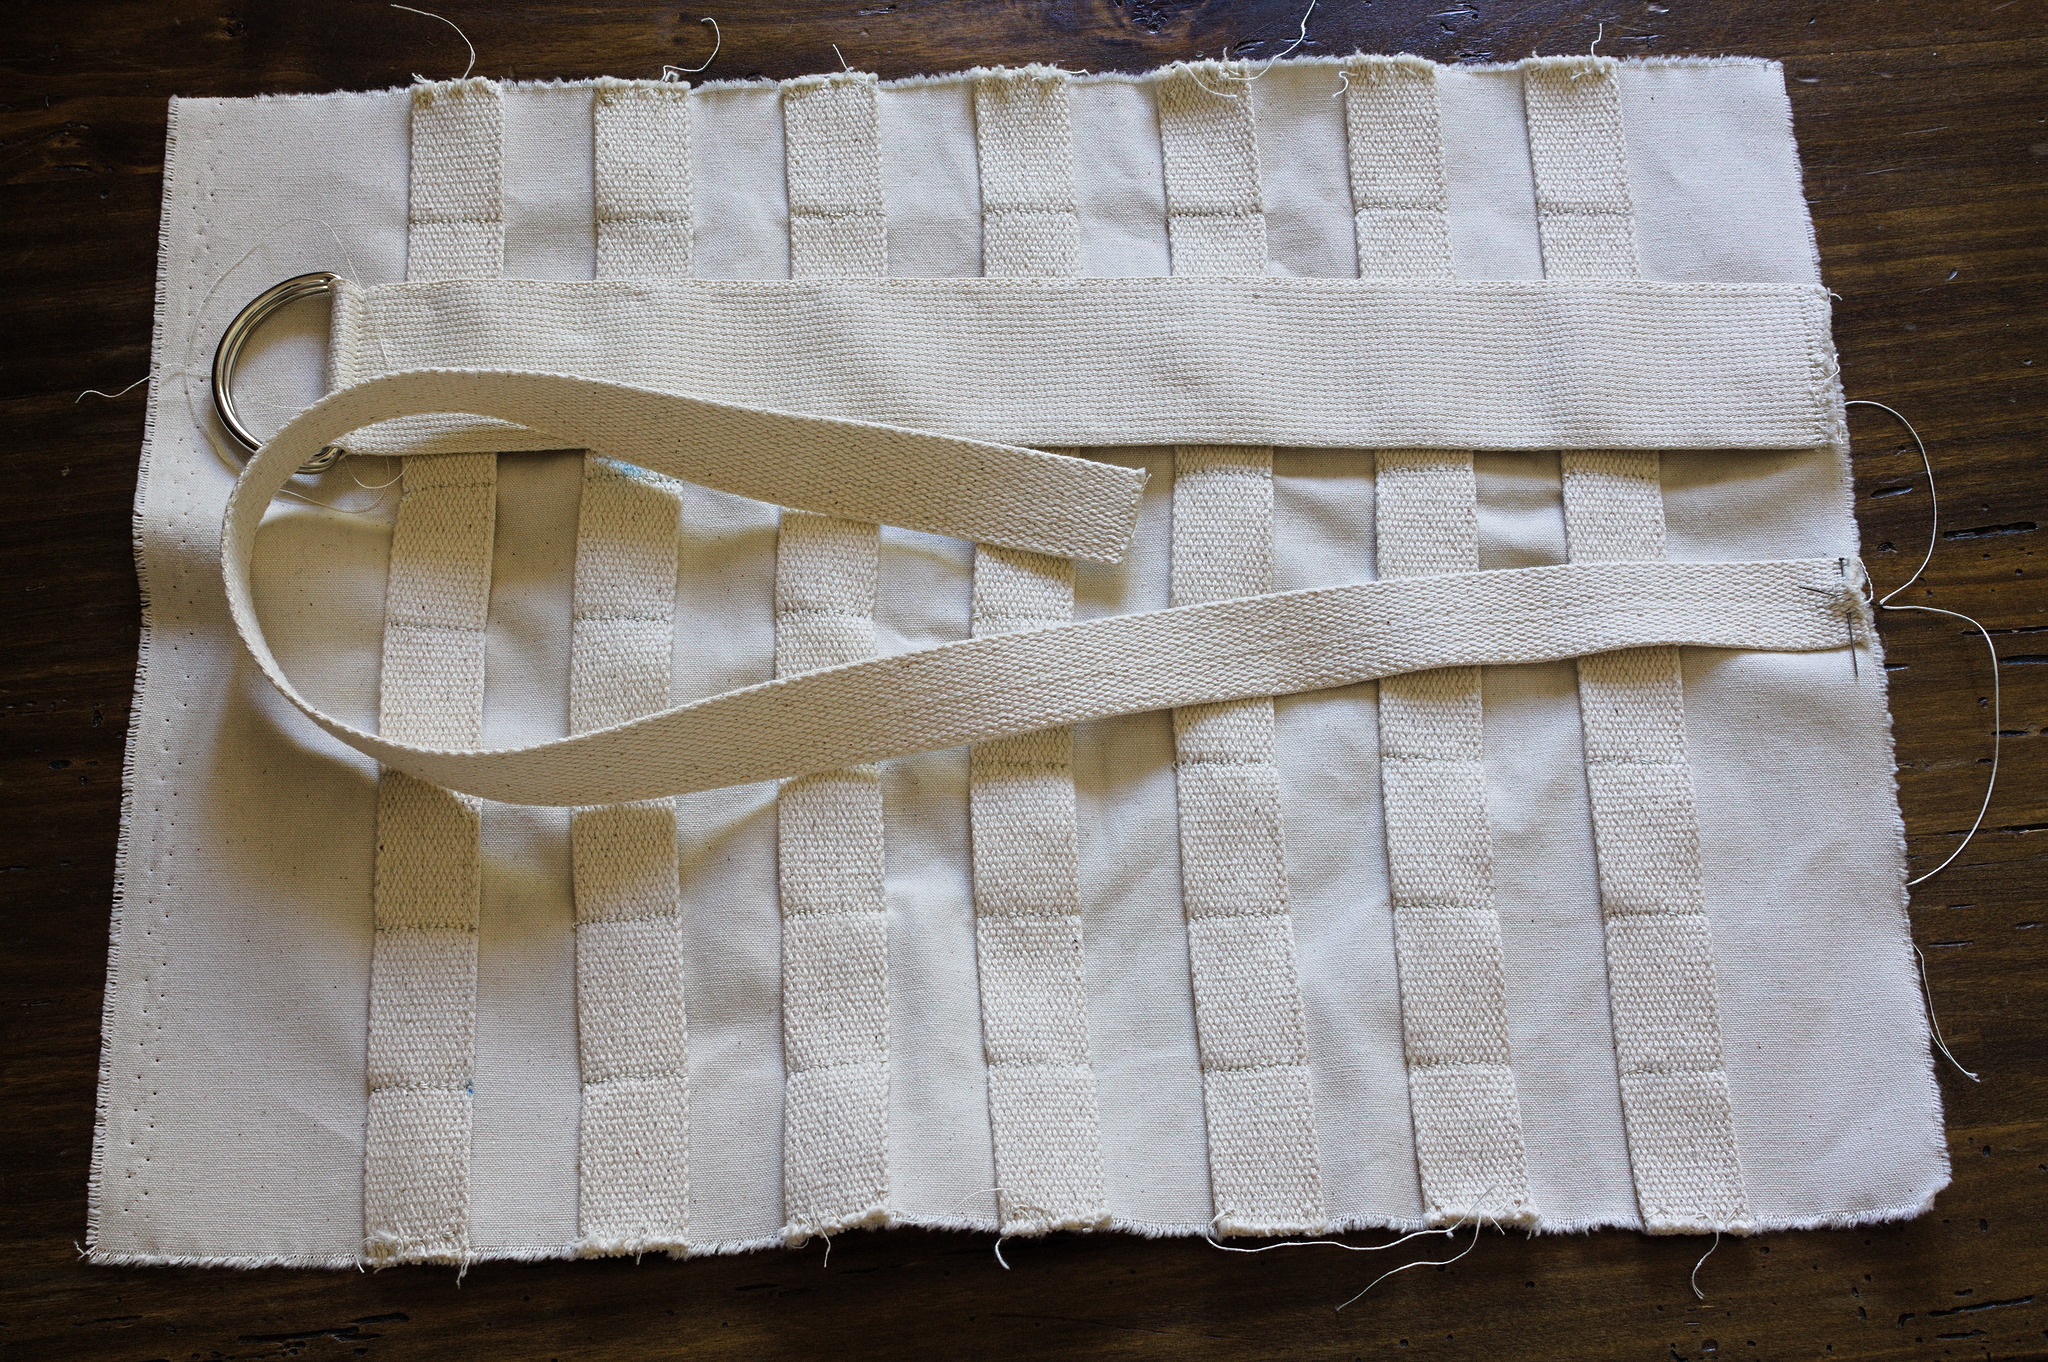
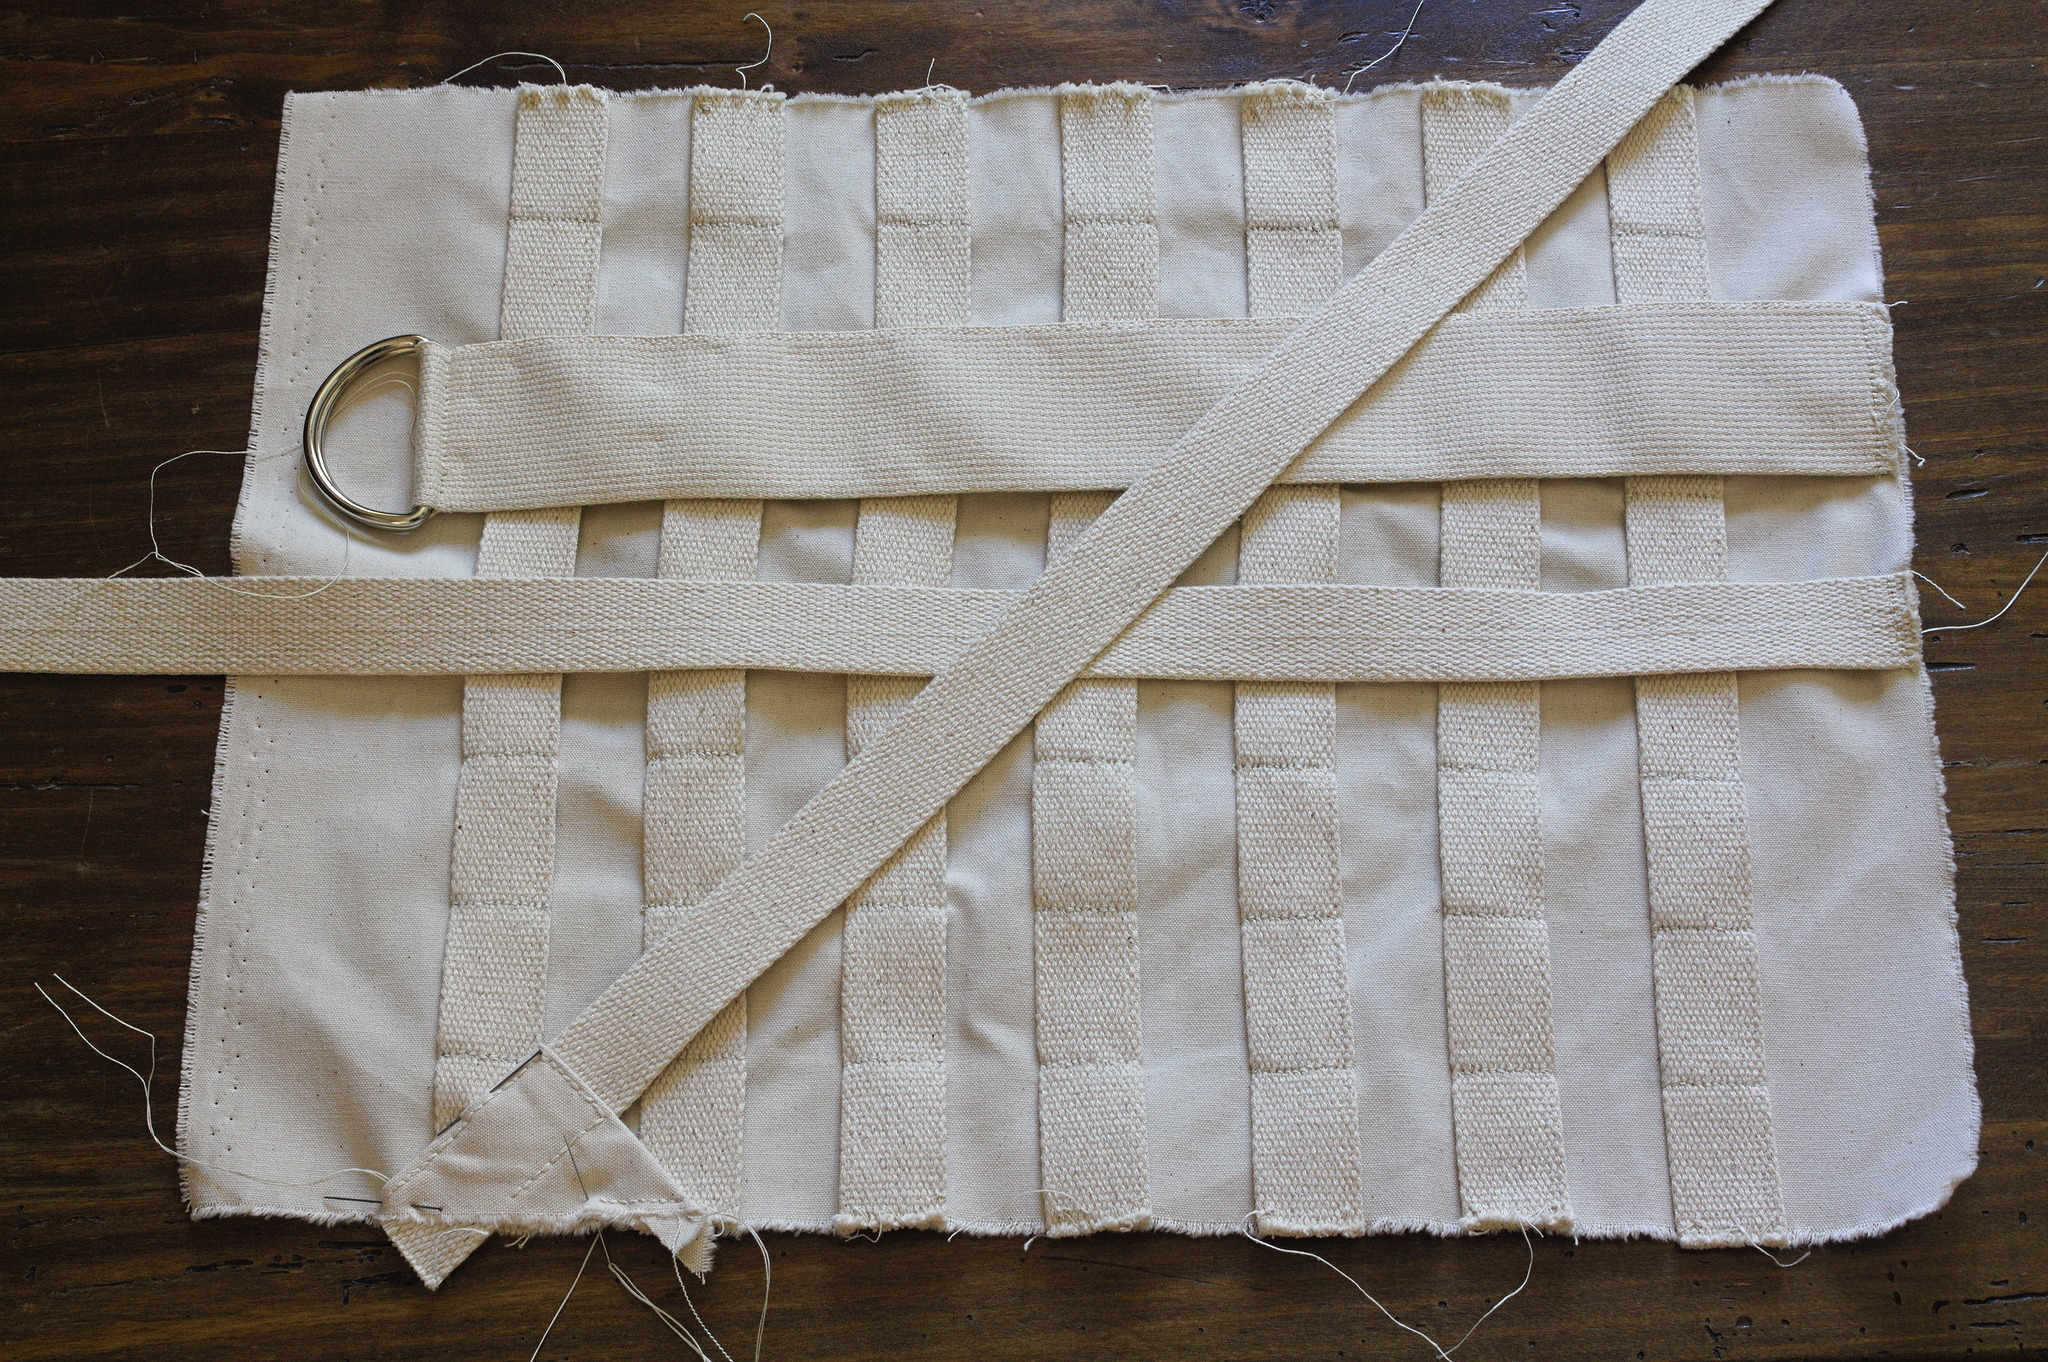
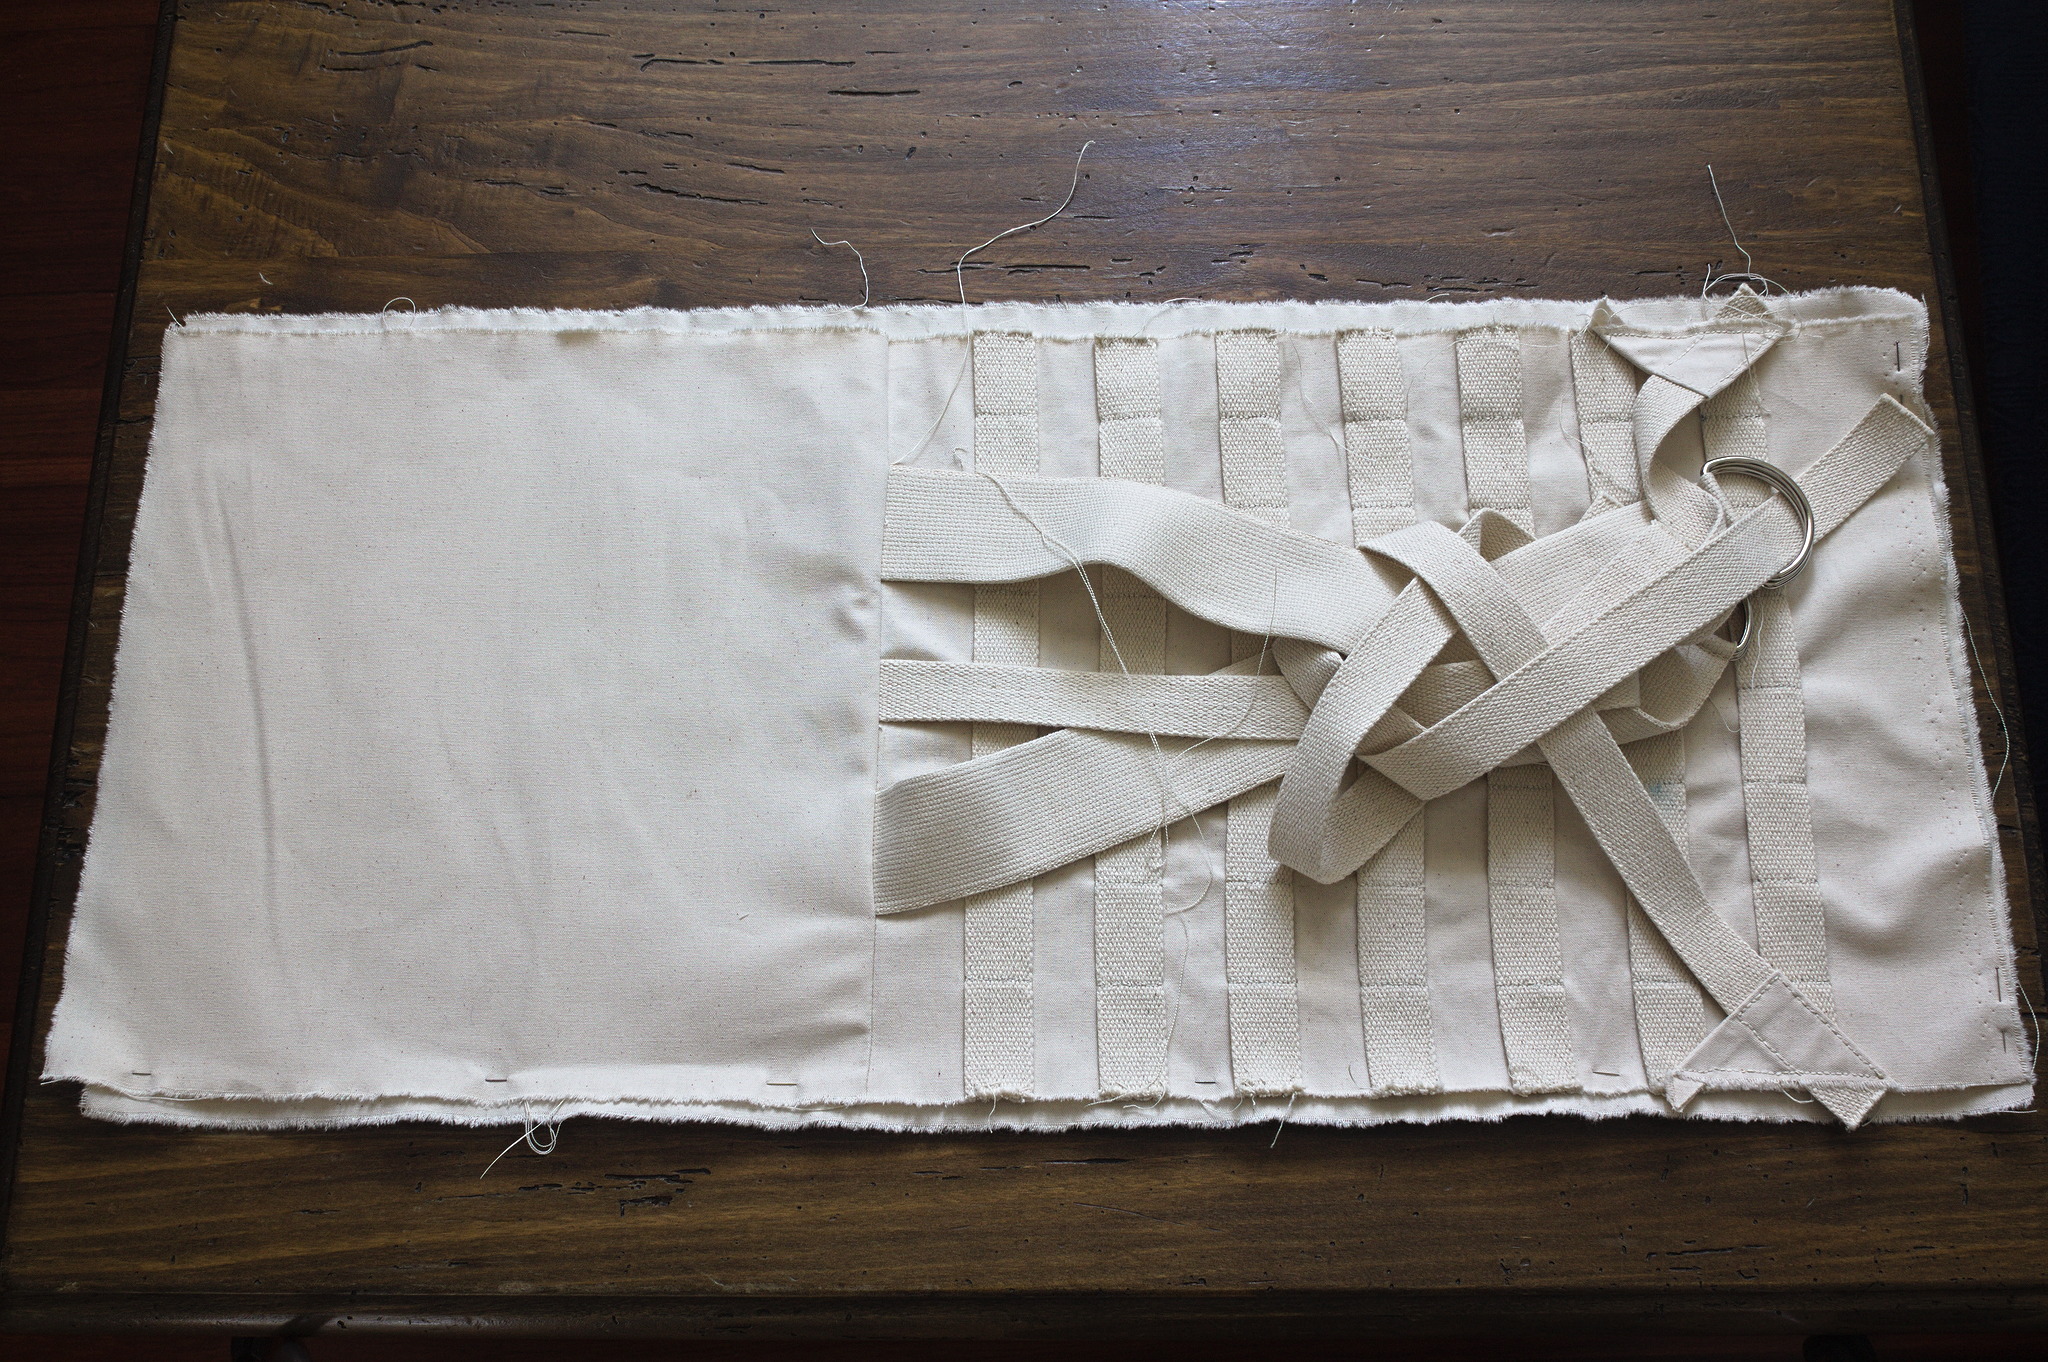
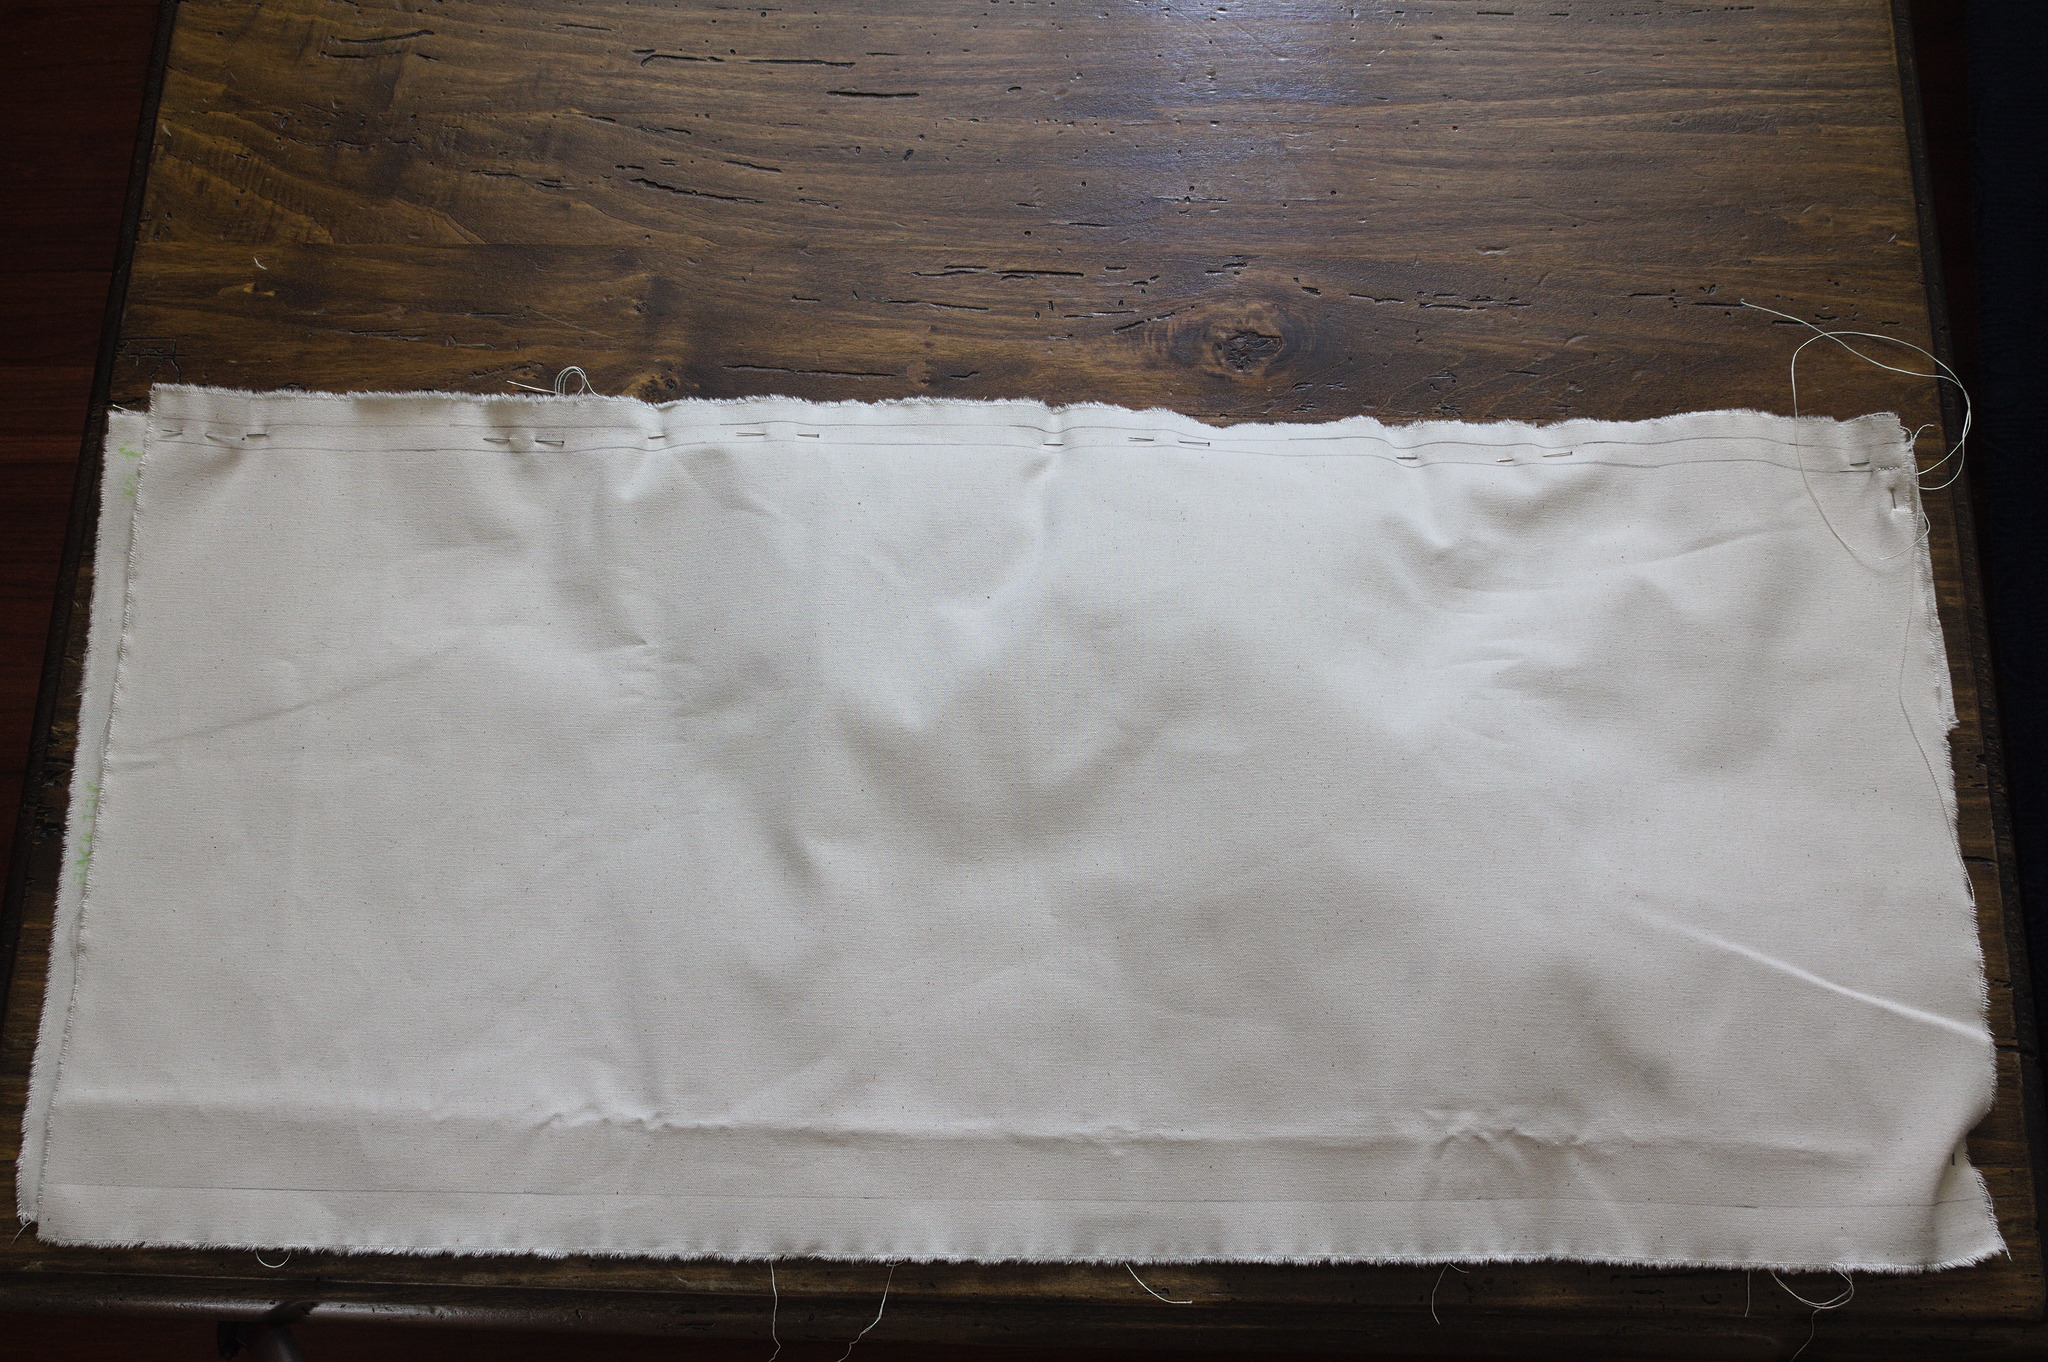
Cut 7 pieces of 25 mm webbing as wide as the back (including allowances); starting 6.5 cm from the base put them at one webbing width of distance from each other over the bottom back piece.
Mark a line in the center, and lines at every 4 cm on each distance, and sew, backstitching over each piece.
If desired, sew similar pieces of webbing to the lower part of the other panels.
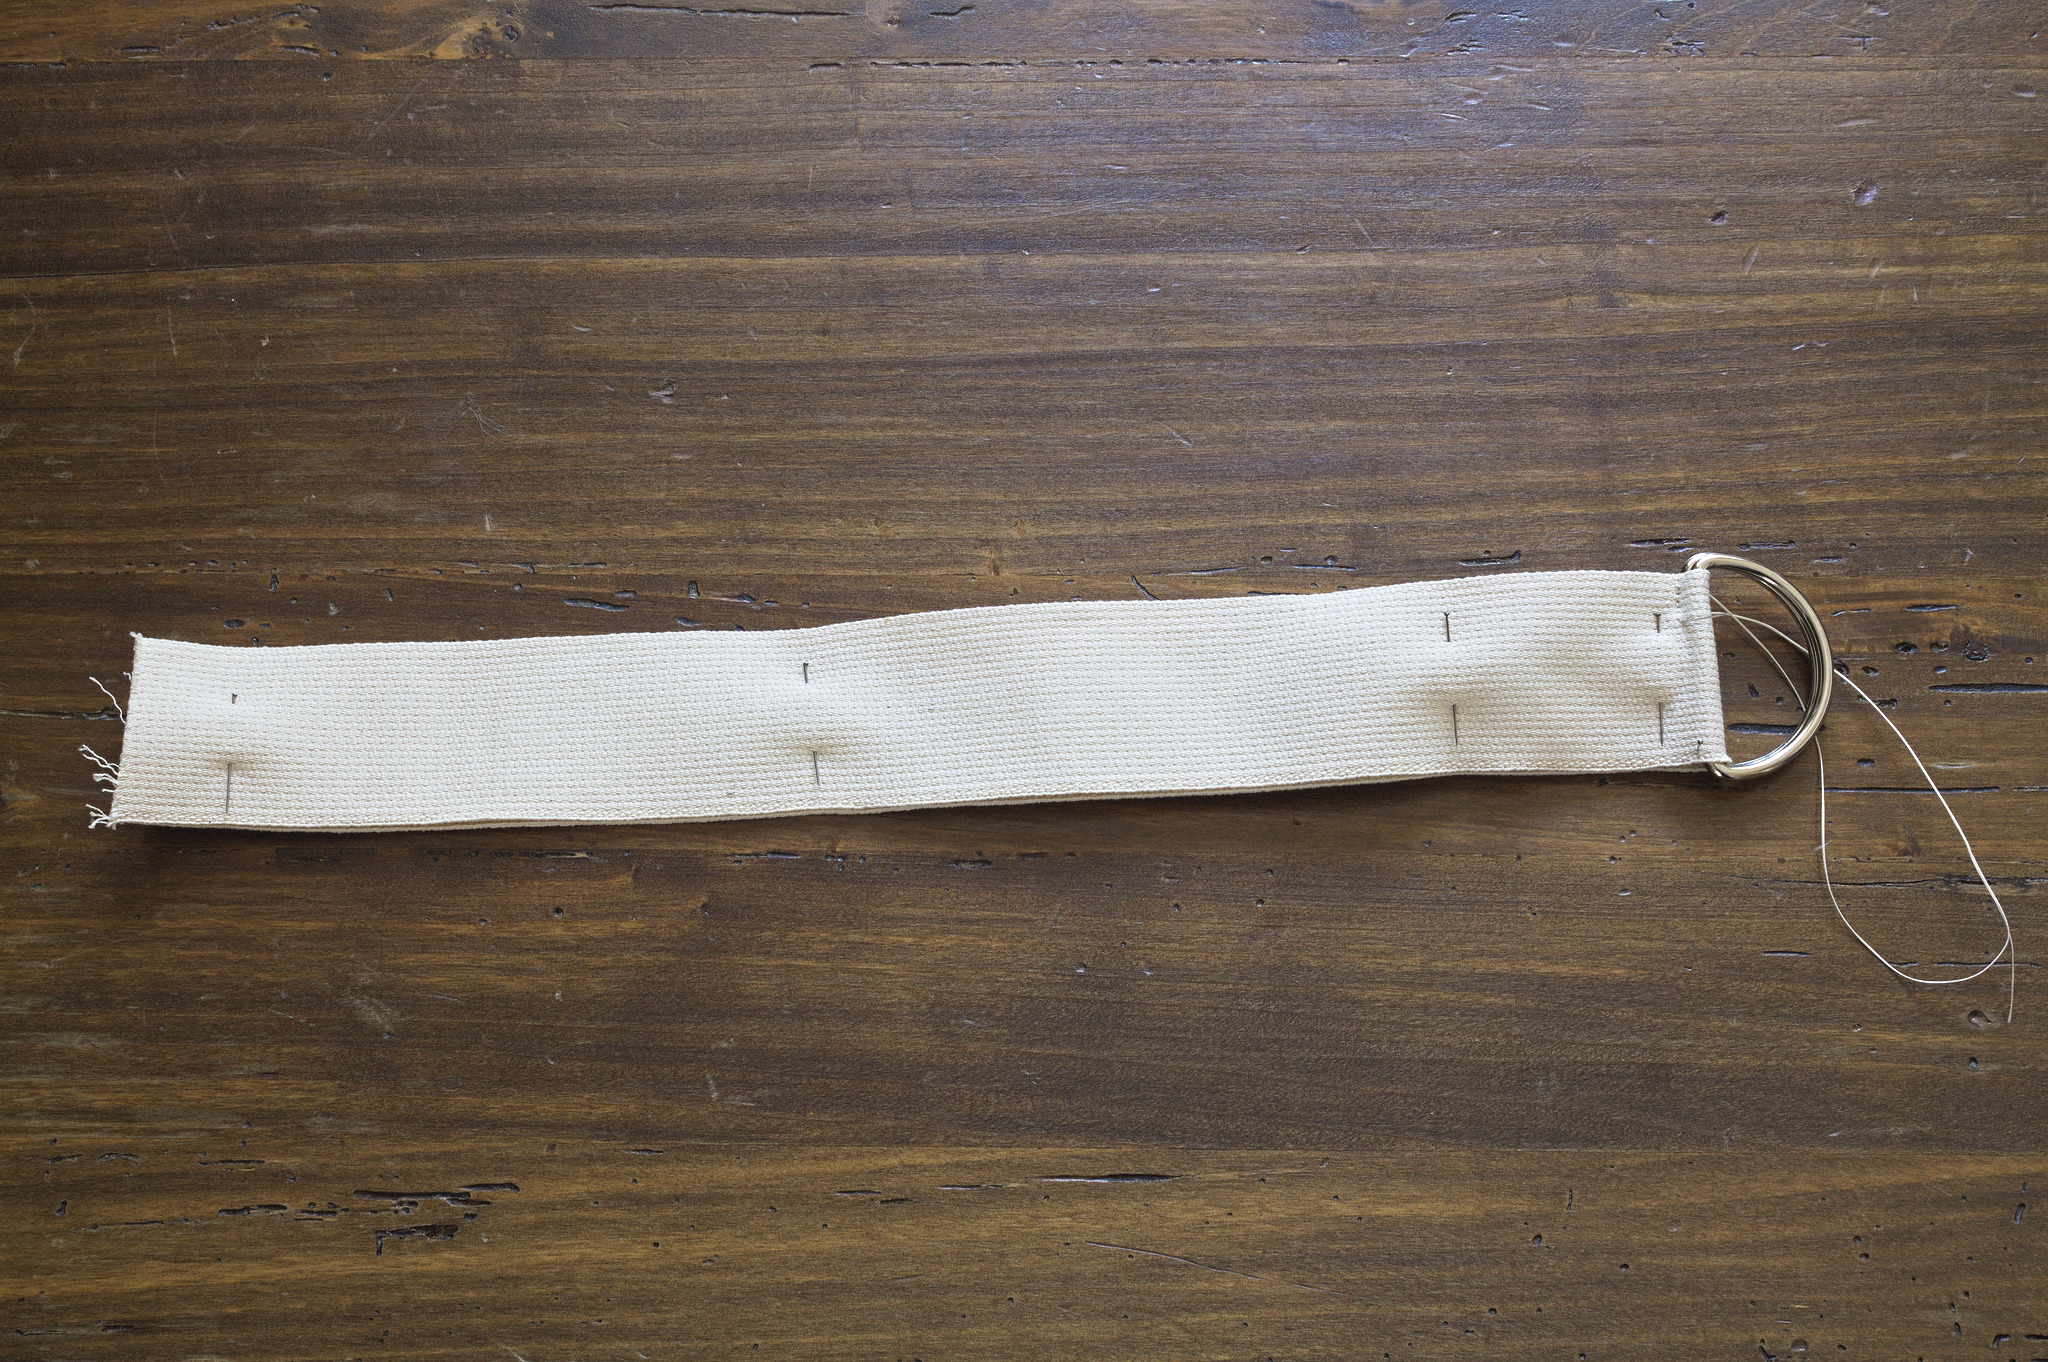
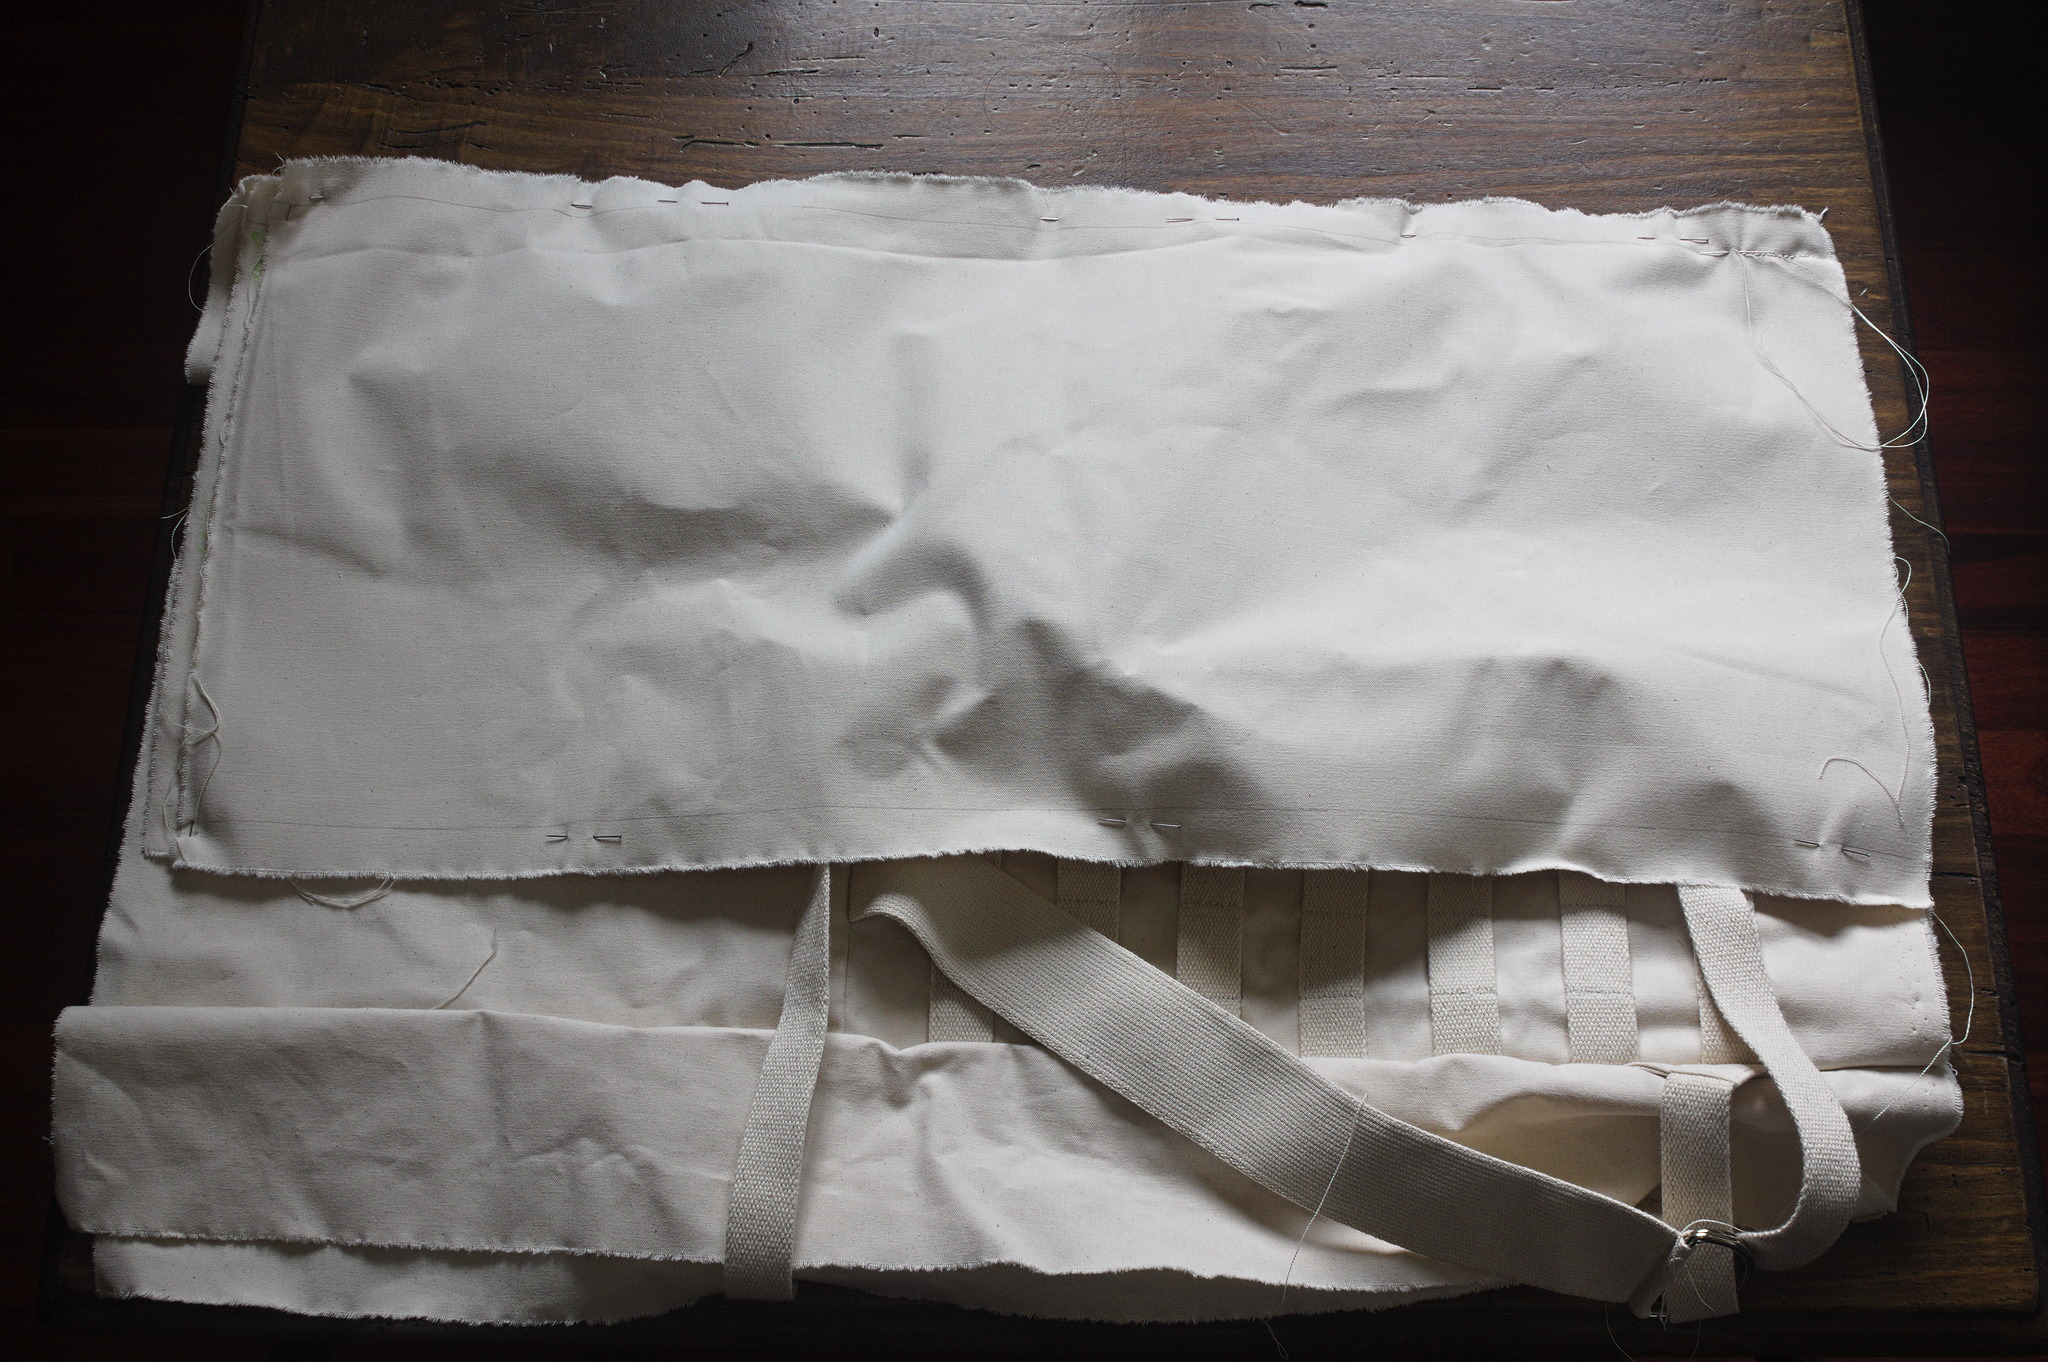
Cut 2 pieces of 50 mm webbing 80 cm long, fold them in half and slide two wide D-rings in each of them. Sew them in place as close to the D-ring as possible.
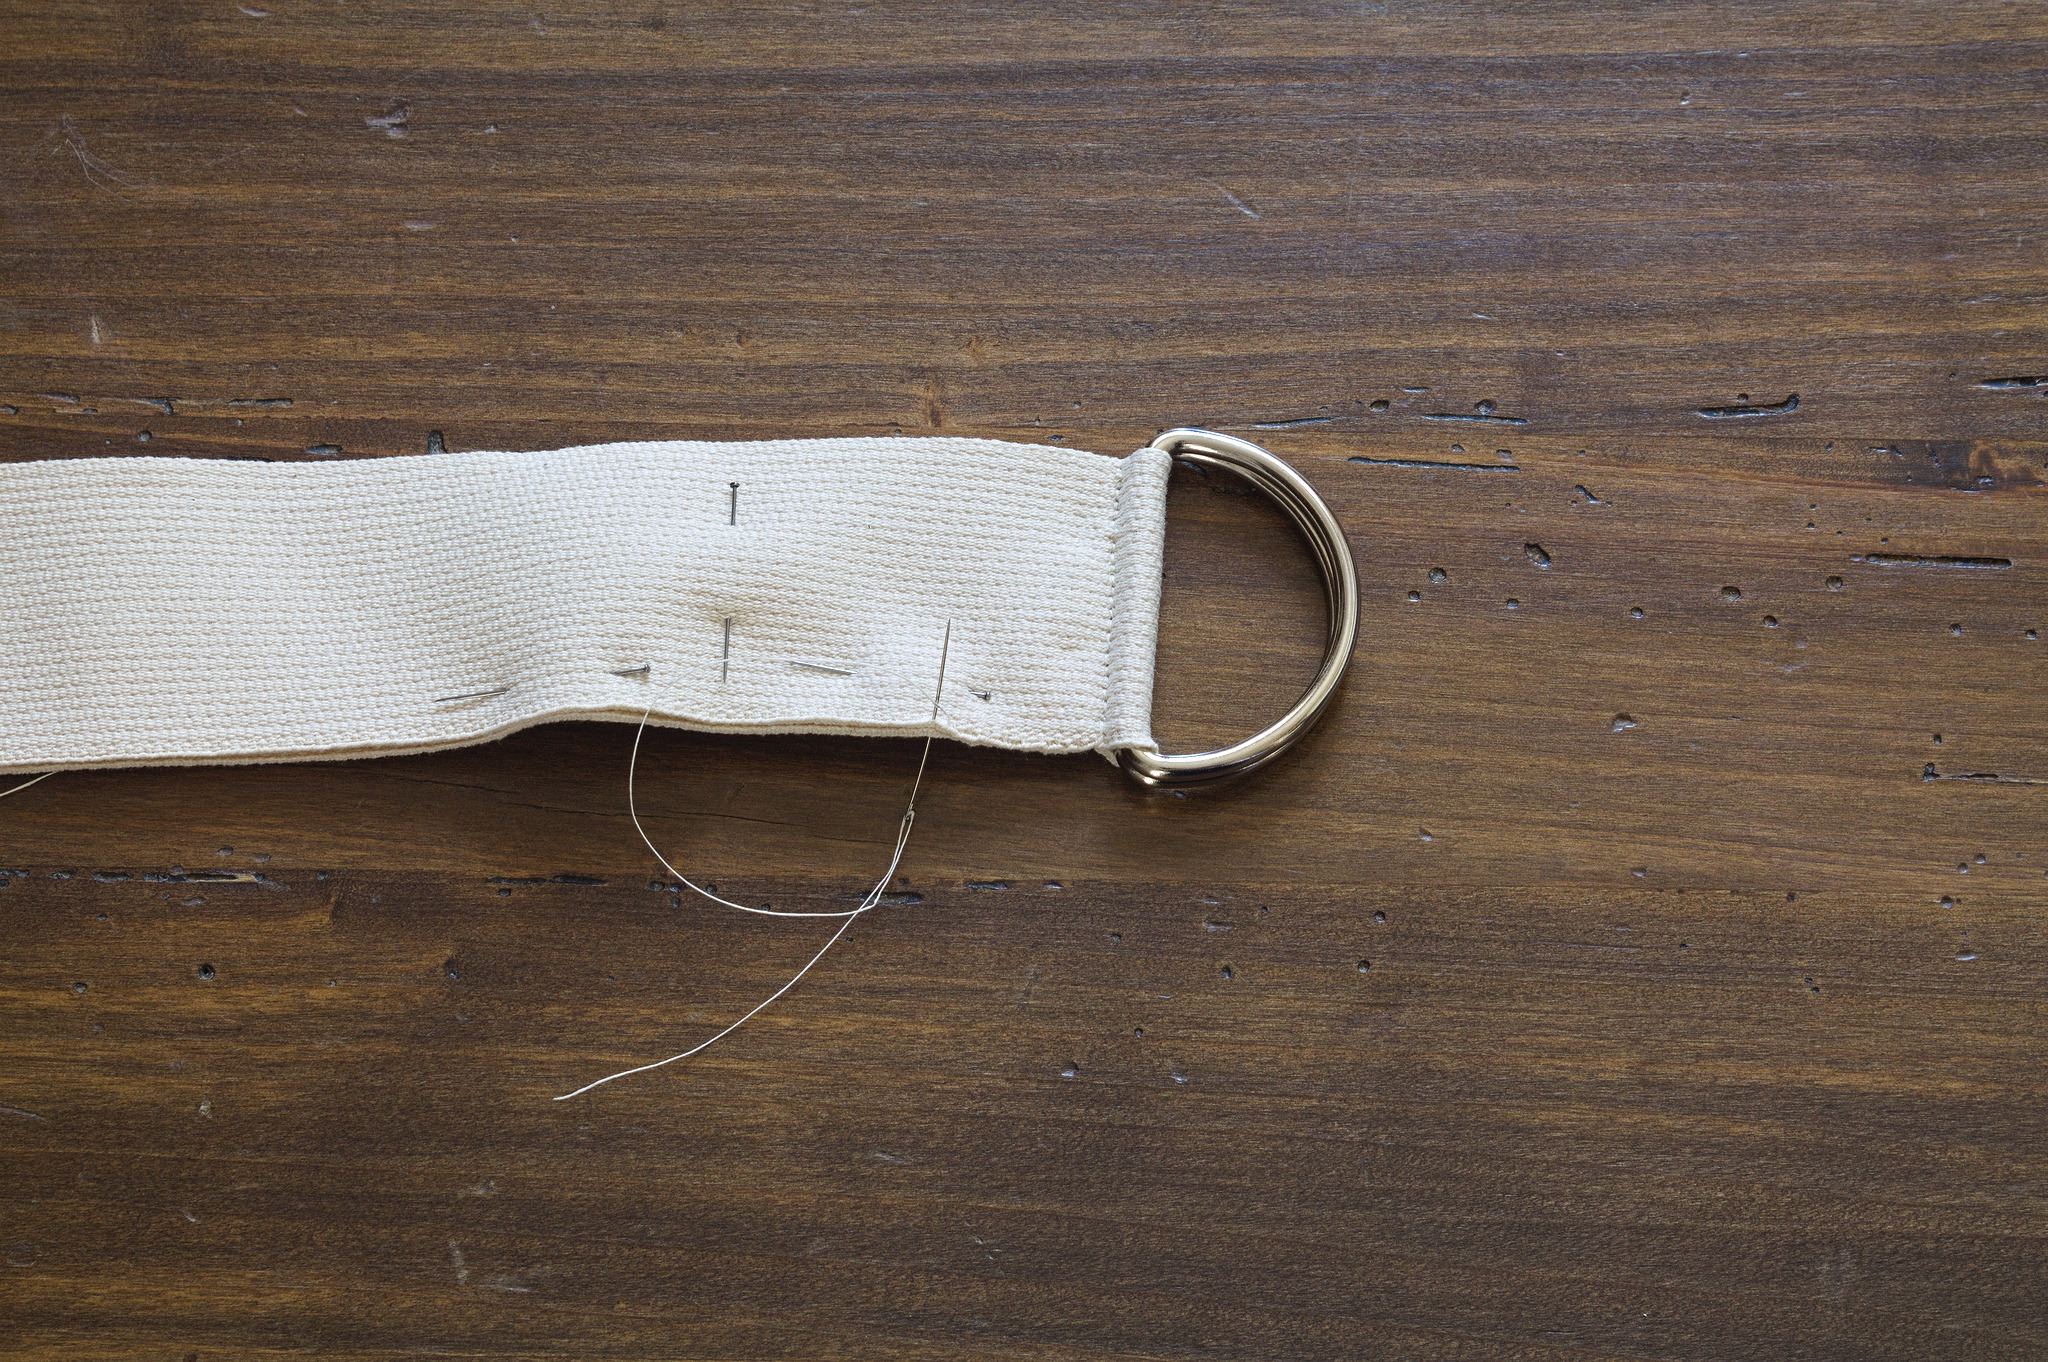
Optionally whipstitch or topstitch the edges of the webbing, making them a single strap of double thickness.

Sew the webbing pieces to the allowance at the top of the bottom back piece, at 4 cm from the center.
Cut a piece of 25 mm webbing, 70 cm long, sew it to the allowance at the top of the bottom back piece, right at the center.
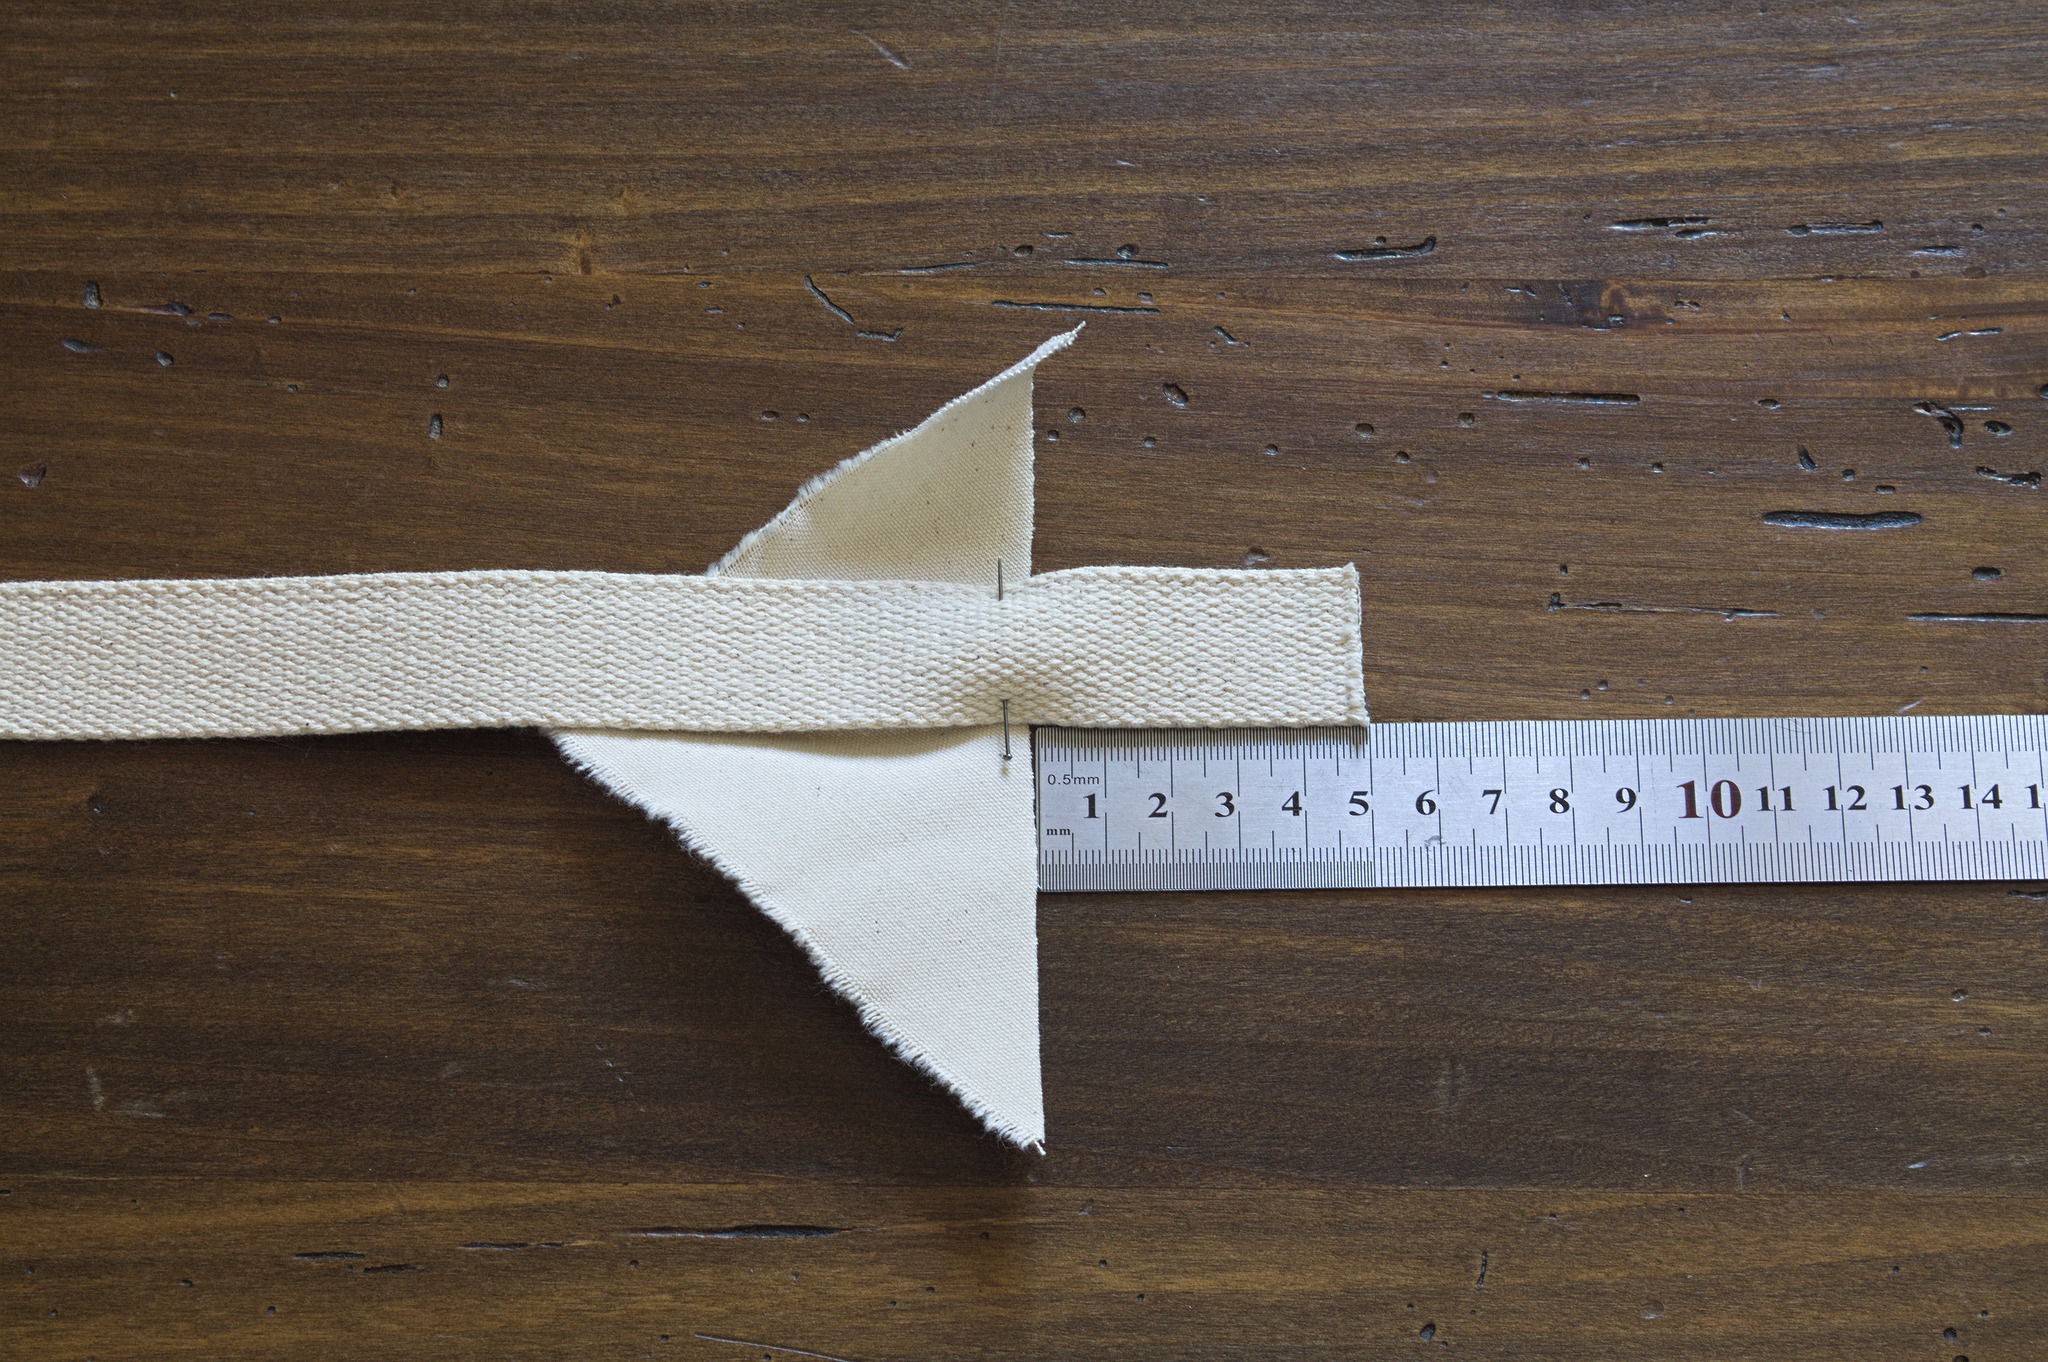
Cut two pieces of 25 mm webbing, 70 cm long, put them on each strap support so that one edge goes from one corner to the middle of the long side and there are 5 cm of webbing beyond the long side.
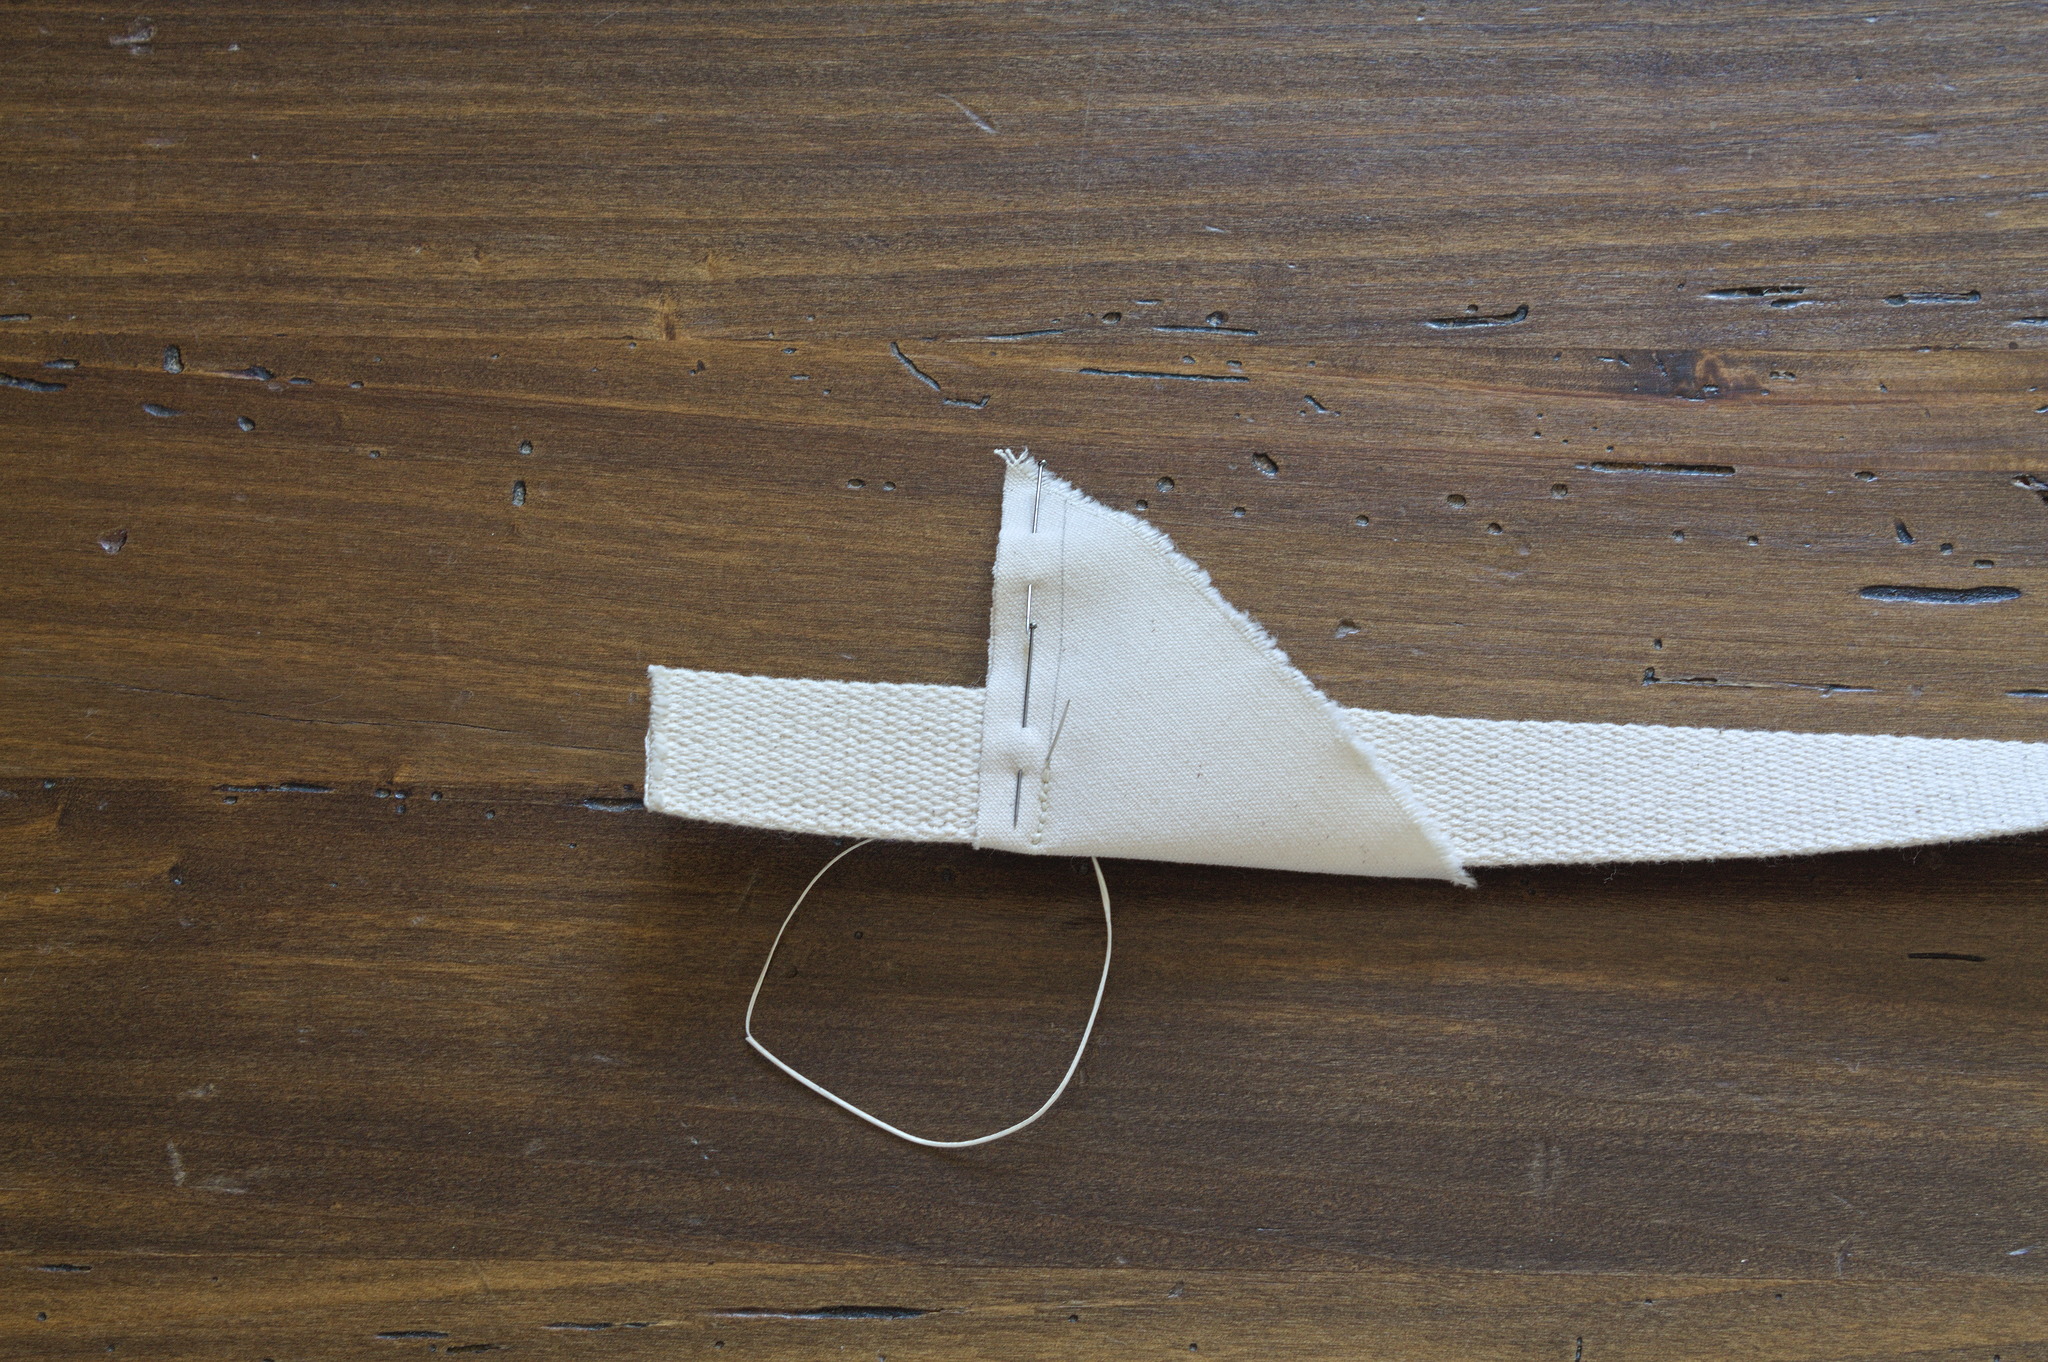
Fold the strap support in half, right sides facing, and sew at 1 cm from the long edge.
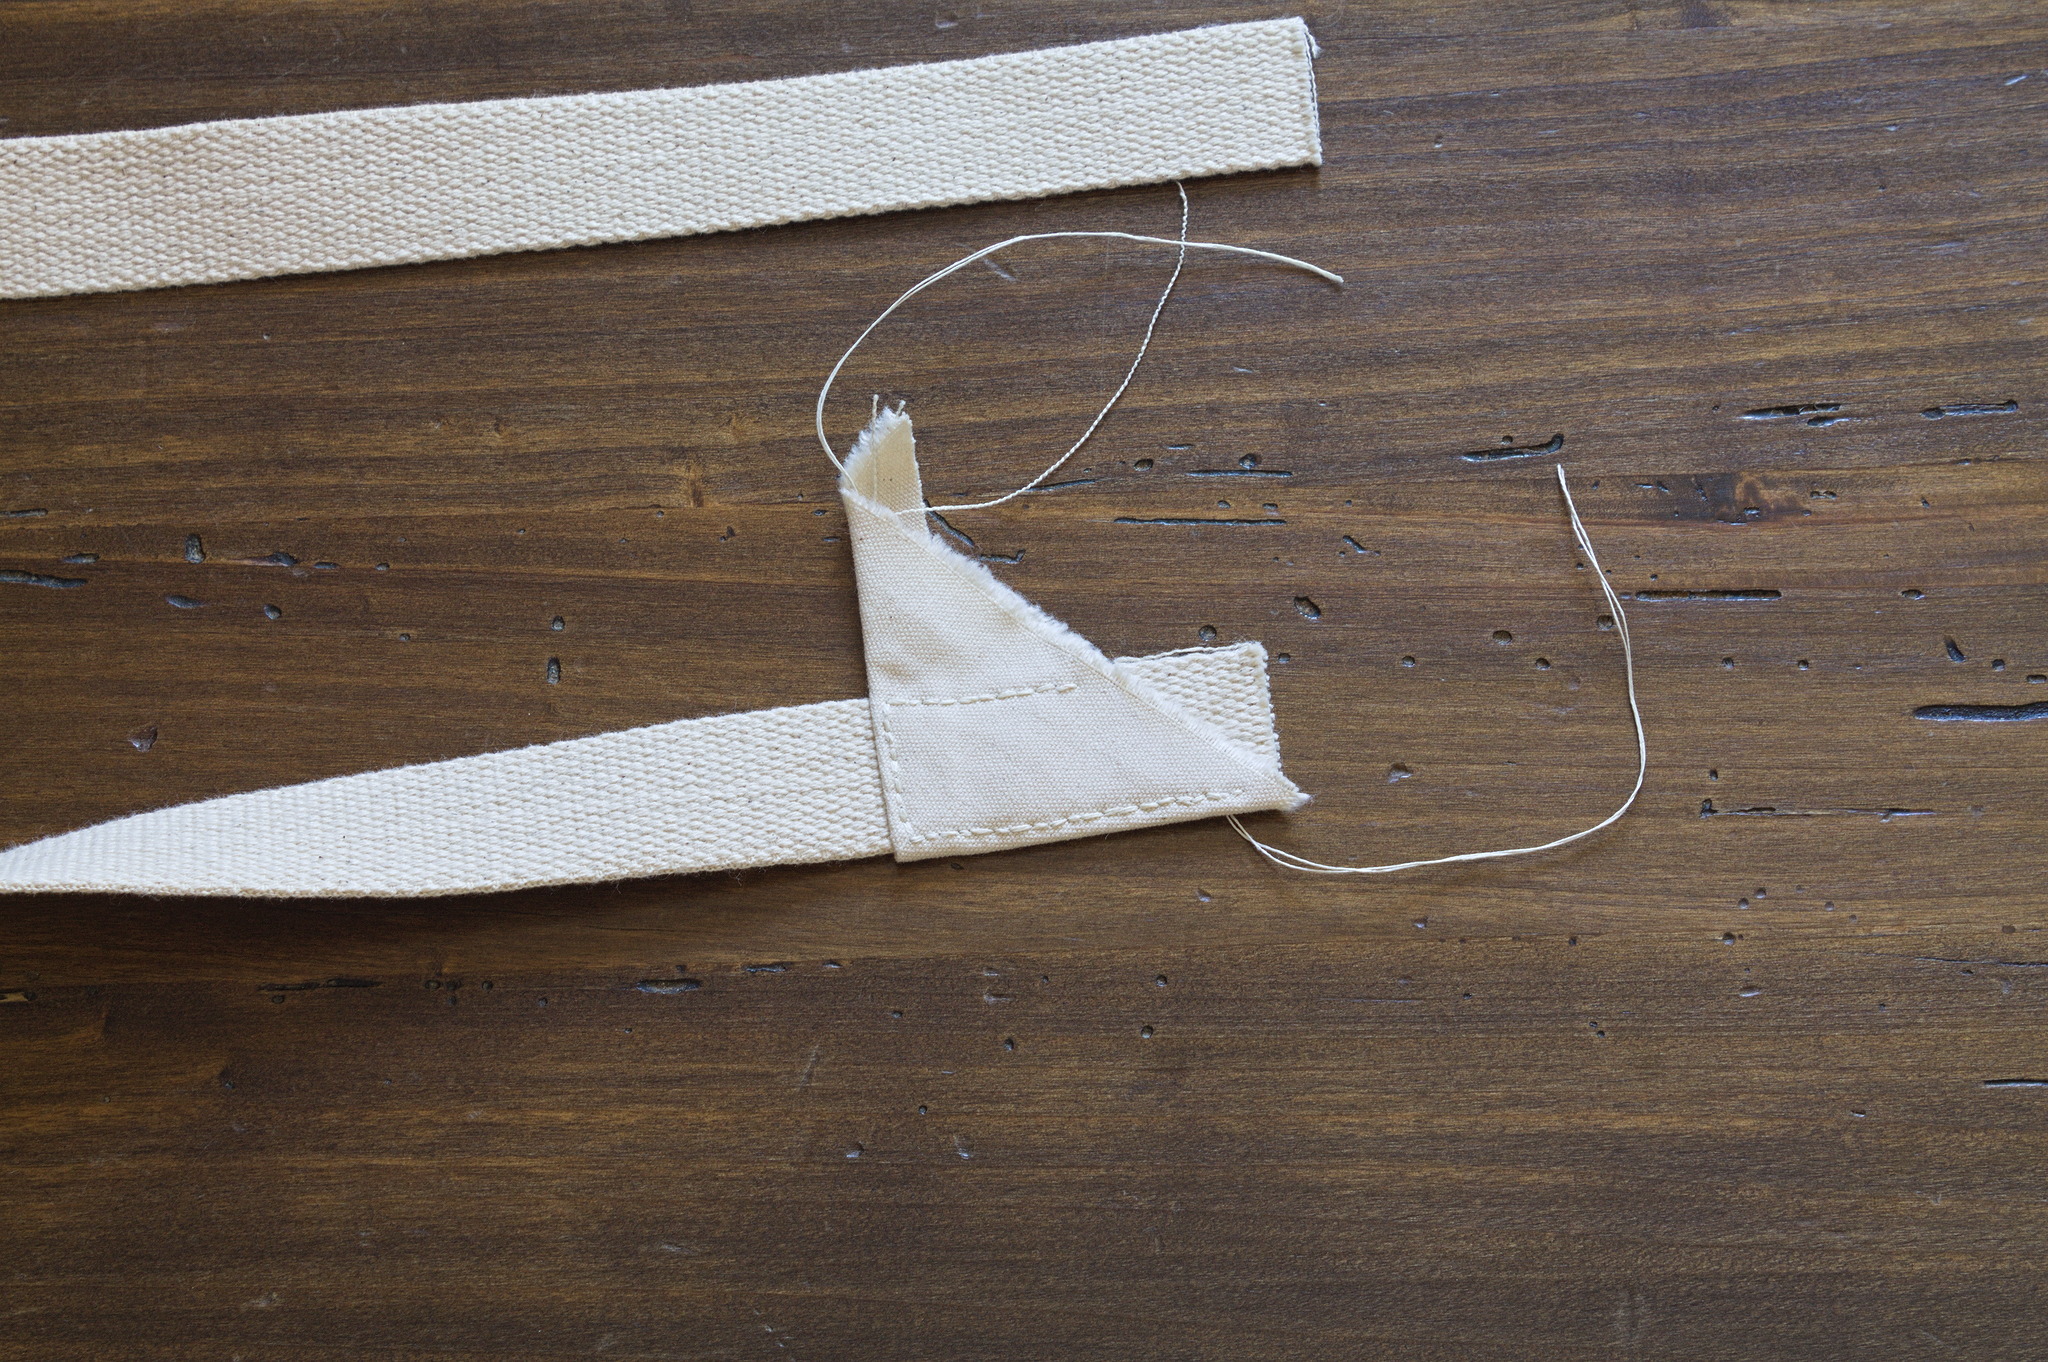
Turn inside out, topstitch all around the webbing.
Put the strap support on top of the bottom back, 5 cm from the bottom, with the webbing facing up, and sew in the allowance.
Trim the excess webbing.
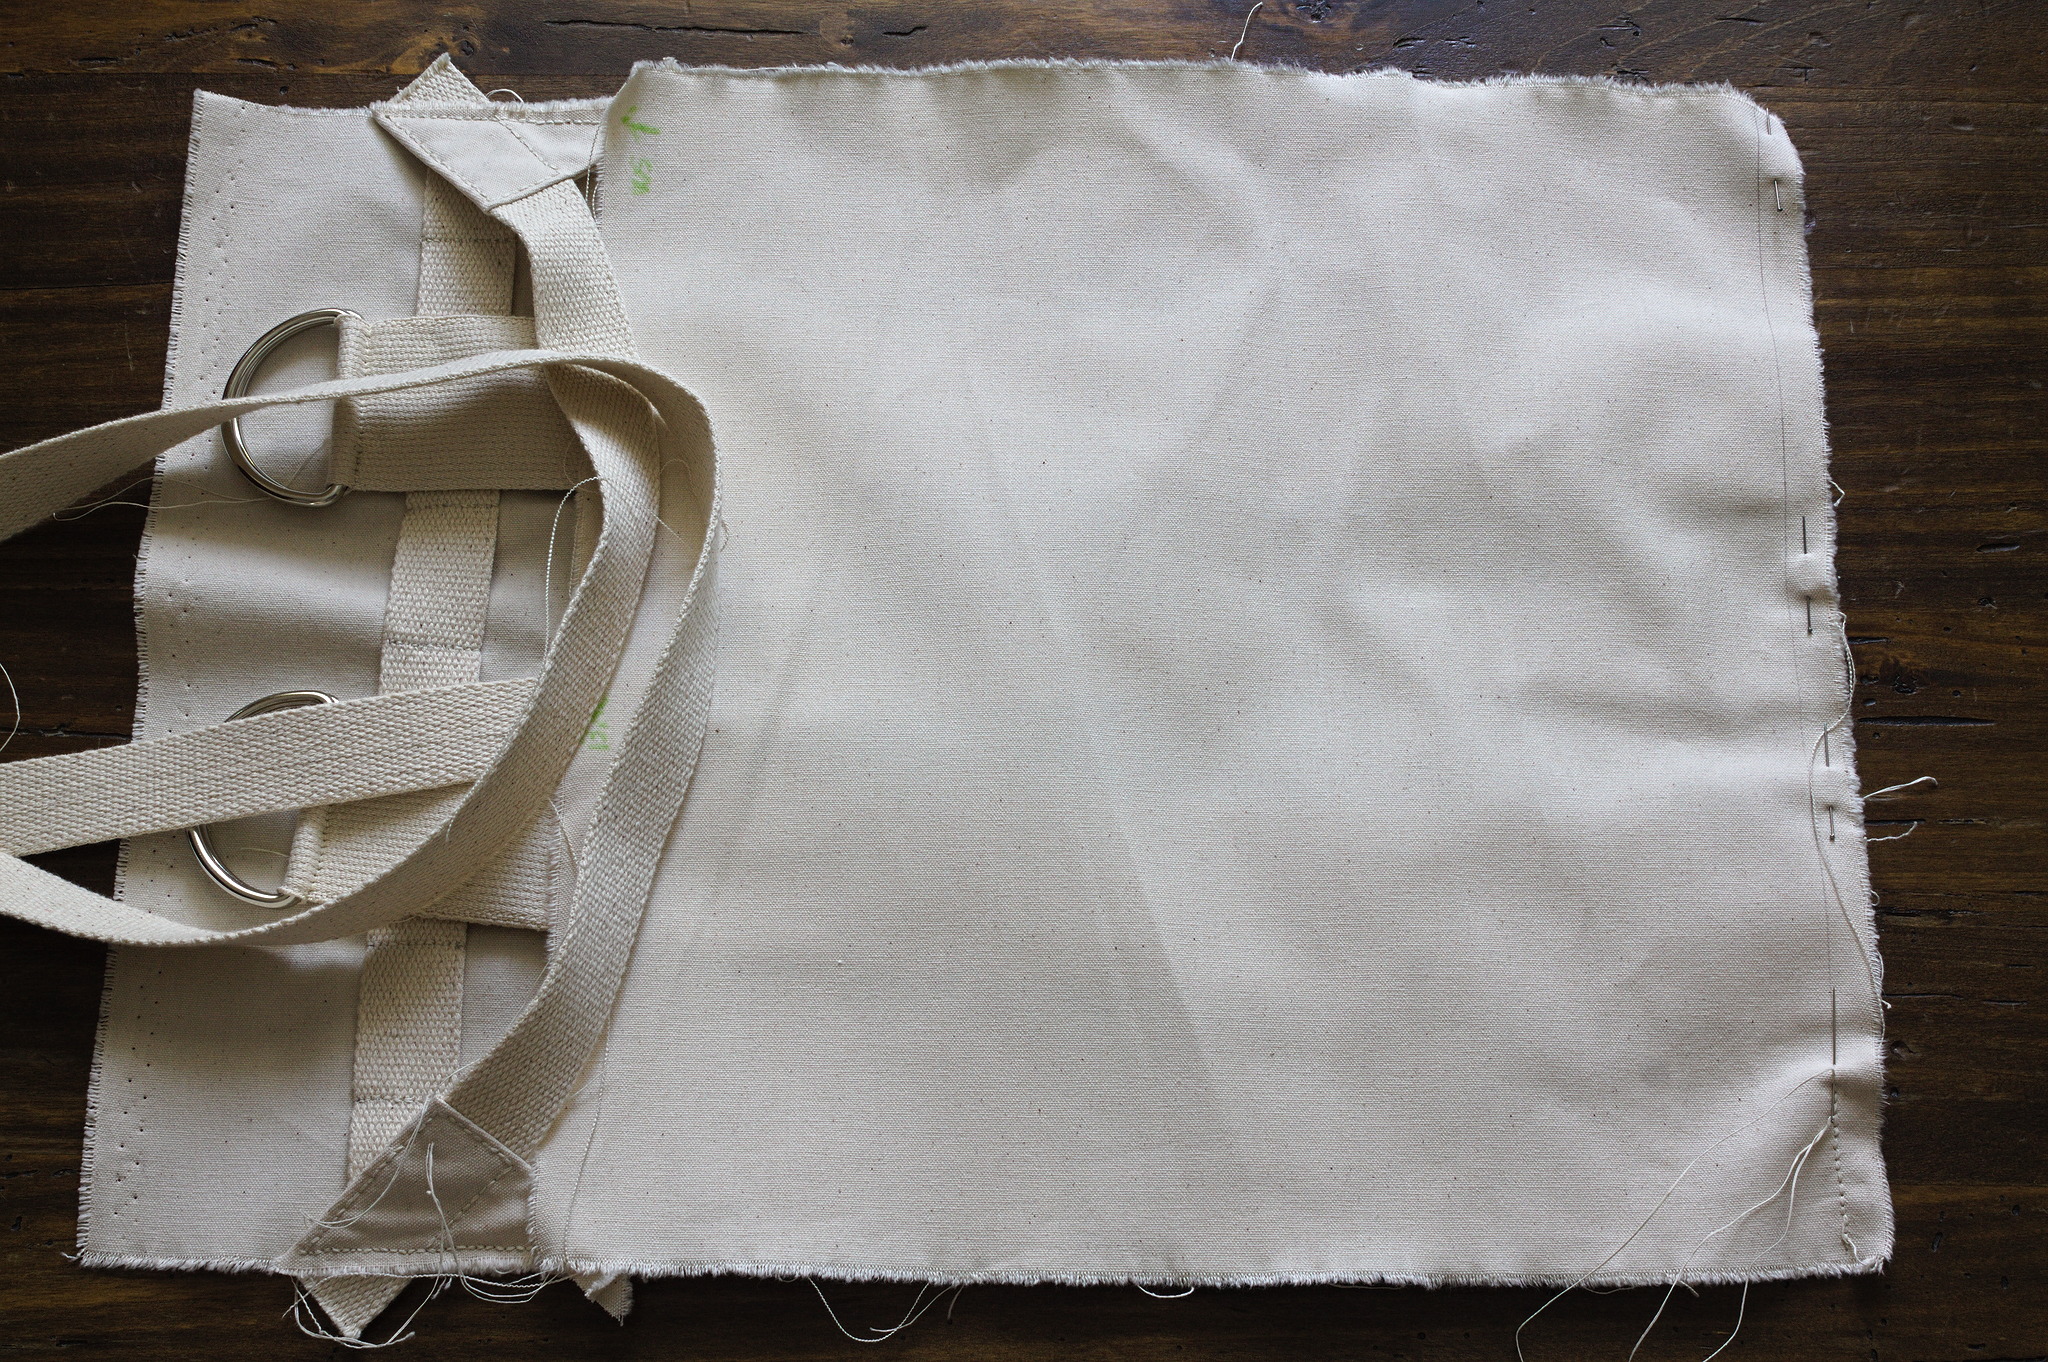
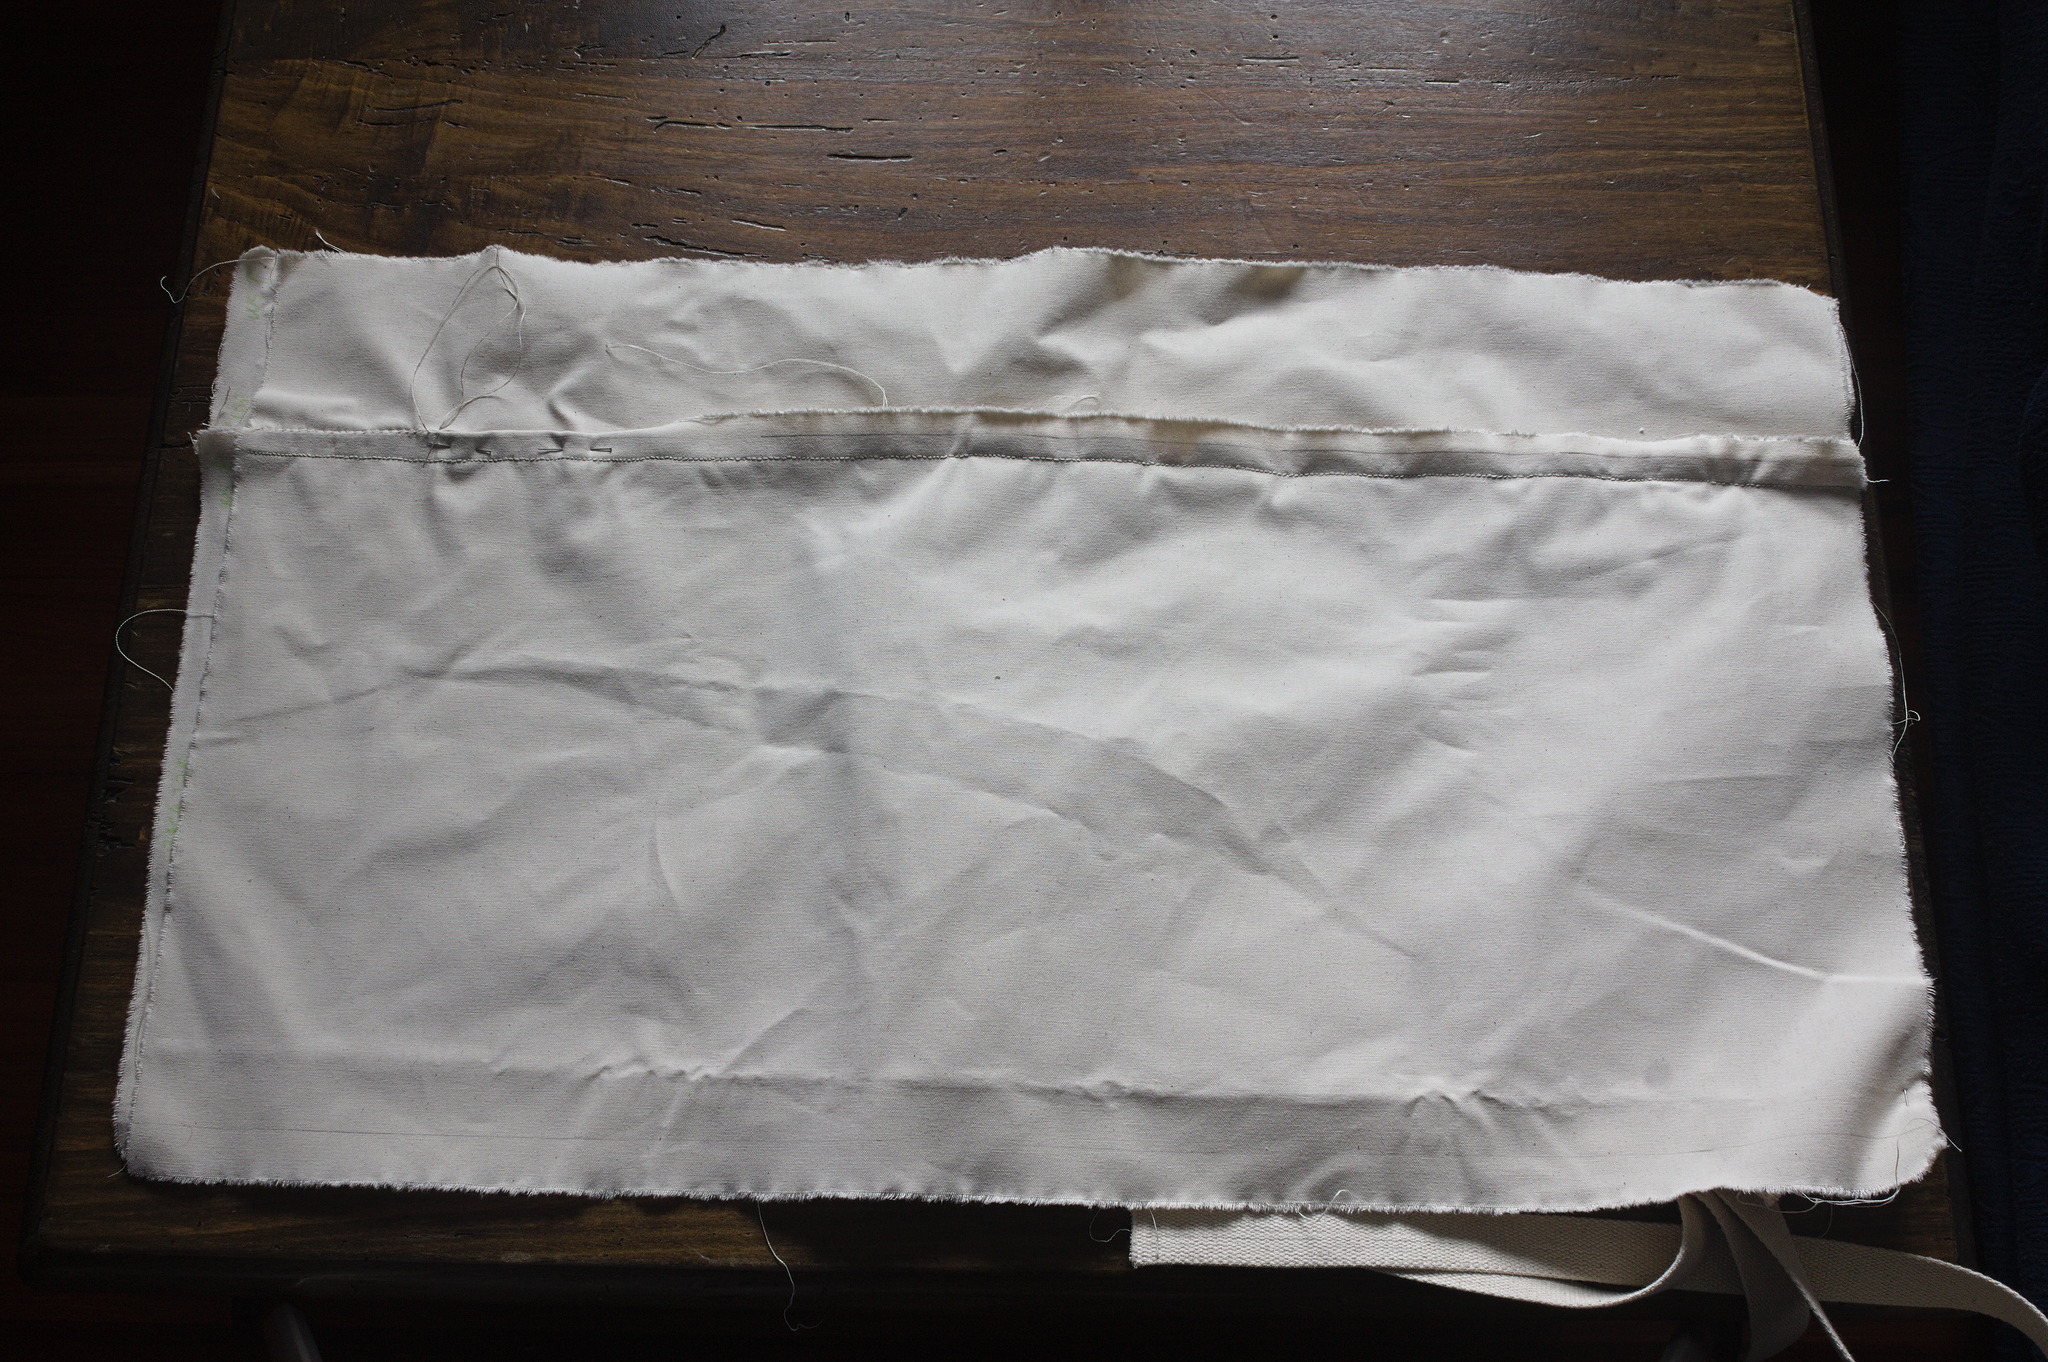
Right sides together, put the top back piece over the bottom back and sew. Press the allowances up.
Front preparation
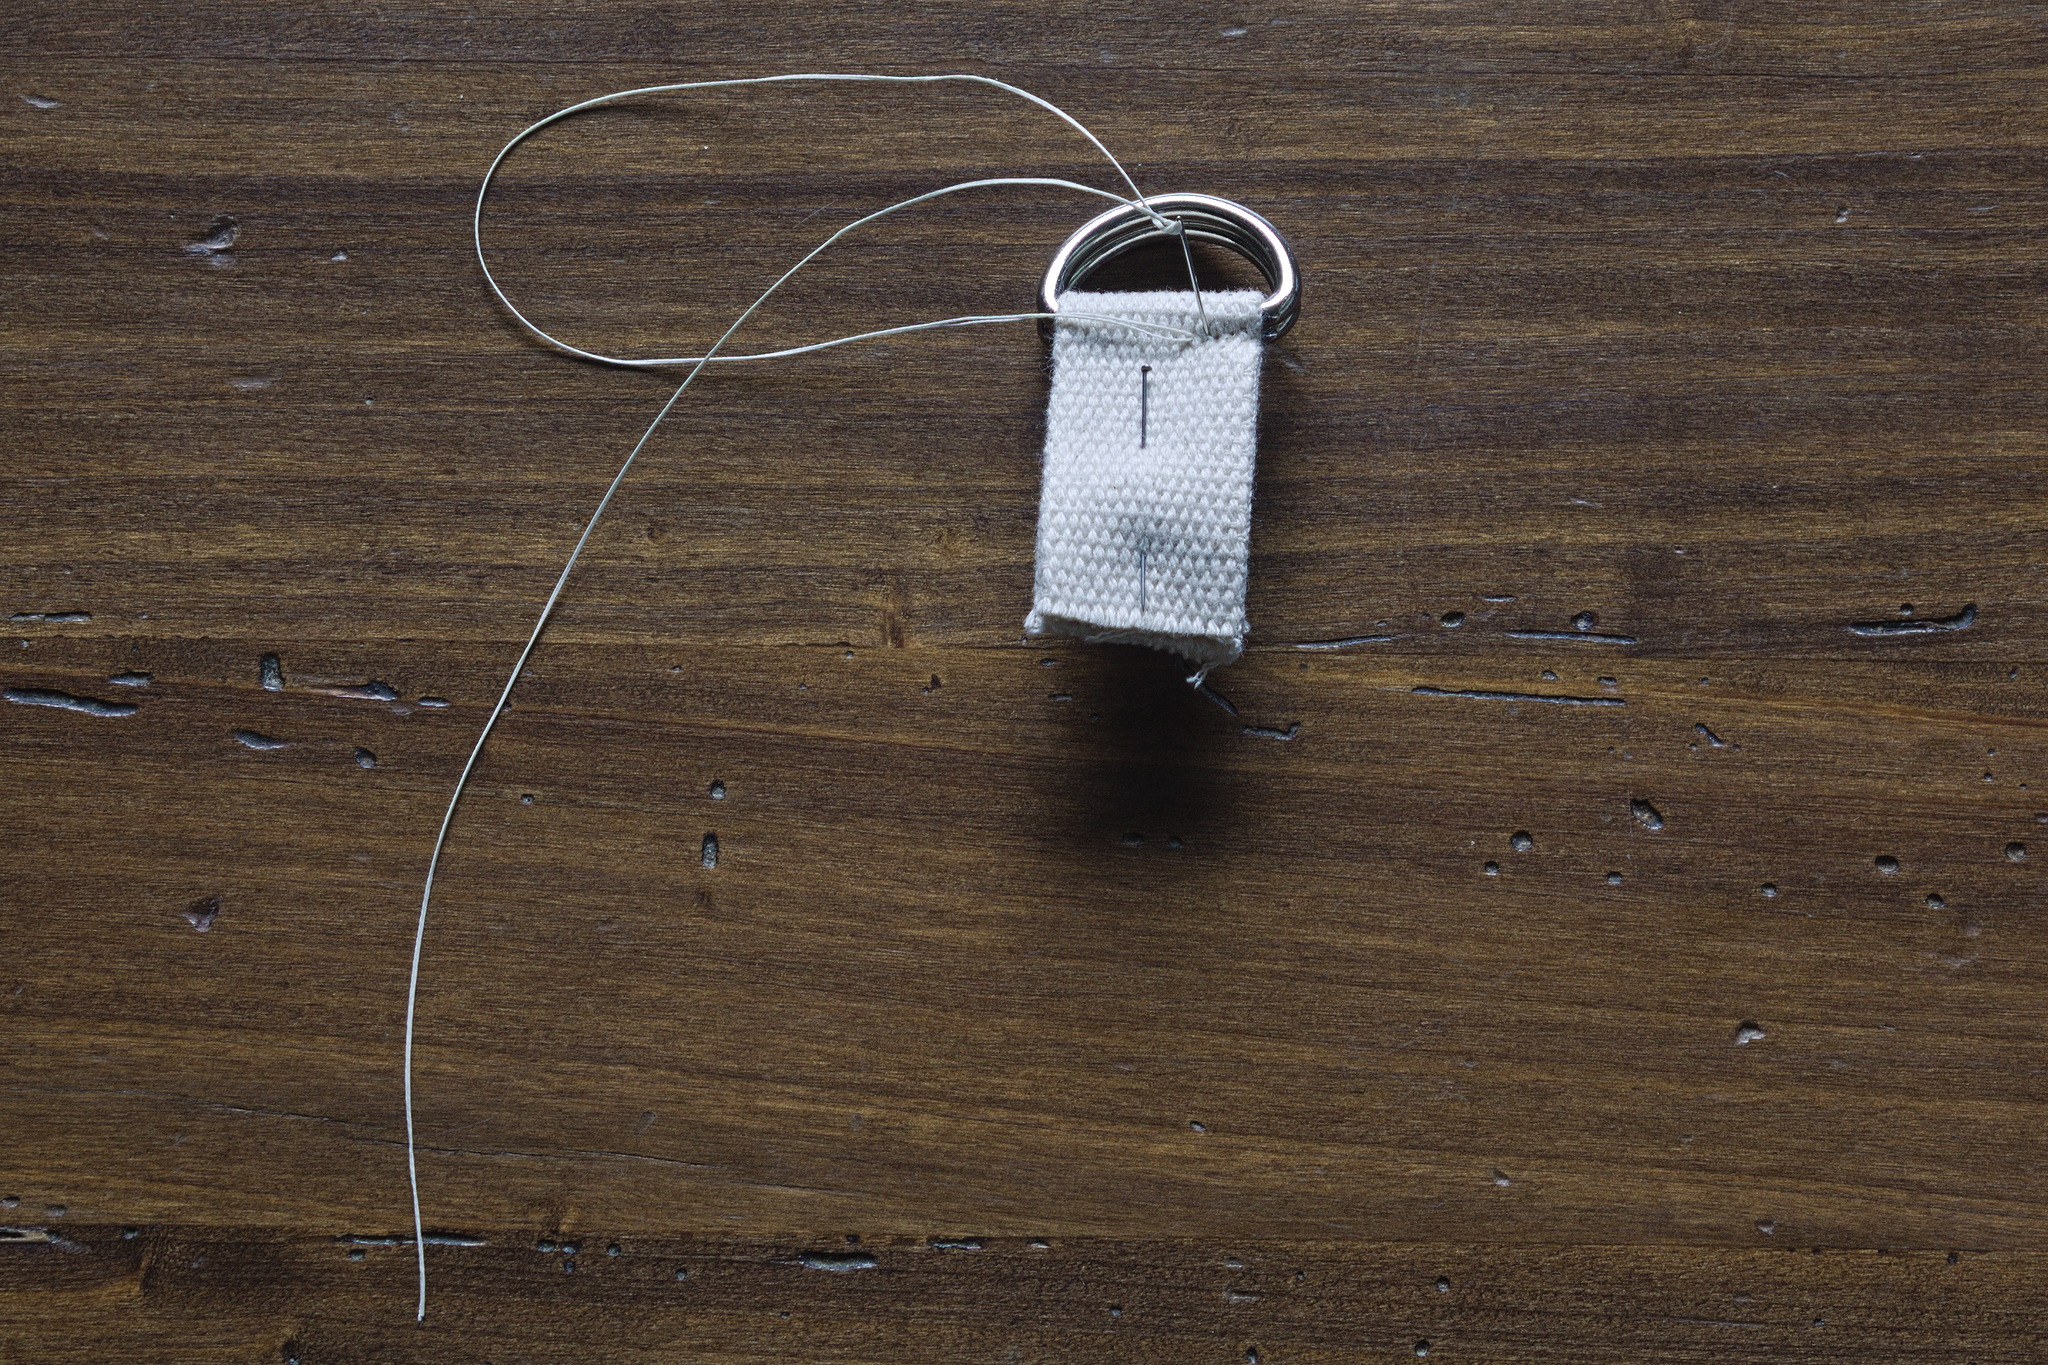
Cut 10 cm of 25 mm webbing, put two D-rings in it, fold it in half and sew as close to the rings as possible.
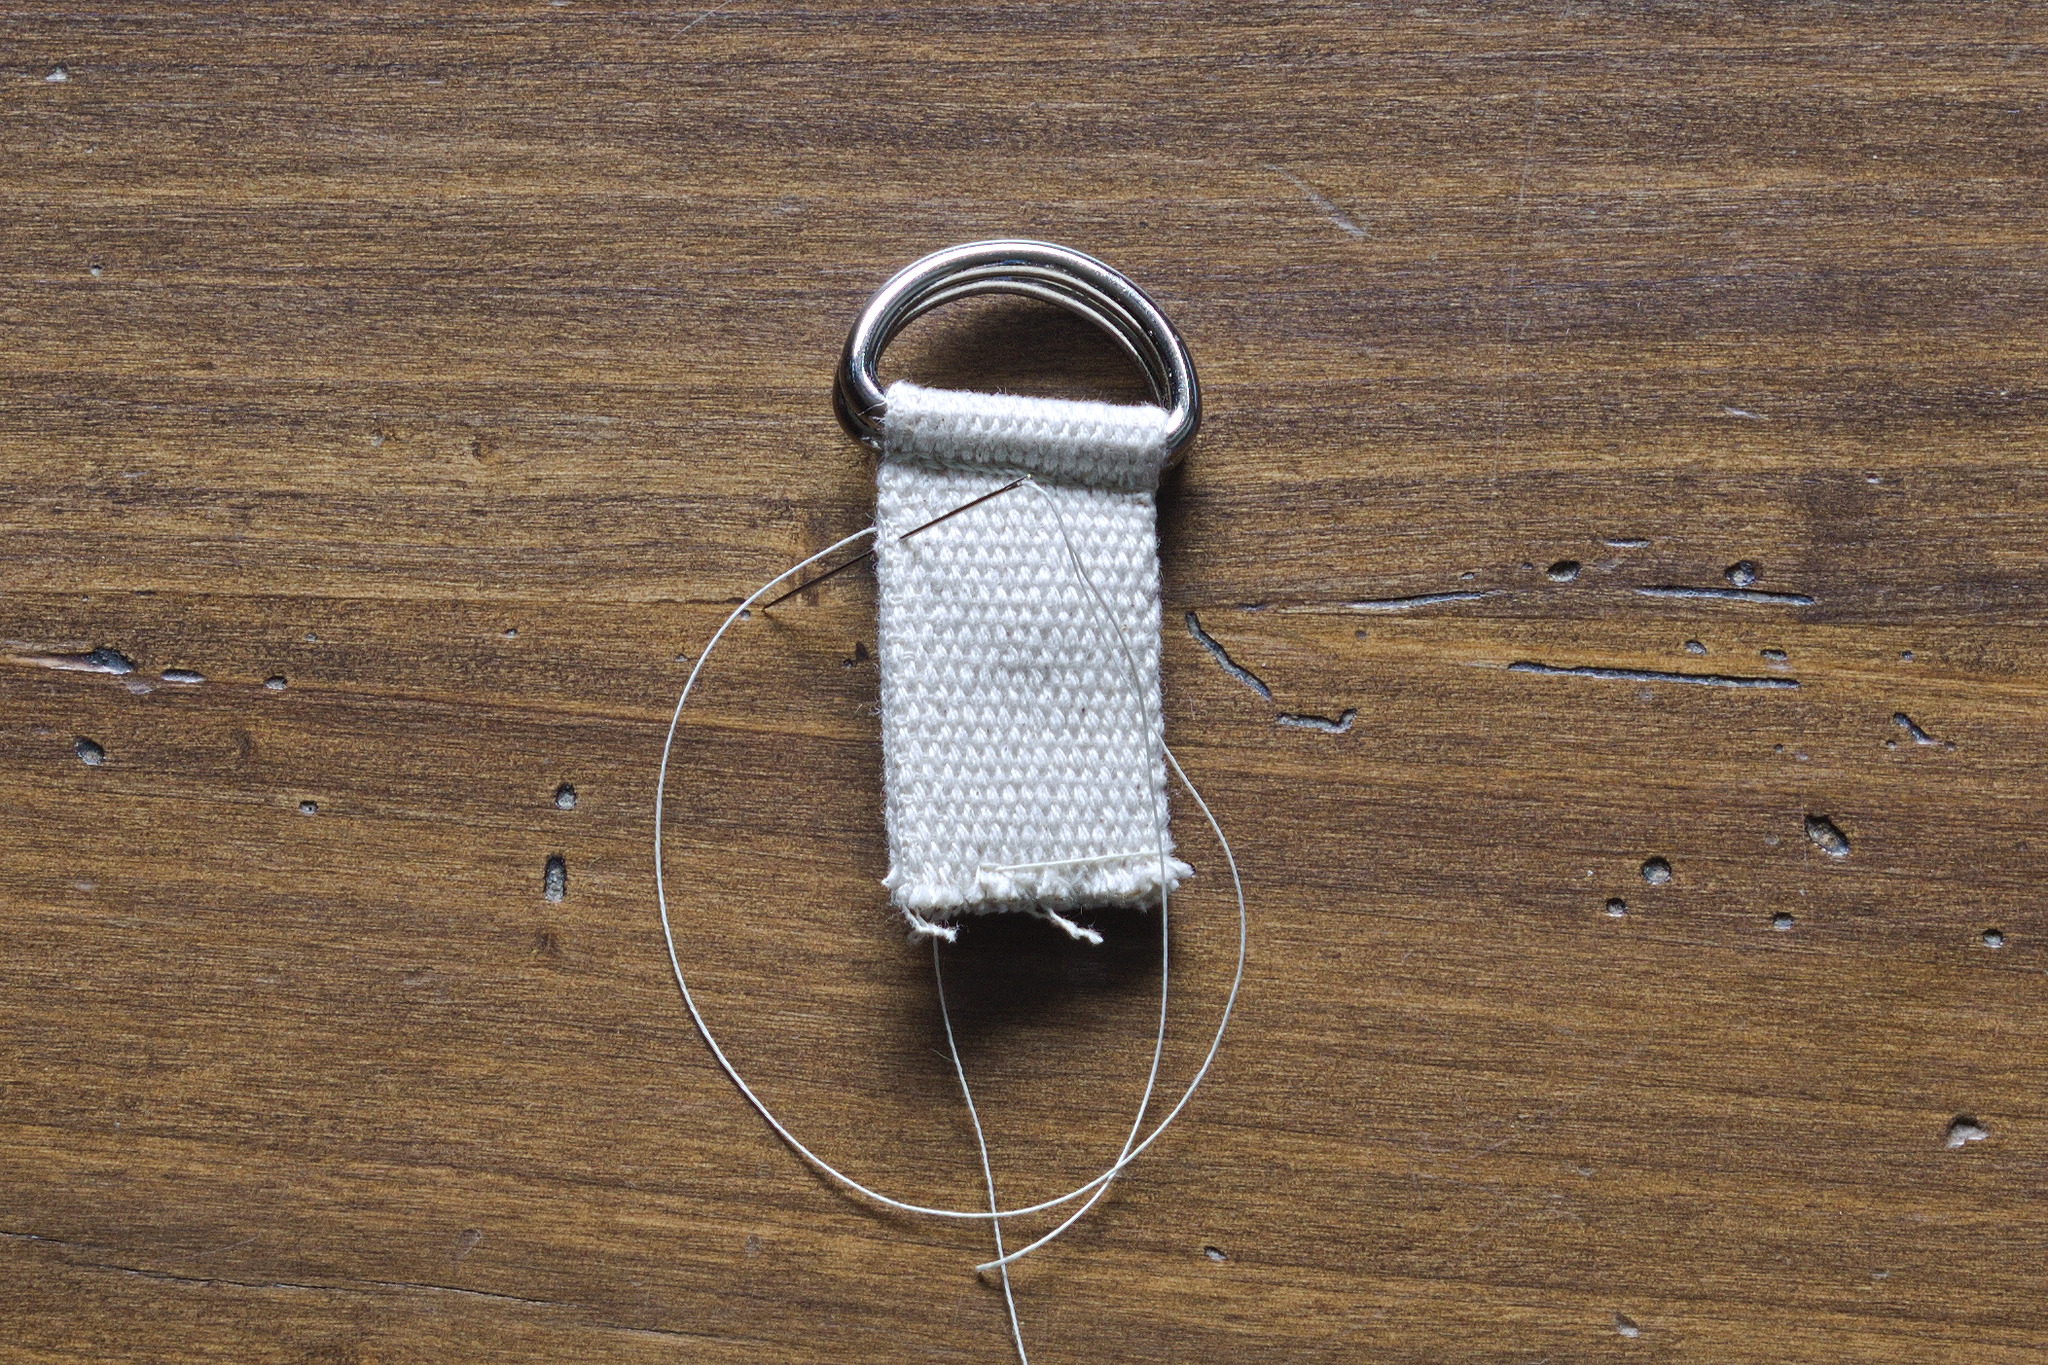
Optionally whipstitch the two sides.

Put it in the center of the front piece, in such a way that the top of the D-rings aligns just below the level of the seam in the back.
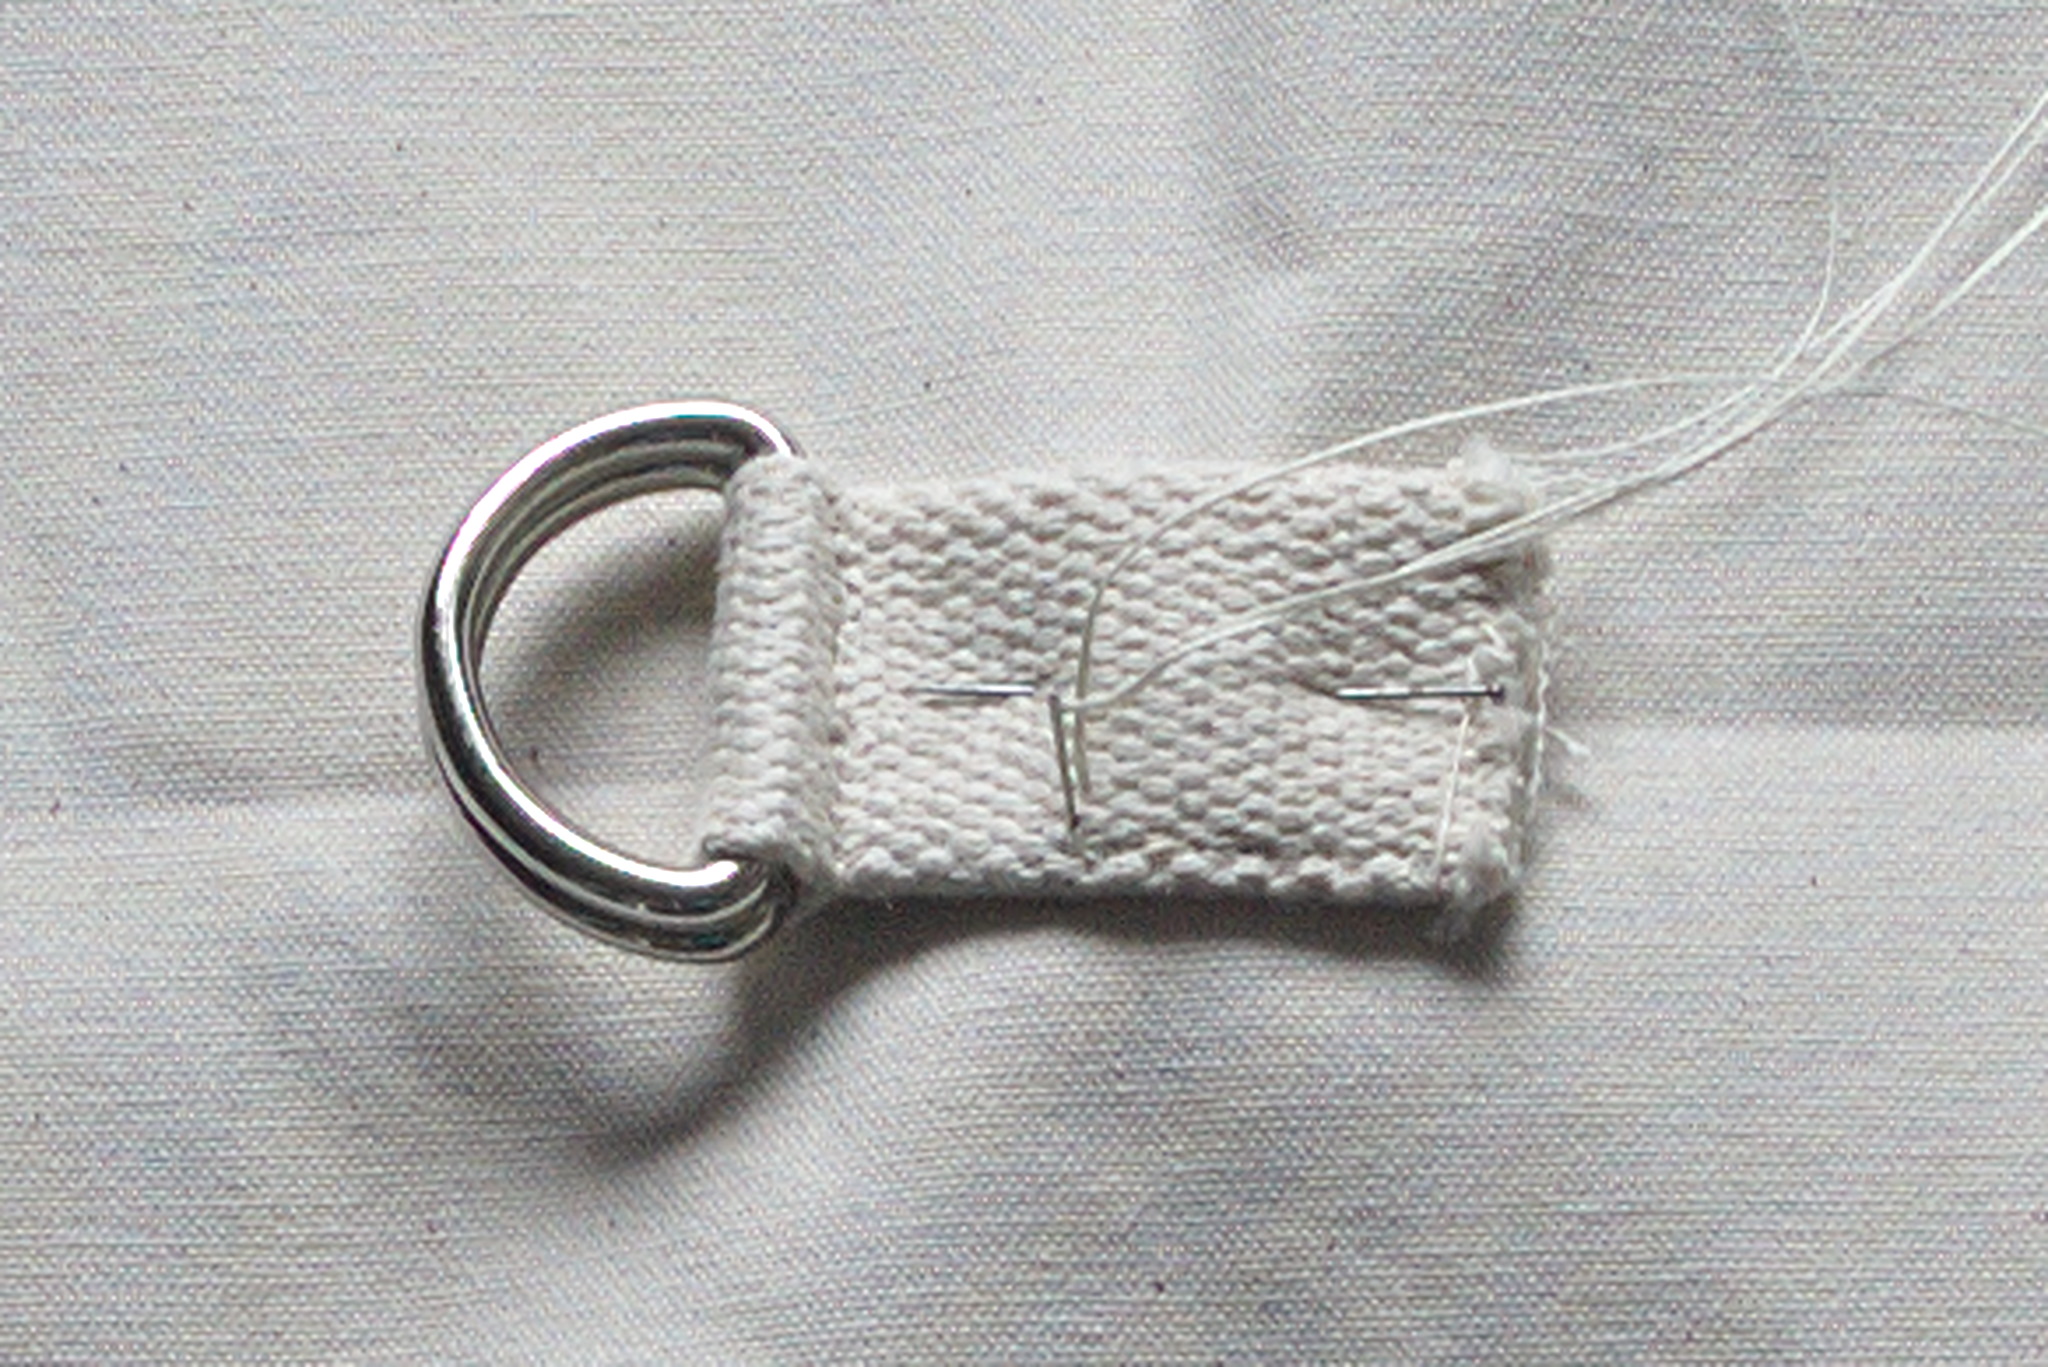
Sew a 2 cm × 2 cm square at the bottom of the webbing, plus diagonals for strength.
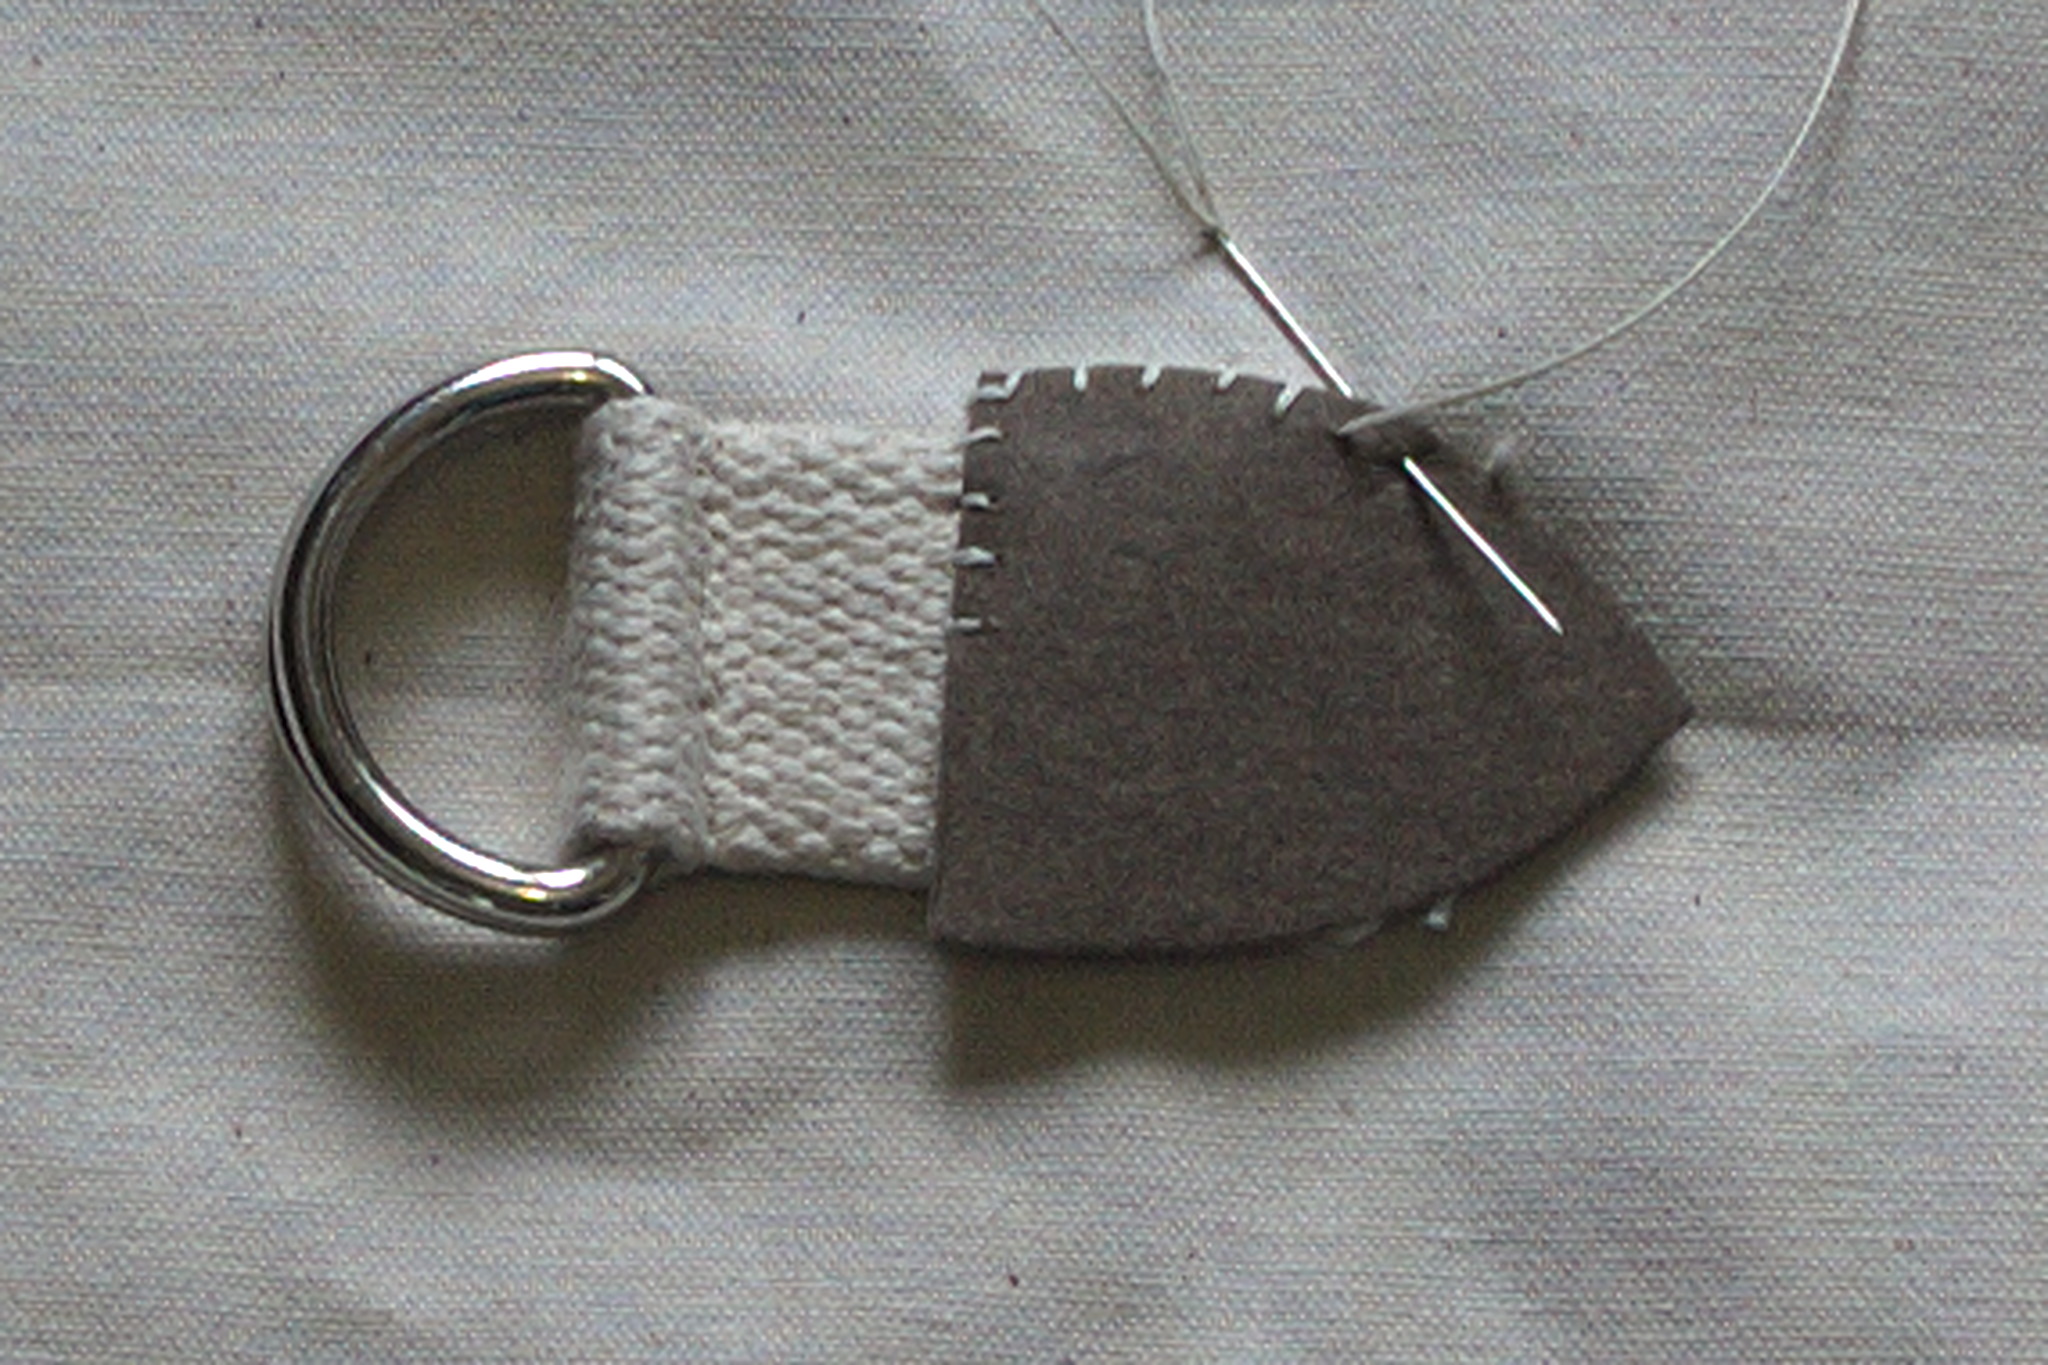
Put the webbing cover so that it covers the square seam and the raw ends of the webbing, and appliquestitch it in place.
Structure
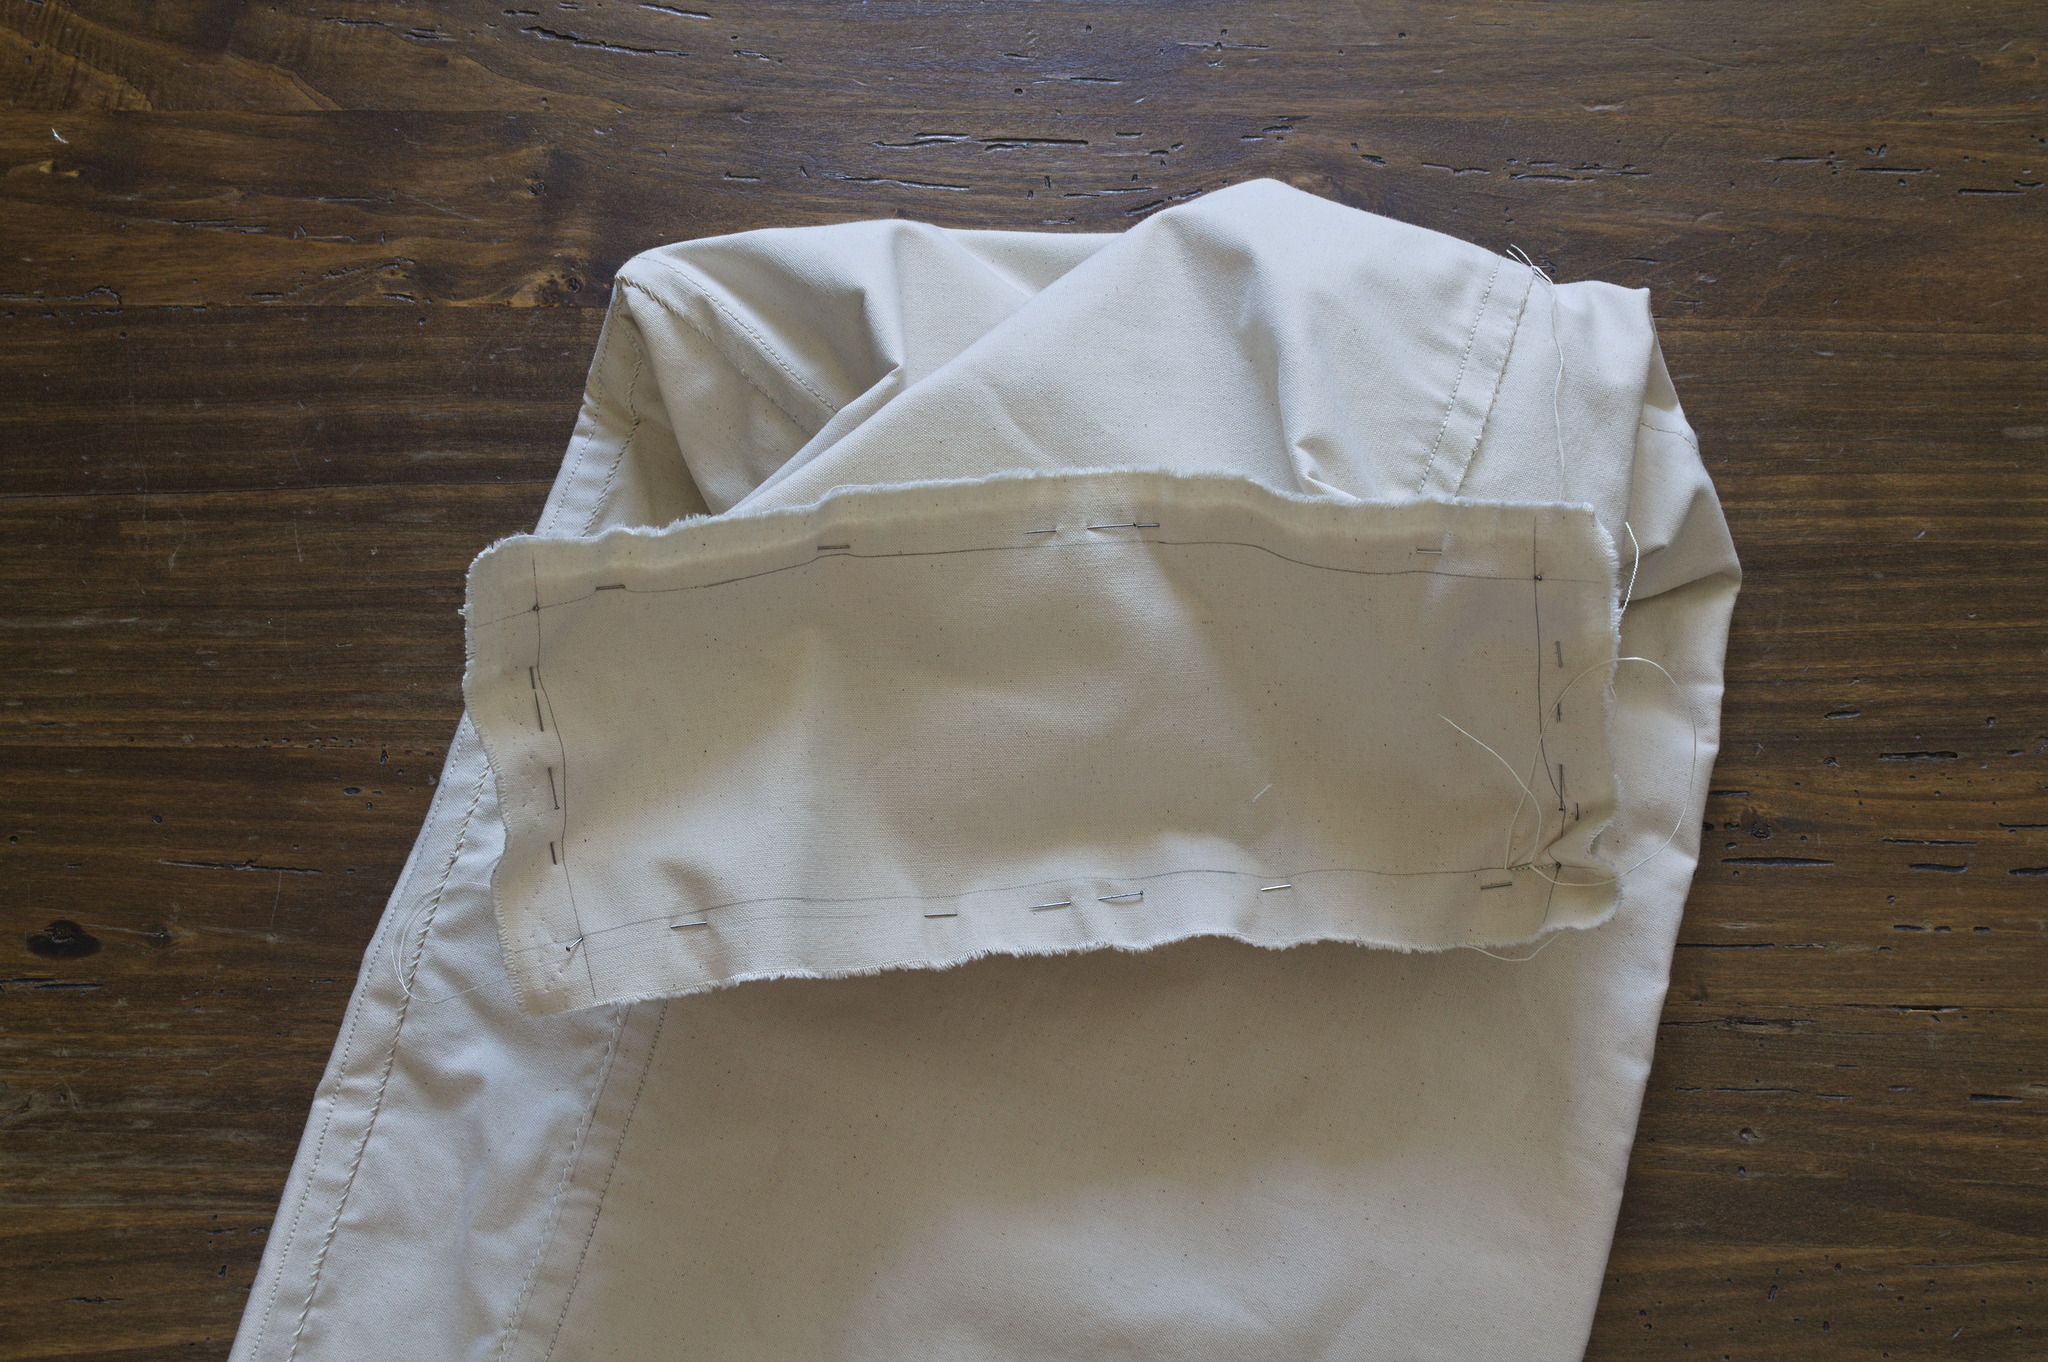
Put the back over the back lining, wrong sides together, aligning it at the bottom edge, centering it between the side edges so that there is 1 cm of lining excess on each side, and making sure that at the top the back is 2 cm longer than the lining.

Put one side lining on top of one side, aligned at the bottom and with 2 cm of excess side compared to the lining. Put the side on top of the back, outer / fabric sides together, aligning the side of the side with that of the back outer.
Sew the side seam at 2 cm from the back lining edge (i.e. 1 cm from every other edge).
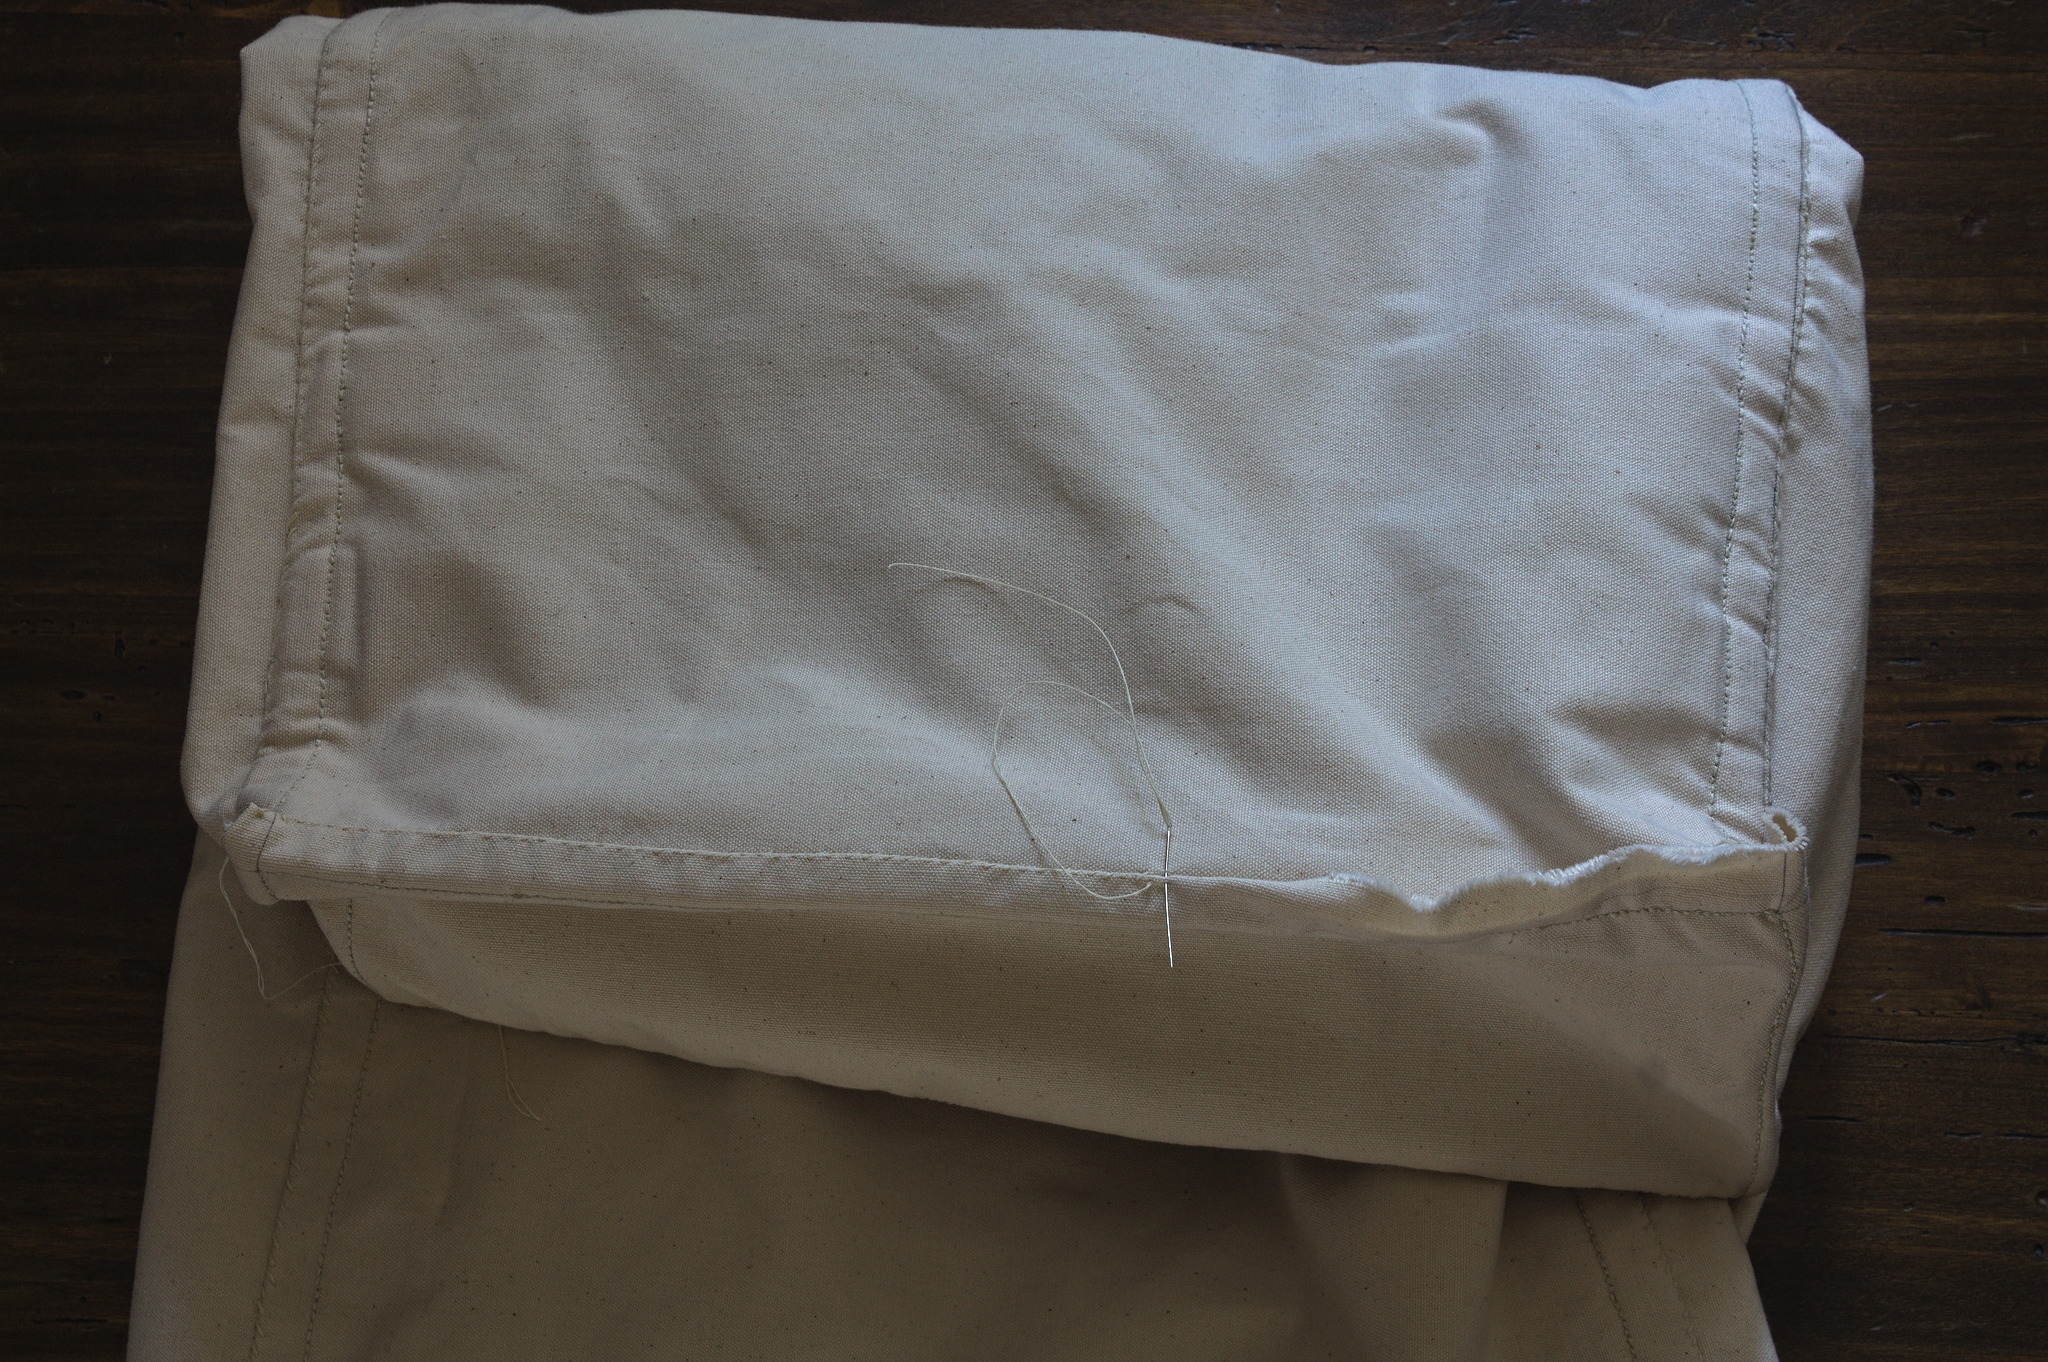
Press the seam open, then press the allowance of the back lining in half, press the seam towards the side and fell.
Repeat with the other side.
Put the front on top of one side, right sides together and aligned at the bottom and side edge, put the front lining on top of everything, with right side on top, and aligned at the bottom and so that there is 1 cm of excess of lining on the side. Sew at 2 cm from the edge.
Fell the seam.
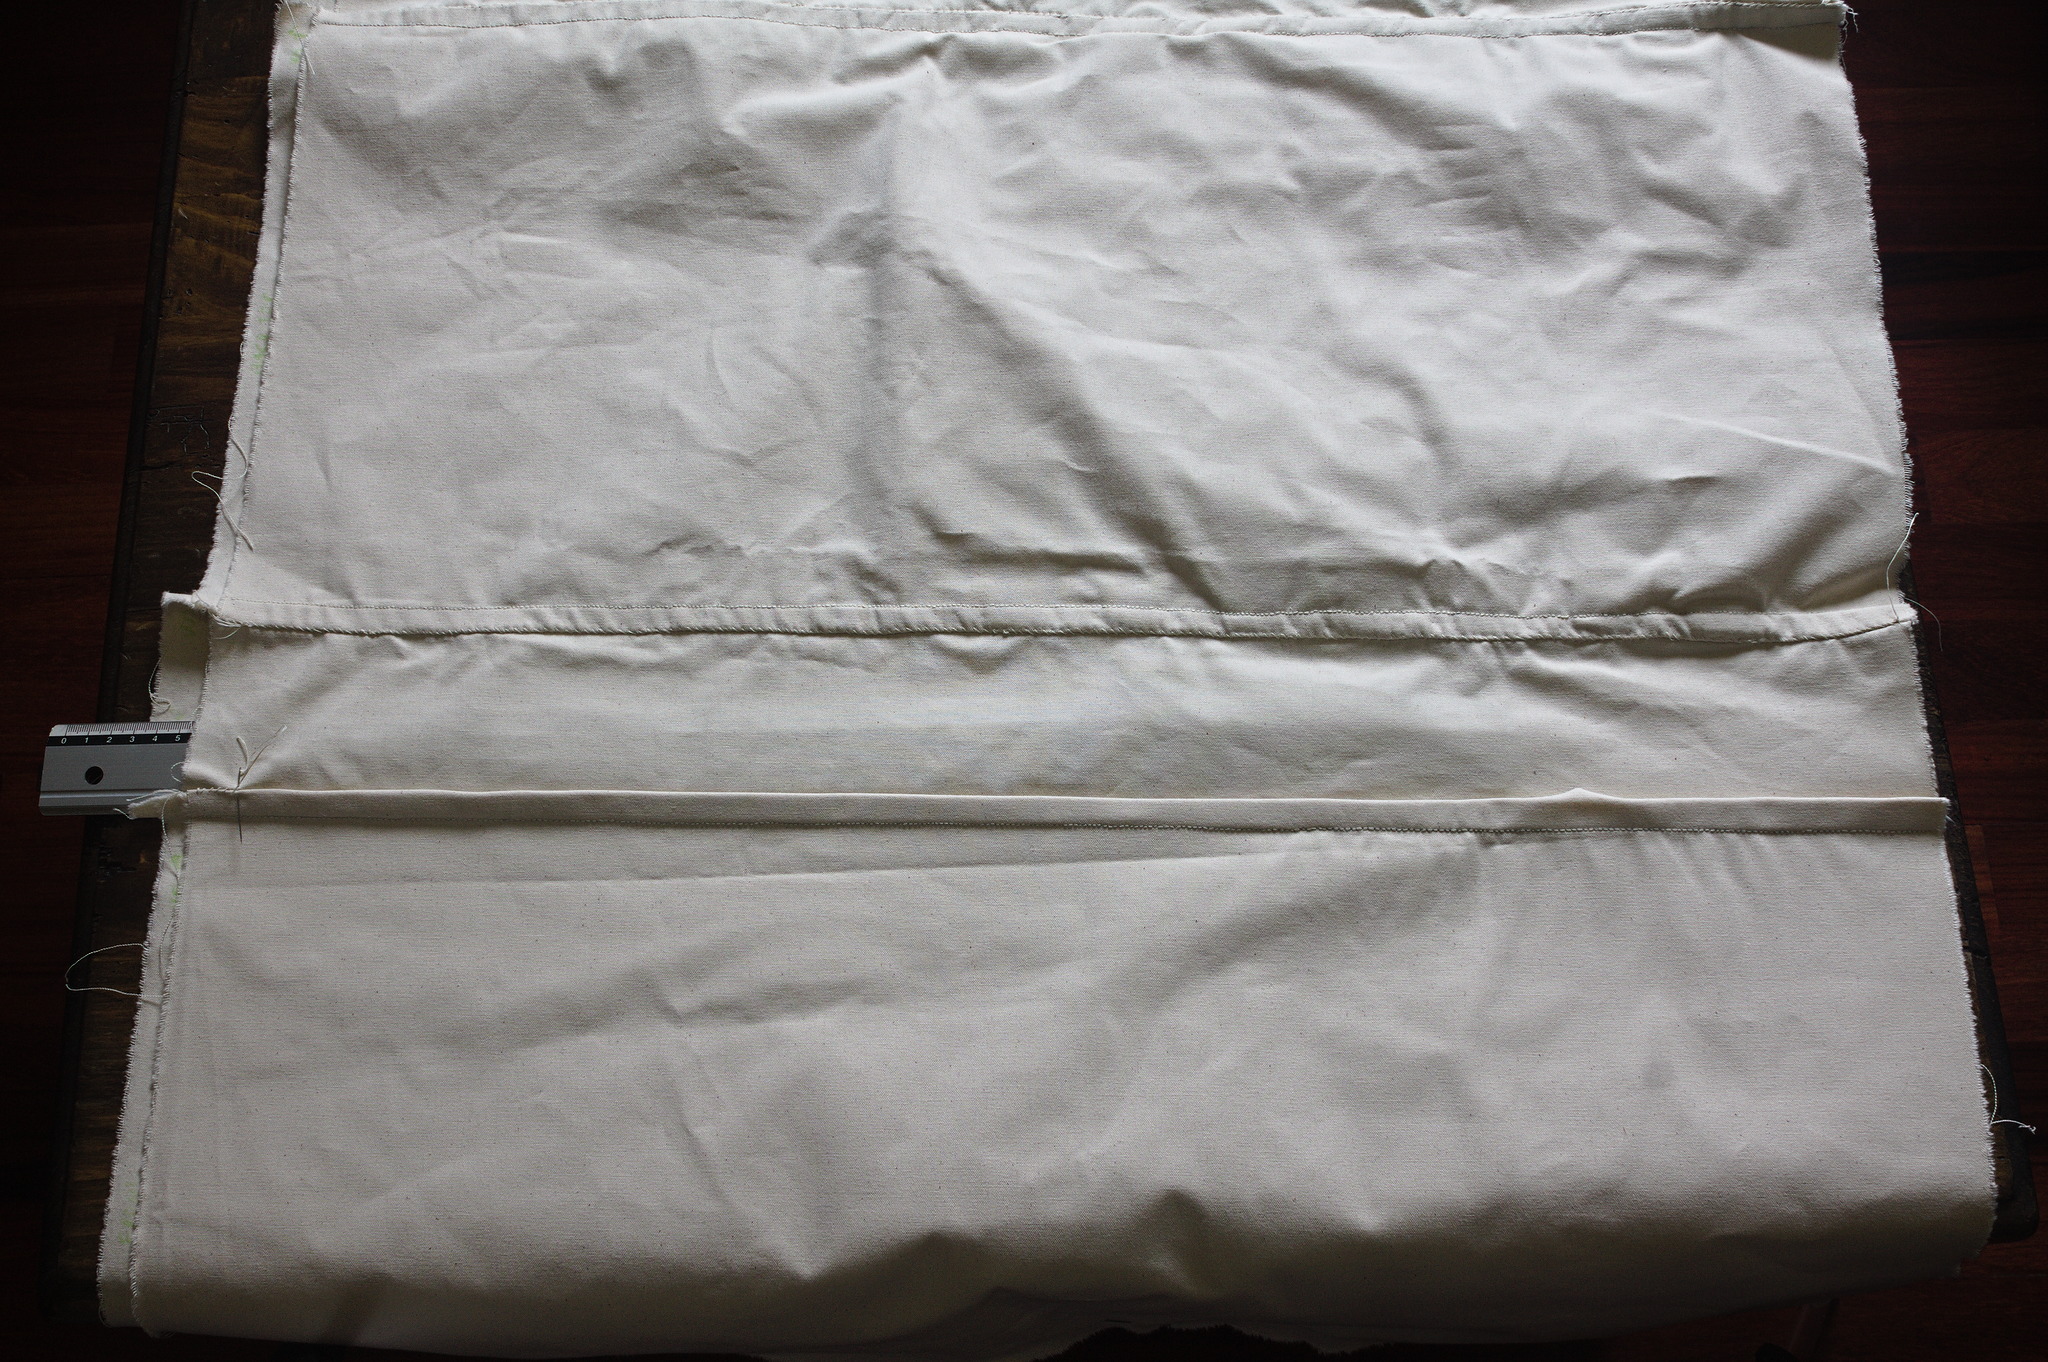
Tip
you can slide a metal ruler between the side and the side lining to help you fell the seam without catching the outer fabric.

Repeat for the other side of the front.
With the body still inside out, put the outer base on the base lining, wrong sides together, so that the outer is centered on the lining. Starting from the corners put the base in the body, aligning the edges of the body with the edge of the outer base and taking care to keep the corners neat. Sew at 2 cm from the base lining edge.
Press the seam towards the sides and fell, trying to fold the corners as neatly as you can.

Fold down the fabric at the top towards the lining, twice, forming a hem, hemstitch it in place.
Reinforcements
Cut three rectangular pieces of reinforcement material, 3 cm wide and 2 cm tall, fold them in half and sew them over the end of the straps.
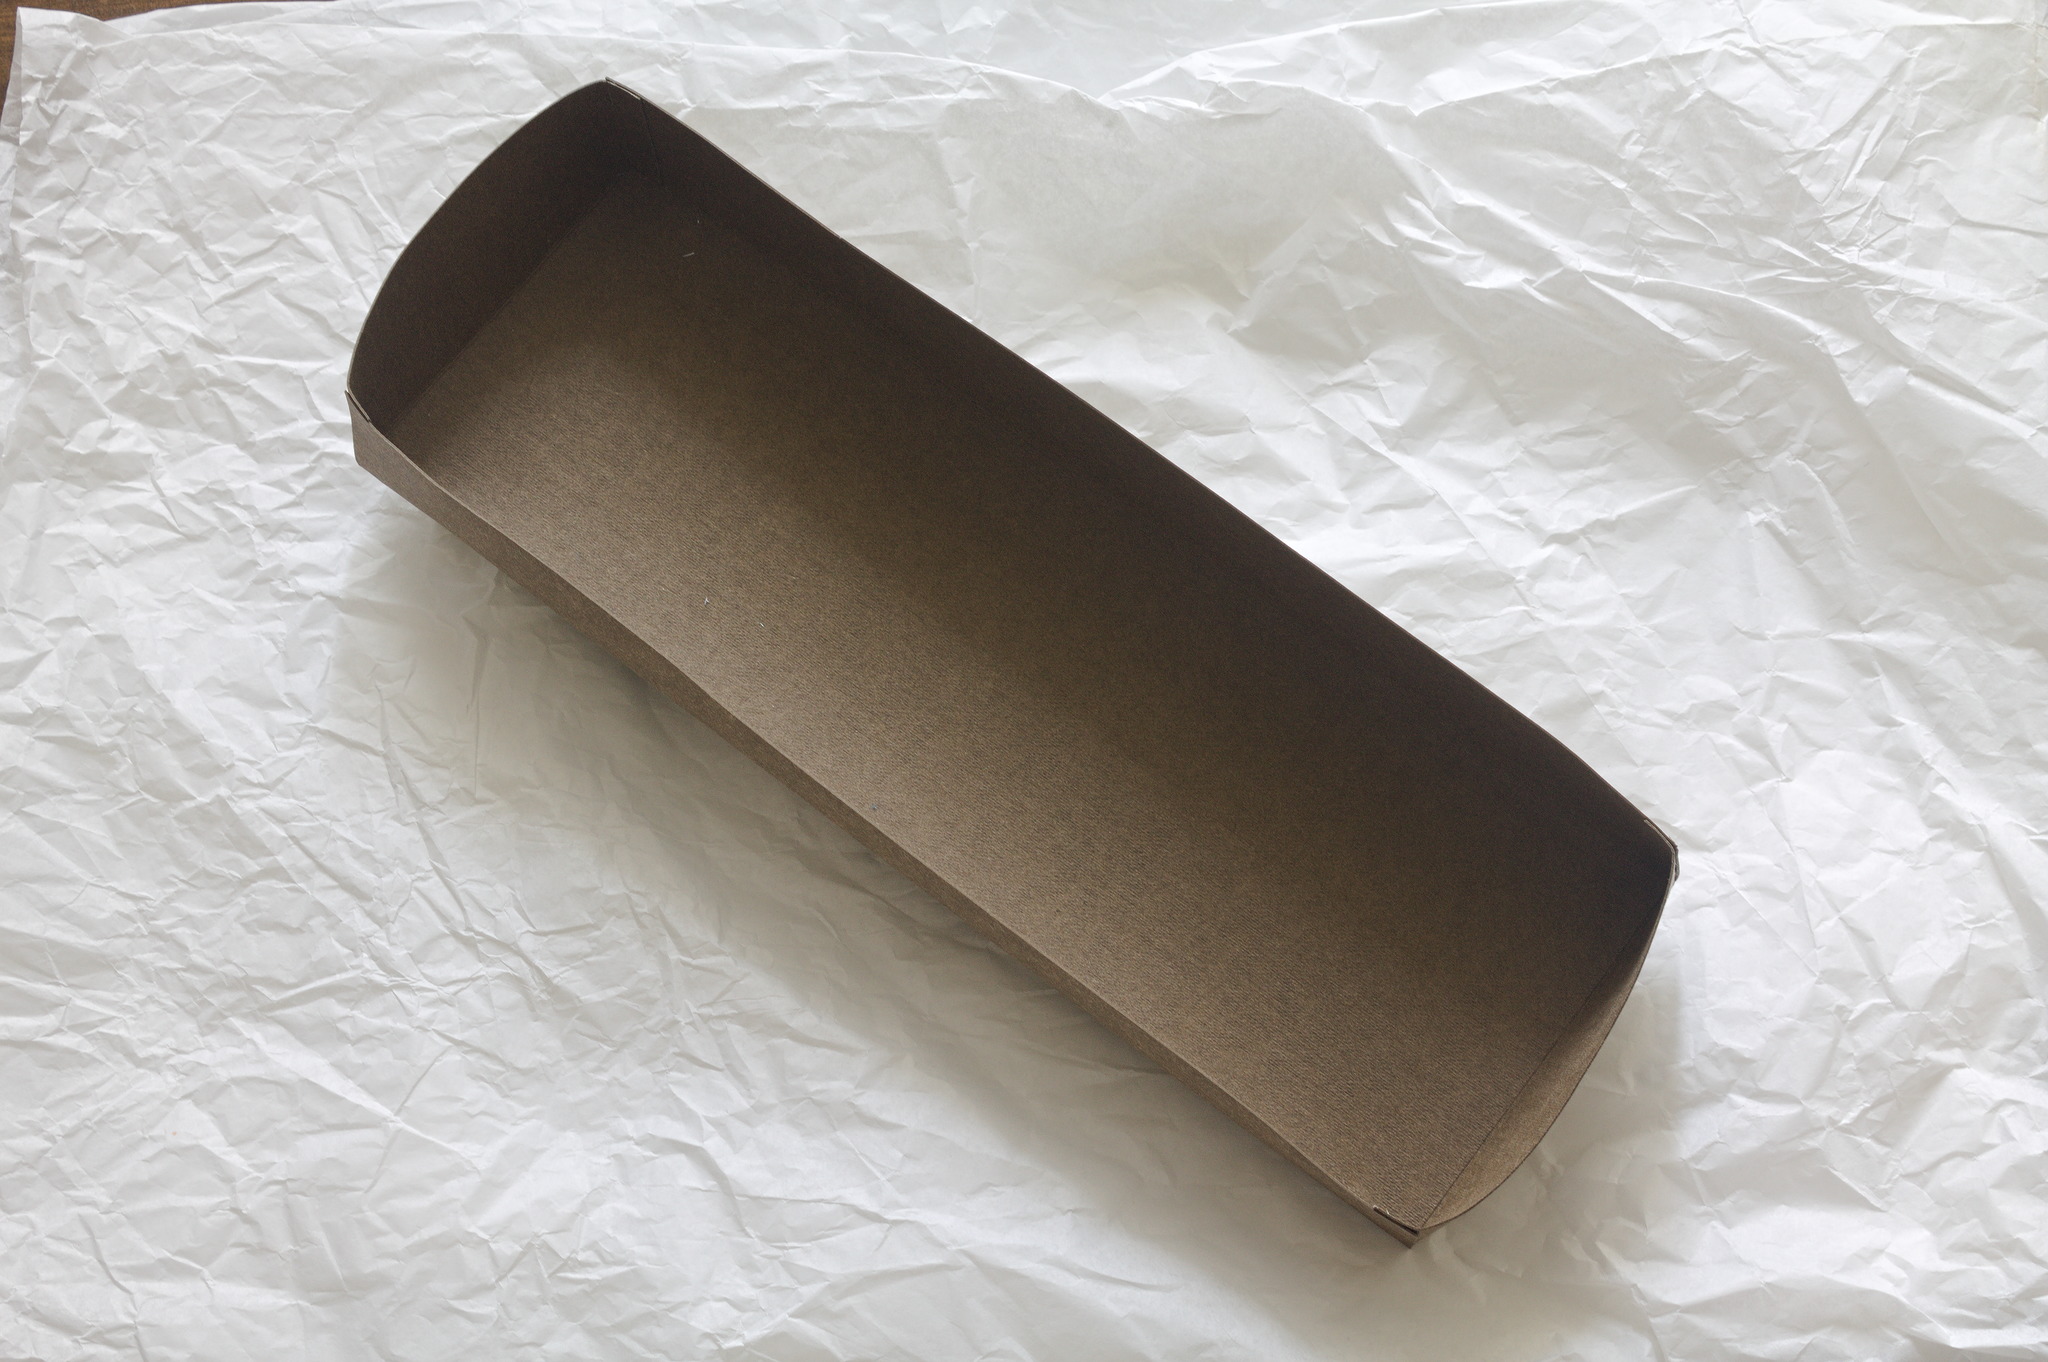
Cut the bottom piece F out of reinforcement material, glue the side tabs closed to form a parallelepipedal open on the top.
Applique-stitch the reinforcement to the bottom of the backpack, making sure to only catch the fabric and not the lining.
Tip
depending on the material this reinforcement could be glued to the backpack instead of being sewn, but this would make it harder to change it later in case it was ruined from use.
Variants
Bound raw edges
Instead of flat-felling the raw edges, you can cut every piece with the same sewing allowance of 1 cm, sew the pieces as instructed and then bind the raw edges with bias or straight tape.
Box corners
Instead of a separate bottom you can make the front and back pieces longer and add a seam at the center of the bottom; this will make the bottom of the pack a bit less structured, but can be significantly easier to sew.
To do so, instead of pieces A, A1, B and D1 cut the pieces Abc, A1bc, Bbc and D1bd, and skip piece E and E1.
Sew the sides of the backpack as instructed above, aligning the pieces from the top, when the instructions
Gallery