Open Heeled Slippers

A simple pair of open heeled fabric slippers with a padded sole.
As a small project with fiddly curves they are especially suitable for handsewing, but can of course also be sewn almost completely by machine.
This is an open heeled variant of Slippers.
Materials
Fabric
~25 cm canvas or other fabric;
~25 cm cotton batting or other padding material (optional).
For the main fabric, cotton or linen canvas is a pretty standard choice; towelling materials can also be used, or fleece for a pair of winter slippers.
For padding you can use cotton batting or even a few layers of scrap fabric.
Notions
sewing thread to match the fabric;
strong thread (e.g. thick waxed linen) to attach the soles to the slippers;
1-3 m cotton yarn for cording;
two soles or sole material that can be cut in the shape provided.
My fiber craft patterns site has instructions for braided twine soles that can be used for fabric slippers.
Pattern
Download the pattern: open_heeled_slipper.val.
Measurements
You need to take the following measurements:
foot_width(E01)at the widest part of the foot;
foot_length(E03)from the back of the heel to the tip of the toes;
foot_circ(E03)around the widest part of the foot.
The file foot.vit has the required measurements.
Pattern
The following variables can be adjusted, but have sensible default values.
upper_lengthfrom the point of the toe to the center front end of the uppers: default is half the length of the foot;
upper_length_sidesfrom the point of the toe to the center front point at the level where the uppers end at the sides: default is 4 cm more than the upper_length;
sewing_allowancebasic sewing allowance: 1 cm is a good choice, but if you’re using thicker padding materials or more heel layers you may have to increase it to 2 cm to be able to wrap it around.
Instructions
Cutting
Cut two soles and optionally two or more heels (depending on the height desired) from padding material, with no sewing allowance.
Cut two soles and four uppers from the fabric.
Uppers
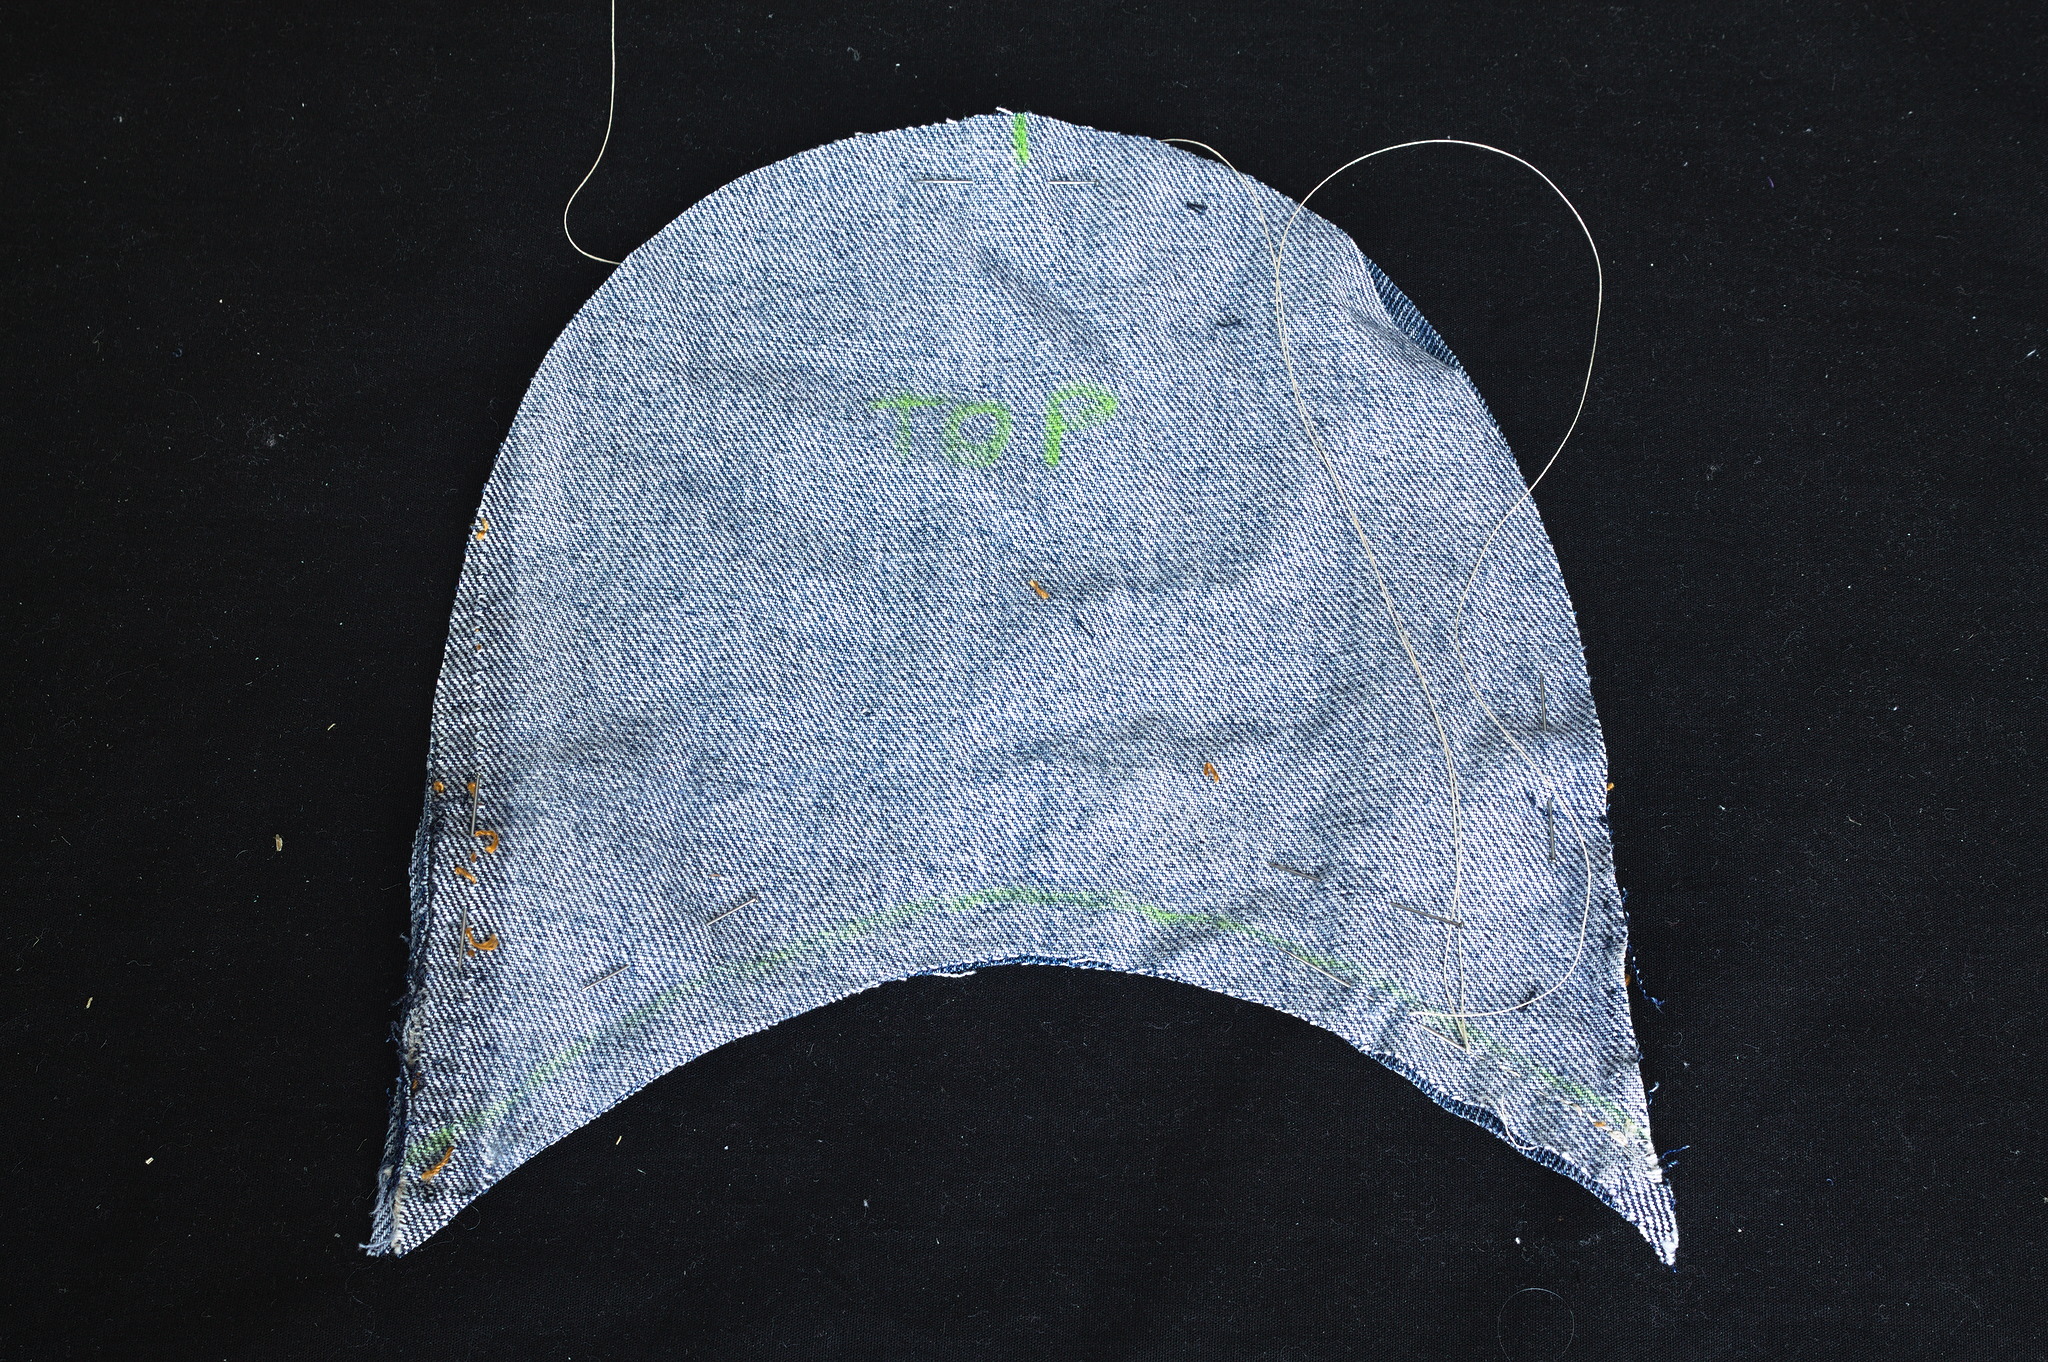
Put two of the uppers on top of each other, right sides together. Sew a couple of mm outside from the seam line (to leave room for the cording).
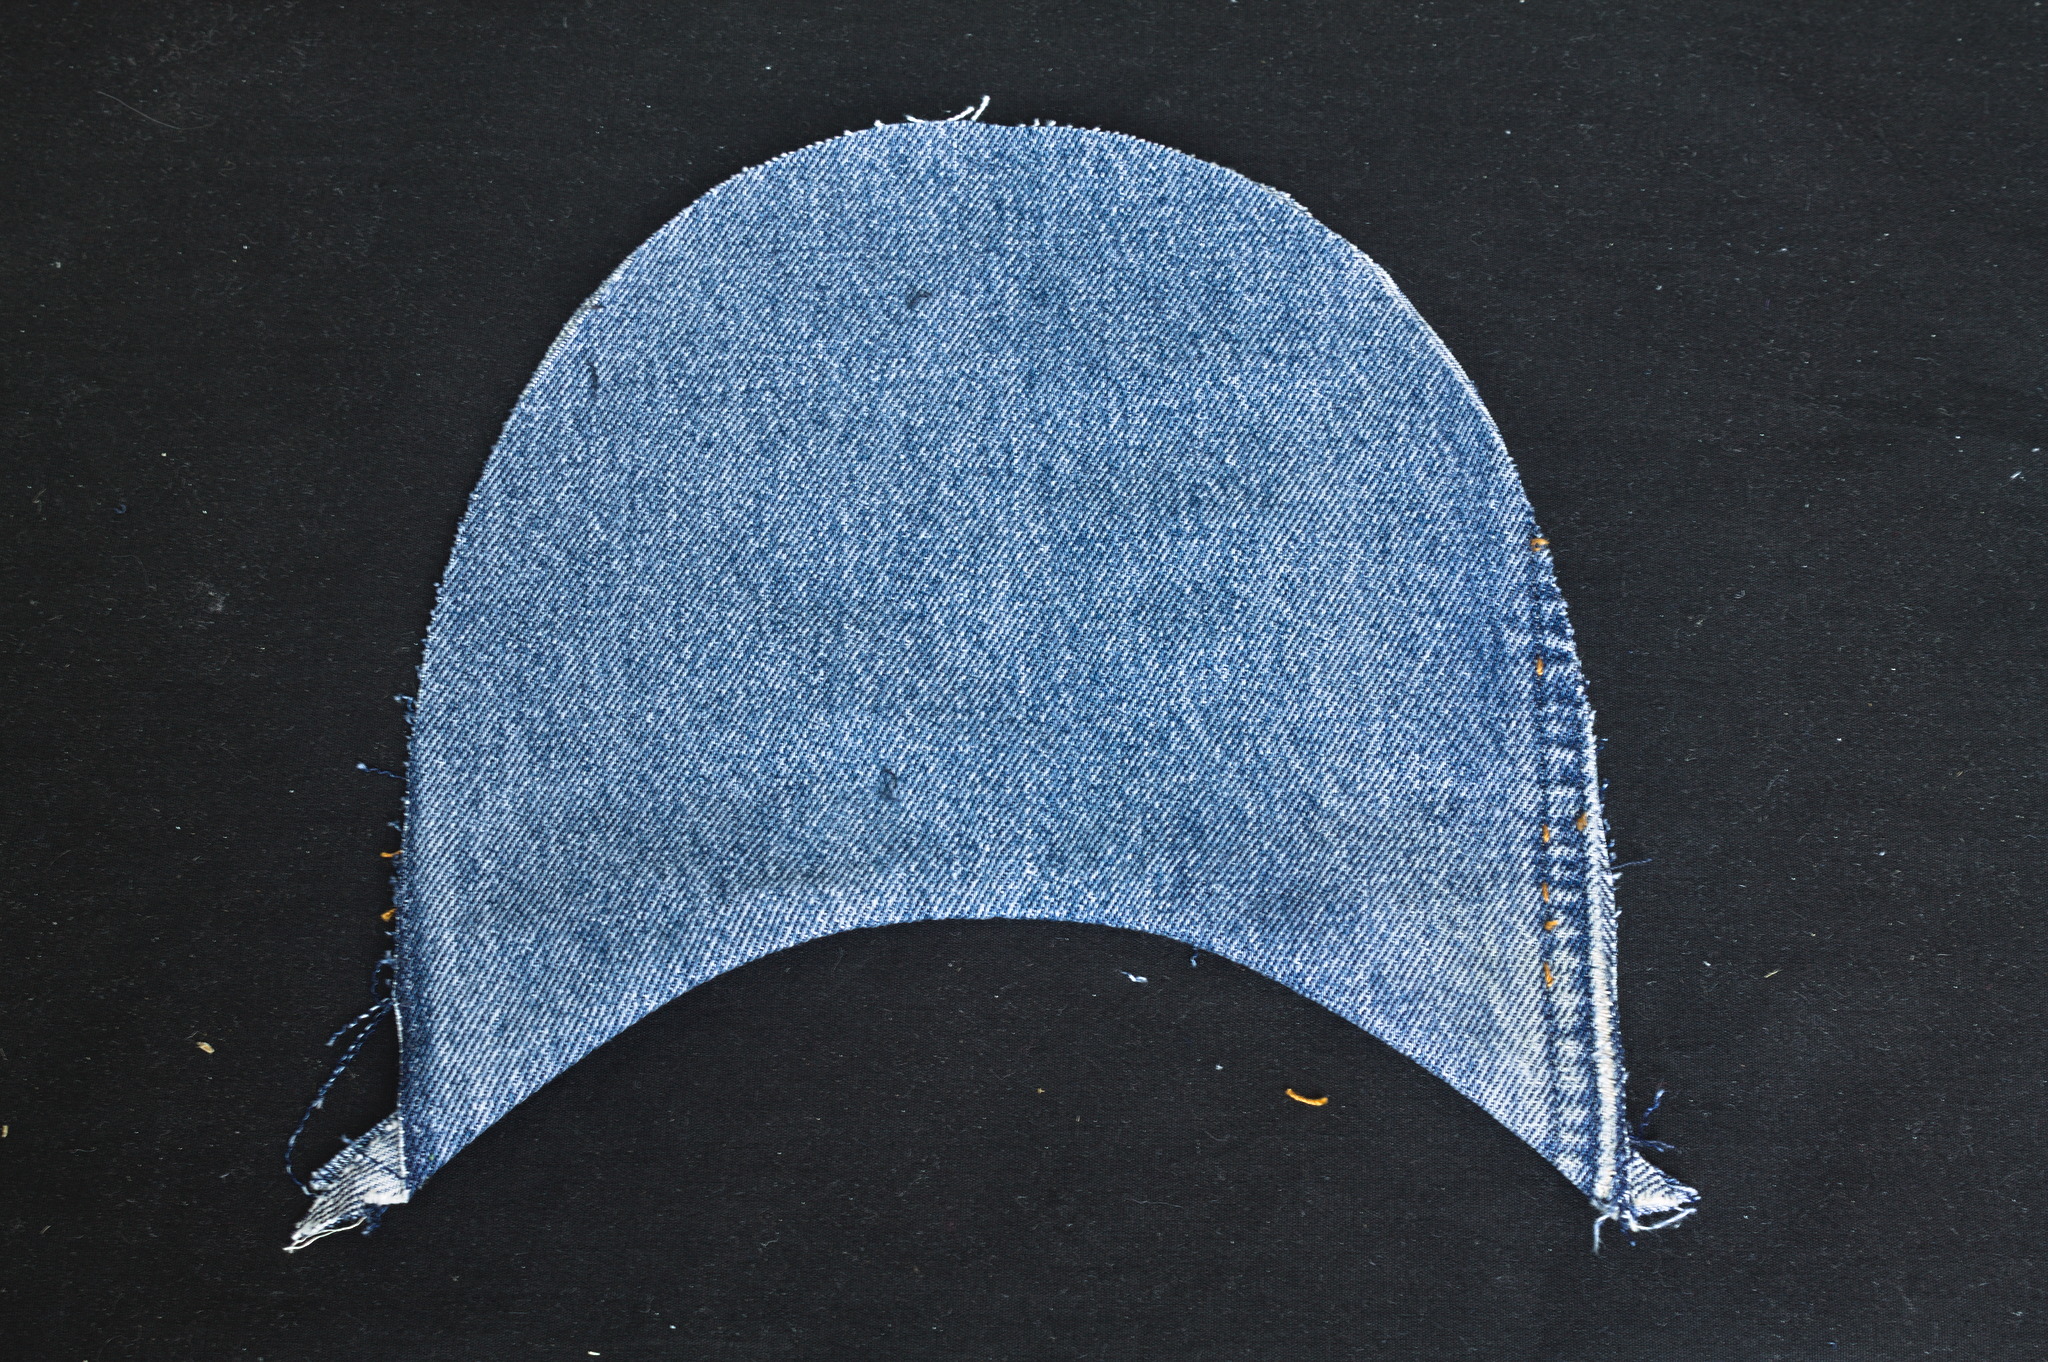
Turn inside out and press.
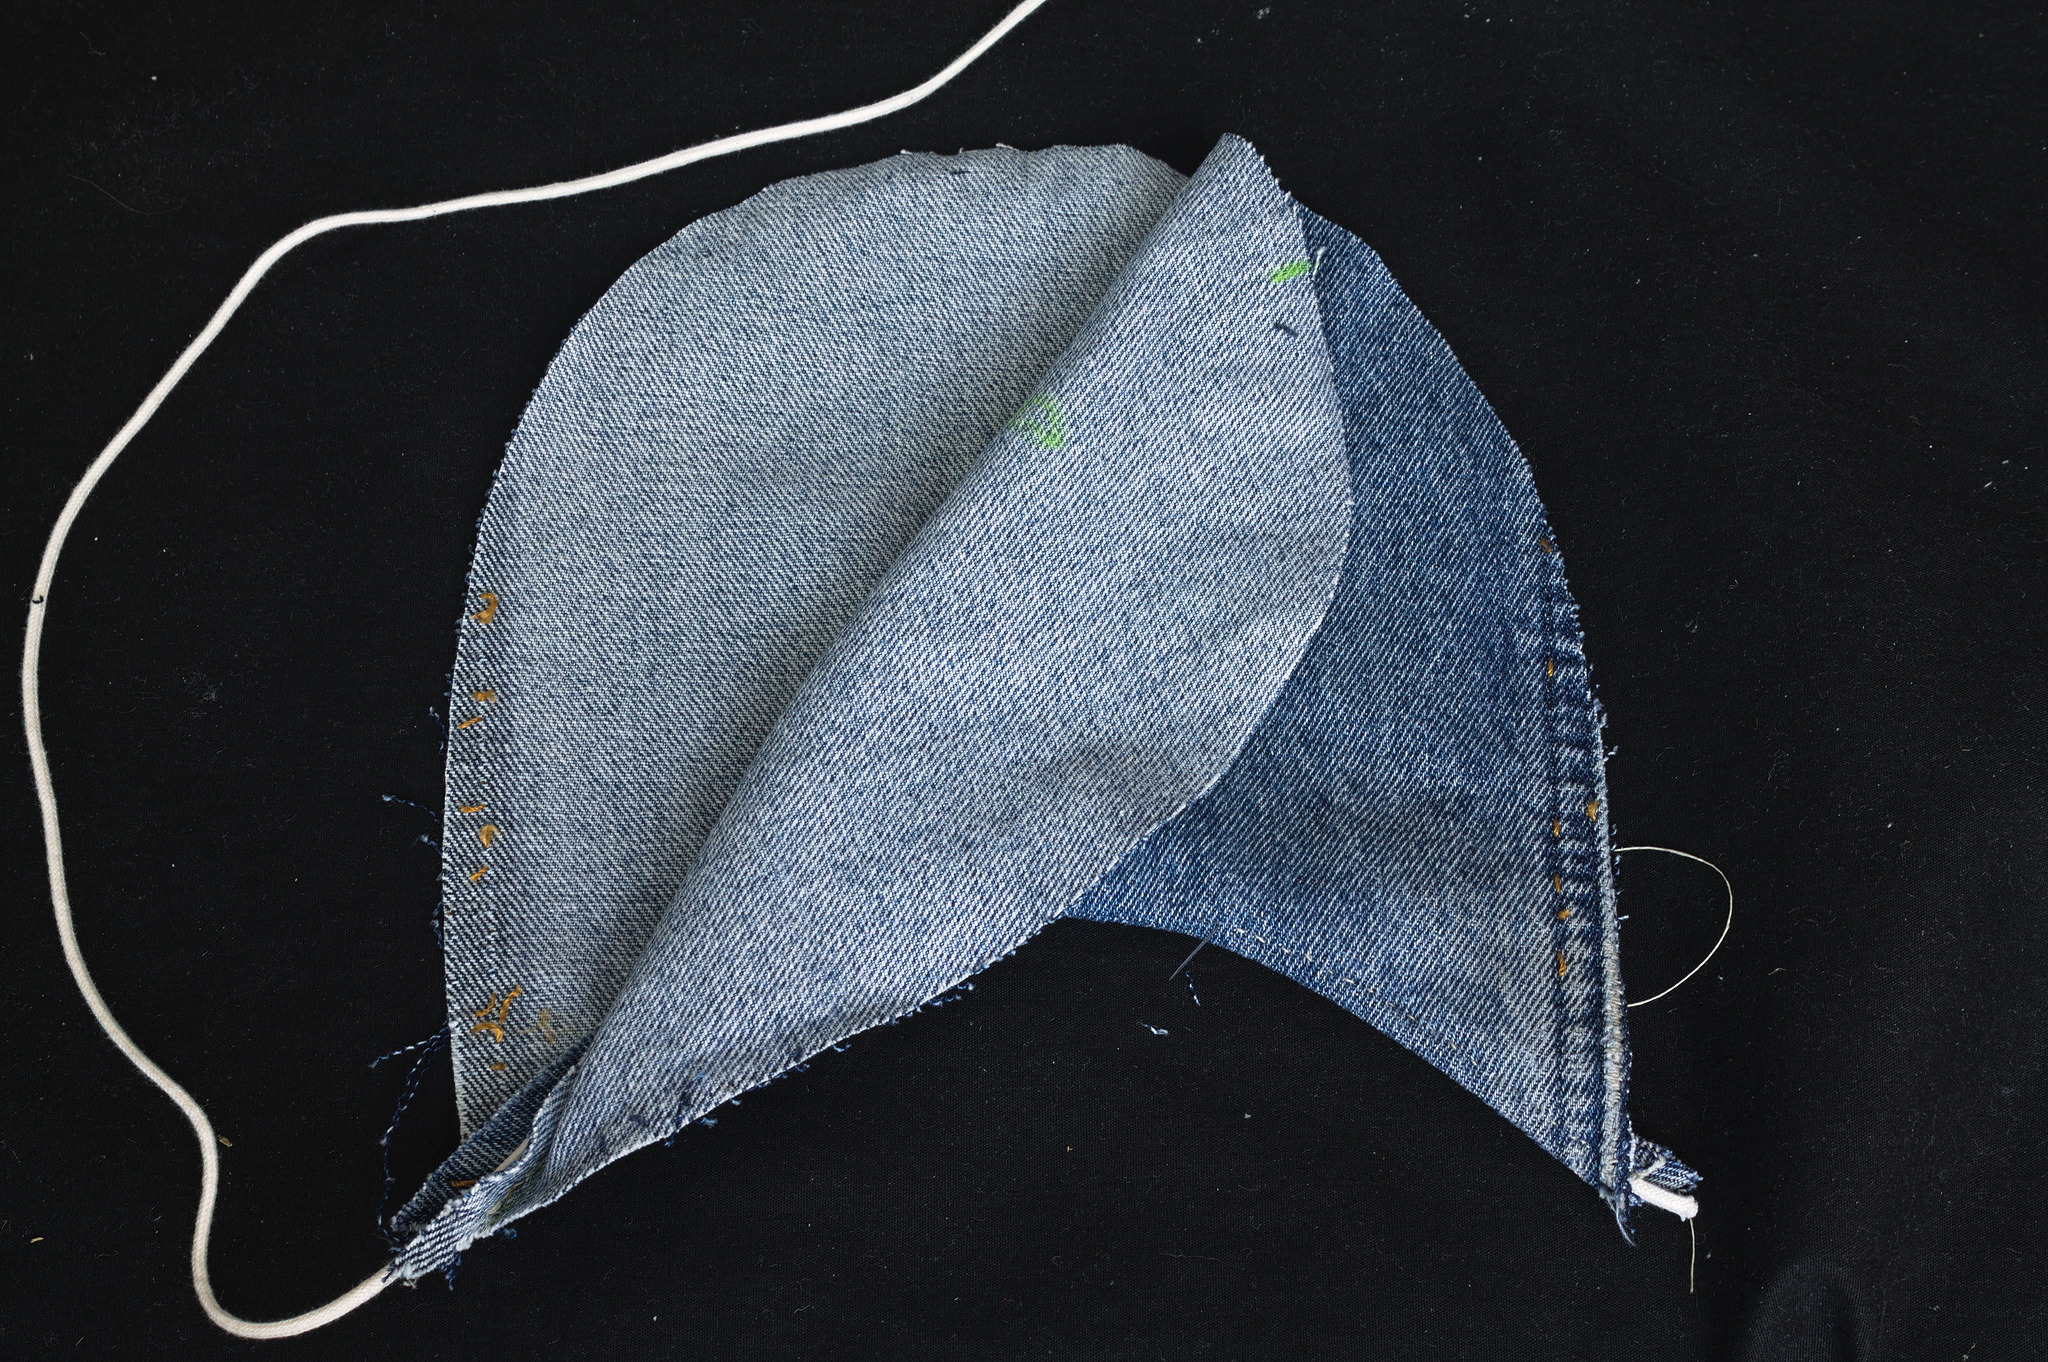
Put a length of cording near the seam, carefully sew as close as possible to the cording with a running stitch;
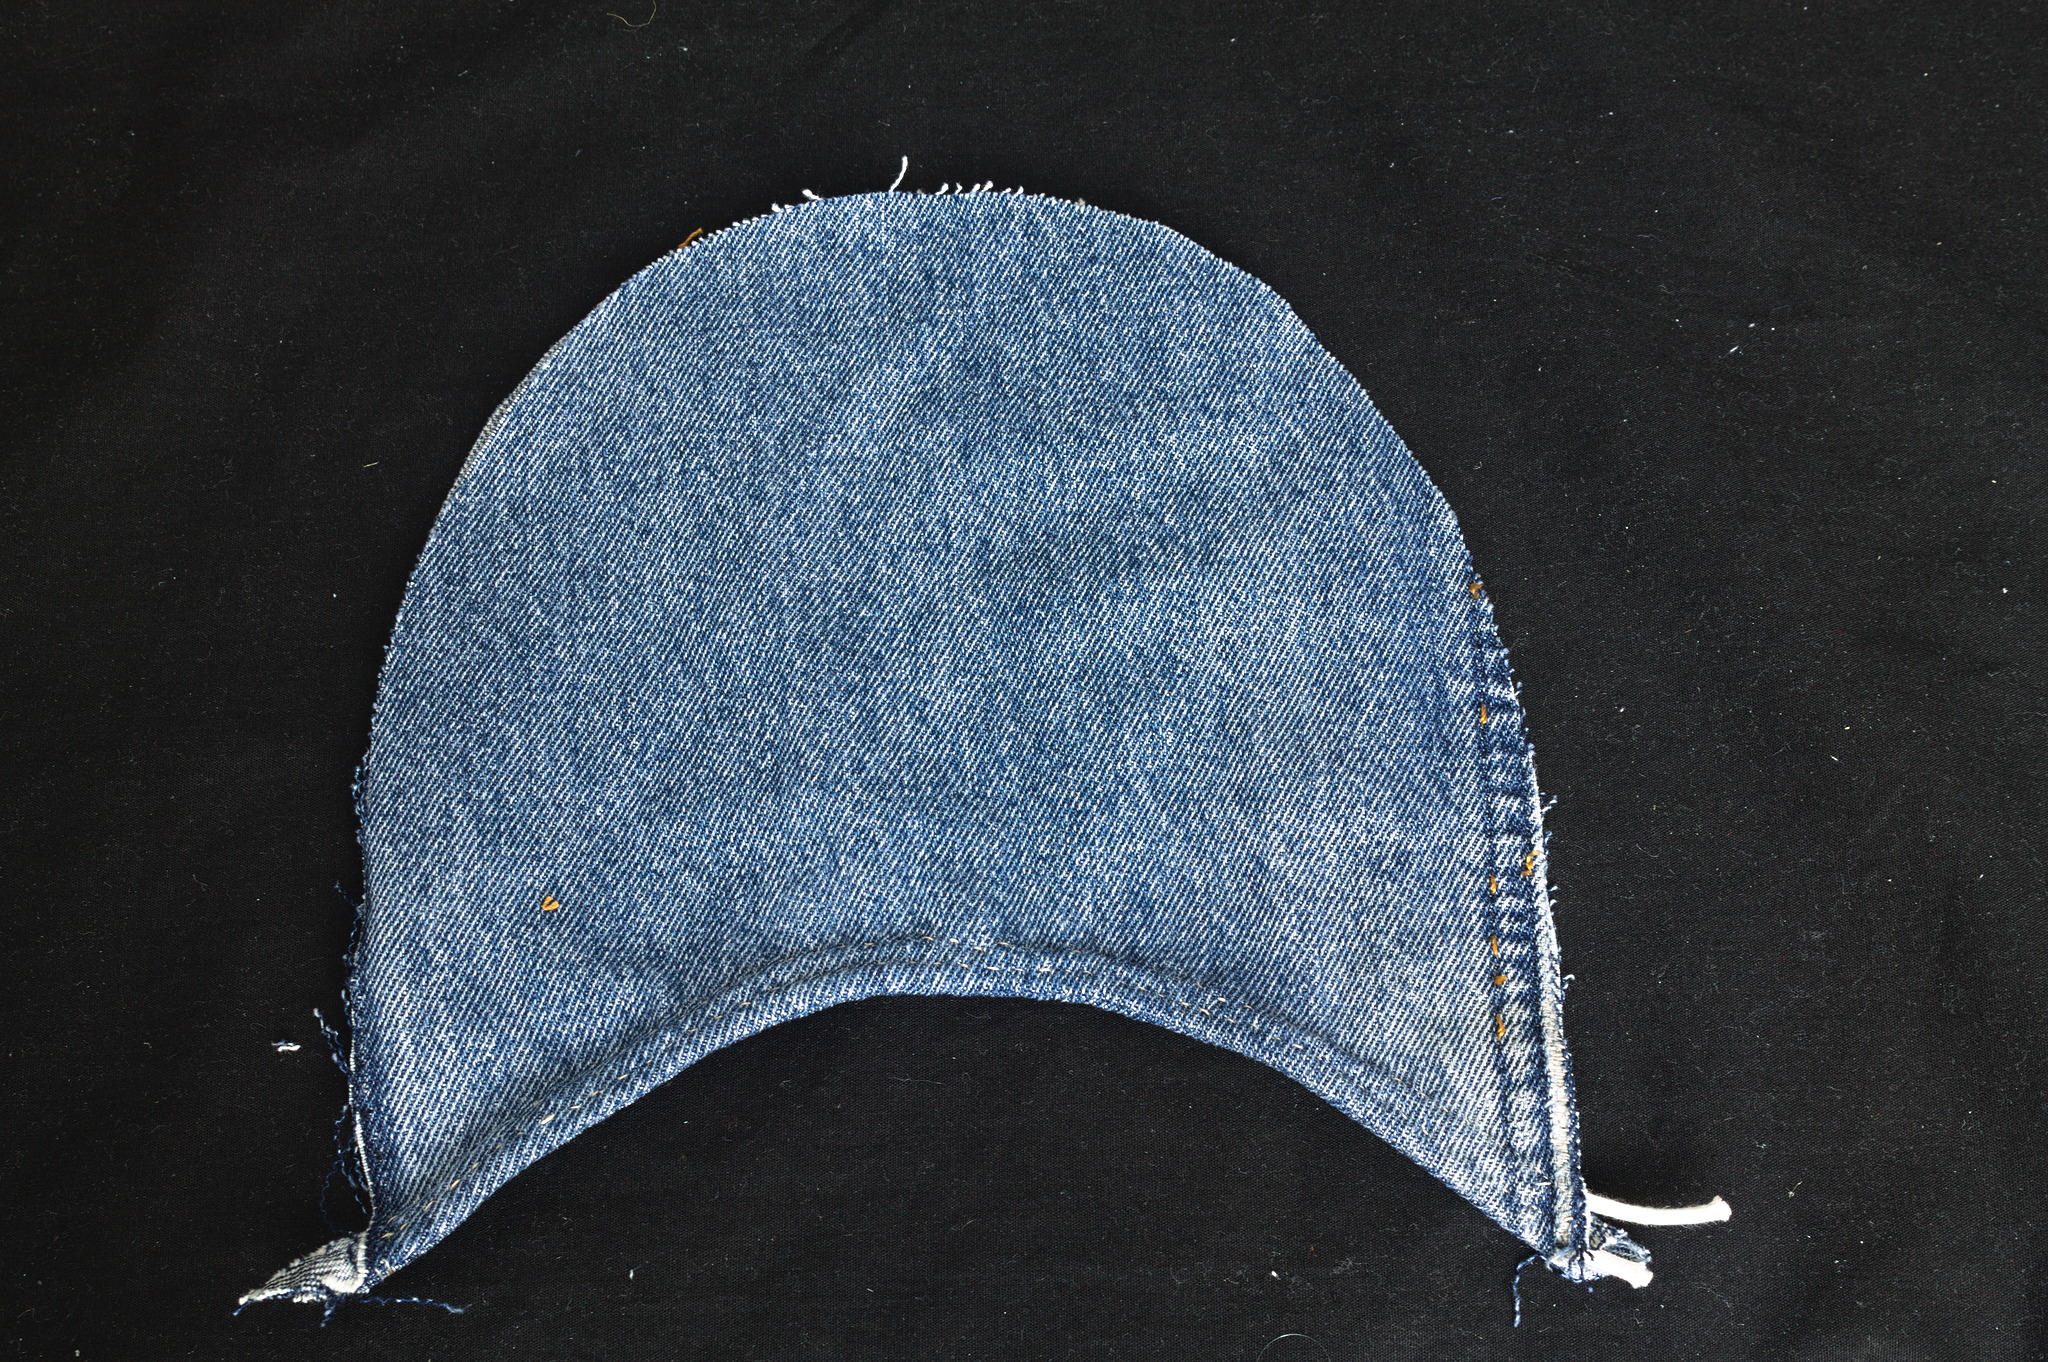
optionally repeat one or two more times.
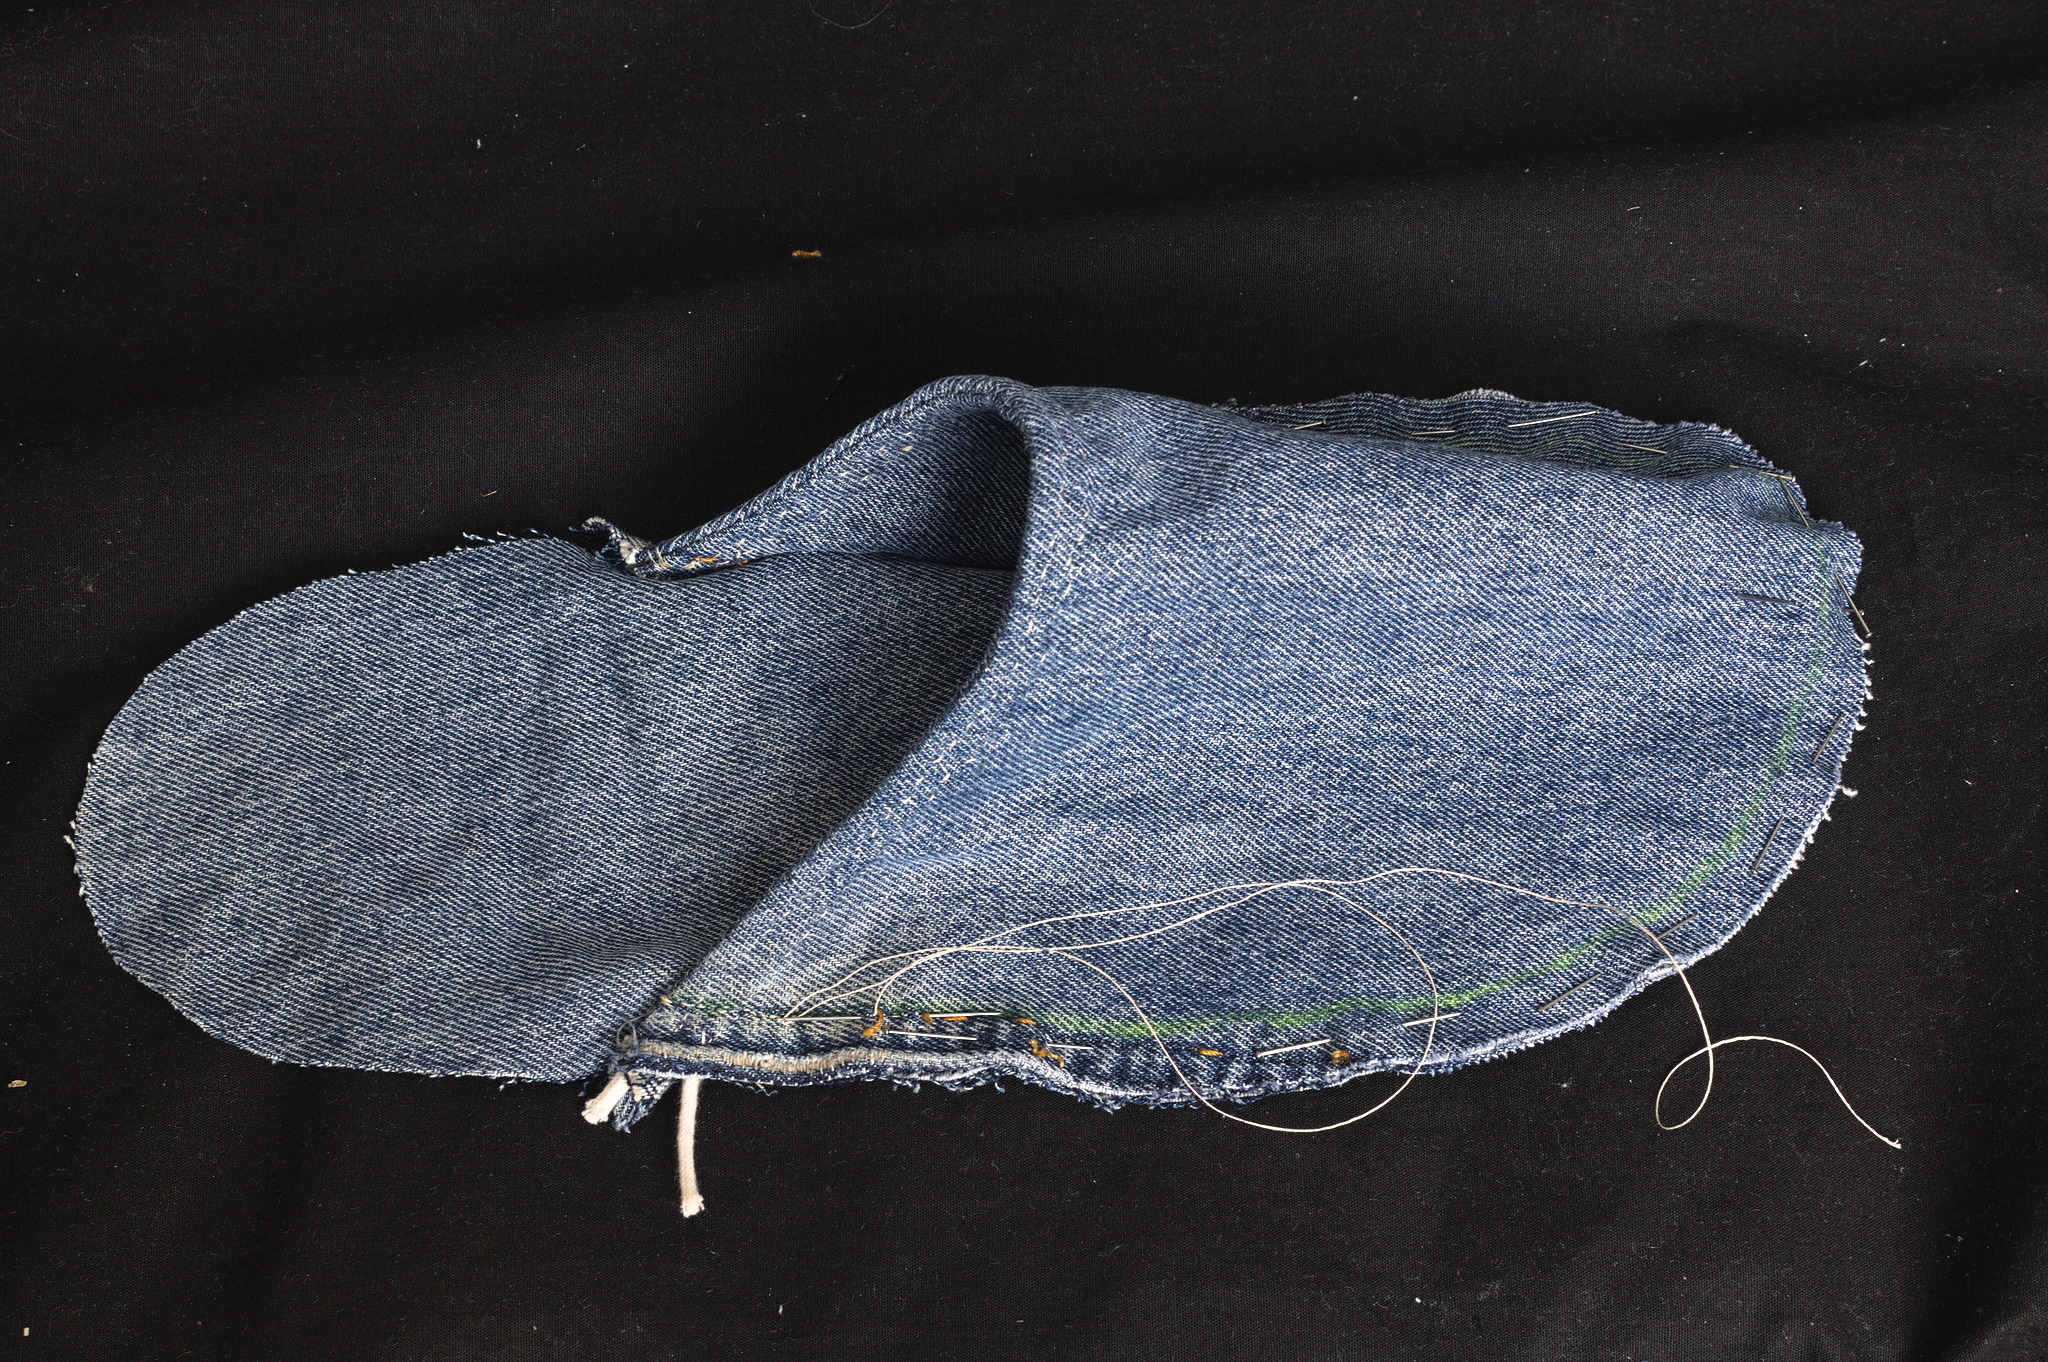
Align the uppers to the notches of the sole, sew all around the upper with a backstitch.
Padding
Baste the optional heel padding on top of the padding.
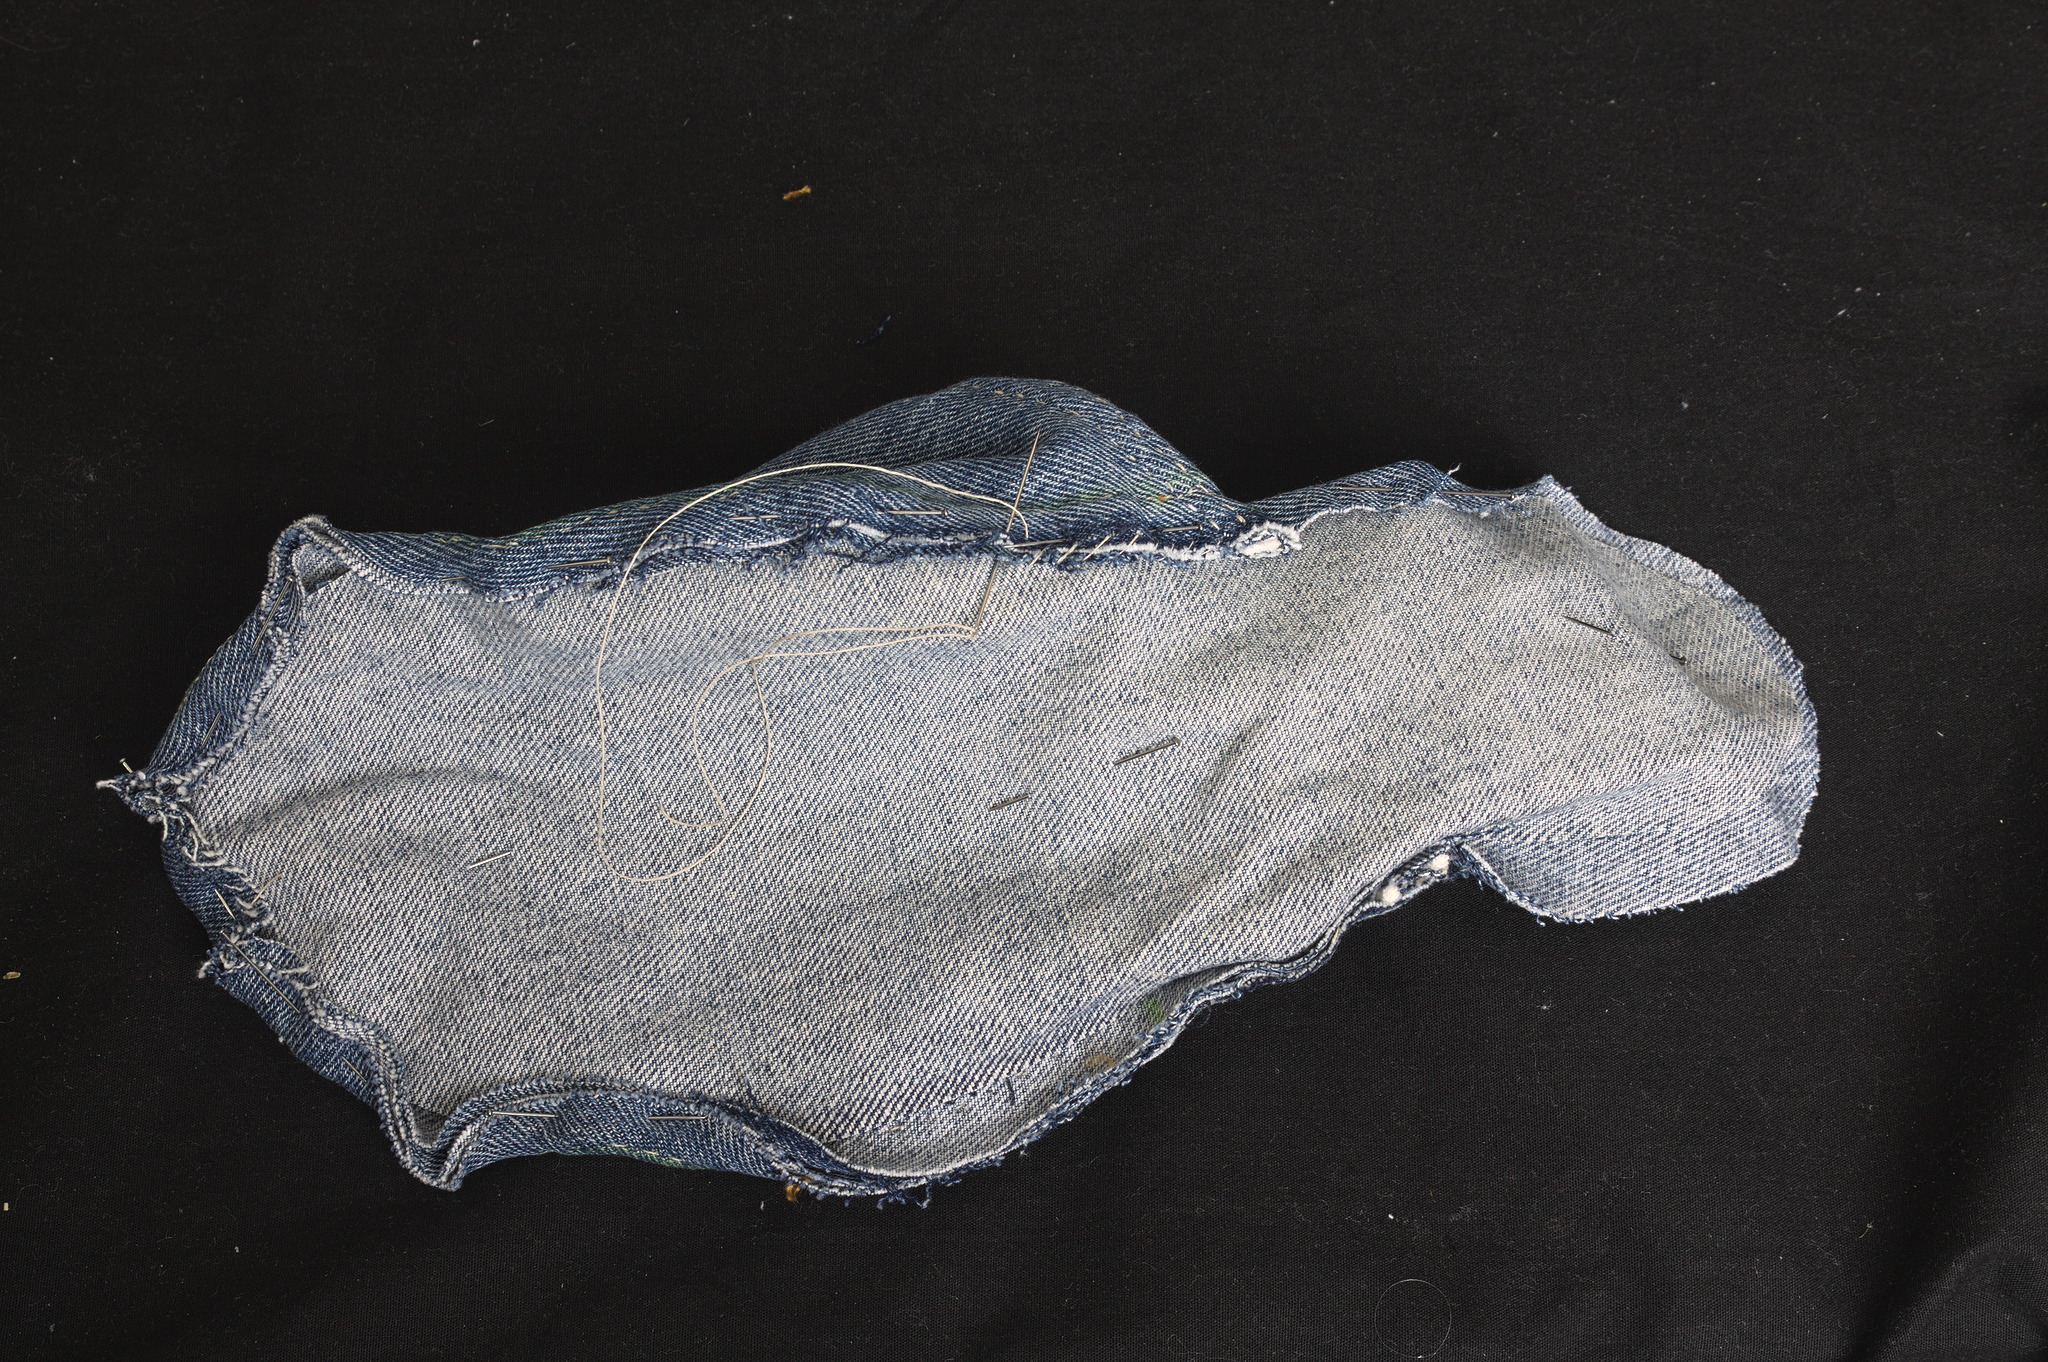
Pin the sole of the slippers on top of the padding, clip / notch the allowances and sew them to the padding with a herringbone stitch or a whipstitch.
Note
even if sewing most of the slippers by machine you will have to do this step by hand.
Sole
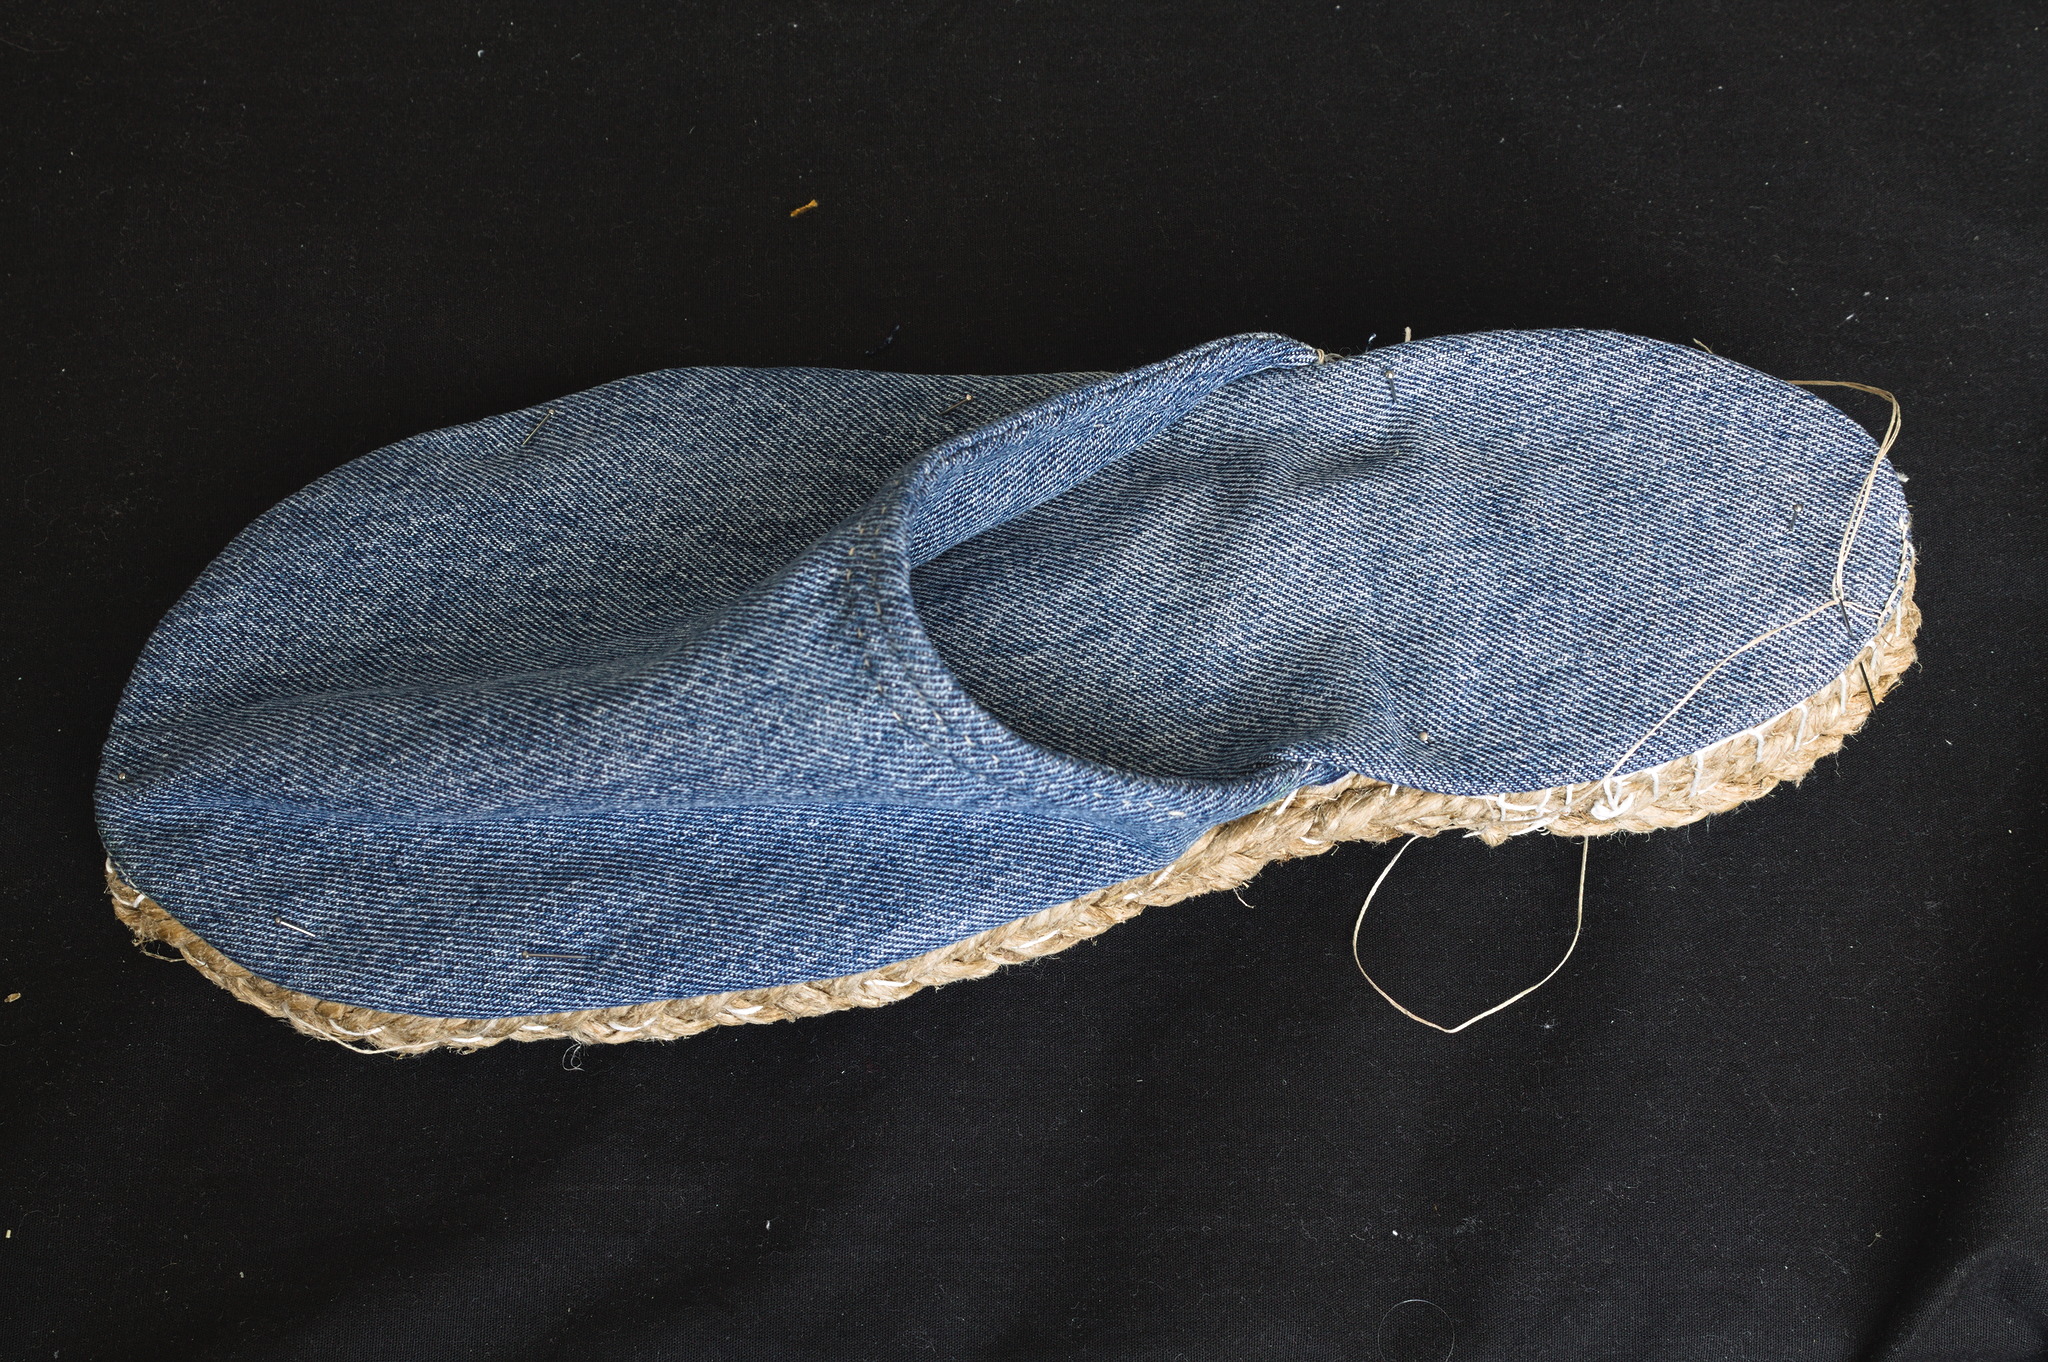
Using strong waxed thread, sew the sole to the assembled slipper with a blanket stitch.
Note
If using rubber soles you will have to glue them to the slippers instead. Use a glue suitable for rubber and follow the instructions on the package.
Gallery
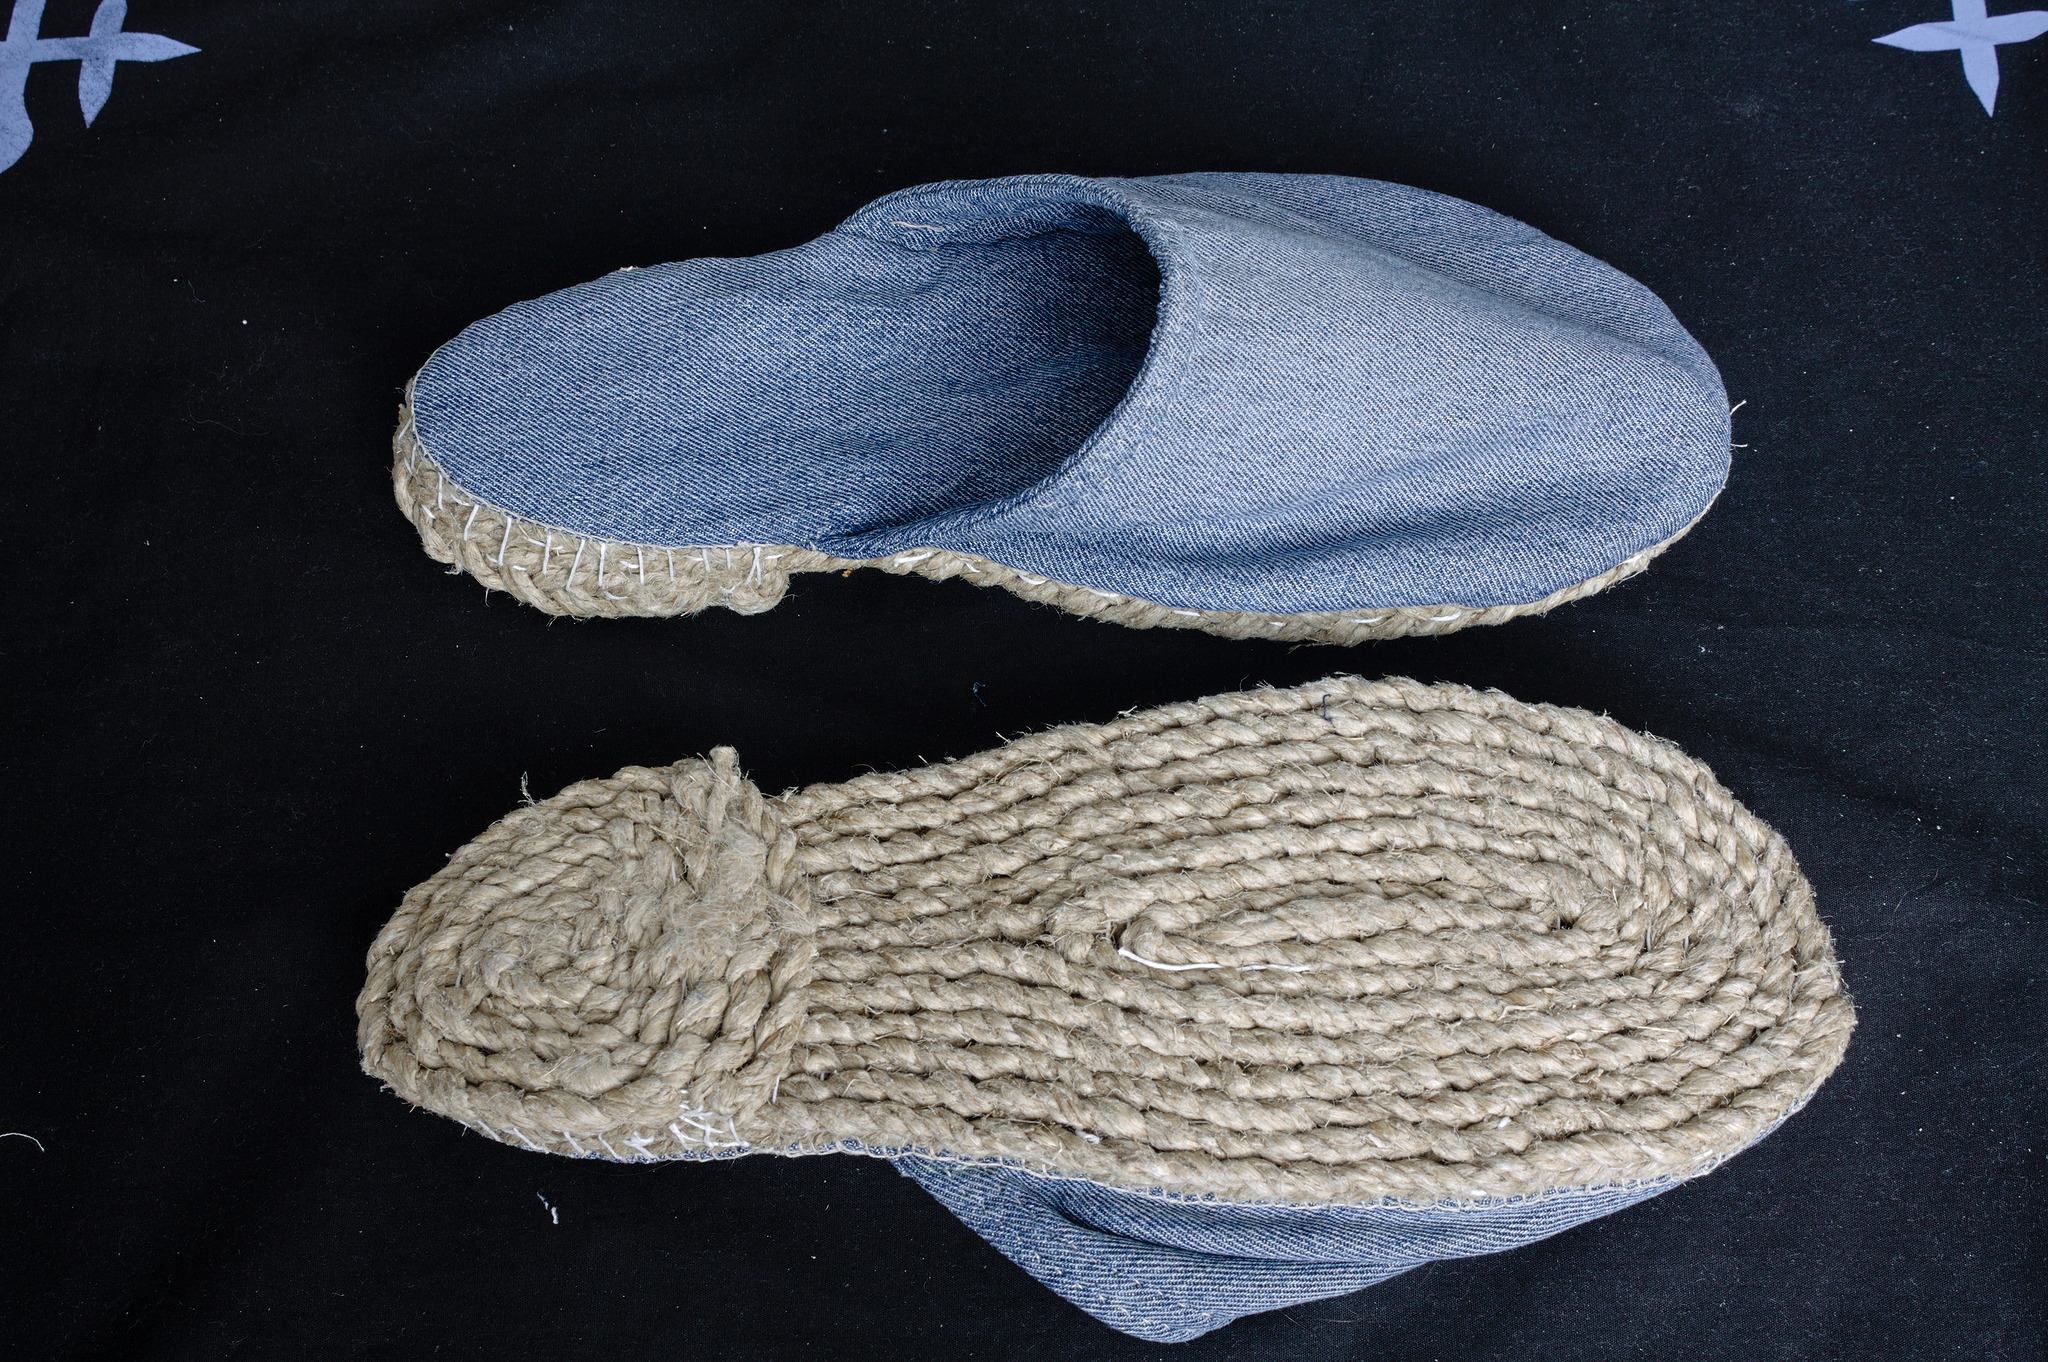
The top and sole of a slippers made from old jeans with a braided rope sole.