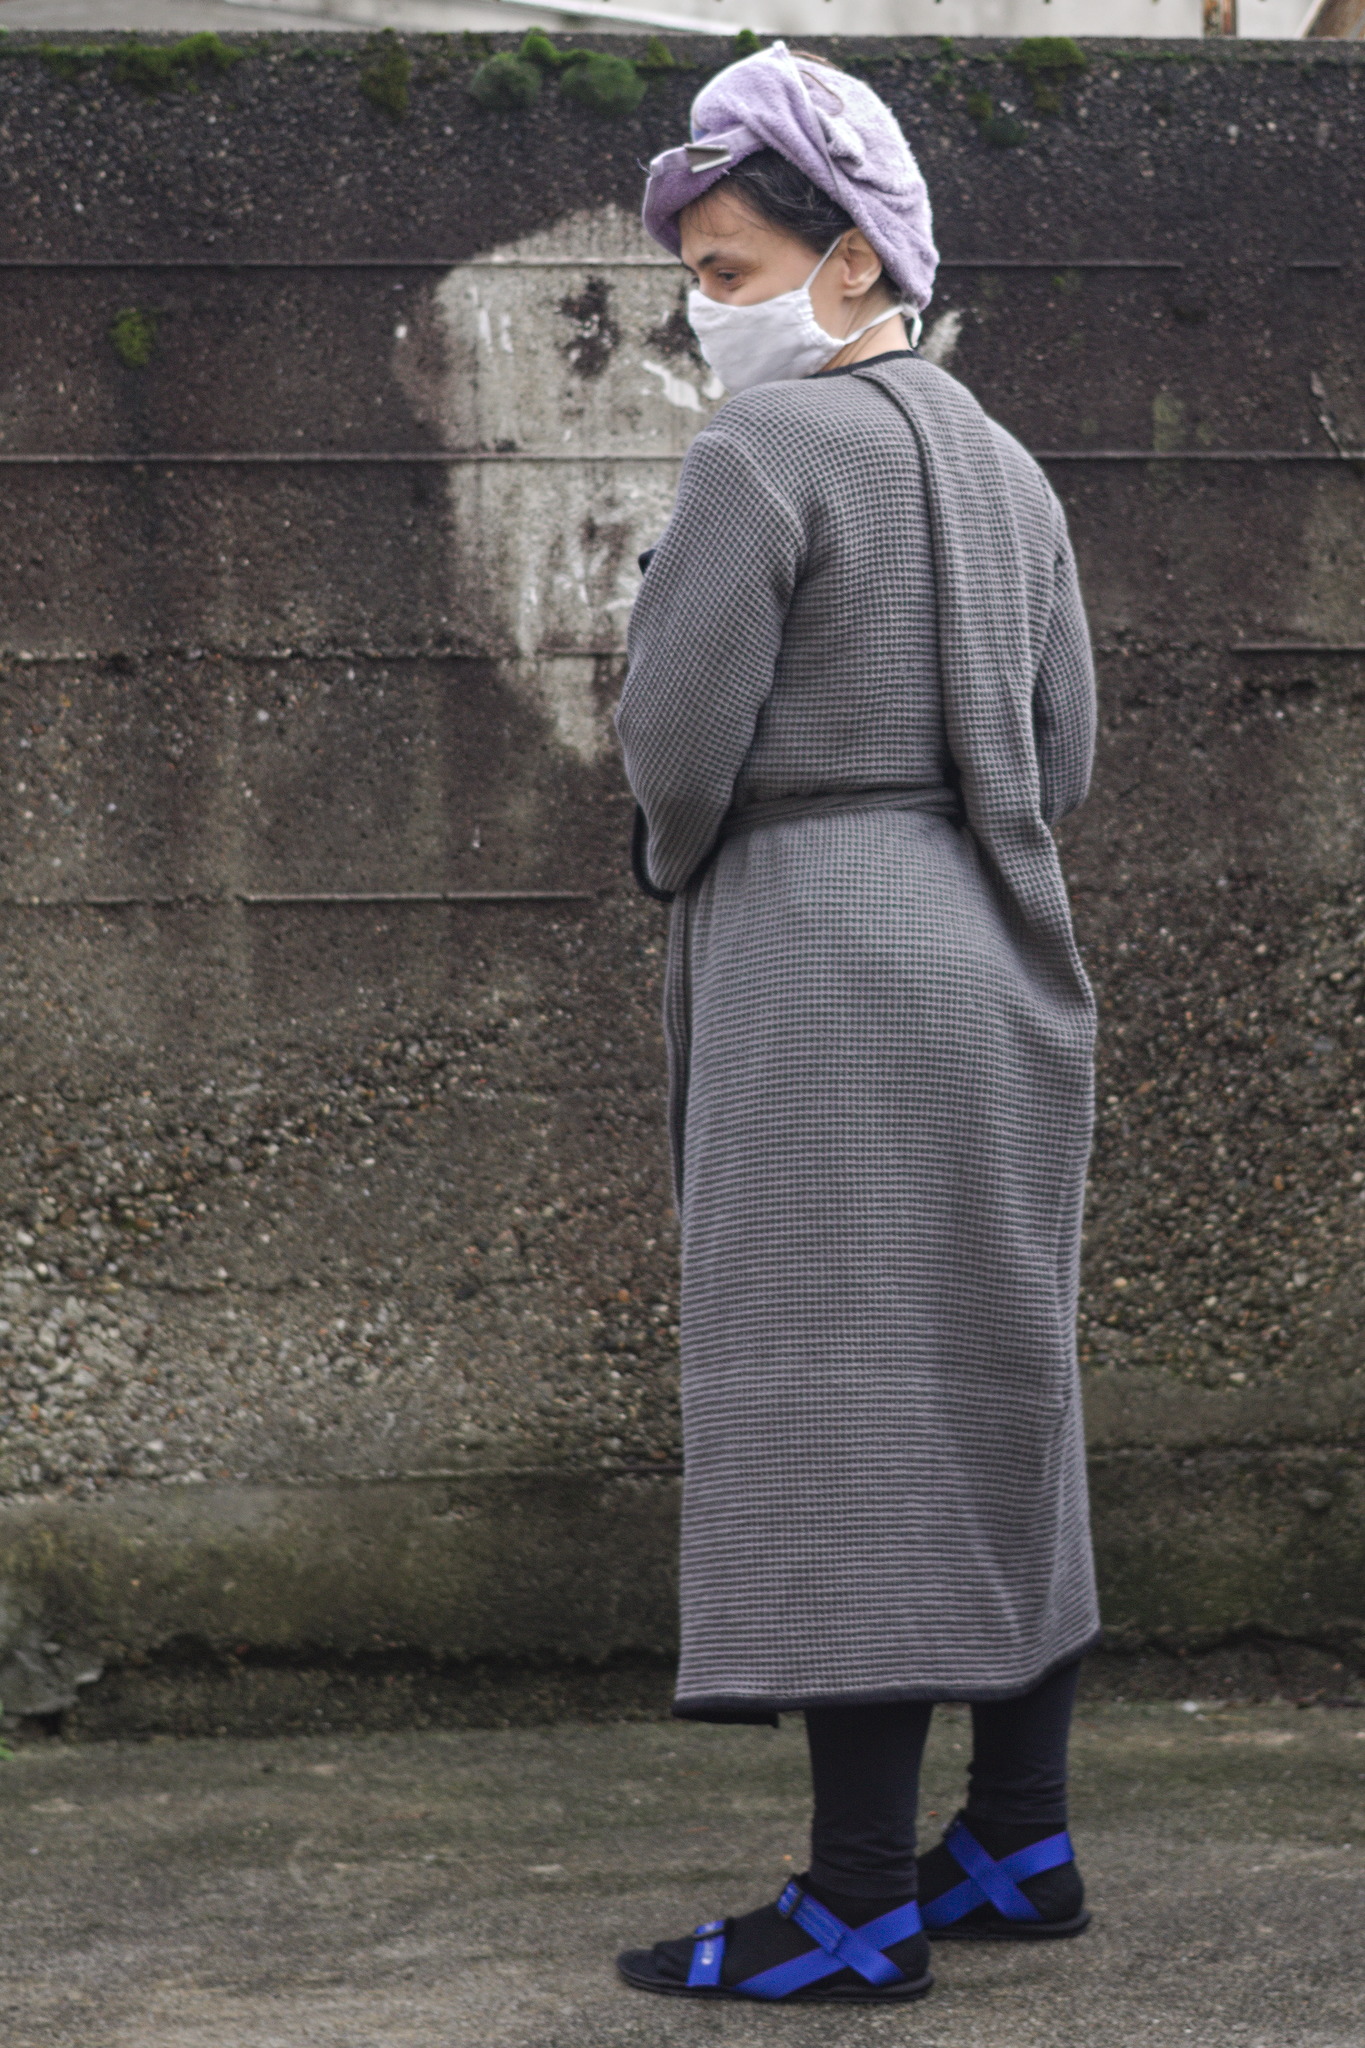
Low Waste Bathrobe
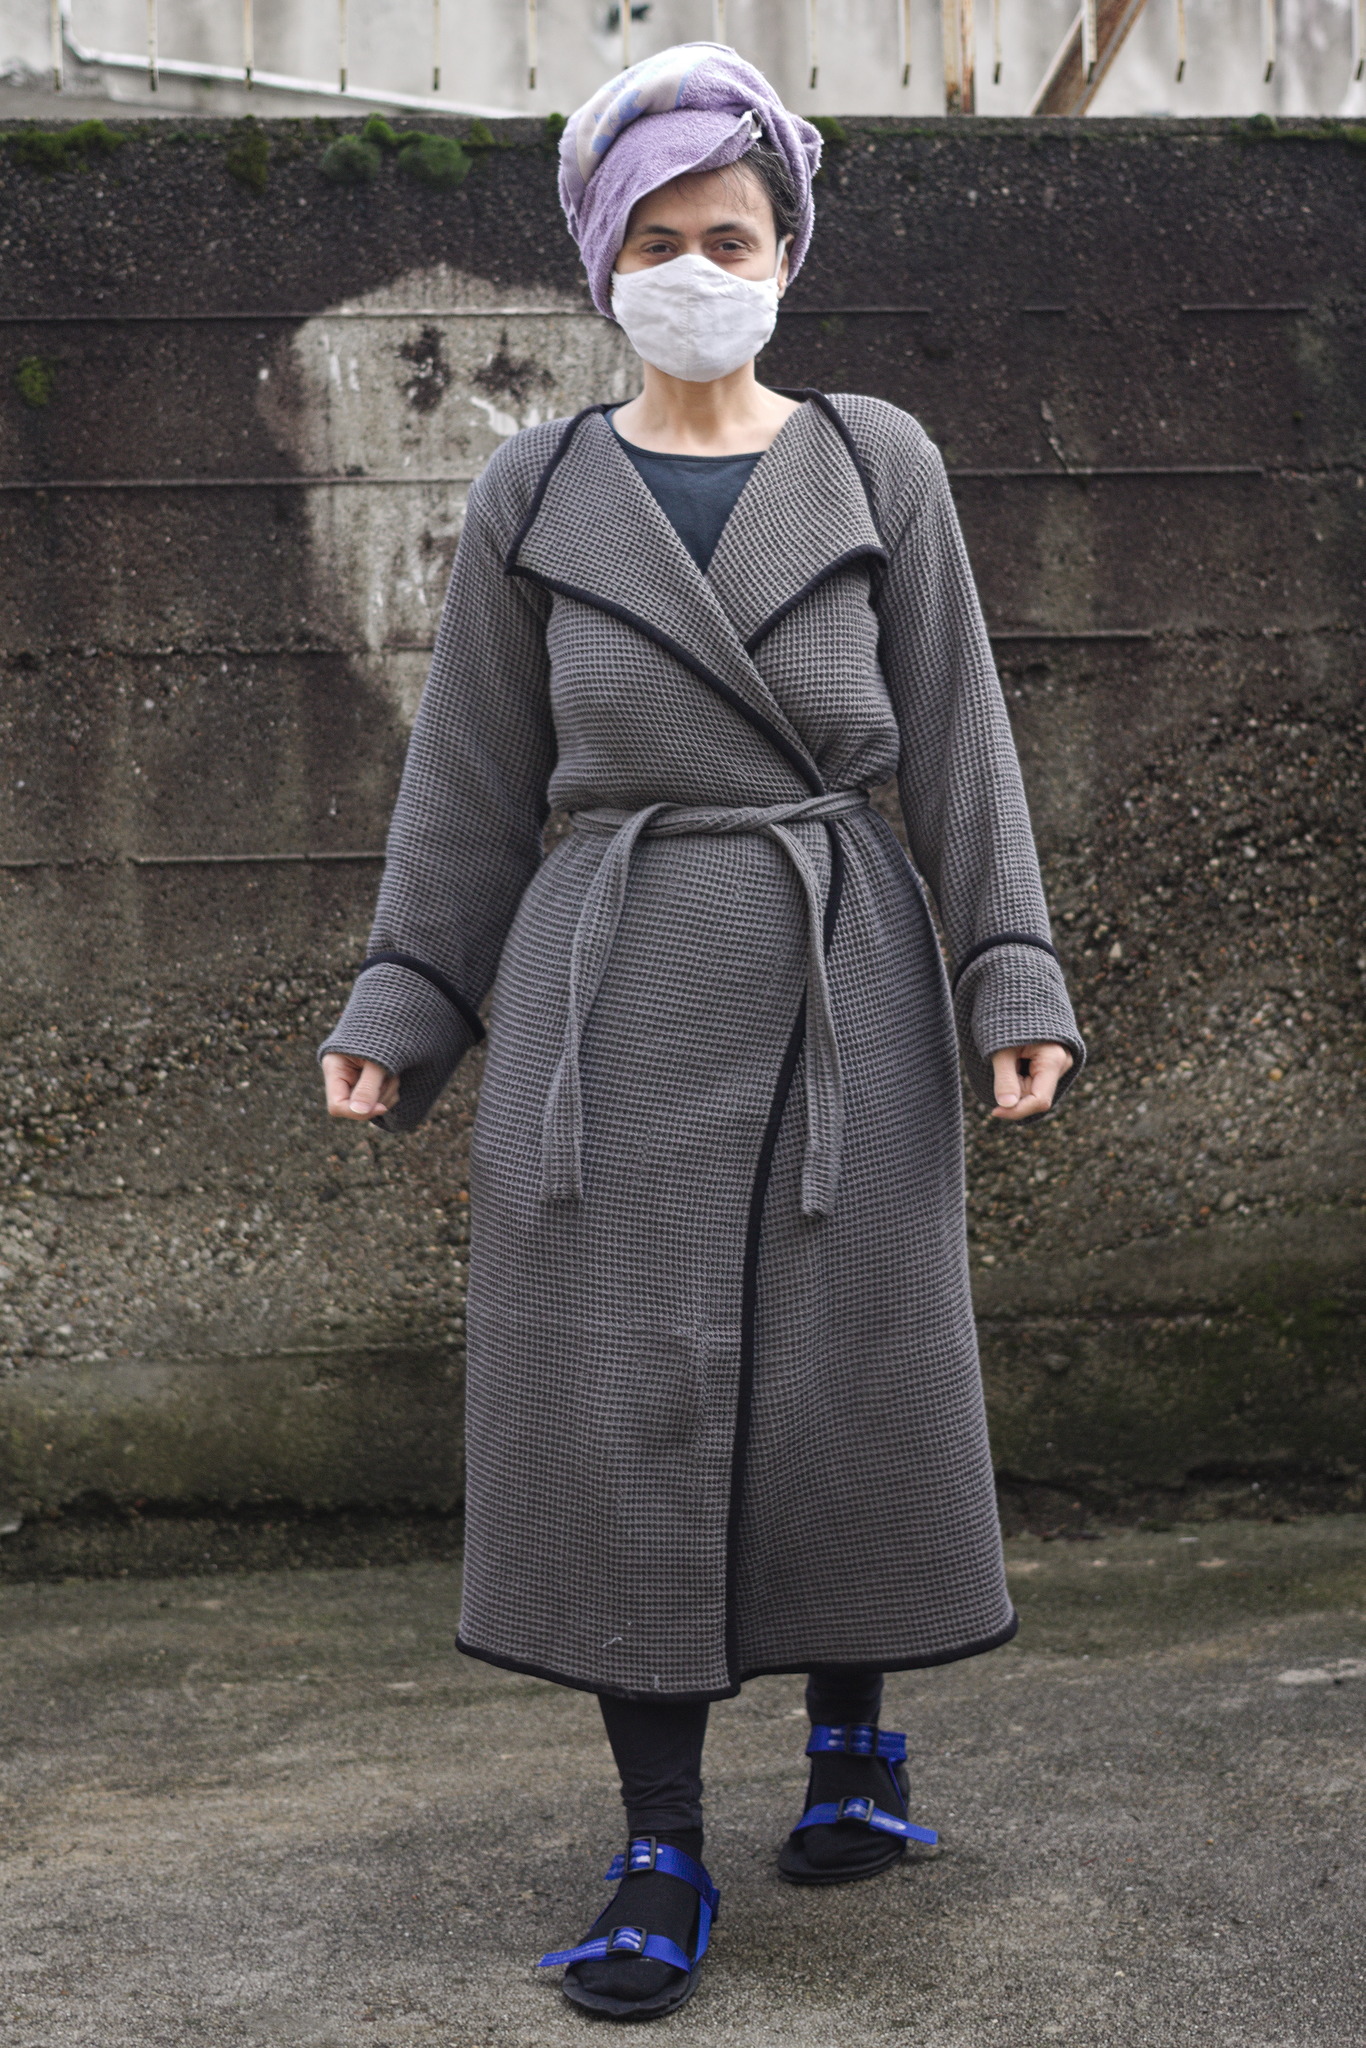
This is a simple bathrobe made out of fabric rectangles, shaped by a single pleat in the center back and a self-fabric belt.
It is a pretty quick project (making it took me about half a day), but maybe not the best for beginner sewists, as inserting the sleeves can be a bit fiddly.
I’m calling it low waste rather than no-waste because folding up the sleeves to make cuffs rather than cutting them down to the correct length (and having a leftover) sounds like cheating (and the pleat in the back is a design choice, but also a bit of cheating with regards to fabric waste).
Materials
Fabric
Less than 2 m of towel material (see the pattern below for precise amounts);
15 cm cotton jersey in a matching or contrasting color, for binding.
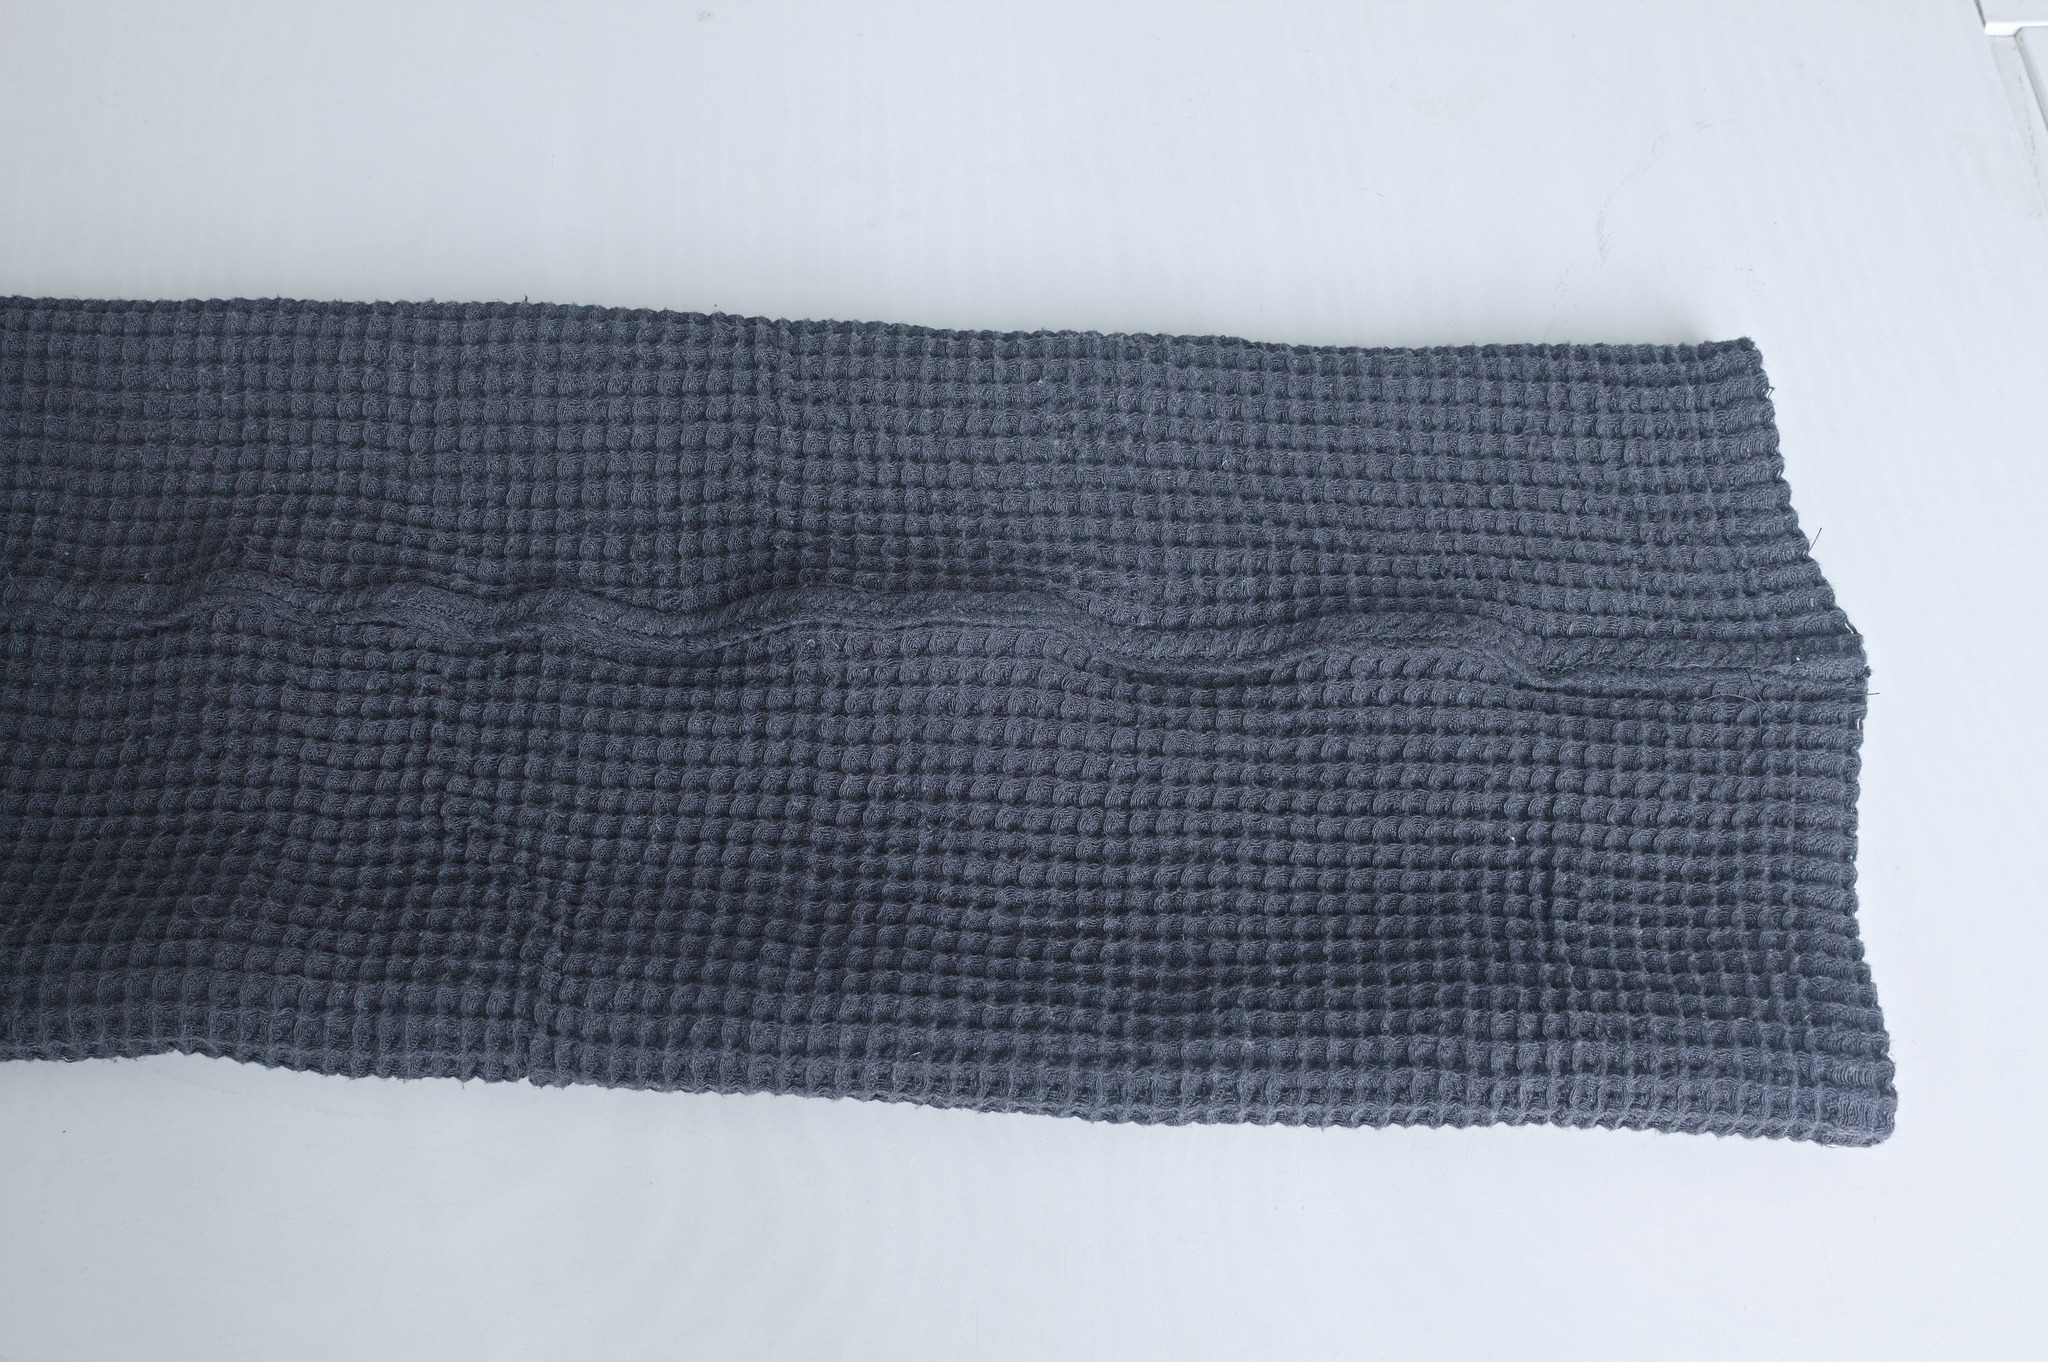
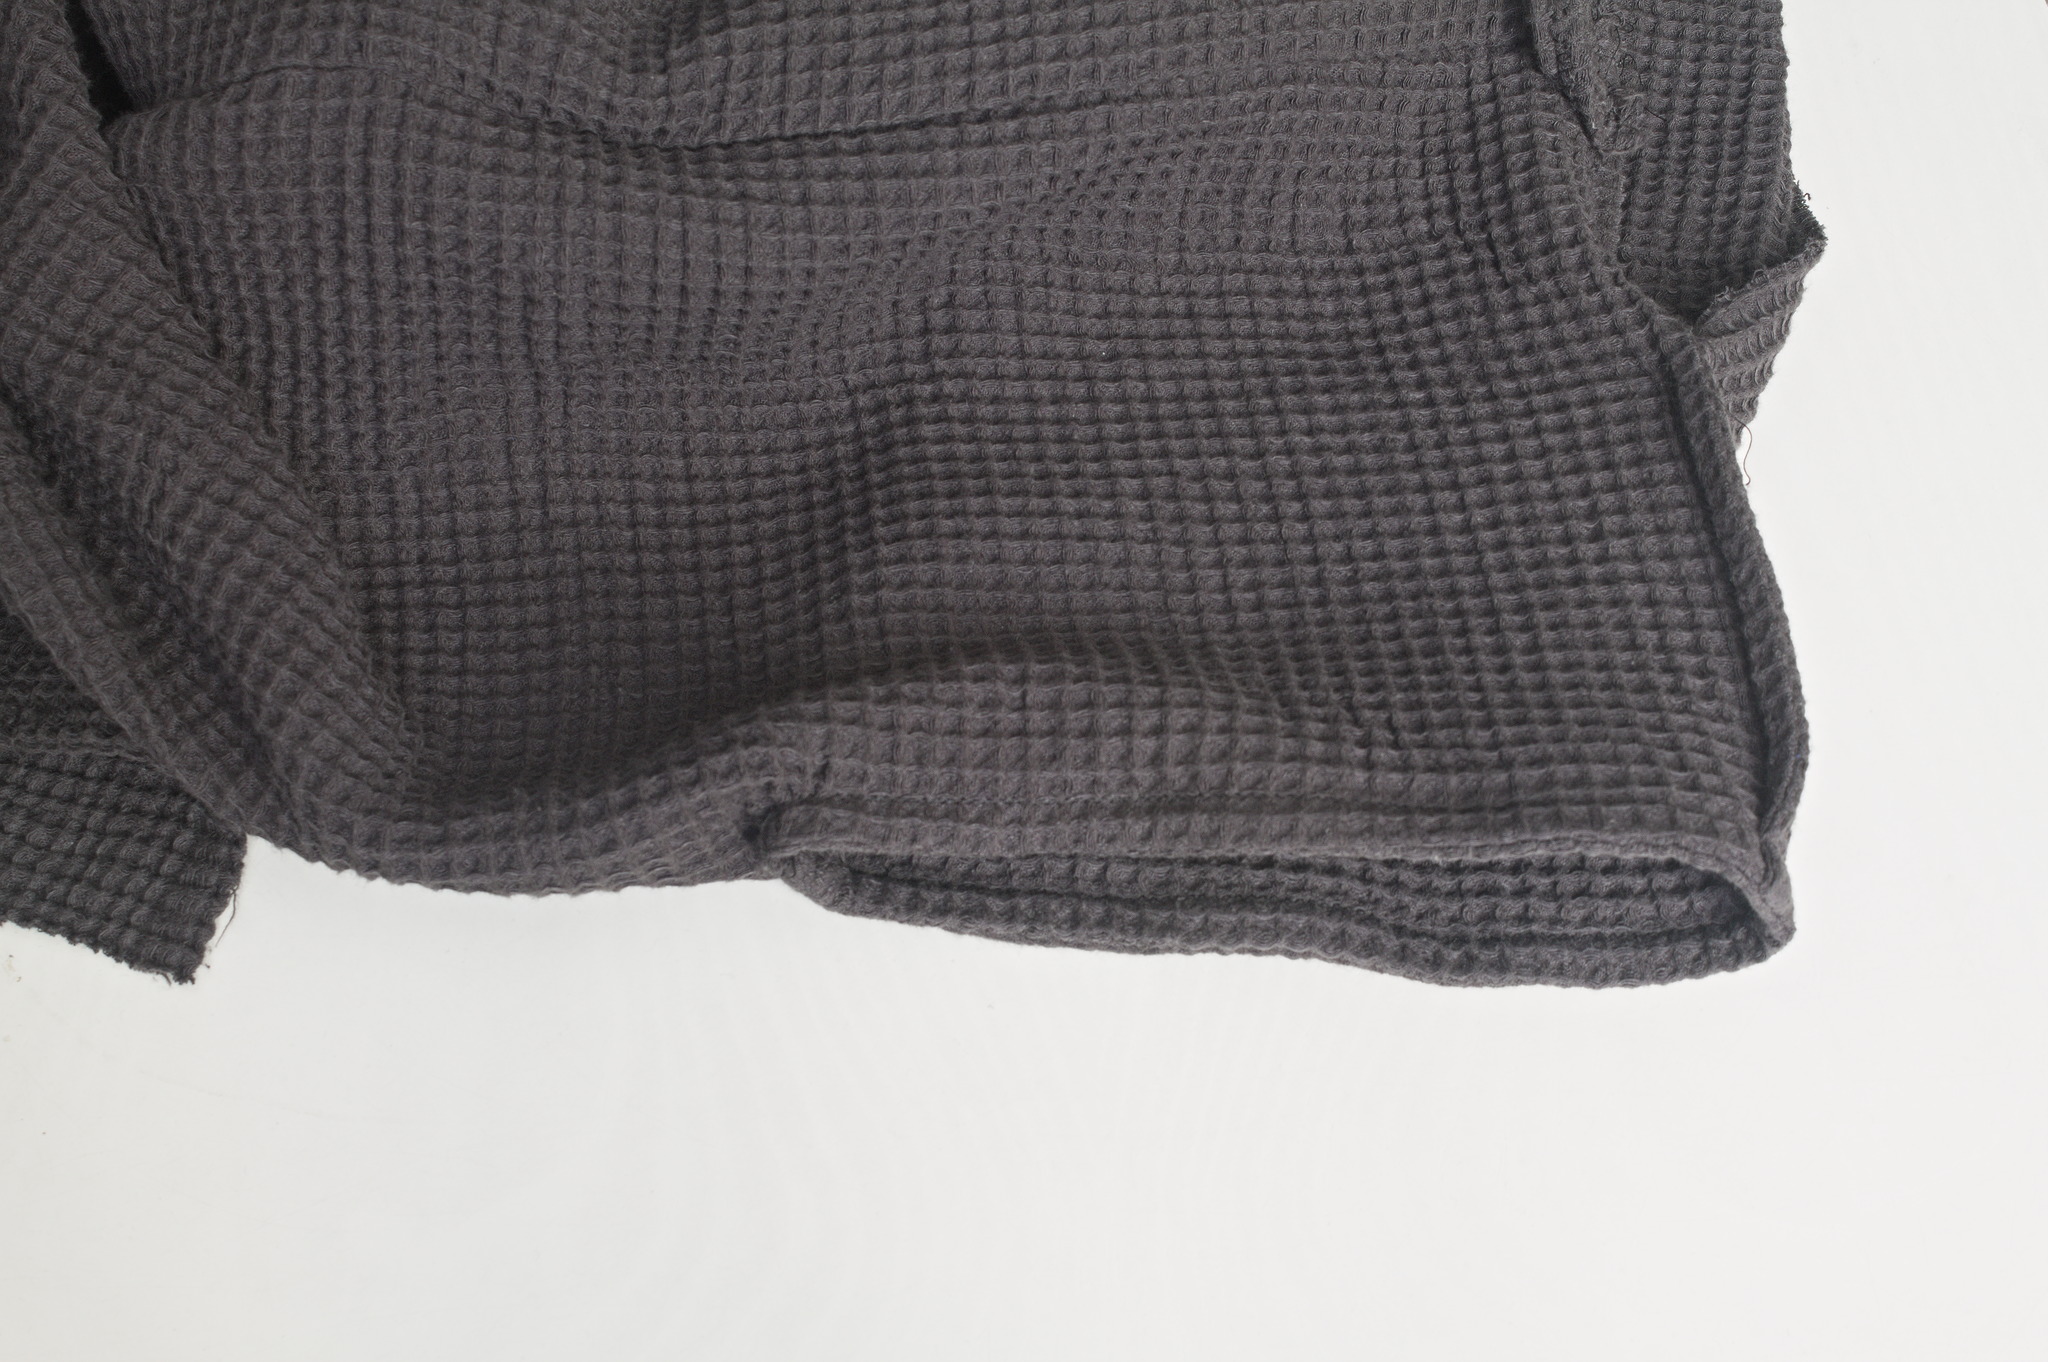
The fabric should be both absorbent and somewhat elastic in all directions: honeycomb is a great choice, while terry may be a bit tricky to work with.
Specifically, the sleeves and the end of the shoulder seam towards the neckline will require an elastic fabric; if not using one you can add small triangular gussets to ease the transition between the straight lines.
Notions
sewing thread to match the fabric.
Pattern
Measurements
You need to take the following measurements:
height_neck_back_to_knee(A18)vertical distance from the back of the neck to the knee (or to where you want the bathrobe to end);
across_back_b(I08)from armscye to armscye on the back;
neck_back_to_waist_b(H19)vertical distance from the back of the neck to the waist;
shoulder_length(I01)distance from the side of the neck to the tip of the shoulder;
armscye_circ(L19)circumference around the armscye.
Pattern

Measure a rectangle as wide as the full width of the fabric and as high as the desired length of the bathrobe (A18) plus 2 cm sewing allowance.
Near the top, mark the quarter points, where you will cut the armscye
slits, half armscye_circ (L19) long. From each quarter point,
measure half across_back_b (I08) towards the center back, and
measure the position of the center back seam, which should be
neck_back_to_waist_b (H19) plus 2 cm long.
Mark two slits, 5 cm tall for the belt in the pleat fabric, parallel to
the seam at about 2 cm of distance, and aligned with the end of the
seam.
For the sleeves, measure two rectangles as tall as half the width of the
fabric and as high as armscye_circ (L19) plus 4 cm allowance.
For the belt, measure a rectangle as wide as the full width of the fabric, and 10 cm long.
Instructions
When sewing it’s important to use a stretch stitch to preserve the elasticity of the fabric: if your machine has a lighting bolt stretch stich you can use that, otherwise a narrow zig-zag (1.5 mm wide) will do.
Since all seams are fully enclosed (either french or flat-felled) a serger is not required, and using one will require adjustment of the pattern.
Cutting
Cut the rectangles described in the Pattern section; mark the position of the armscye slits with a partial cut 5–10 cm long, but don’t cut them fully until you’re ready to insert the sleeves.
Tip
As long as the selvedges aren’t horribly different from the fabric, don’t cut them away, but let them be part of the pattern pieces.
From the jersey, cut cross-grain strips 4-5 cm wide for the binding; with wide jersey 3 strips will usually be enough.
Slits
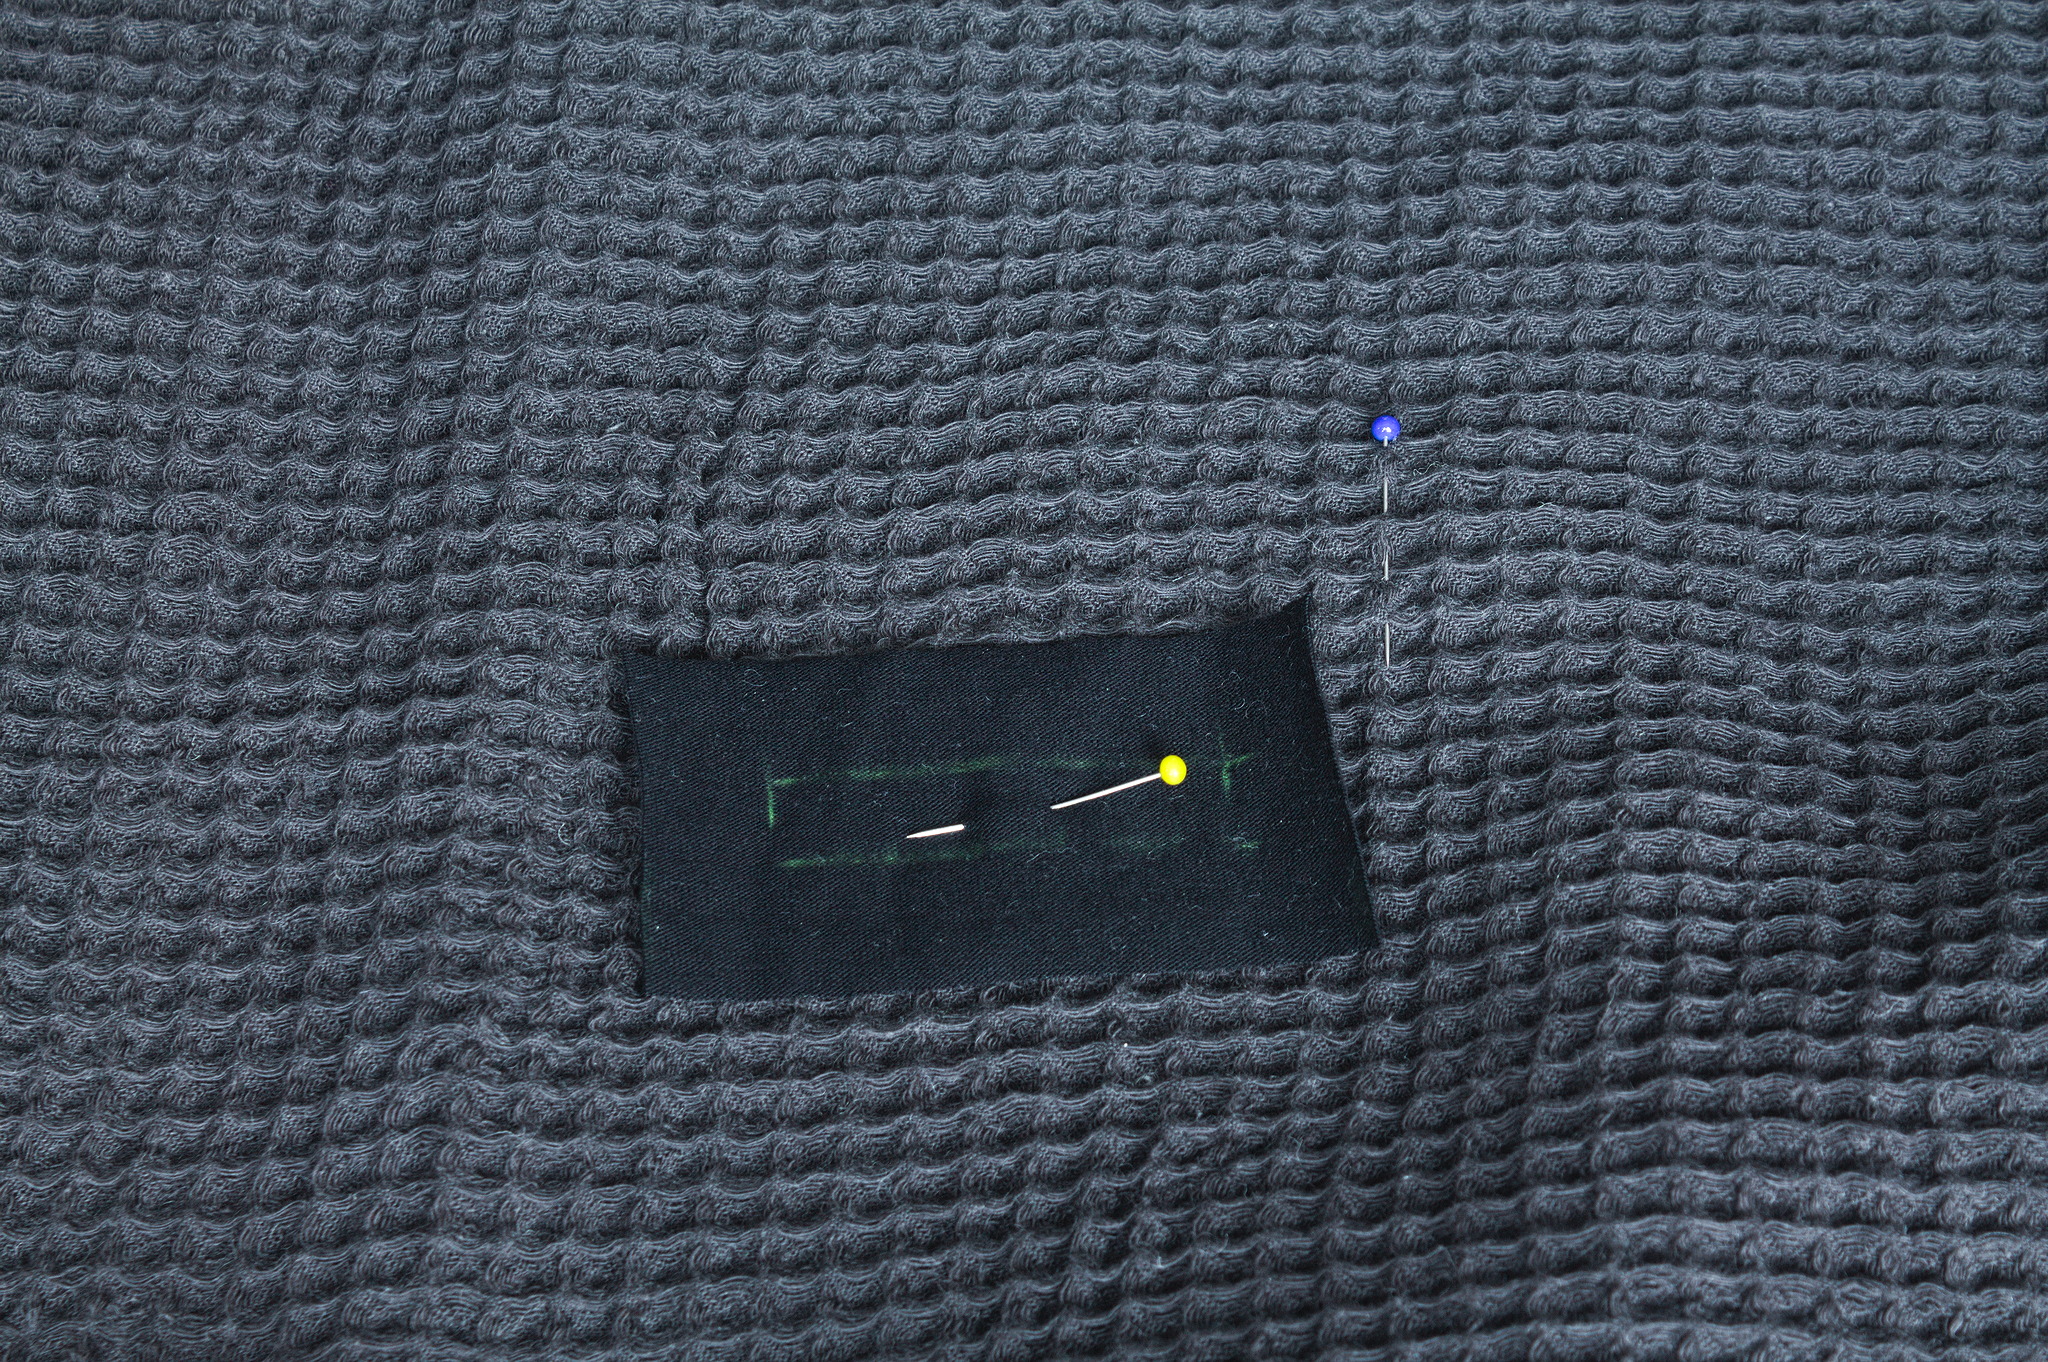
From the binding, cut two rectangles 8-9 cm tall, mark a rectangle 1 cm wide and 5 cm tall in their middle and align them over the slits marked on the fabric, on the right side.
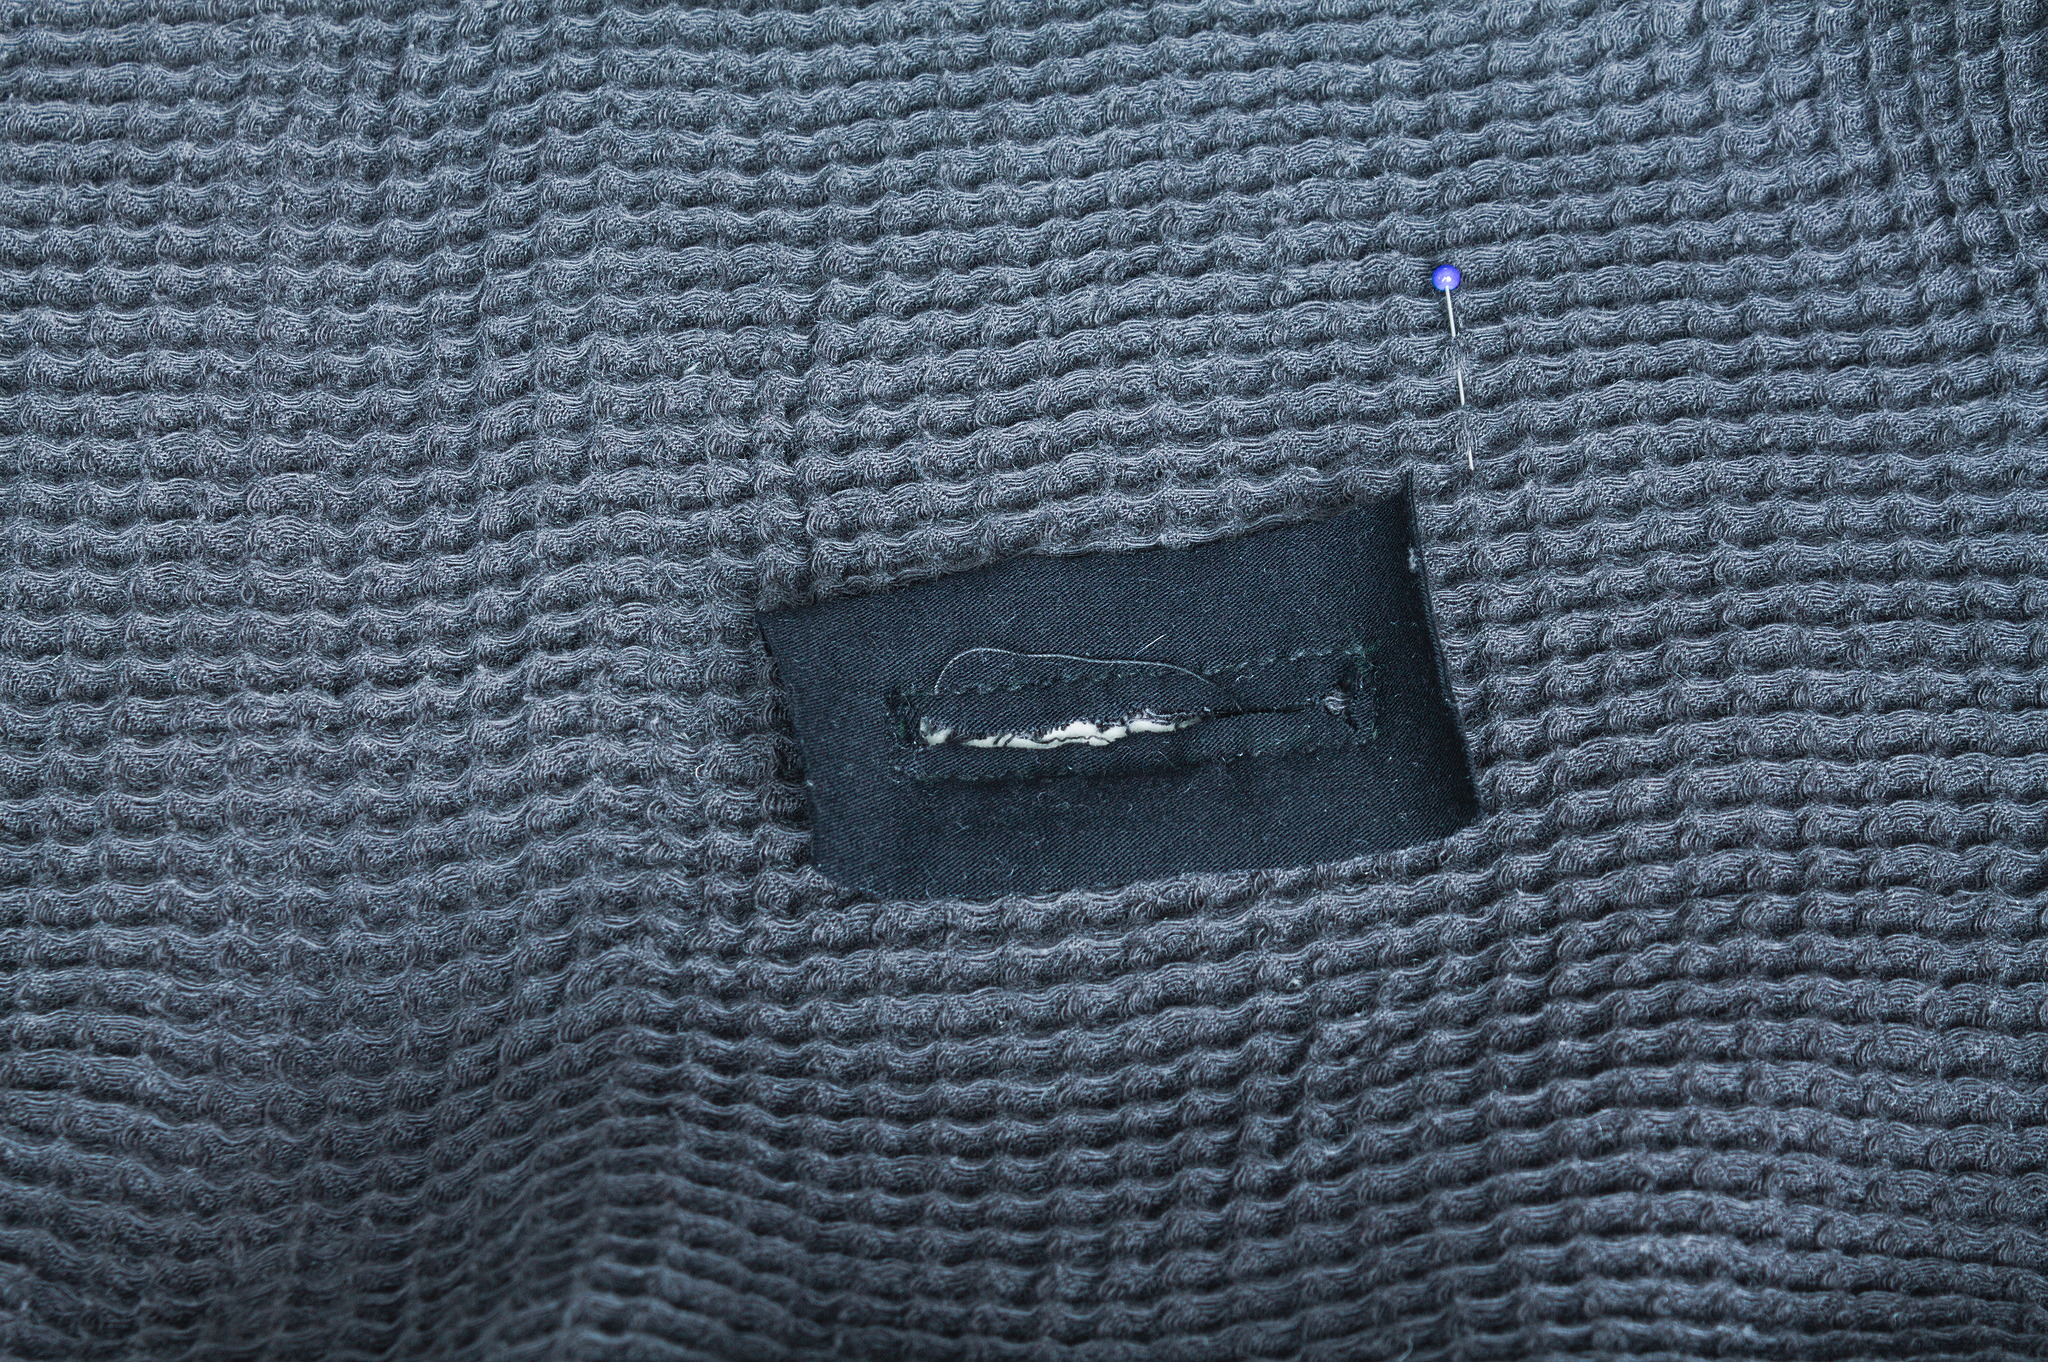
Sew over the rectangle, carefully cut the slit in the center, angling towards the corners.
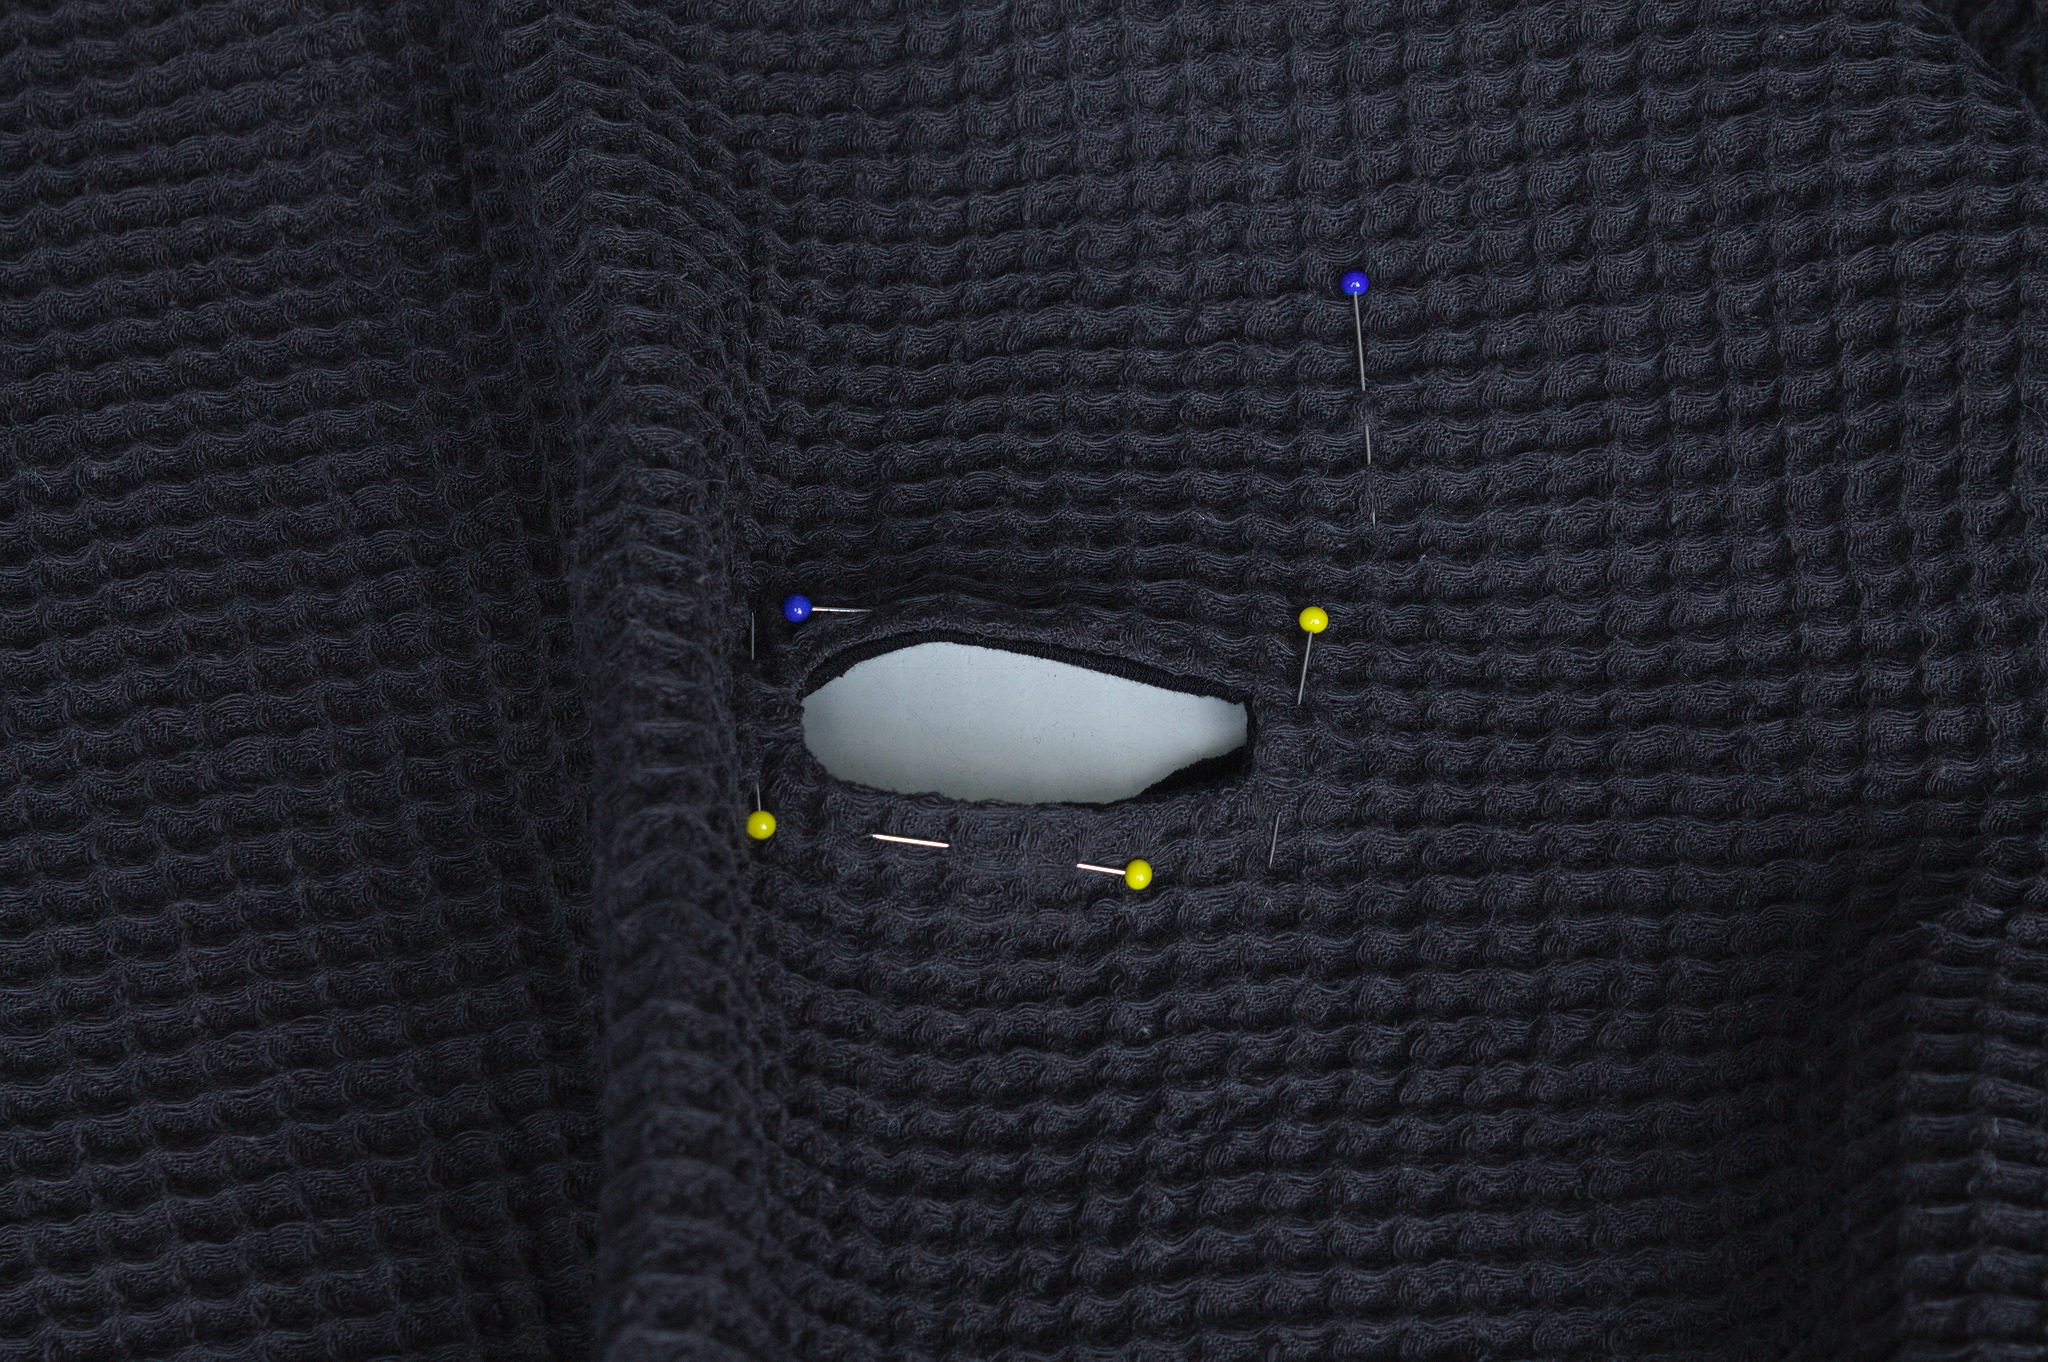
Turn the binding to the wrong side, and topstitch at 1 cm from the slit to keep it in place.
Pleat

Wrong sides together, sew the center back pleat.
Baste the pleat flat near the top border.
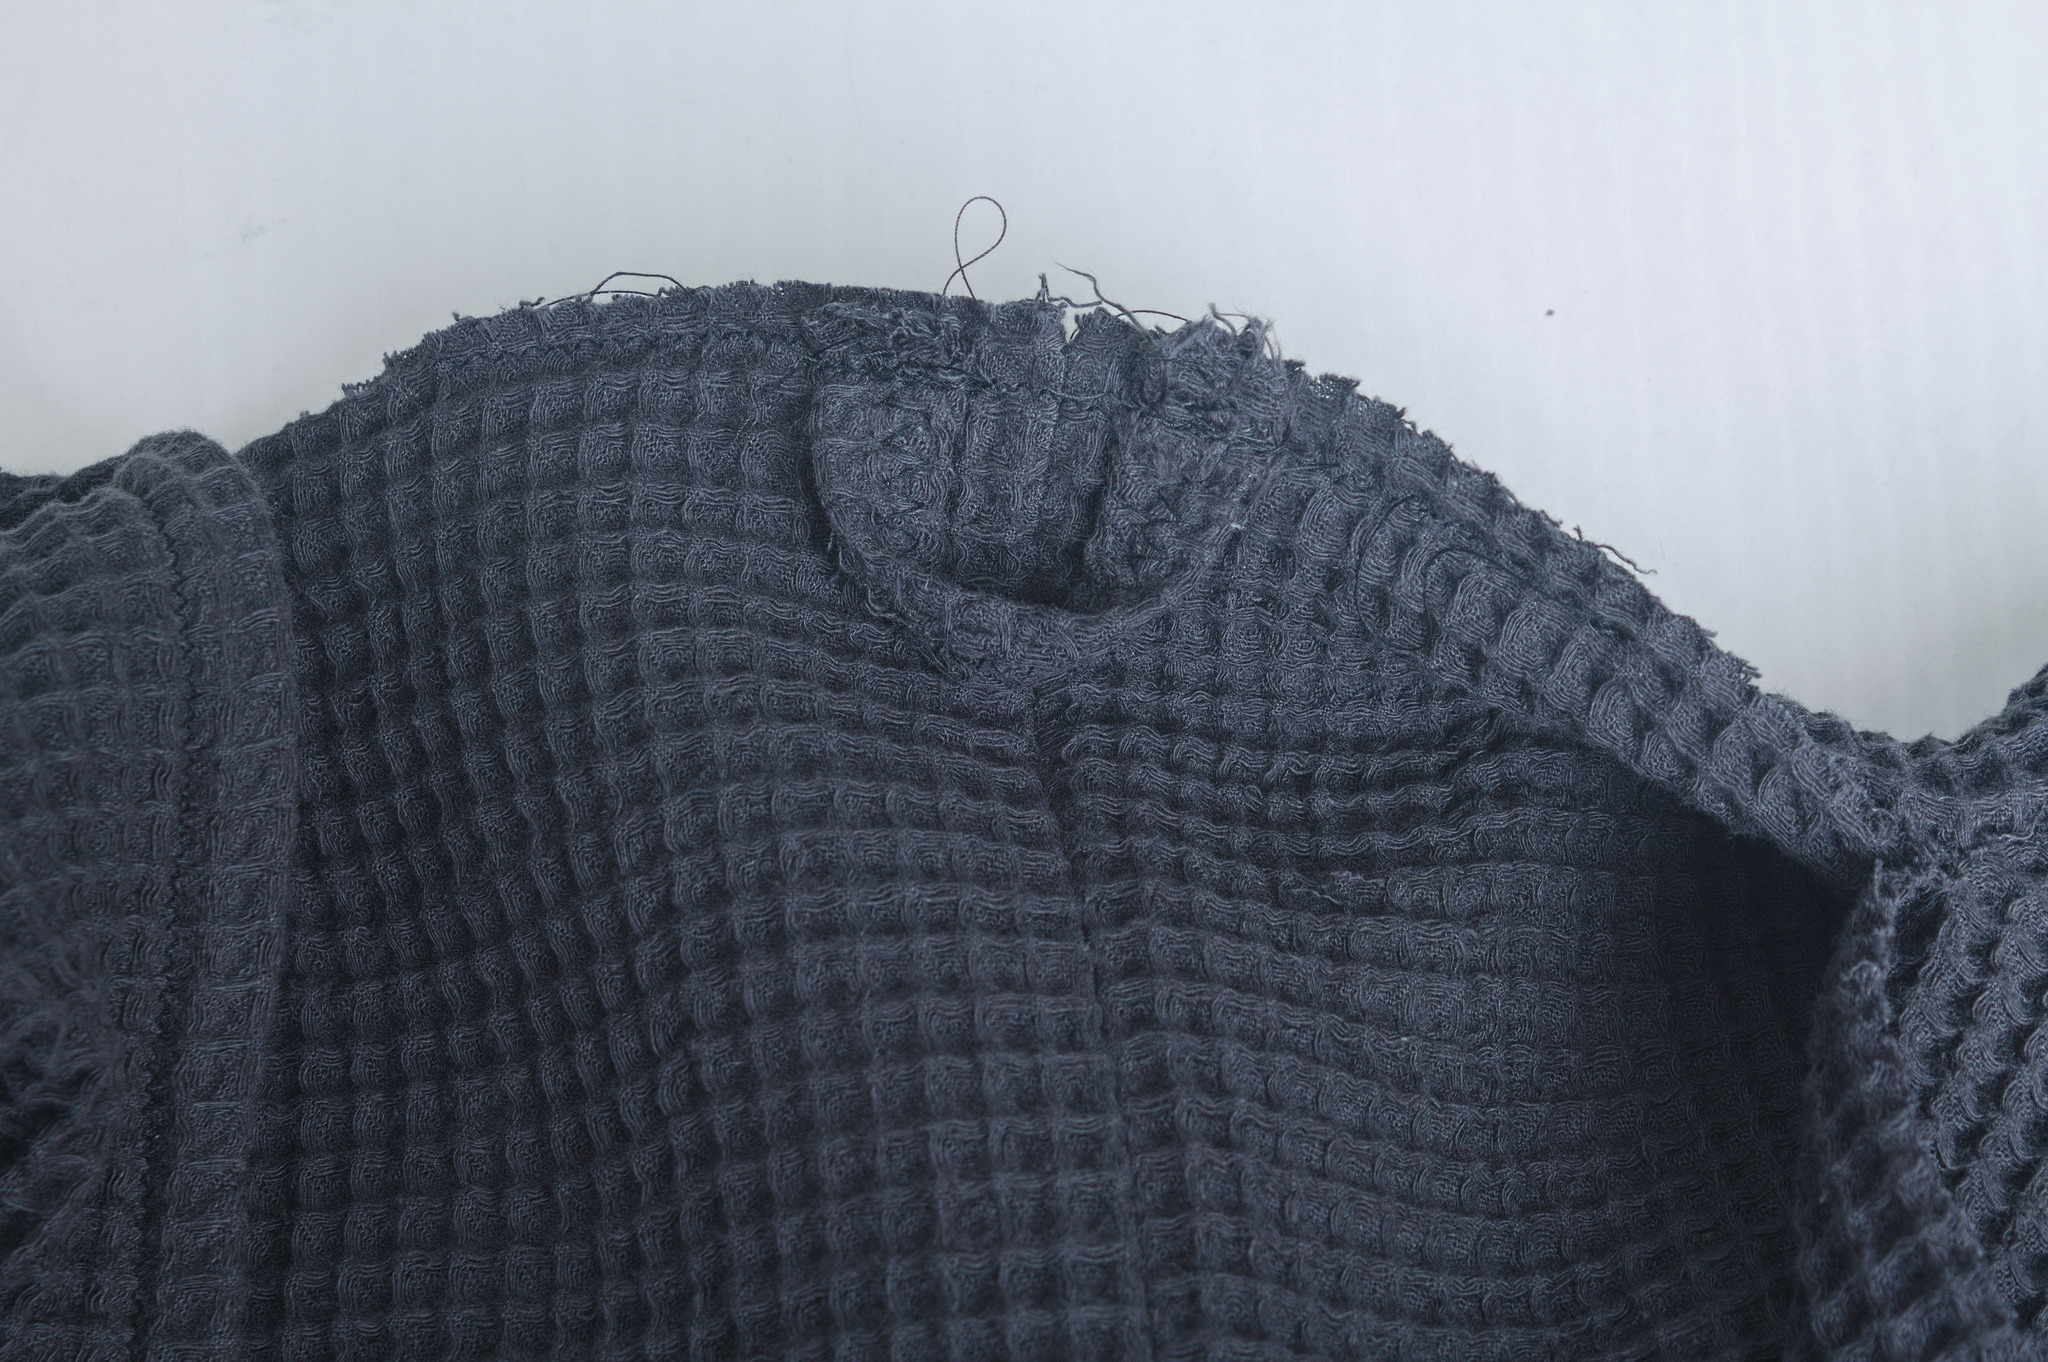
If you have scraps from straighening the fabric, cut a rectangle about 3 cm wide and 10 cm long, fold in in 3 and sew it in the middle with a wide zig-zag, otherwise you can use a bit of sturdy ribbon.
Sew its short sides to the top border, near the center of the pleats.
Shoulders

Wrong sides together, put the front over the back and sew
shoulder_length (I01) starting from each sleeve slit with 8 mm
allowance.
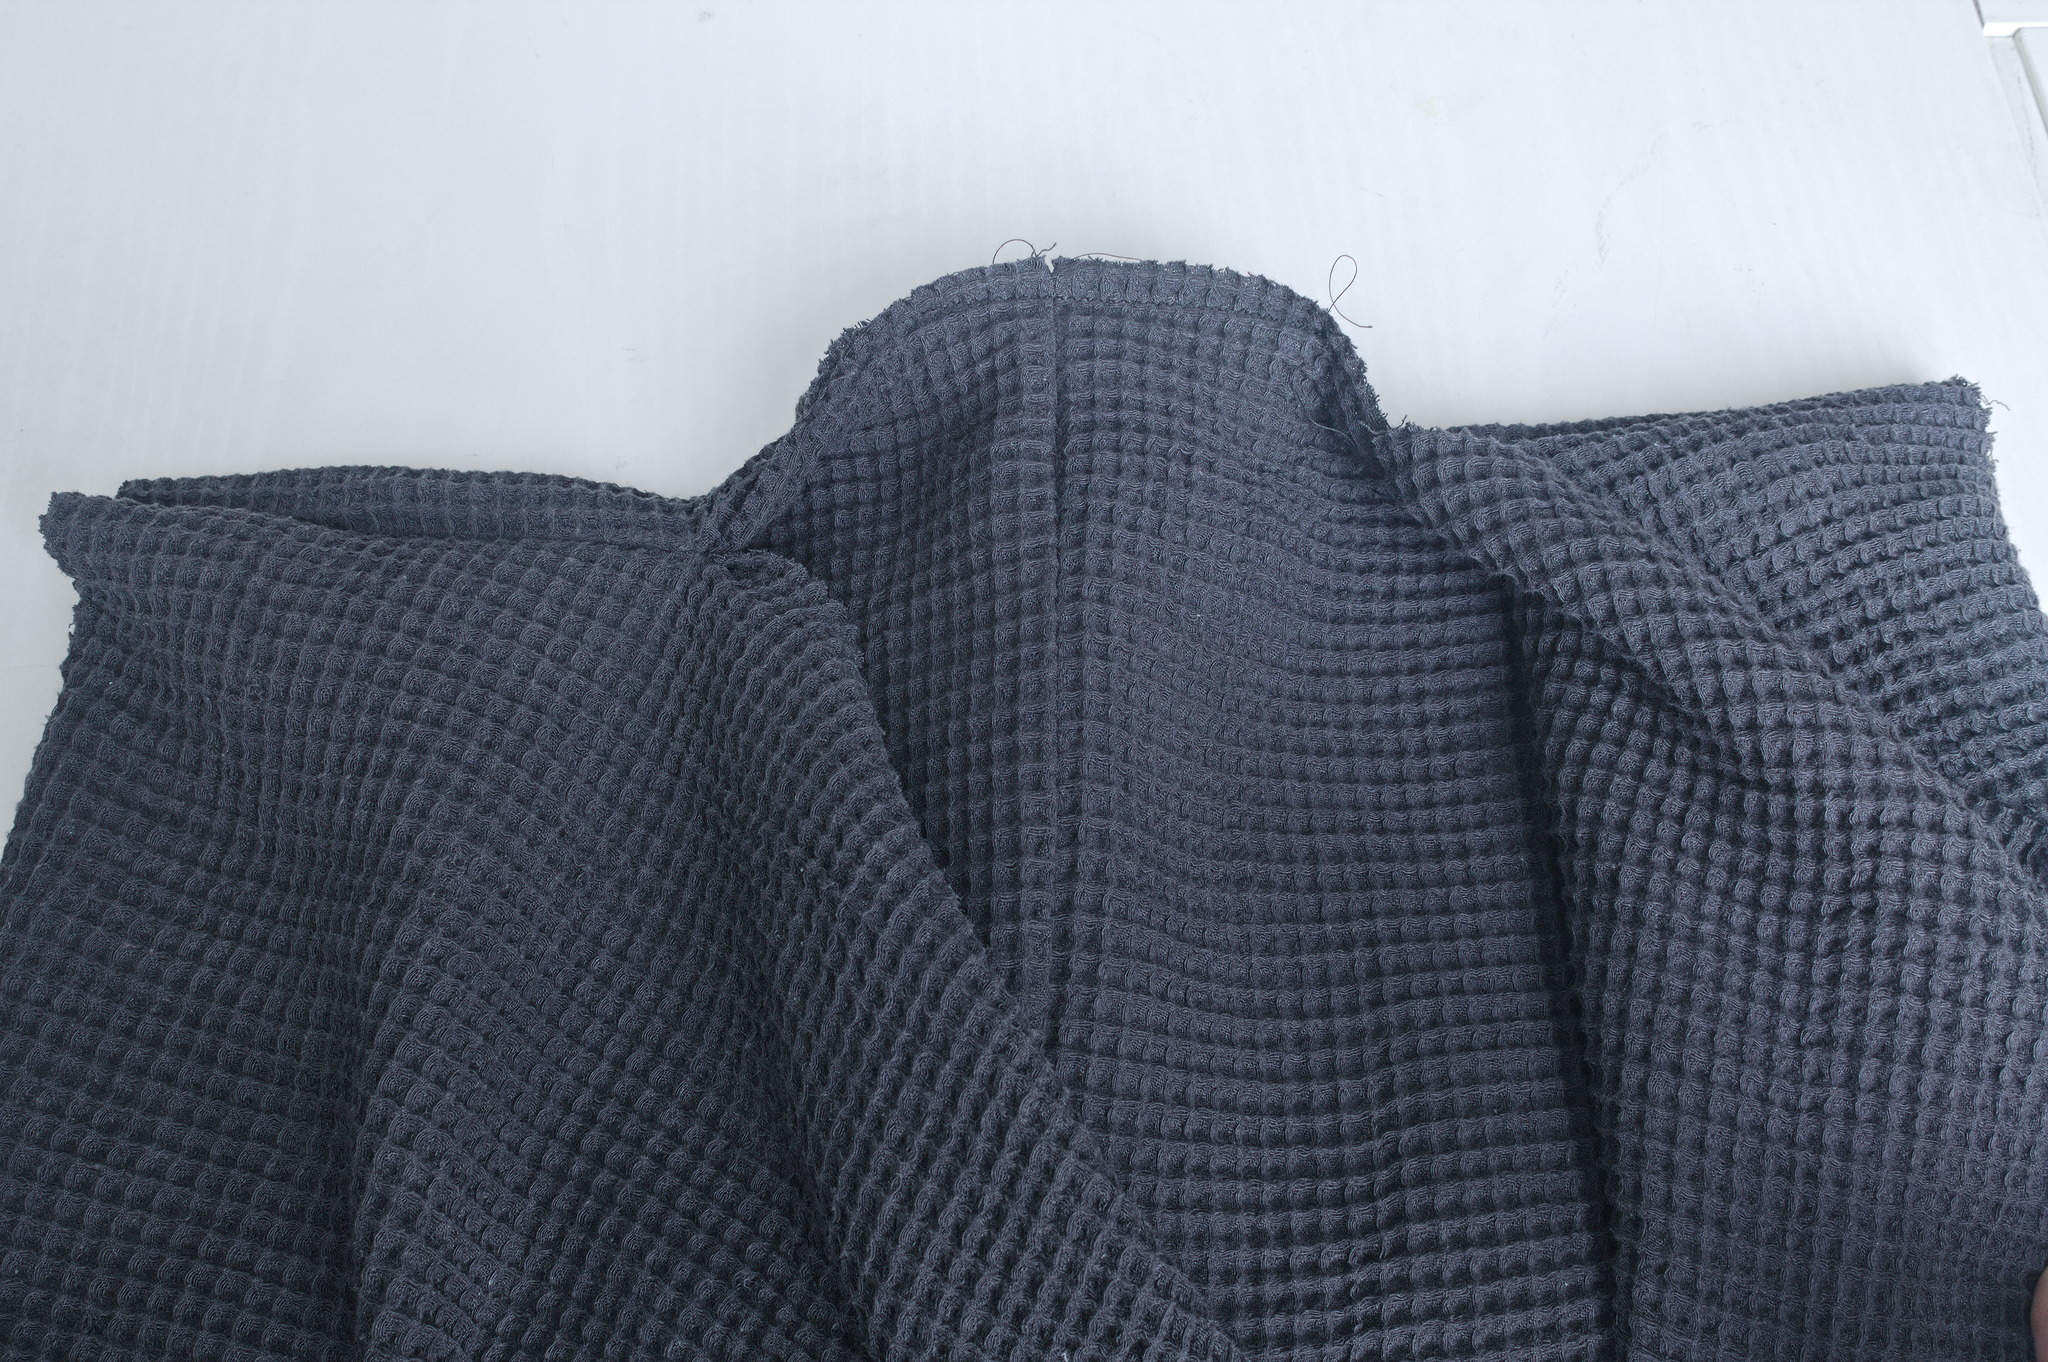
Turn inside out, and sew again at 1 cm allowance to make a french seam.
Sleeves
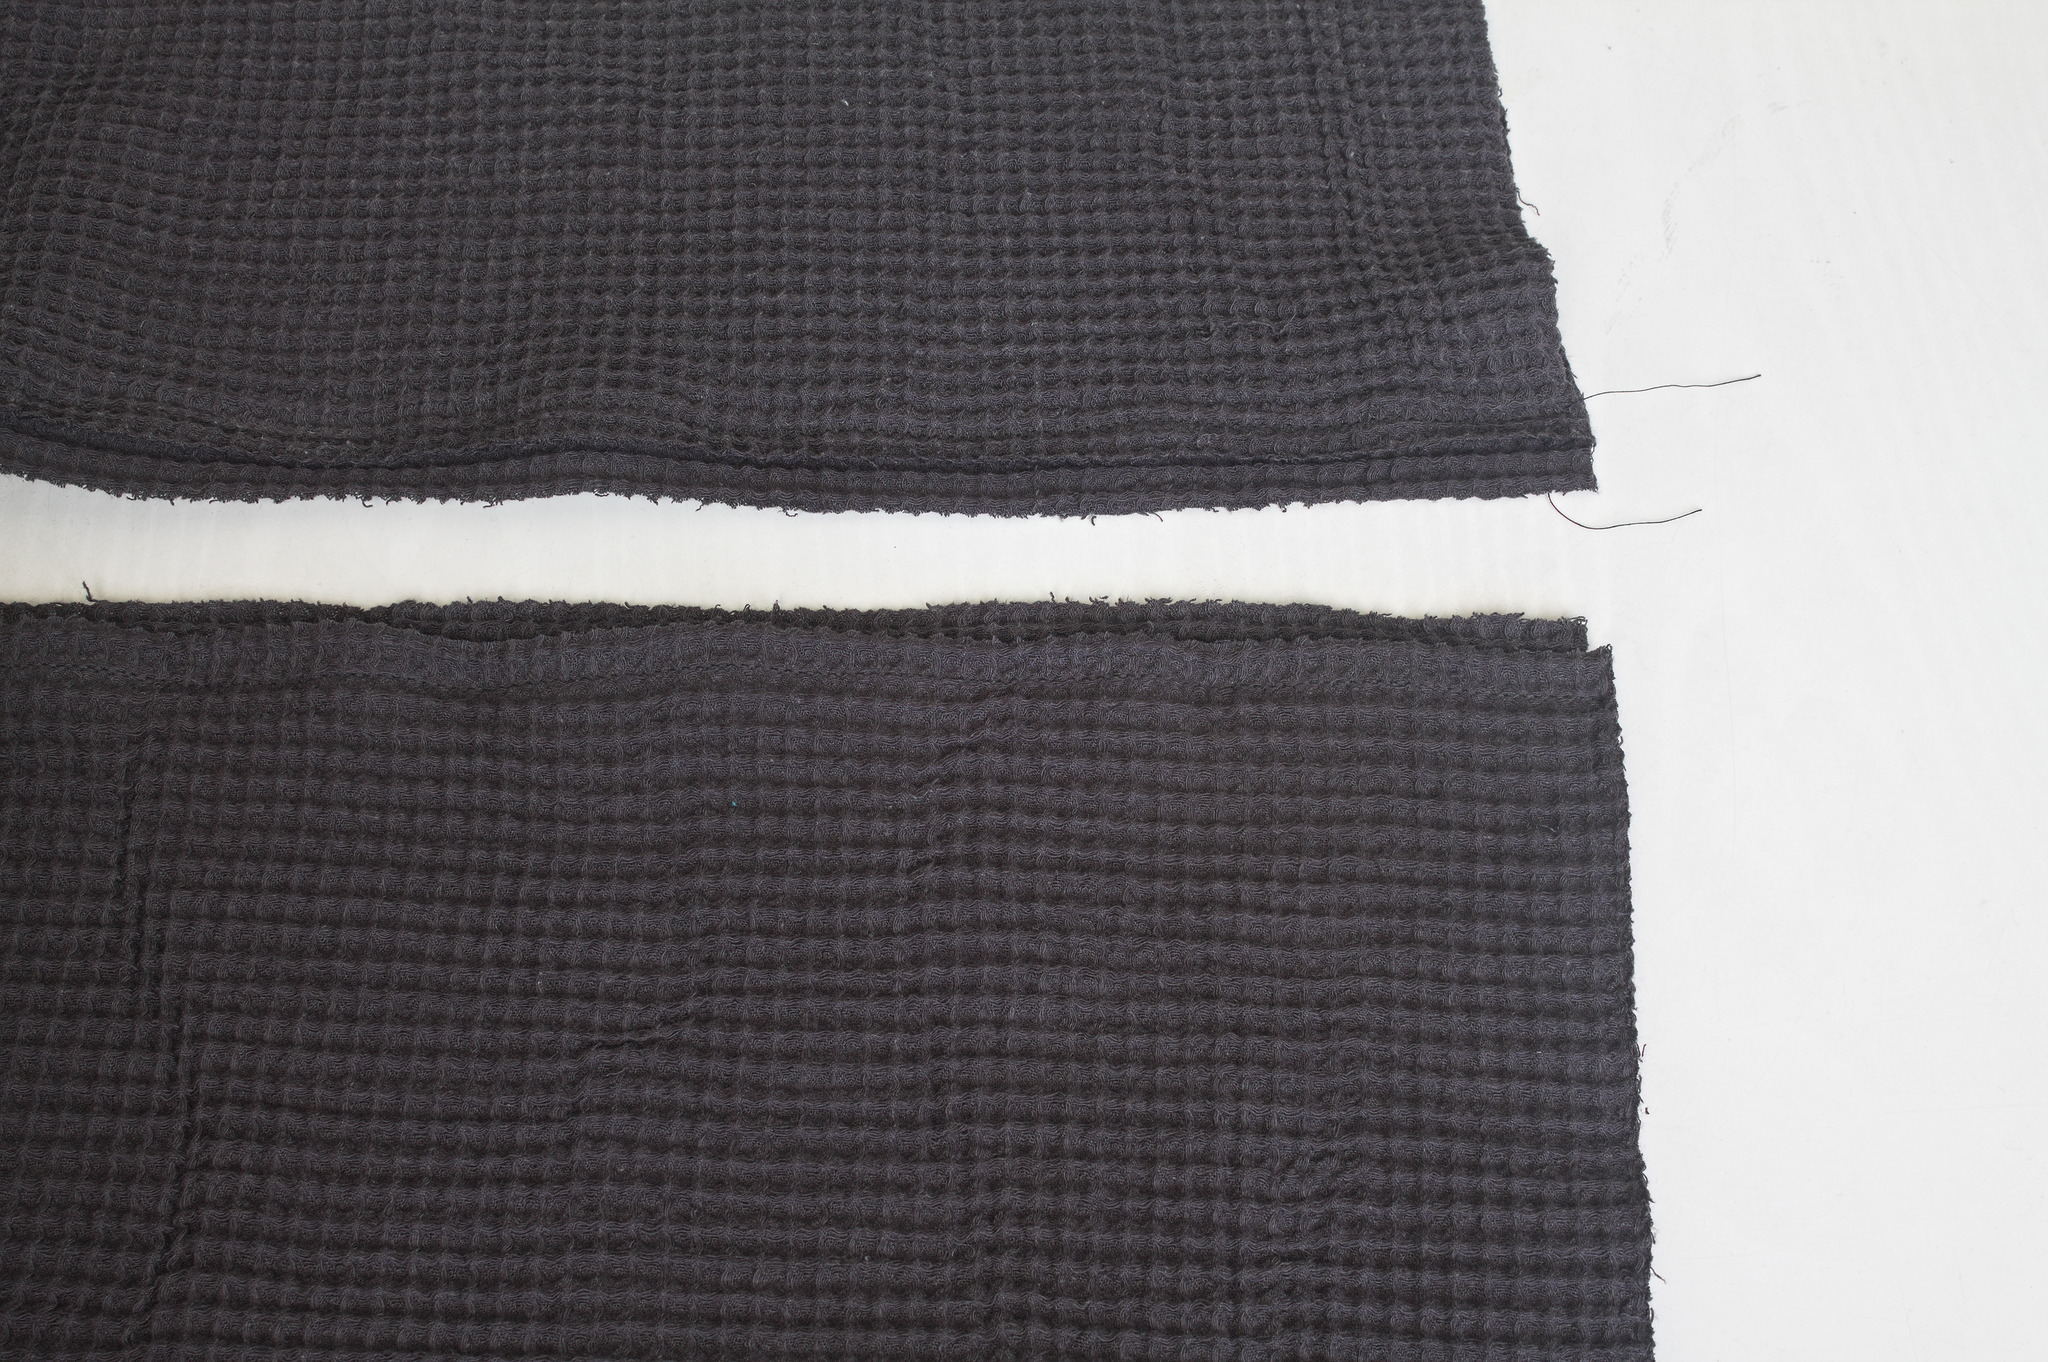
Wrong sides together, align one long side of the sleeve at 1 cm distance from the other, and sew with a 2 cm sewing allowance.
Repeat with the other sleeve, taking care to do so simmetrically.
Fold the large allowances over the smaller one and topstitch to flat fell.
Finish cutting the sleeve slits on the body.

Wrong sides together, insert each sleeve in the body, pinning the sleeve seam at the bottom of the slit.
Sew with a seam allowance of 8 mm, starting just before the bottom of the slit and ending just after it, so that there is a double line of sewing for strenght.
Turn the sleeve inside out, sew again with a 1 cm allowance to finish the french seam, sewing again twice near the bottom of the slit.
Finishing
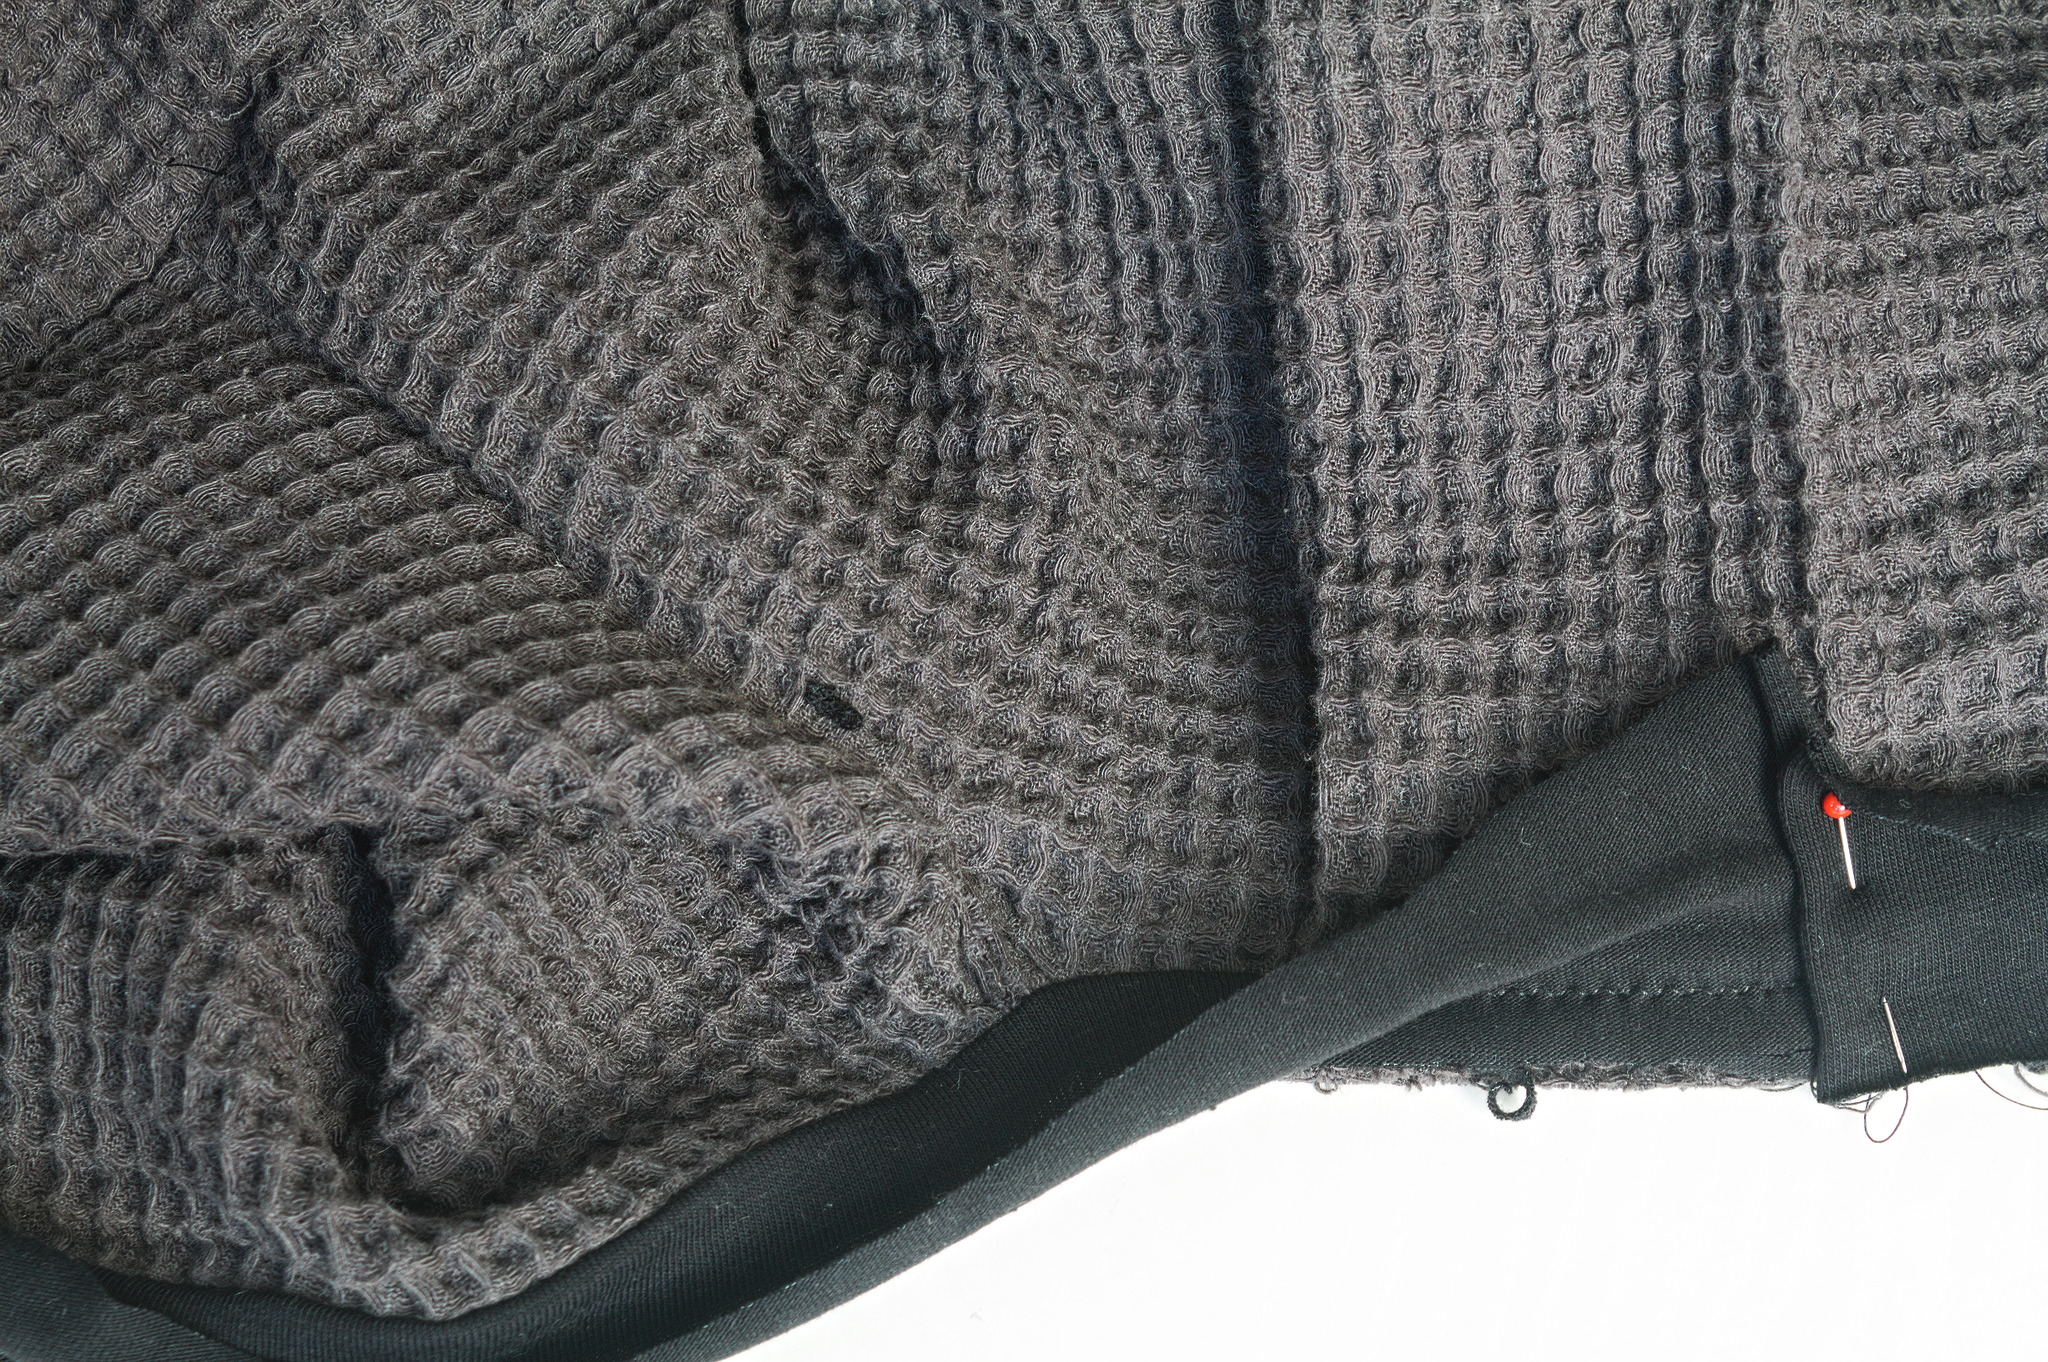
Right sides together, sew the binding all around the edge of the bathrobe, starting from the center top. Also sew the remaining binding to the sleeve cuffs.
Fold the binding over the edge, enclosing all raw edges, and hemstitch it by hand or topstitch it from the right side.
Belt

Fold the belt in half lengthwise, sew at 1 cm from the side.
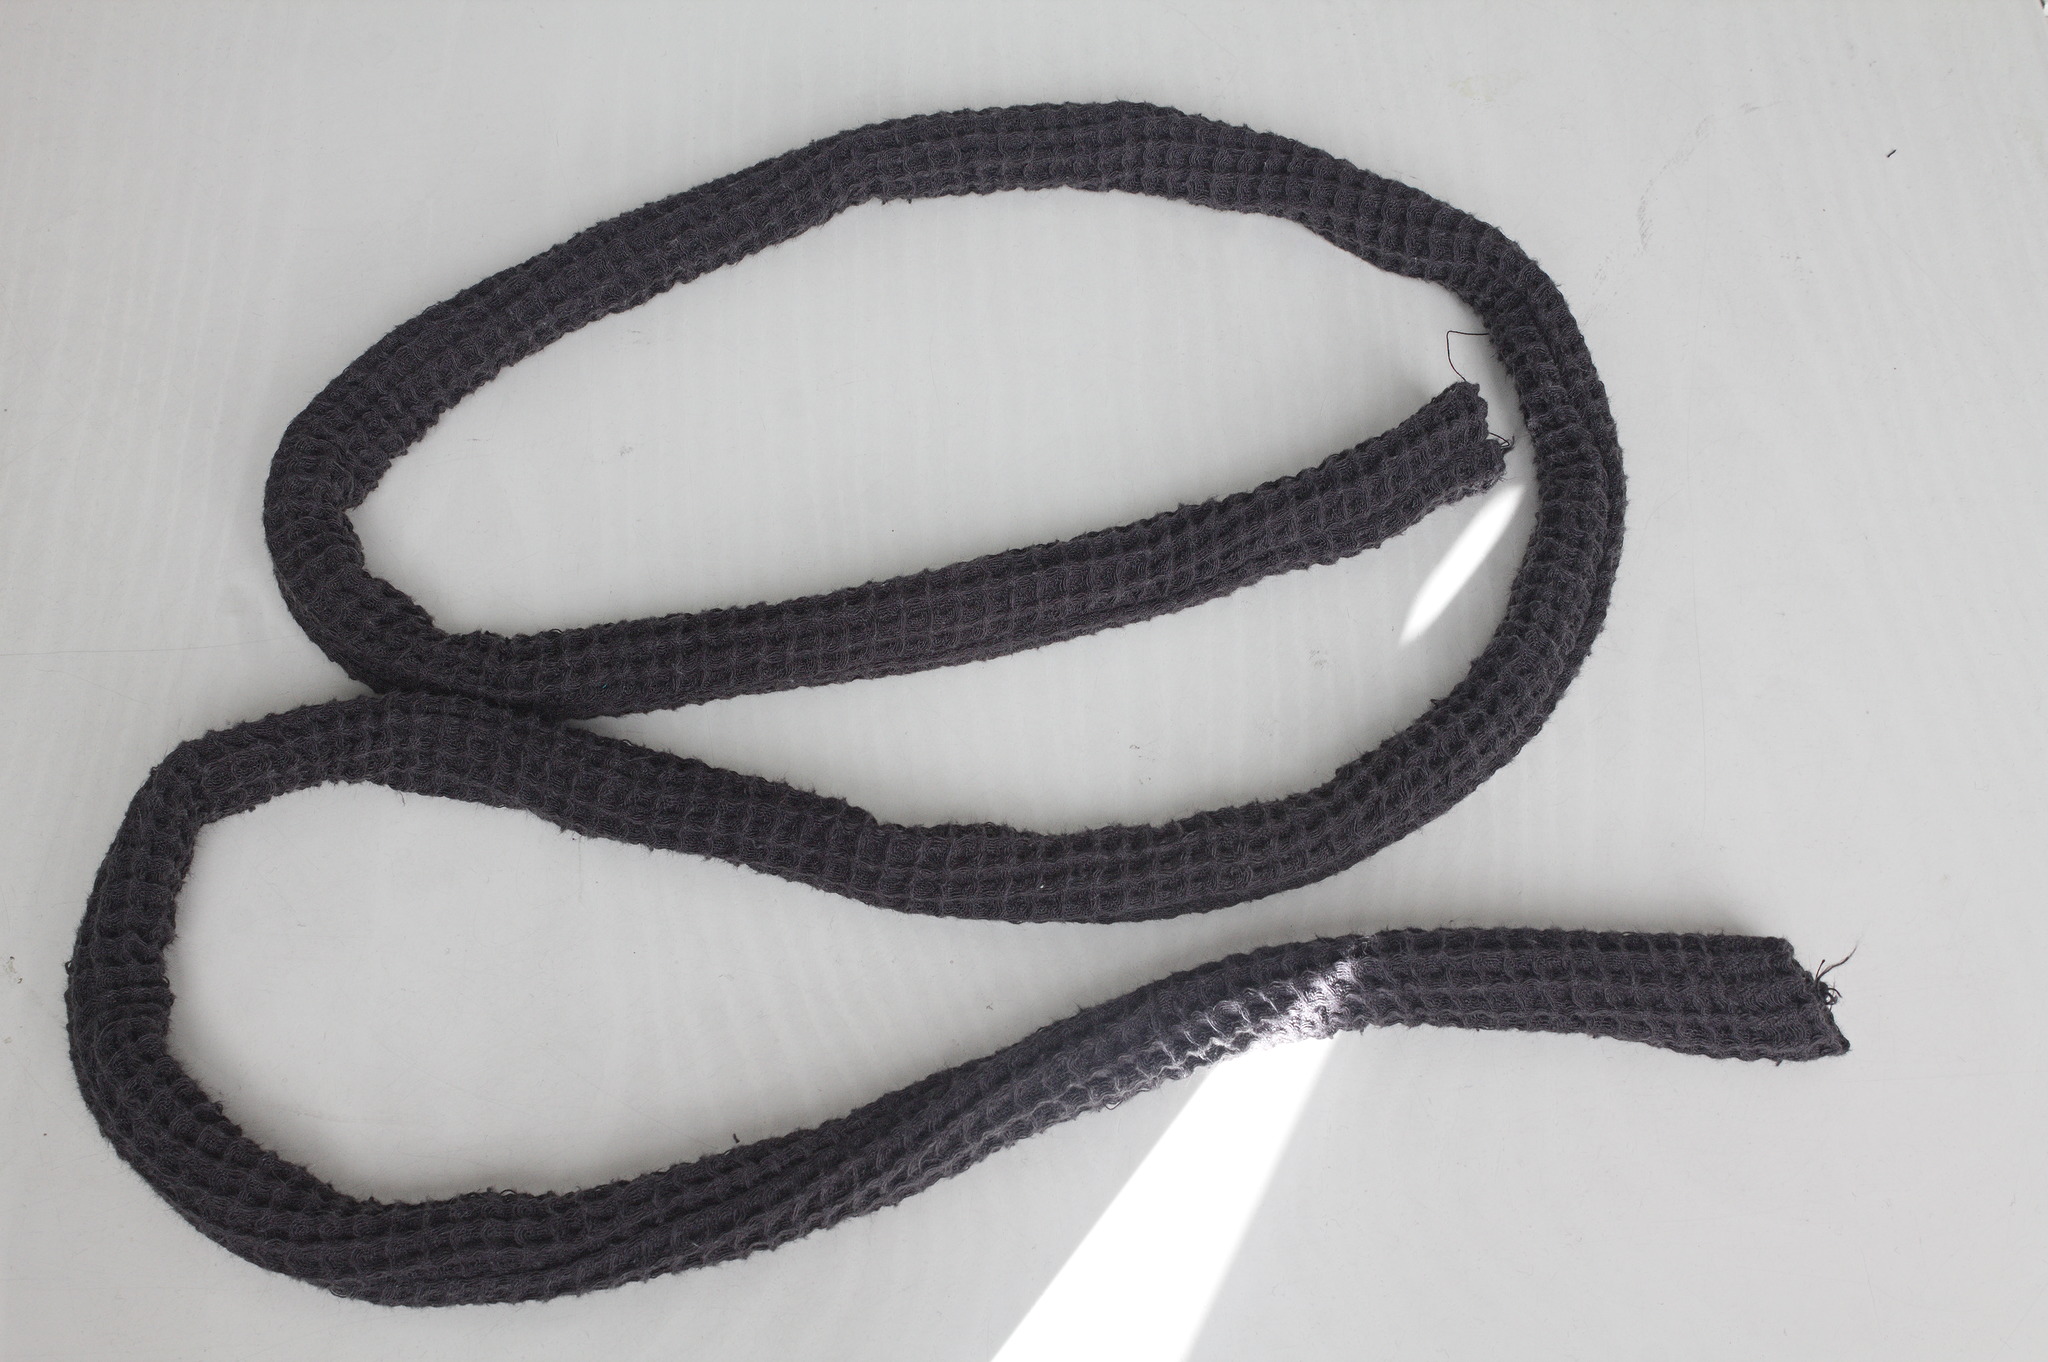
Turn inside out; if you’re using the selvedge of the fabric there will be no need to finish the ends.
Gallery