Fitting jersey top
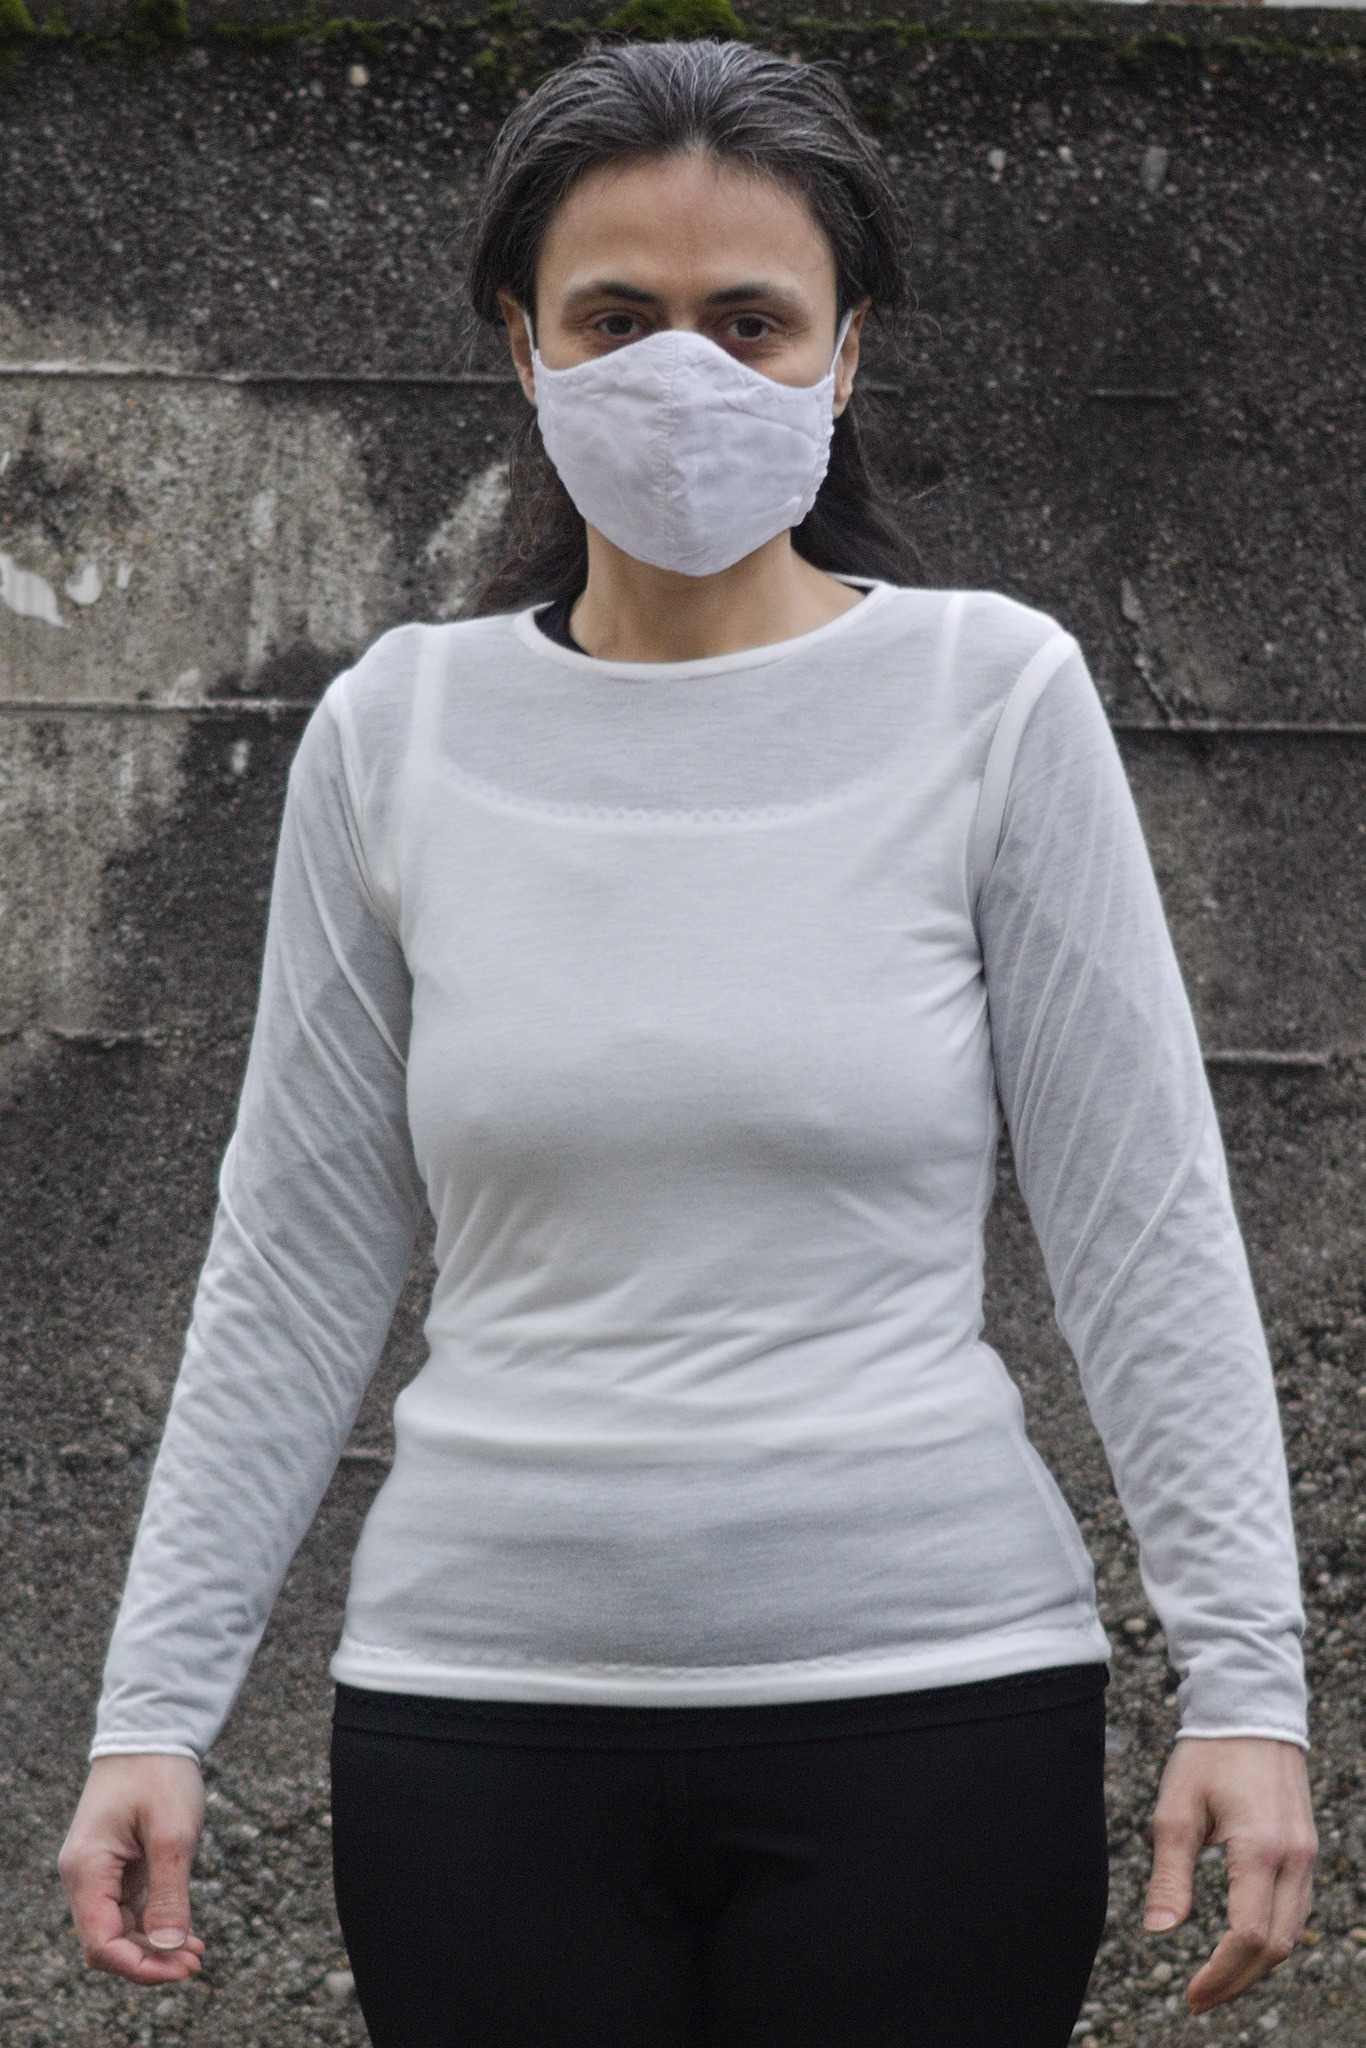
This is a simple, figure-hugging top with a round neck and a choice of long or short sleeves, designed for knit fabric.
Beside being a good, if somewhat boring, wardrobe staple, this pattern is also suitable for sports- and technical-wear: try it in lightweight merino jersey as a thermal 1st layer, or in wicking jersey for something like a cycling shirt.
In these cases, you may also want to make a pair of matching Leggings / Shorts, and if you have fabric leftovers you can add a matching Camisole.
Materials
Fabric
About 1.5 m of fabric with a high stretch for a long sleeved top, 1 m for short sleeves.
Notions
~20 cm cotton tape, 1 – 1.5 cm wide;
matching sewing thread.
Pattern
Measurements
This pattern uses the Aldrich Drafting System.
You need to take the following measurements:
bust_circ(G.04)circumference around the bust.
waist_circ(G.07)circumference of the waist.
hip_circ(G.09)circumference of the hips.
across_back_b(I.08)width of the back from armscye to armscye.
neck_circ(G.02)circumference at the base of the neck.
arm_wrist_circ(L.15)circumference of the wrist.
neck_back_to_waist_b(H.19)length from the nape of the neck to the waist, on the back.
neck_back_to_highbust_b(H.21)depth of the armscye.
arm_shoulder_tip_to_wrist_bent(L.01)from the tip of the shoulder to the bent elbow to the wrist.
height_waist_side_to_hip(A.20)distance from the waist to the hip, measured on the side.
the file ../../drafting_methods/aldrich/aldrich.vit is used by
default by the pattern file and has the list of needed measurements.
Pattern
Get the valentina file for the pattern,
fitting_jersey_top.val.
In the table of variables in Valentina there are the following increments that need to be set; the defaults are reasonable:
finished_lengthmeasured from the nape of the neck, on the back;
short_sleeve_lengthdesired length of the short sleeve;
sewing_allowanceenough to be able to use french or flat felled seams.
Instructions
Cutting
Cut the front and back on the fold; to cut the sleeves it may be convenient to trace the pattern on the fold of a piece of paper and use that to cut two sleeves flat.
Also cut a strip about 4 cm wide and as long as the neck opening plus 2 cm on the cross-grain or the direction where the fabric has more give.
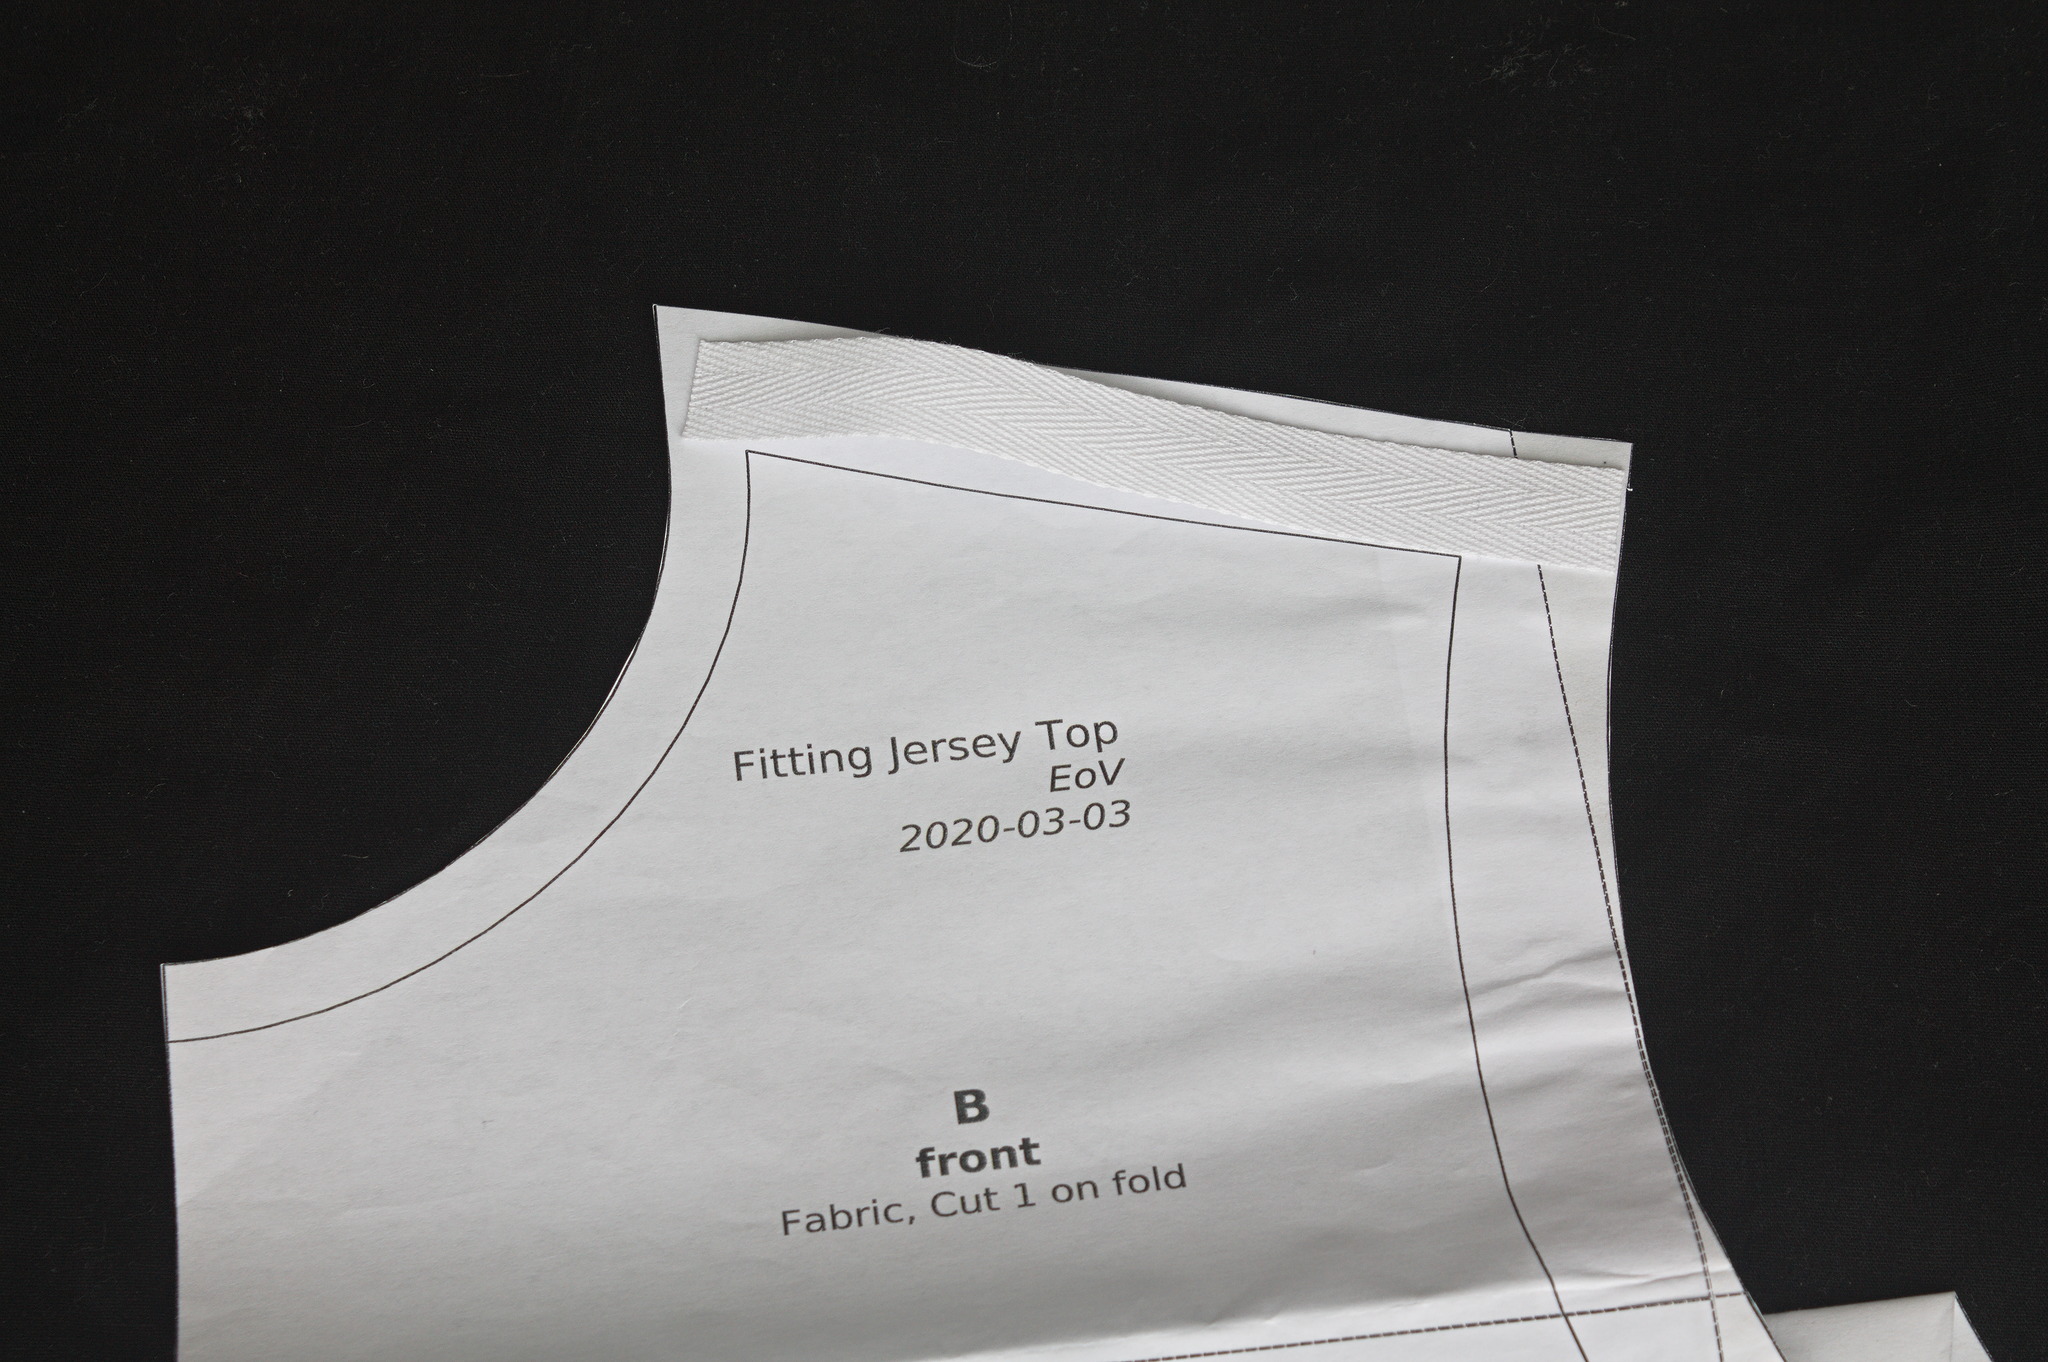
Use the pattern for the front to cut the right length of tape for the shoulders.
Sewing
Note
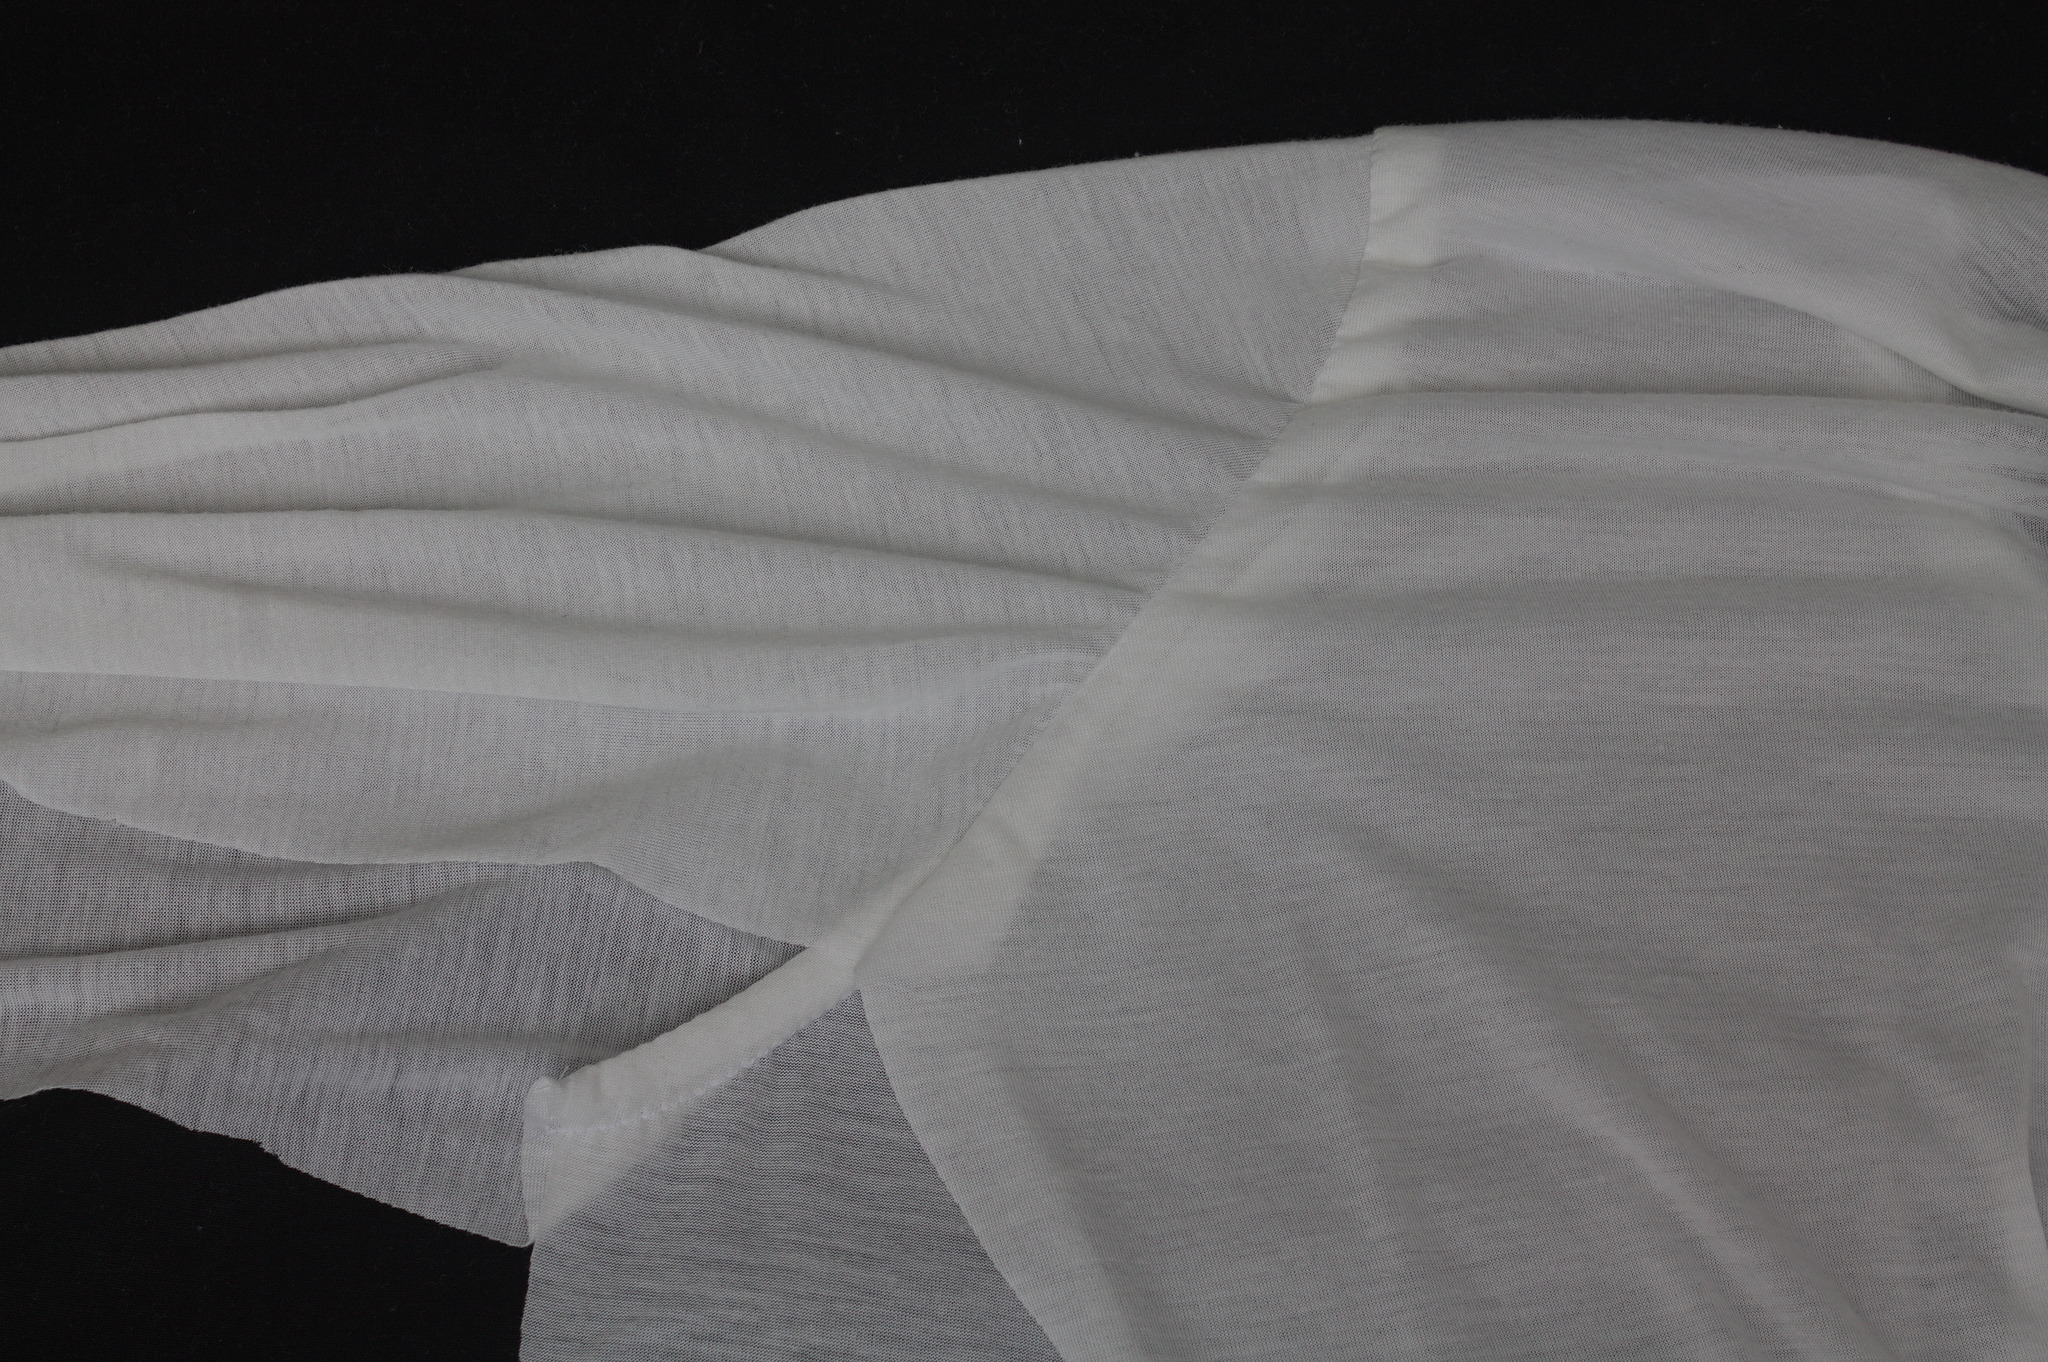
All seams except for the shoulders are sewn with a french seam, using a narrow zig-zag stitch or another elastic stitch, if available on the machine used.
For a total allowance of 2 cm, wrong sides facing sew with a 8 mm allowance, turn inside out, sew with a 10 mm allowance, press to one side.
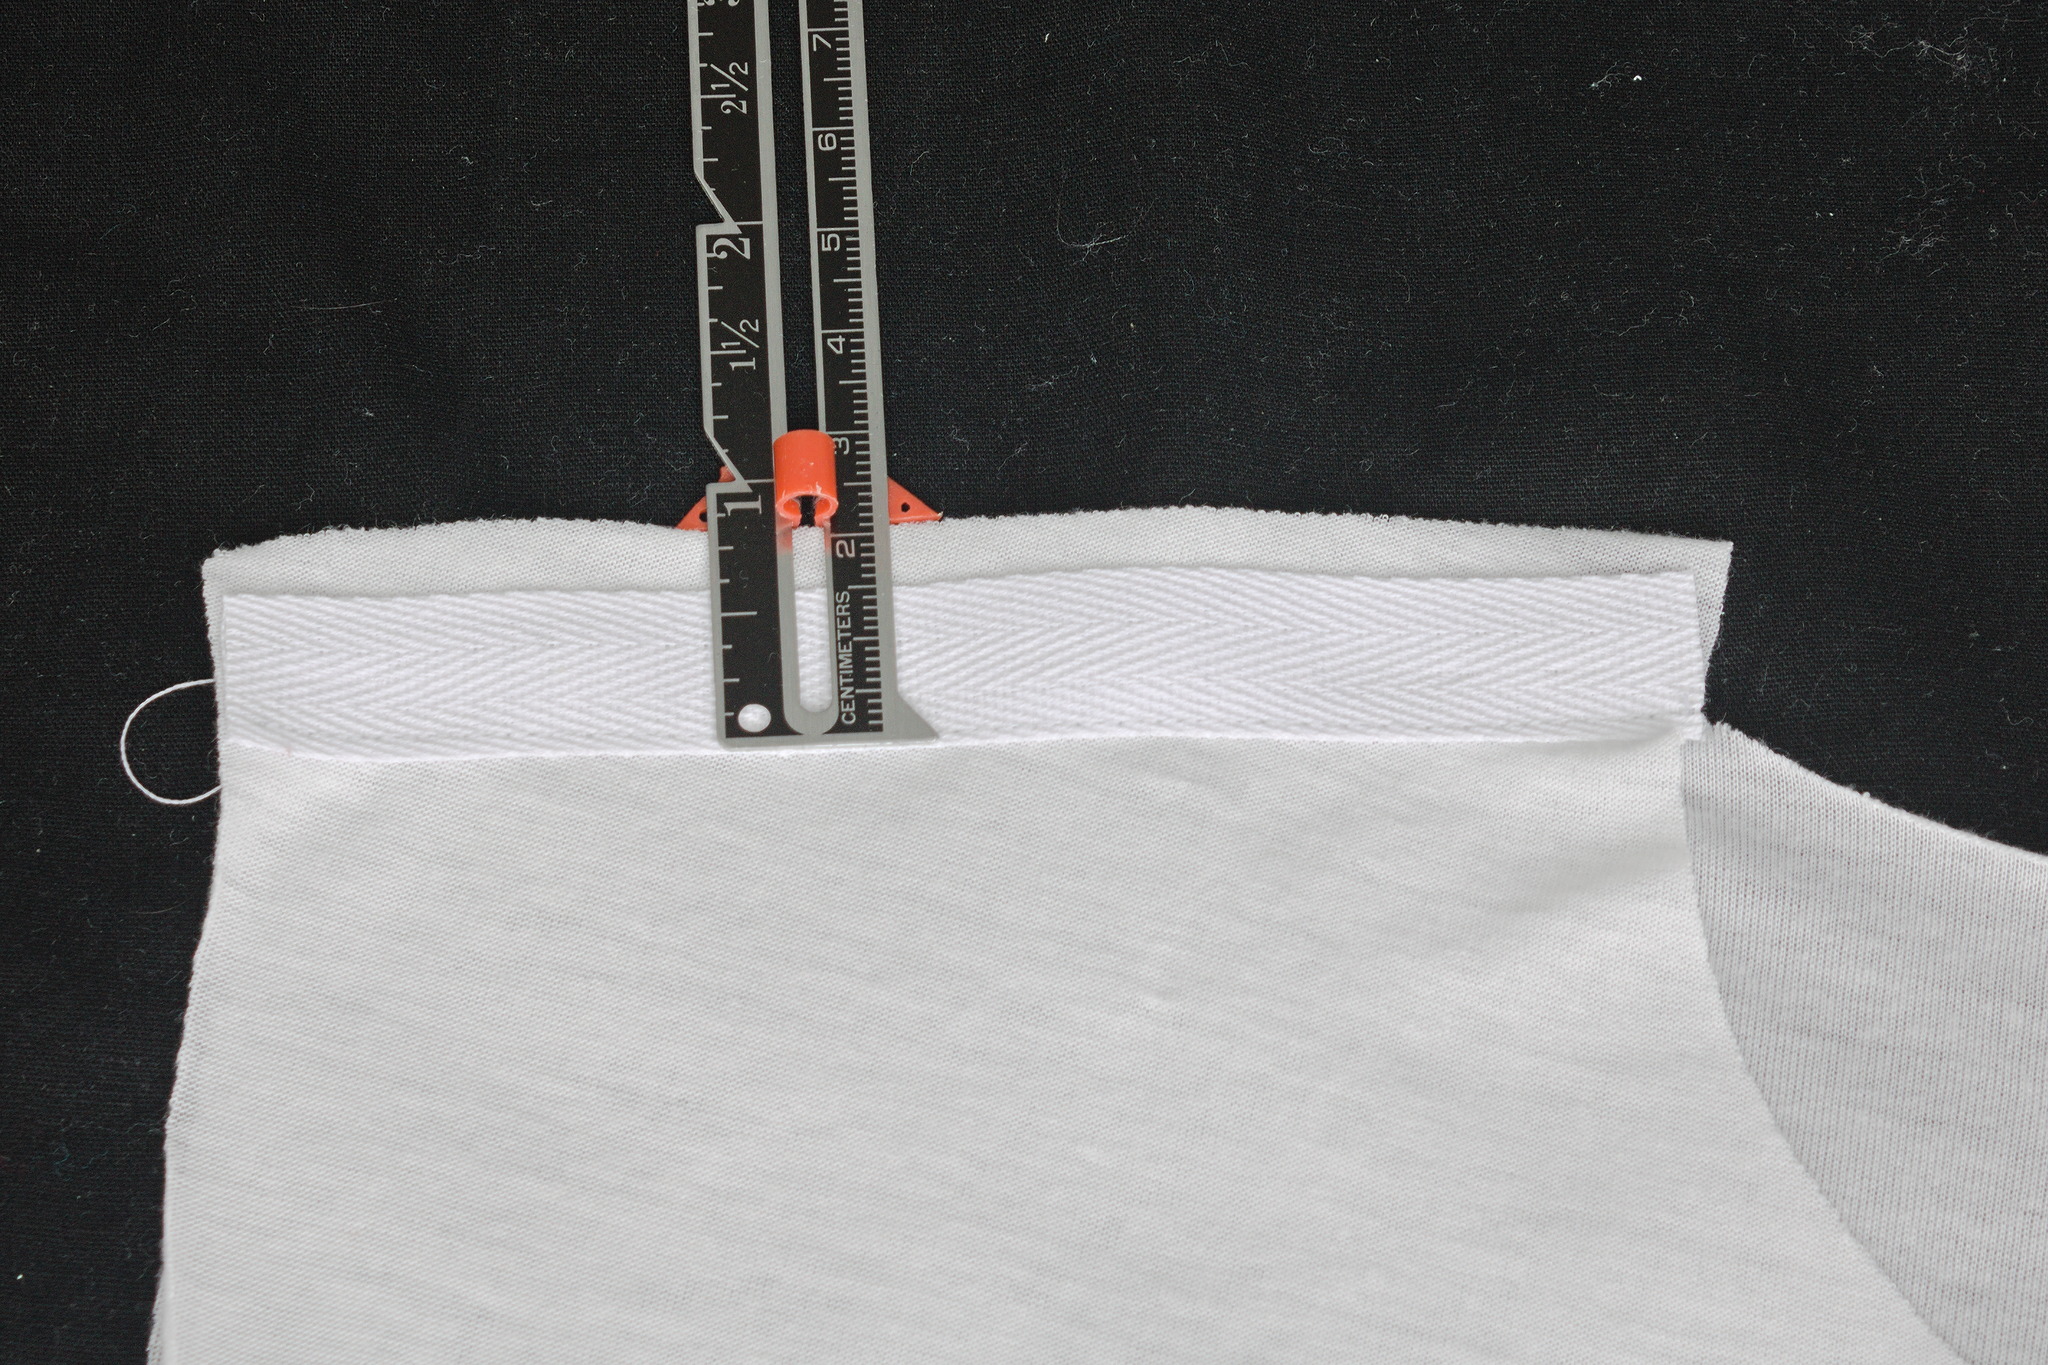
Sew the shoulder seams: right sides together, put the front over the back and add the tape so that it’s mostly over the allowances but will get just caught by the seam. Sew with a straight stitch.
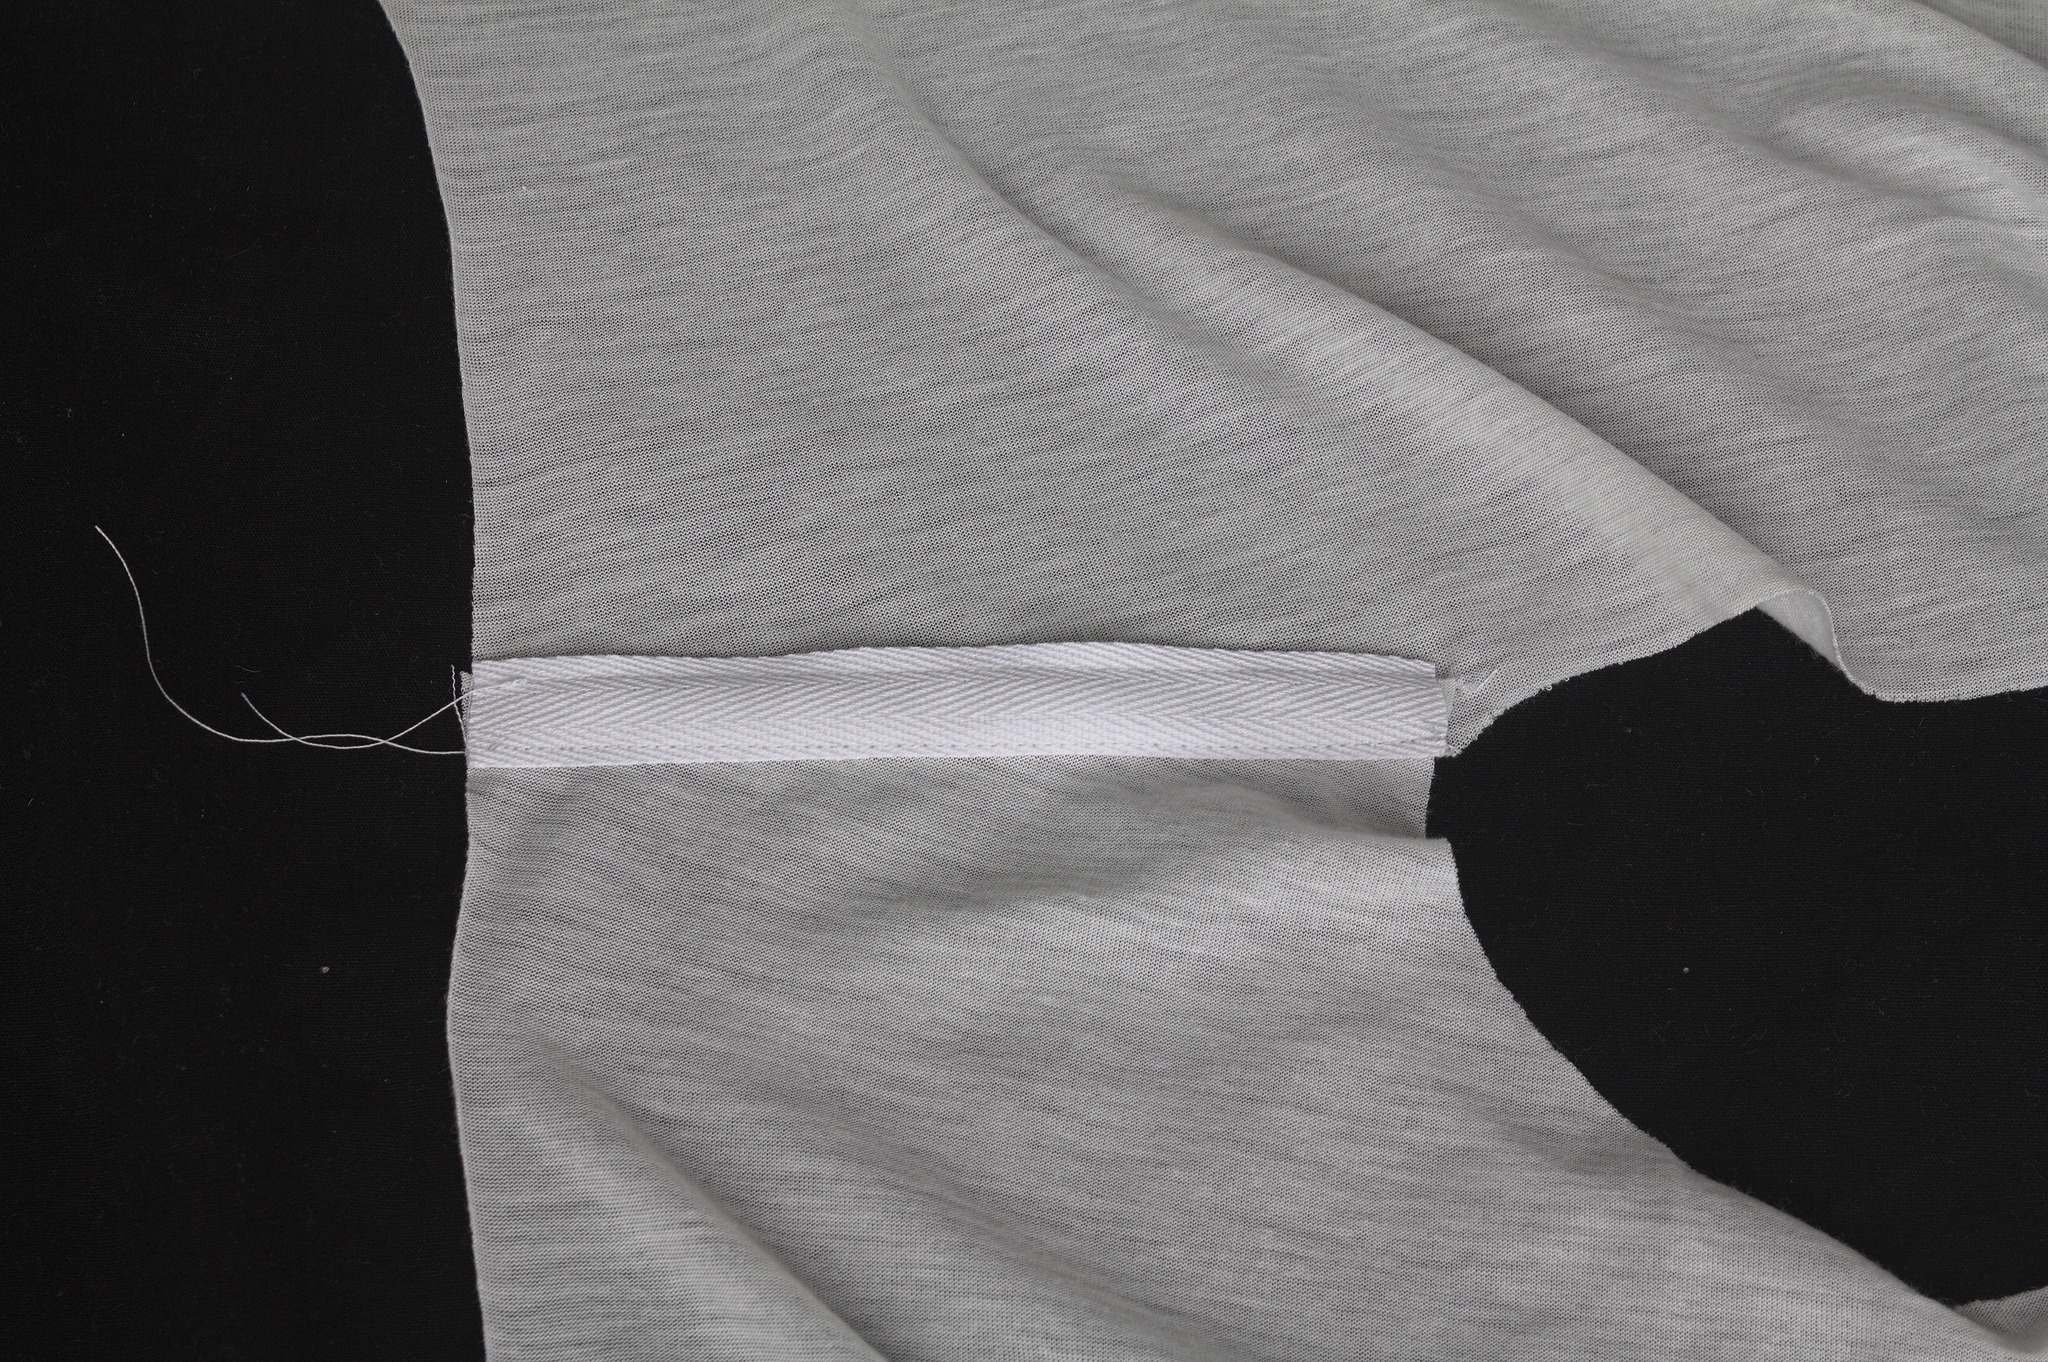
Press the allowances and the tape towards the back, trim the allowances so that they are shorter than the tape, and topstitch with a straight stitch at 8 mm from the first seam, enclosing the raw edges under the tape.
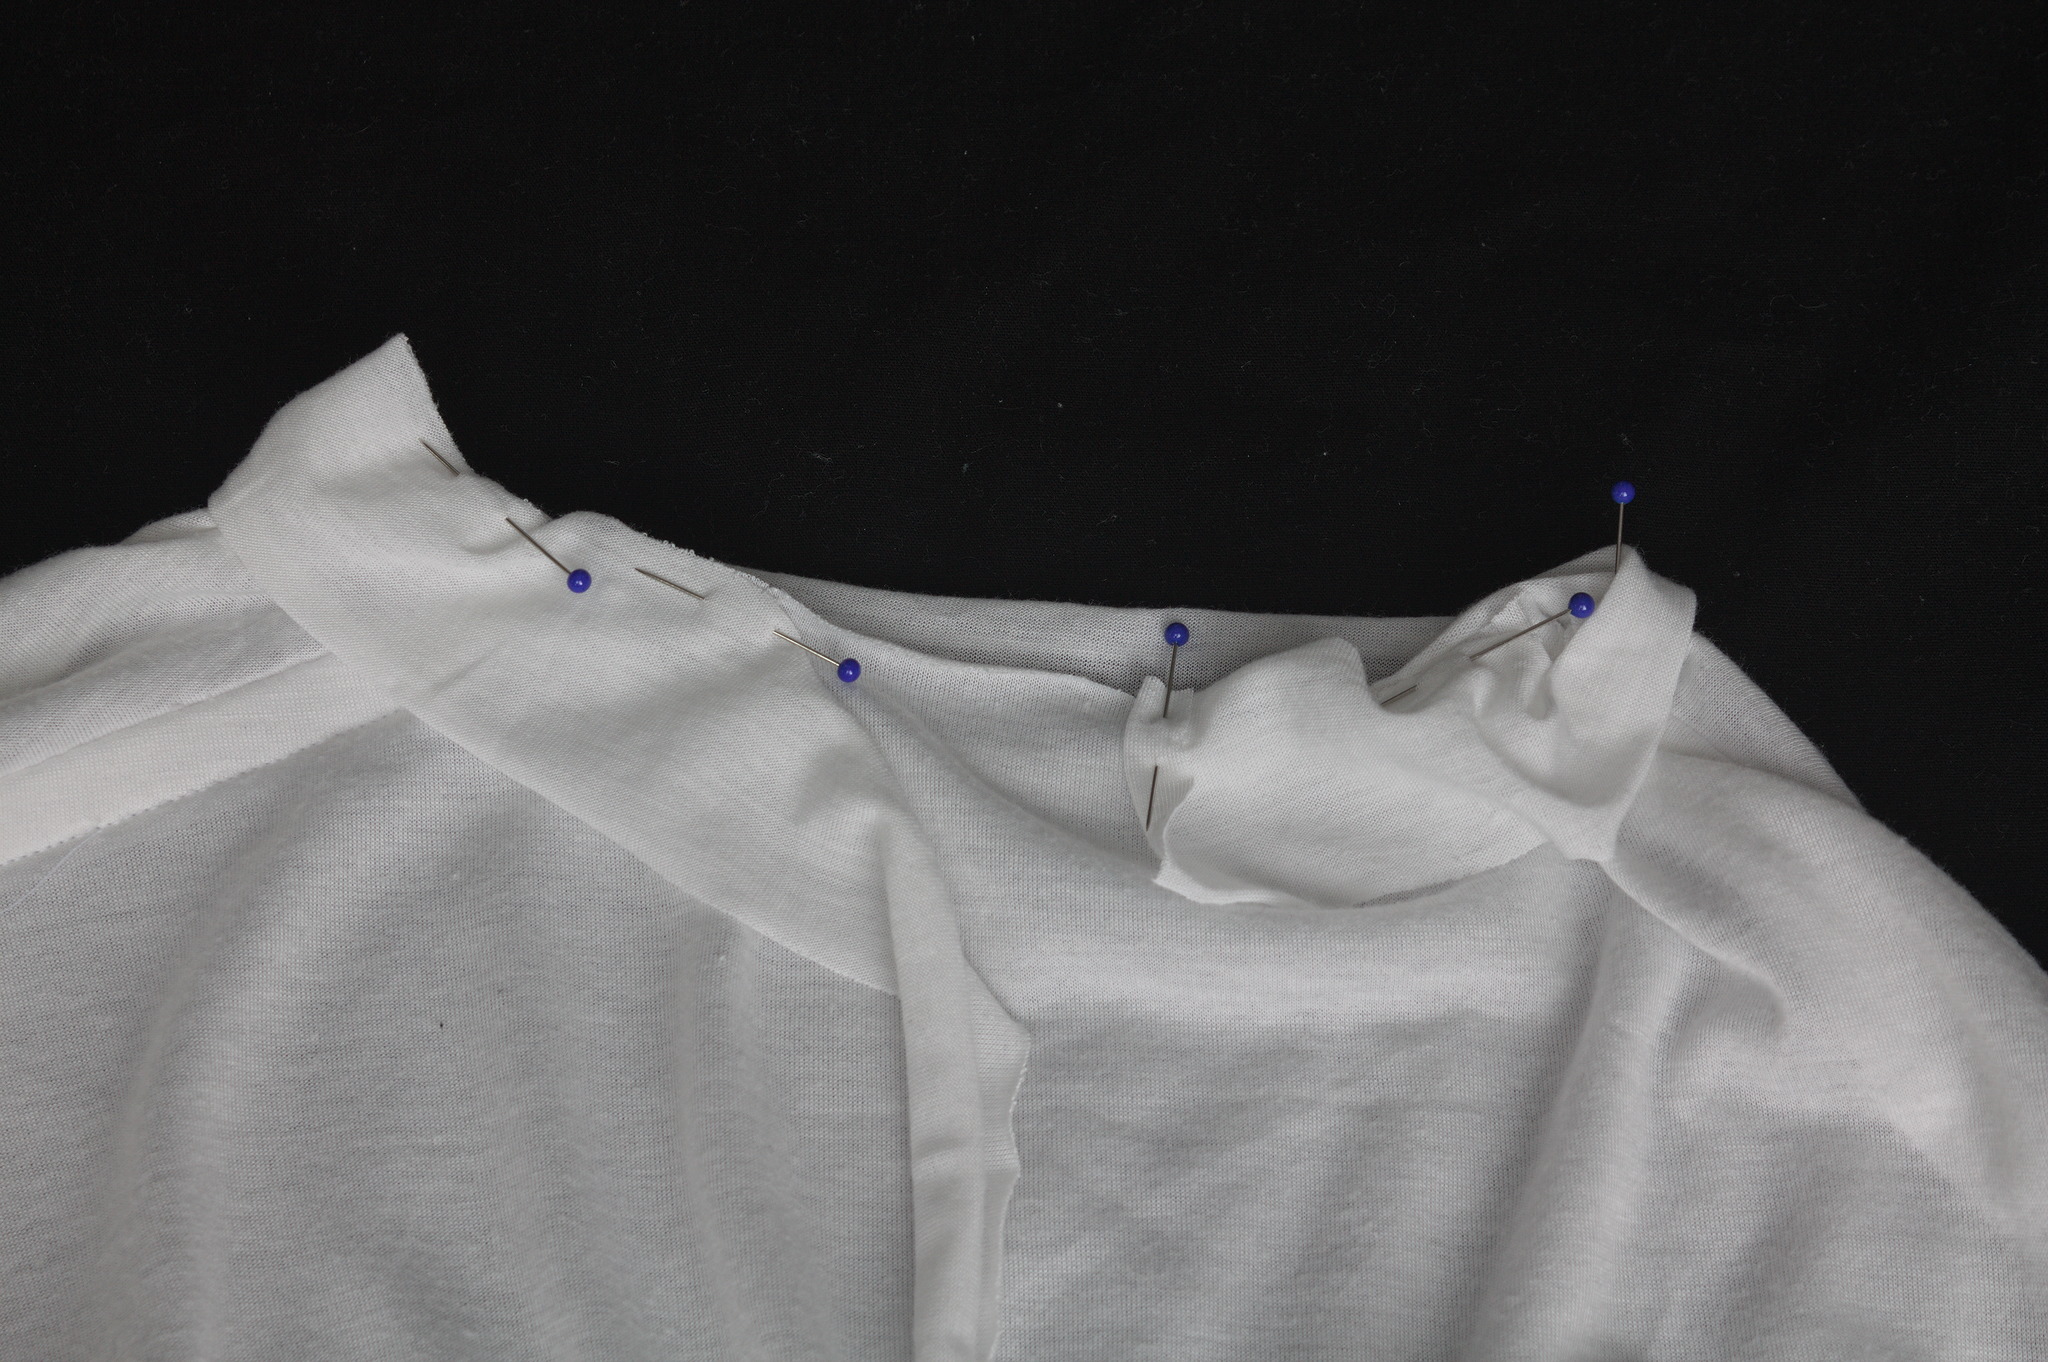
Put the band over the neck opening, right sides together and starting in the center back with the raw edge folded back once, sew with a narrow zig-zag, pulling the fabric a bit to preserve the elasticity in the seam.
Check that the head can still pass through the neckline; if it doesn’t redo the seam pulling the fabric a bit more (or enlarge the neckline a bit).
Press the band and allowances up, fold the band to cover all raw edges and sew it down by hand with a herringbone stitch.
Check again that the head passes through.
Note
alternatively, you can fold the allowance down once towards ther inside and stitch in the ditch by machine from the right side, remembering to use an elastic stitch.
Tip
Finishing the neck at this stage will keep it stable, avoiding the need for stay stitching it; after the first seam you can however postpone the hand stitching until the end.
Sew the sleeves to the back and front with a french seam, aligning the center of the sleeve with the shoulder seams. Press the seam towards the body.
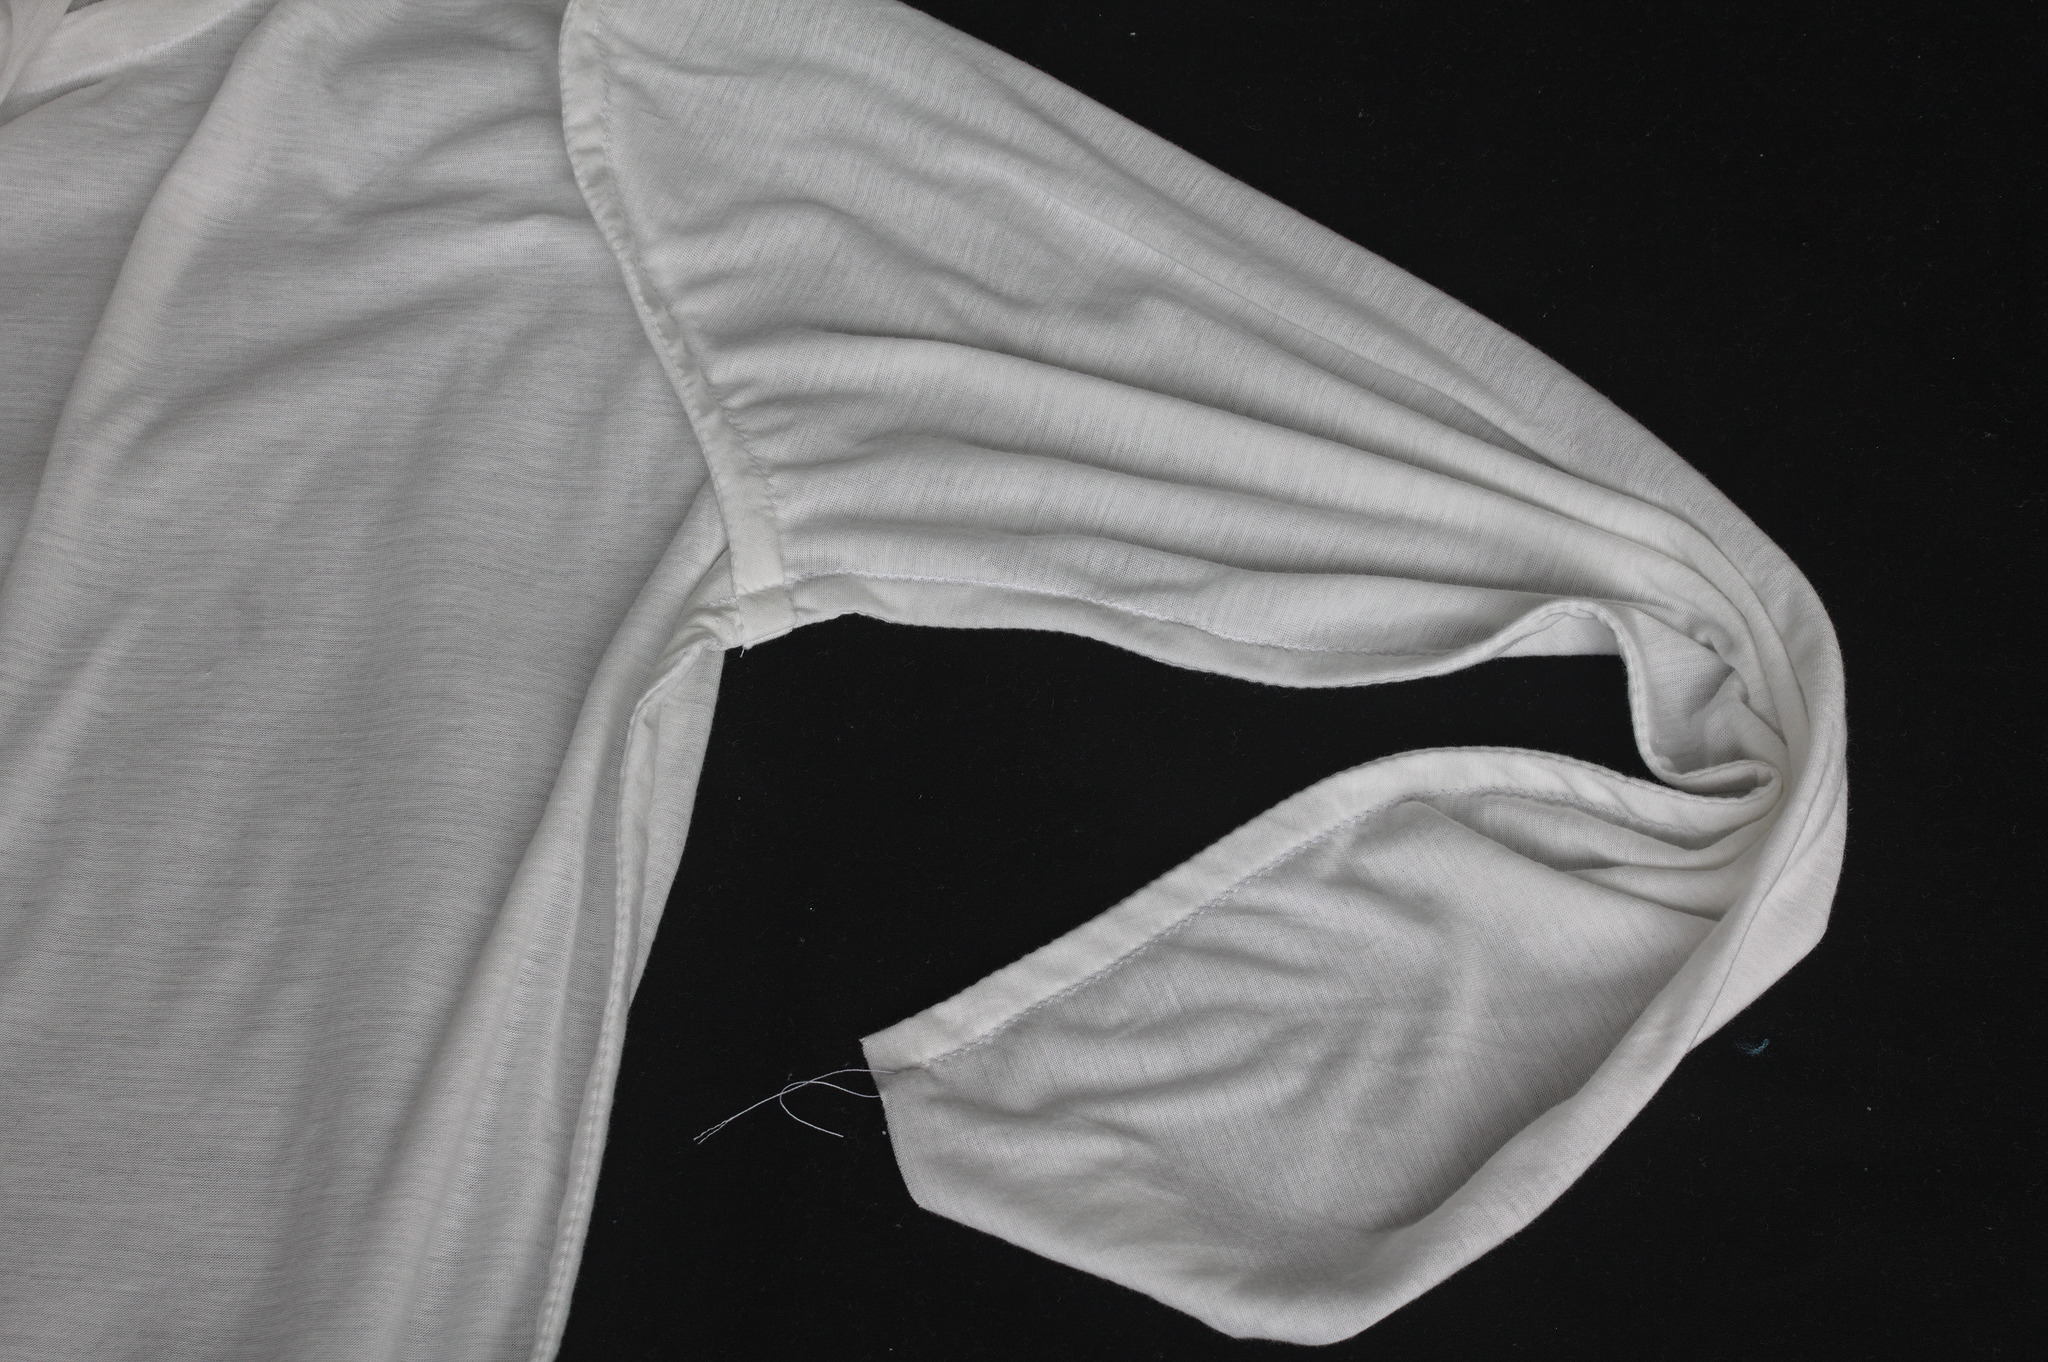
Sew the side and sleeve seams with a french seam. Press the seam towards the back.
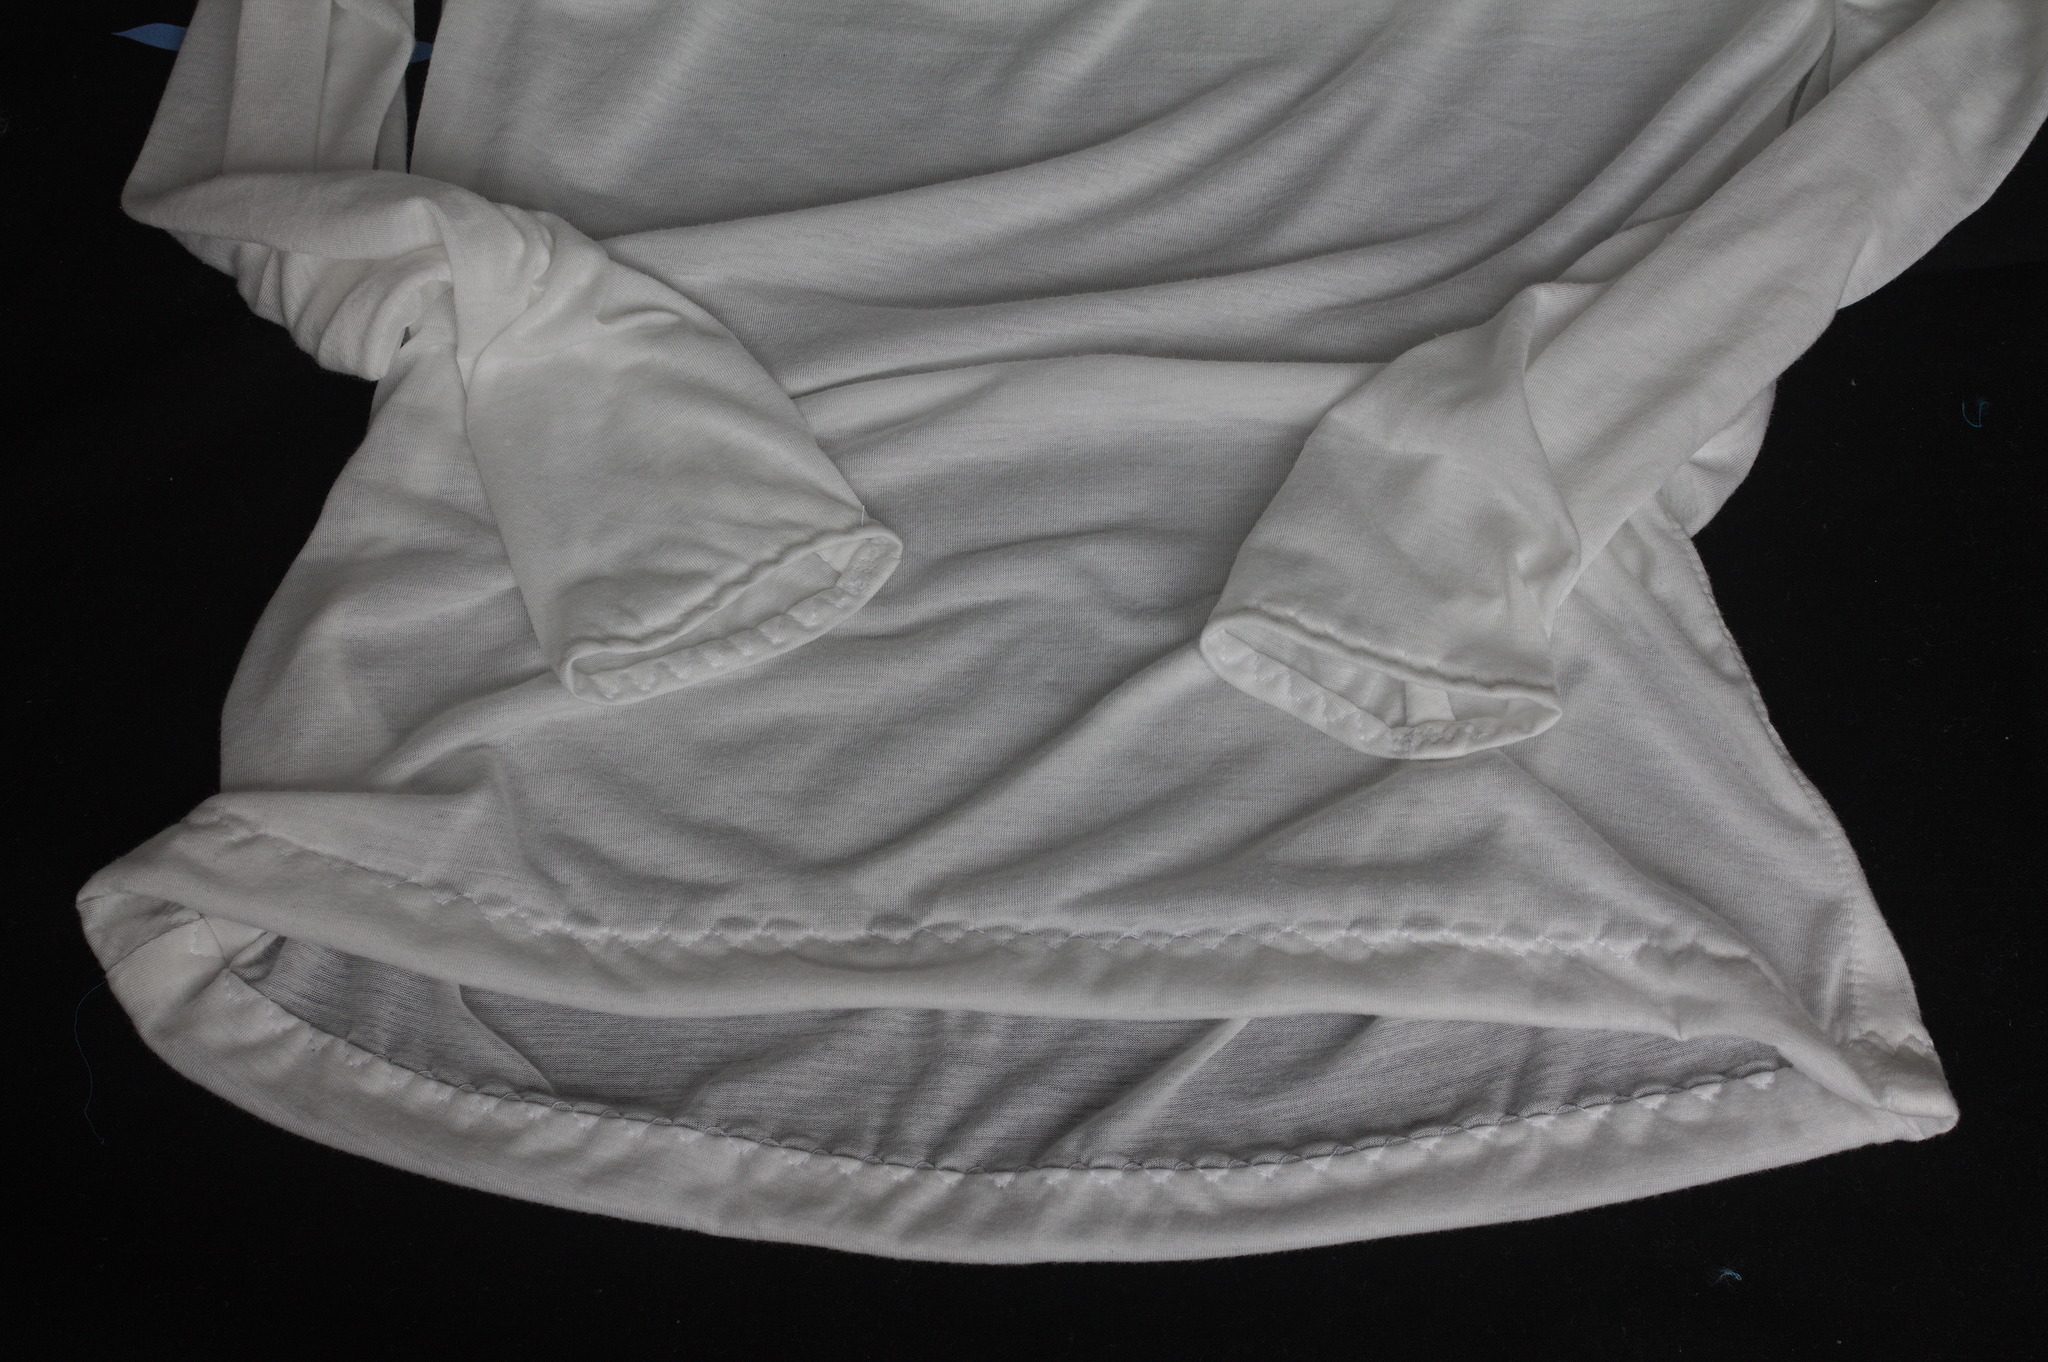
Fold the hem of the shirt up towards the inside 2 cm, then again, and topstitch from the front with an elastic stitch such as a 3-step zig zag or a twin needle.
Do the same to the hem of the sleeves.
Variants
Simpler hems and neckline
If making this as 1st layer, you can make even simpler hems and neckline finish by cutting them with just 1 cm allowance, folding it towards the wrong side and top stitching with a 3-step zig-zag.