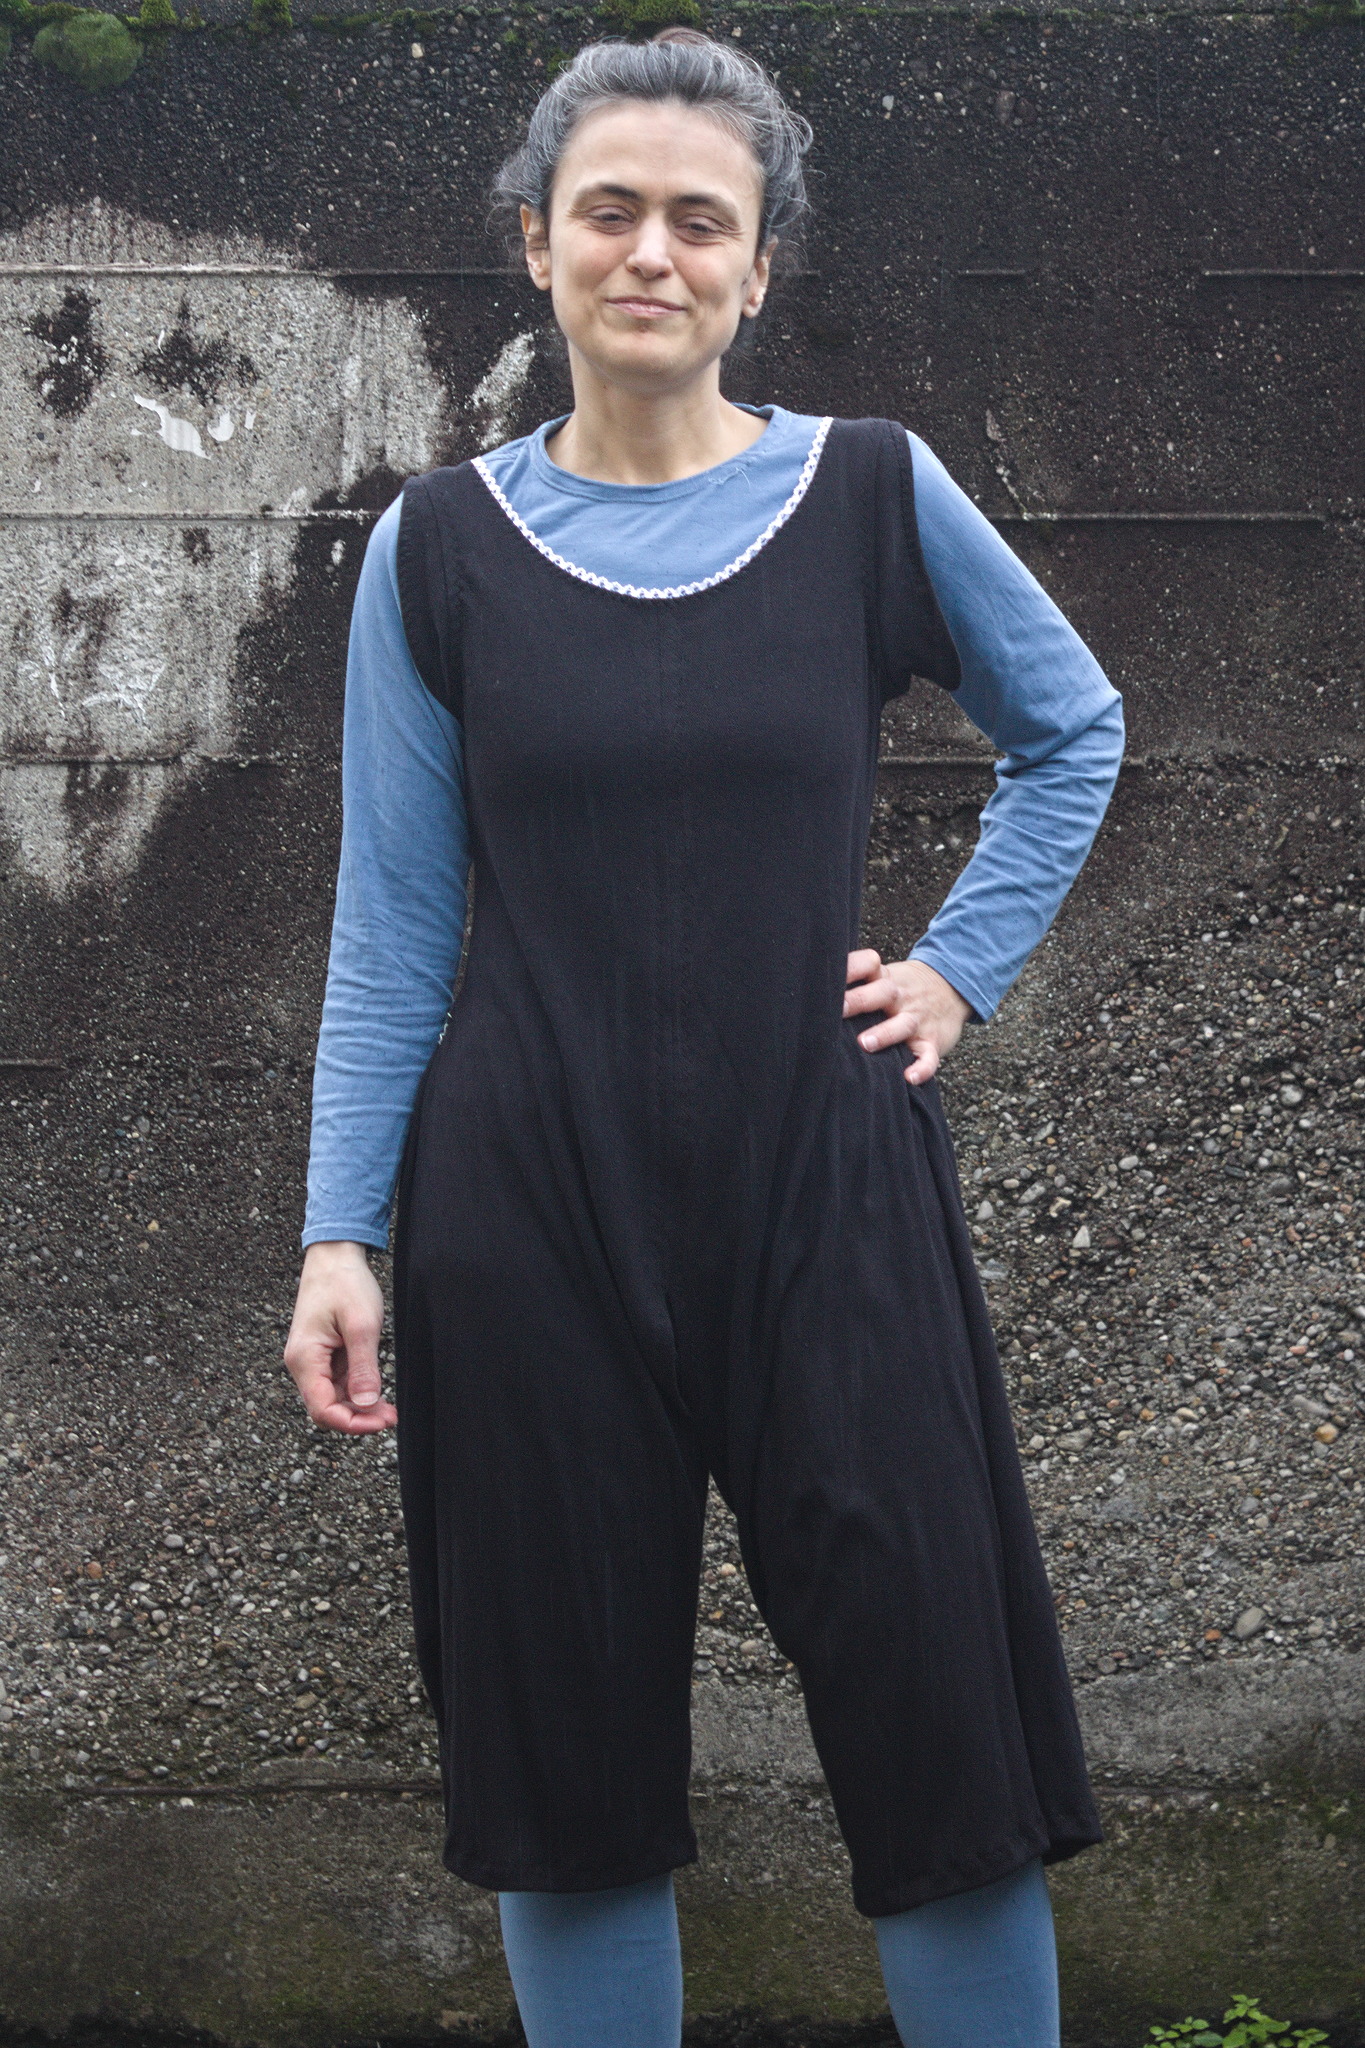
1904 Combination Suit
This is a combination suit (chemise and drawers) based on [Bla04], or the previous edition [Bla97], with knee-length split drawers, no sleeves (but armhole flaps) and a round neck.
It should be suitable for the whole period when combinations were in use, in the late Victorian and Edwardian eras.
Materials
Fabric
About 2-3 m of lightweight cotton or linen.
Notions
sewing thread to match the fabric;
buttonhole thread to match the fabric;
small buttons;
optional but recommended lace.
Pattern
This pattern is based on the Margaret J. Blair’s System of Sewing and Garment Drafting.; see that page for the required measurements.
the file ../../drafting_methods/blair/blair.vit is
used by default by the pattern file and has the list of needed
measurements.
Pattern
Get the valentina file for the pattern,
combination_suit.val.
You also need to decide the following measurements and set them in the table of variables in Valentina; most defaults in the file are sensible.
dart_distance2 cm up to a waist circumference of 65 cm, then add 1/8 of the difference.
dart_waist_downlength of the lower part of the darts.
bust_easehow much ease to leave at the bust: no more than 2 cm.
front_facingwidth of the facing on the front and crotch opening; enough to add buttons and buttonholes, but note that it will have to go around a tight curve, where a narrower facing will work easily.
front_added_depthhow much height to add to the crotch seam compared to the side in the front.
back_added_depthhow much height to add to the crotch seam compared to the side in the back.
shoulder_overlaphow much the sleevelet should overlap at the shoulder: 1 cm for a shoulder strap with buttons, a bit more if the shoulder strap is closed.
sleevelet_depthwidest part of the sleevelet.
seam_allowancee.g. 2 cm, to allow for french or flat-felled seams.
Instructions
Cutting
Cut 2 fronts; if your fabric isn’t especially wide you may need to cut each individual front in the full width of the fabric, rather than cutting two at a time on folded fabric; make sure to cut them so that they are symmetrical. Cut the back on the fold of the fabric. Cut two of the sleevelets.
Note
The length of the legs on the pattern is the length of plain legs, finished just with a hem.
To add a ruffle or lace at the bottom, remove its height from the bottom of the leg, to add pintucks add twice their depth to the bottom of the leg.
Or keep the leg as is, and make enough pintucks to precisely match the height of the ruffle.
Mark all darts.
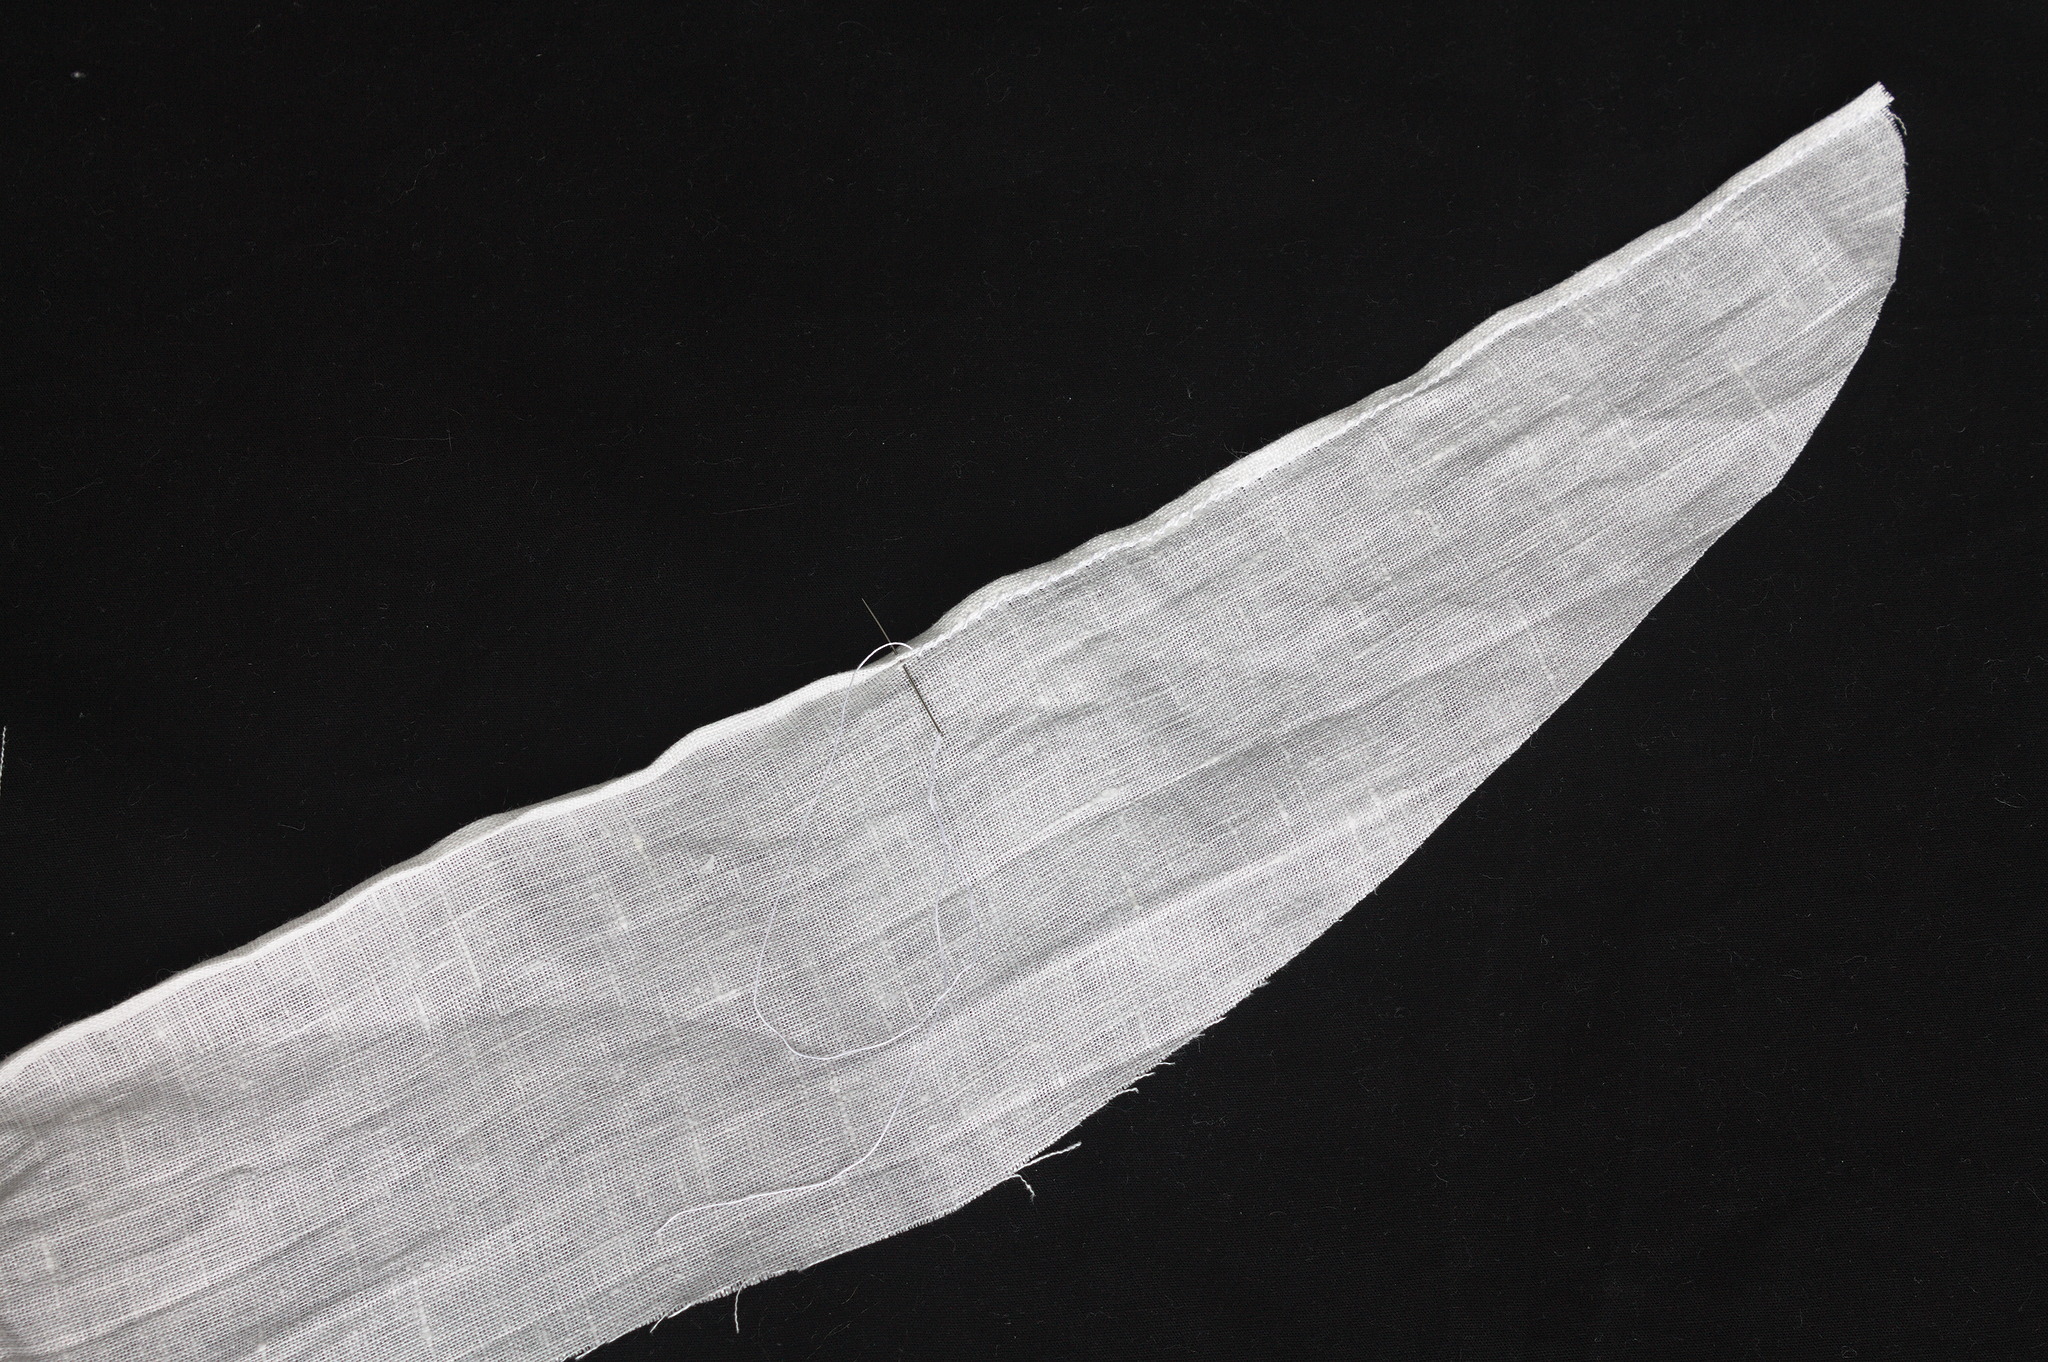
From the remaining fabric also cut enough bias strips, about 4 cm wide,
to face the neck and enough cross-grain strips, 3 times the width set in
the pattern as front_facing to face the front and the crotch
opening.
Note
It is important that the facing on the front is on the grain or cross-grain, but not on the bias, as it will have to stabilize the bias cut front for the buttons and buttonholes.
If you want to make a shaped facing instead of a straight one, cut it with the front part on the (cross-)grain.
Assembly
Sew the darts in the front, press them towards the side.
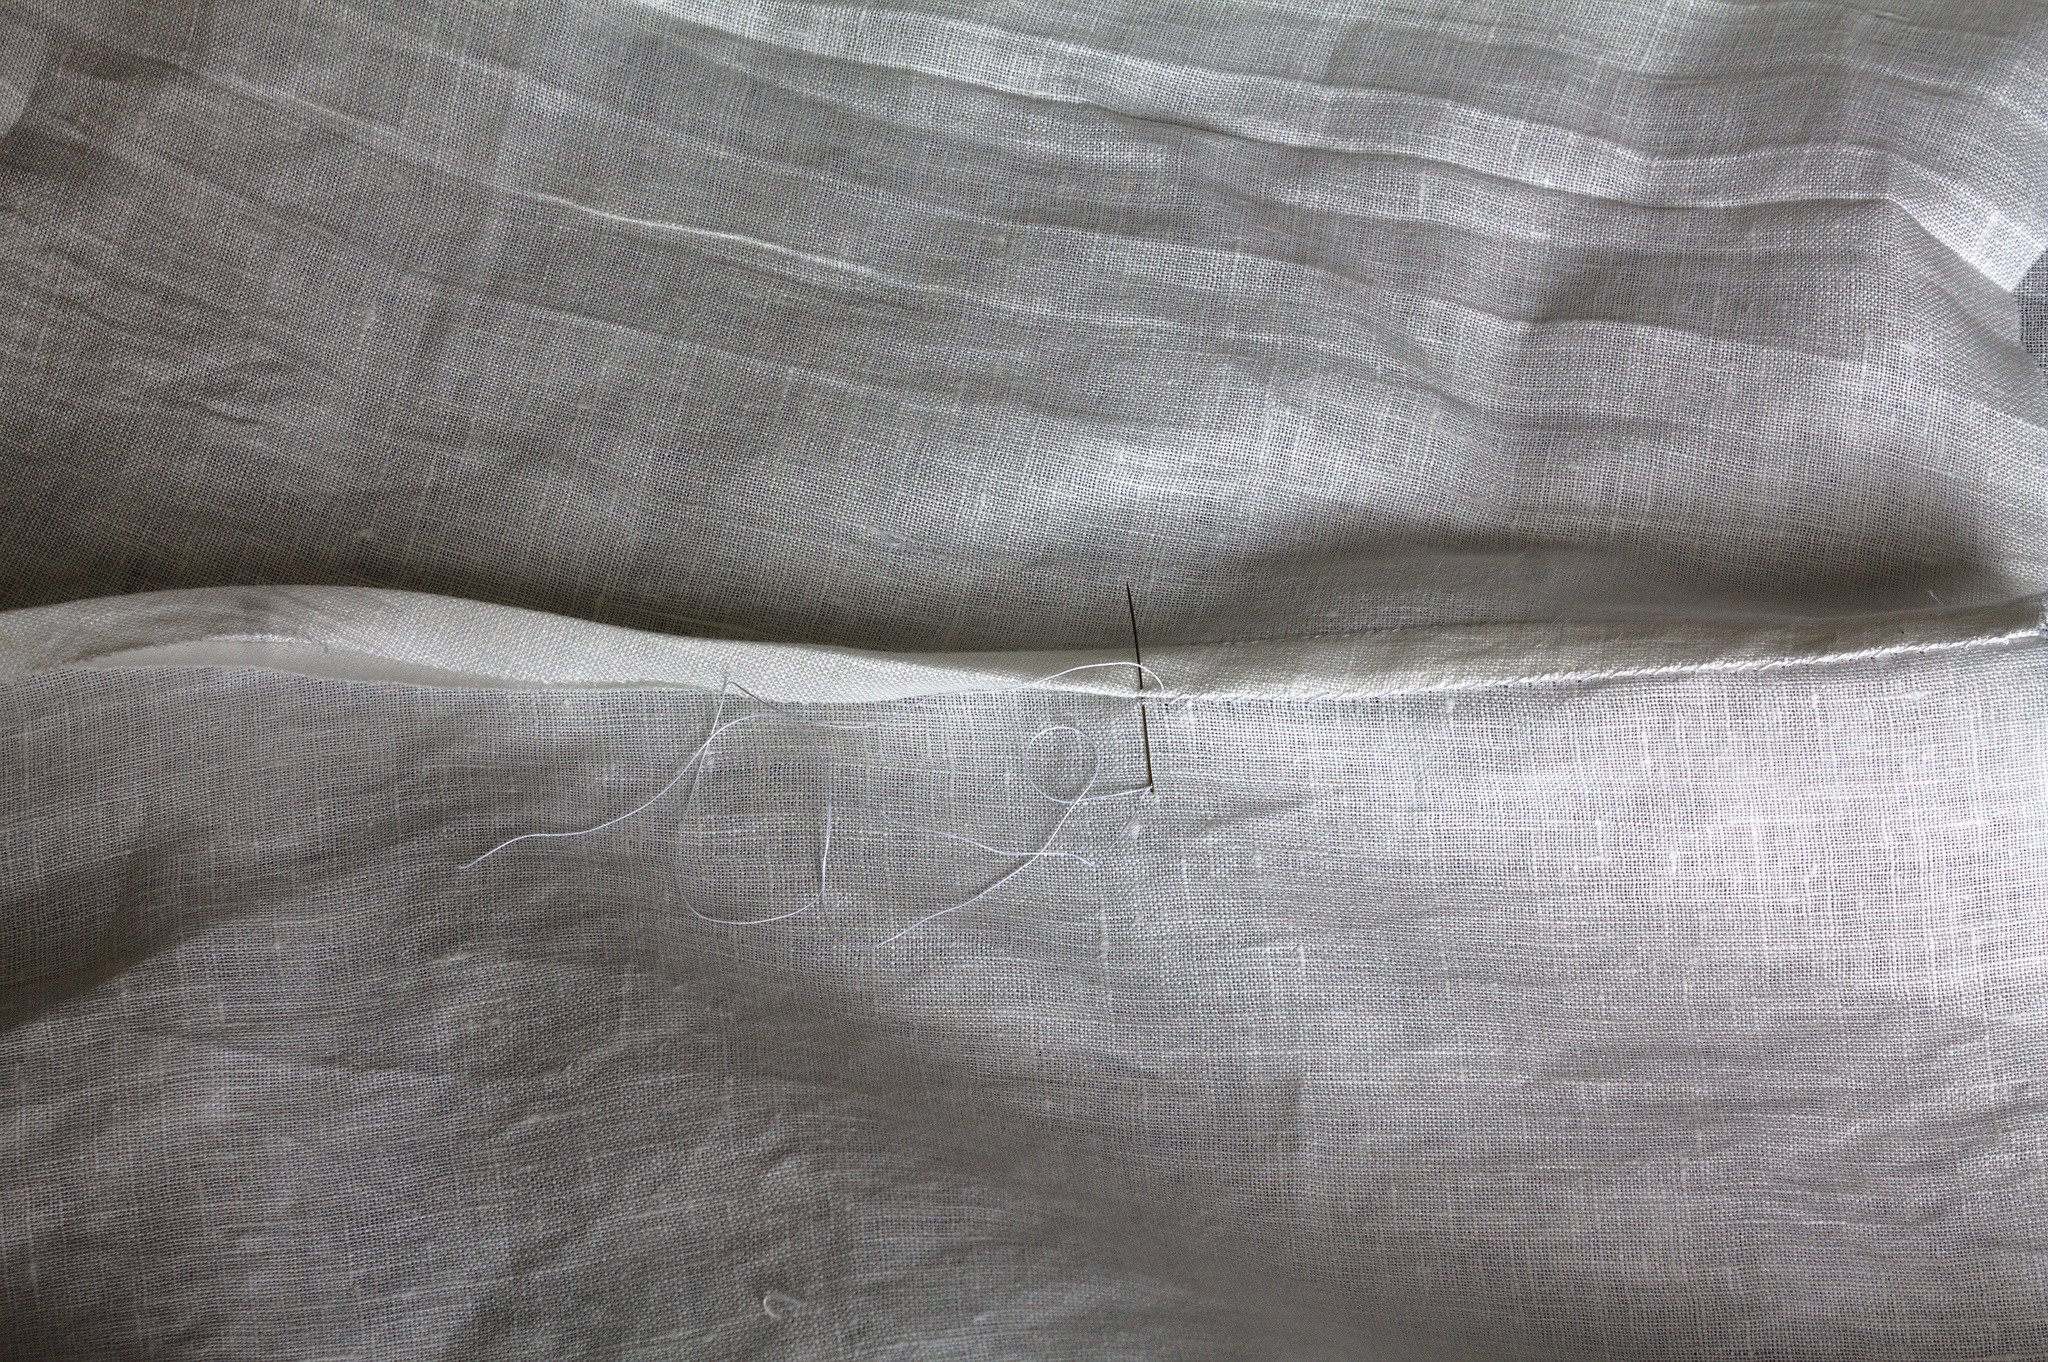
Right sides together sew the legs, press the seam open, trim the front allowance, press the allowances towards the front, folding the back to cover the raw edges and hemstitch it down to flat fell the seam.
Right sides together, sew the cross-grain facing to the front and
crotch, using the front_facing measurement for the allowance
(default is 1 cm).
Warning
The line on the pattern is not the seam line, but the center line, and will have to lie halfway through the facing where the buttons will be, allowing for the overlapping.
Fold it towards the inside, fold again to cover all raw edges, hemstitch it down.
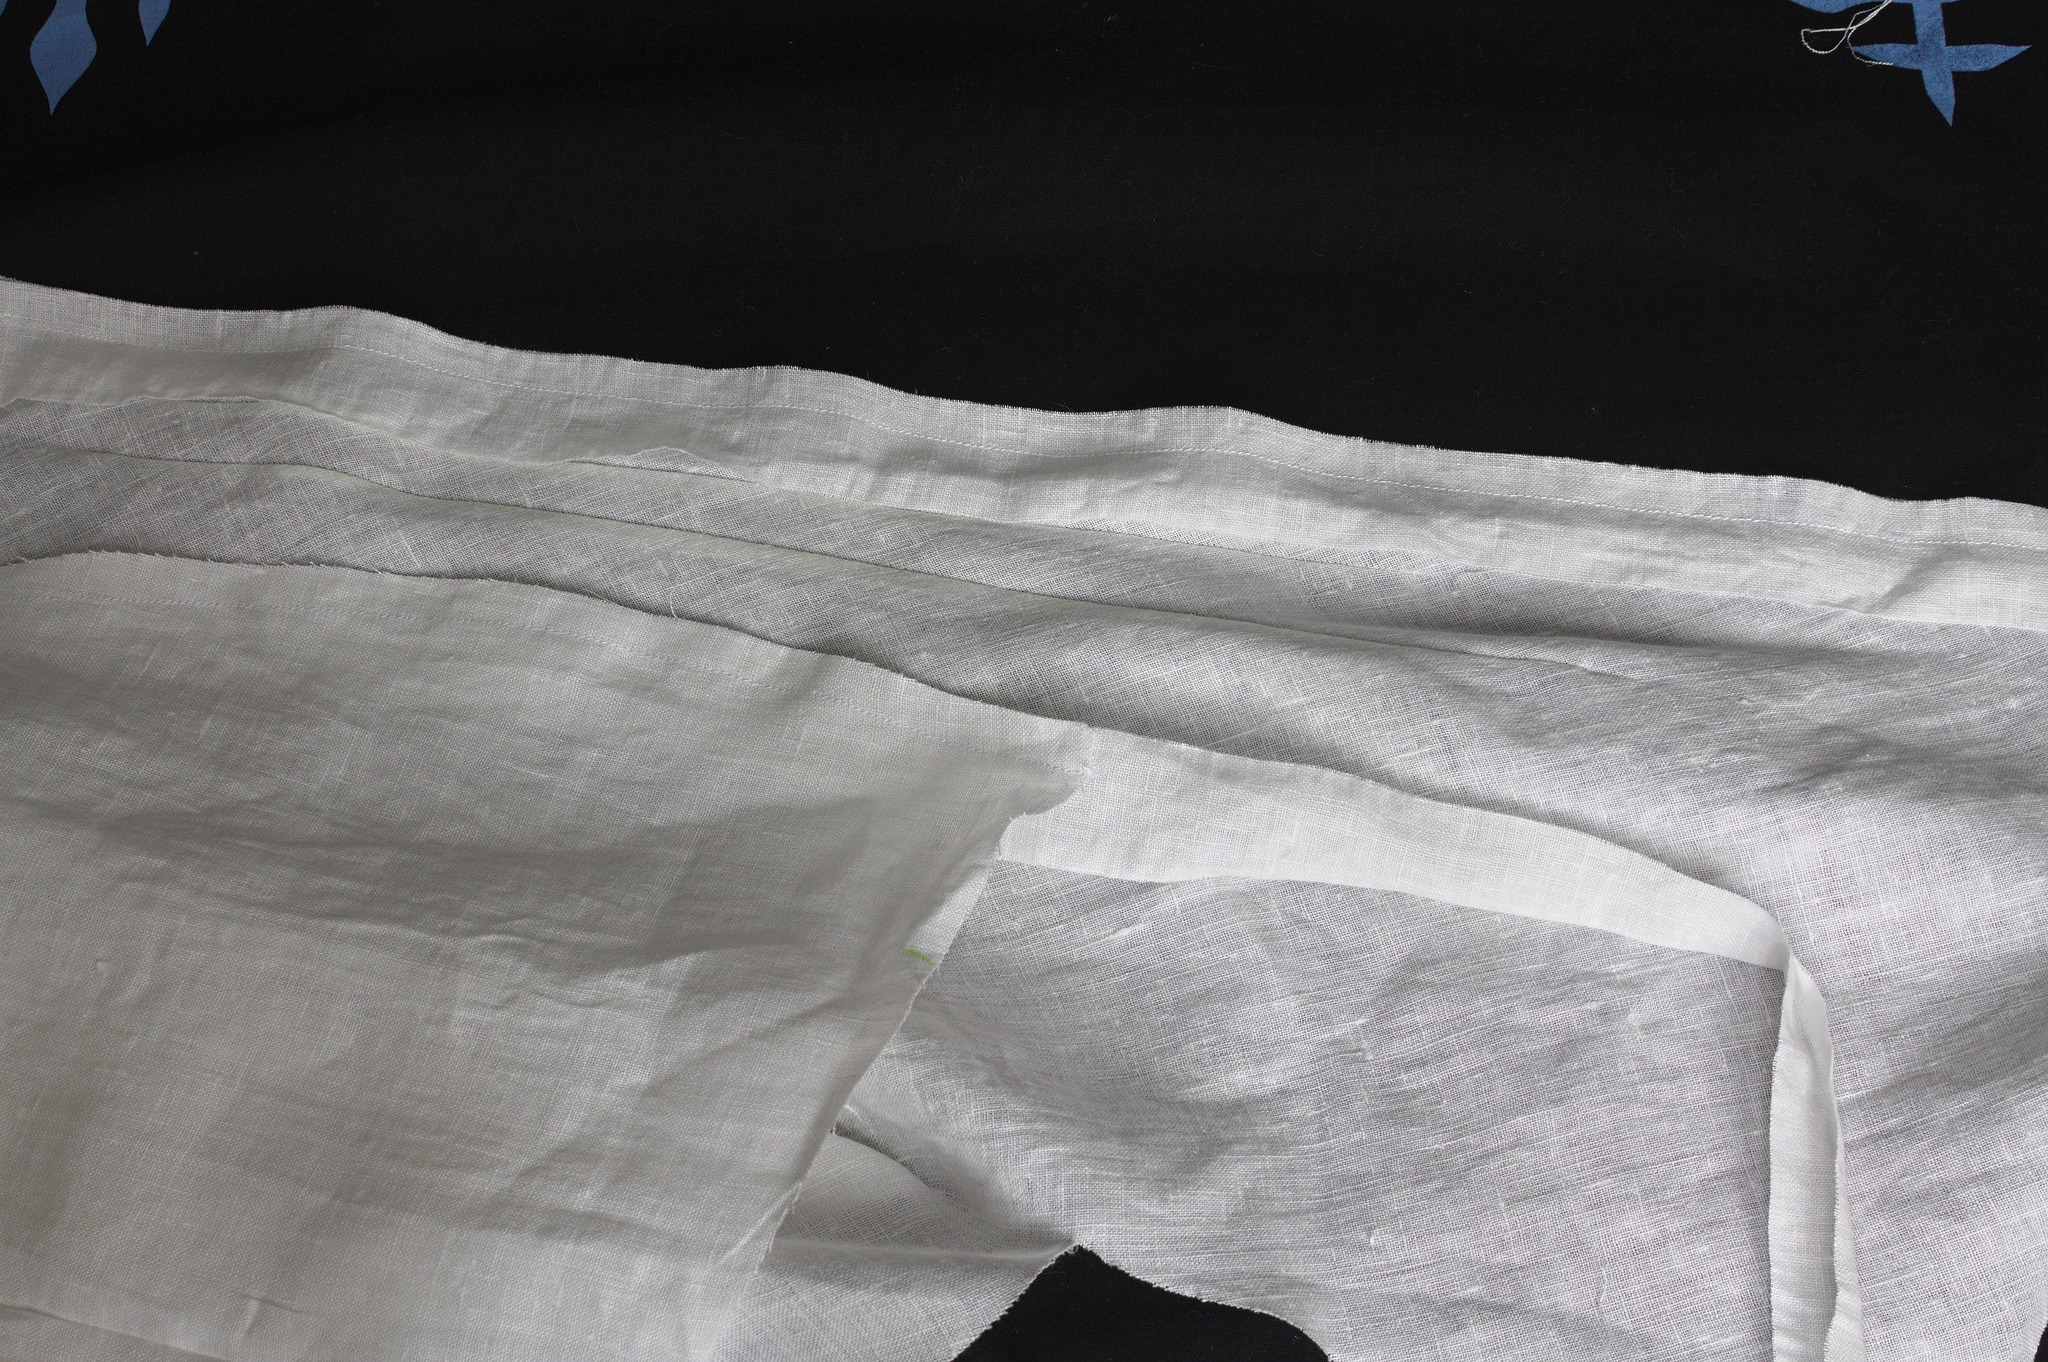
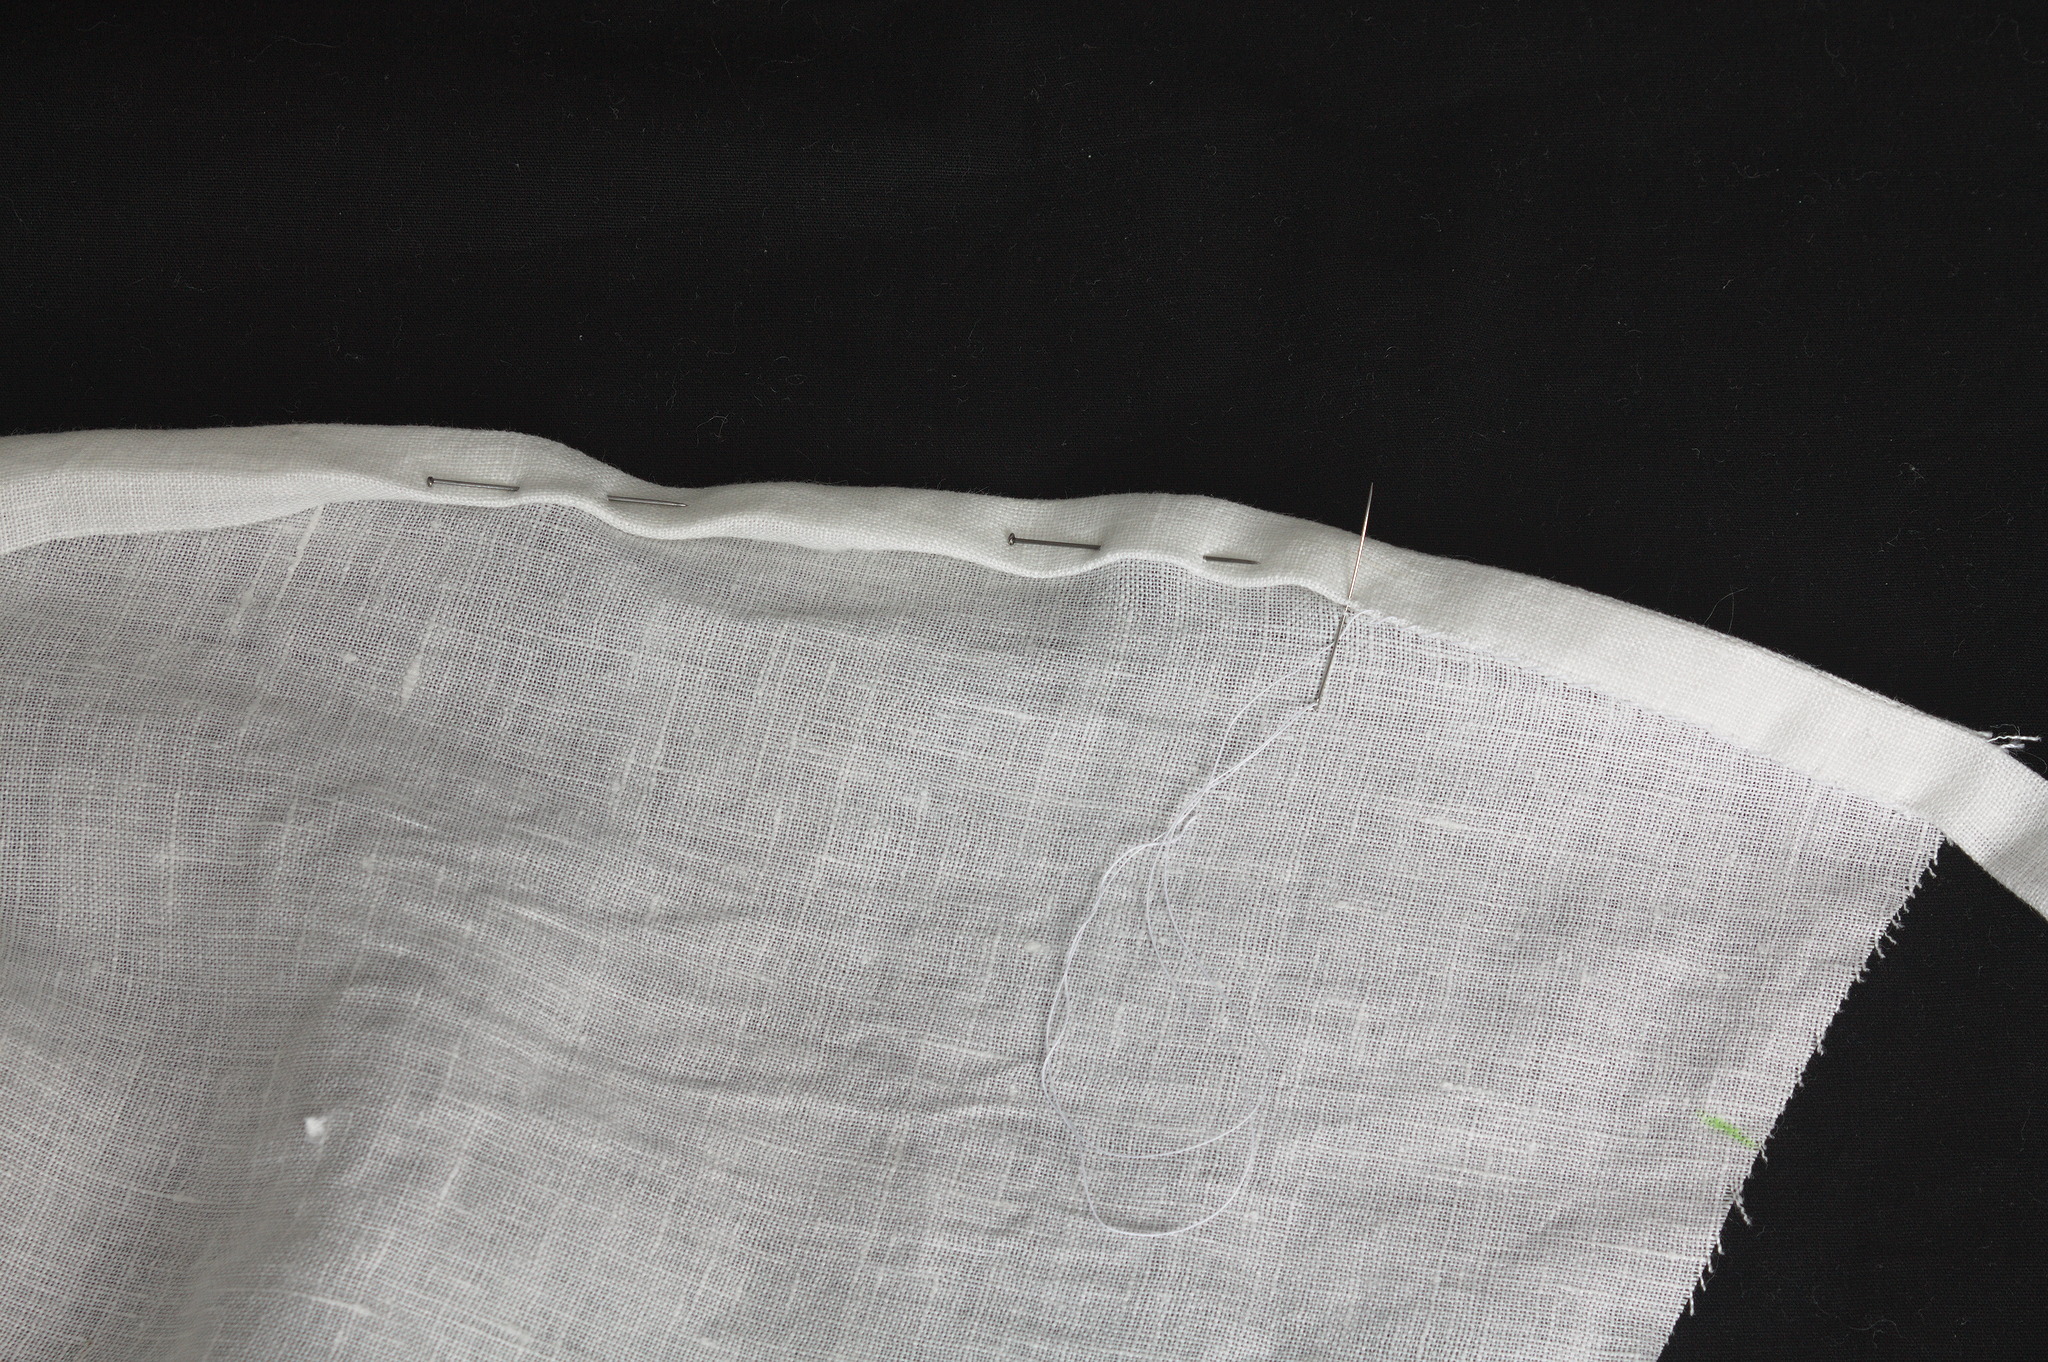
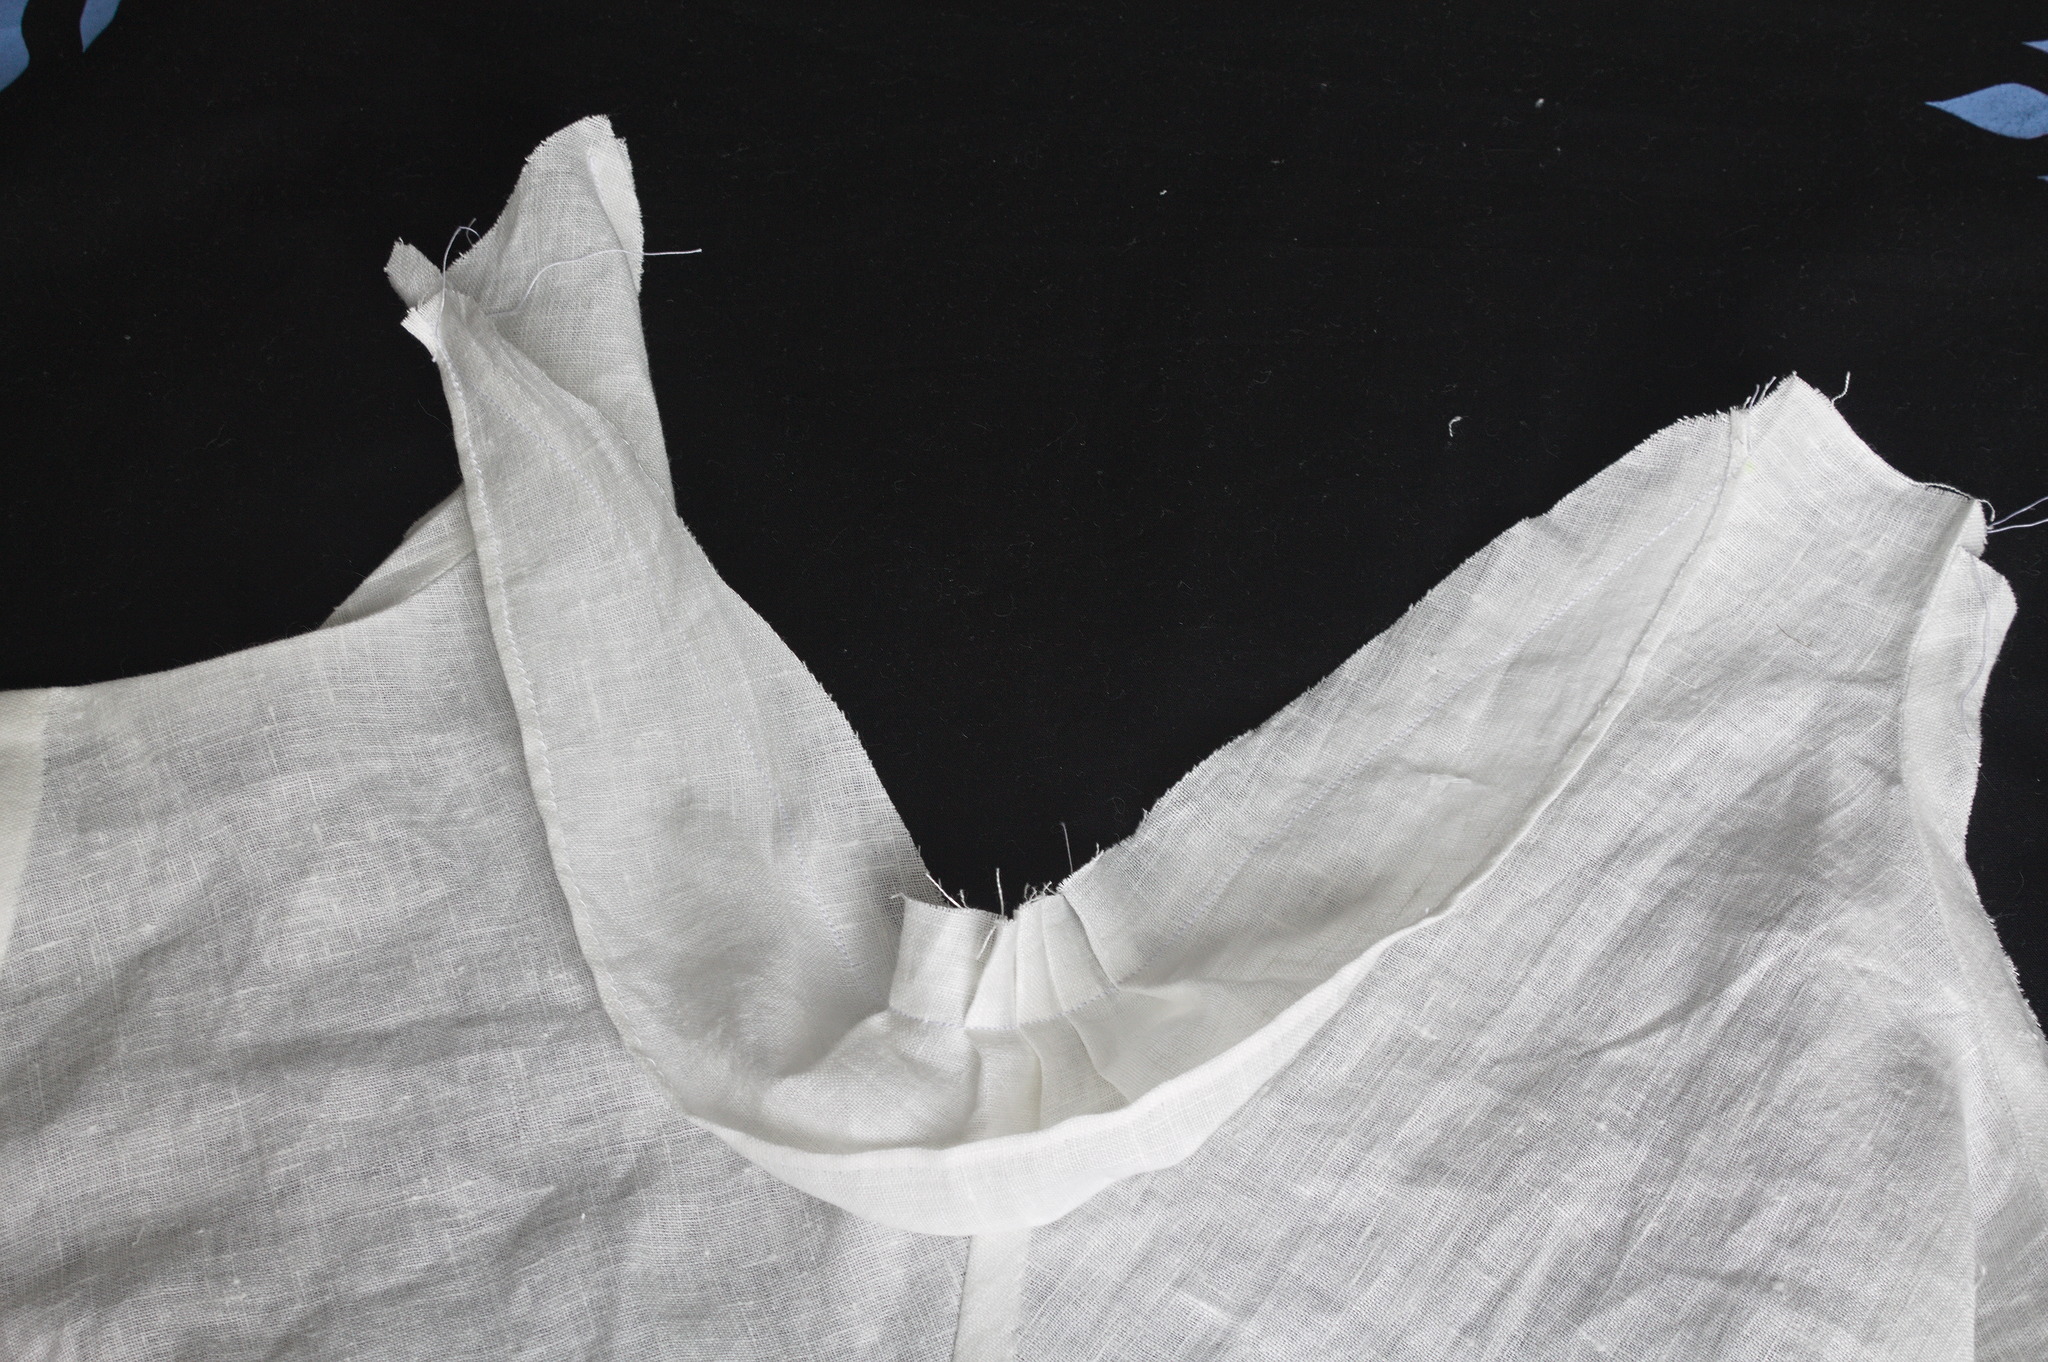
Baste two lines of gathering stitches between the marks of the drawers’ back, at 18 and 22 mm from the edge.
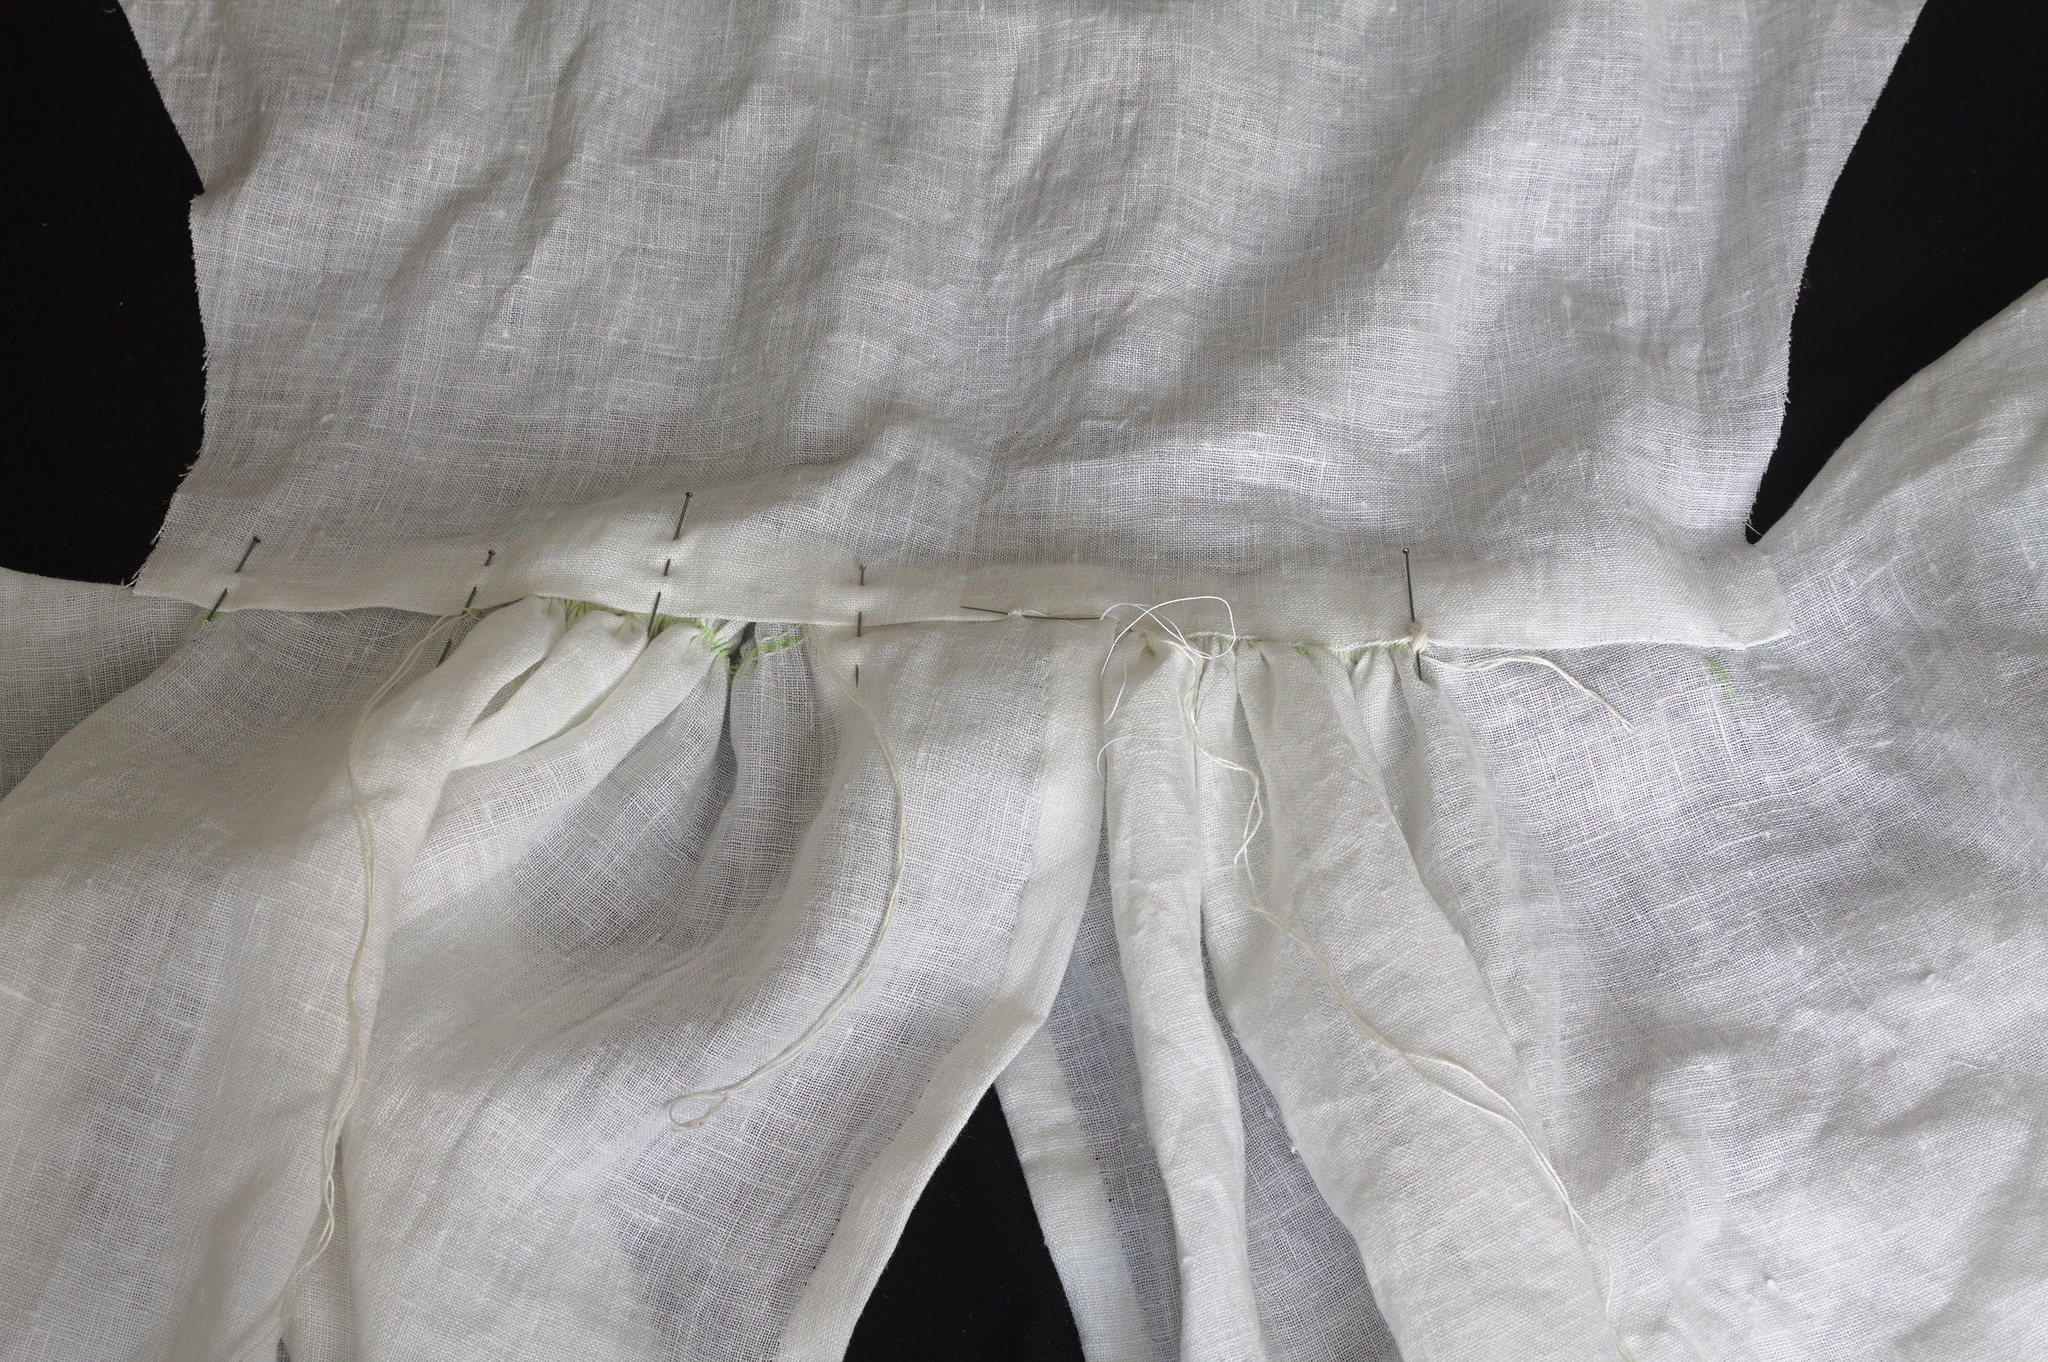
Press the bottom edge of the back towards the wrong side, pin it to the fronts in such a way that the side seam aligns with back seam of the side dart and the two fronts overlap in the middle up to the mark closest to the center back (between points C8 and A10).
Tip
In the overlap I’d put the left leg on top, closest to the fabric of the back, and the right leg on the bottom, closest to the body, unless making the combinations for somebody who is left-handed.
Gather the excess of the fabric and hemstitch the back over them, catching each gather with a stitch.
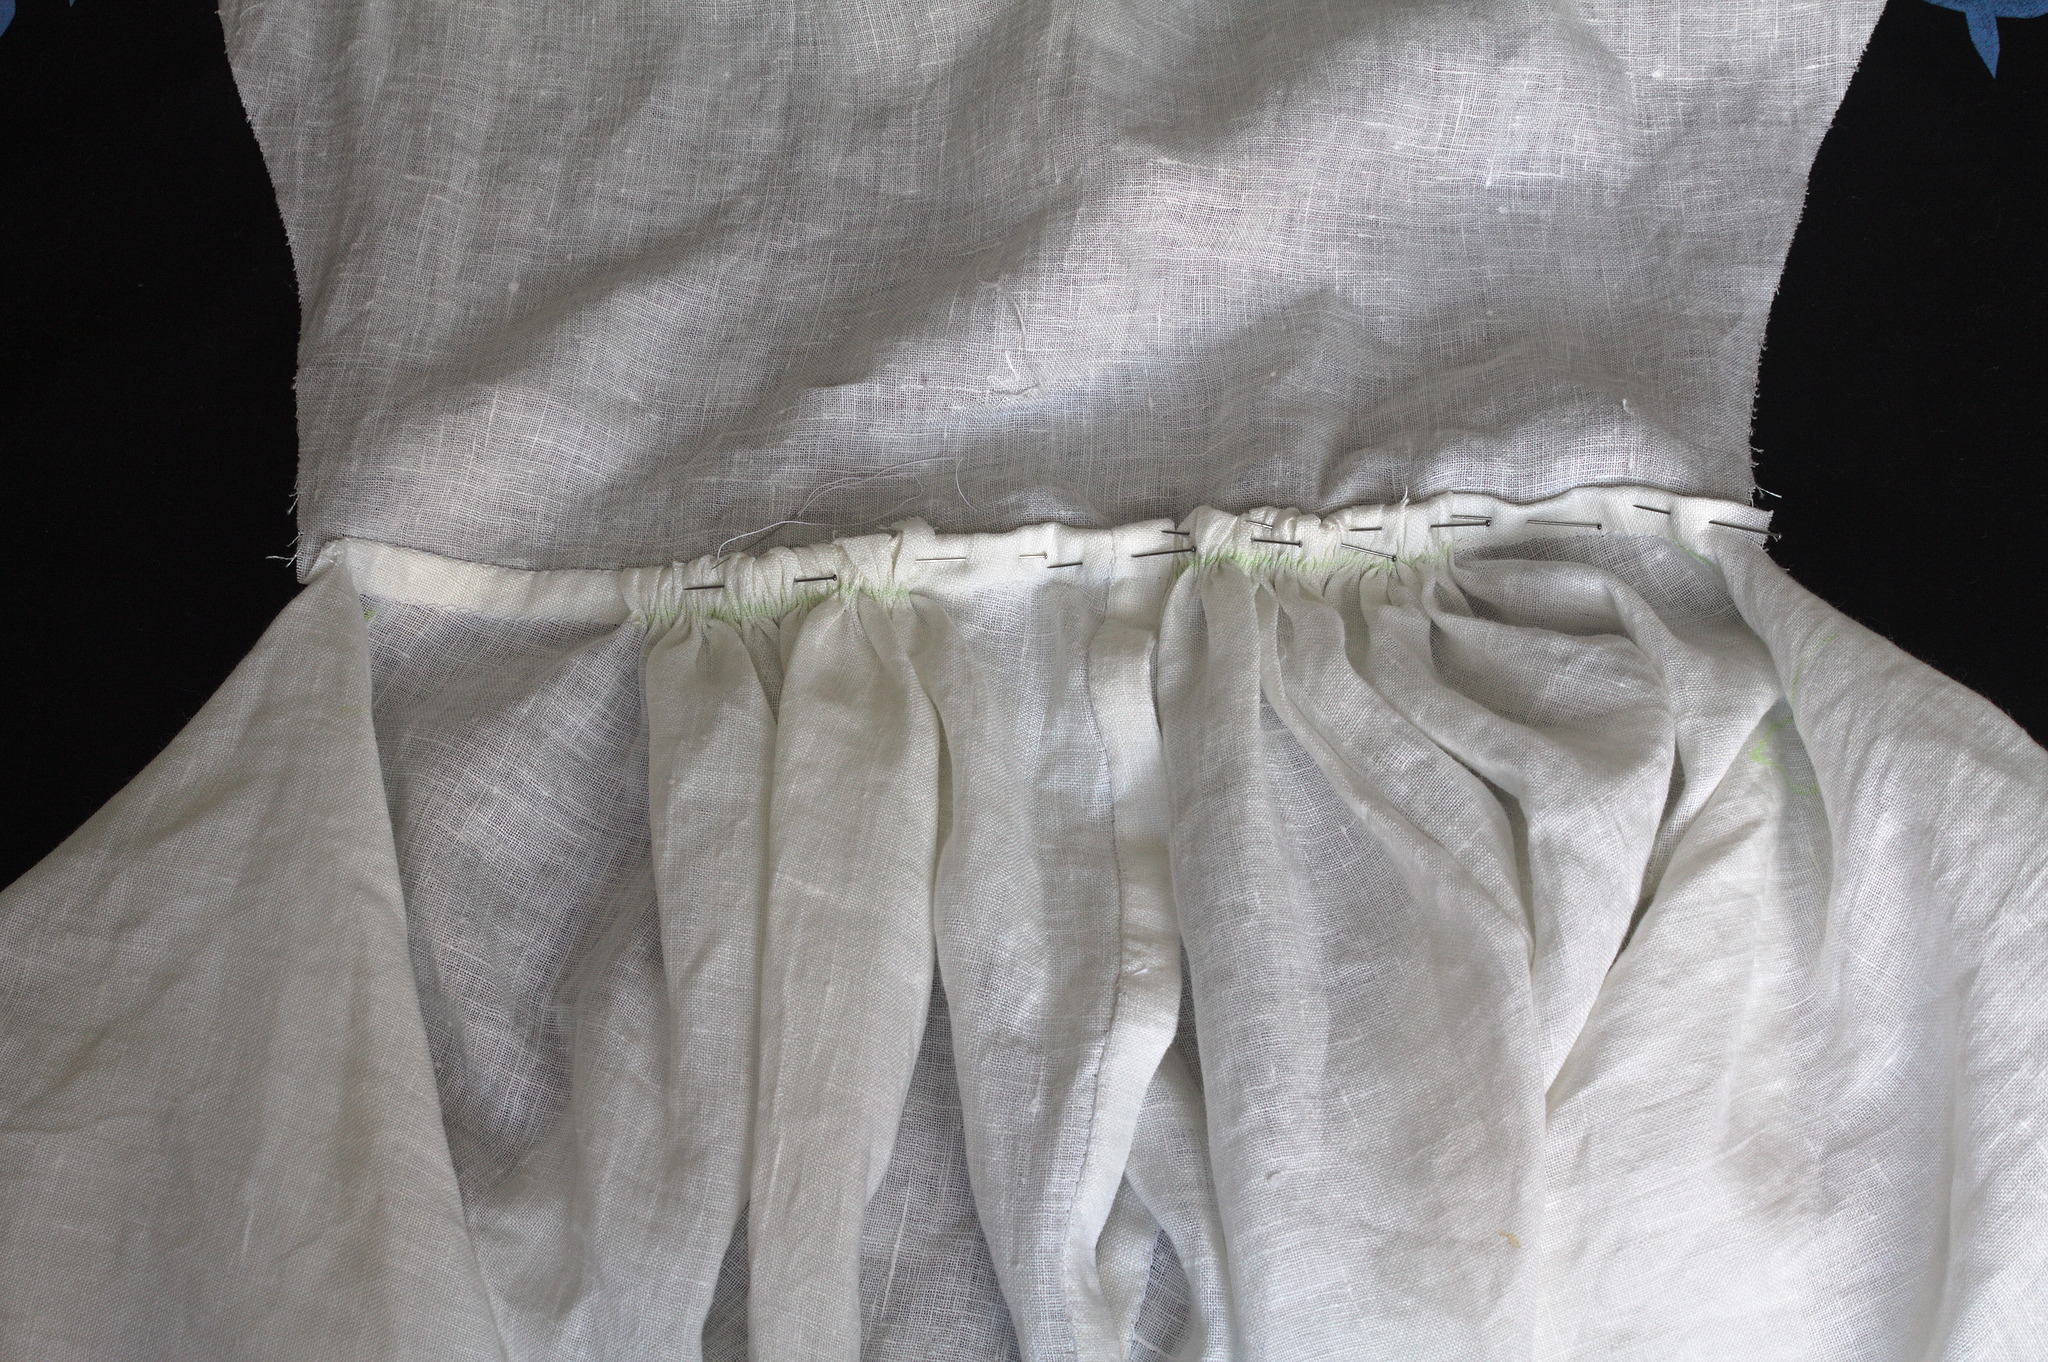
Trim the allowance on the back, fold the allowance from the drawers over it and hemstitch it down to flat fell the seam.
Tip
To reduce bulk, you can also trim both allowances and cover everything with a band of fabric hemstitched to the inside to cover them.
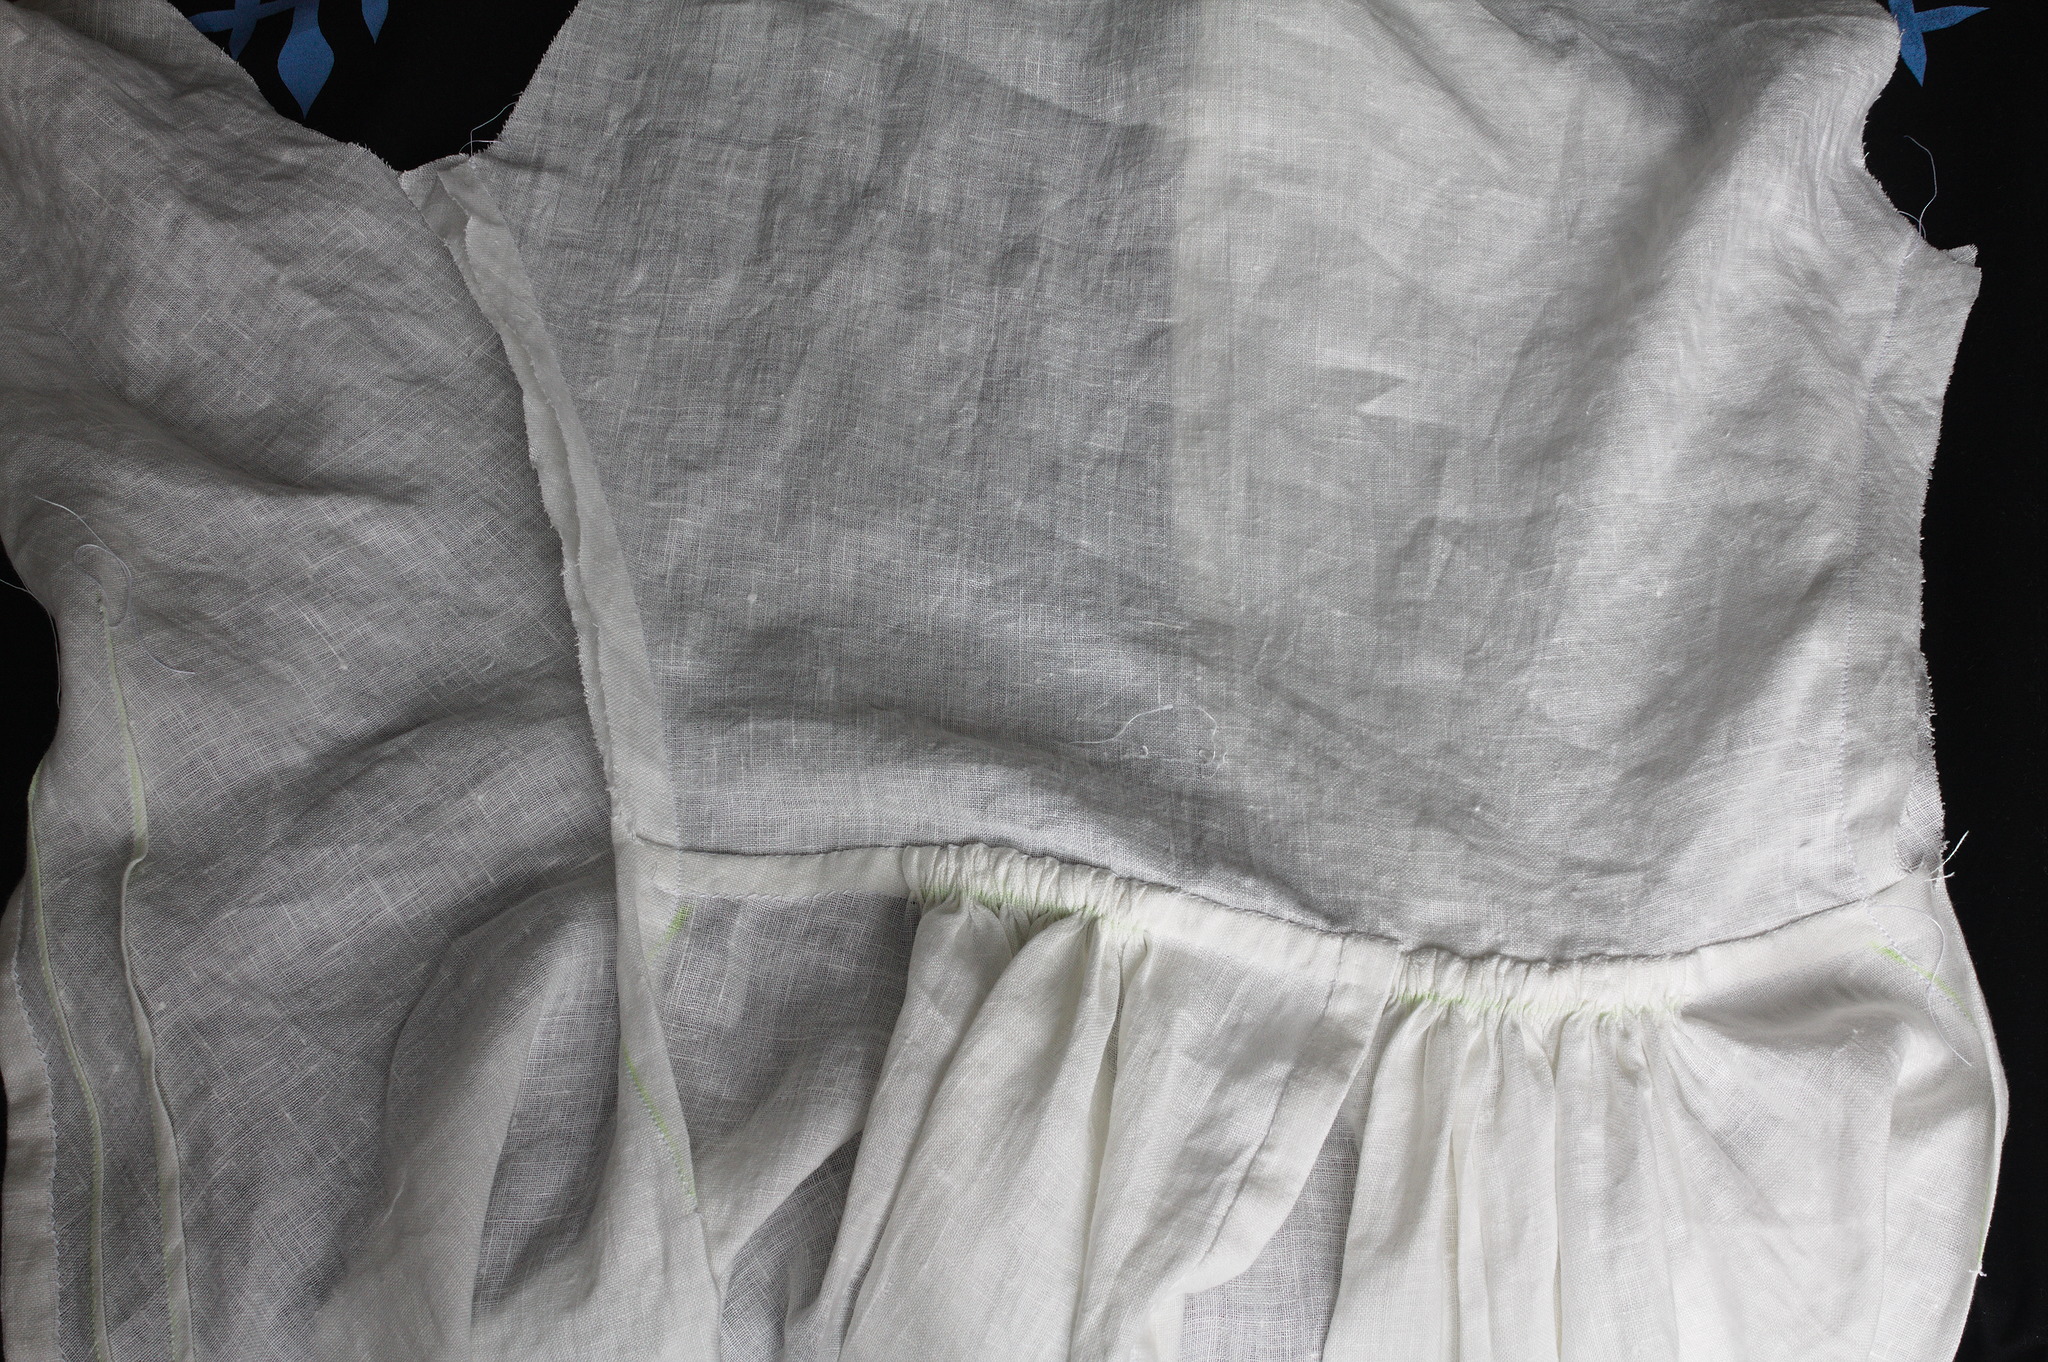
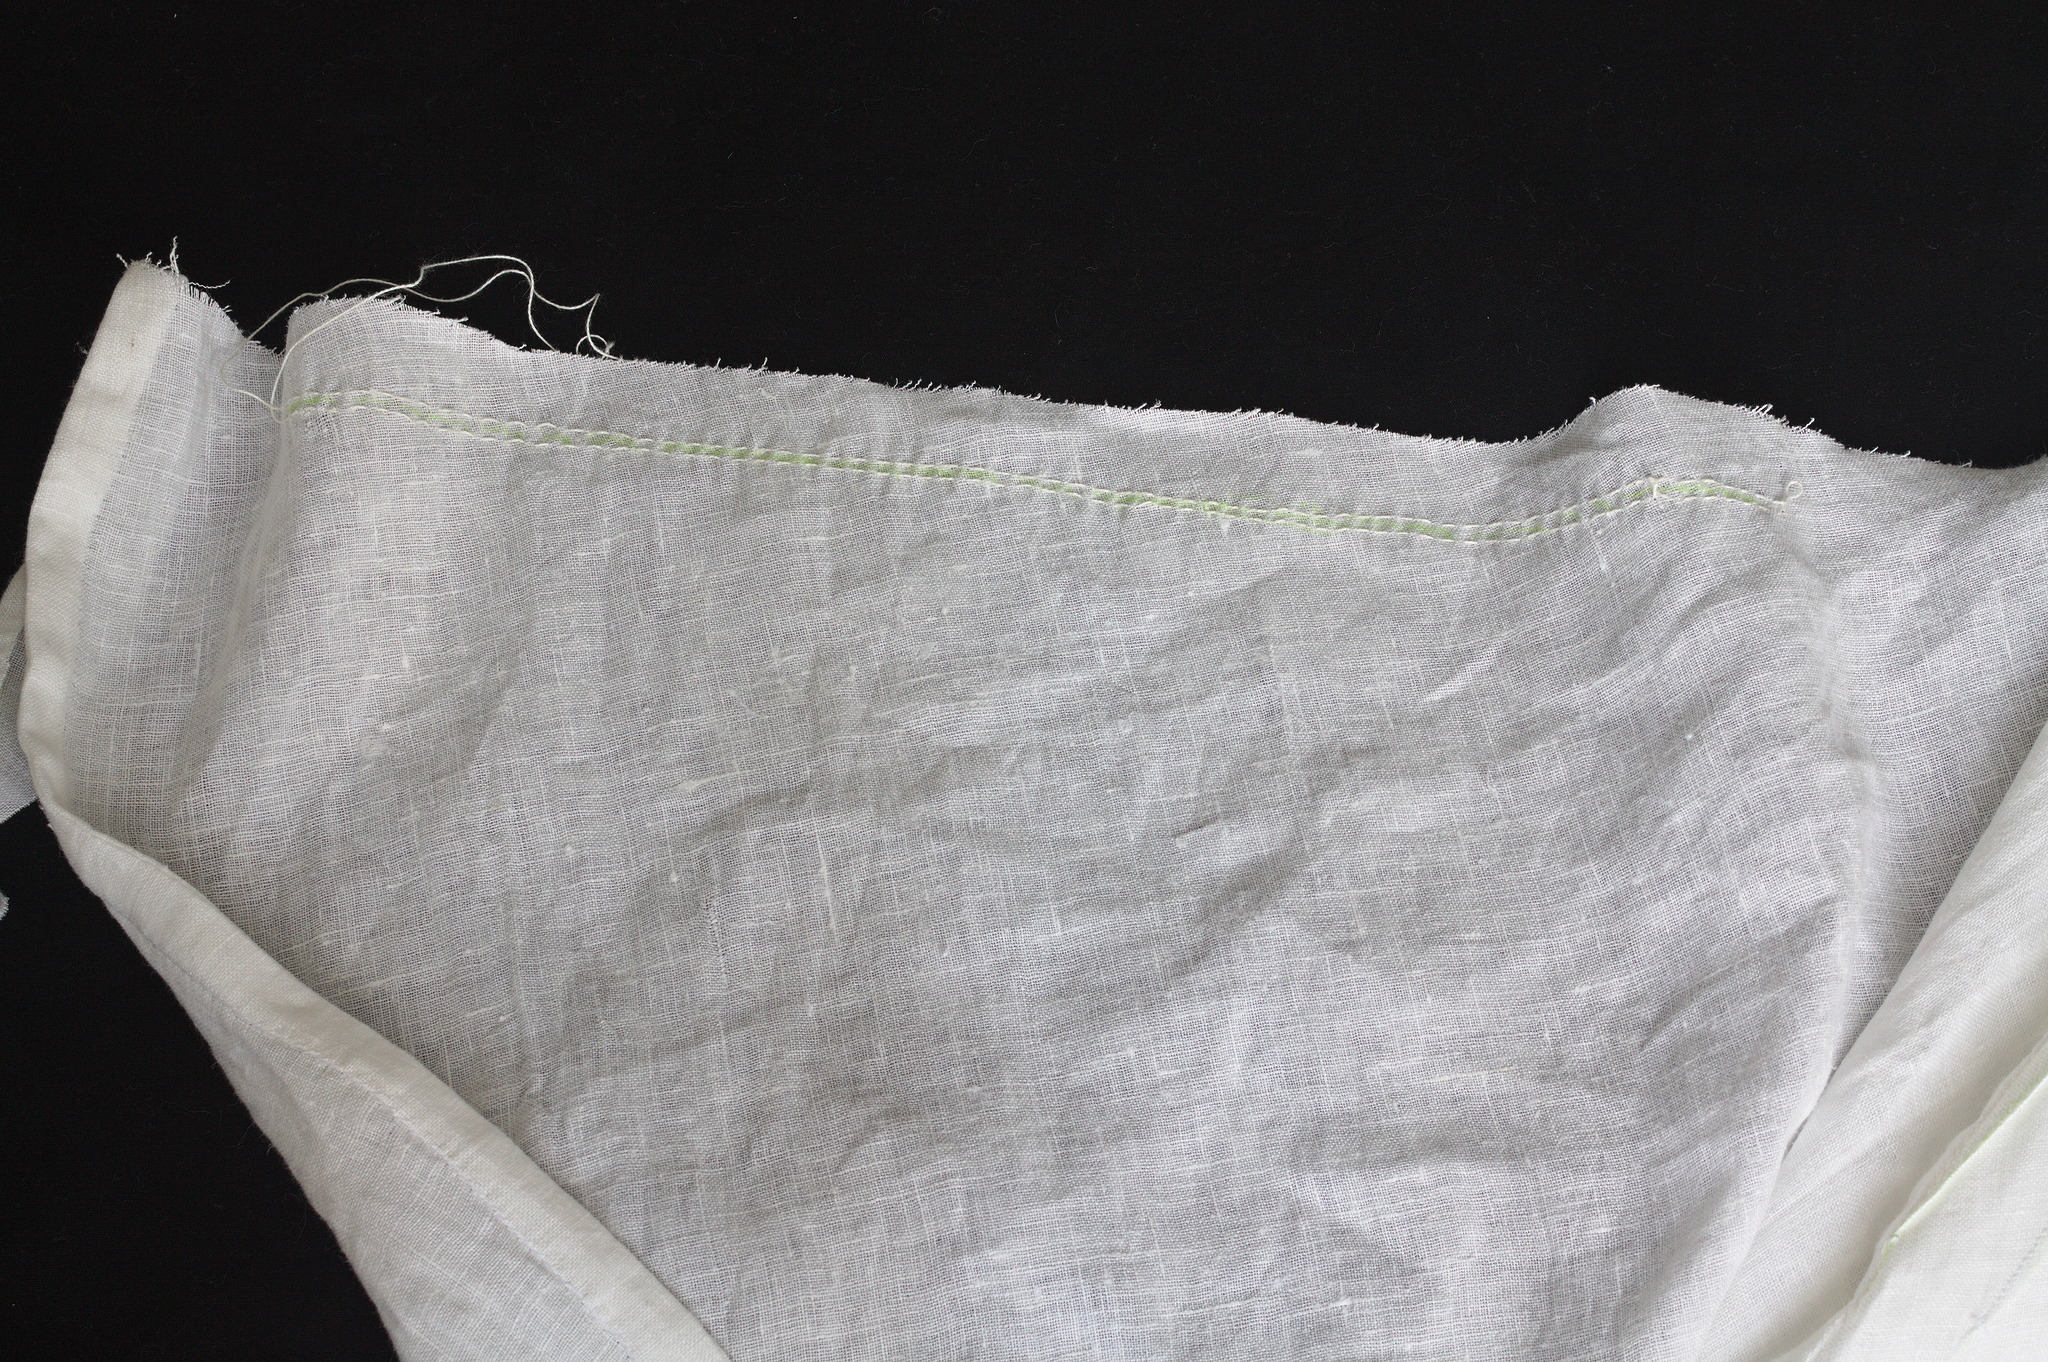
Right sides together, sew the side seams continuing down into the side darts, and the shoulder seams.
Press open and then towards the back, trim the allowances of the back until you reach the dart, flat fell the seam with a hemstitch.
Hem the straight edge of the sleevelets with a narrow hem.
This picture and the next have been taken on the variant with buttoned shoulders; with sewn shoulders it should be similar, but the ends of the sleevelet would overlap by a few cm.
Put the sleevelet over the armhole, right sides together, such that the curved edge follows the line of the armhole, extending by 1 cm from the allowance of the armhole, and in such a way that the ends overlap a bit close to the shoulder seam and any fullness is gathered around the side seam. Sew with 1 cm allowance.
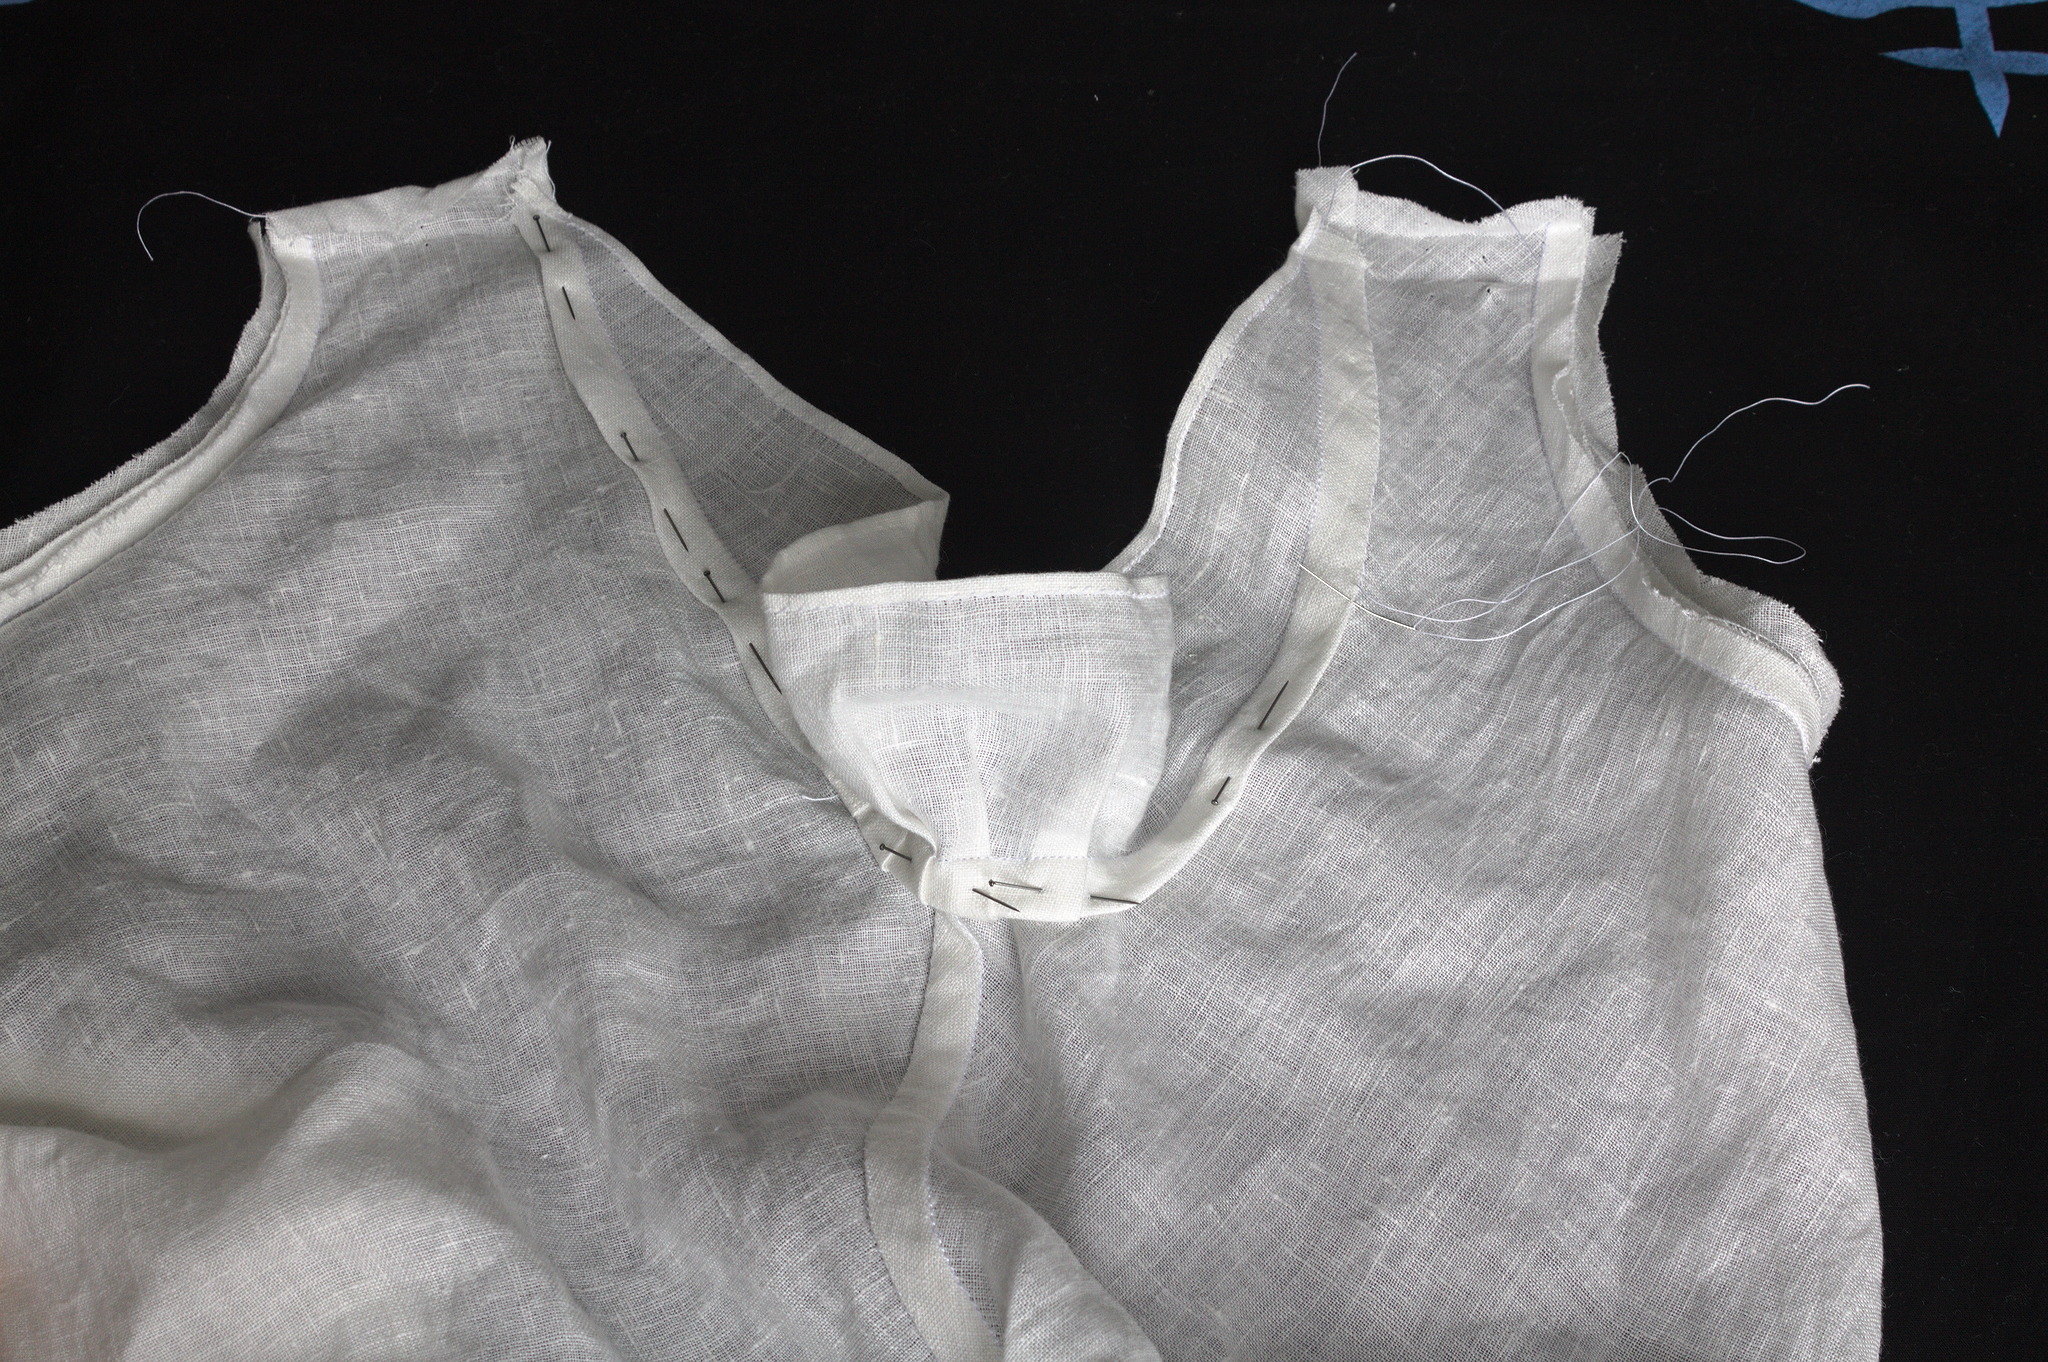
Press the allowances open and then towards the body, fold the allowance of the sleevelet to cover all raw edges and hemstitch down to fell the seam.
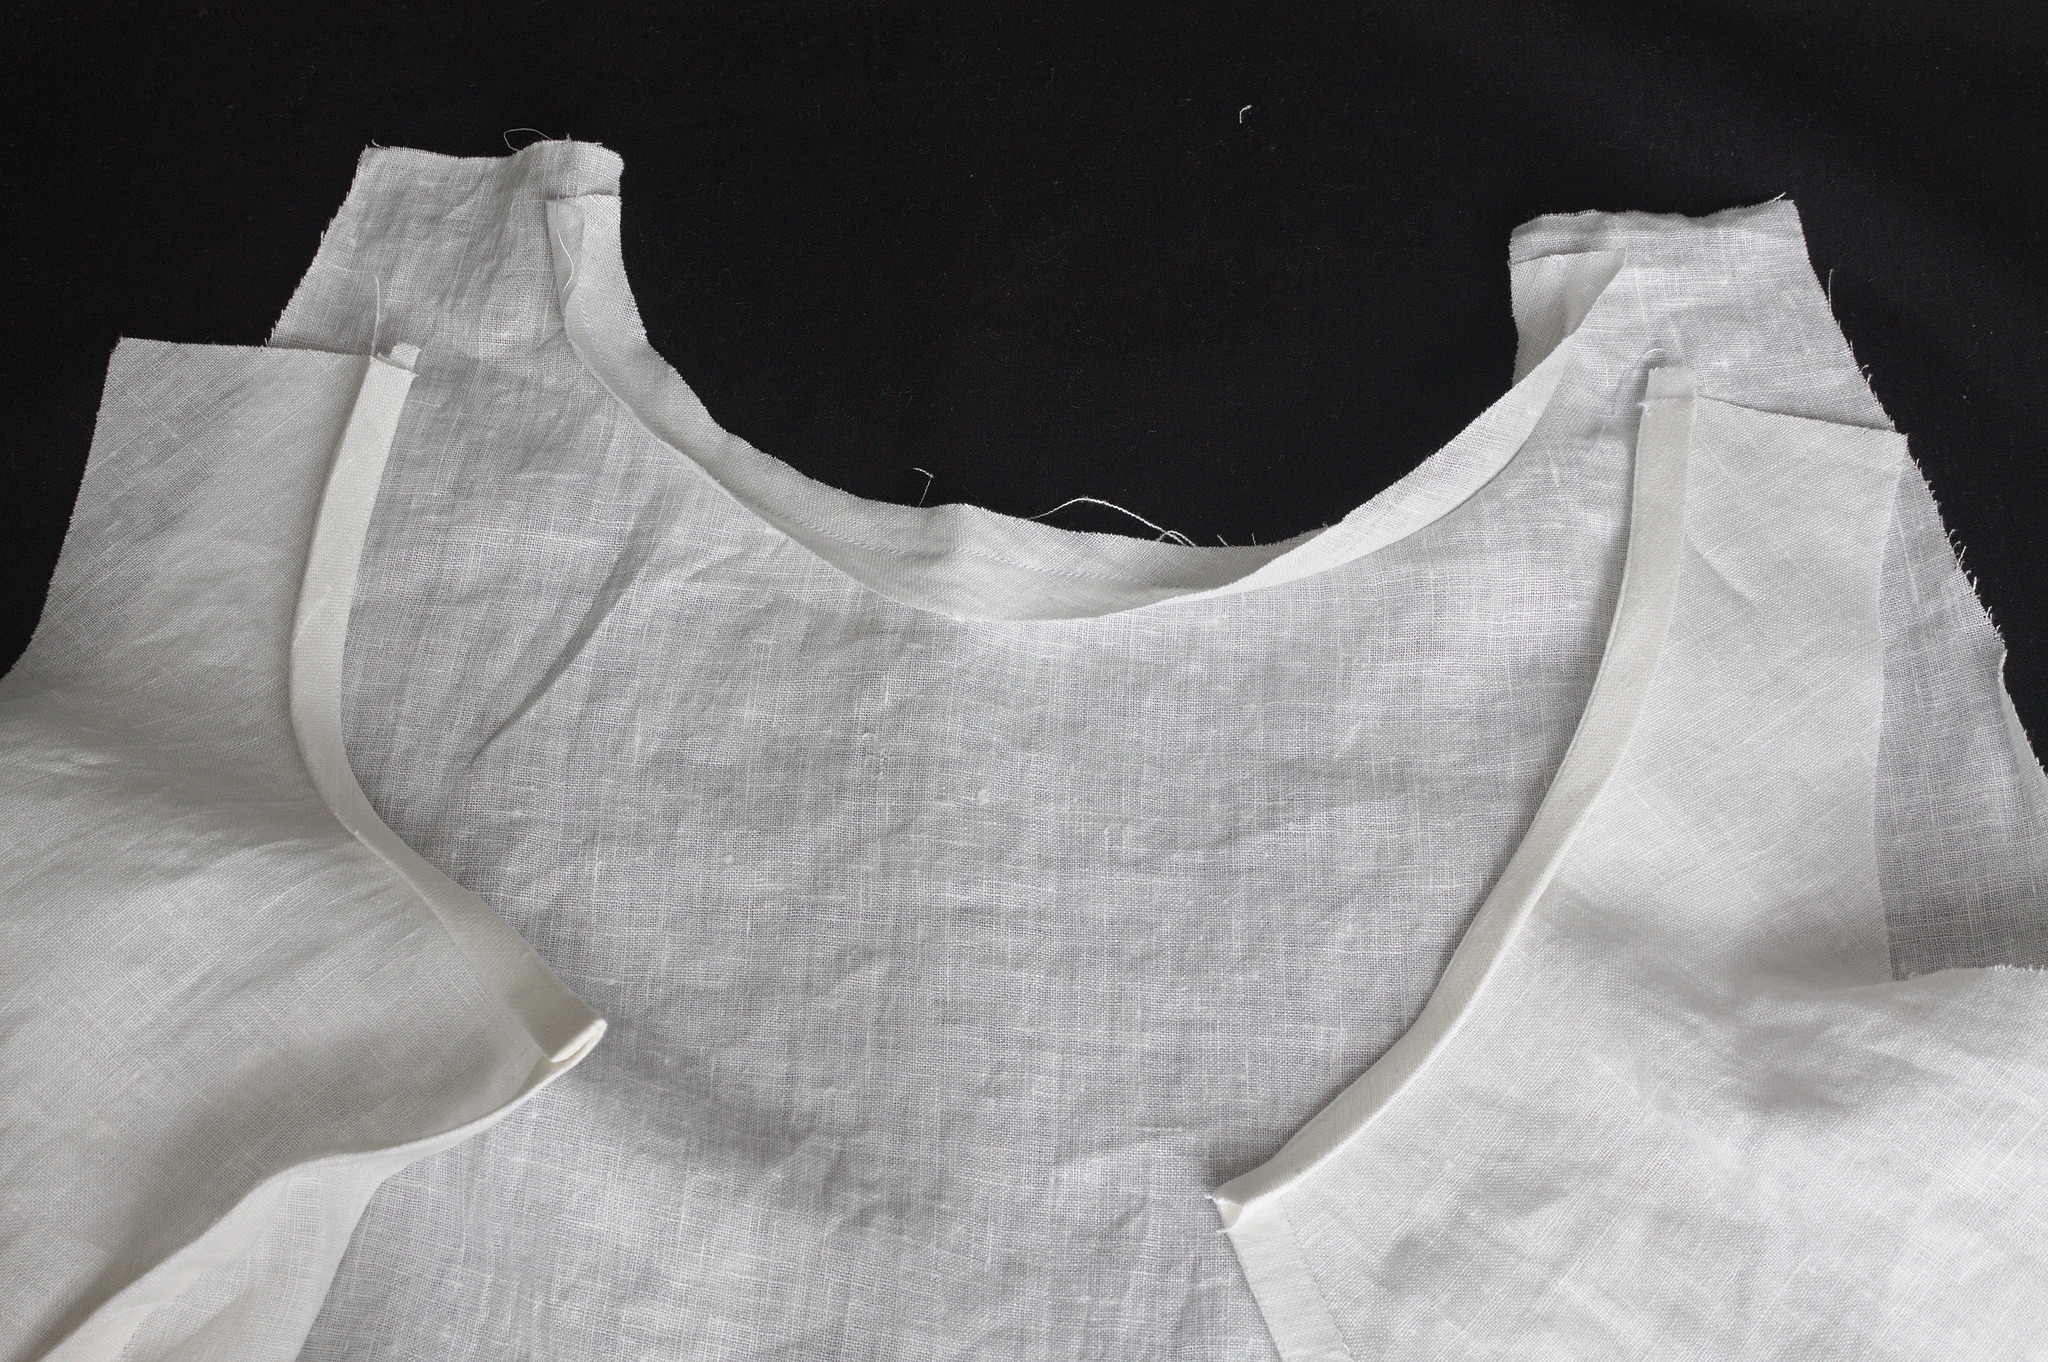
Right sides together, sew the facing to the neck, press towards the inside, fold to cover the raw edges and hemstitch down.
Here instead of a simple hem the edge has been folded up by 3 cm, sewn at 1 cm from the fold, and then the raw edge has been folded down 1 cm twice, to hide the raw edge and make a receiving tuck for lace.
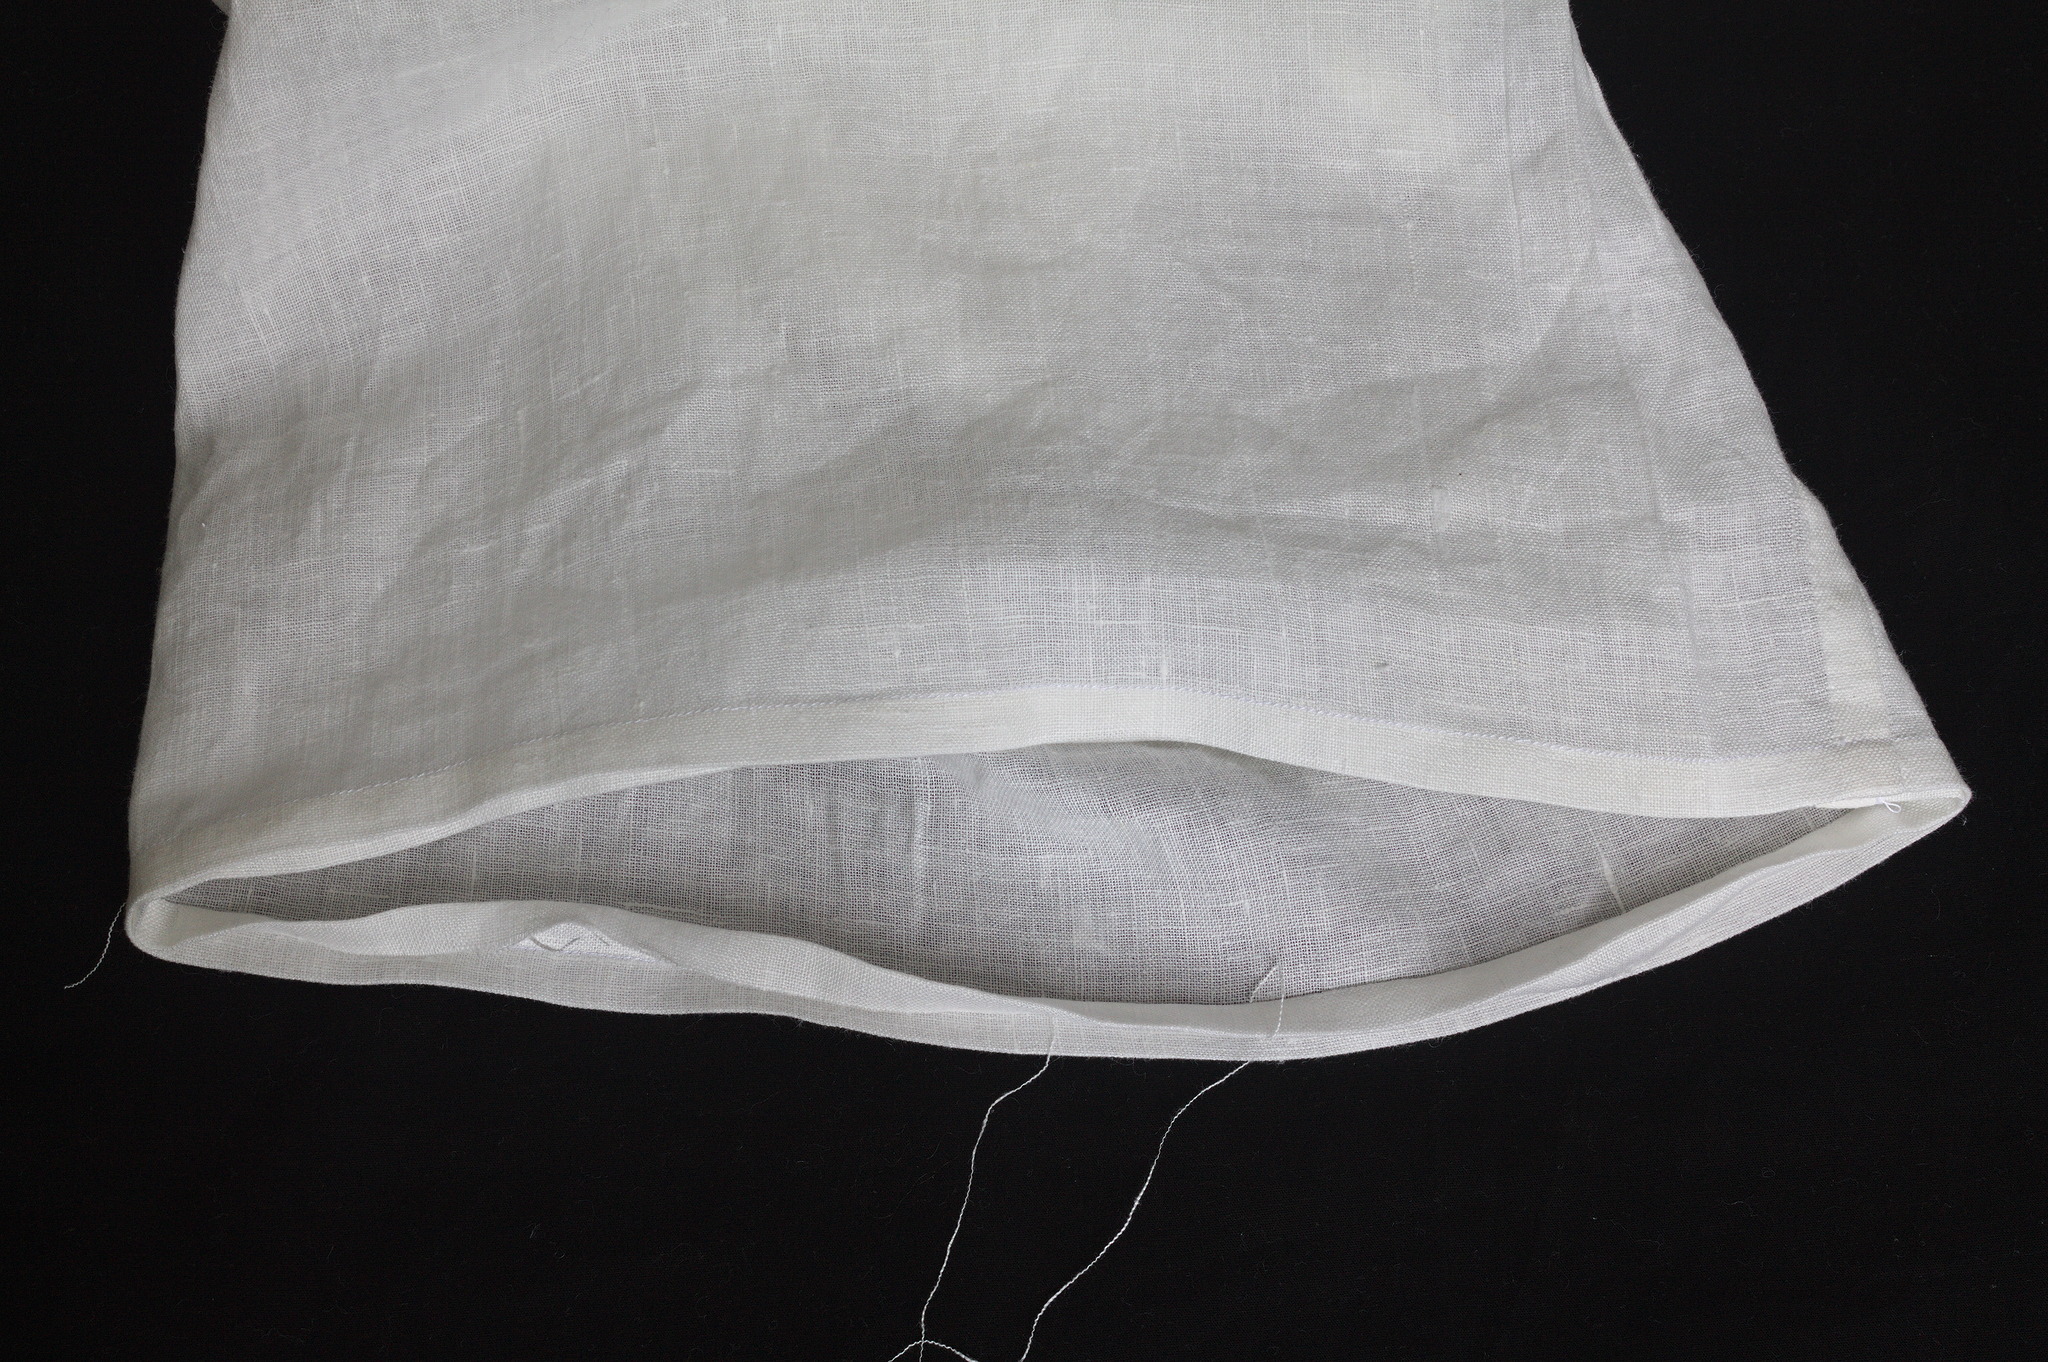
Fold the leg hem up twice by 2 cm towards the wrong side, hemstitch it down for a plain finish, or add pintucks, ruffles and lace as desired.
Starting from the top and going down to about the end of the darts or a bit above it, make buttonholes every 4 cm on the right front and attach corresponding buttons to the left front.
Variants
Fullness instead of darts
Instead of a fitted front with darts, the combination suit can be made with fullness in the front, controlled with e.g. a drawstring or a ribbon passed through beading lace at the waist.
In that case, print piece C front_with_fullness instead of piece B
front_with_gathers, avoid sewing the darts (of course) and add a
mean to control the fullness to the waistline.
Drawers
To make just a pair of drawers print piece C front_with_fullness,
cut the drawers part 5 cm under the waistline, add a 5 cm waistband and
gather the legs to it.
Knit fabric combinations
To make this a combination suit in knit fabric you can use the pattern piece with darts, without sewing them, and sew the center front down to the end of the darts rather than make buttons.
Before finishing the neckhole check that it is wide enough to enter the suit: if it isn’t you may have to lower it, or to open a small length of the center front and make buttons and buttonholes.
Also make sure that the neckhole finishing maintains the required elasticity.
To give any kind of longevity to the garment you will have to use an elastic stitch: since sewing it from flat knit fabric is not a common historical construction method anyway I’d use modern stitches such as a narrow zig-zag.
You can also avoid the facings and simply fold the raw edges towards the wrong side once and topstitch them down (a 3-steps zig zag stitch would work nicely): the raw edge will remain visible, but protected.
Gallery