Combinations Corset Cover and Petticoat
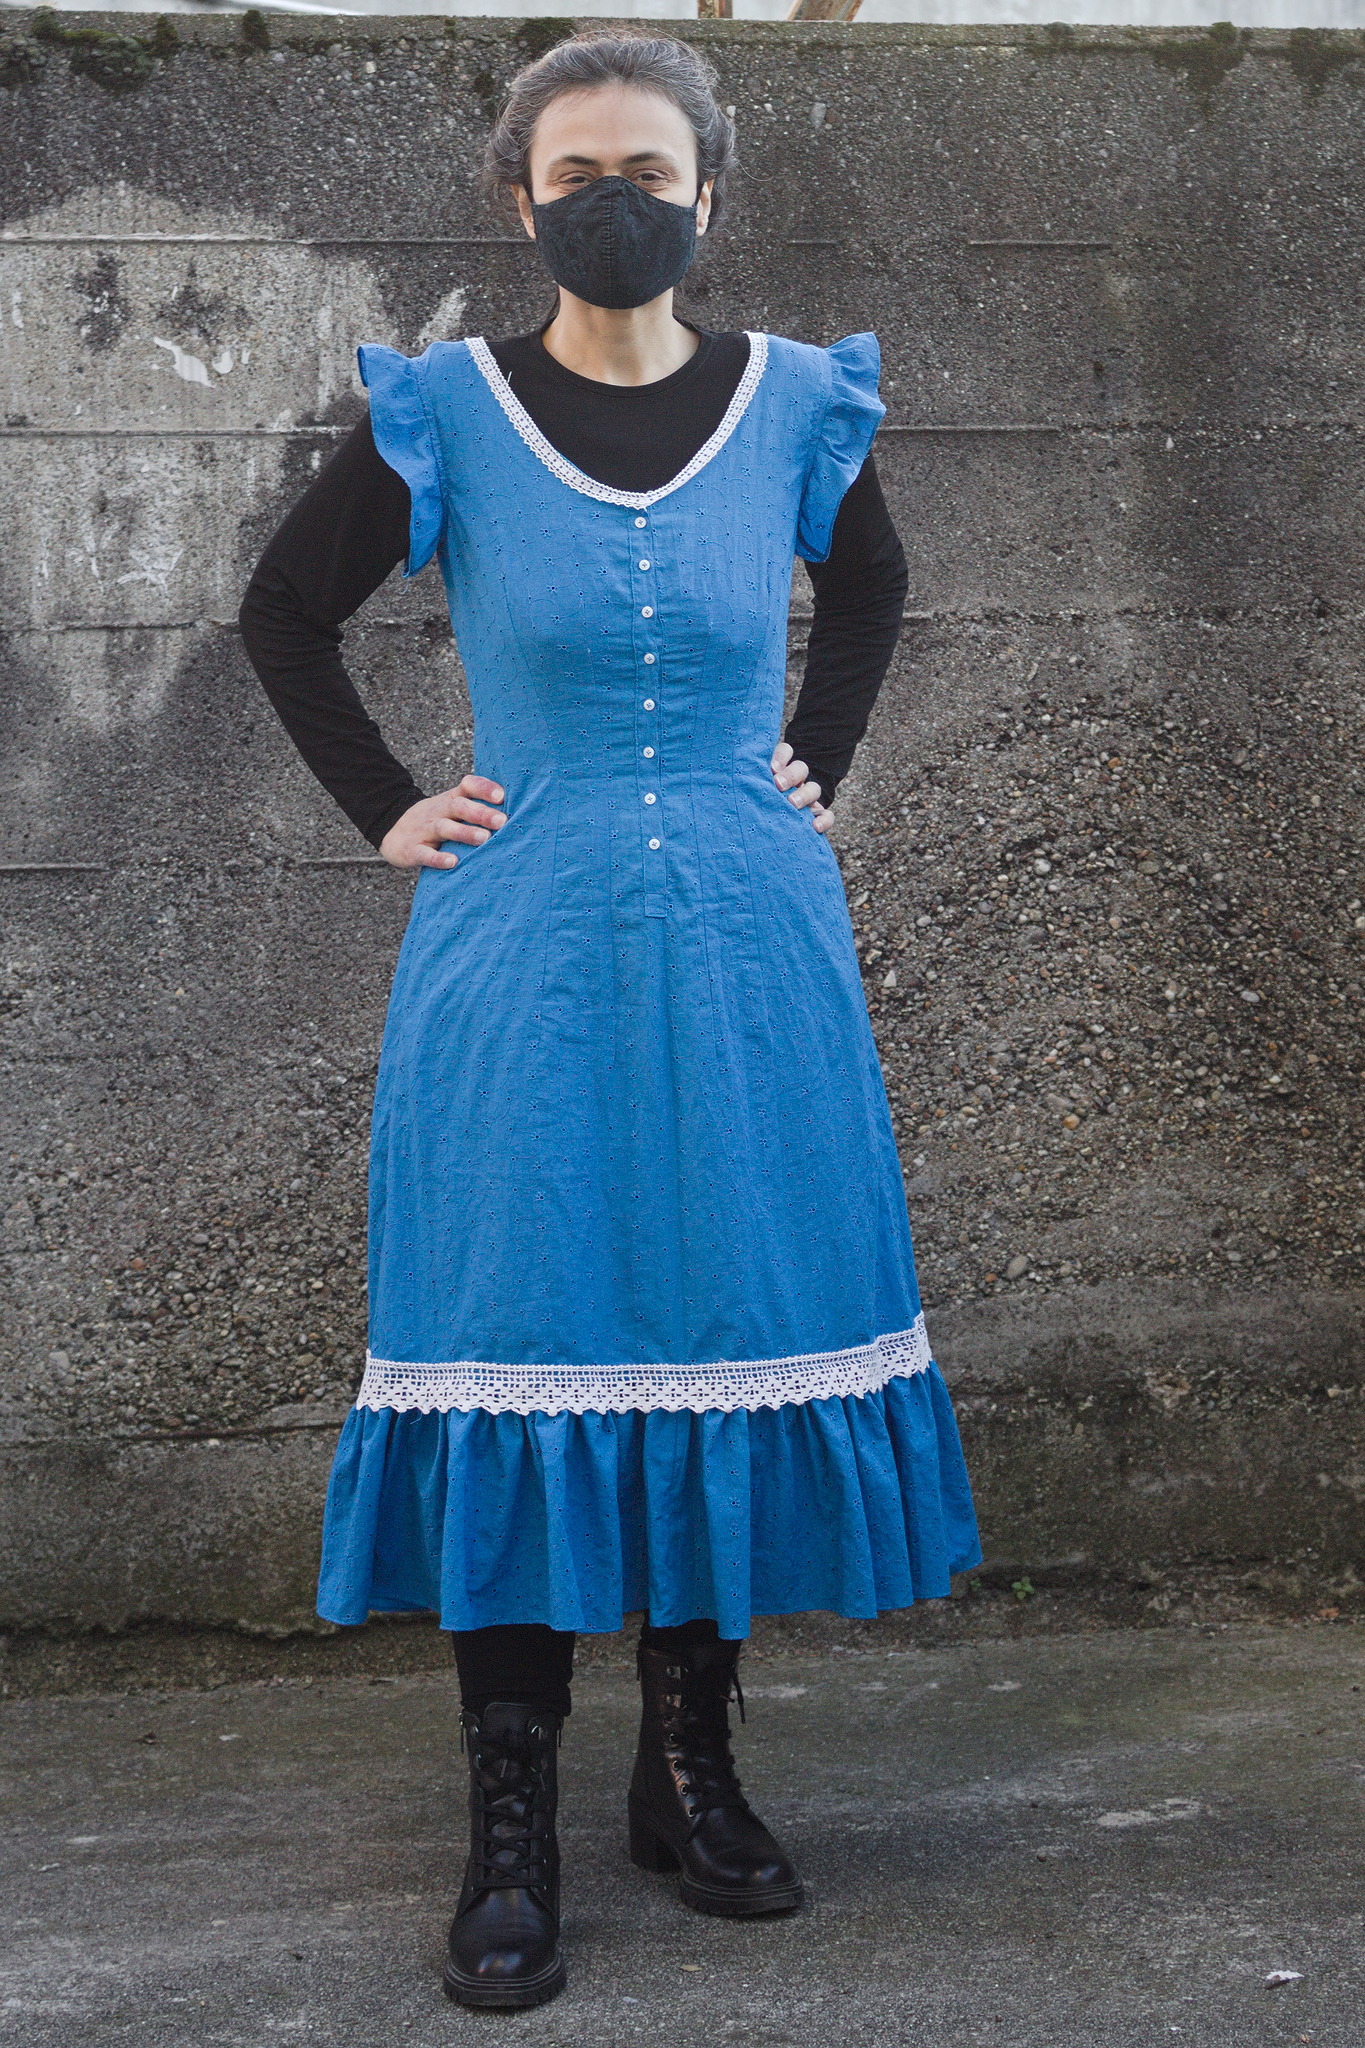
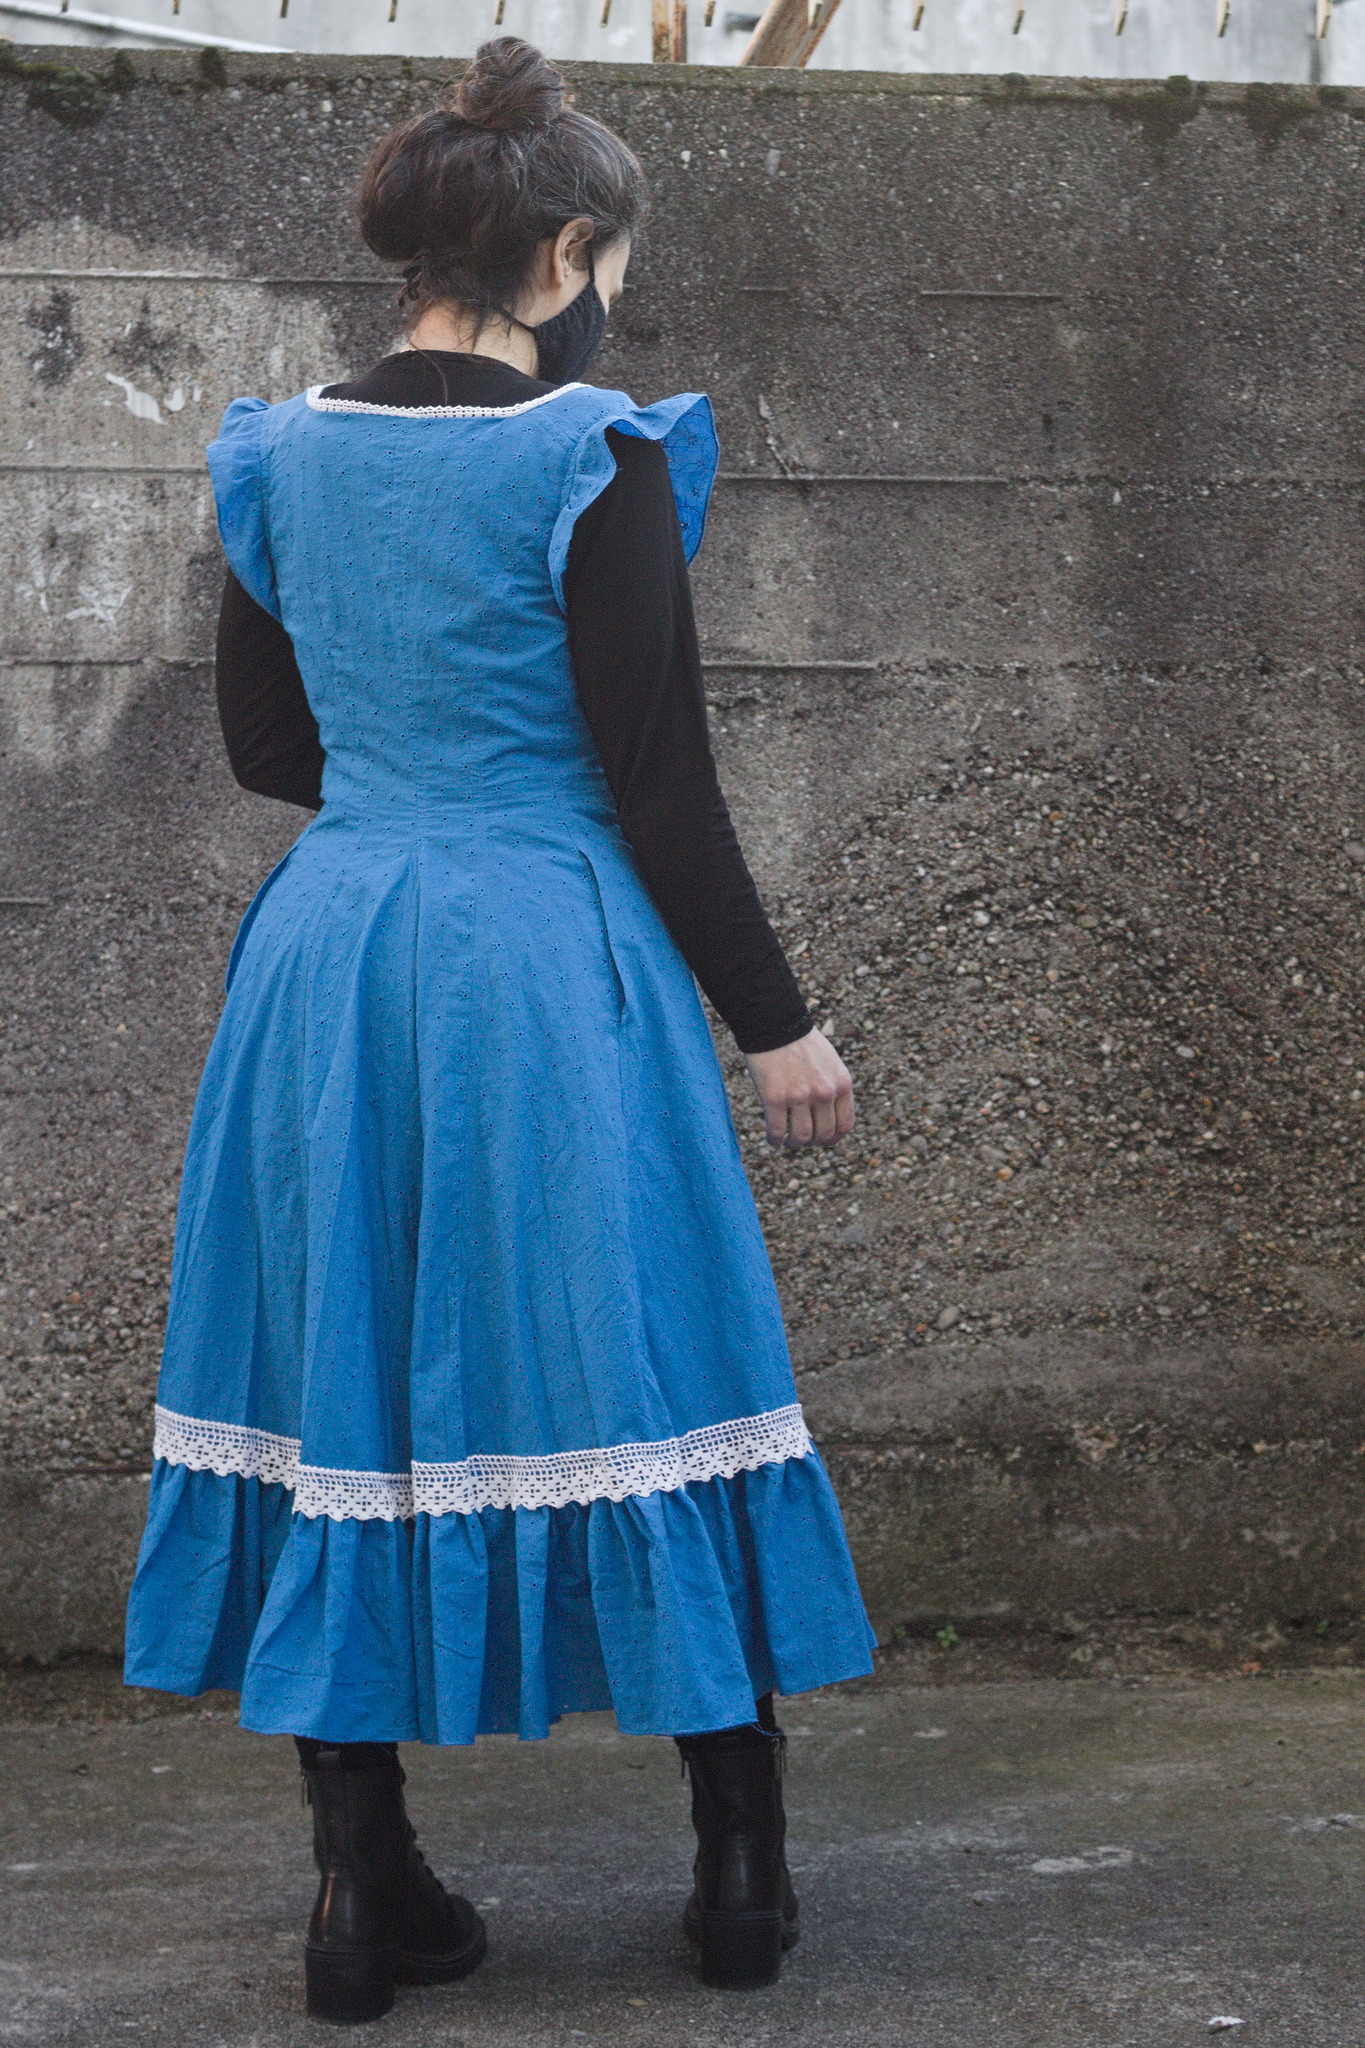
This combinations corset cover and petticoat, or princess petticoat, is suitable under the A-line skirts of the late Victorian and early Edwardian eras.
For historybounding it’s of course also suitable as a sundress, and would probably look nice in a 1970s does edwardian style.
Since this is either underwear or modern clothing, I’ve given instructions for flat felled seams that are topstitched by machine; of course hemstitching the allowances by hand is always an option.
Materials
Fabric
About 3 m of lightweight cotton or linen.
Notions
sewing thread to match the fabric;
buttonhole thread to match the fabric;
optional but recommended lace;
8 small buttons.
Pattern
This pattern is based on the The Cutters’ Practical Guide to the Cutting of Ladies Garments and you need to take the measurements listed in Jackets, Ulsters, Bodices, Habits, Dolmands &c..
the file ../../drafting_methods/cutters/cutters.vit is
used by default by the pattern file and has the list of needed
measurements.
Pattern
Get the valentina file for the pattern,
combinations_corset_cover_petticoat.val.
You also need to decide the following measurements and set them in the table of variables in Valentina; most defaults in the file are sensible.
full_lengthLength of the garment from the neck back, excluding the ruffle;
shoulder_linedistance between the back of the neck and the bottom of the shoulder; the default is one sixth of the distance between the back of the neck and the waist;
waist_to_hipsstandard taken from the book: if your distance is very different you may want to use your measurement;
easeease added to half of the bust circumference;
waist_suppressionwaist suppression in the back and sides: usually 2.5 cm, but up to 3 or even 4 cm for tight-laced waists;
length_darts_waist_downhow long the darts should continue down from the waist: about 20 to 25 cm depending on how flat the stomach is;
stand_widthe.g. 2 cm;
front_openingcalculated to reach halfway between the waist and the hips;
hem_circumferencee.g. 2 m;
ruffle_heighte.g. 20 cm;
ruffle_densitye.g. 2.5, or 3 for a densely pleated ruffle;
sleeve_ruffle_heighte.g. 5 cm;
sleeve_ruffle_densitye.g. 1.5;
neckline_depth_frontdistance from the base of the neck to the neckline, in front;
neckline_widthfull width of the neckline at the widest point;
neckline_depth_backdistance from the base of the neck to the neckline, on the back;
seam_allowancee.g. 2 cm, to allow for french or flat-felled seams.
Instructions
Cutting
Cut the front panel on the fold, the rest of the panels twice; also cut one each of the front facings, two sleeve ruffles and enough selvege-to-selvege strips for the bottom ruffle.
Tip
The length of the bottom ruffle in the pattern is just a suggestion; using the closest multiple of the fabric width will reduce fabric waste and allow you to use the selveges and avoid having to finish the raw edges.
Press carefully the crease in the front piece, to mark the line for the opening, mark the triangle for the end of the opening, and also mark the darts.
Front Opening
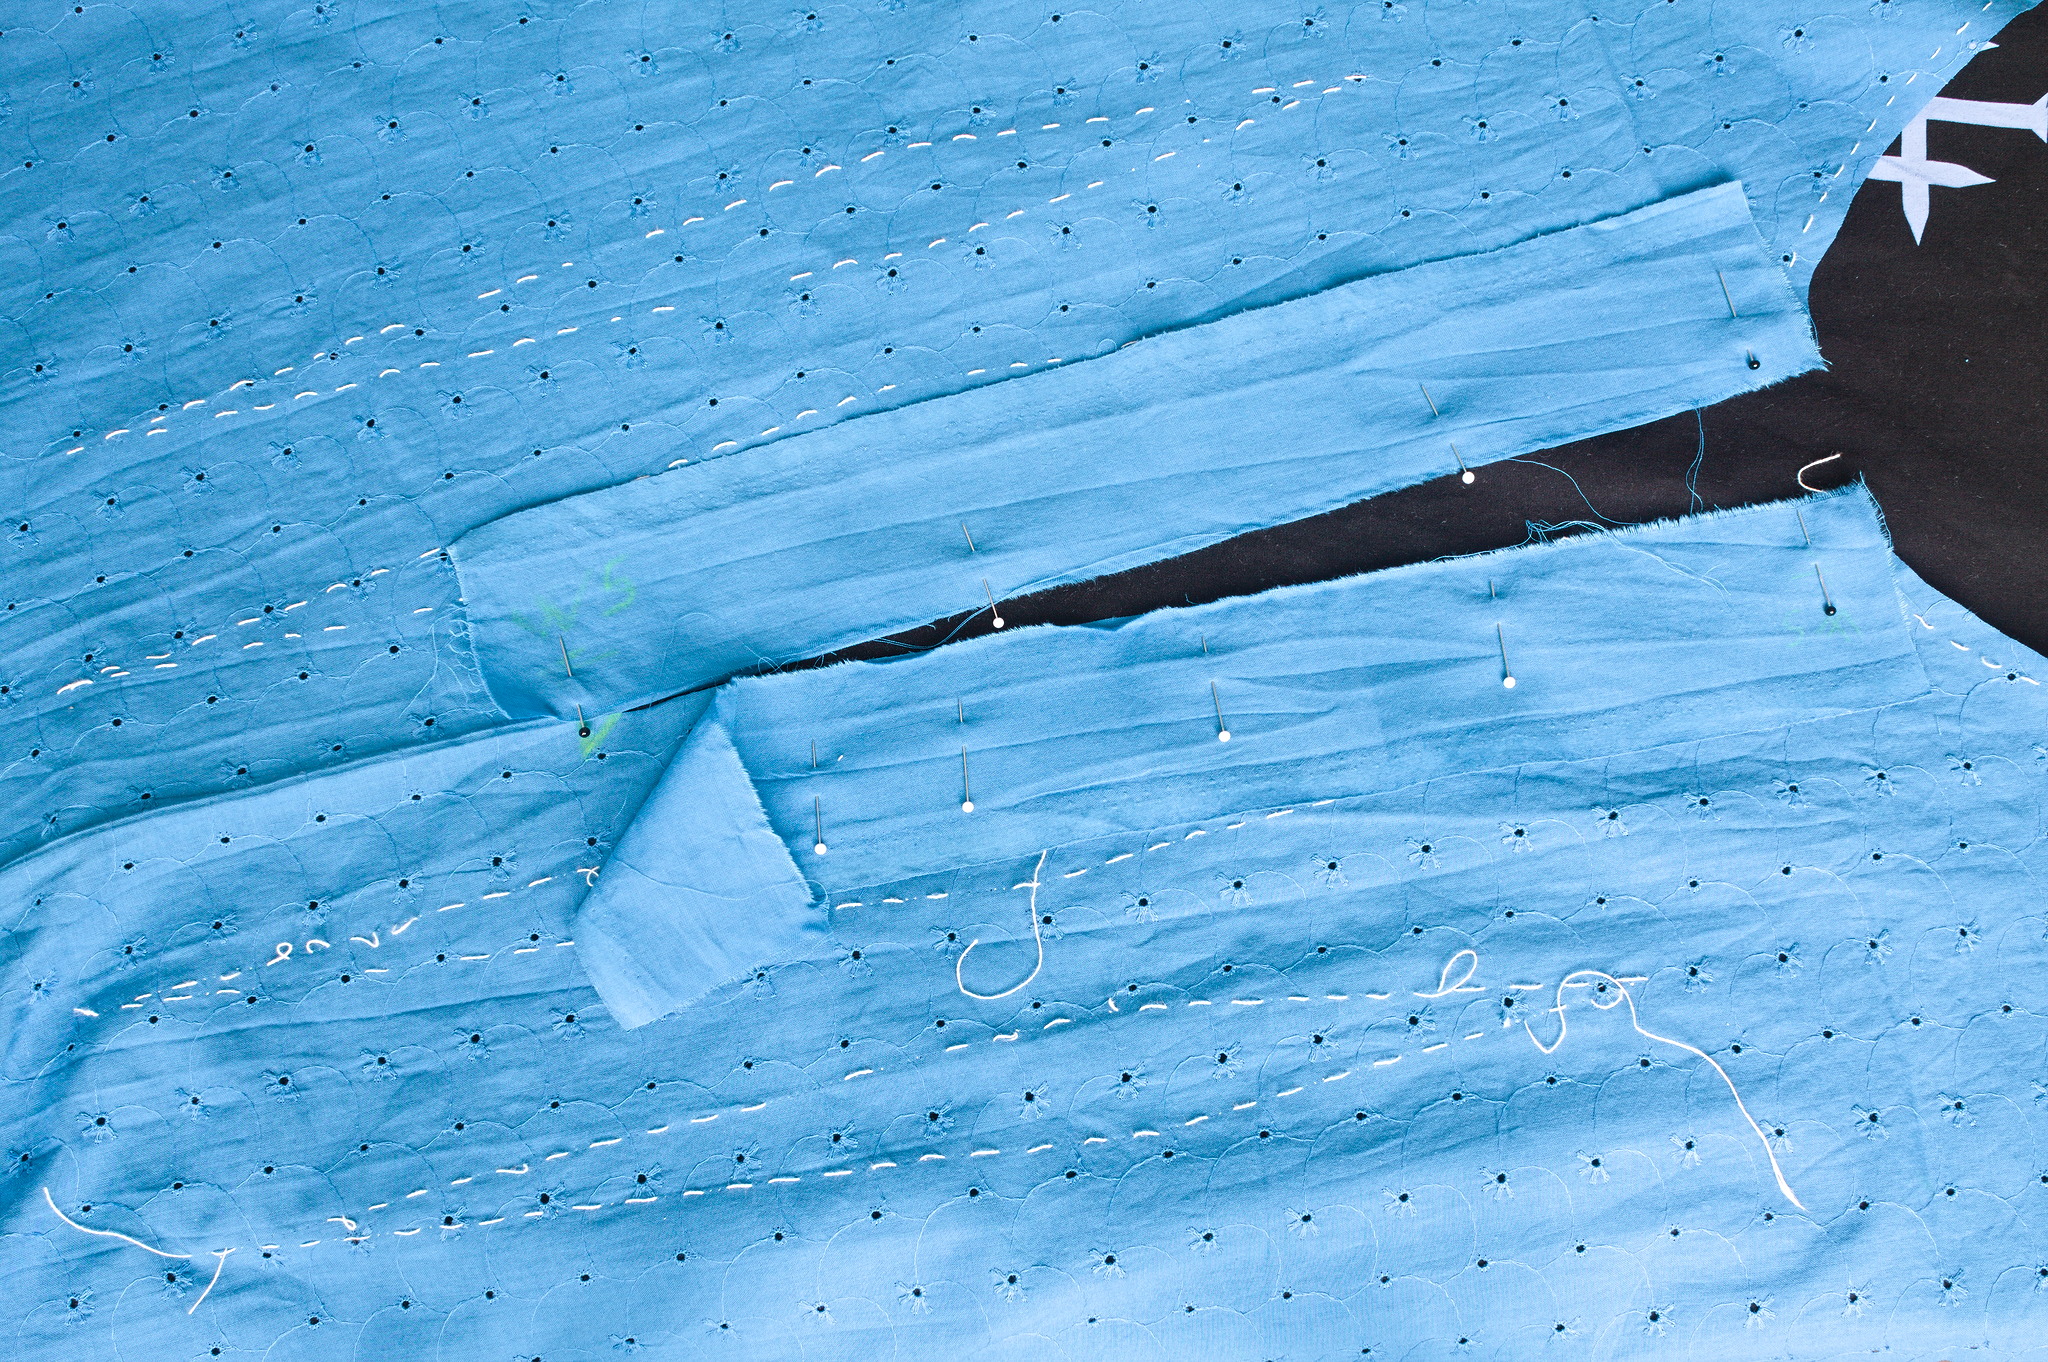
Cut the center front until the top side of the triangle mark.
With the right side of the facing on the wrong side of the front, pin the longer facing to the right of the cut and the shorter one to the left; sew with an allowance of half the placket width until the bottom side of the triangle mark.
Cut from the end of the center cut to the end of the seams, along the triangle marking, taking care to just reach the seam, but not snip into them.
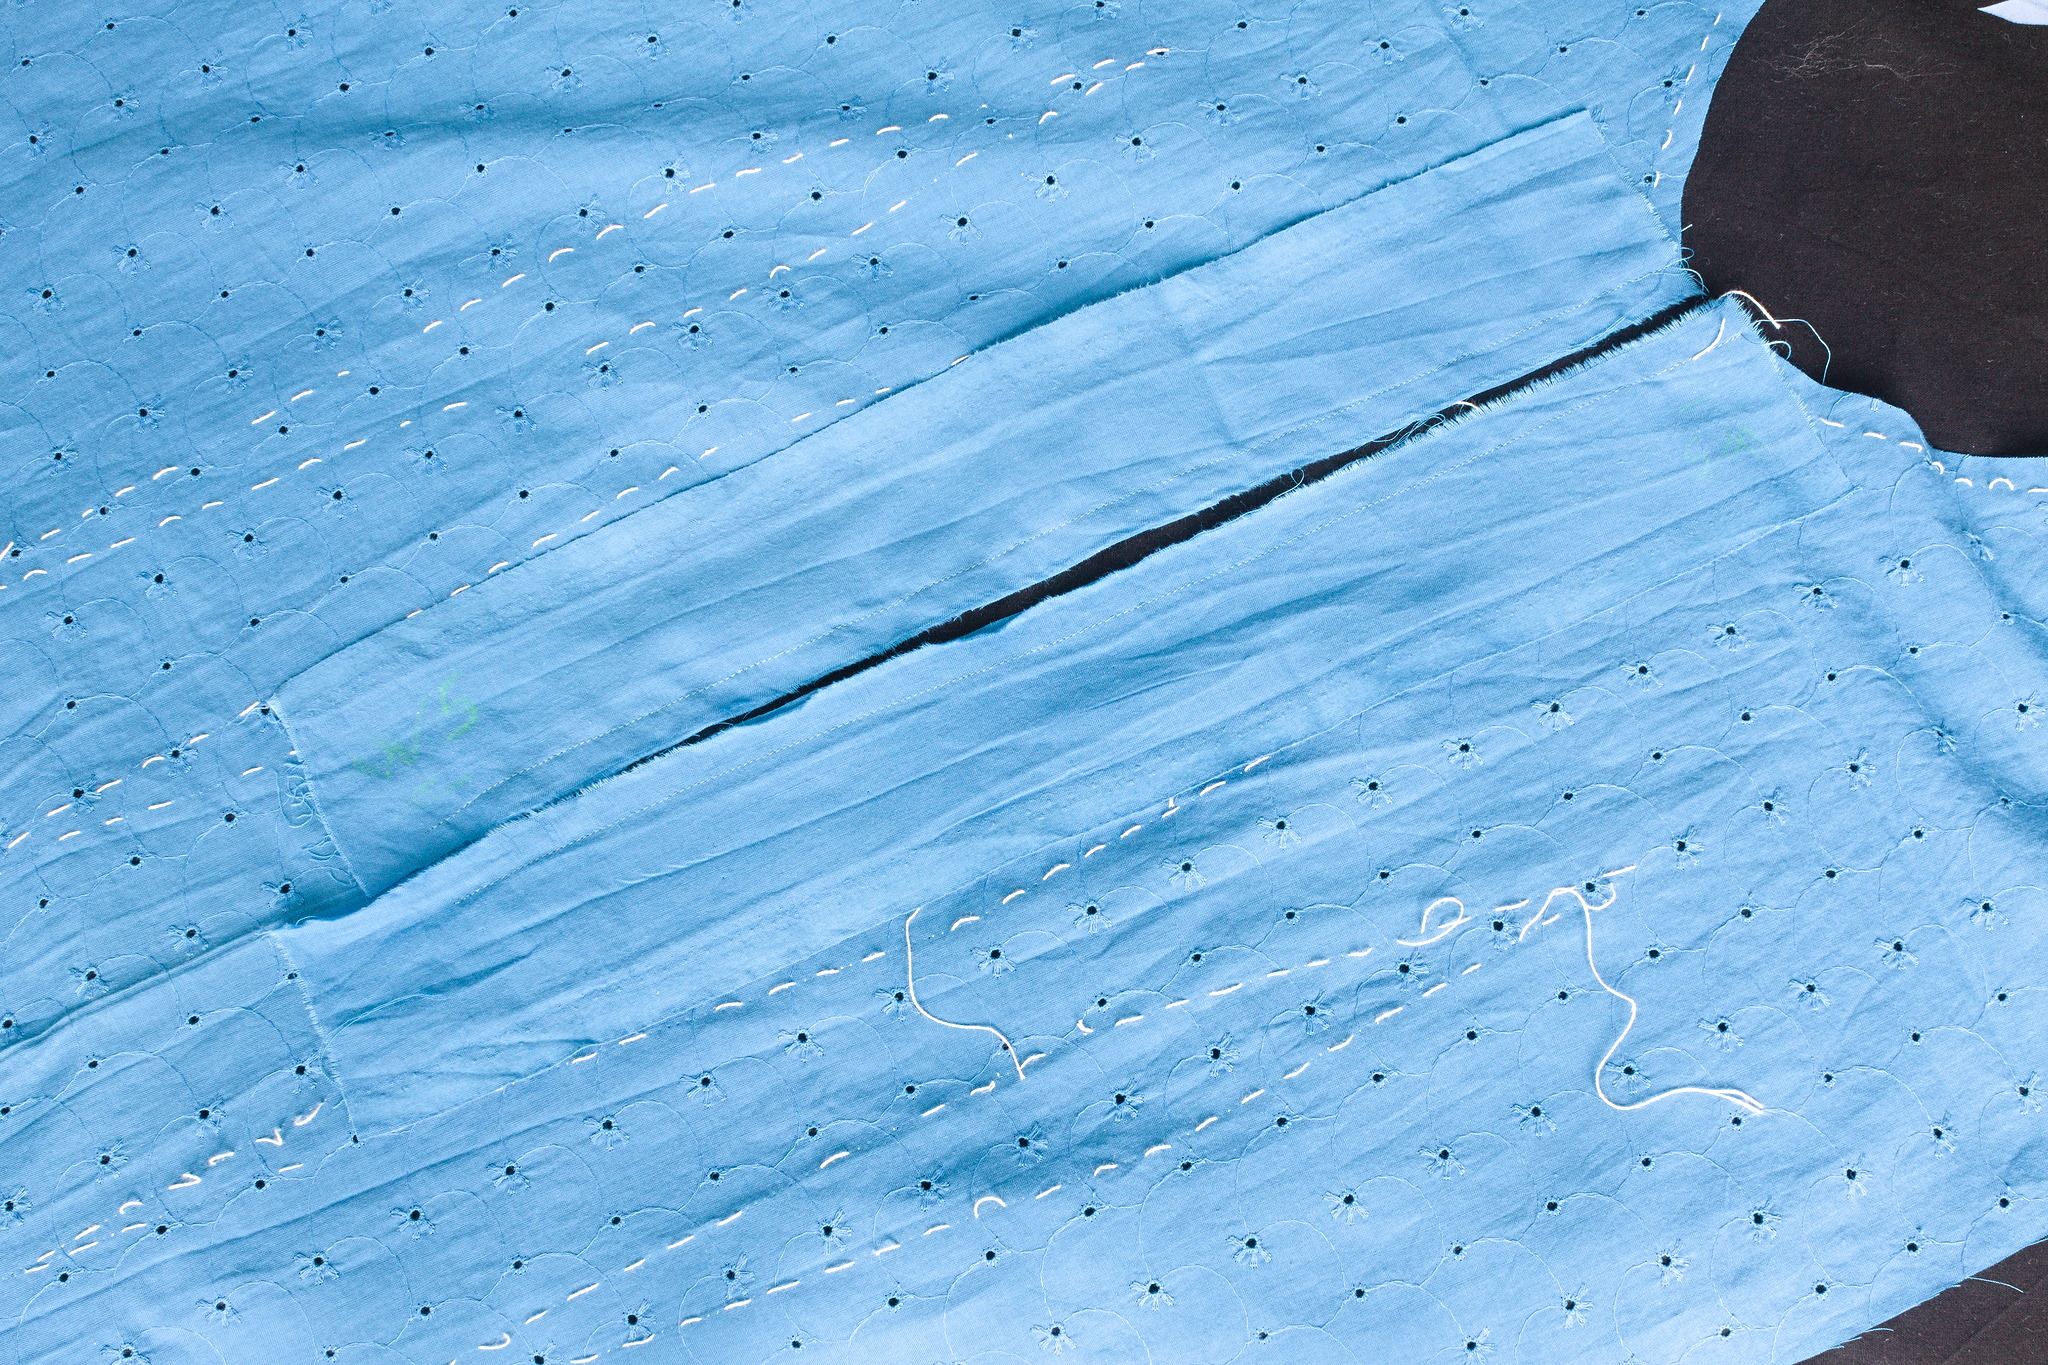
Press the shorter facing towards the opening, press down its other edge towards the wrong side by half the placket width.
Press the facing in half and move it to the right side of the fabric so that it just covers the seam.
Fold down the small triangle from the front fabric towards the right side.

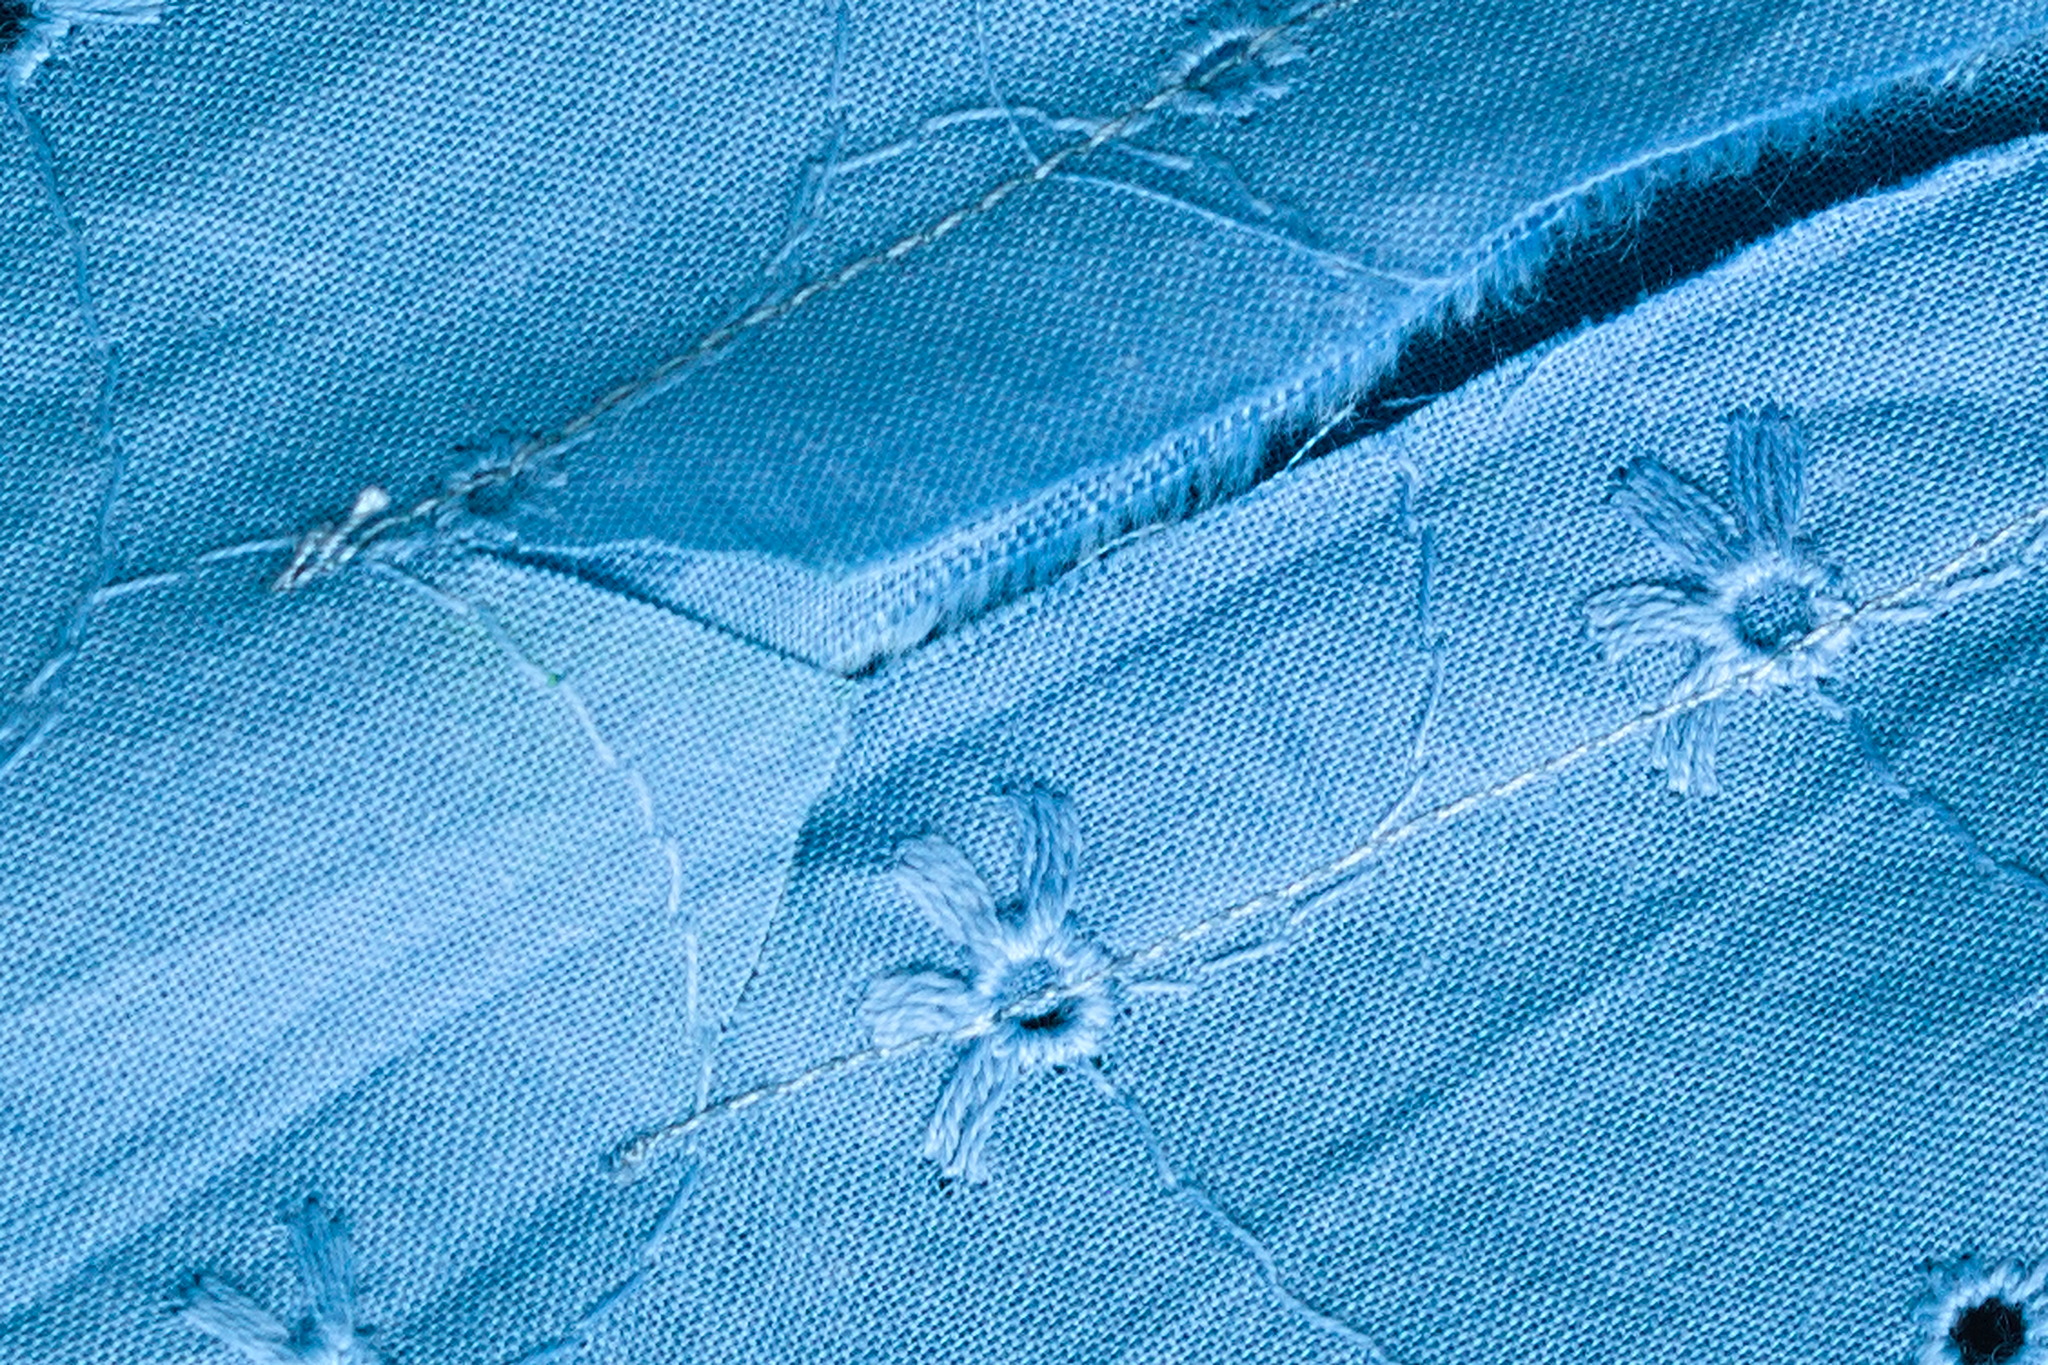
Topstitch at 1 mm from each side, stopping just beyond the bottom of the triangle, topstitch the lower edge catching the top of the triangle.
Repeat with the longer facing: press it towards the opening, press down its other edge towards the wrong side by half the placket width.
Press it in half and move it to the right side of the fabric, on top of the shorter facing.
Topstitch at 1 mm from each side, stopping at the same level where you’ve stopped on the shorter facing.
Fold down the bottom edge of the longer facing on top of the shorter one, trim any excess or bulk and topstitch a square to keep it in place and finish all raw edges.
Tip
this is a pretty basic finish for the end of the button placket, of course you can look for historical examples and go wide with shaped edges.
Sew the darts and press them towards the sides.
Assembly
Right sides together, sew all vertical seams. Note that the curved seam between the side back and back is quite fiddly and will require at the very minimum the seam line to be marked and carefully pinned, or possibly even basting.
Also sew the shoulder seams.
Try the combinations on to check the fitting before finishing the seams, do any alternation that is required.
Press the seams open and then to one side, either towards the center front or the center back, trim the lower allowance, fold the top one to cover all raw edges and topstitch.
Ruffles
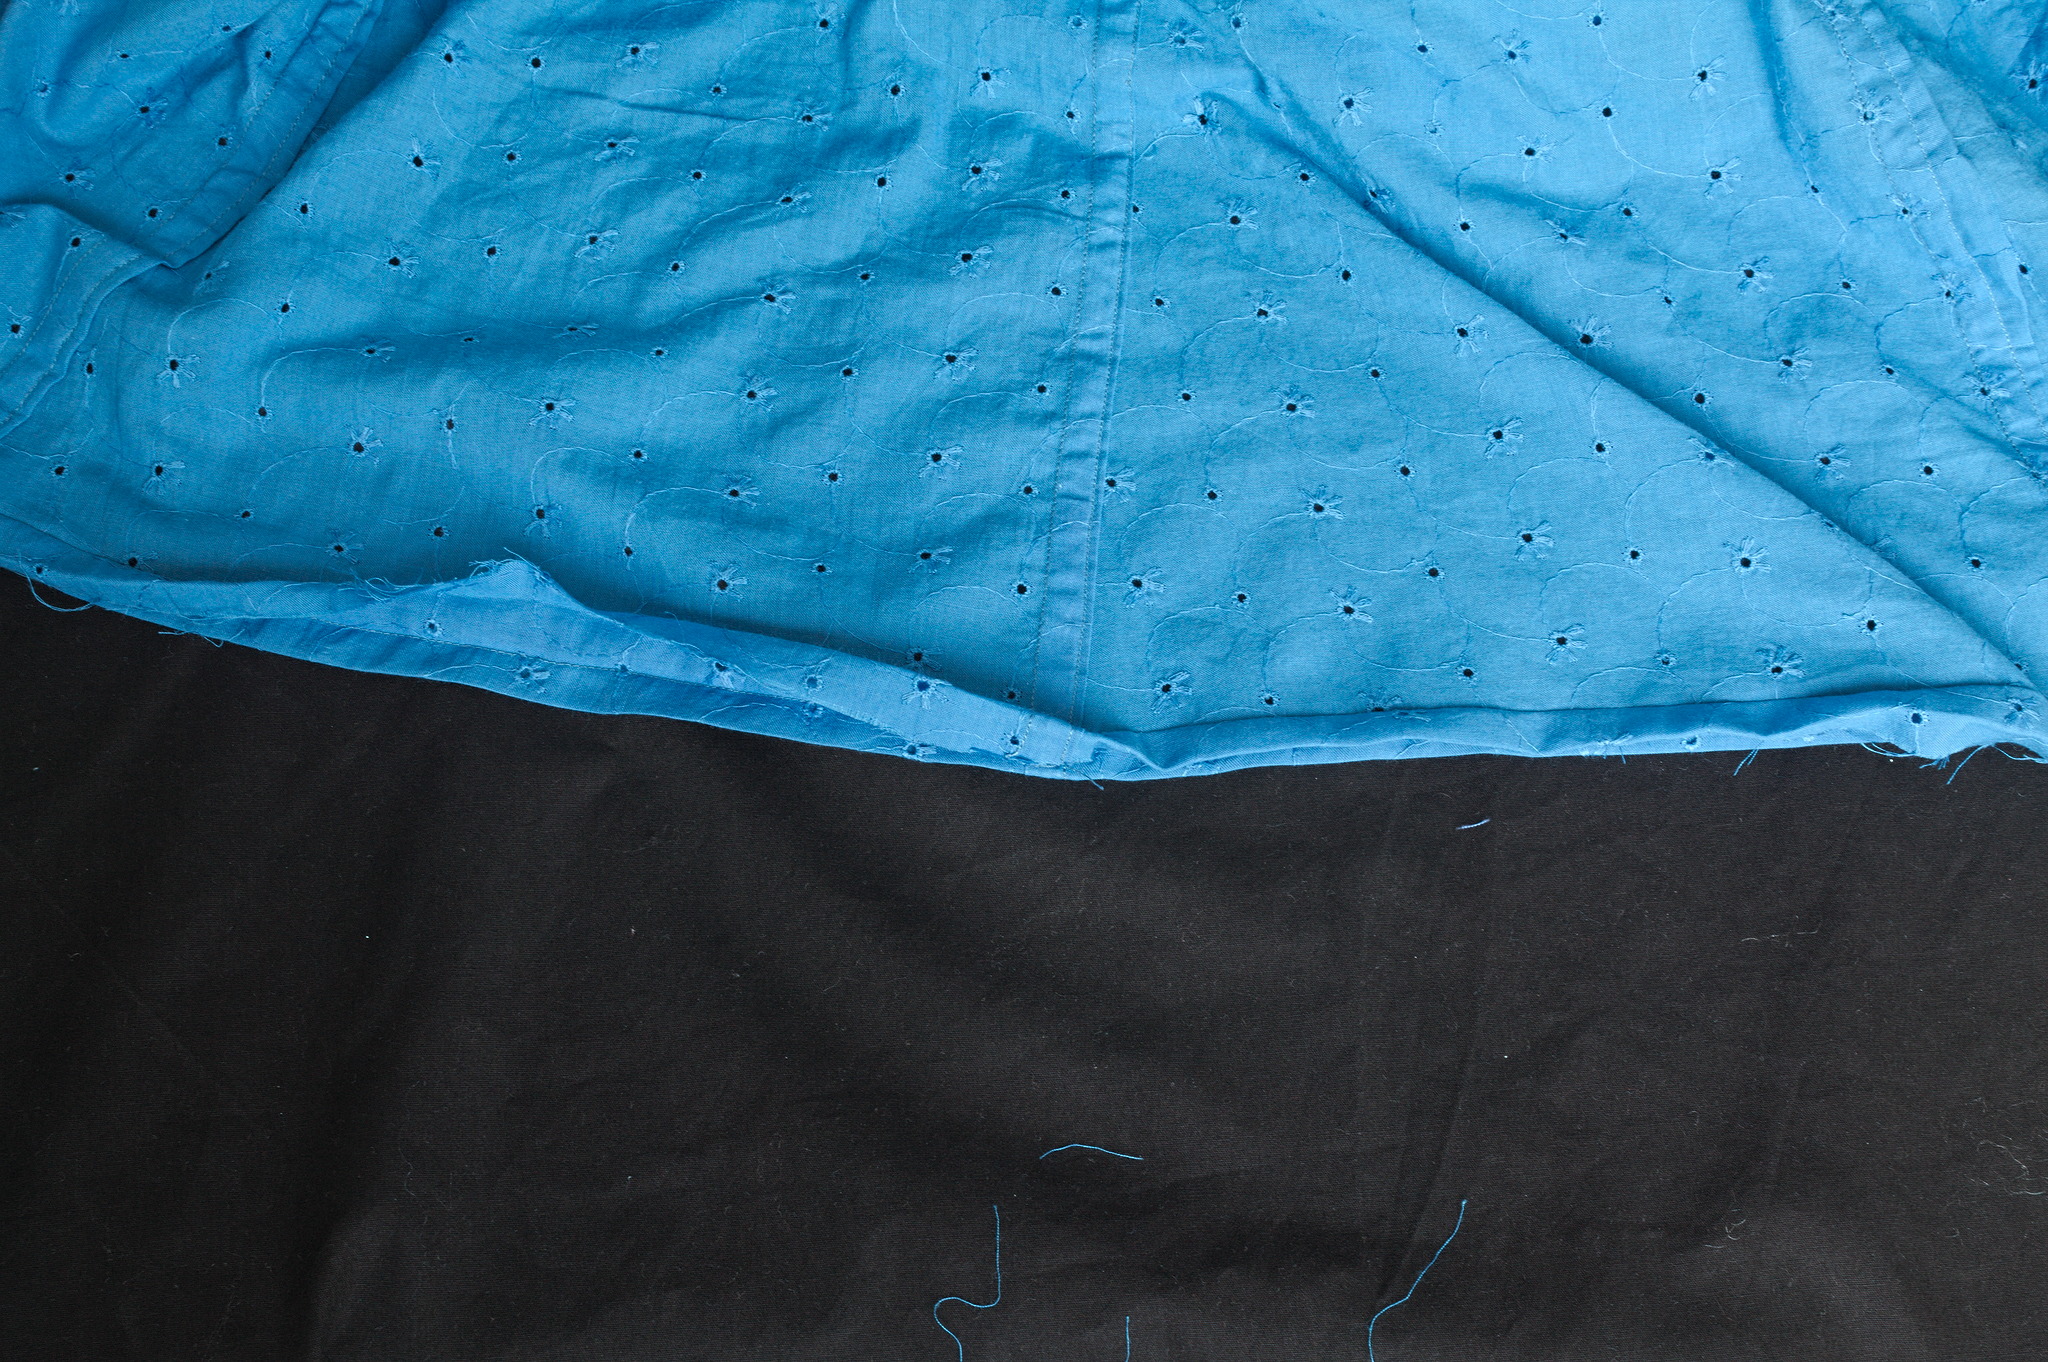
Sew all hem ruffle strips together in a tube; if you can use the selvedges simply press the seams open to minimize bulk, otherwise flat fell the seams.
Hem one long side with a narrow hem.

Sew also the sleeve ruffles in a tube, flat felling the seam, and hem one long side with a narrow hem.
Gather or pleat the sleeve ruffles to the armscyes, sew with a double allowance.
Note
Take care to distribute the lenght of the ruffle uniformly around the armscye, rather than just around the top of the sleeve as it is usual, as the excess fabric around the armpit is useful to protect the dress from sweat. This is of course less an issue if making this as outerwear.
Press the allowances towards the body, trim the allowance of the body, fold the ruffle on top to cover all raw edges and topstitch.
Press the hem of the petticoat towards the wrong side by 3 cm, sew at 1 cm from the hem.
Press the allowance down to make a receiving tuck, and then press the raw edge inside the tuck.
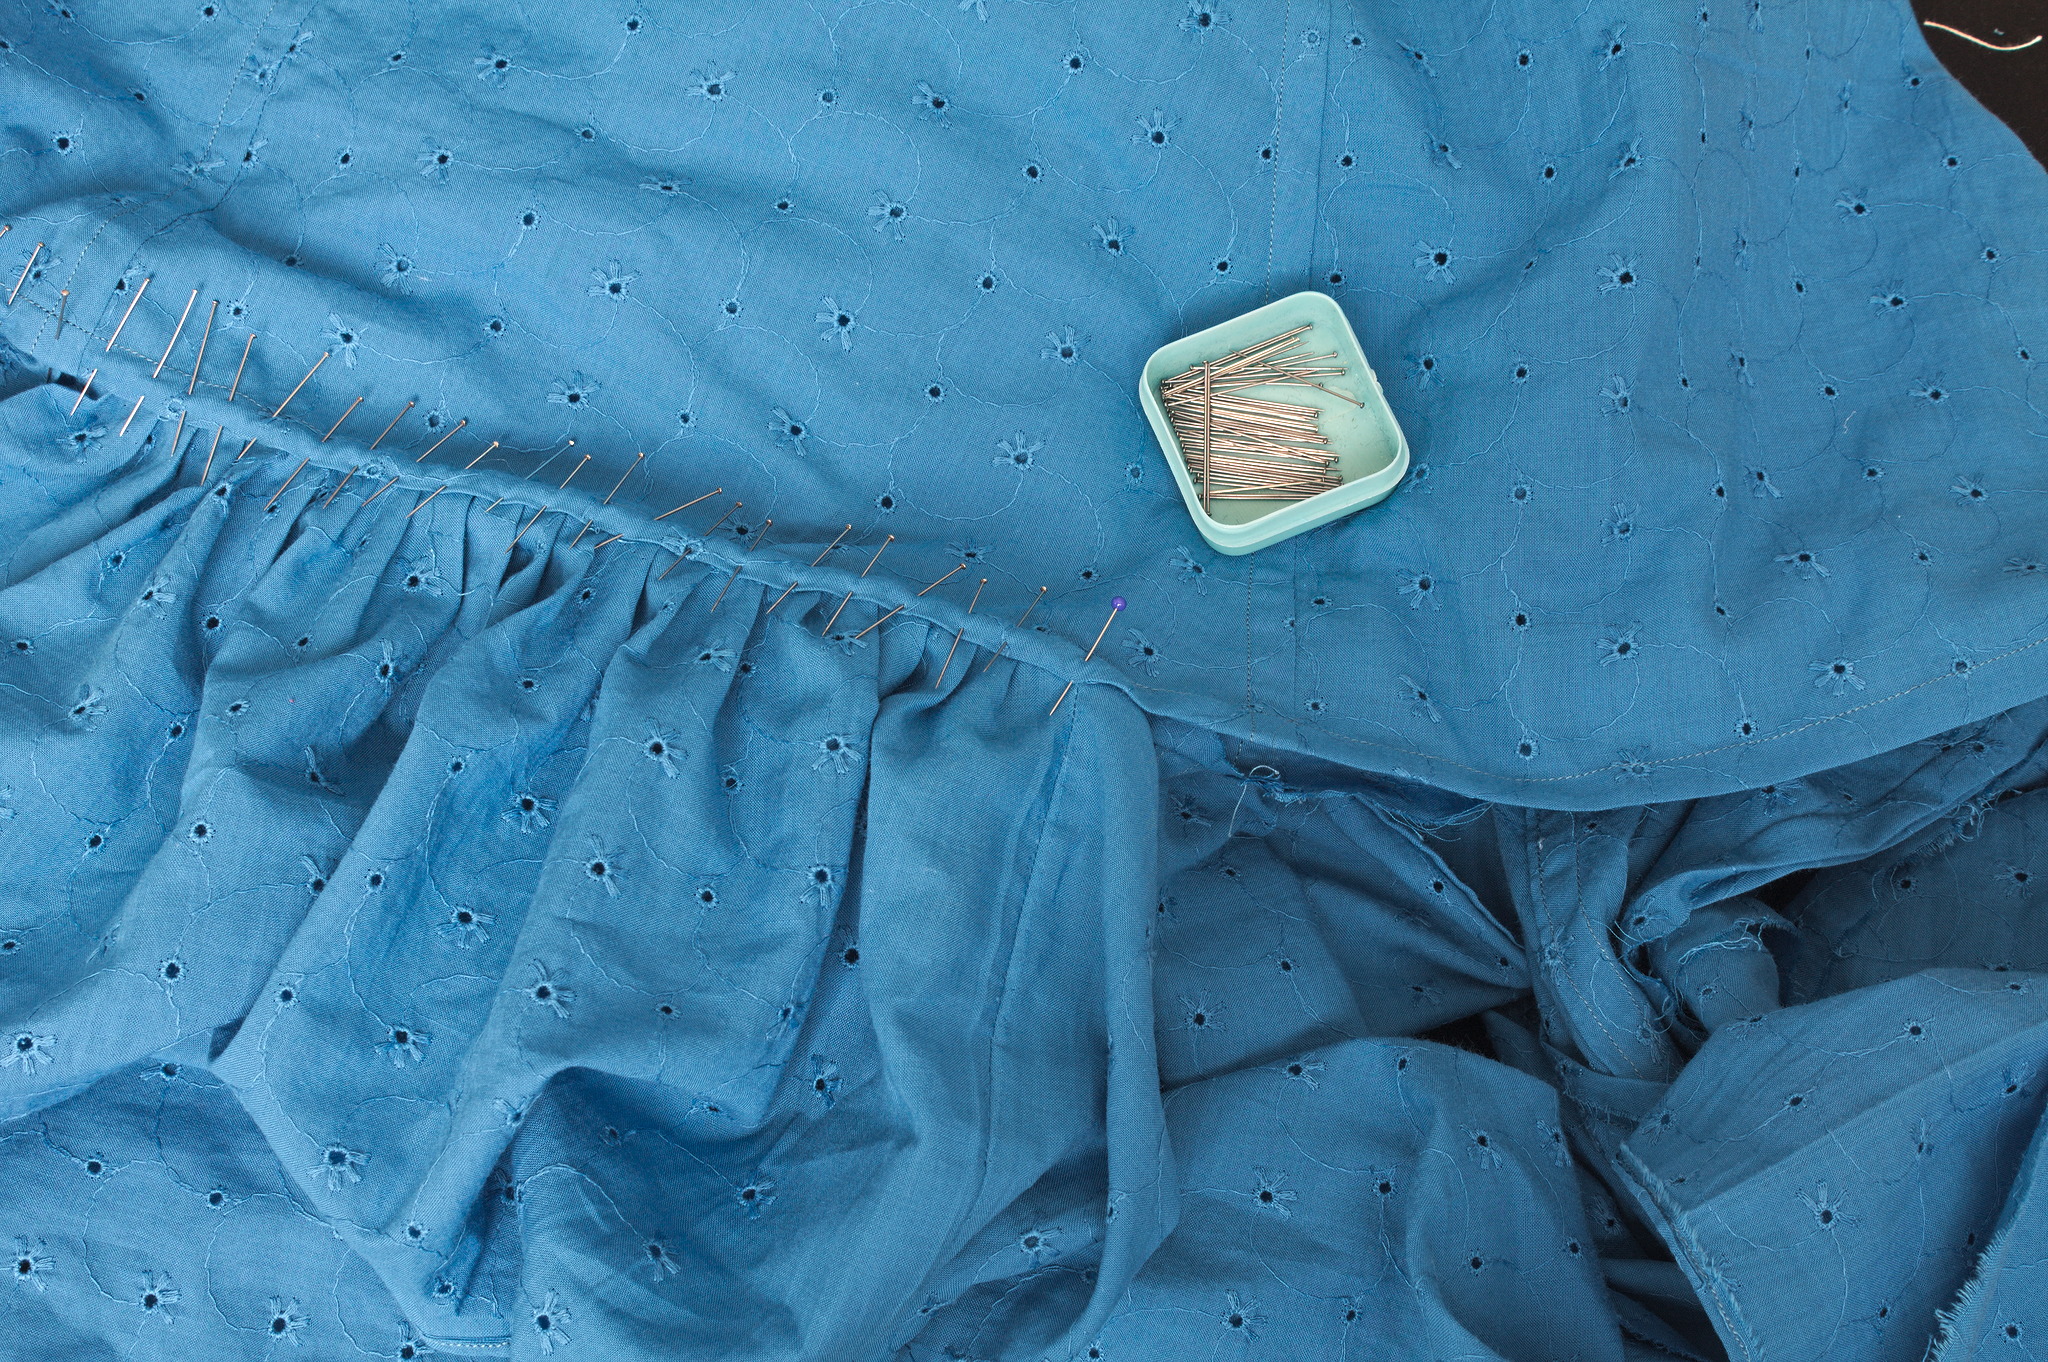
Insert the top of the tuck in the receiving tuck, quartering it to the hem and pleating or gathering the excess fabric.
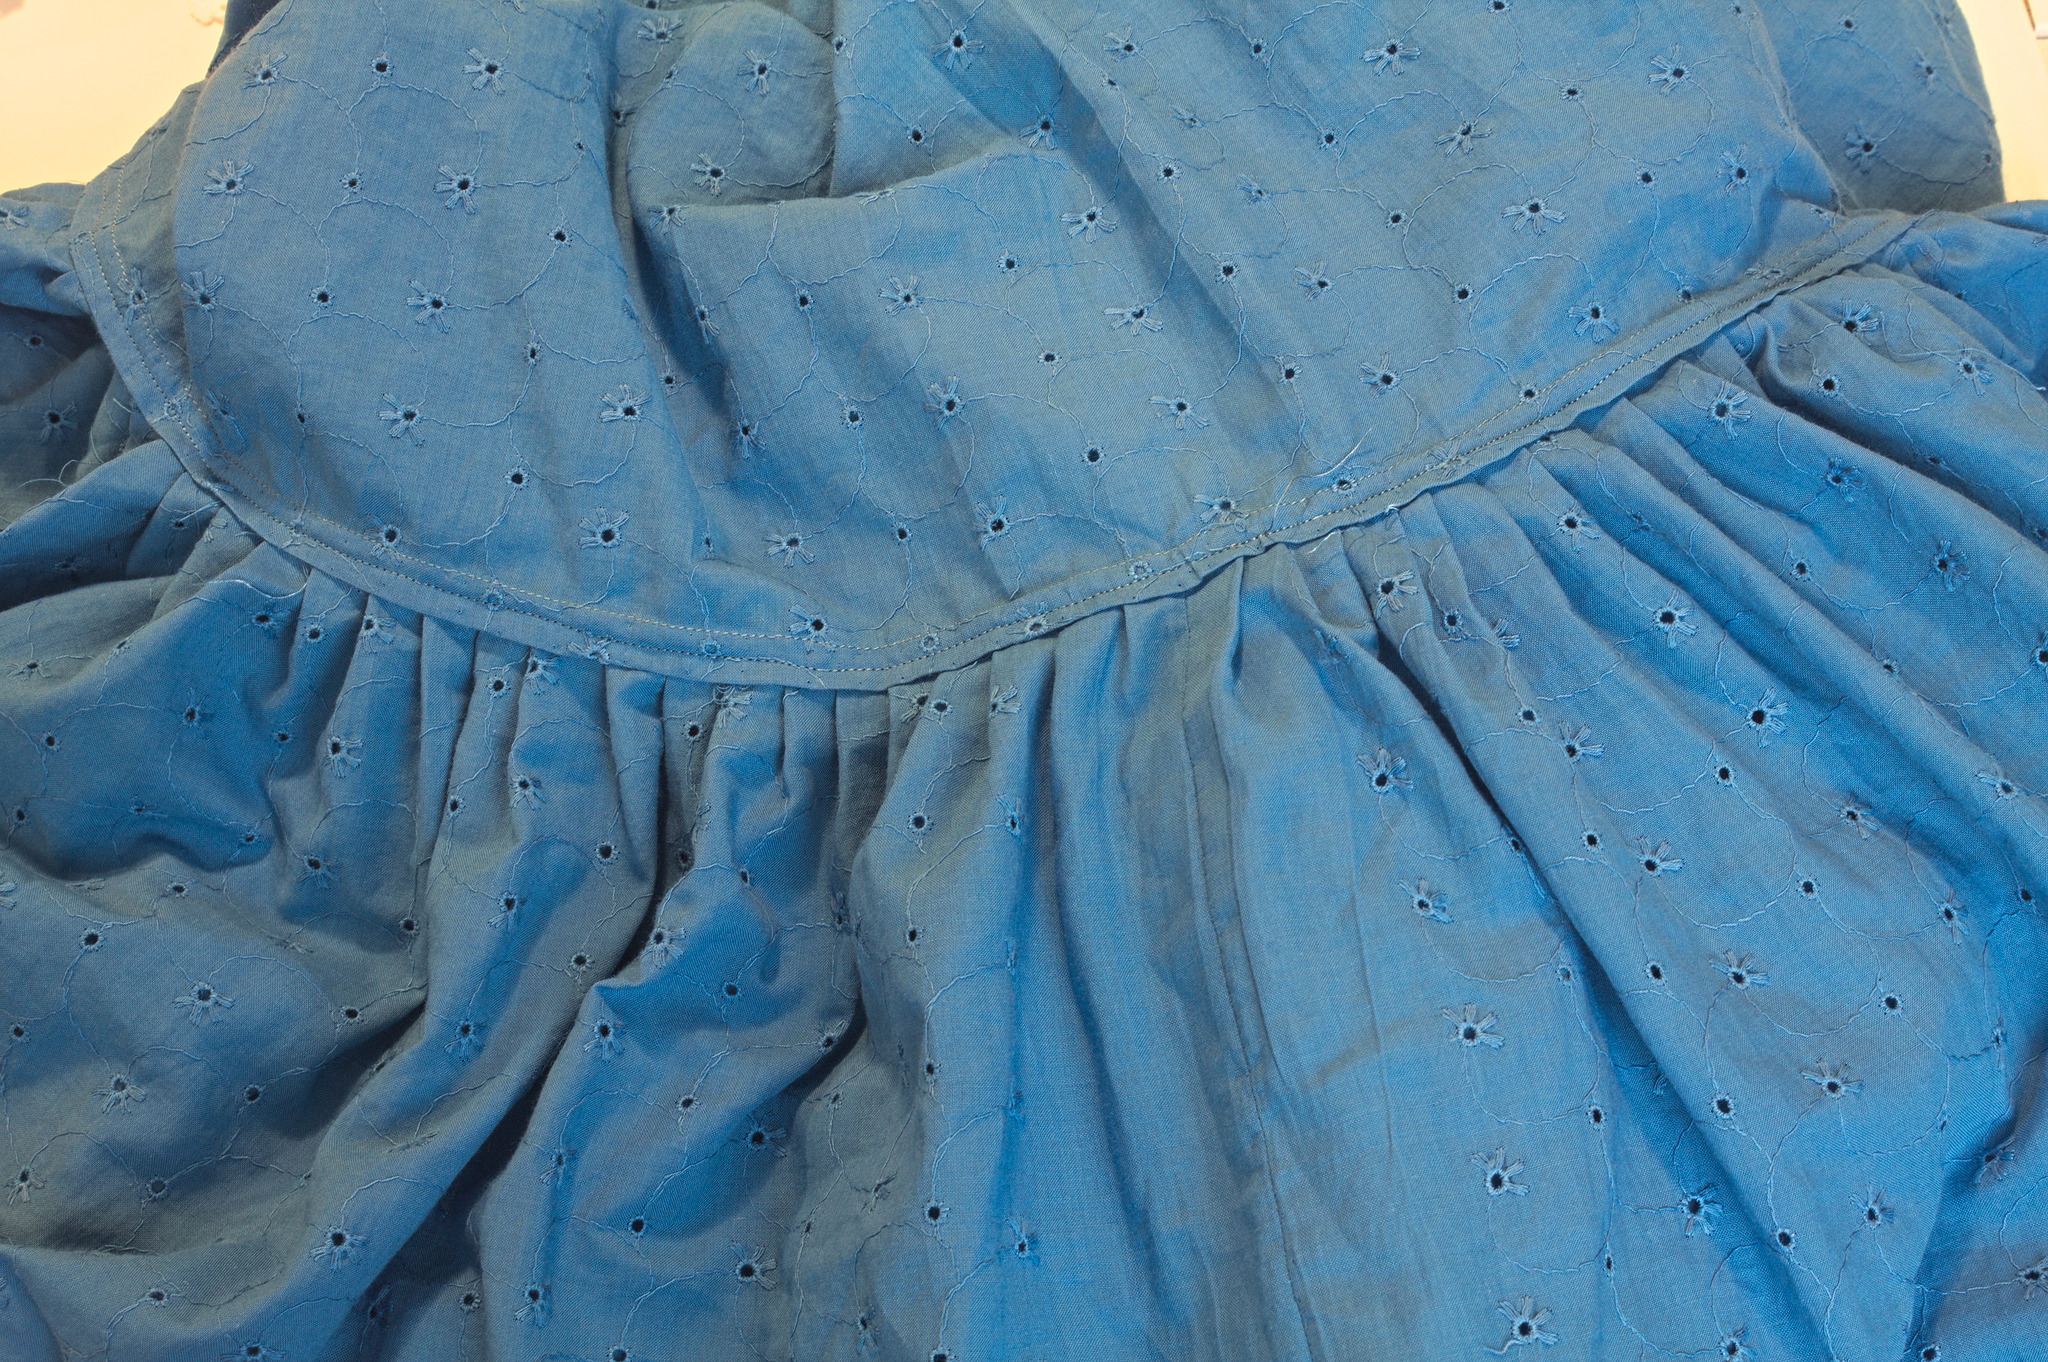
Topstitch at 5 mm from the hem to attach the ruffle and finish the tuck.
Finishing
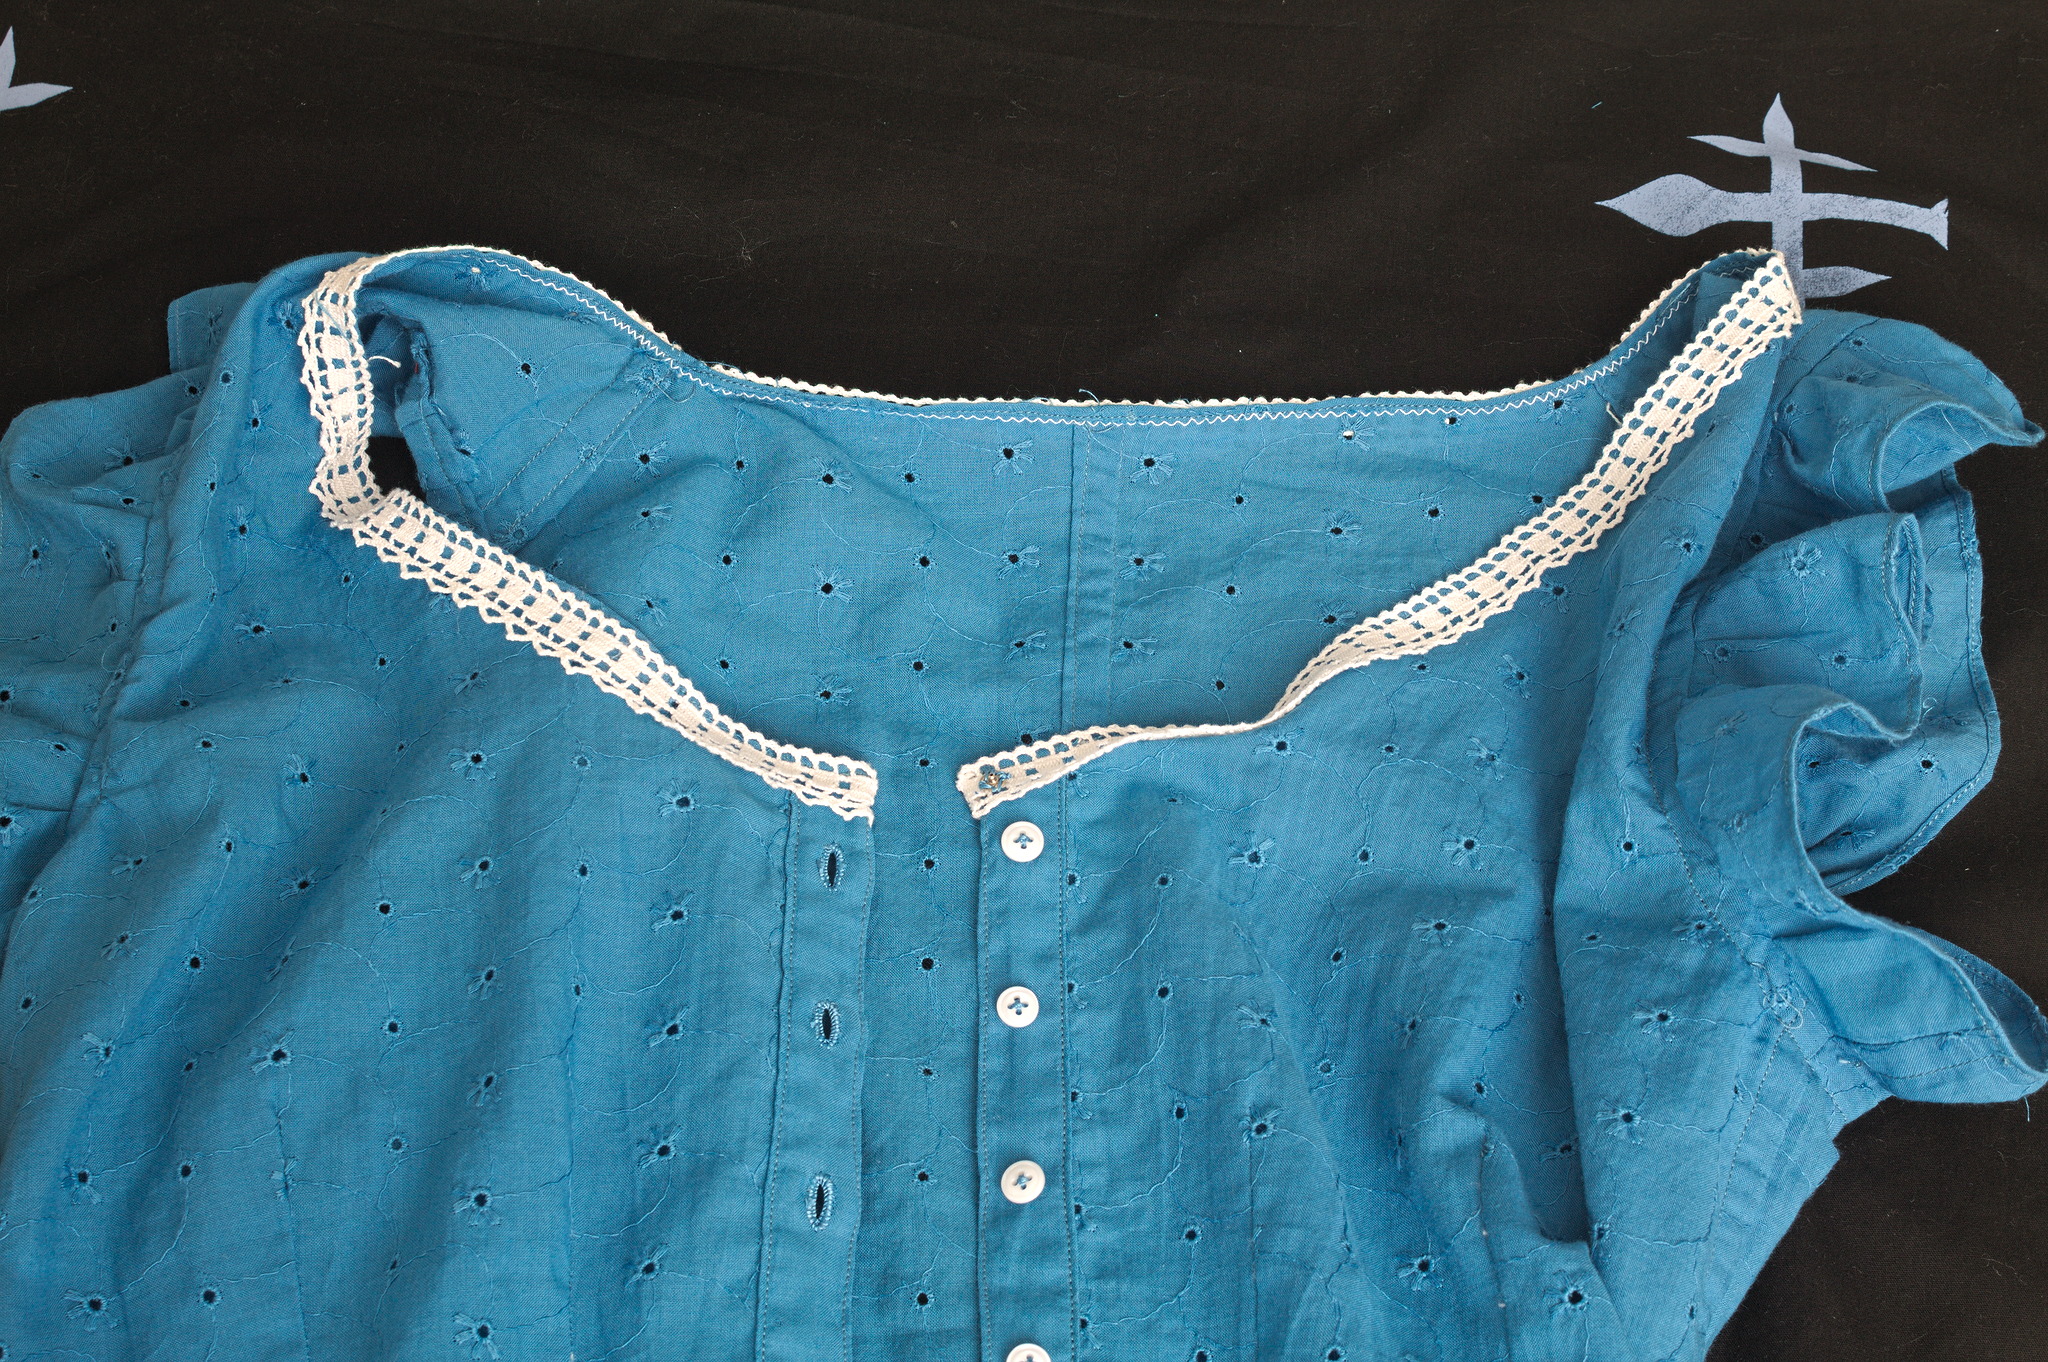
Hem the neck with a narrow hem.
Sew lace liberally and/or to taste.
Add small buttons and buttonholes to the front.
Tip
If adding lace to the neckline, make the first buttonhole a bit below the lace, and use a snap to keep the top of the neckline closed.
Variants
Corset Cover
The same pattern can of course be used to make a regular corset cover: either mark a length of 10 cm down from the waist, and cut all pieces at that length, or cut all pieces at the waistline plus sewing allowance and add a basque in one piece made by aligning all of the skirt pieces and rounding the edges.
The front facings will also have to be changed to be as long as the front edge, and can be simply included in the front piece.
Pocket Slits
Since this kind of garment is likely to be made in lightweight fabric, and it has no waist seam, adding pockets may not work very well, since there is no structure to support the weight of the things one may want to carry.
Also, when using it as underwear pockets aren’t really needed (since the main garment already has them) and they may add unwanted bulk.
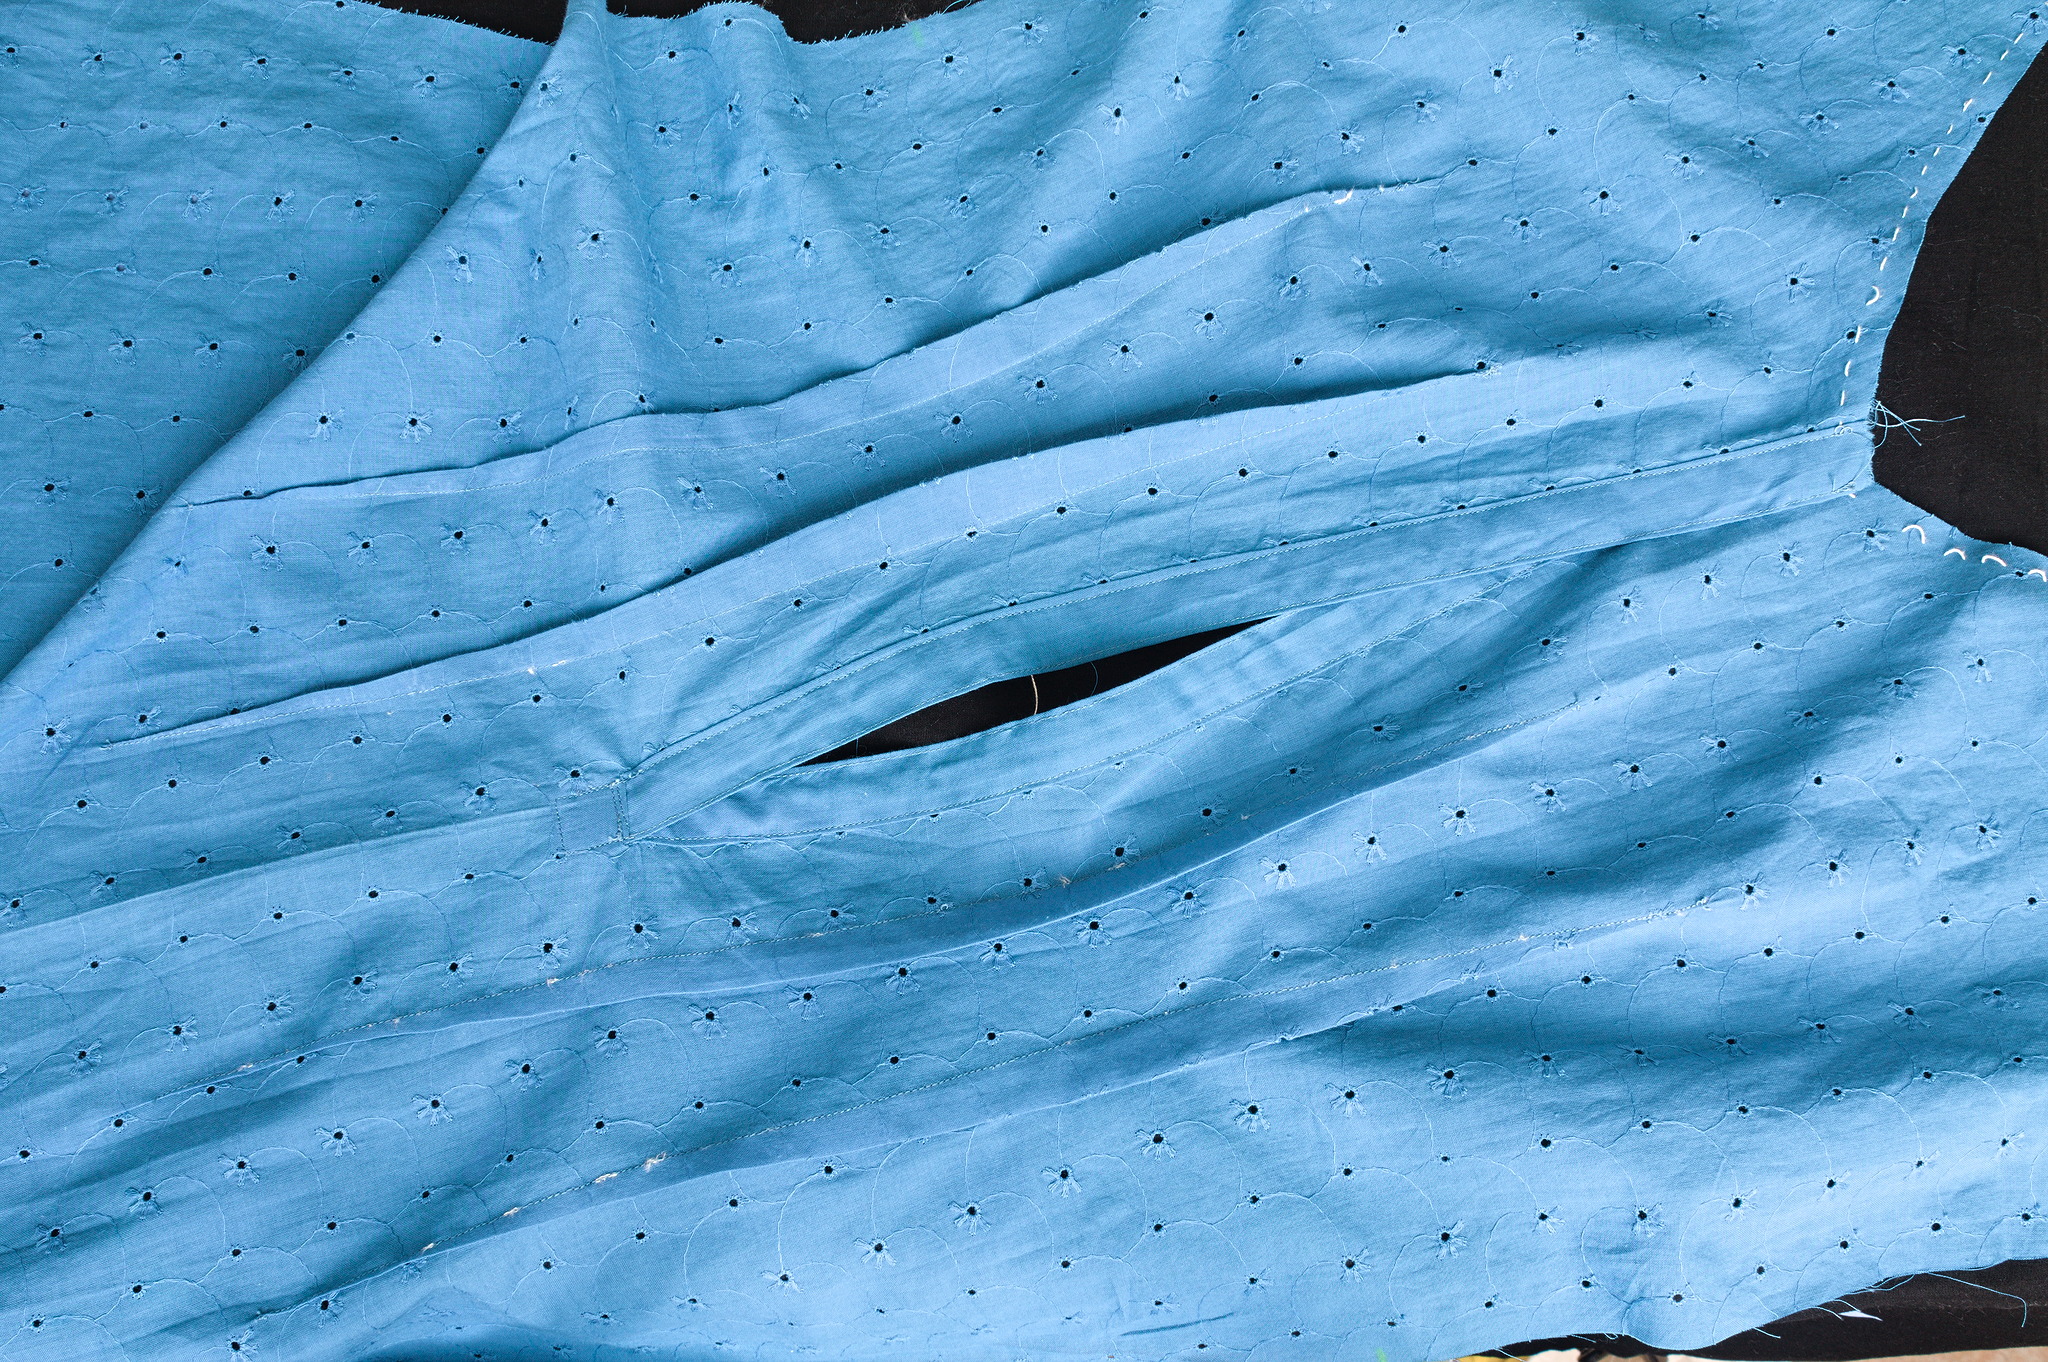
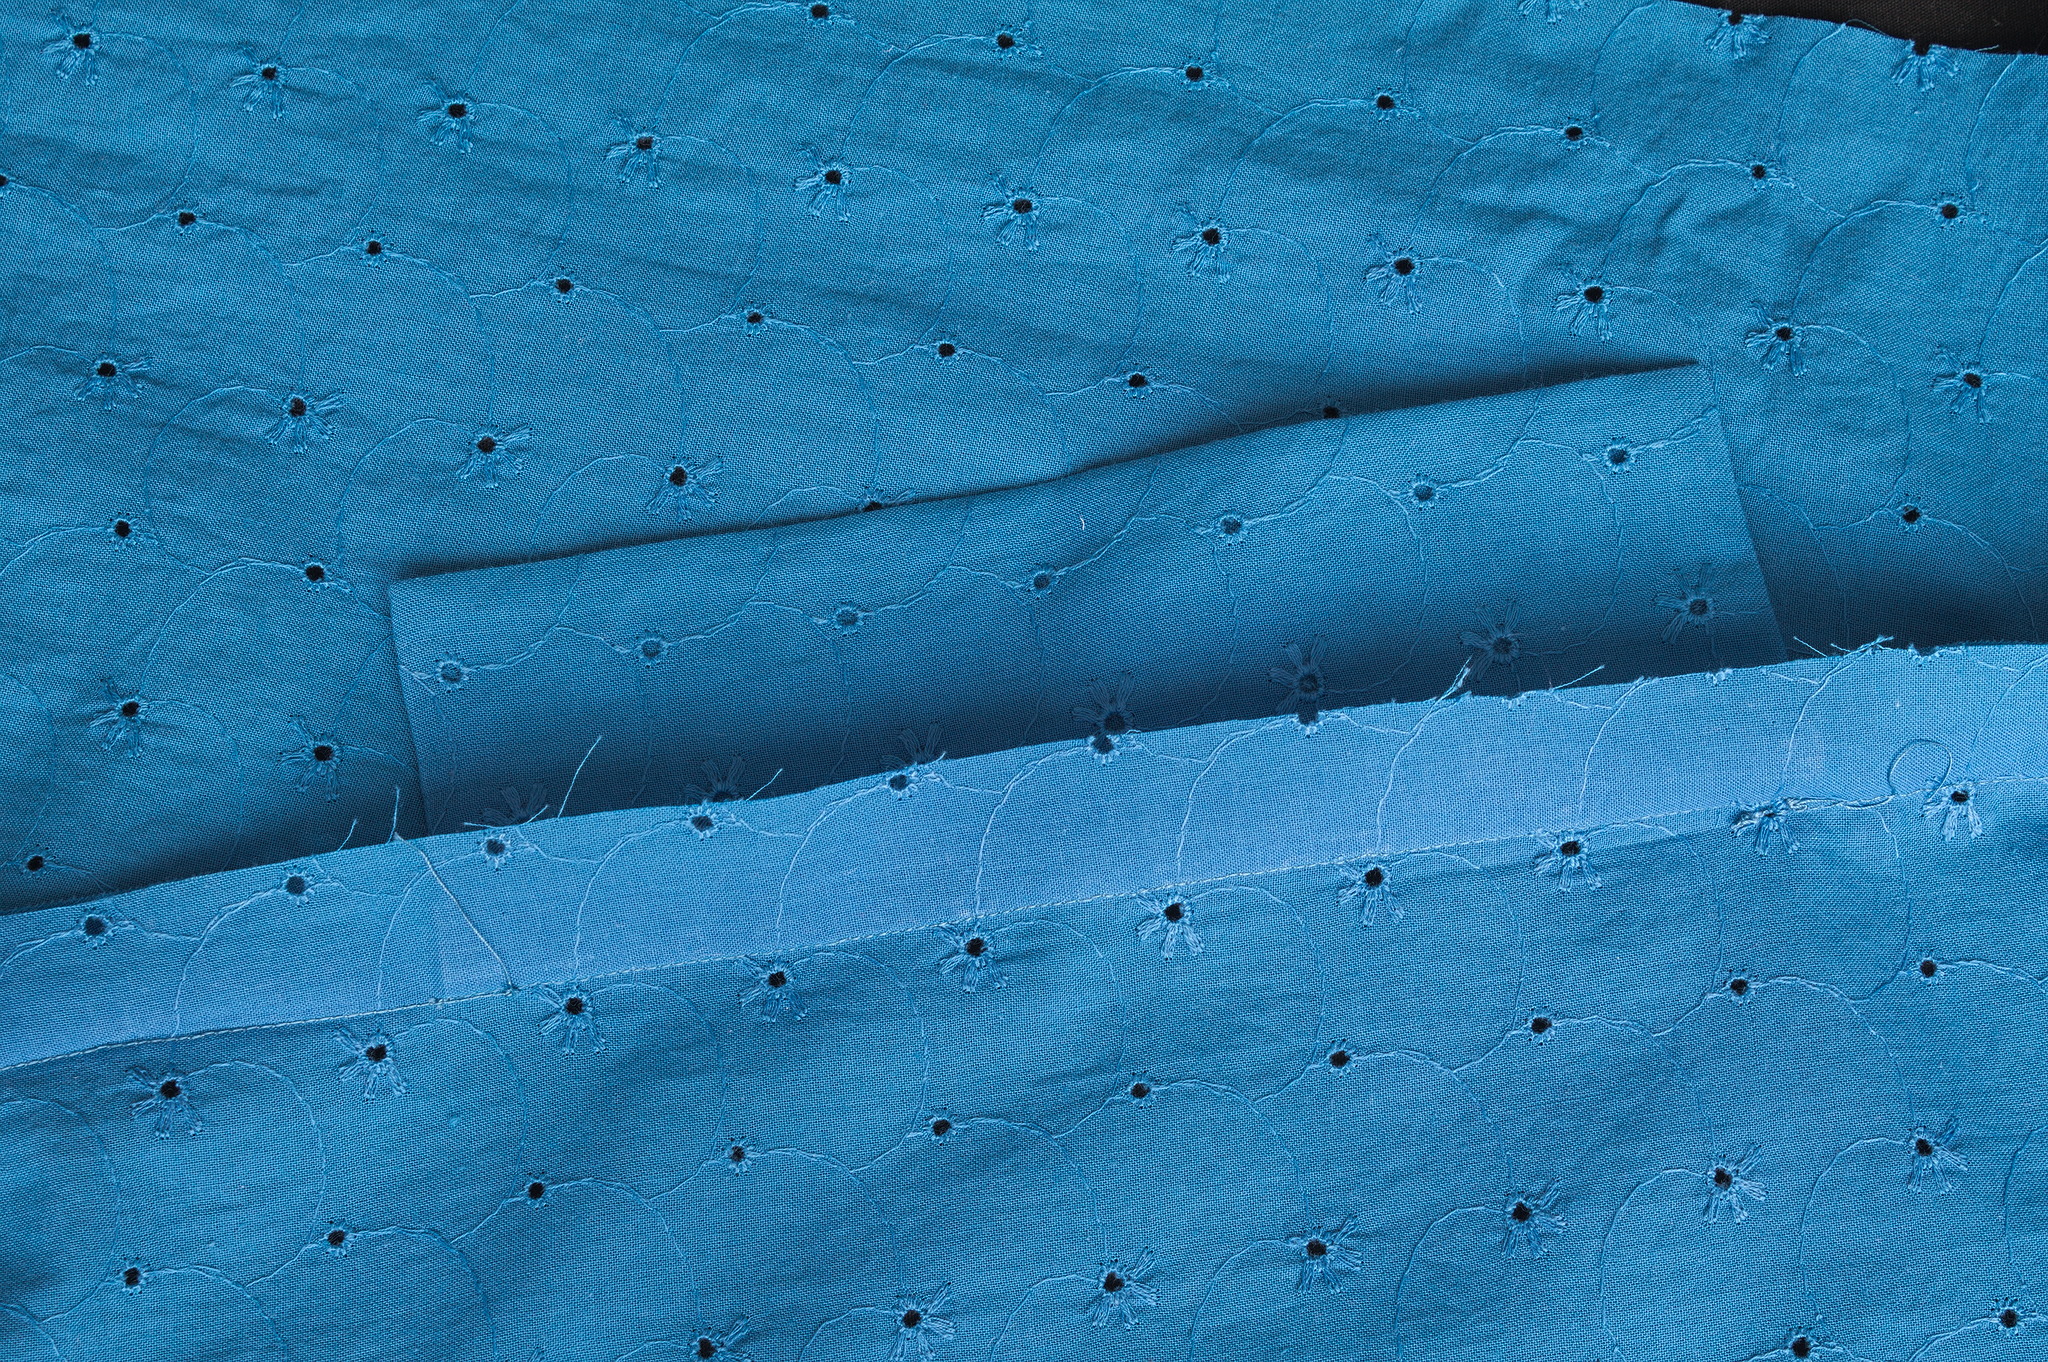
Of course my solution to this isn’t “no pockets” (perish the thought!), but simple slits with modesty facings through which one can access a Pair of Pockets.
I’ve placed these slits on the seam between the side and side back panels rather than on the seams of the front piece for two reasons: one is that this way the front of the skirt remains smoother, and the bulk of the pockets can be where there is more fullness in the back; the other one is that the seams of the front piece are the first ones that are changed in case one needs to do small alterations to the fitting, and leaving them clear makes it easier.
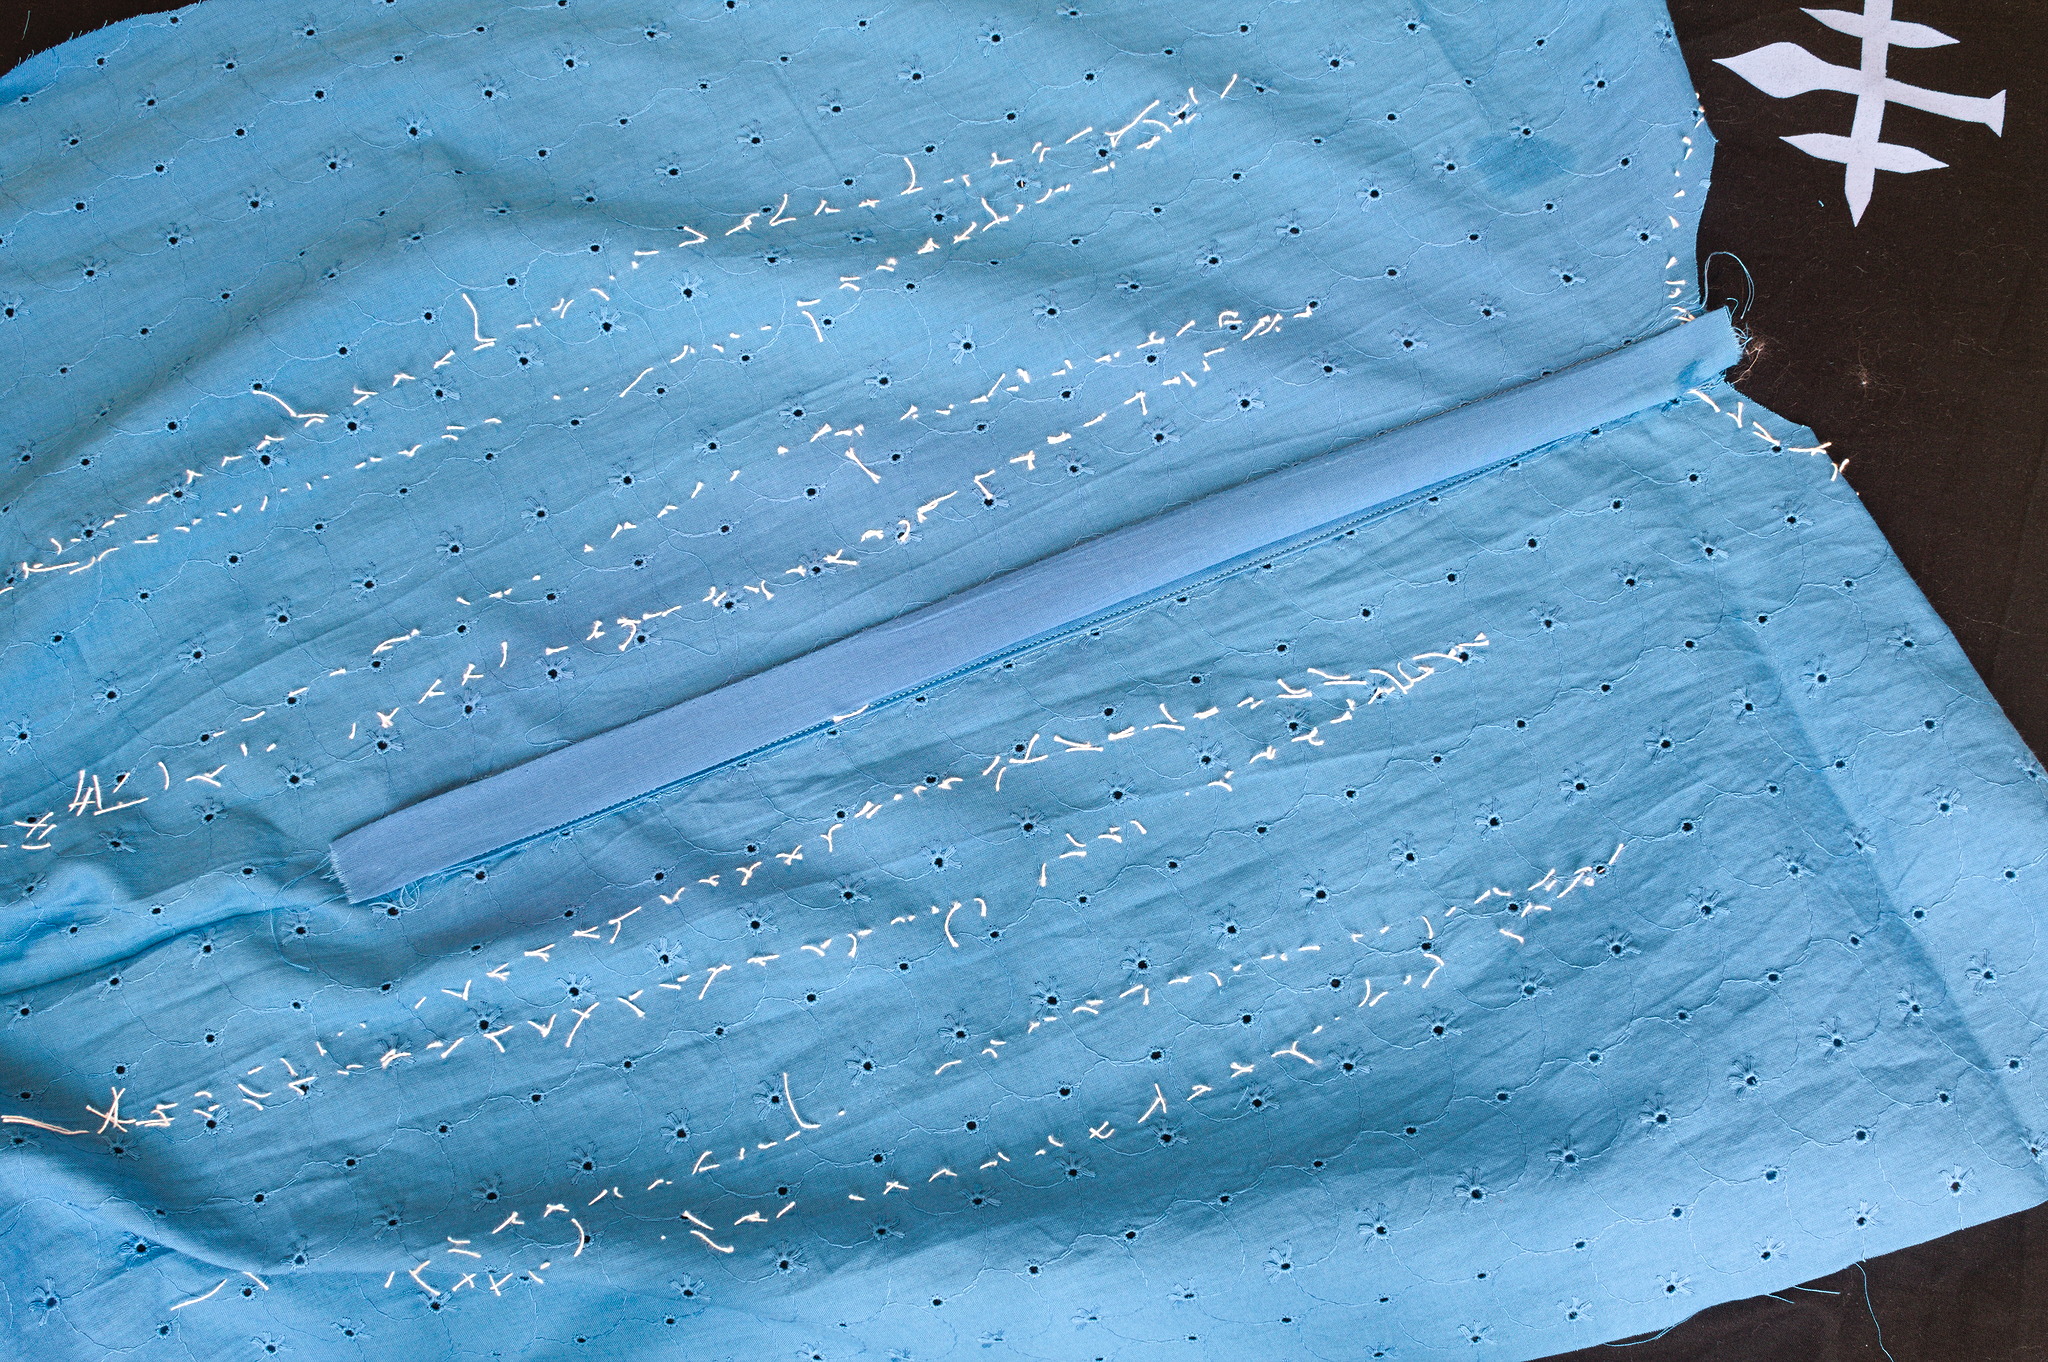
For the facings, cut two rectangles of fabric, about 20 cm × 14 cm each.
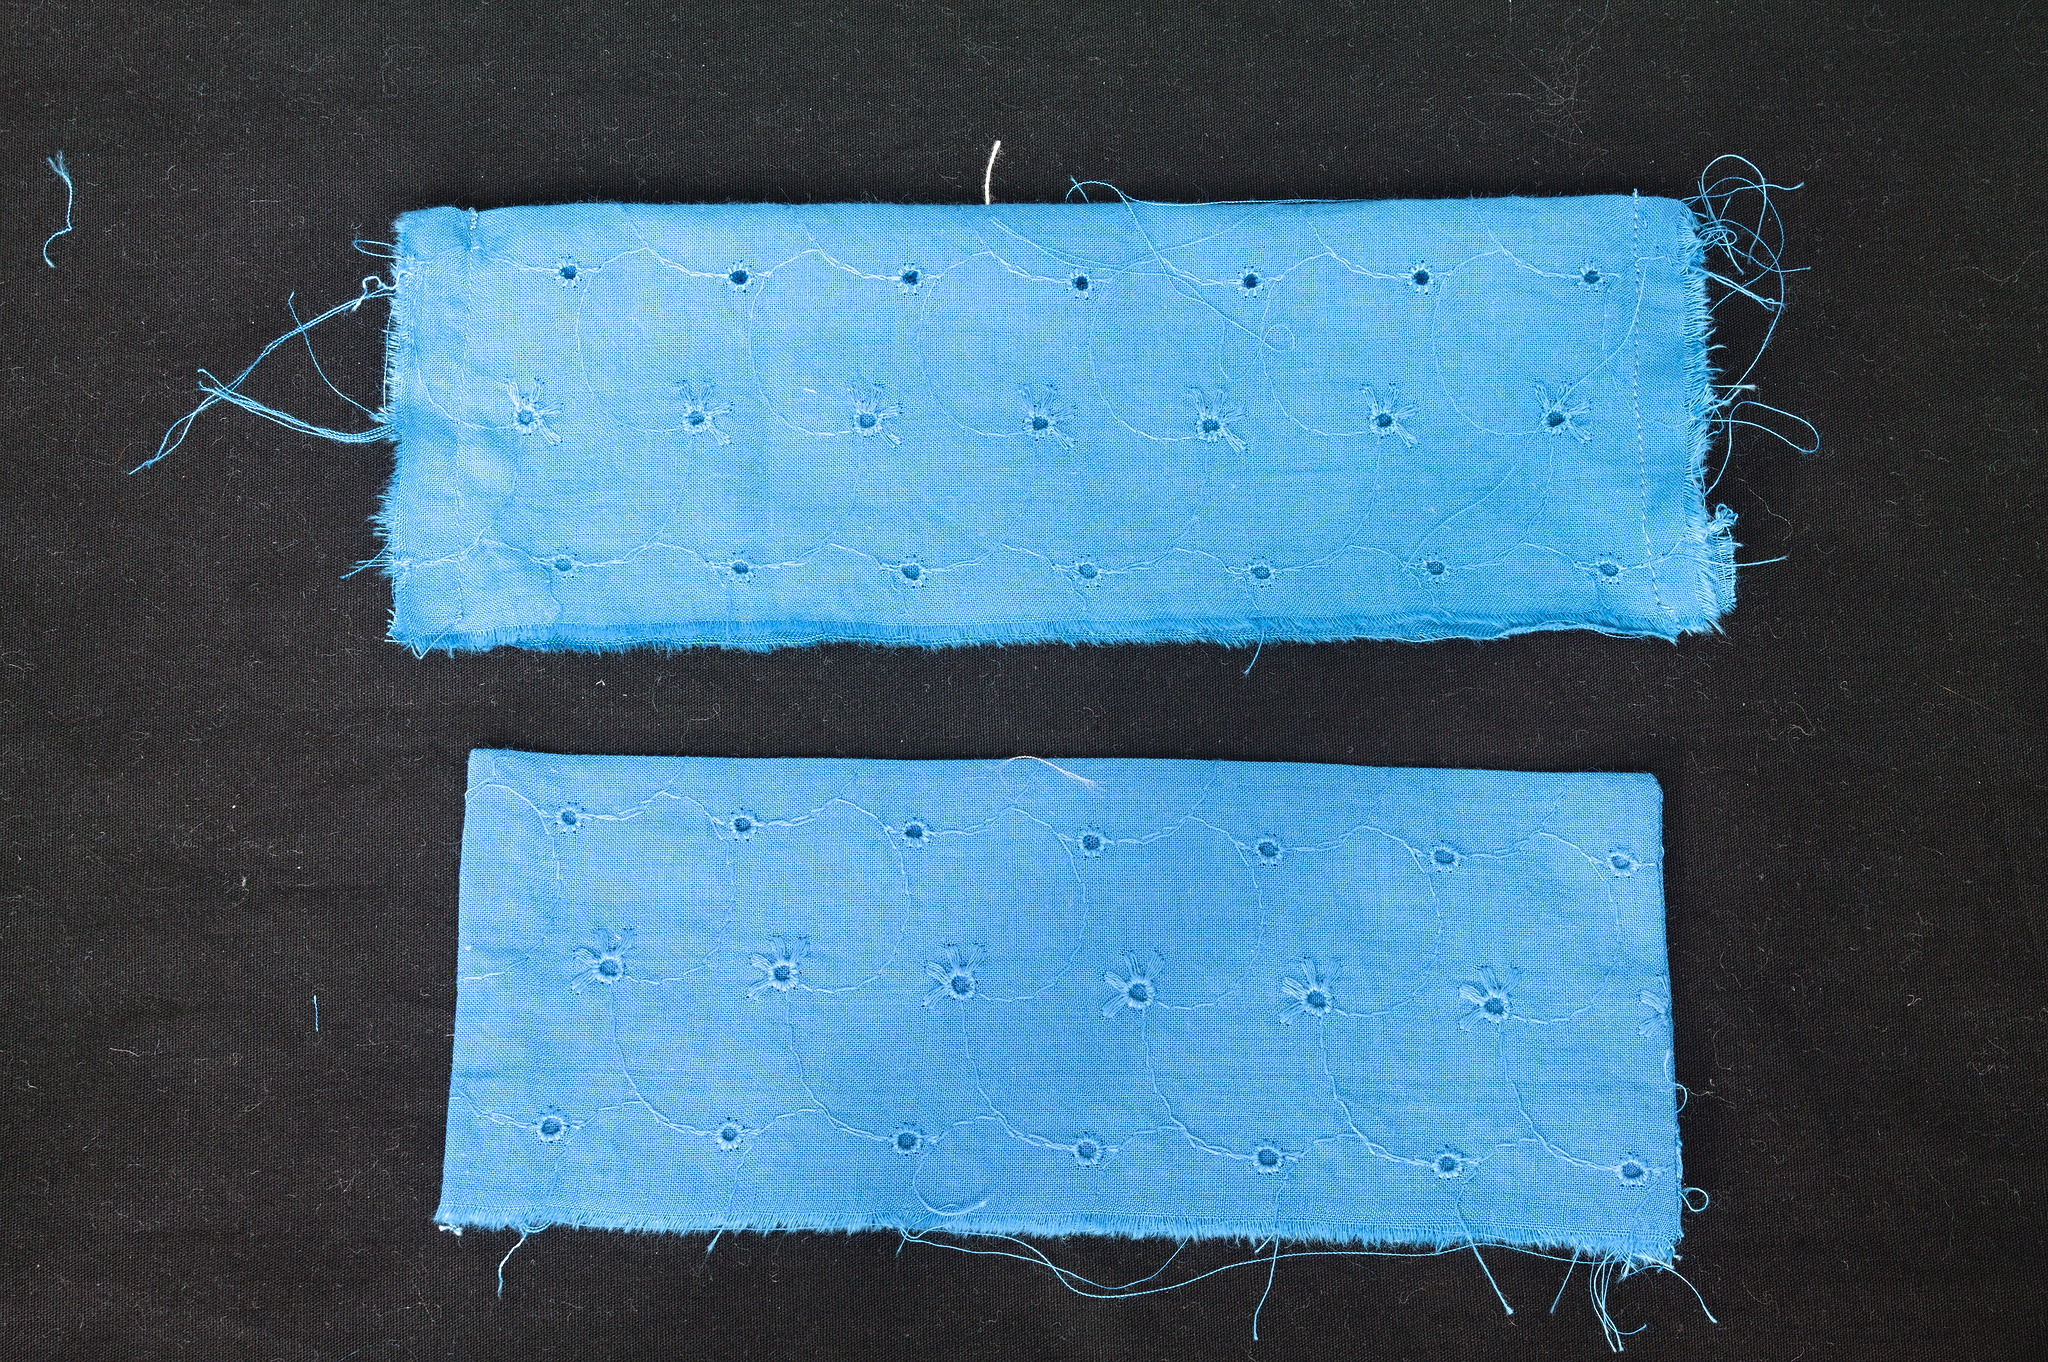
Fold them in half on the long side, right sides facing, and sew the short sides with an allowance of 1 cm. Turn inside out and press.
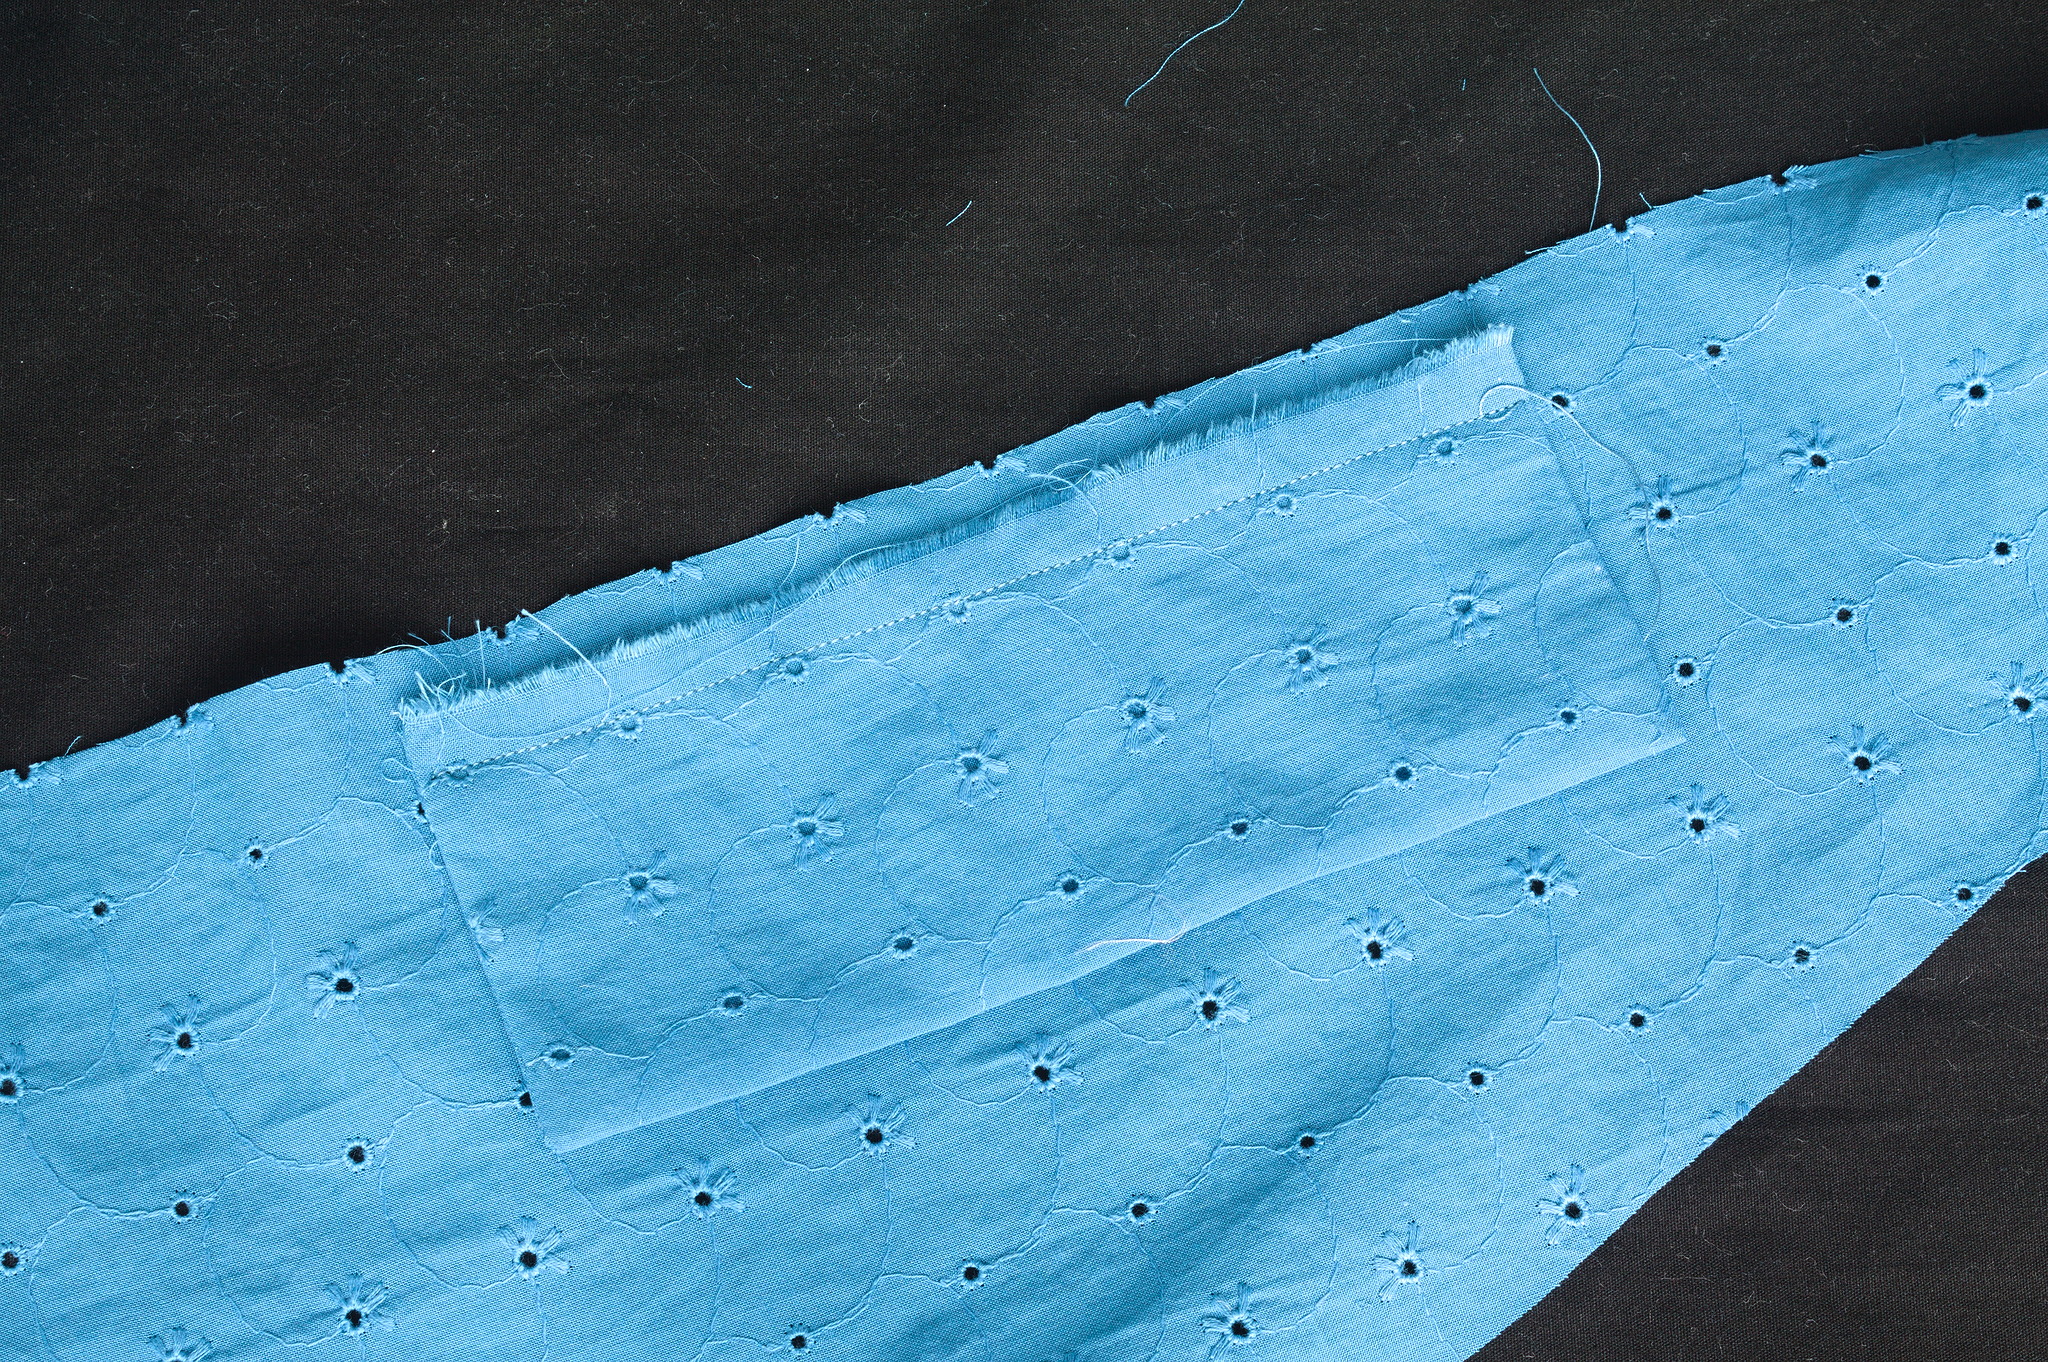
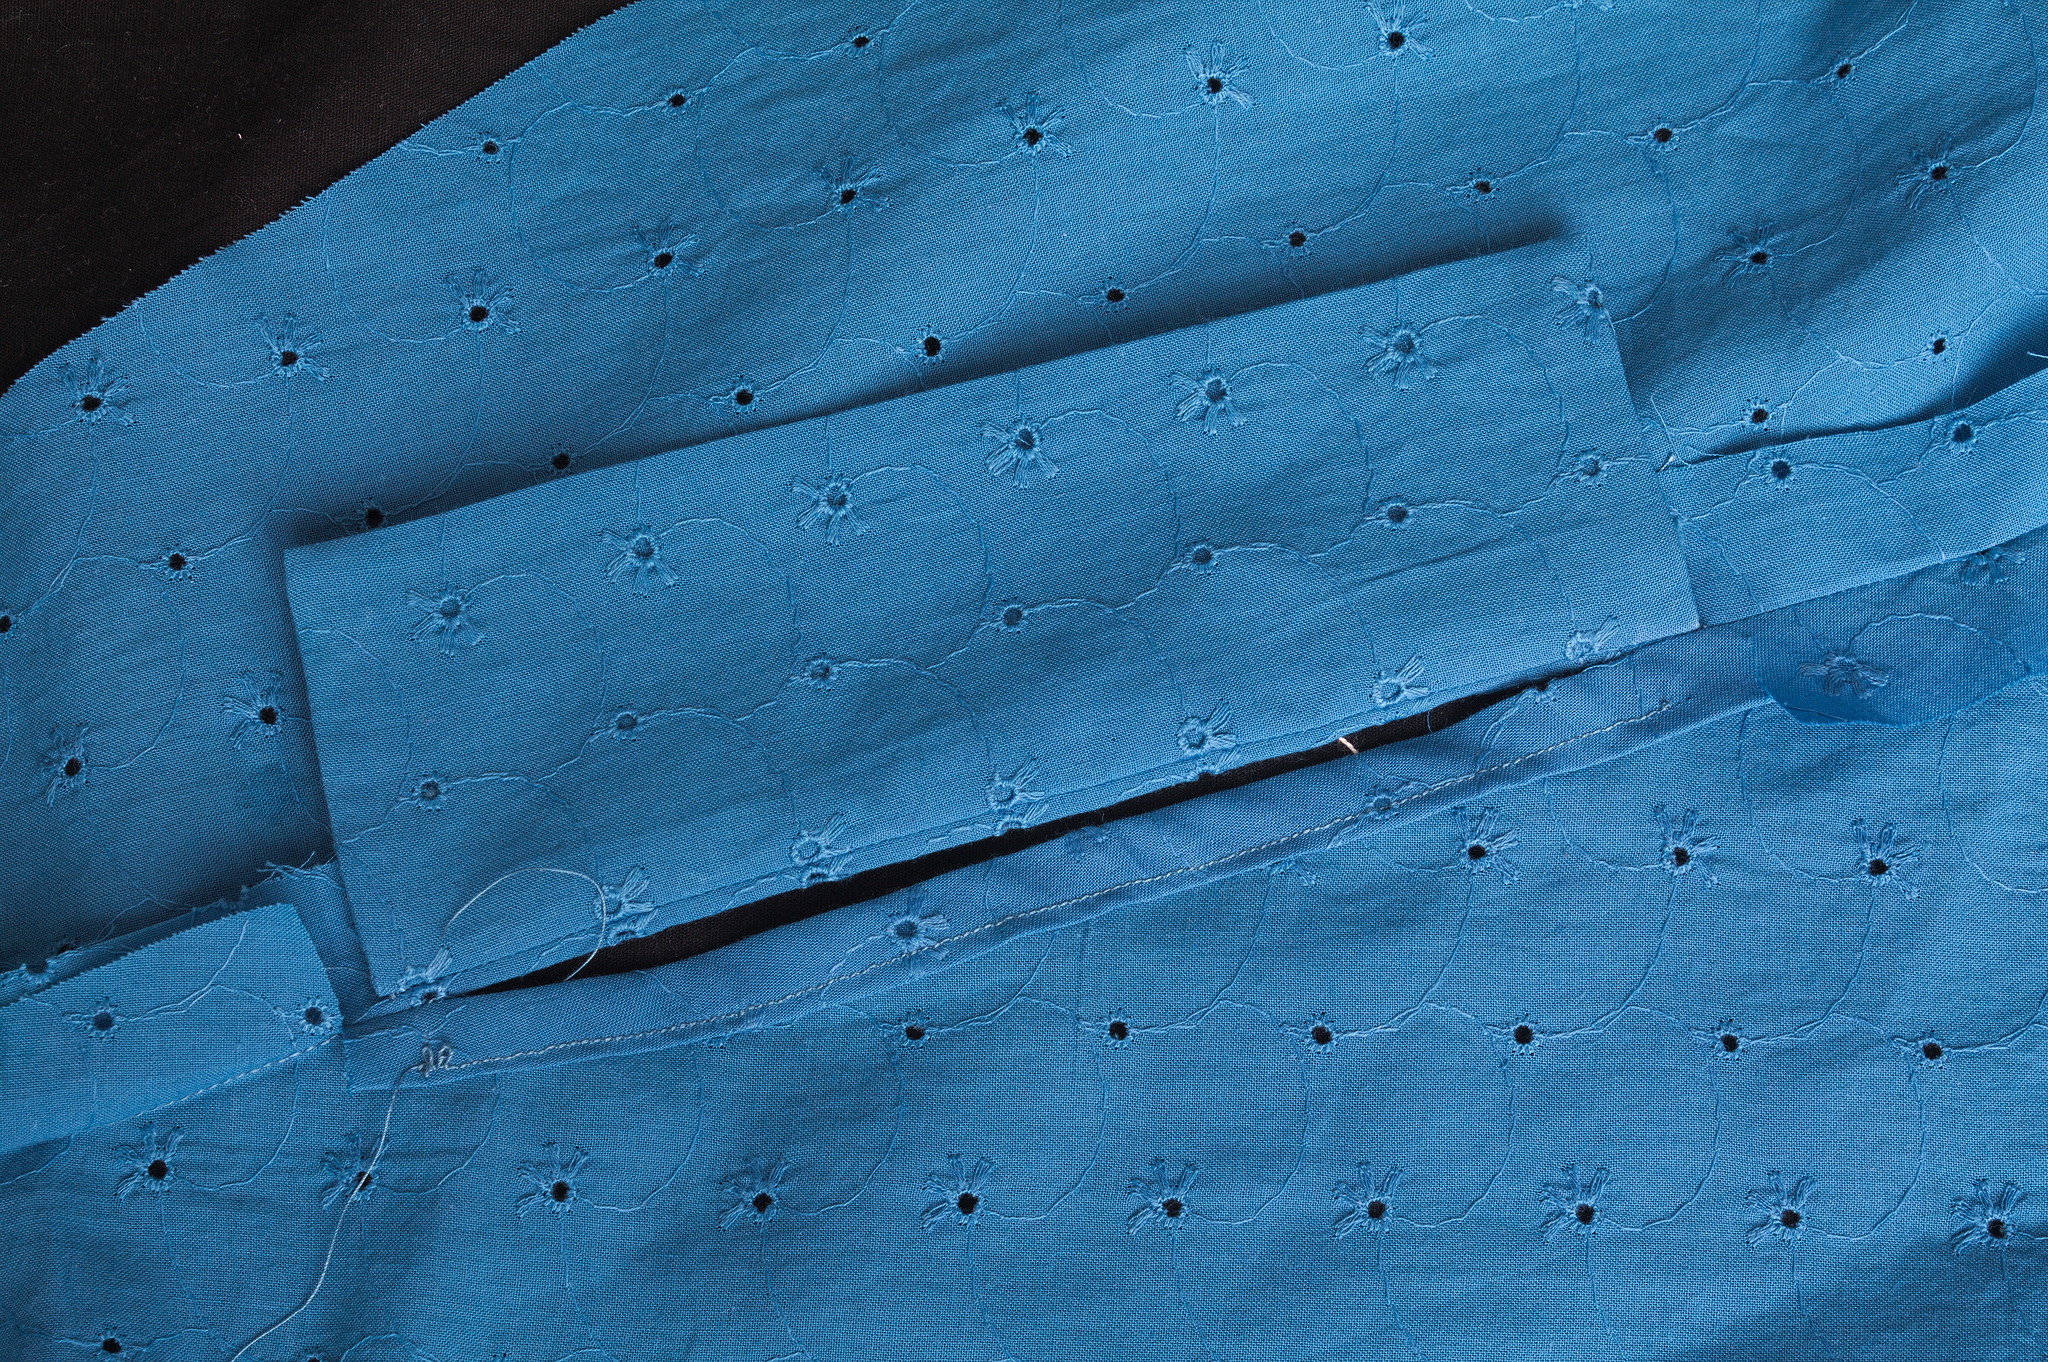
Put the rectangles on the right side of the side back pieces, on the straight grain edge, between the waist and the hips, and at half an allowance from the edge of the fabric, sew with the regular seam allowance.
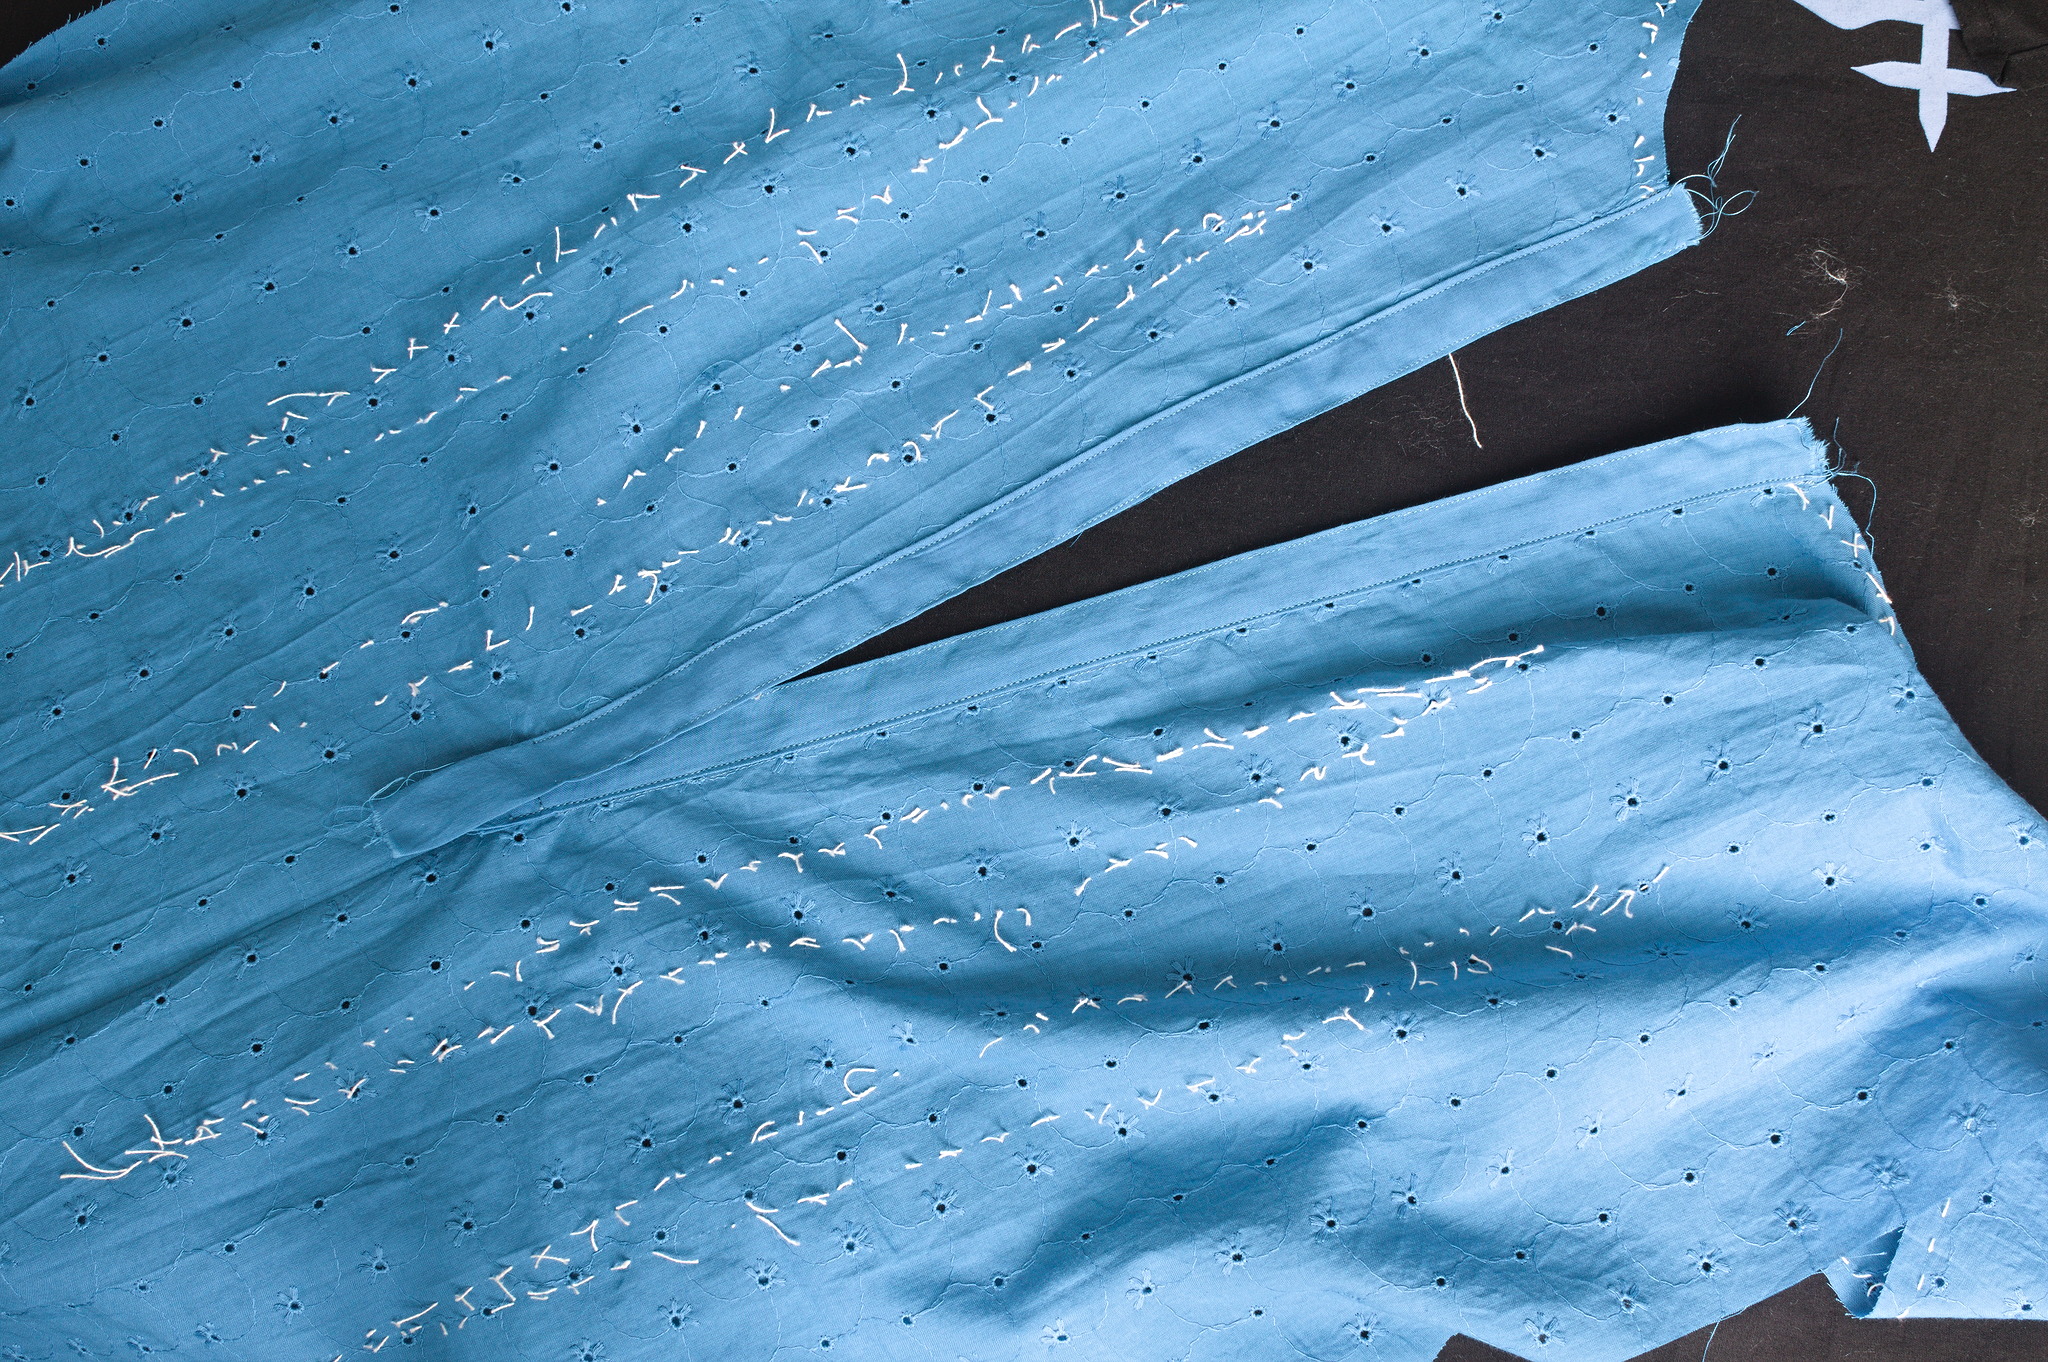
Press towards the outside.
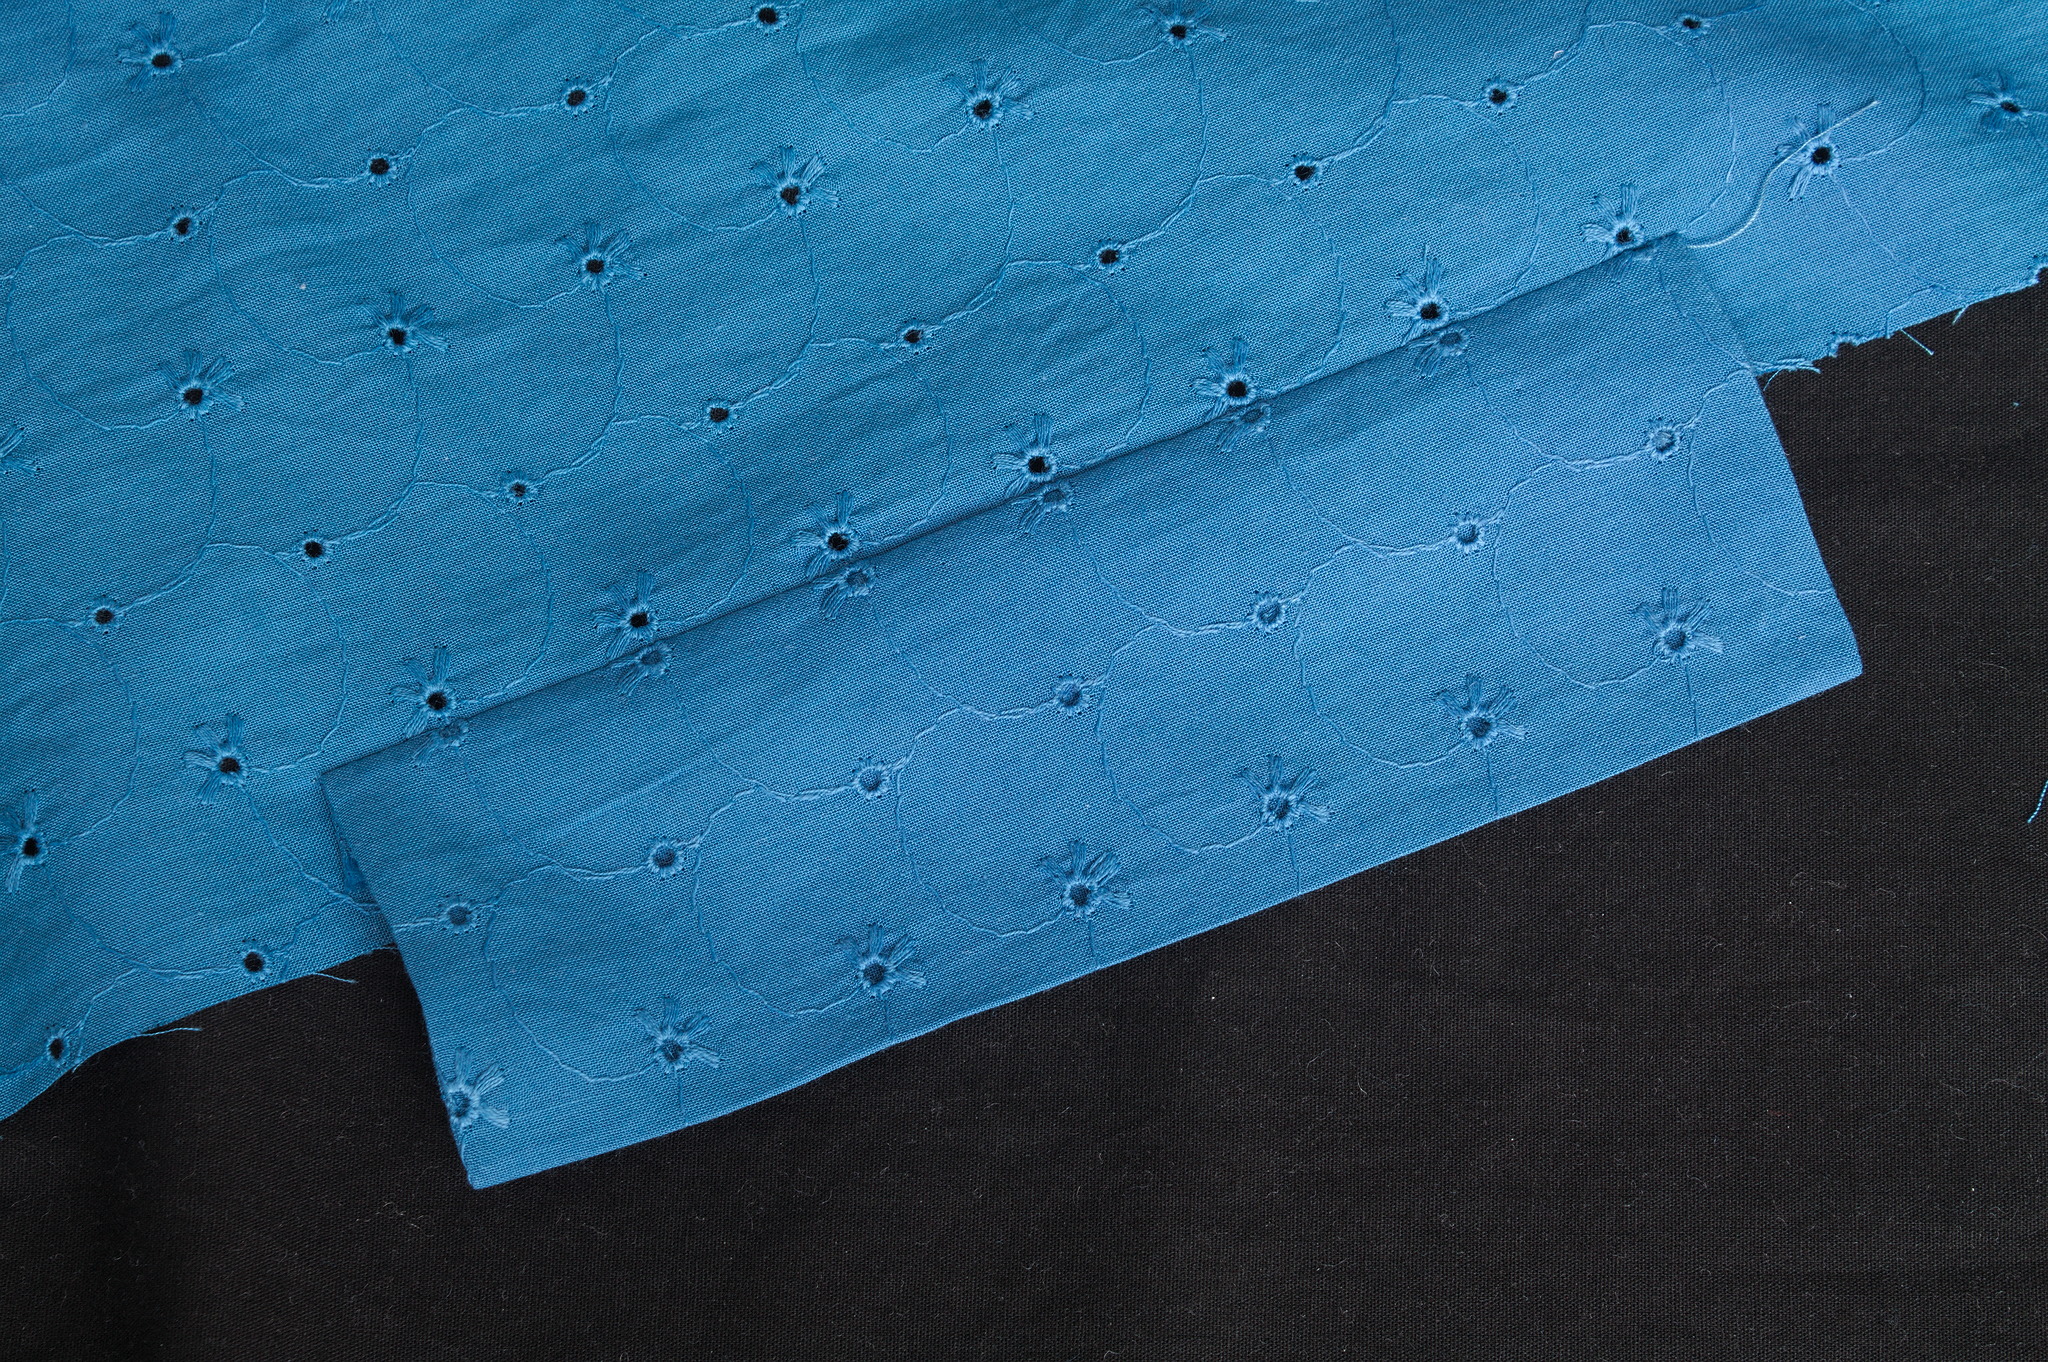
Put the side on top of the side back pieces, right sides together, and sew the seam stopping in such a way that just 1 cm at the top and bottom of the facings is covered.
Press the seam open, then press all allowances towards the side.
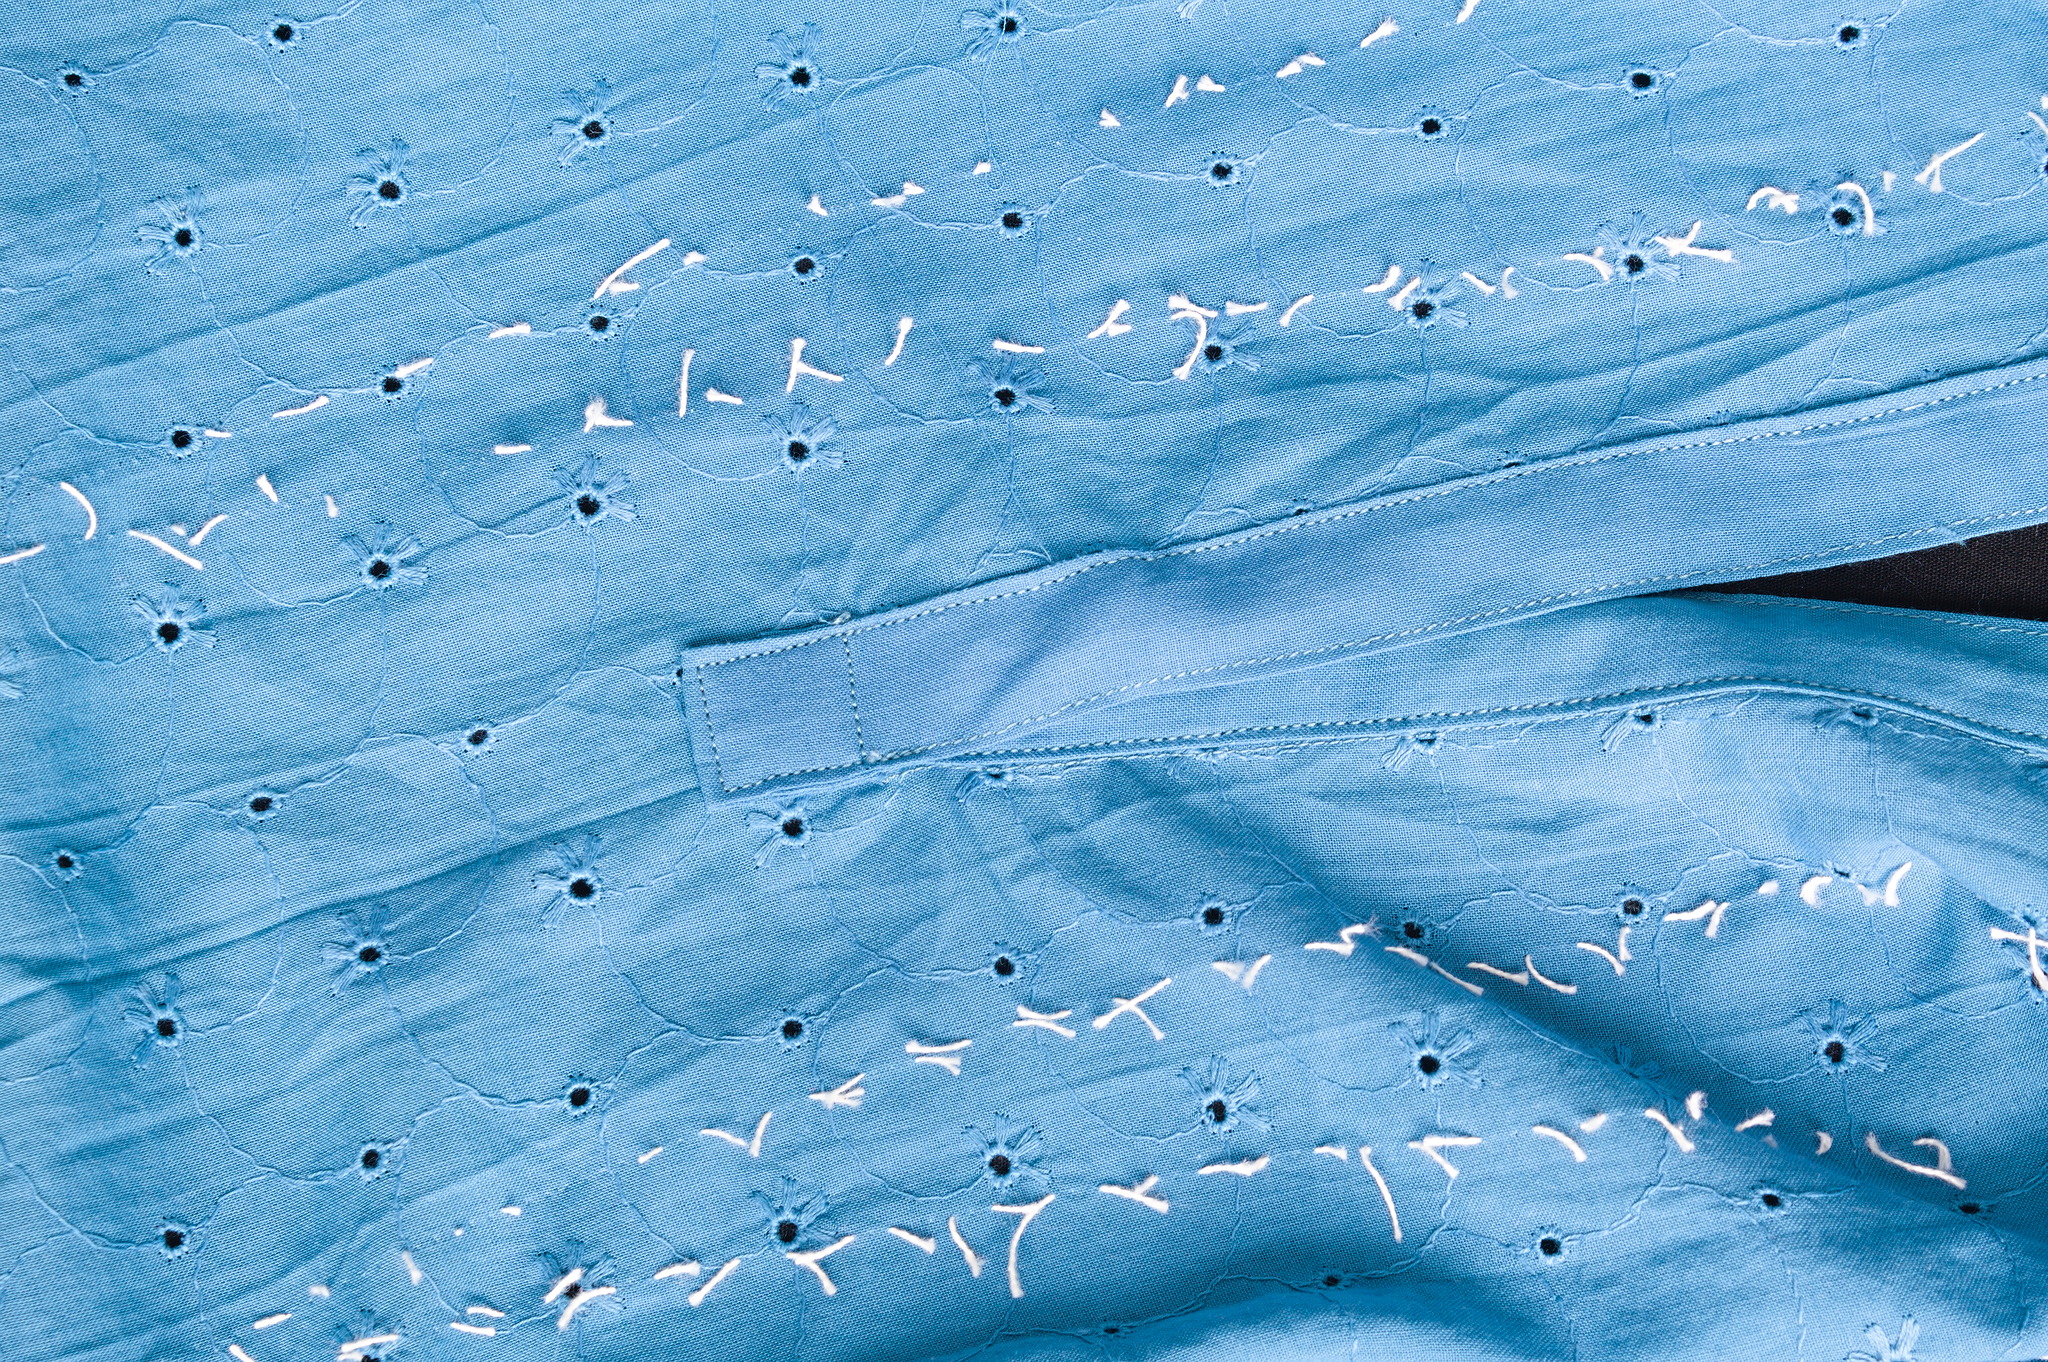
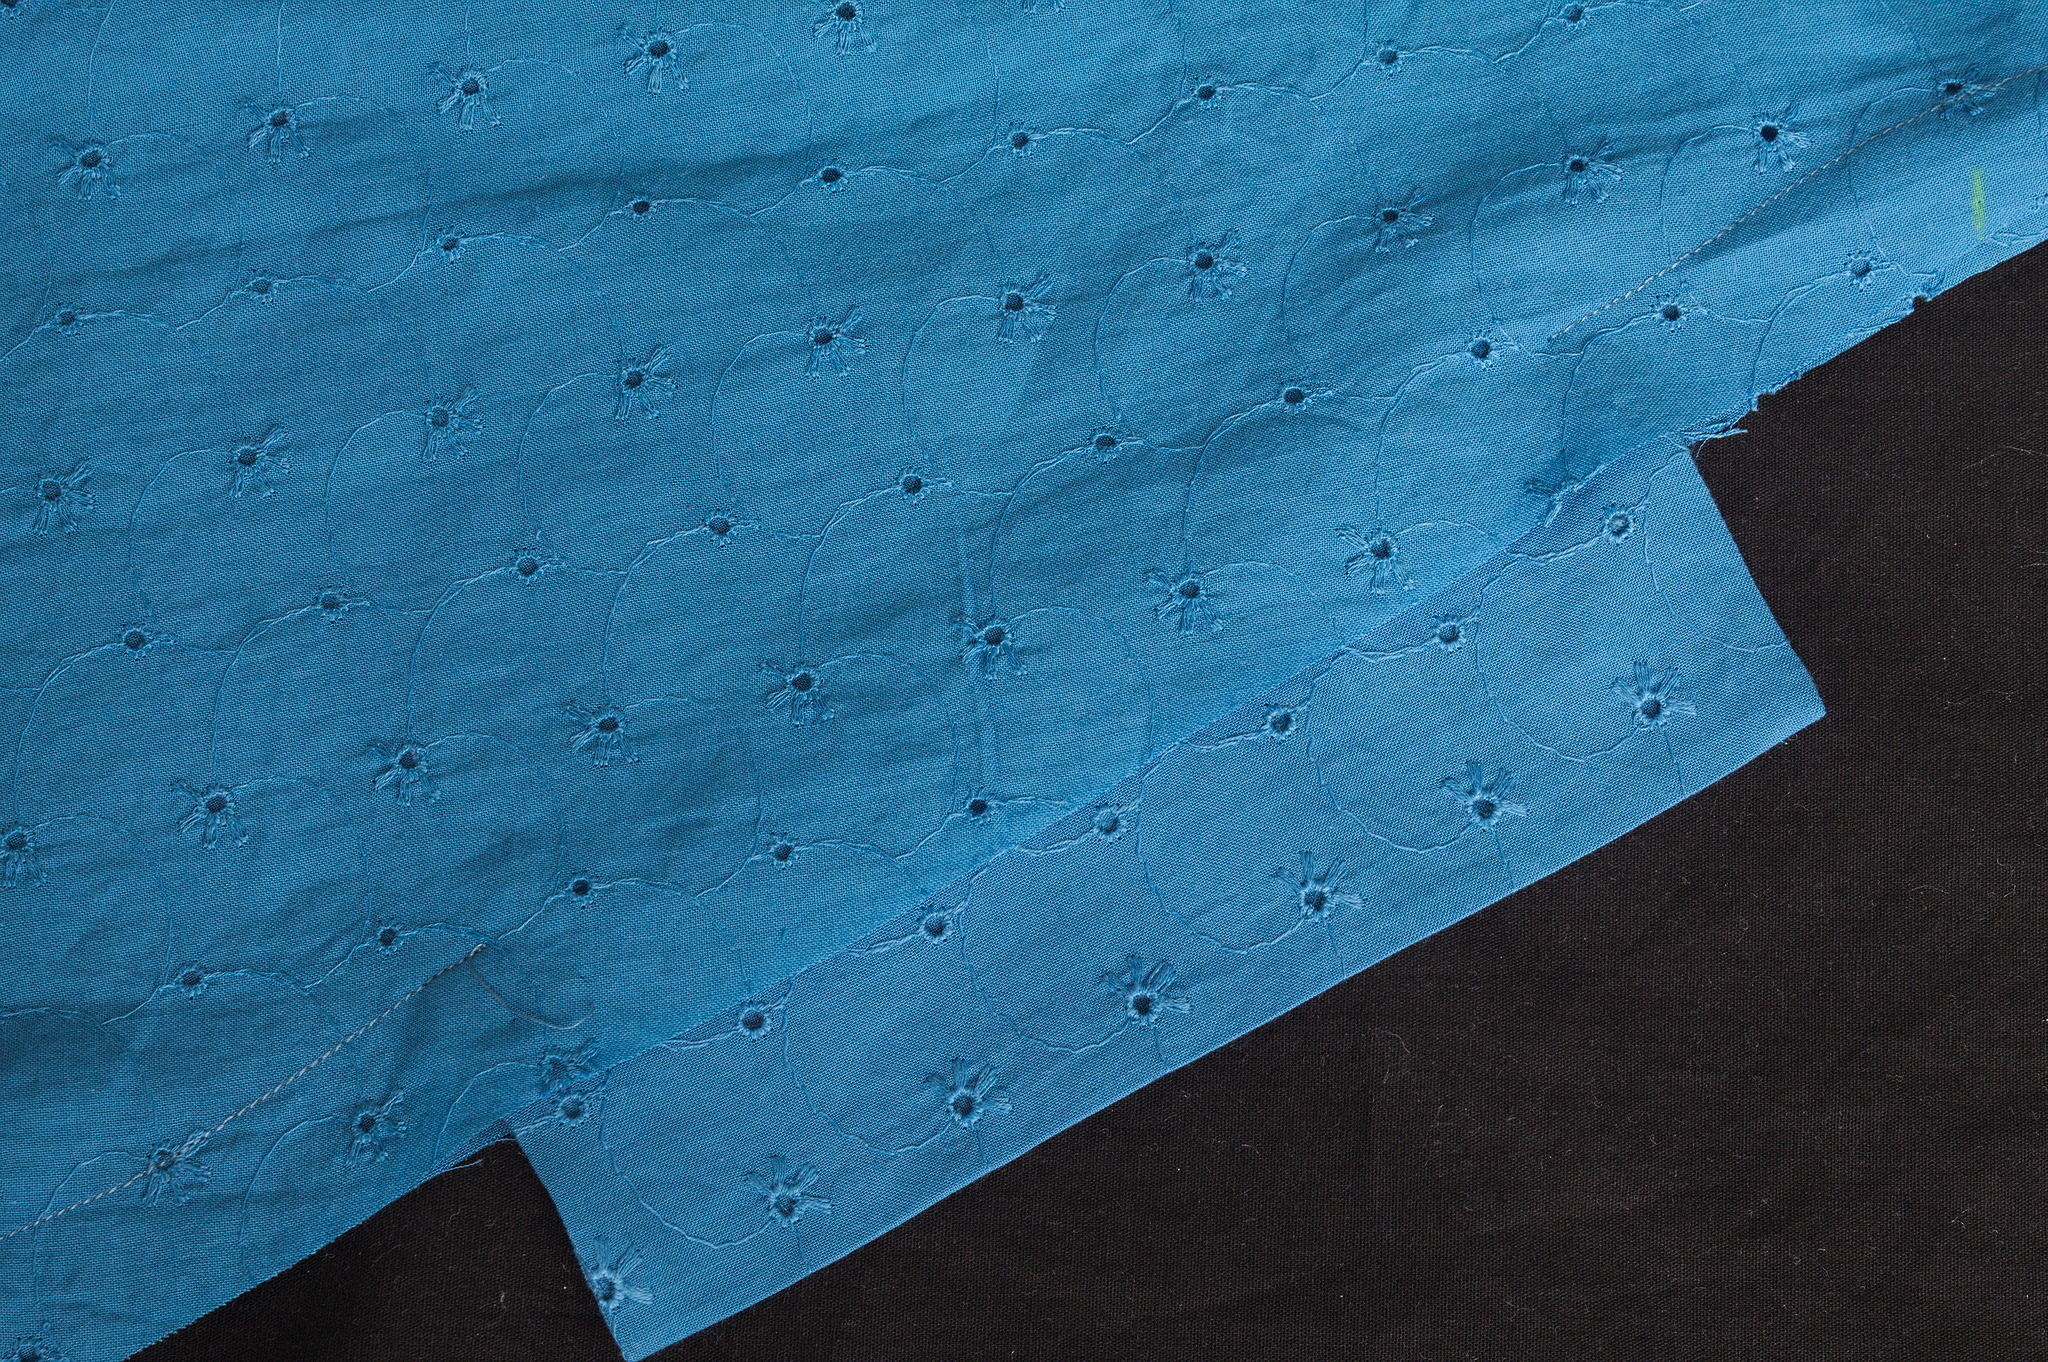
Clip the allowance of the side just outside the facings, fold it twice and topstitch it down while keeping the facing out of the way.
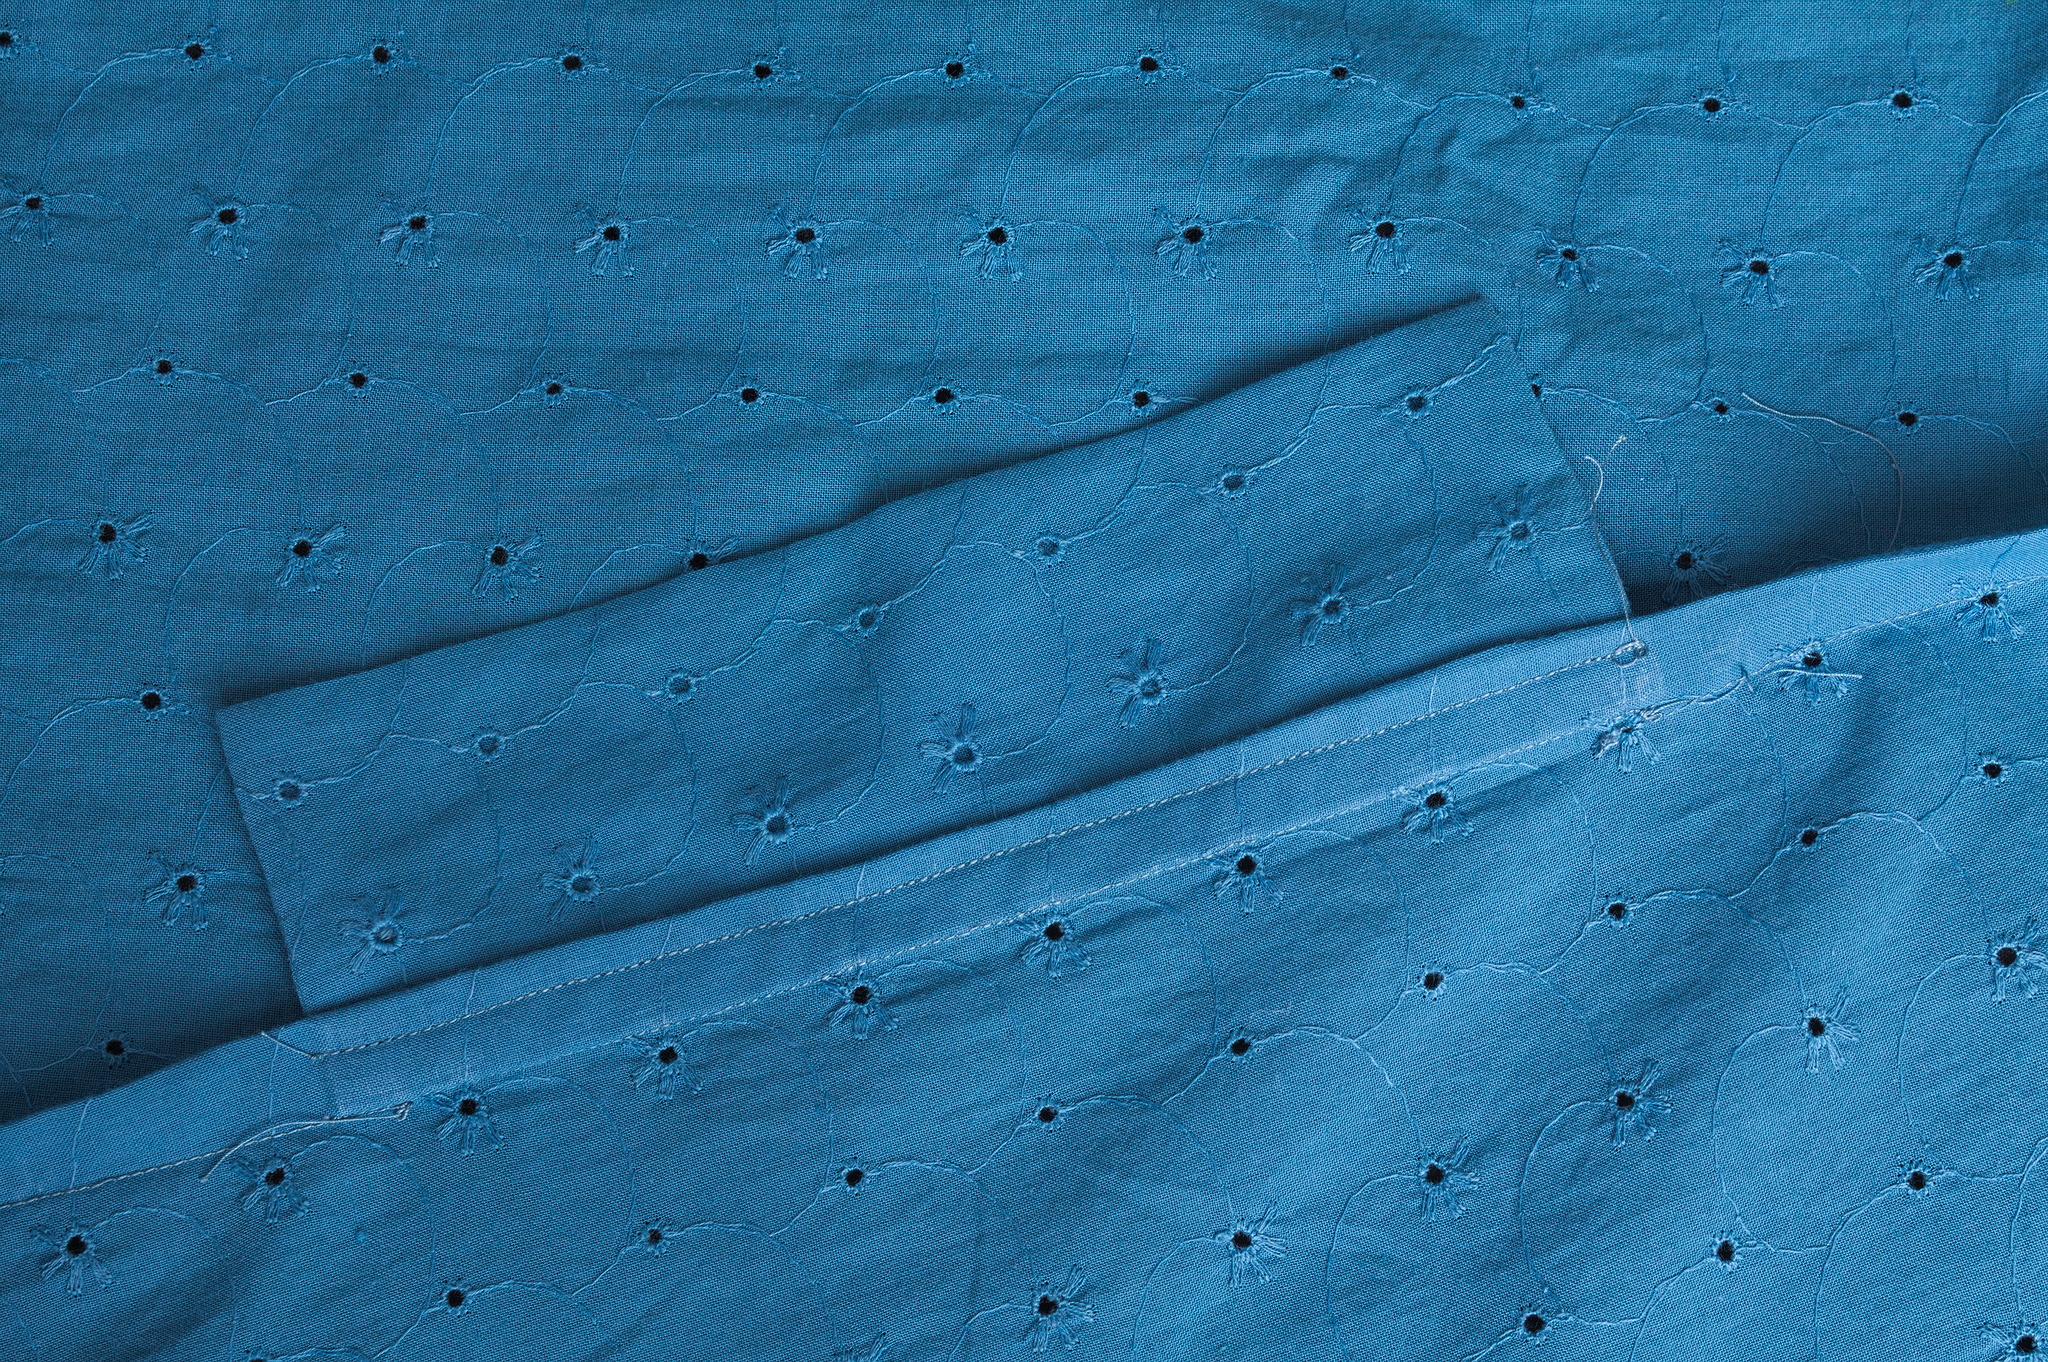
Fold the allowance of the side backs over the allowance of the facing, covering all raw edges, and topstitch it to the facing.
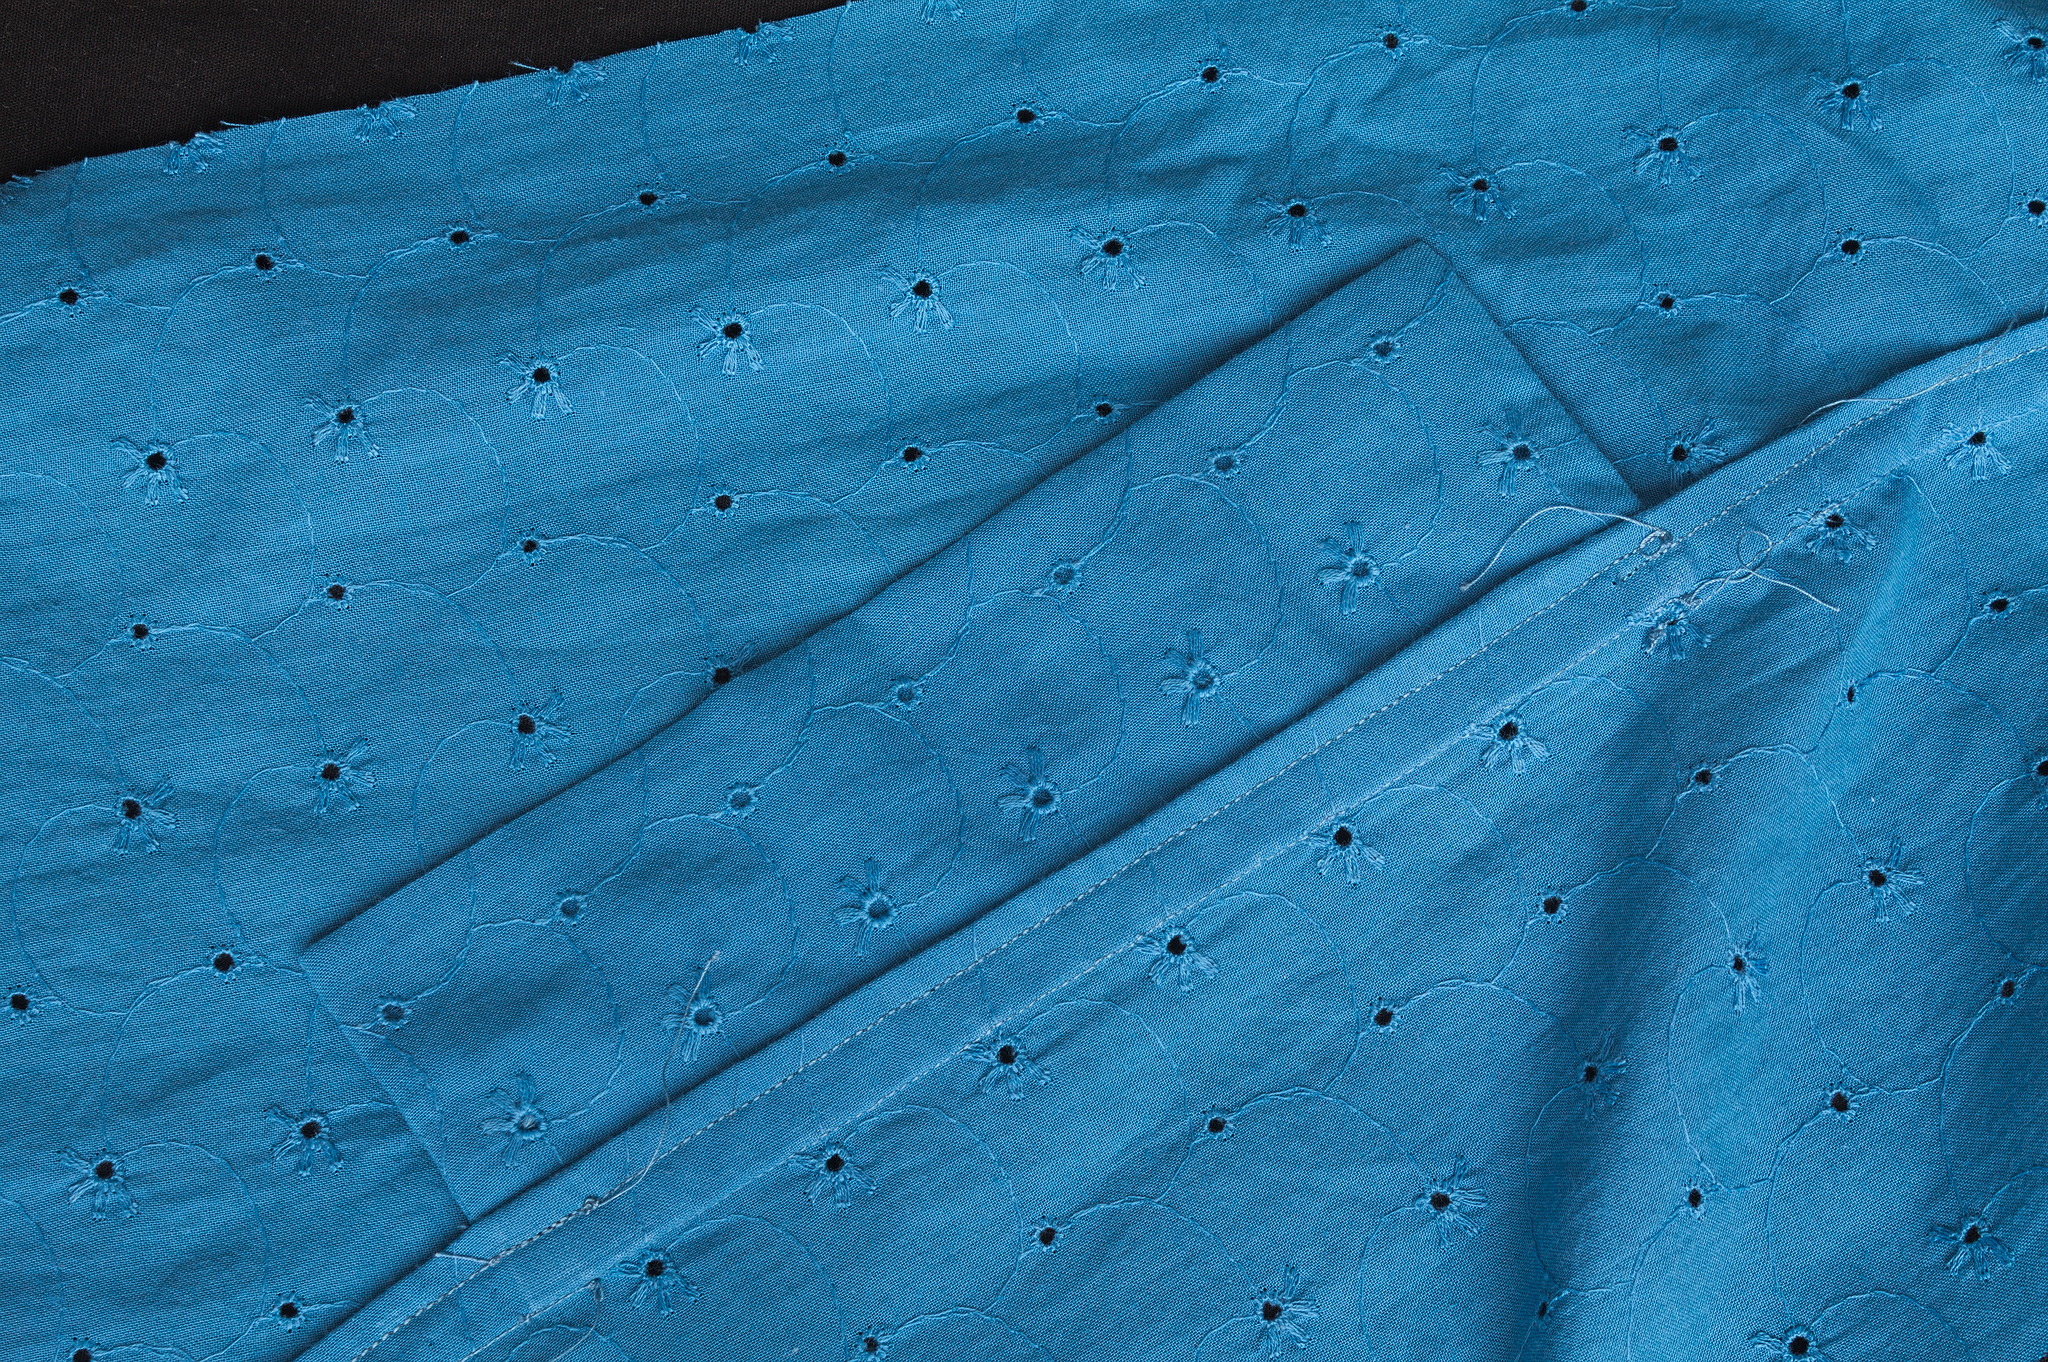
Trim the rest of the allowance of the side to half its width, cover with the allowance of the side back and topstitch it as usual for a flat-felled seam.
Insertion Lace
This pattern is of course great for a liberal application of insertion lace, which can happen in two ways.
One is to prepare entire parts of the panels by sewing together lace, and then cutting a smaller panel in fabric: this works great e.g. for the yoke.
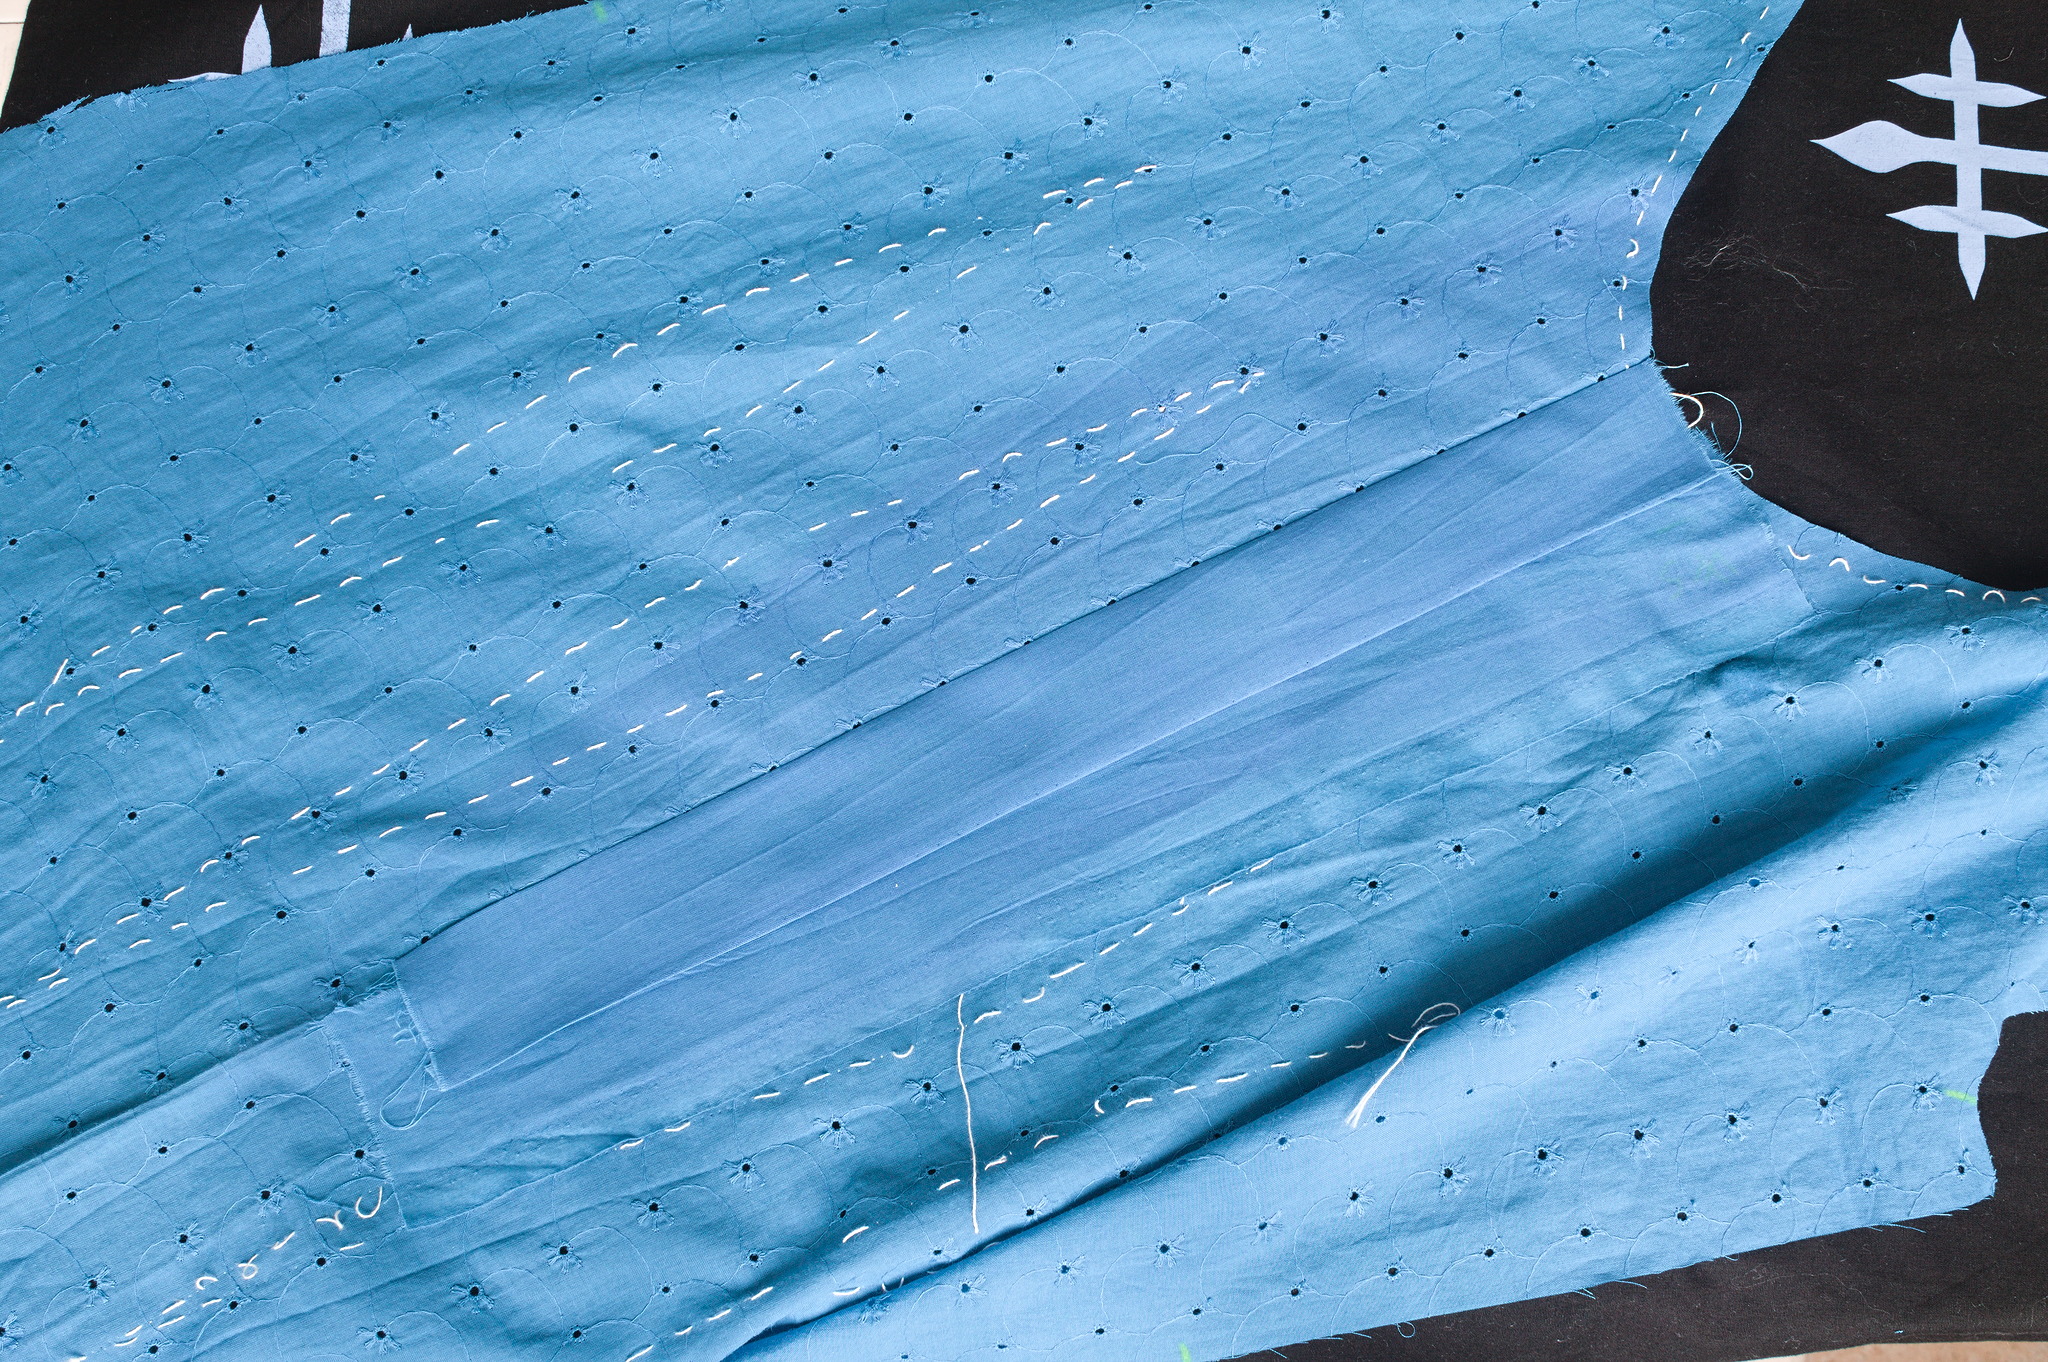
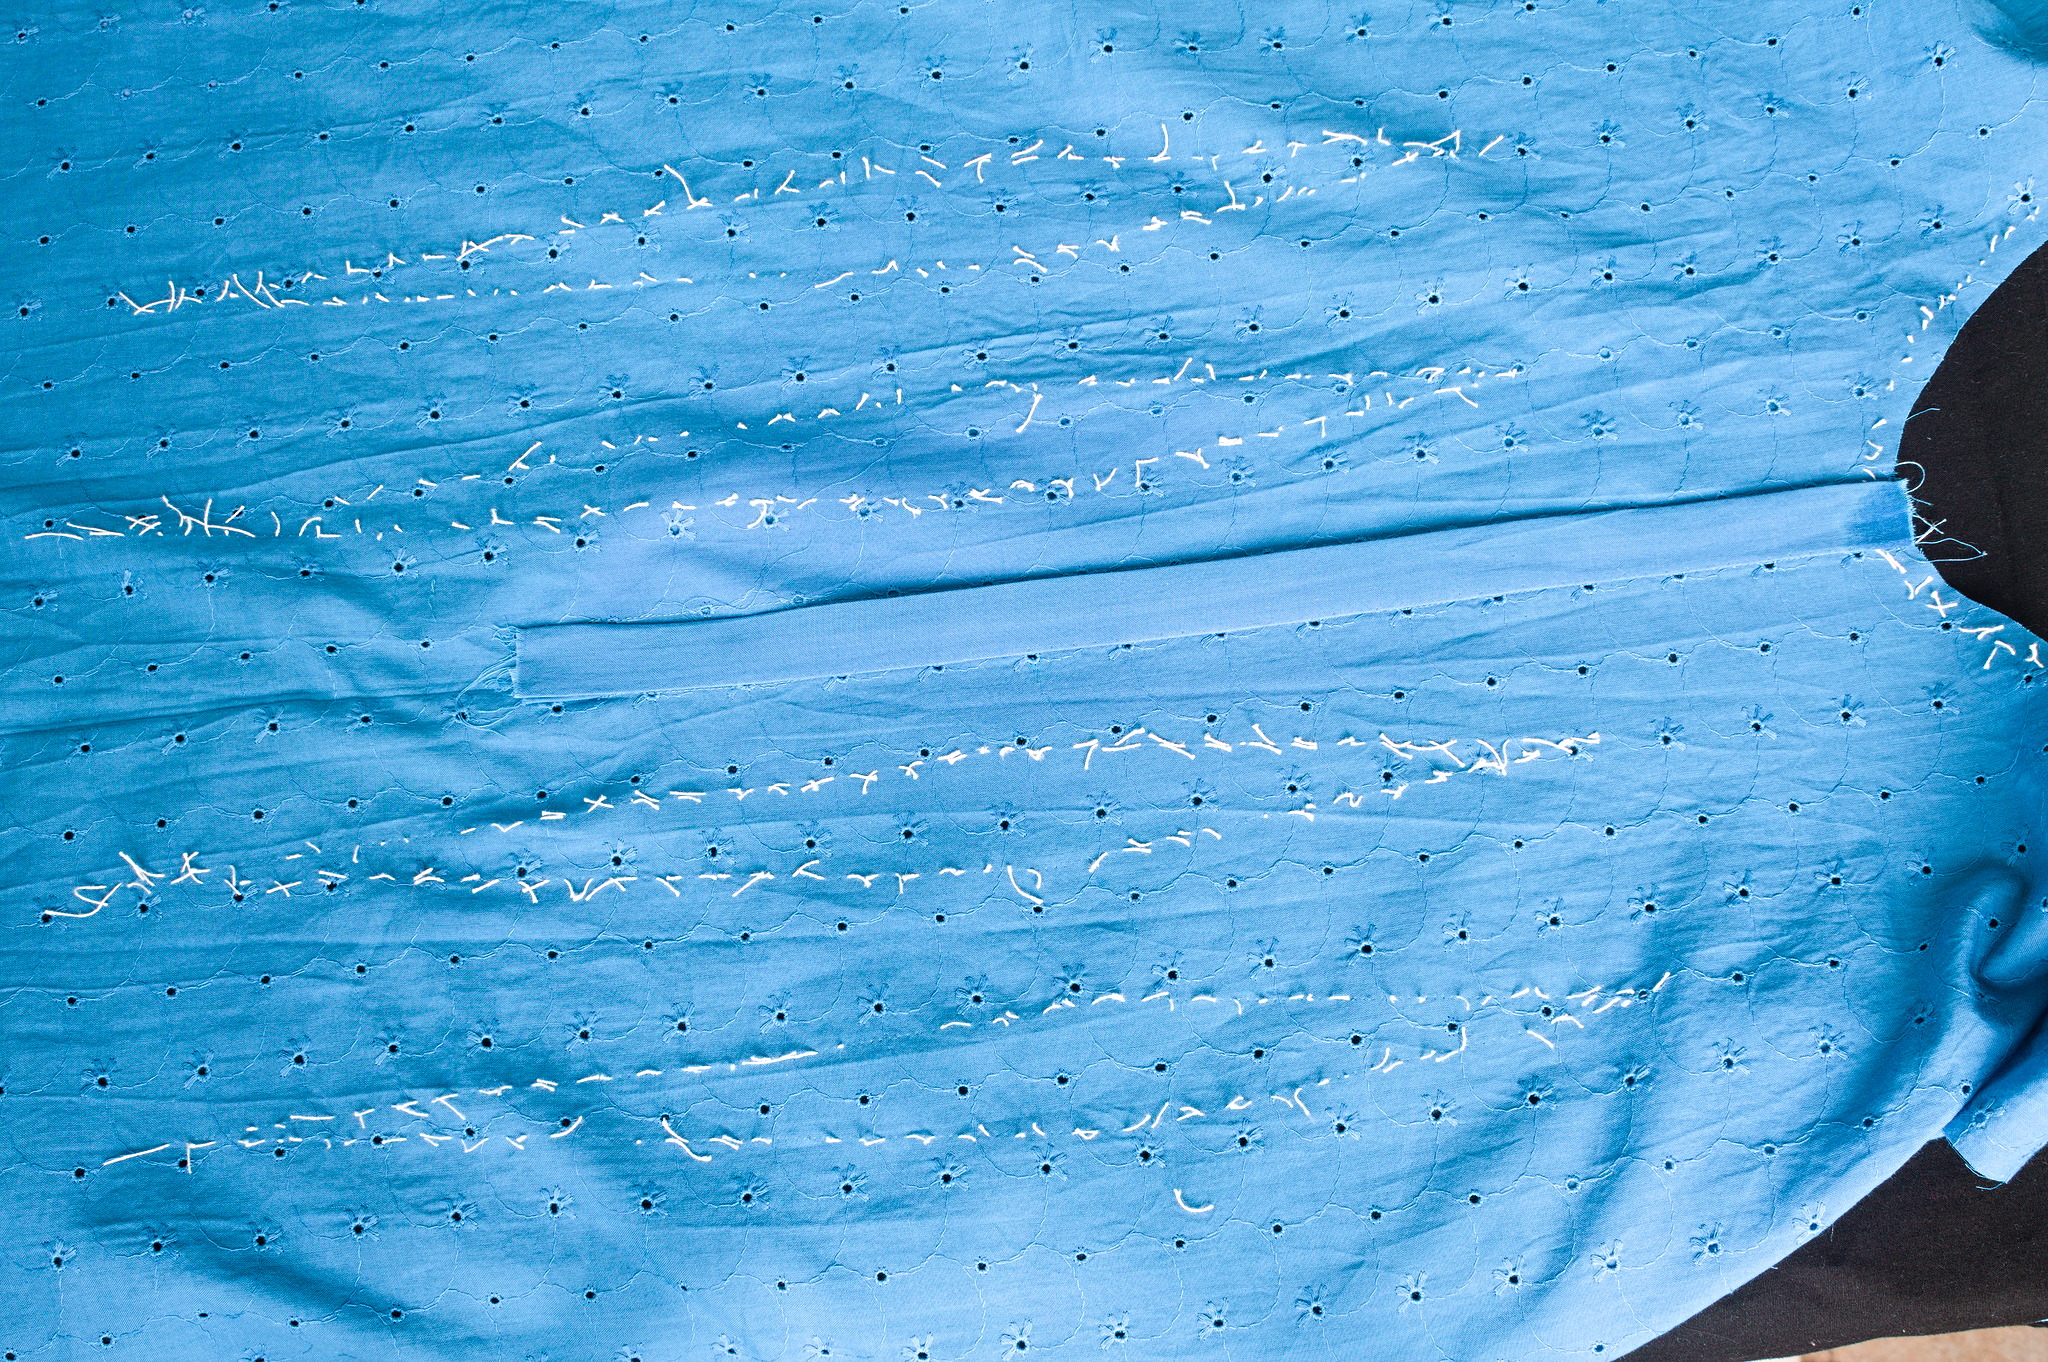
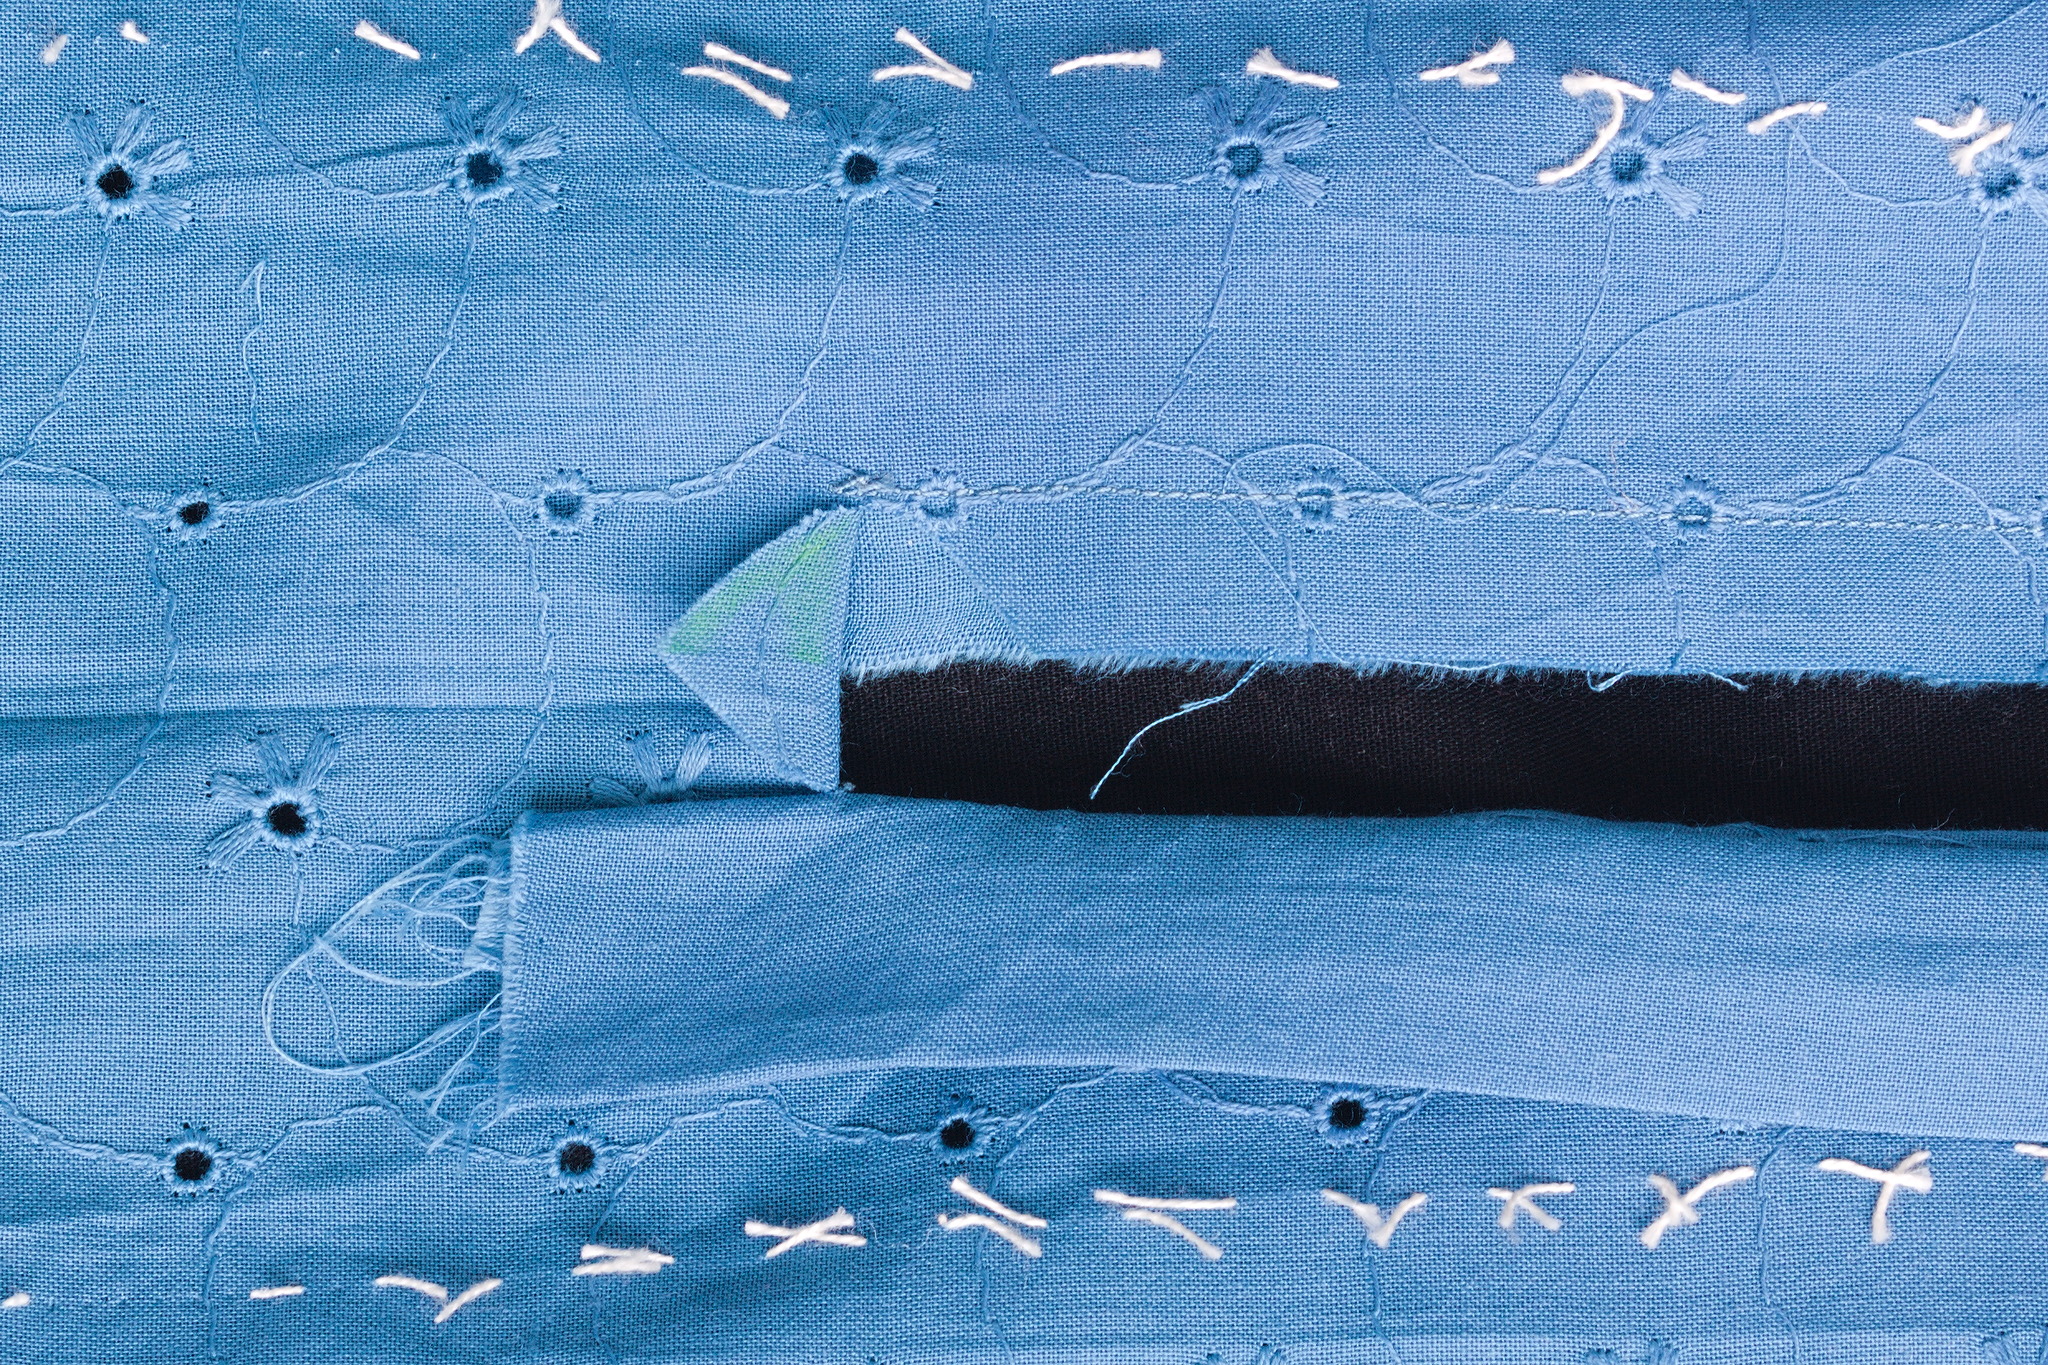
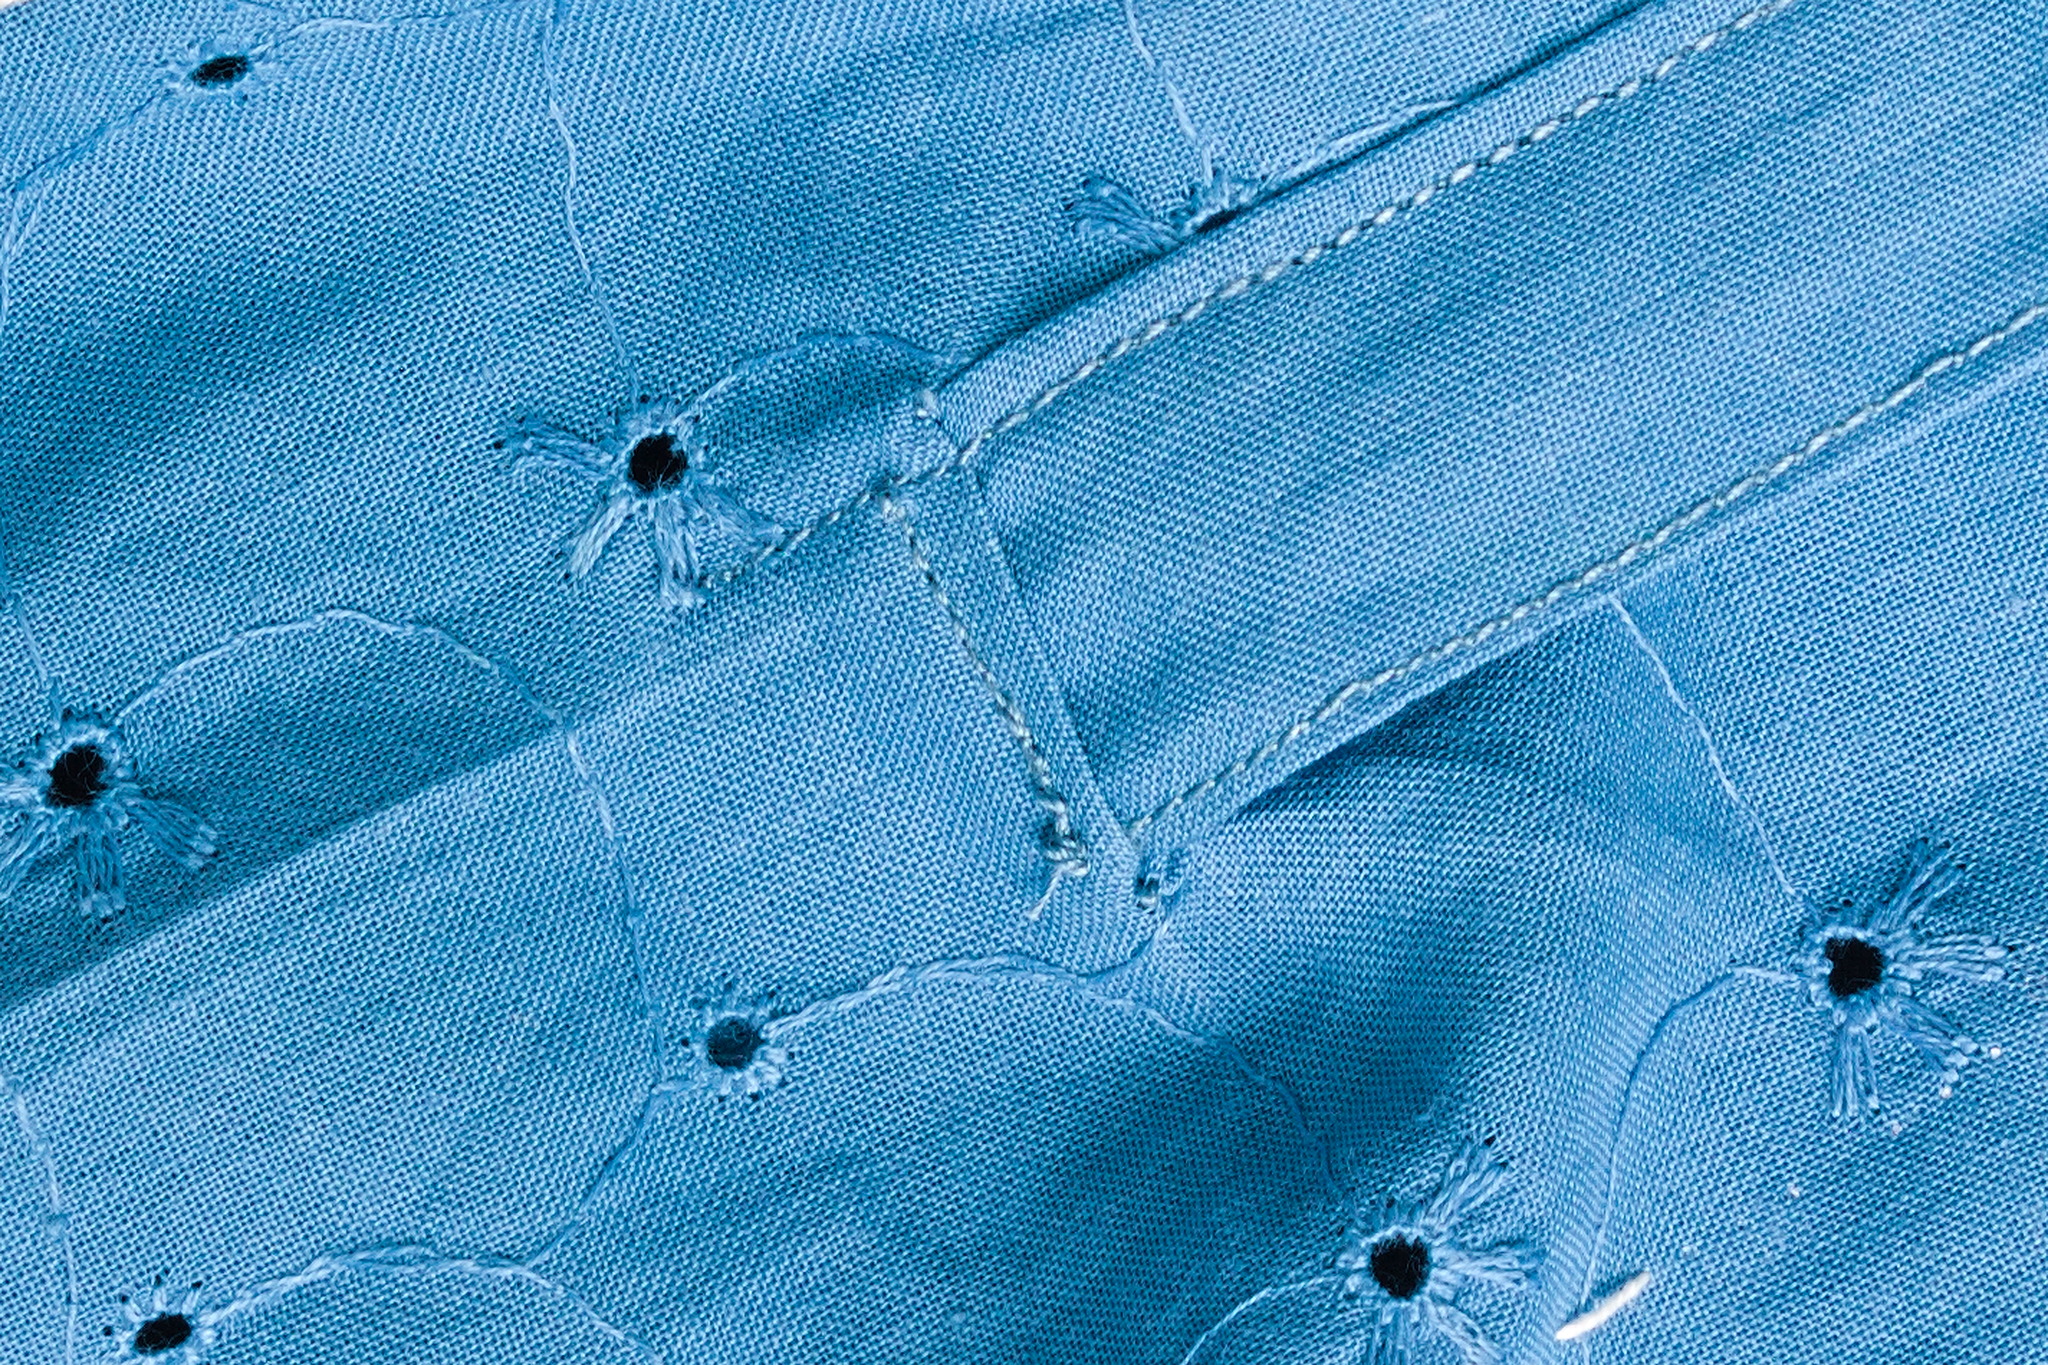
Another one is to insert strips of lace by sewing them to the fabric and then cutting away the fabric behind the lace; for lace that only covers one of the panels this should be done before the combinations are sewn, while for laces that go all around the circumference it’s easier to finish the garment first and then add the lace.
A variant of the latter is to cut all around the finished garment and then insert the lace: this wastes less fabric, but of course adds length, so it’s only recommended in the skirt part where it’s easier to compensate for it. It will also change the line of the skirt, but the effect should only be noticeable with taller laces.
Gallery
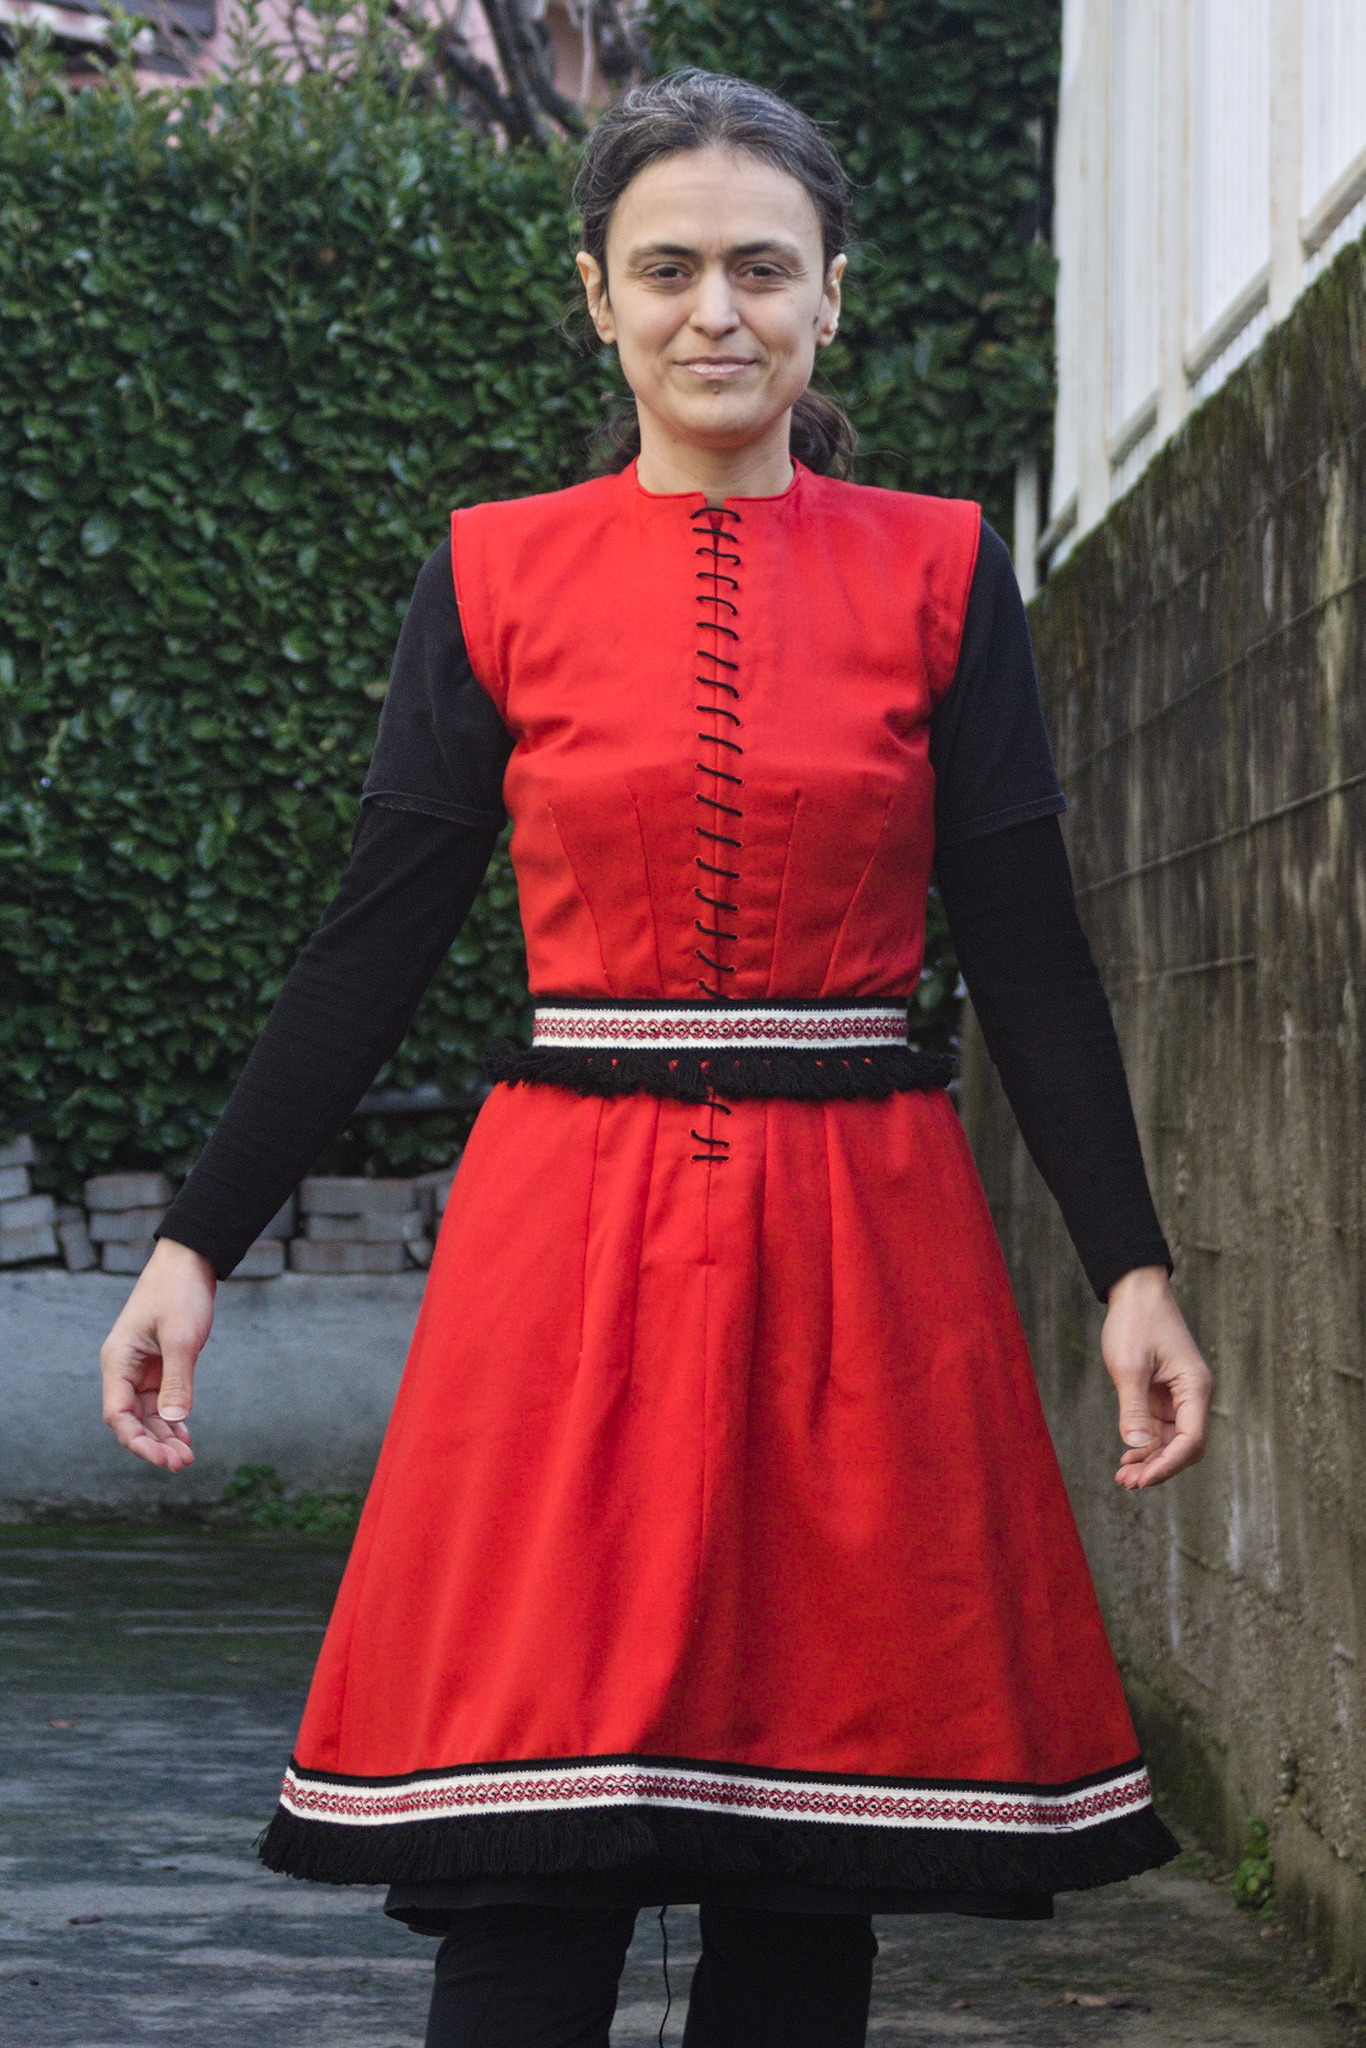
A wool dress made from the same pattern.