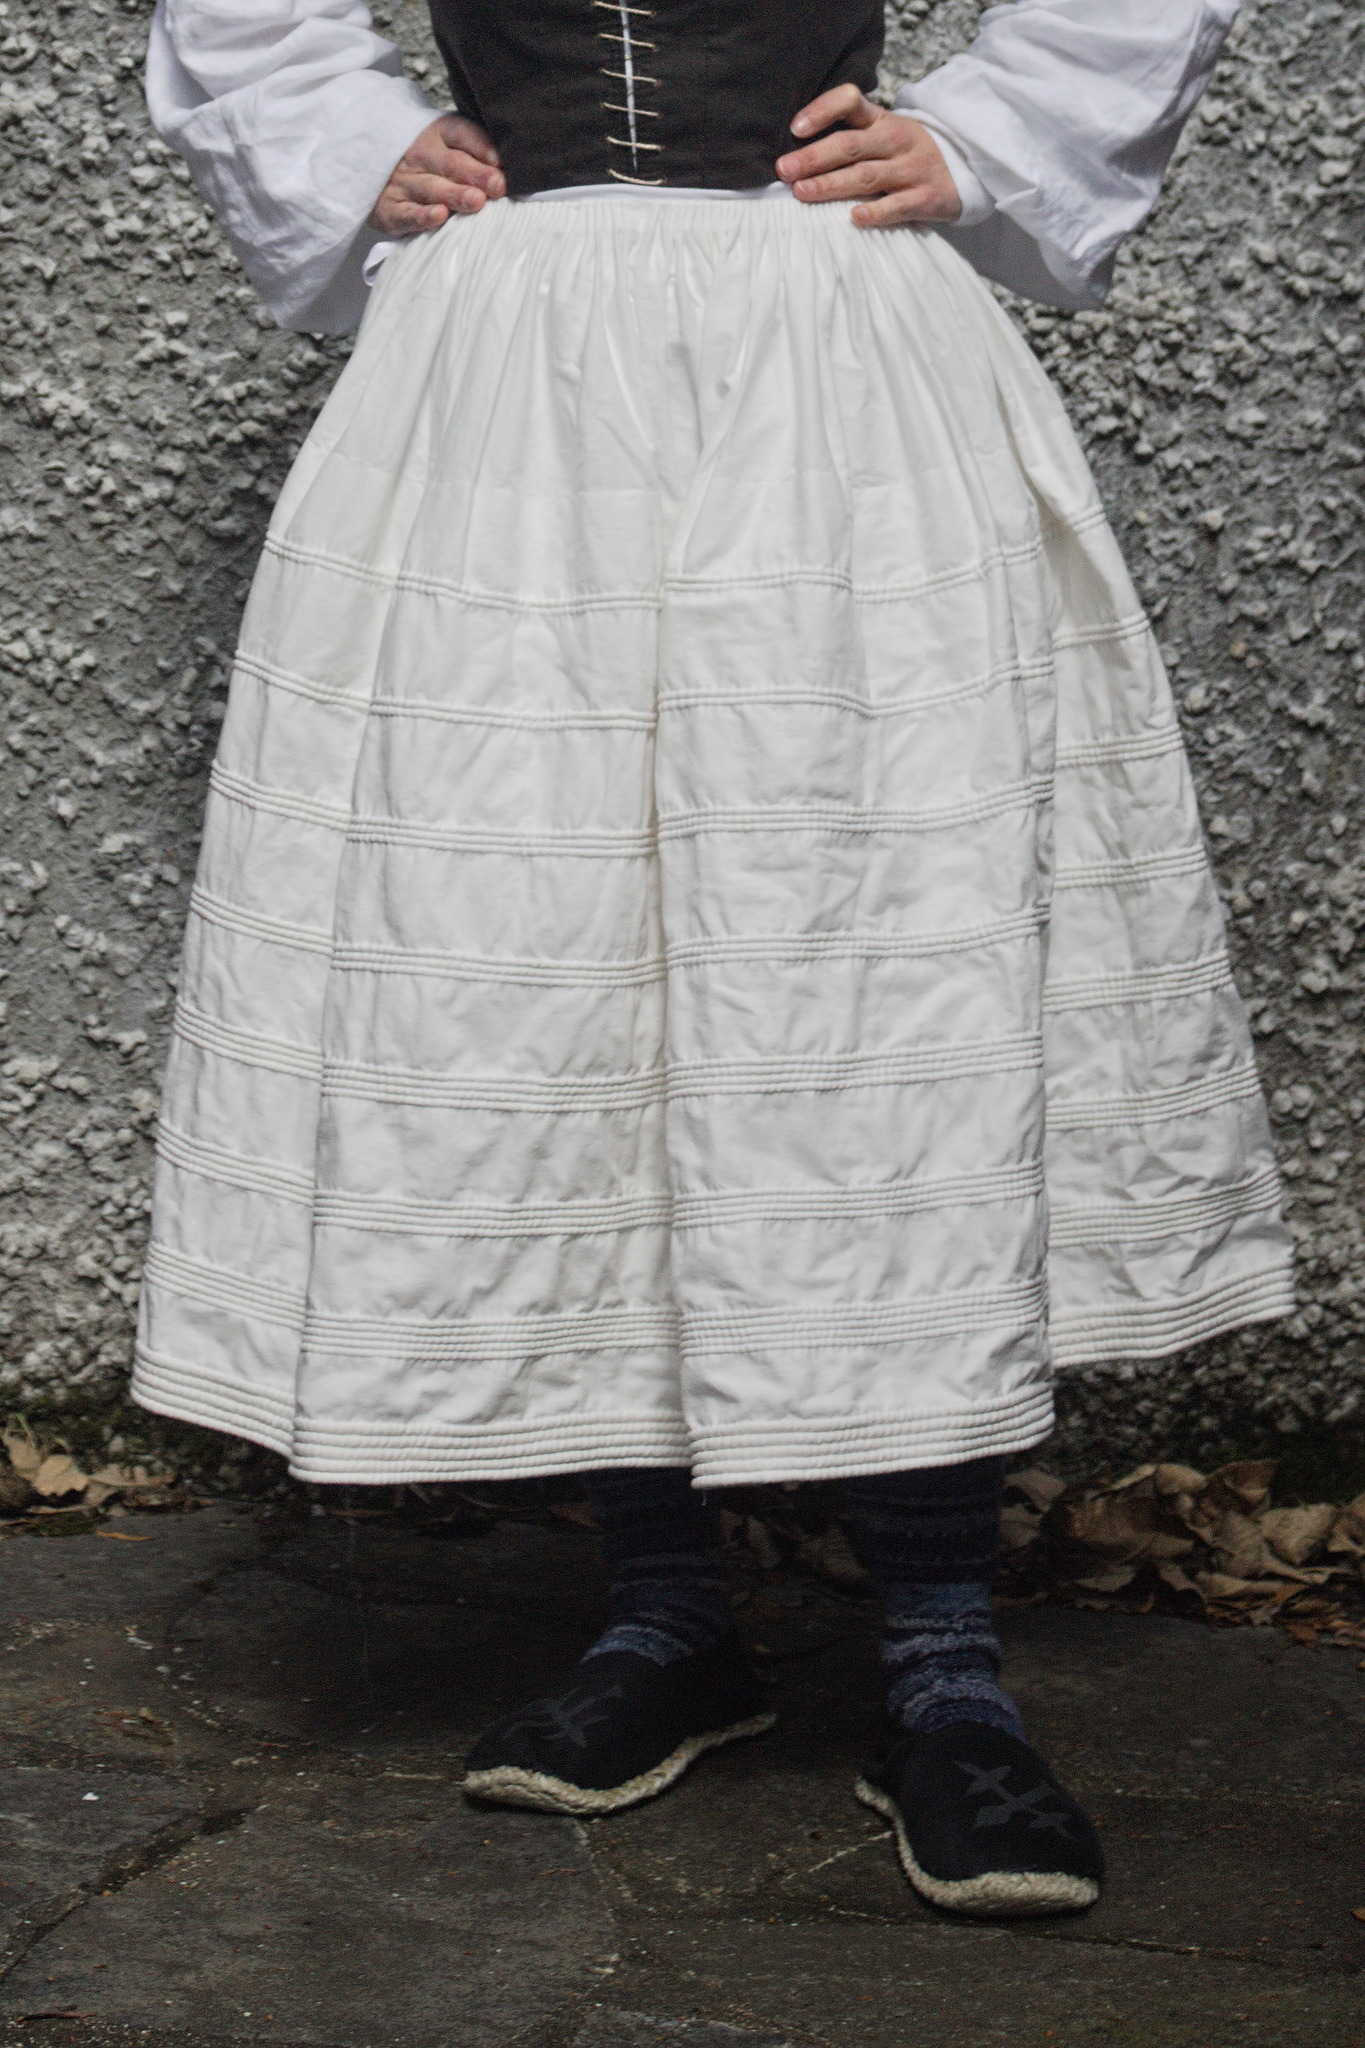
Early Victorian Corded Petticoat
This is one of the basic support layers of the early Victorian era, when steel cage crinolines had not been invented yet, and skirt volume was obtained by adding layers of petticoats.
It was also used in later years as a cheaper substitute by people who couldn’t afford metal structures, and thus is can be useful for traditional dress or other working class outfits.
Most of the fabric at the waist is pleated and sewn in place, but about 20 cm are left plain with a drawstring, so that they can be adjusted for waist fluctuations or when shared between different people.
While functionally equivalent, it is not an accurate historical constructions, since it takes advantage of the double width of modern fabric; a rectangle of the same size can however be pieced from narrower fabric for more historical accuracy.
The instructions are for handsewing, but of course the cording and the side seam can also be sewn by machine; attaching the tape to the top needs to be done by hand (or to be significantly changed).
Contrary to other patterns, this is worked flat and only joined in a tube at the very last stage: I think that for handsewing this makes the work easier to manage, altough it may make the cording a bit slower if sewn by machine.
Note
I’ve made this petticoat quite some time ago and I can’t find the step-by-step pictures of some stages, but I don’t have plans to make another one any time soon, so I’ve decided to publish the pattern as is. If in the future I’ll have a chance to make another petticoat I’ll be sure to take the missing pictures.
Materials
Fabric
About 3 m of midweight cotton or linen, at least 150 cm wide for a 160 cm tall person.
Notions
almost 100 m cotton cording or thick yarn, 3 mm;
12 - 15 m cotton cording or thick yarn, 5 mm;
sewing thread to match the fabric;
cotton tape, 2 cm wide.
Pattern
The pattern for this petticoat is simply a rectangle, about 2-3 m long, using the full width of the fabric from selvedge to selvedge.
Tip
for many people holding the fabric between their extended arms would result in a 1.5 m length; doubling that gives a good width for the 1840s and early 1850s.
You also need to measure from your waist to mid-calf and from your waist to the hips (you can do so with a tape, but also directly with the fabric, see the instructions).
After straightening one edge, but before cutting the rest of the fabric, measure a point on the straightened edge at about the distance between waist and hips plus 2 cm hemming allowance from one selvedge, pin the other selvedge at that point and check the length on your body.
The fold should end up somewhere below the mid calf: the finished petticoat will be a bit shorter than that because of the cording.
If it’s too long, you can fold the fabric up a bit more, but if it’s too short by more than a few cm you’ll have to piece together a taller rectangle, possibly cut from the other direction of the fabric.
Instructions

On the wrong side of the fabric mark a line parallel to one of the selvedges at the distance you’ve measured above.
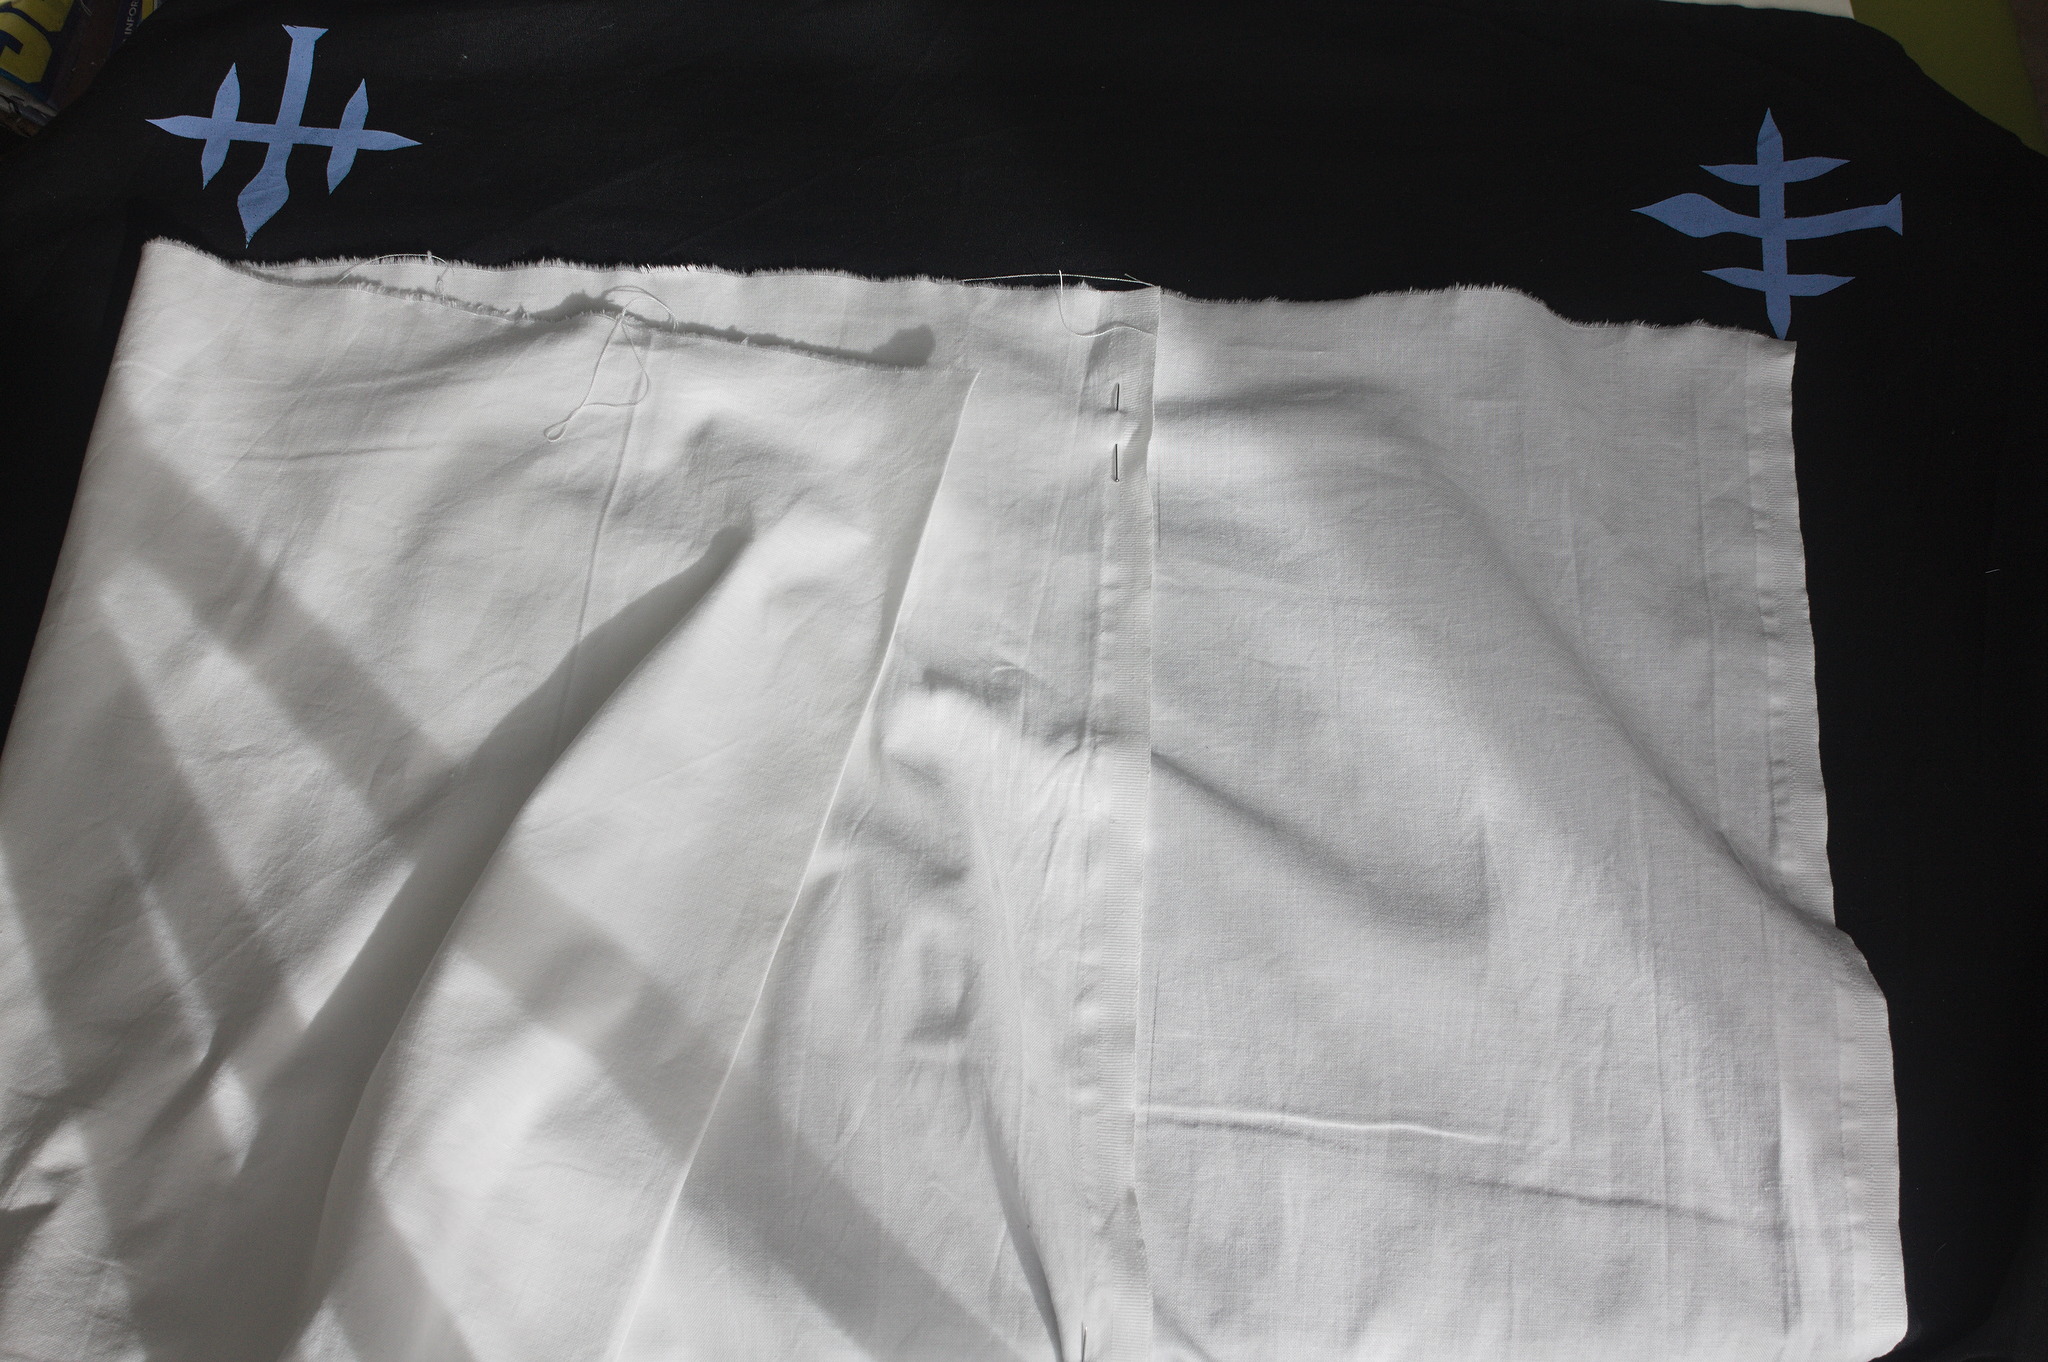
Align the other selvedge to this line, wrong sides together, fold it and press.
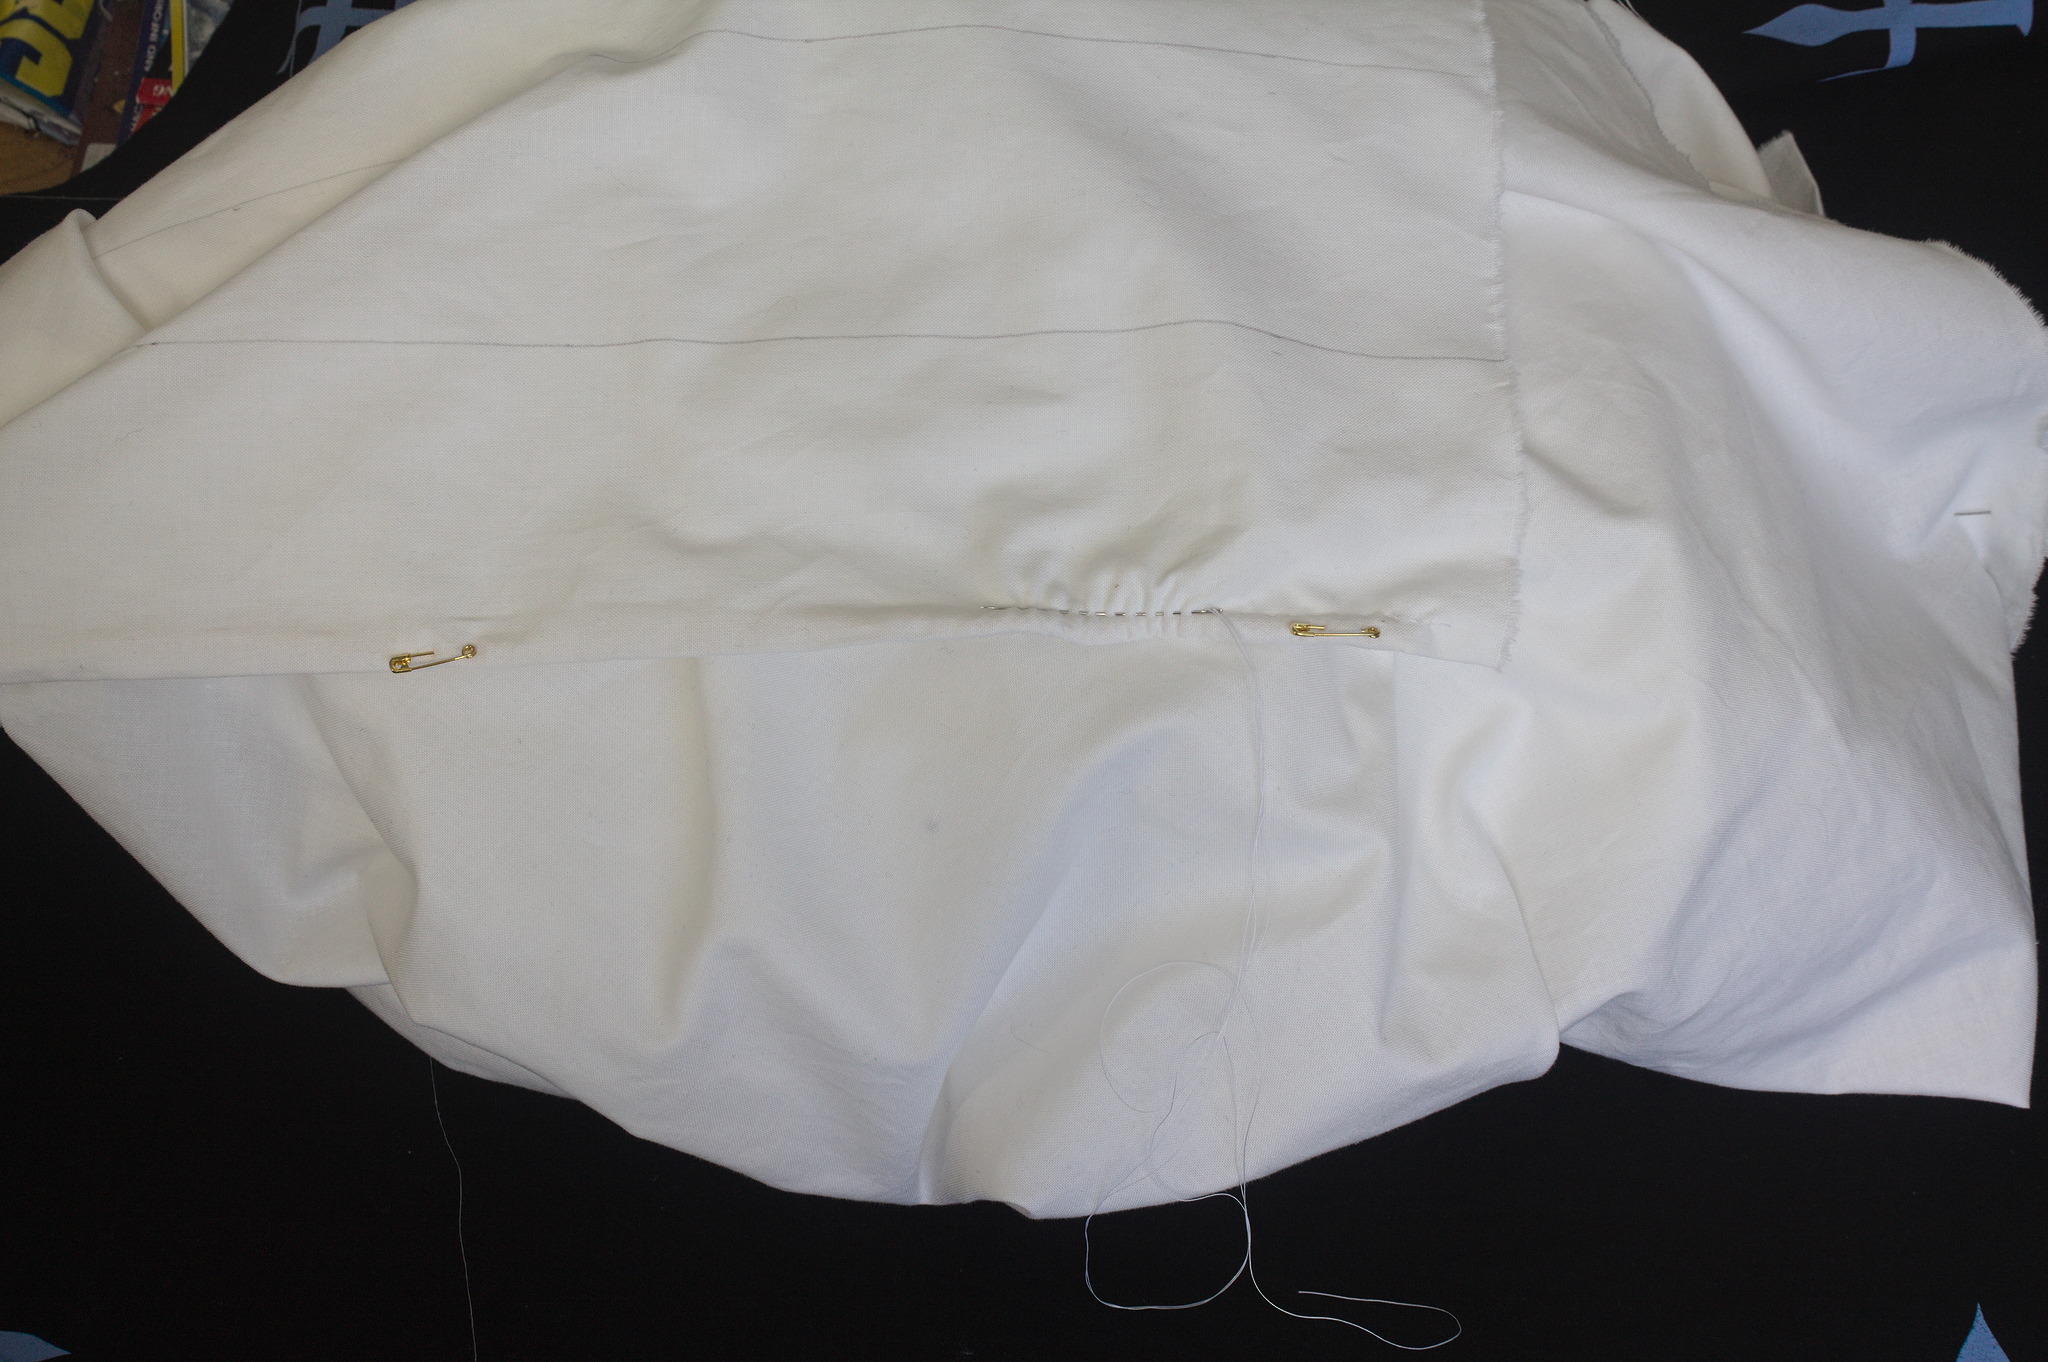
Tip
You may want to add a few safety pins to help managing the fabric while moving it.
If the line you’ve marked is significantly different from the waist - hips distance, also mark that line.

Divide the distance between the hem fold and the hips in 8, on the wrong side mark parallel lines at that distance from each other, starting from the hem fold.
Cut 5 pieces of 5 mm cording 4 cm shorter than the length of the fabric, put it in the fold at the hem of the petticoat leaving 2 cm free on each side, pinning it in place with safety pins, and sew a running stitch as close to the cording as possible to keep it in place.

Put a second piece of cording between the two layers of fabric above the seam, pin it with safety pins and sew a running stitch above it as before.
Repeat with the 3 other pieces of 5 mm cording.
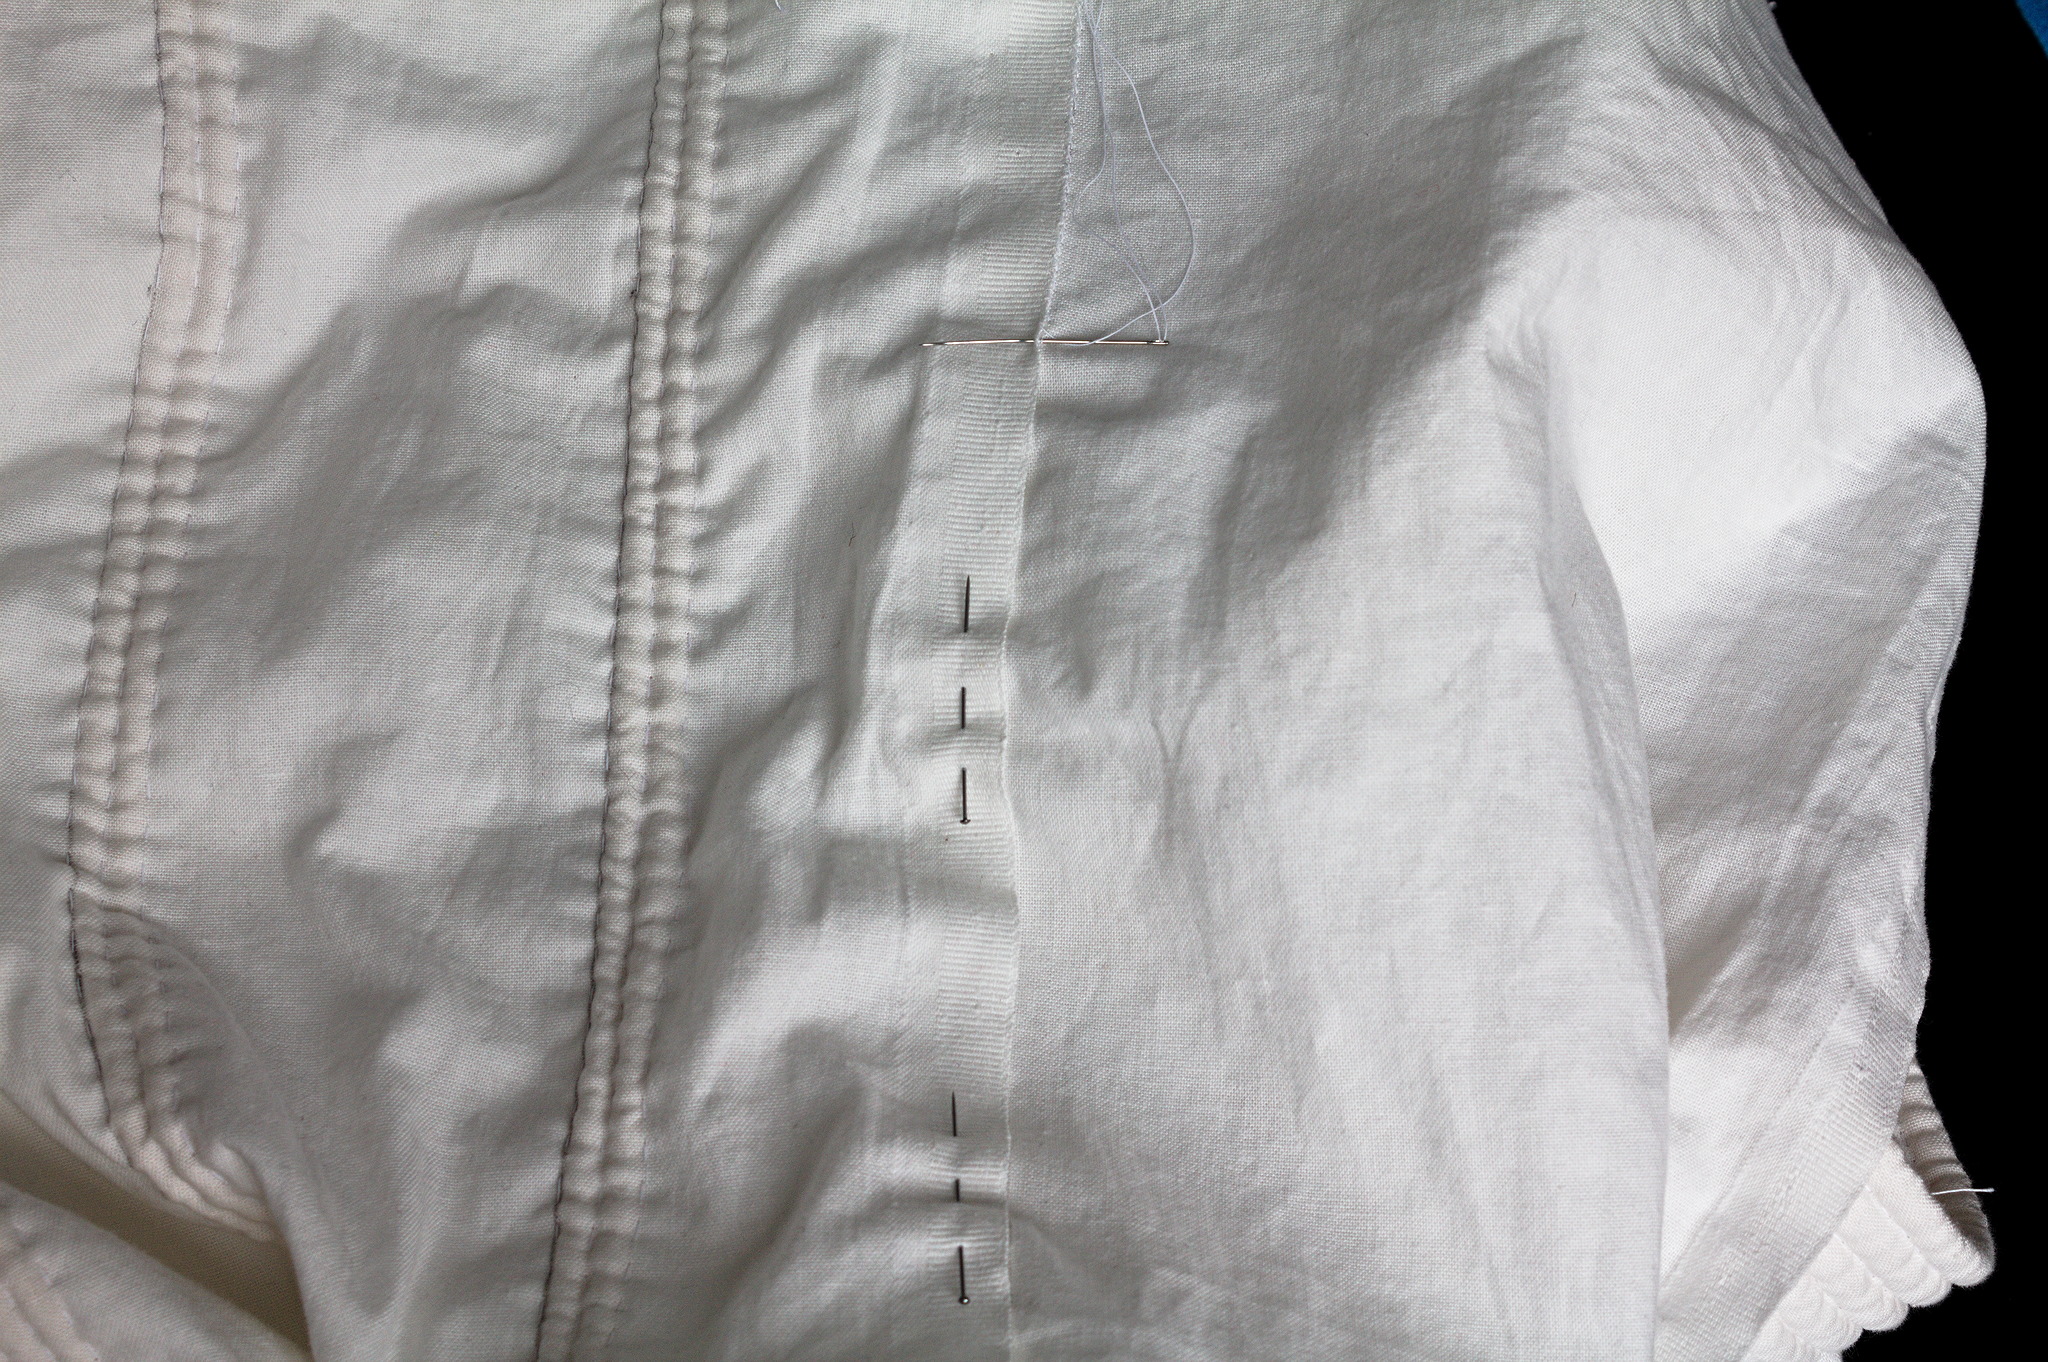
Making sure that the two layers of fabric are still smooth, sew a running stitch over the first line from the bottom you’ve marked earlier.
Cut 5 pieces of 3 mm cording 4 cm shorter than the length of the fabric, put one of them above this seam, and sew again with a running stitch as close to the cording as possible.
Repeat with the other 4 pieces.
Repeat on the next two marked lines using just 4 pieces of 3 mm cording each, then on the next two lines using 3 pieces each and on the last two marked lines with just two pieces of cording each.
Tip
This is a reasonable cording pattern that gives more rigidity at the bottom than at the top, of course any other cording pattern can be used, especially if seen in period examples.

Hemstitch the selvedge at hips level to the front fabric.
Finish the raw edges on the sides by folding them 1 cm twice towards the wrong side and hemstitching them.
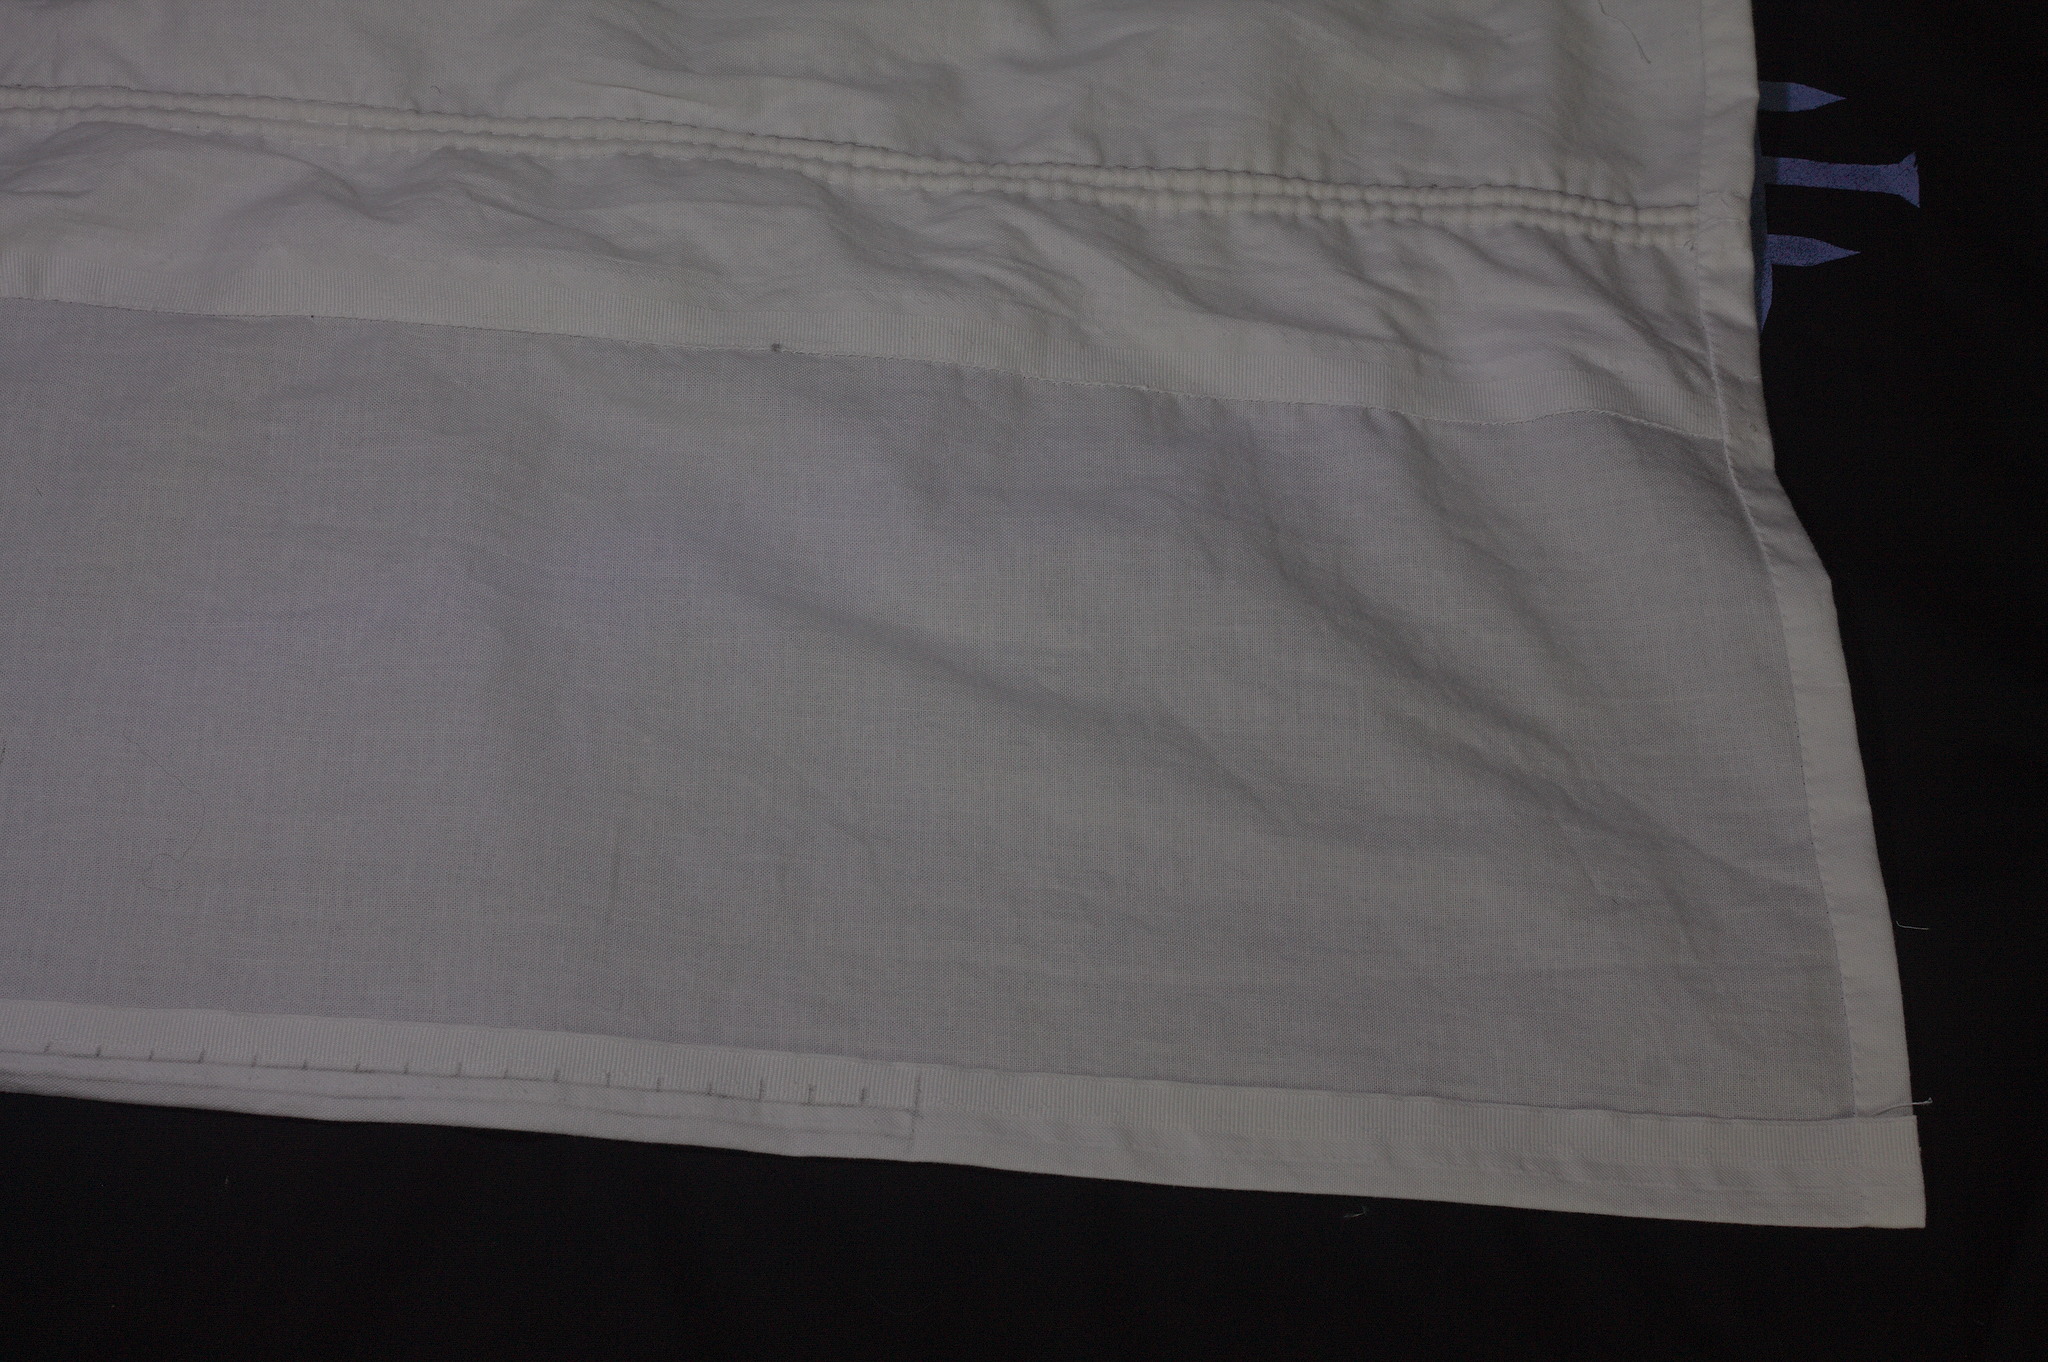
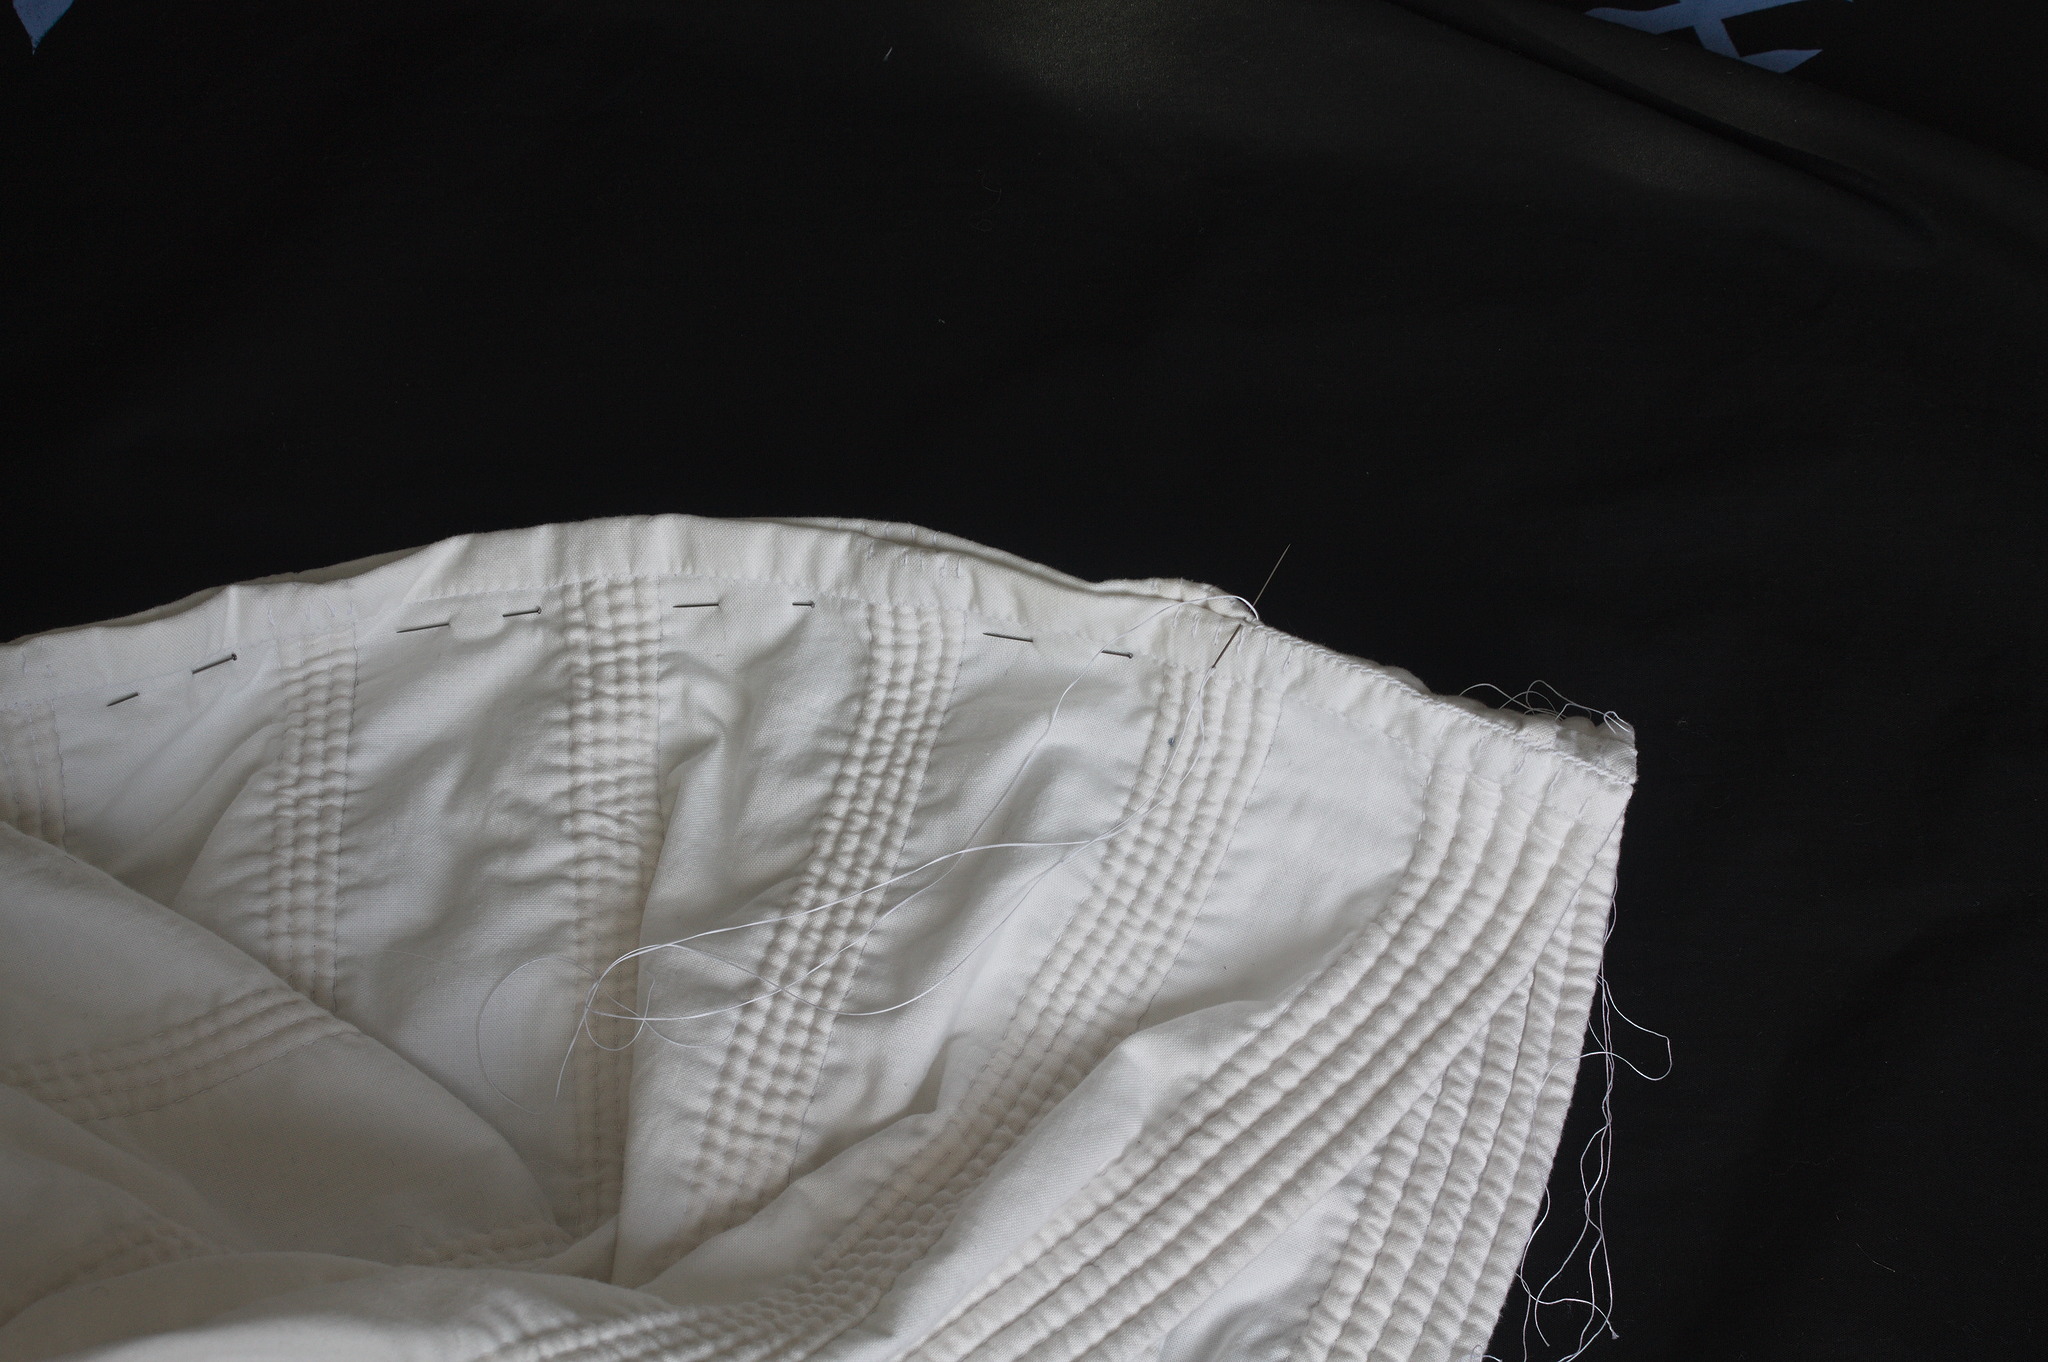
Fold down the selvedge by 2 cm, draw lines at 5, 10 and optionally 15 mm from the fold. Starting 20 cm from each side, mark points at every cm.
Also mark the center and the quarter points.
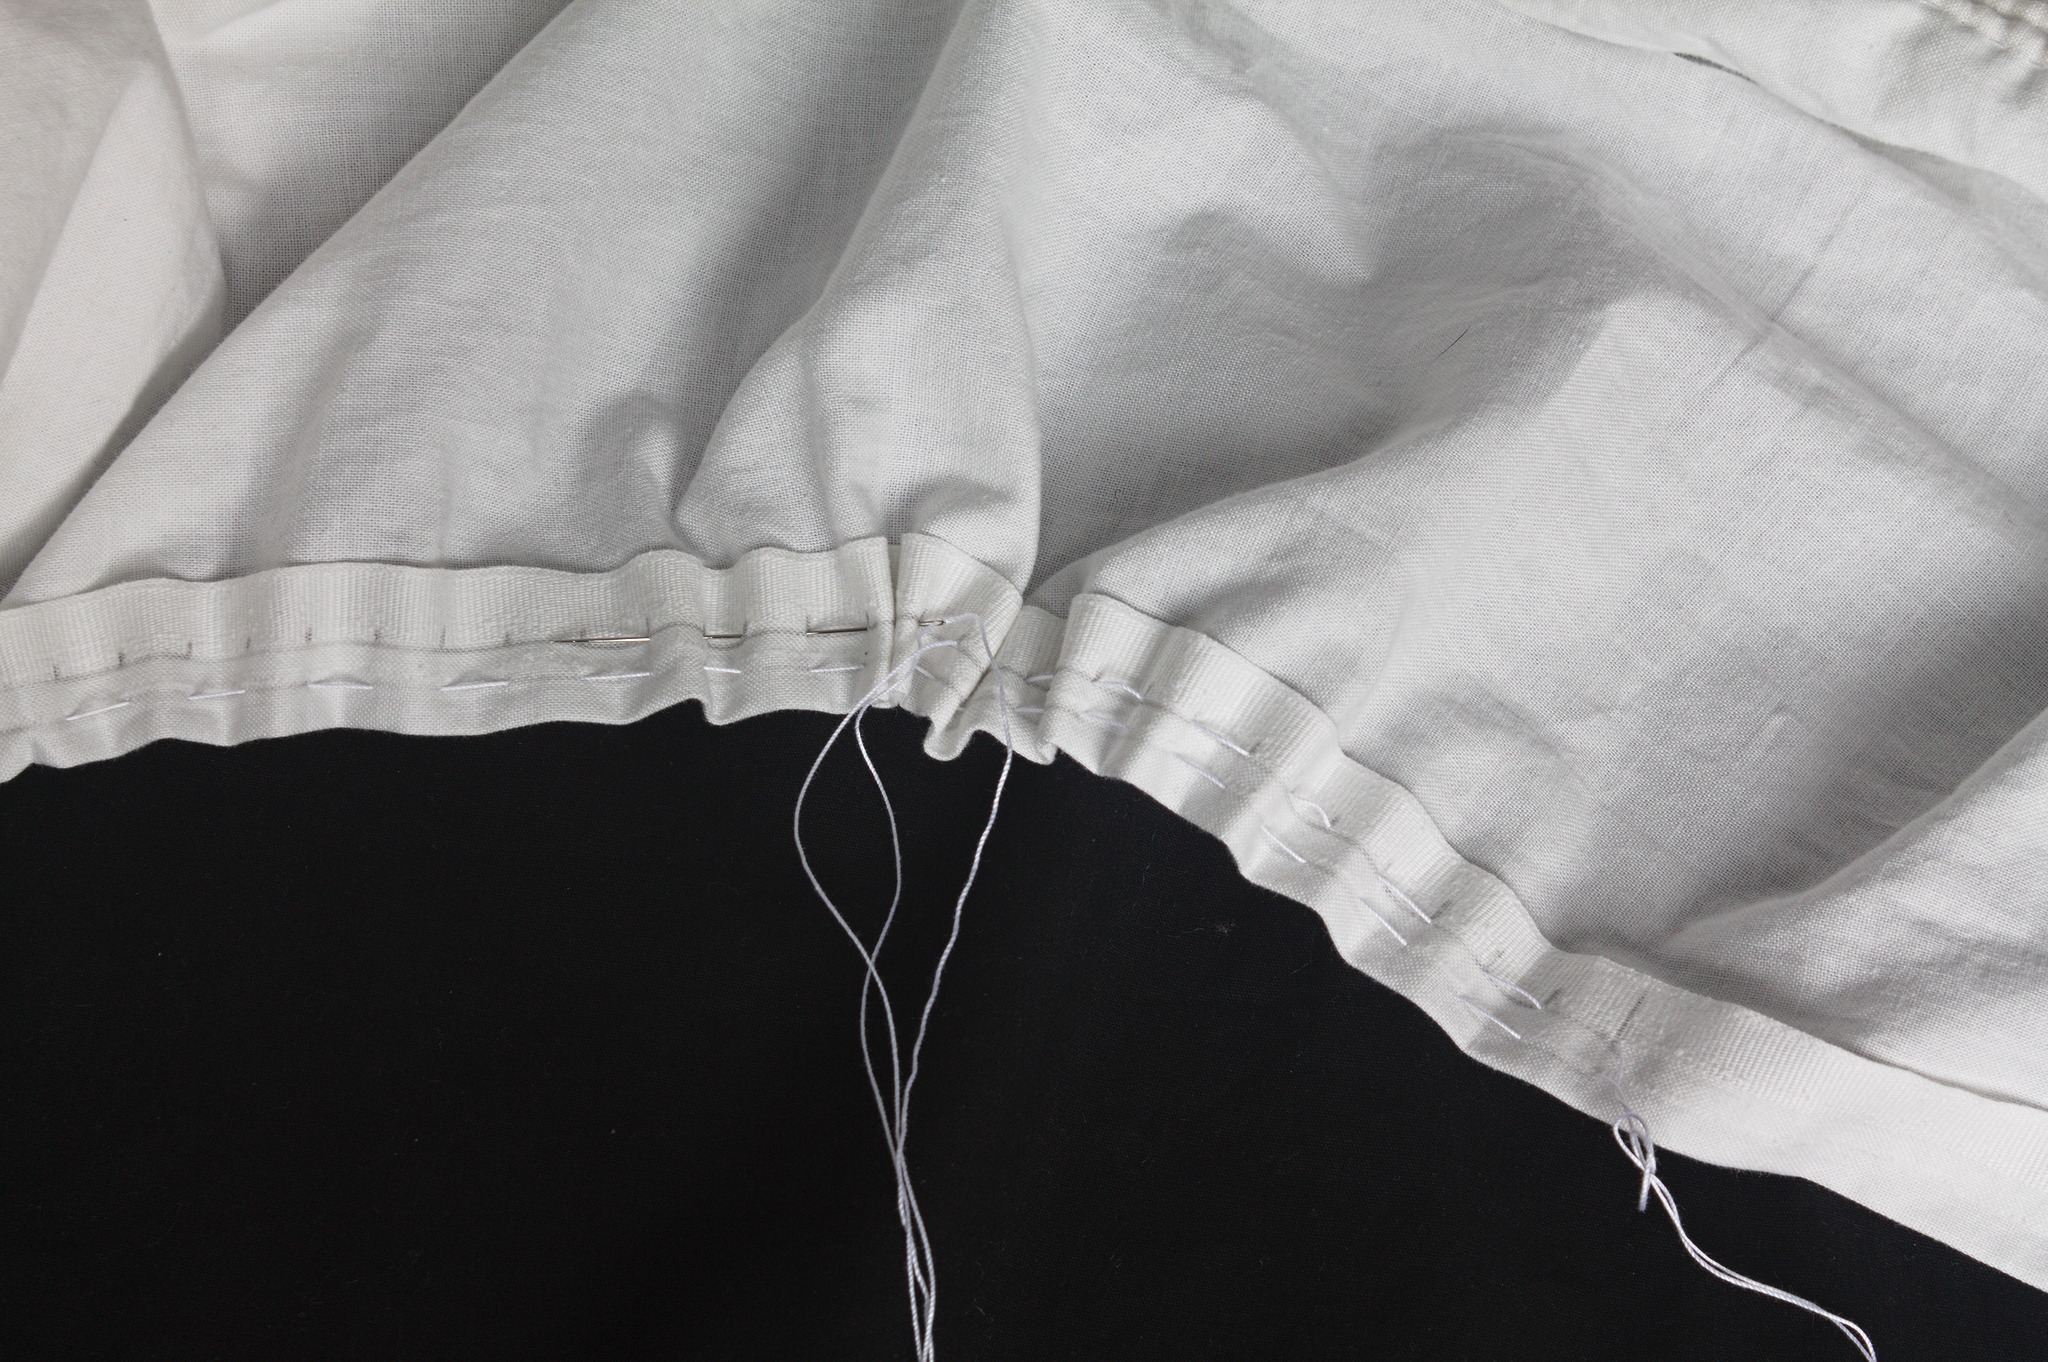
Run a strong thread that is longer than the finished waist on each marked line, making sure to enter the fabric right at the marked points.
Cut a piece of 2.5 cm tape that is as long as your waist plus 32 cm, hem the ends folding them down by half a cm twice and mark the center. Also mark two points that would be quarters if the tape was exactly as long as your waist (so 16 cm less than the actual tape on each side.
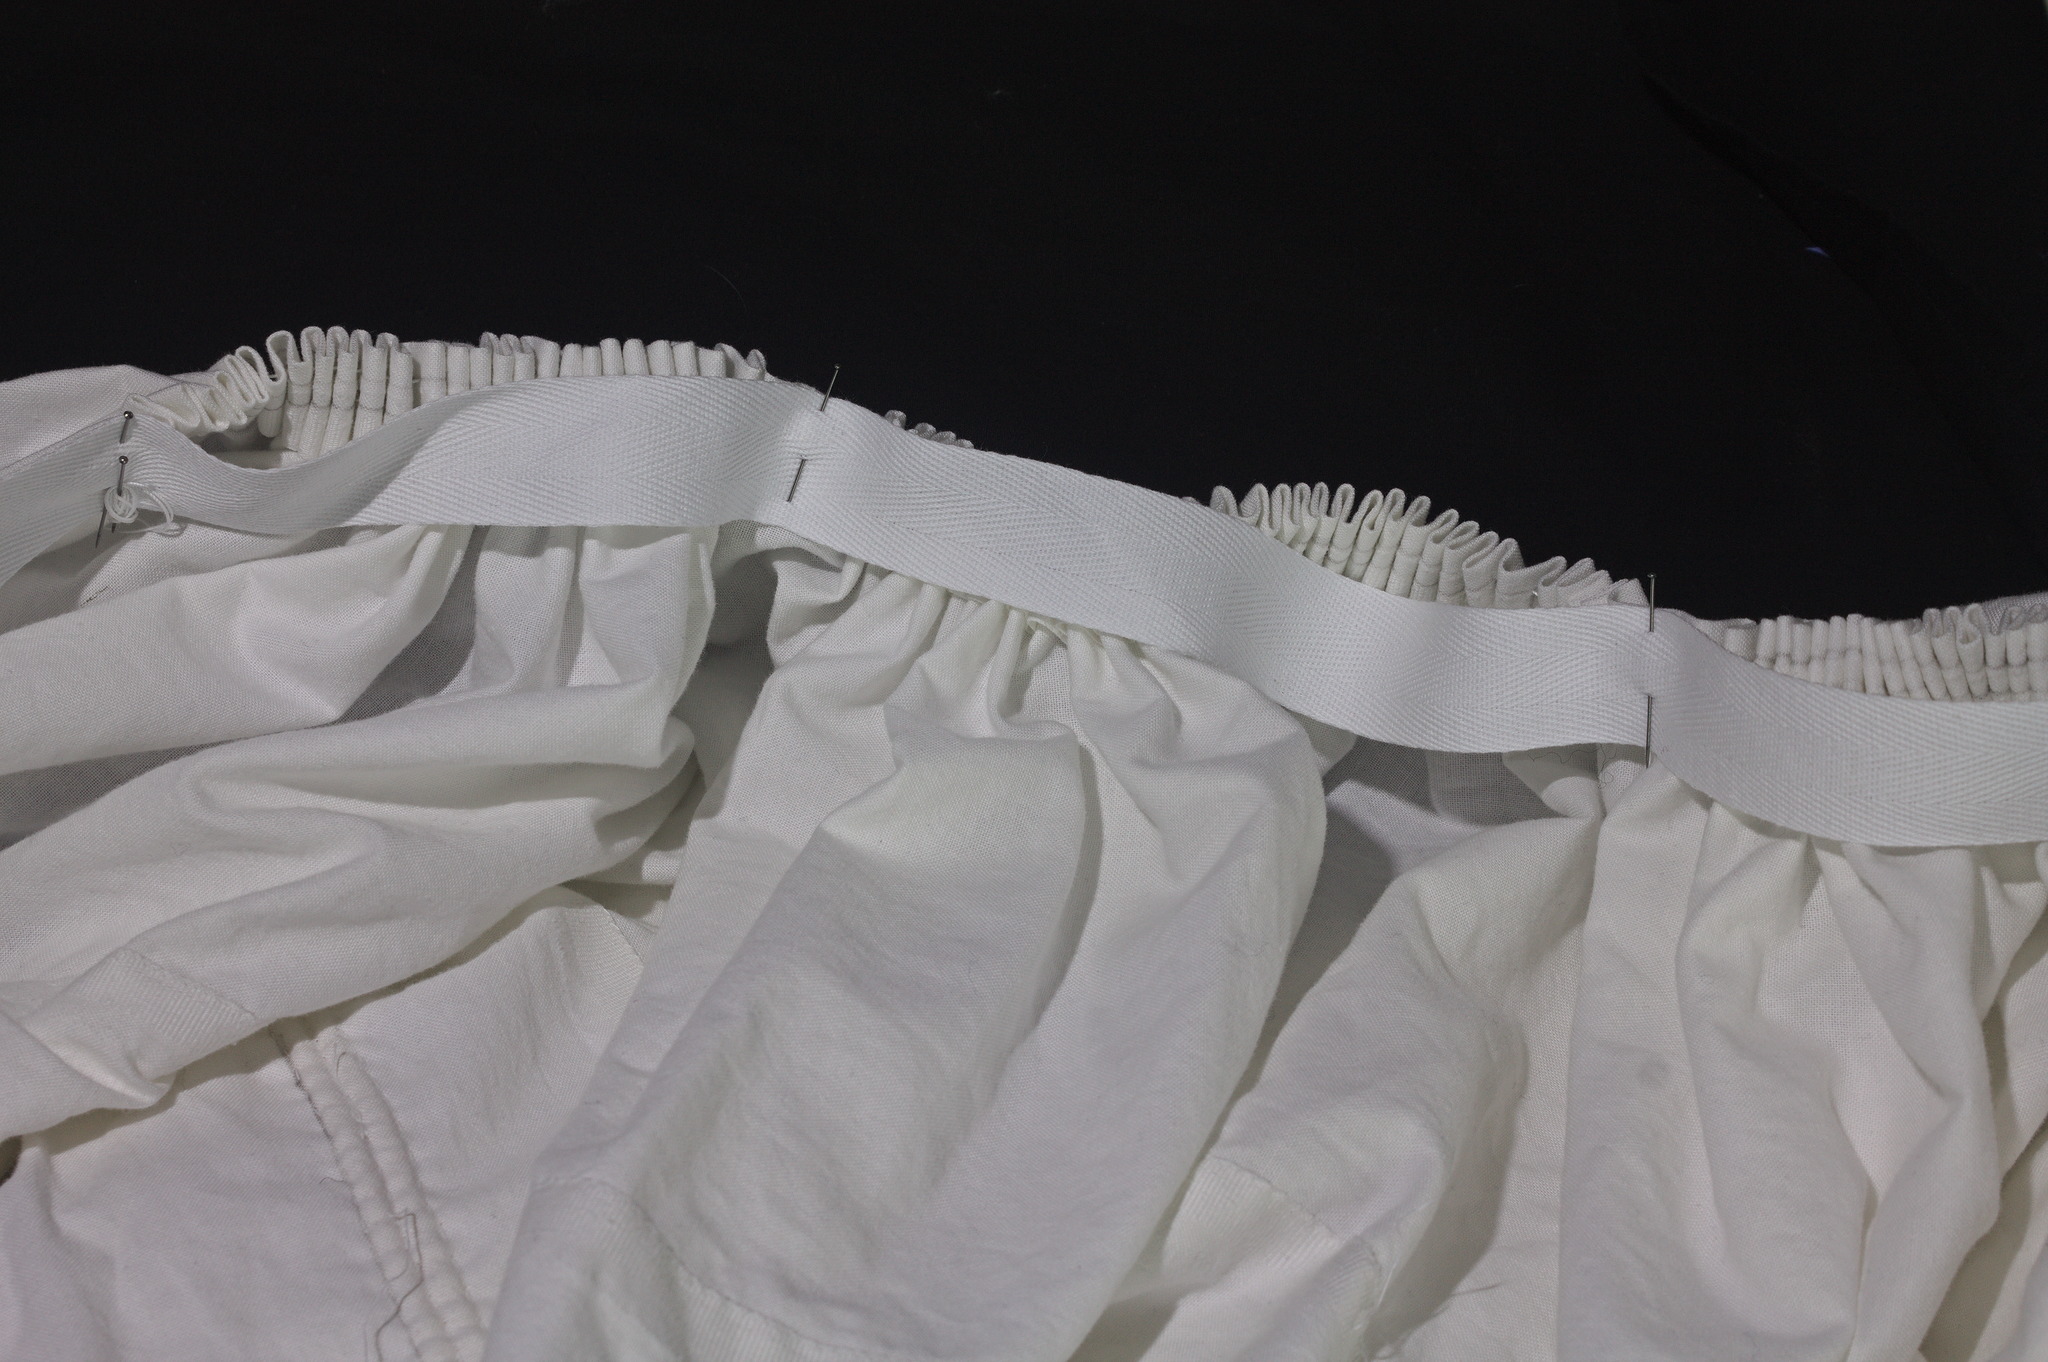
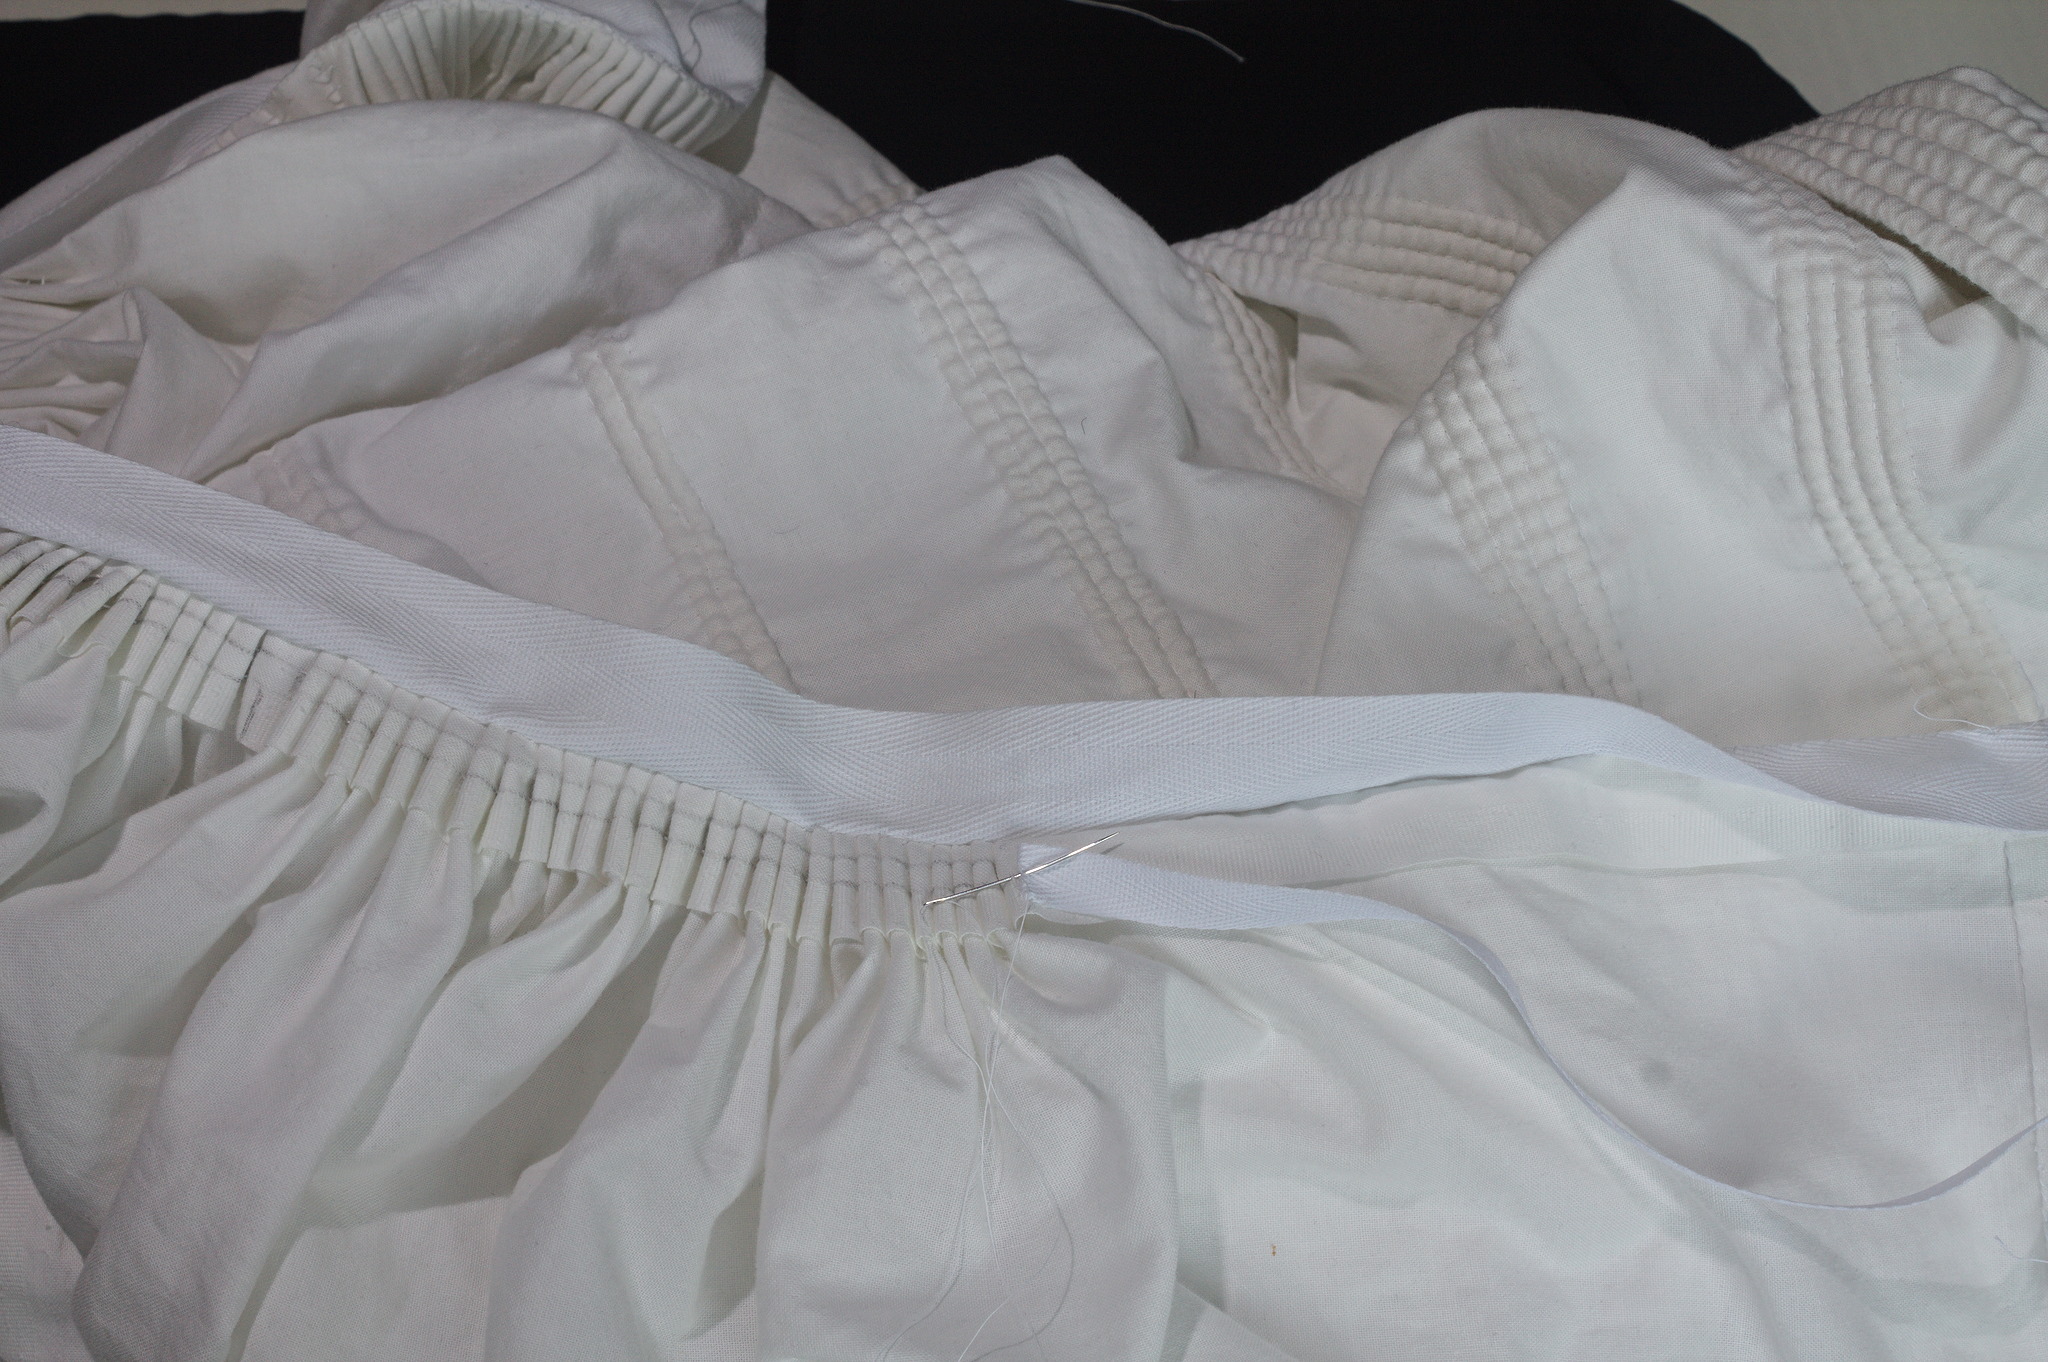
Pin the tape to the top of the petticoat, aligned on the fold, on the wrong side, putting it flat on the first 20 cm and then pinning the marked point and pulling the gathering thread to gather the petticoat fabric in the right length.
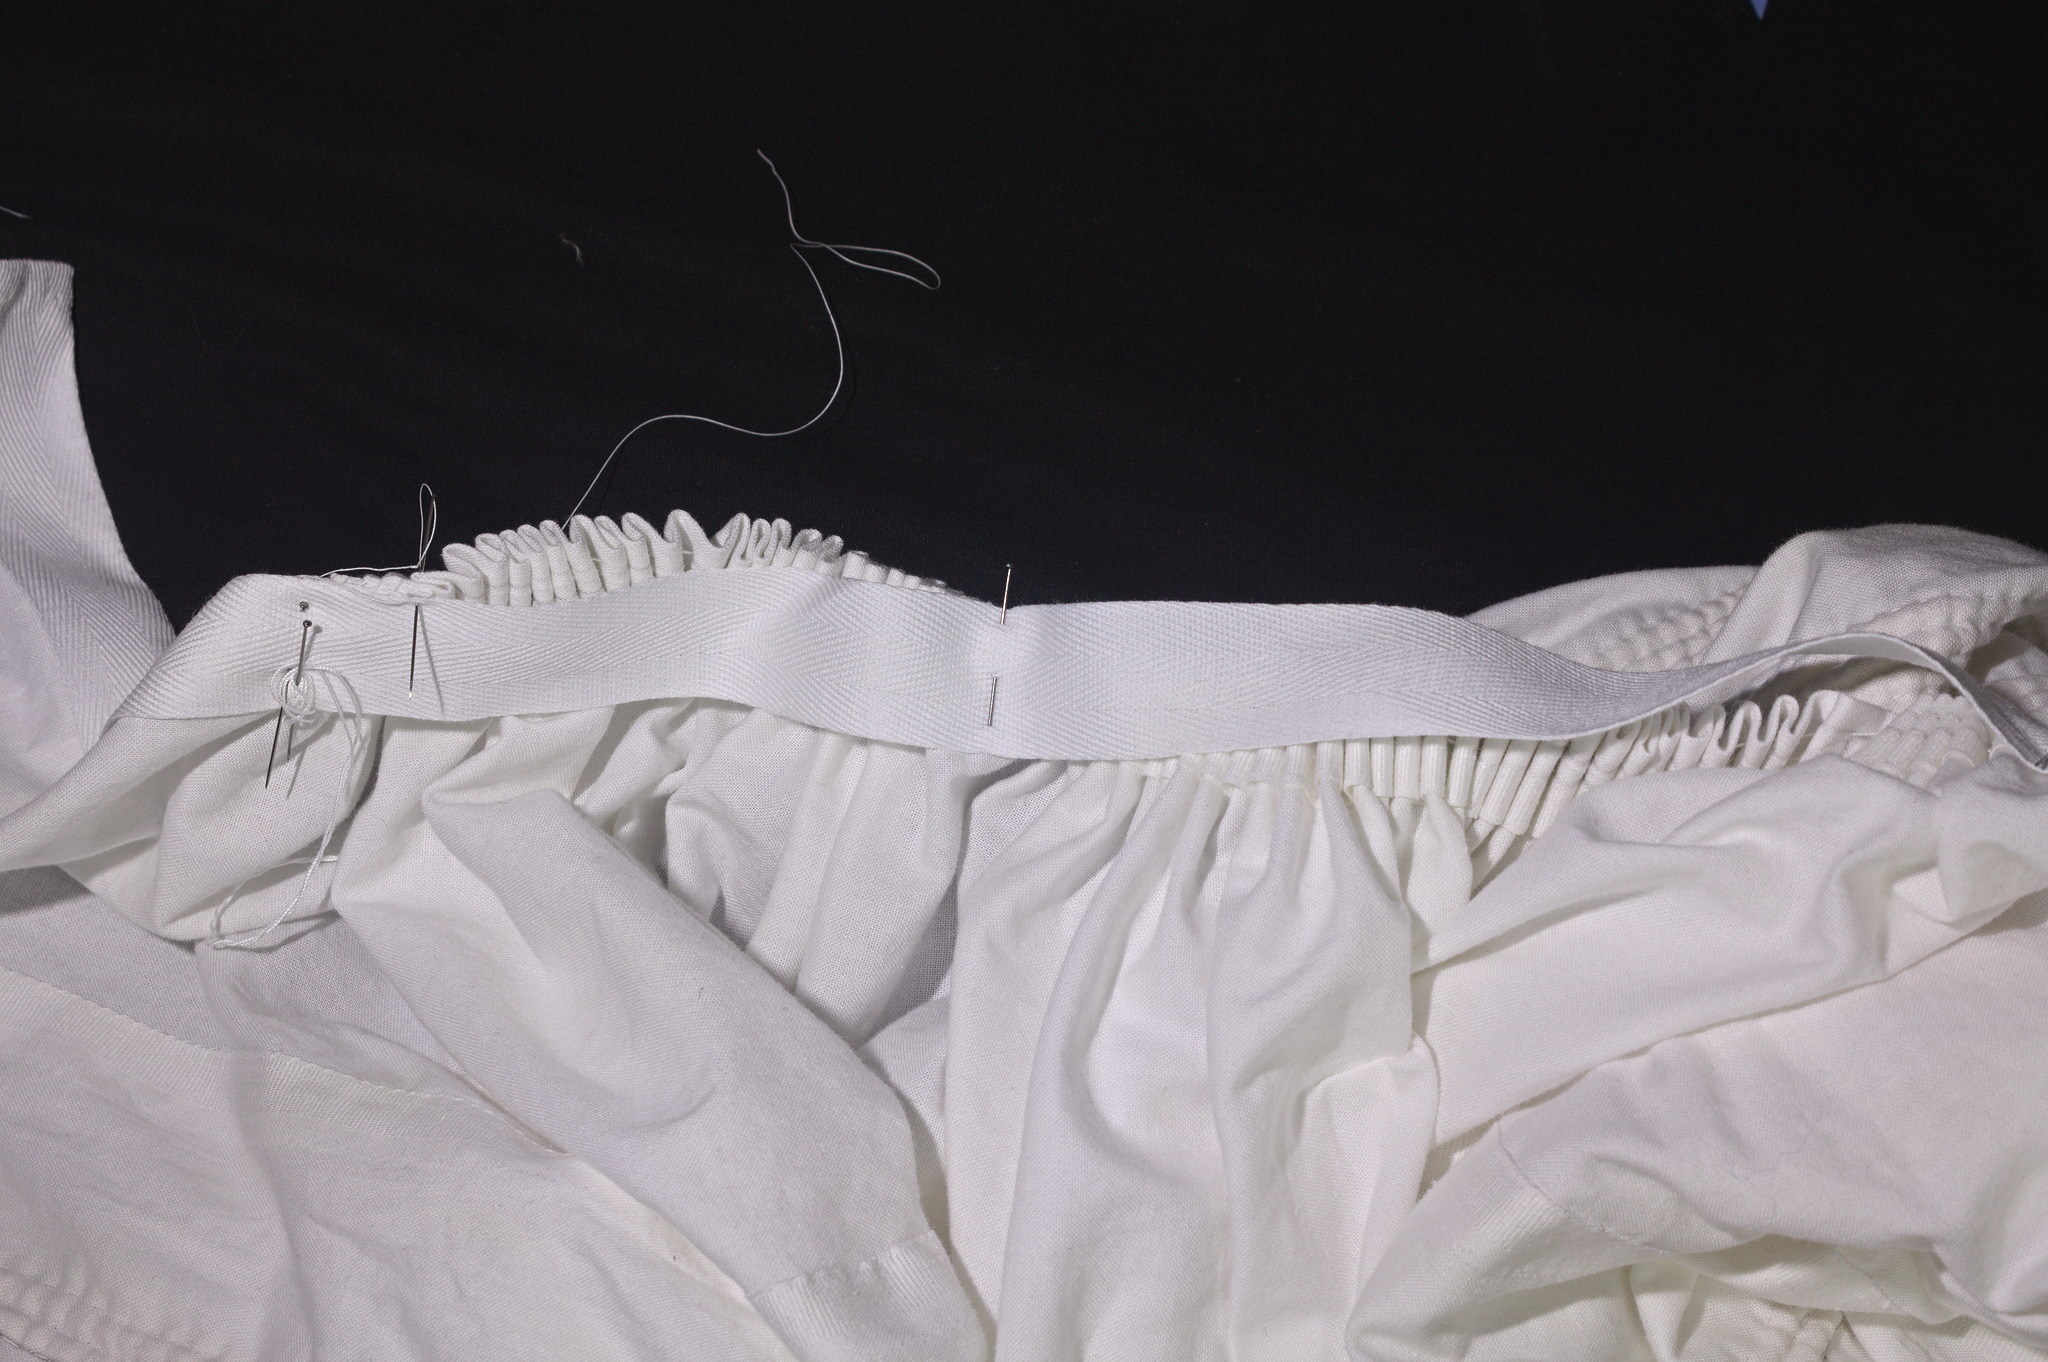
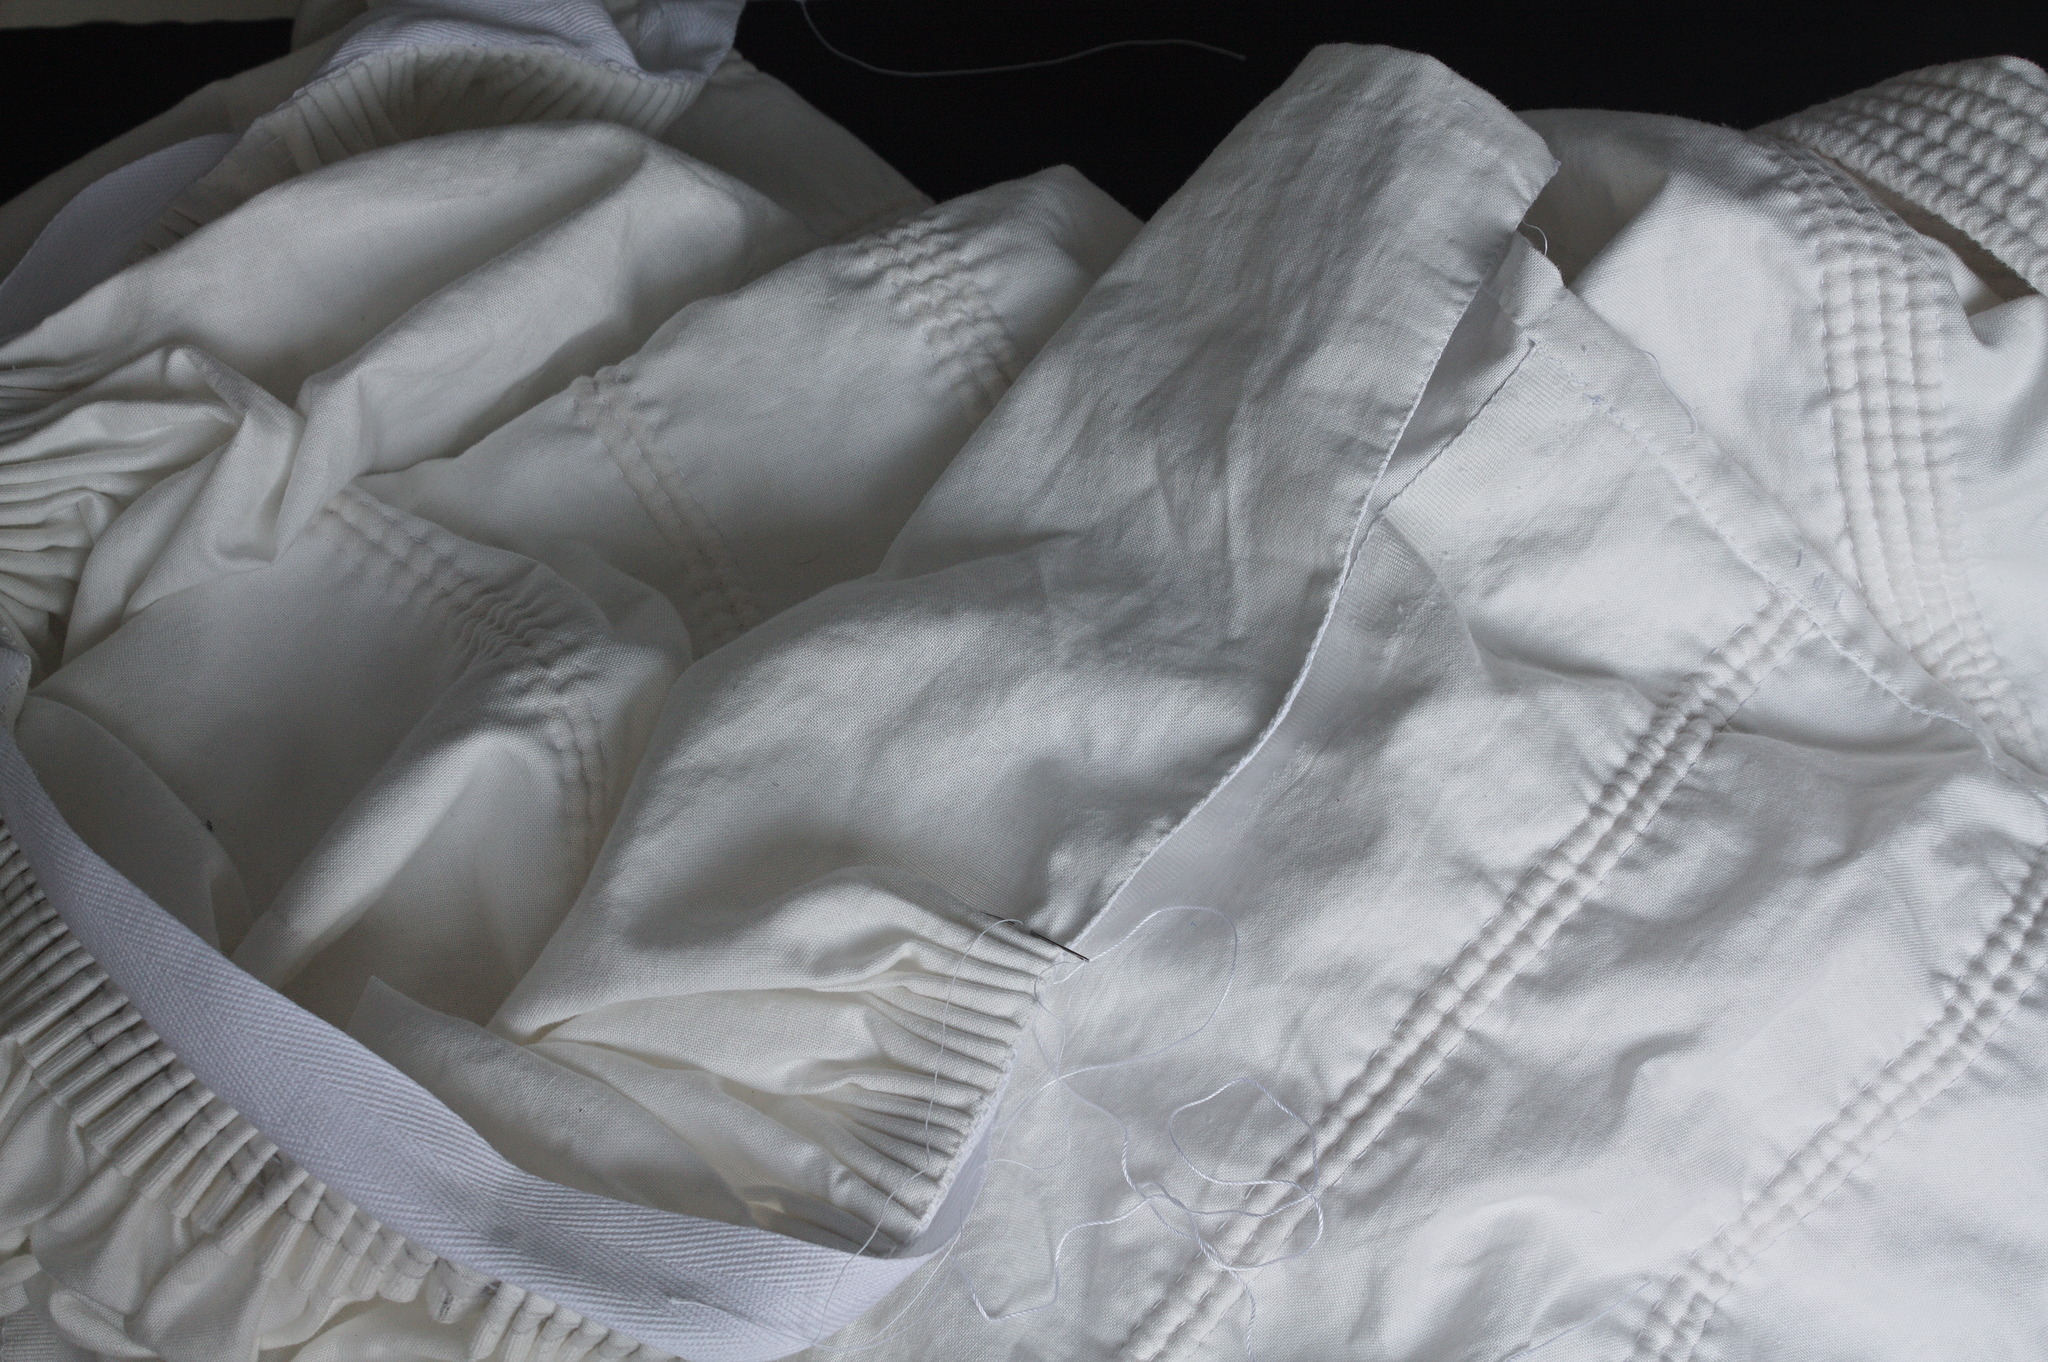
Flatten each section of the pleats so that they go towards the center front or the center back, as appropriate, and whipstitch the petticoat to the tape, first on the smooth section and then sewing the pleats in place.
Tip
Instead of flattening the pleats, you can also sew them as cartridge pleats, catching just the bottom of each fold and sewing over it twice for strength.
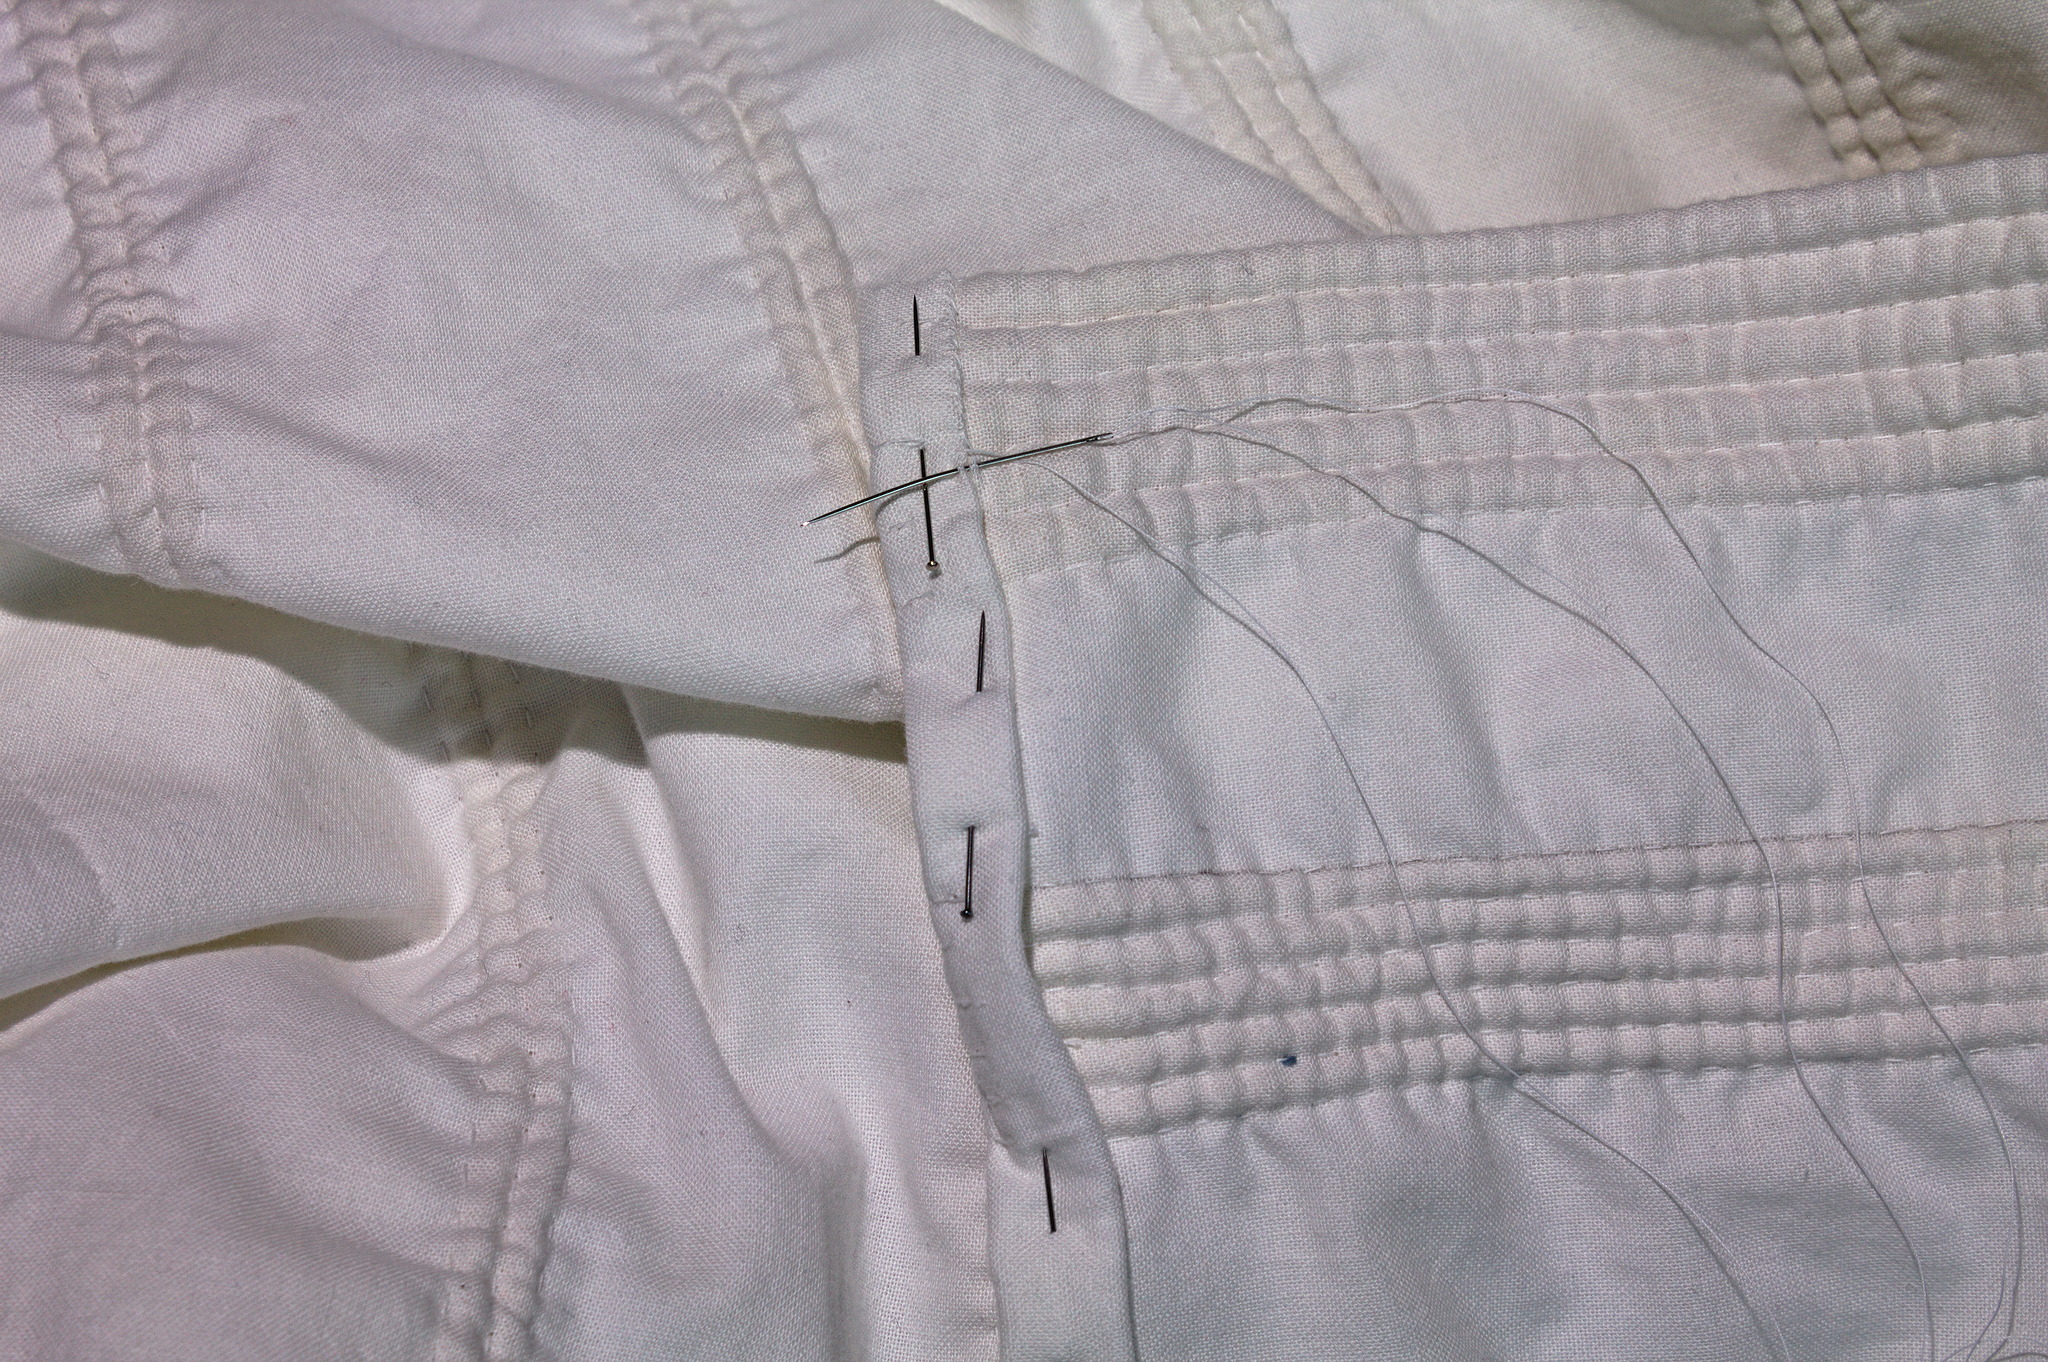
Cut two pieces of 1 cm tape, 42 cm long, hem one edge, fold the other edge down by 1 cm and put it on the folded down allowance at the top, right before the pleating starts, and pointing towards the end of the fabric. Hemstitch to the allowance on 3 edges.
Then pass the needle to the outside of the fabric, and backstitch through both layers of fabric, the narrow tape and the wide tape, to fix it securely in place.
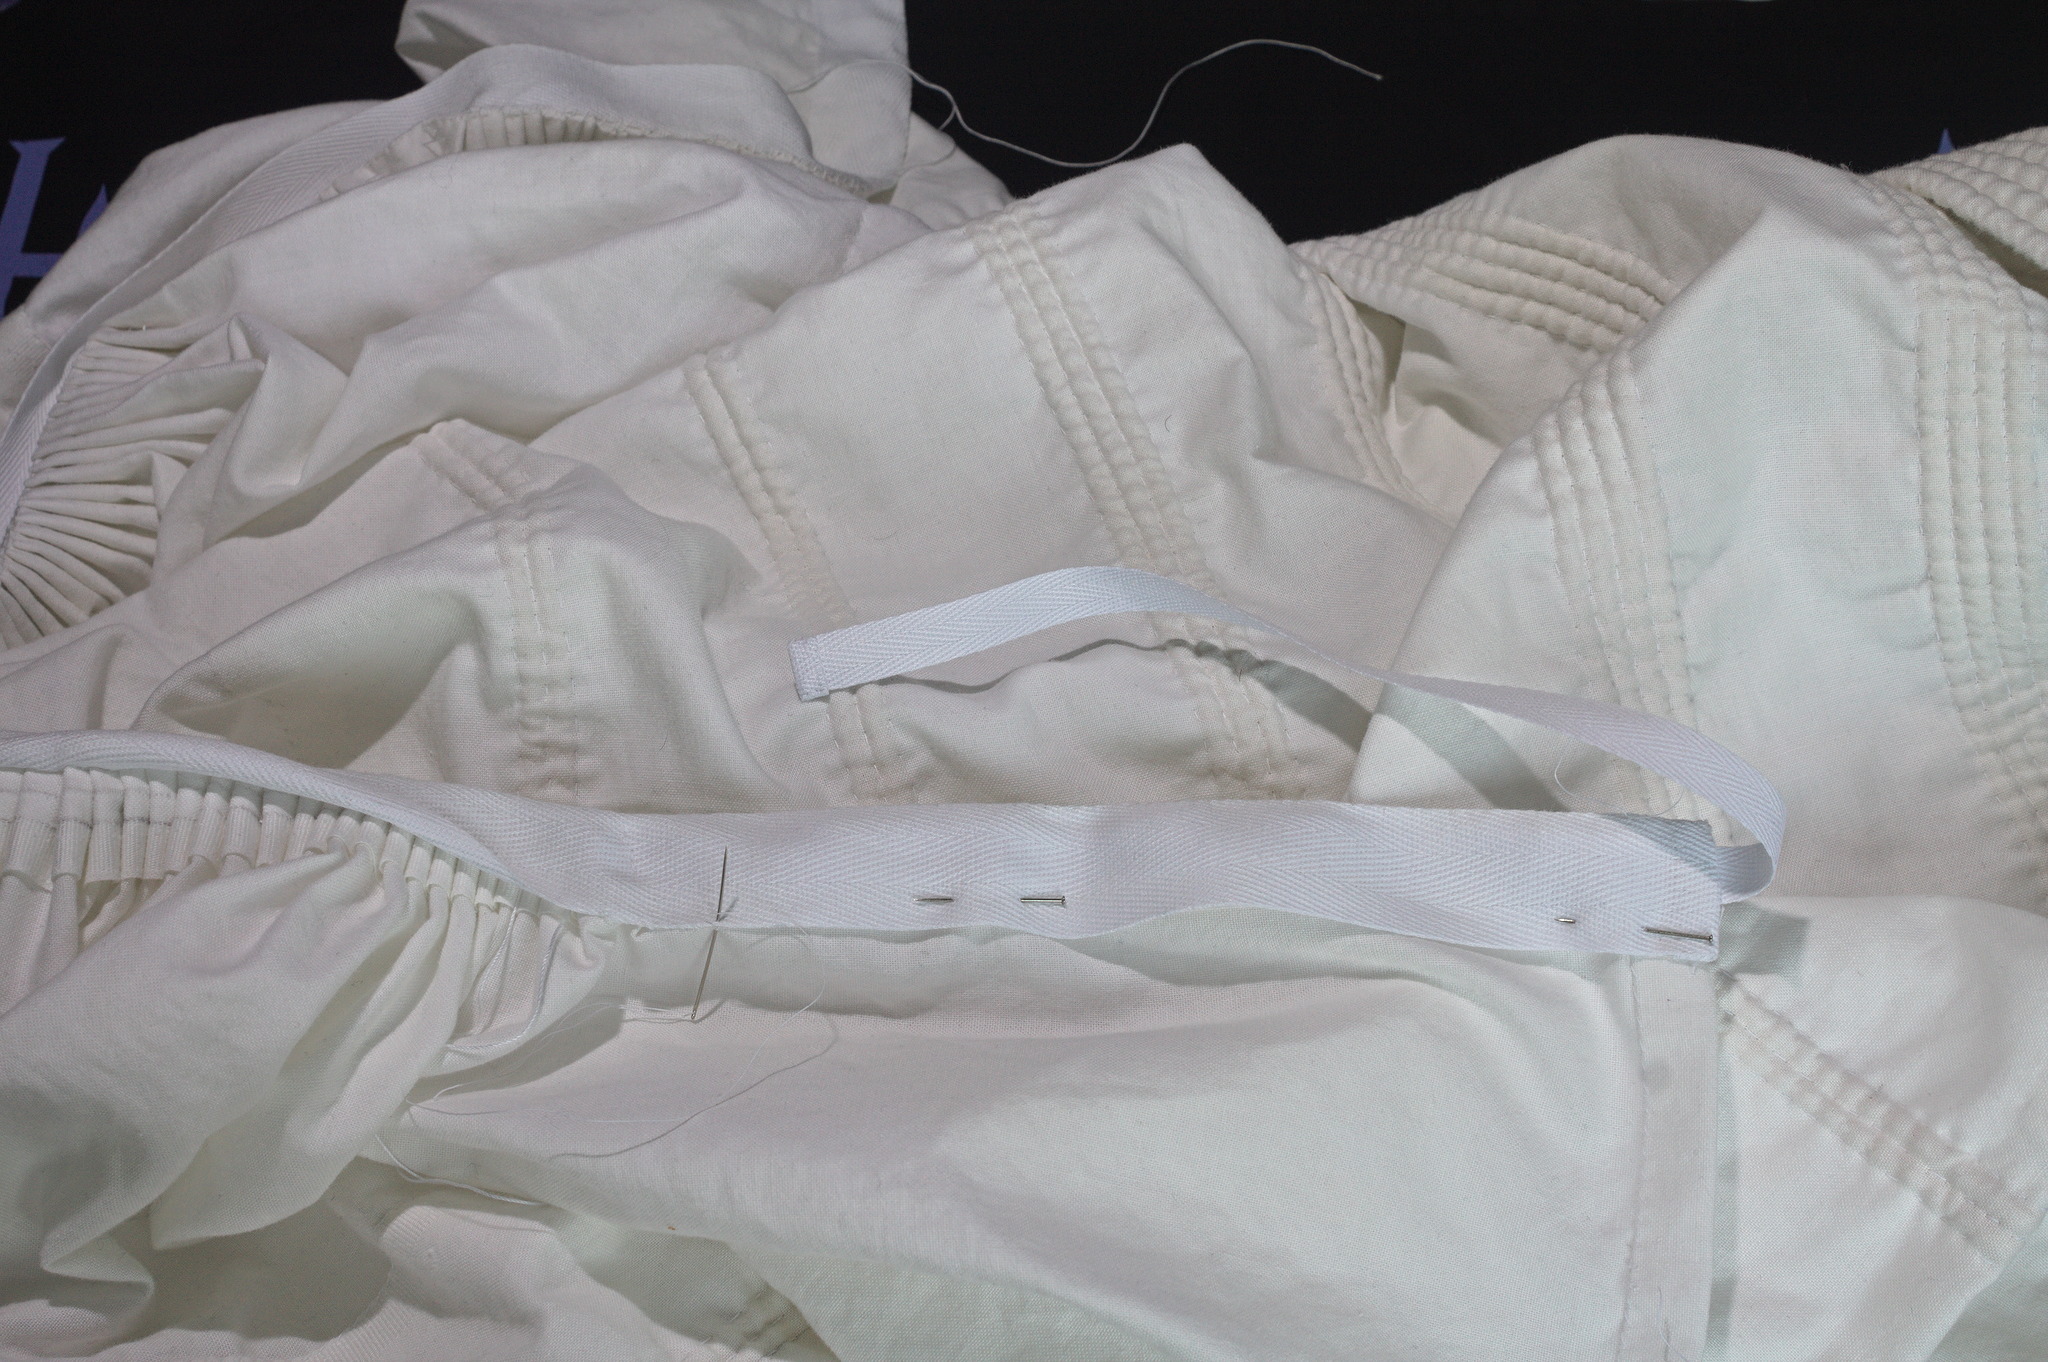
Pin down the wide tape, covering the narrow, and hemstitch it to the unpleated part of the petticoat, forming a channel.
Repeat on the other side.
Put the two ends of the petticoat right sides together and whipstitch the seam closed starting from the hem and stopping after the last row of cording.
Gallery
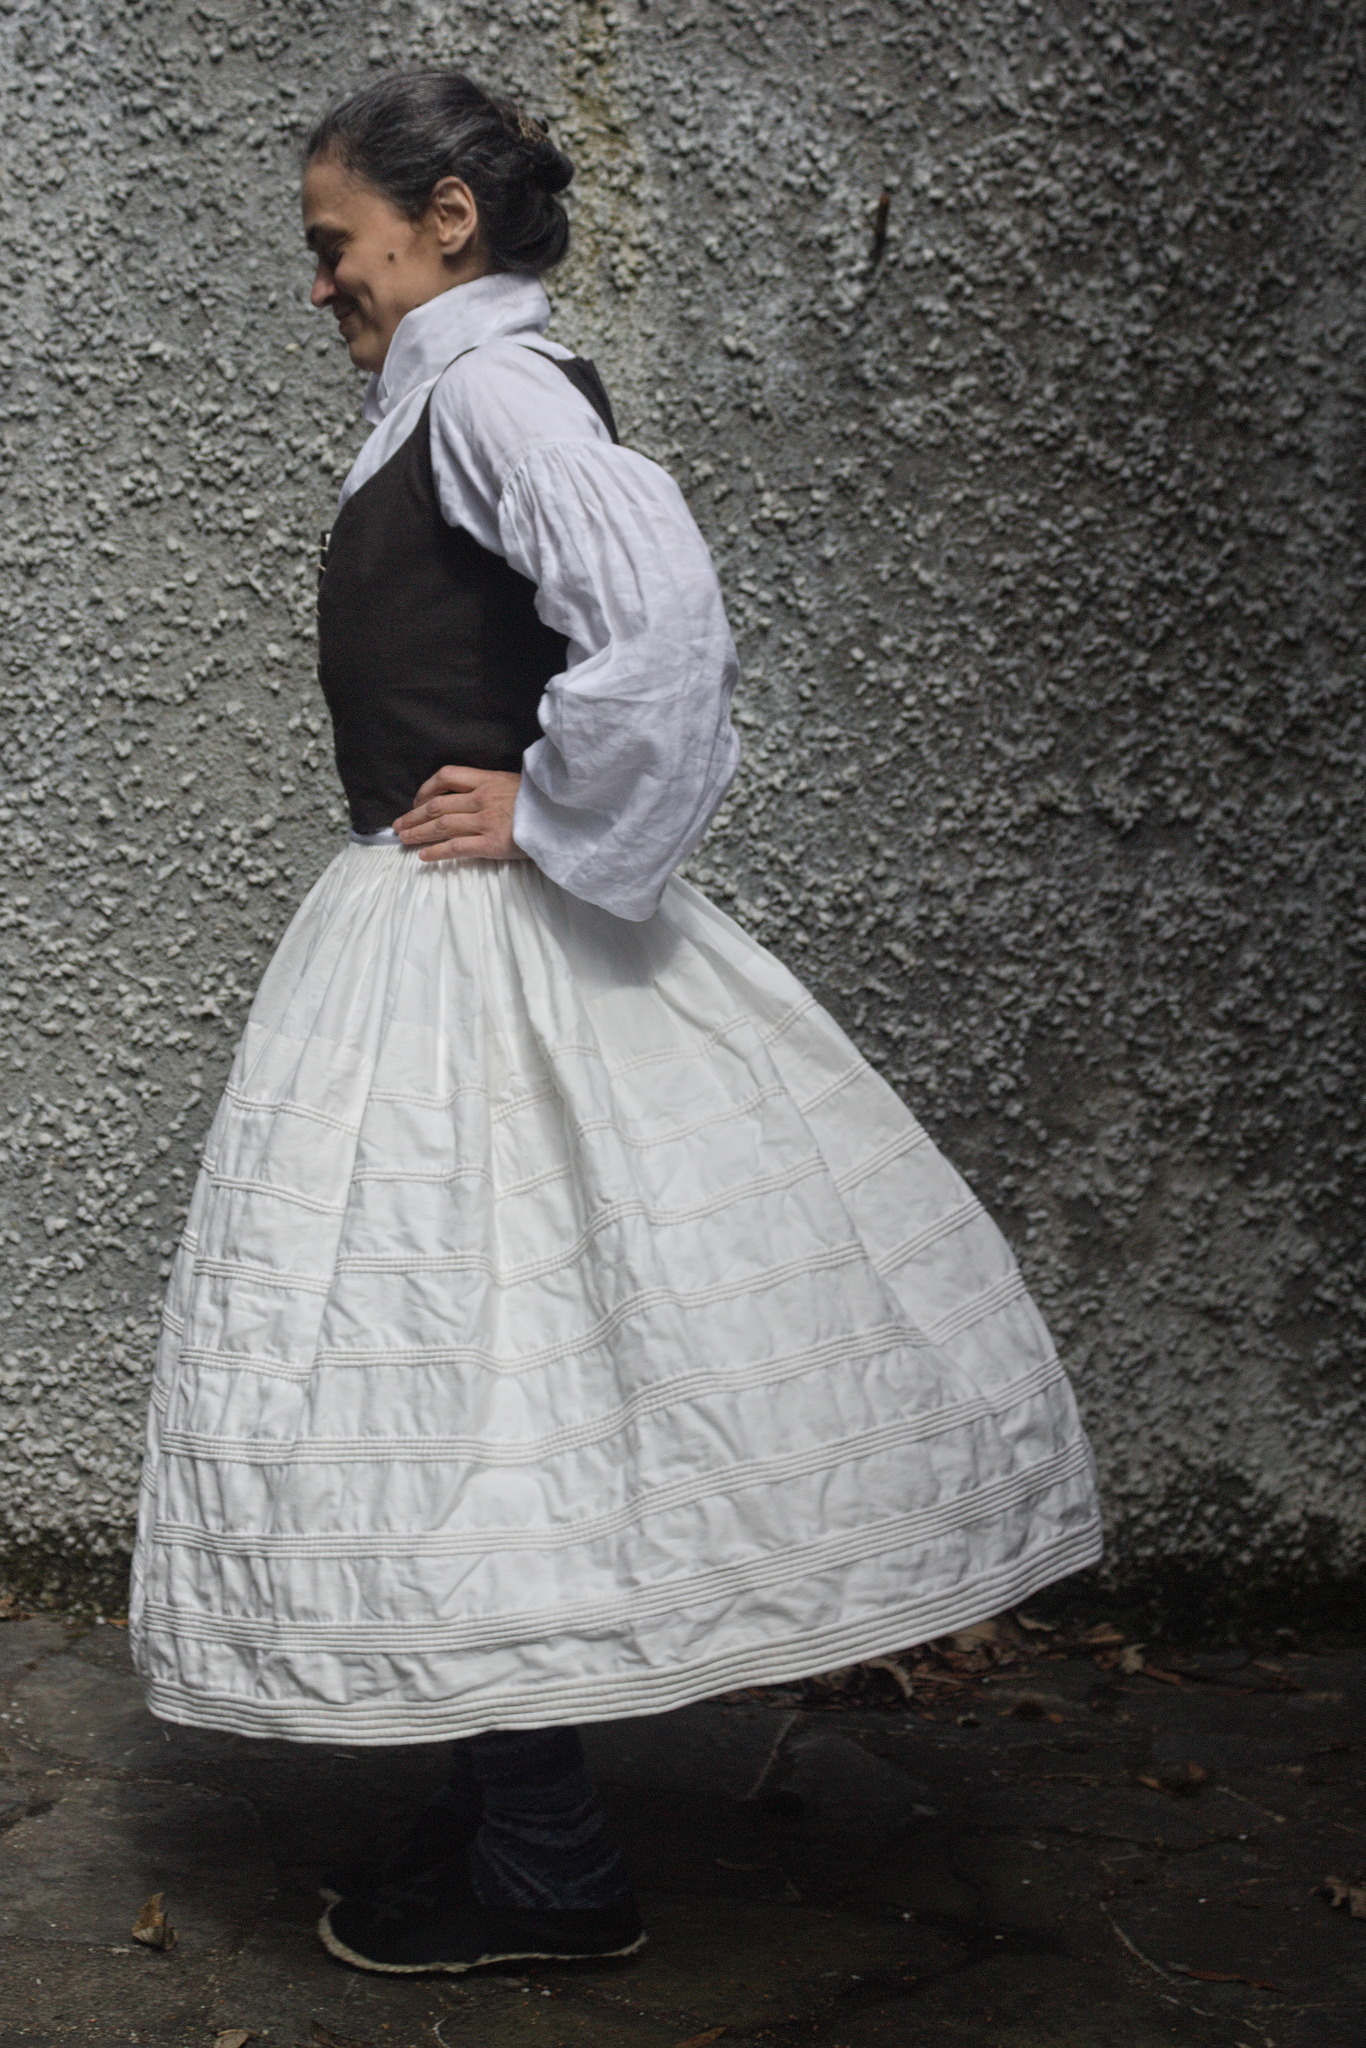
The mandatory swish test, showing the full extended petticoat.