1838 Drawers

These are ankle-length split drawers based on the instructions on page 53 of [Wor38].
It is a simple, serviceable garment.
Because of the period, the construction instructions assume handsewing, but most seams could also be sewn by machine and then either felled by hand or topstitched by machine.
Materials
Fabric
Less than 1.5 m of lightweight cotton or linen, at least 150 cm wide.
If the width of the fabric is less than about 1.5 times the width of the hips you won’t be able to cut the two legs side by side, and more fabric will be required.
Notions
sewing thread to match the fabric;
Pattern
[Wor38] gave measurements for these drawers in just one size, mentioning that they would work for a person of moderate size; they are, converted to cm:
meas |
cm |
|---|---|
width |
80 |
length |
86 |
A to B |
23 |
B to C |
46 |
C to G |
40 |
C to E |
40 |
F to G |
6 |
F to S |
29 |
For modern bodies, I would adapt these measurements by using the distance between the waist and the ankle plus 6 cm (for hems and allowances) for the total length, and half the width of the (modern) fabric for the width, as long as that’s almost the circumference of the hips minus at most 15 - 25 cm (so that the total circumference of the drawers will be close to twice the circumference of the hips).
For the width of the hem (A to B) and for the vertical distance between the front and the back waist (G to F) I’d stay close to the suggested measurements, and scale everything else in proportion.
For the waistband, I’d use the width of the waist plus an overlap for the buttons: if the buttons are in the front a smaller overlap of maybe 3 cm will be enough, up to 5-10 cm if the buttons are in the back.
There is a valentina file drawers.val which does all of these
calculations based on the measurements in the corresponding
measurements.vit. Note that all sewing allowances are
included in the pieces (and should be as small as the fabric allows).
Rather than printing the pattern (and especially the bigger pieces) I’d recommend reading the length of relevant segments in the Variable Table and measuring them directly on the fabric.
Instructions
Cutting
Legs
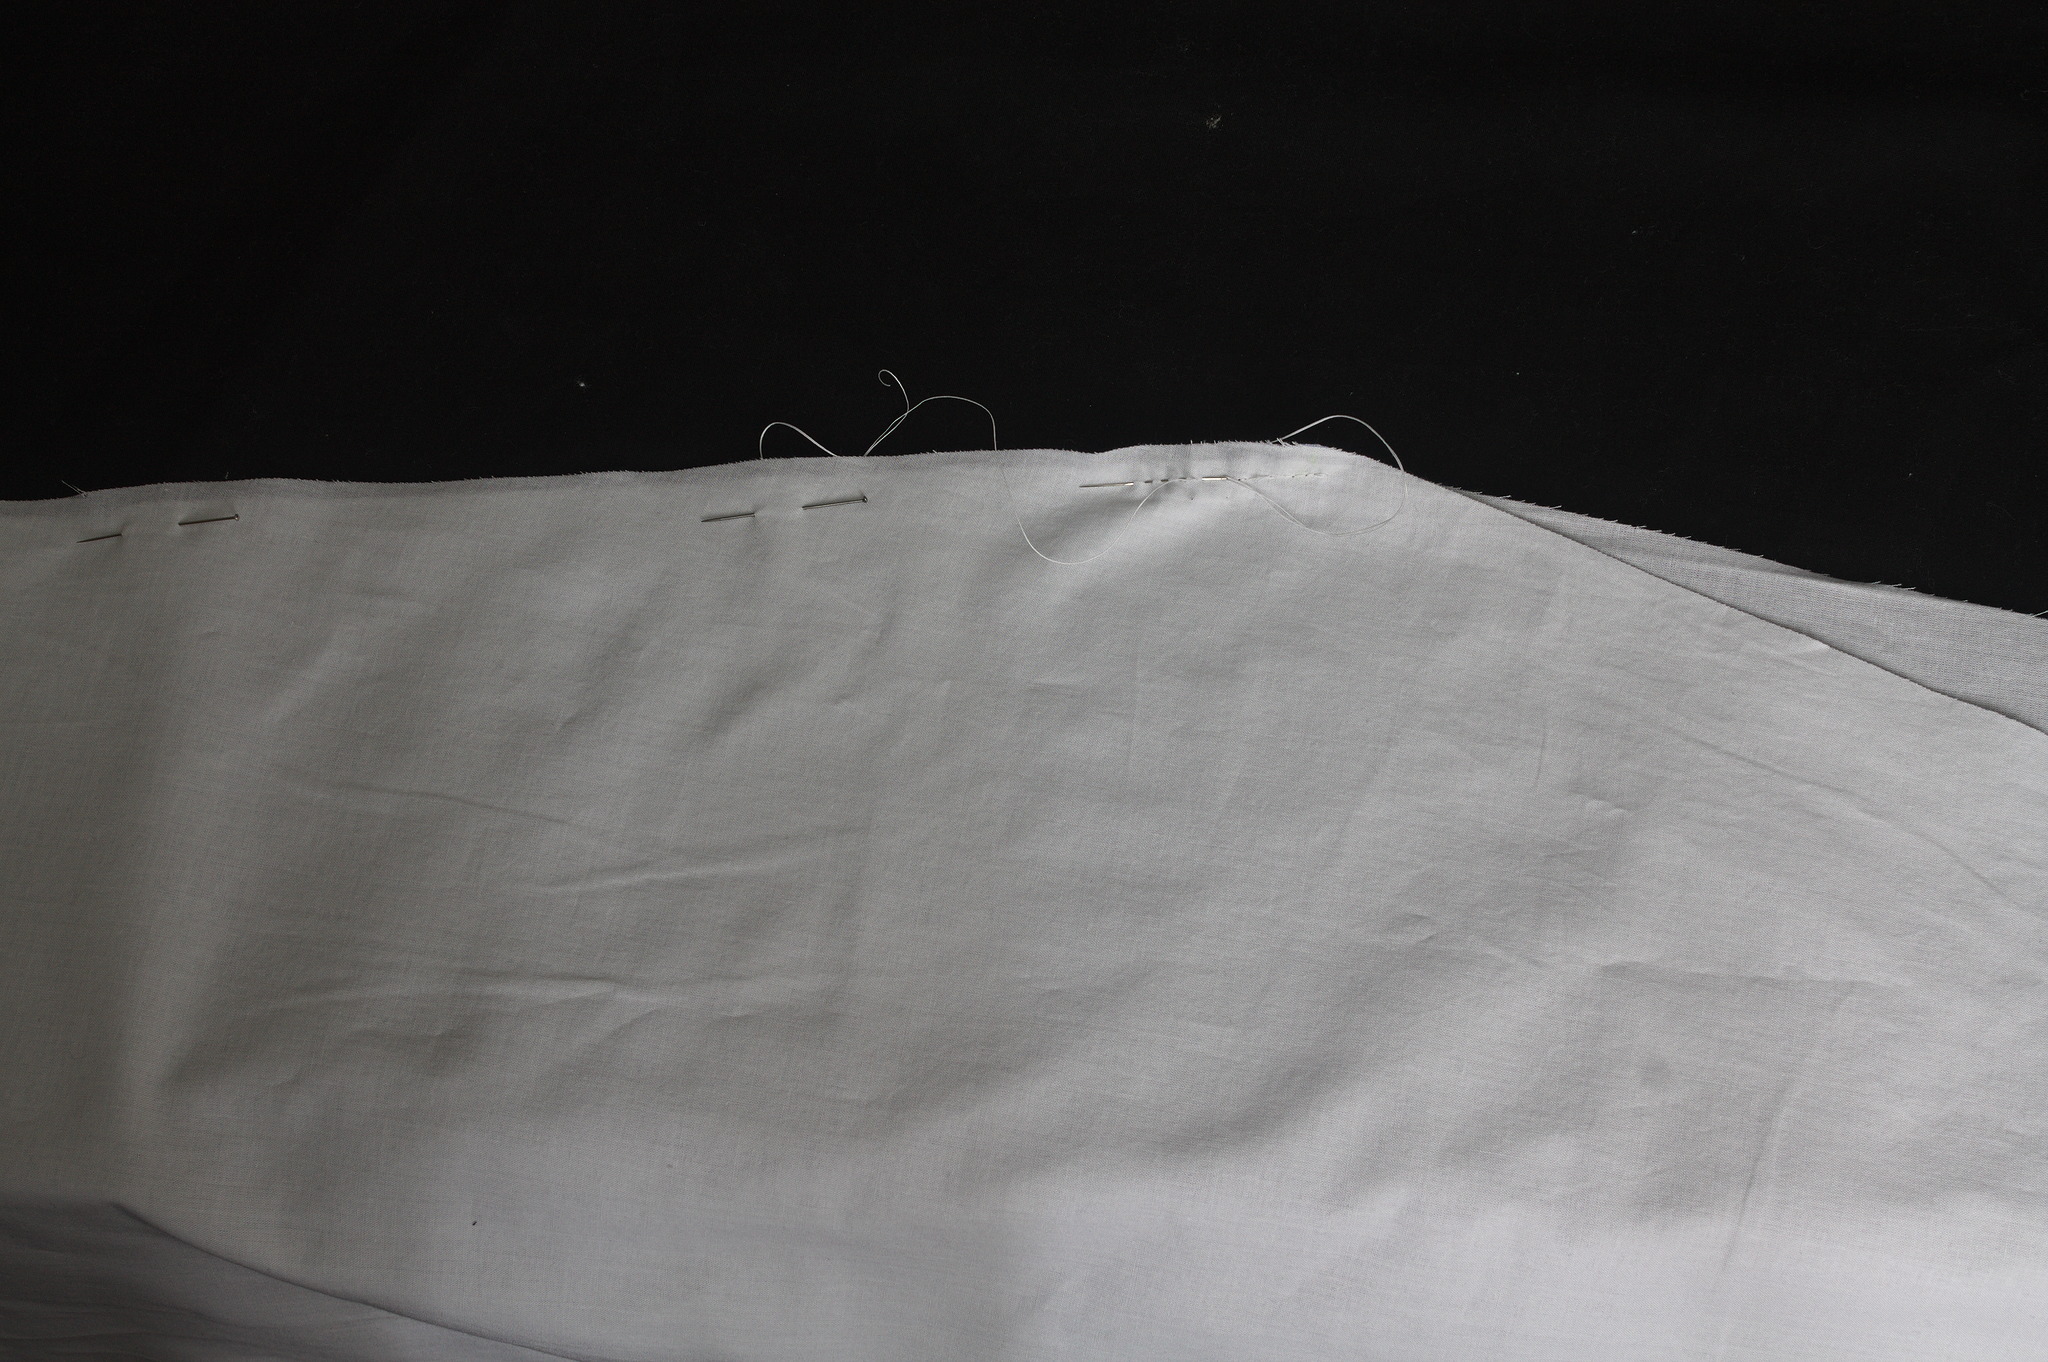
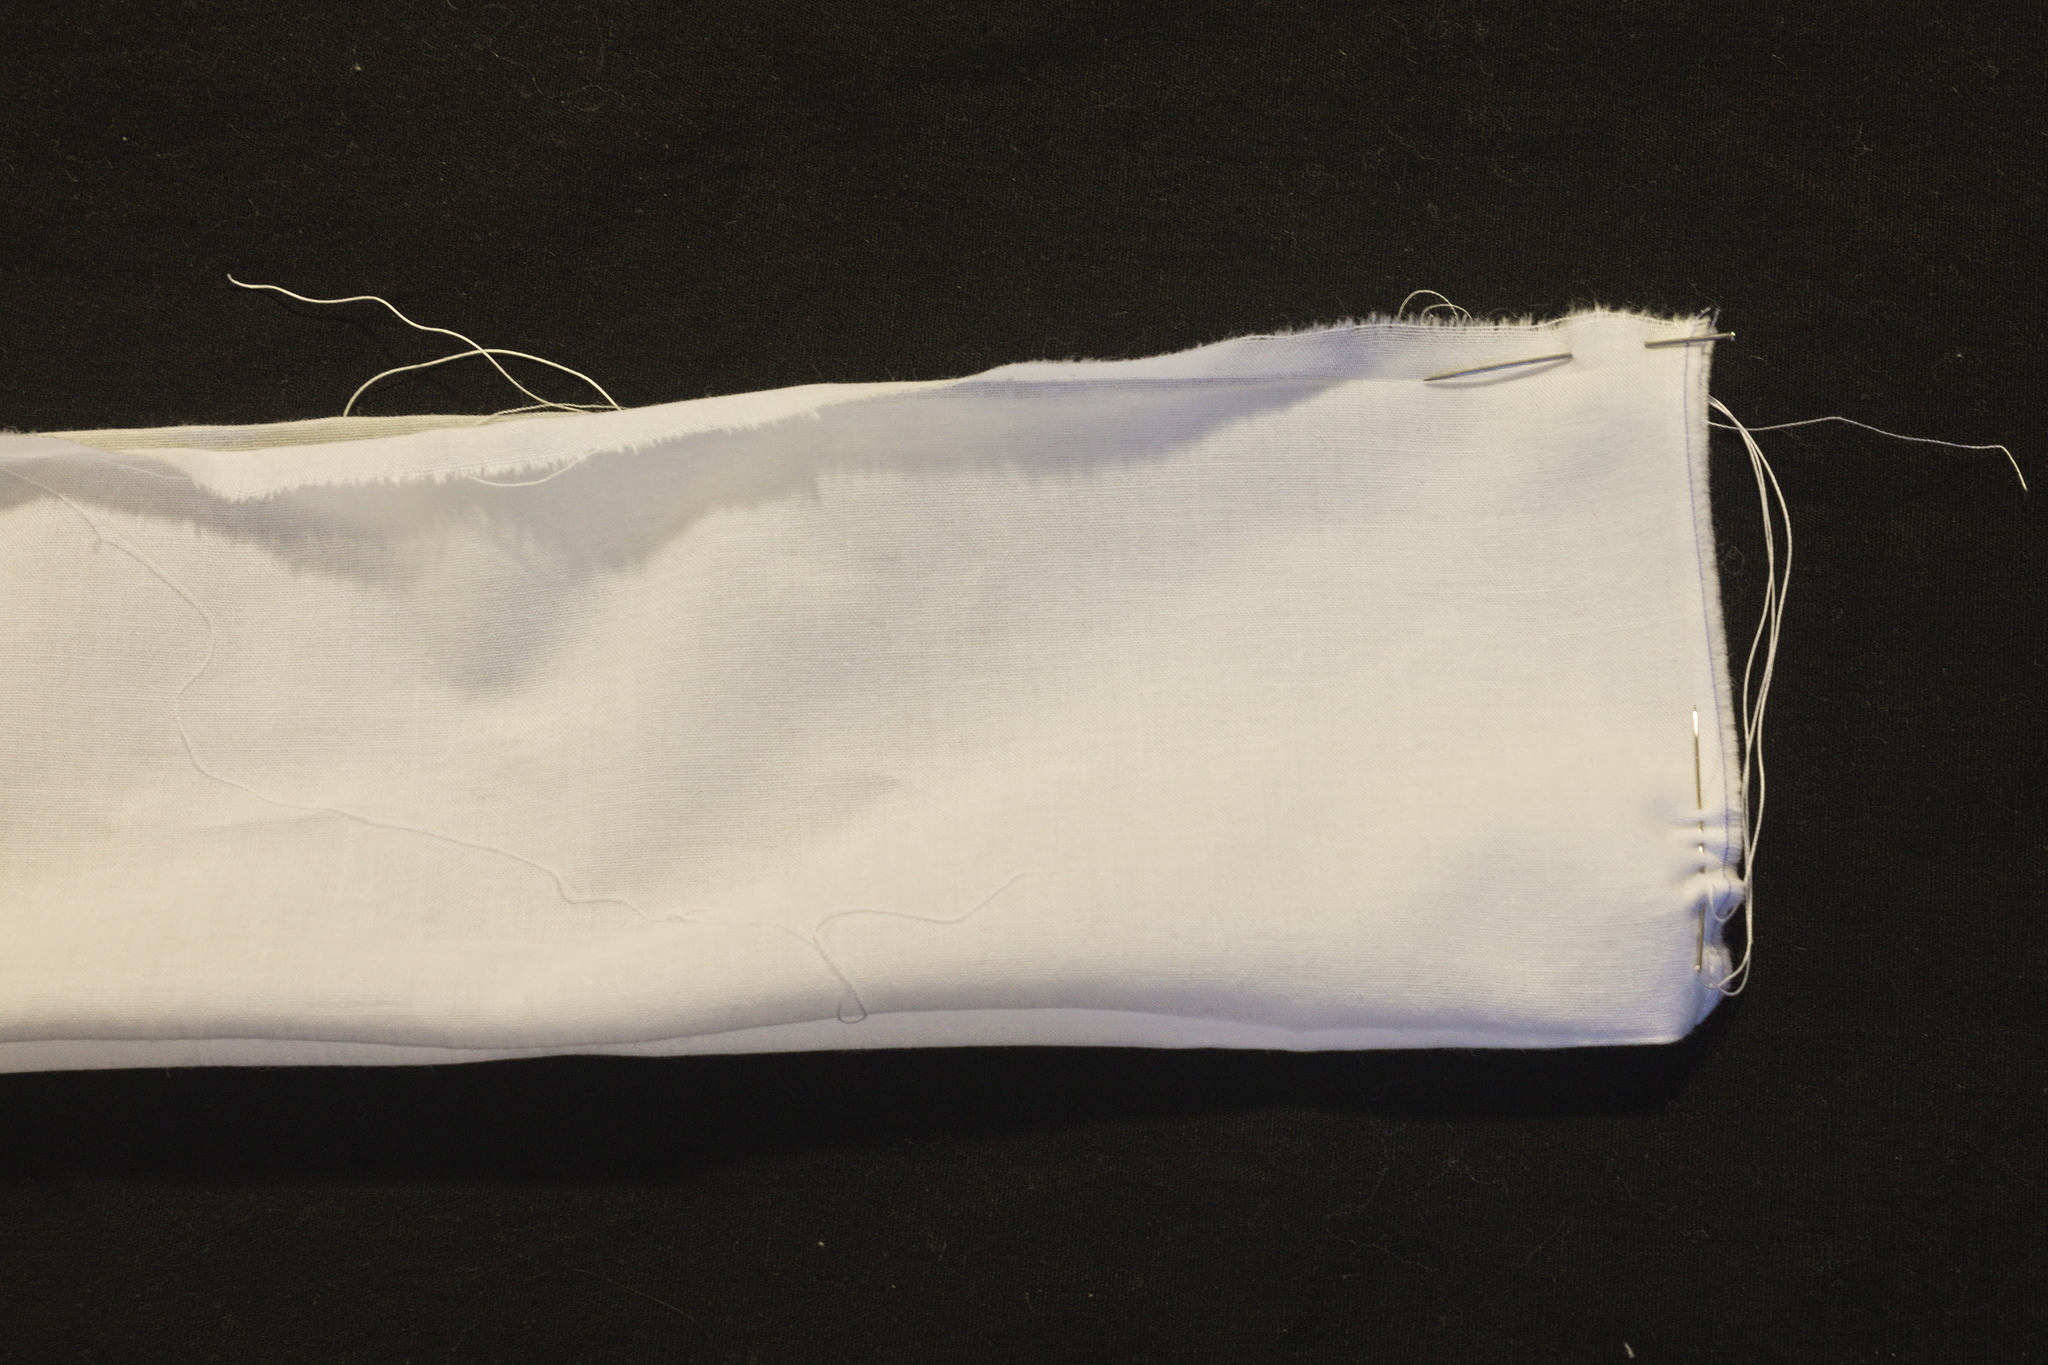
Wrong sides together, put the leg seam, from A to B in such a way that the front overlaps the back by one seam allowance, sew with a running backstich.
Press towards the back, folding the allowance of the front over that of the back, and fell down with a hemming stitch.
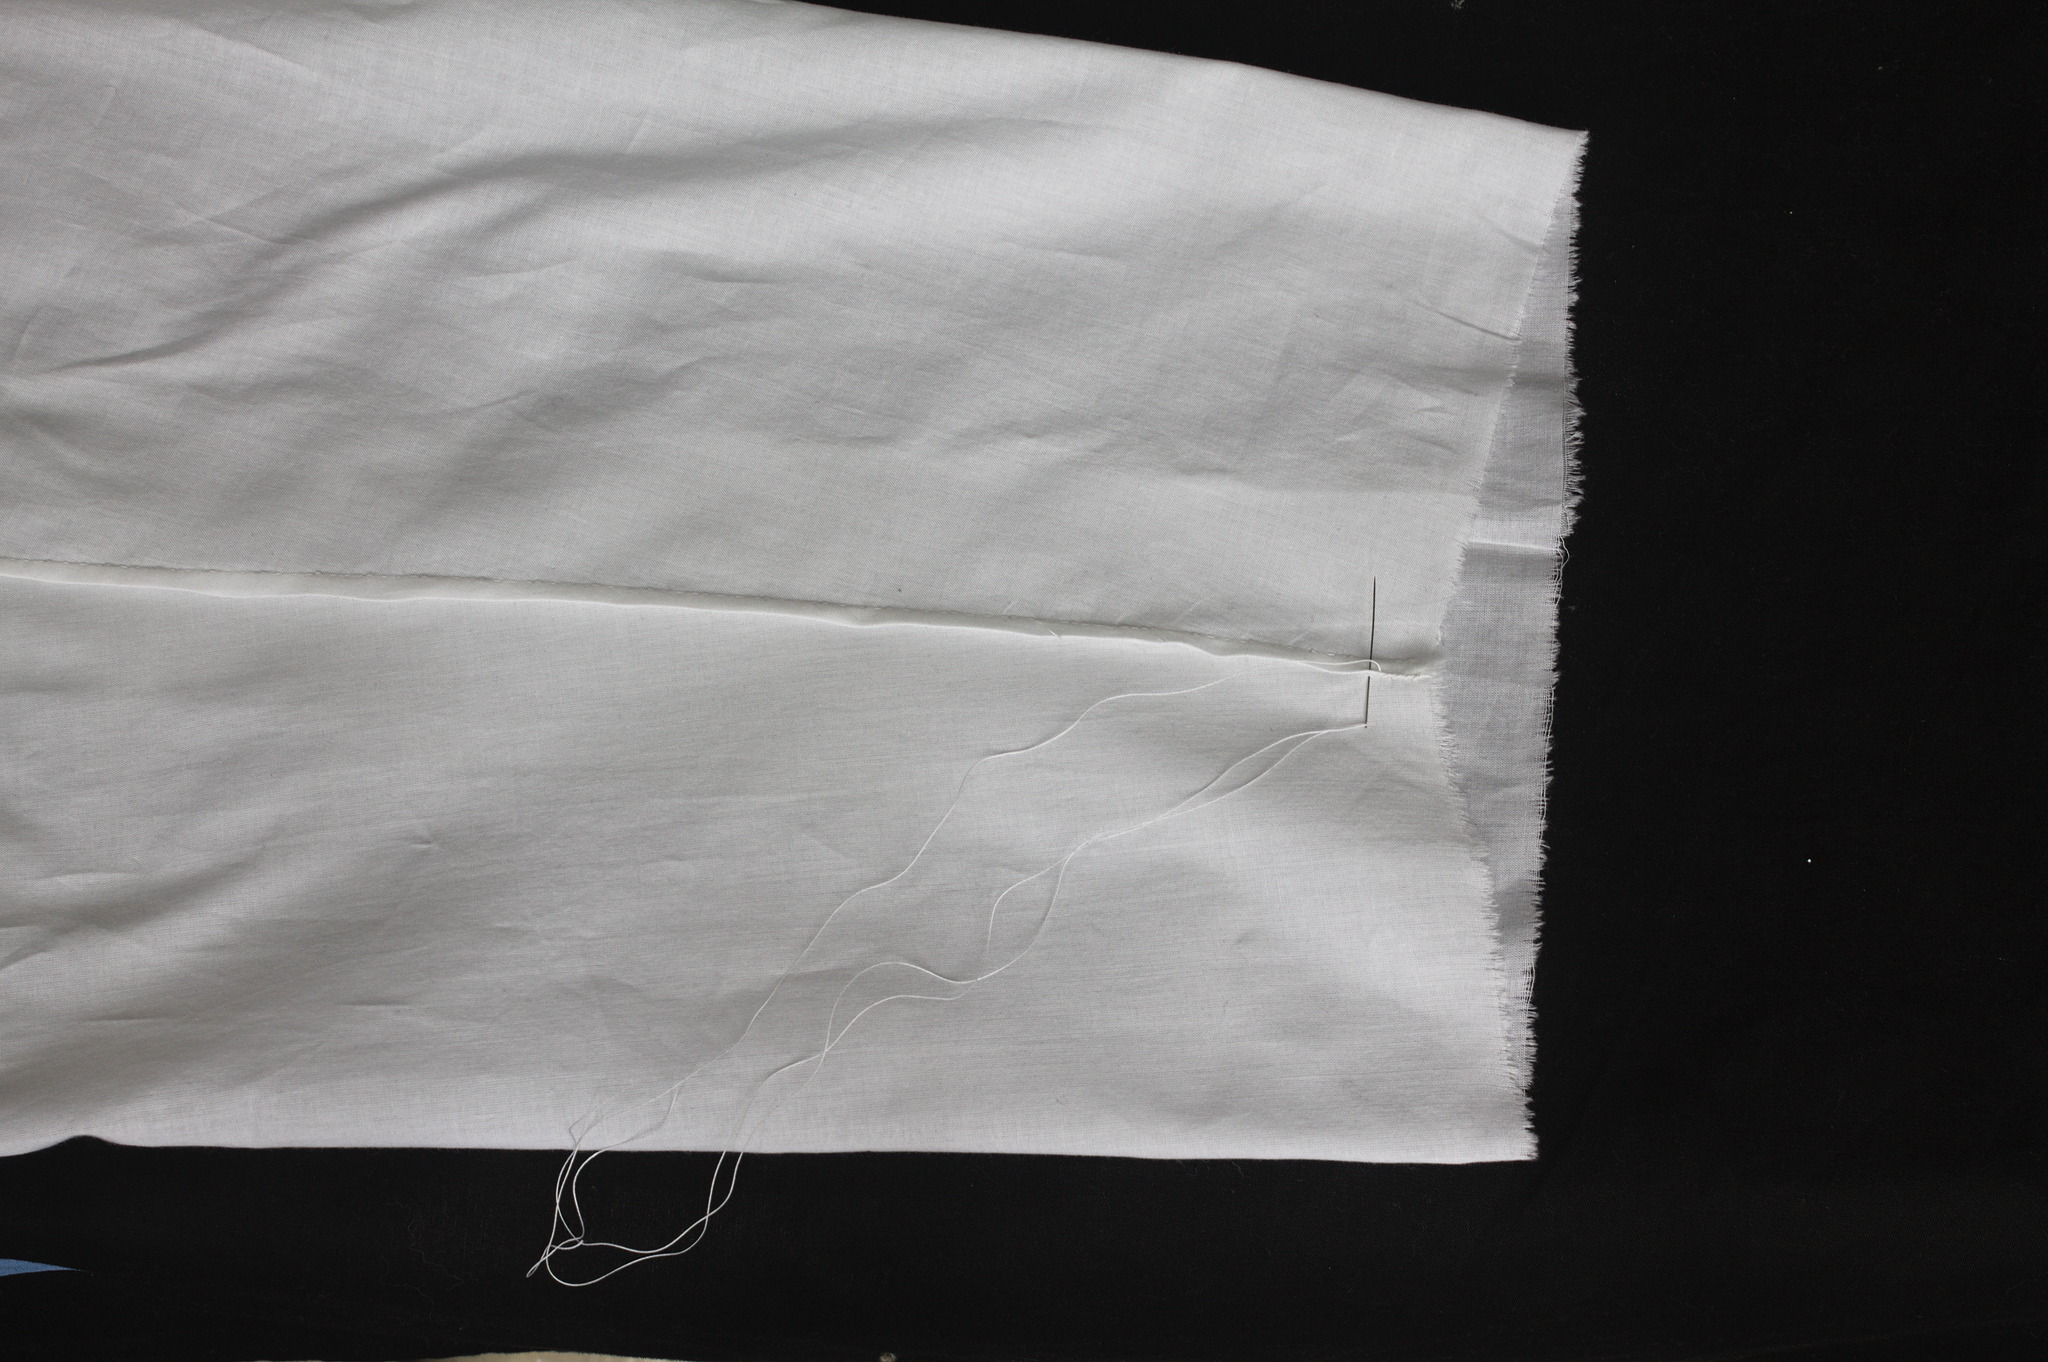
Fold the hems up two times towards the wrong side, sew with a hemming stitch.
Fold the open part, from Z to B to S two times towards the wrong side, sew with a hemming stitch.
Assembly
Press the waistband in half with wrong sides together, press one sewing allowance towards the inside on both long sides.
Right sides together, fold the waistband in half on the length, sew the short ends, press and turn inside out.
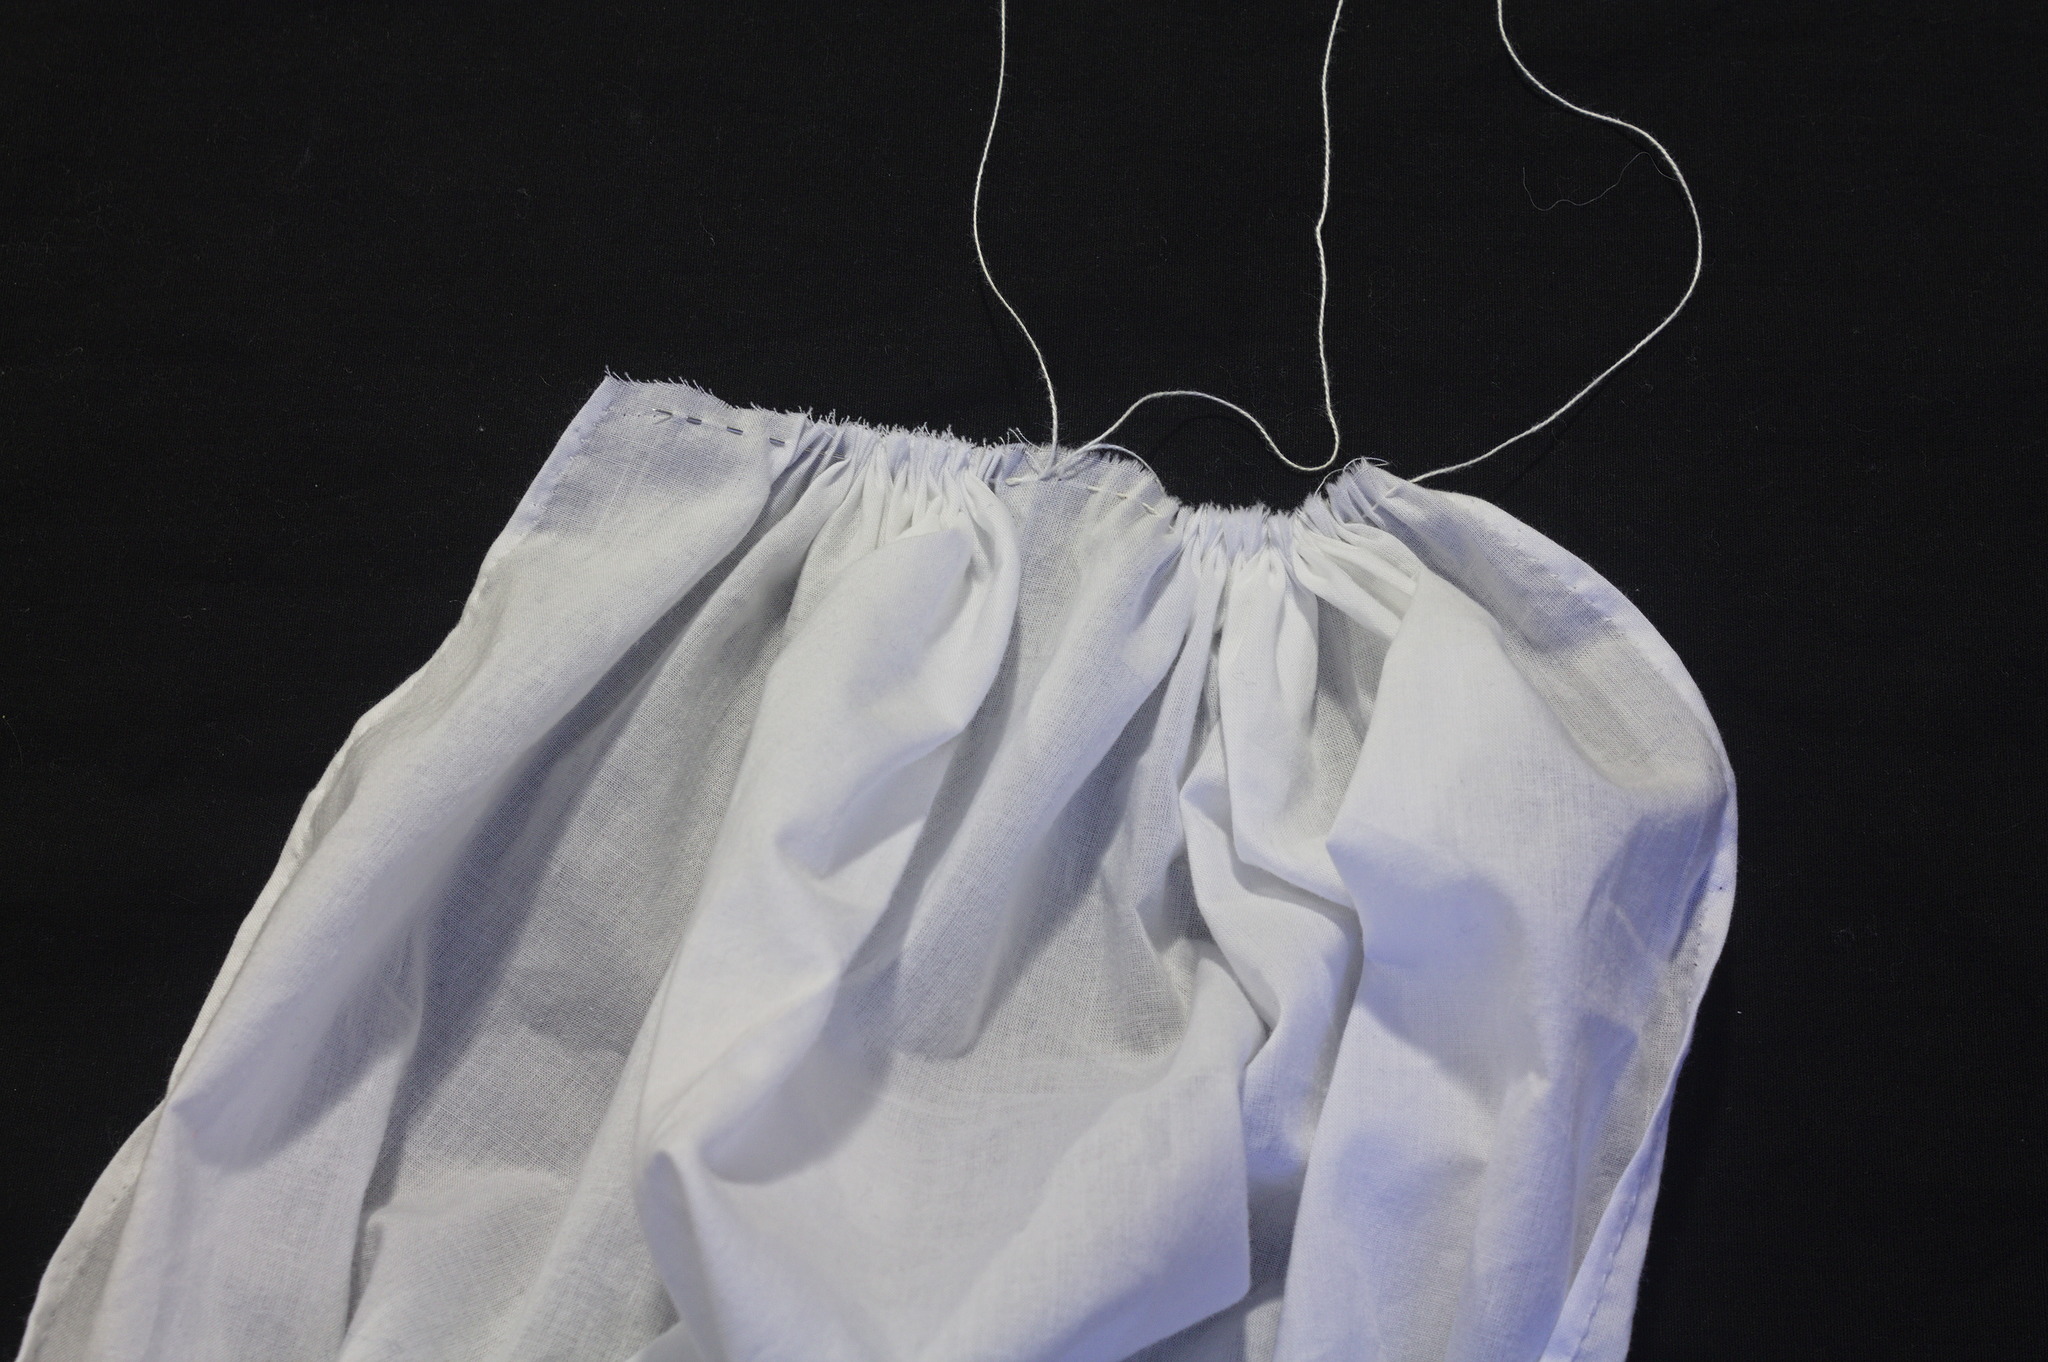
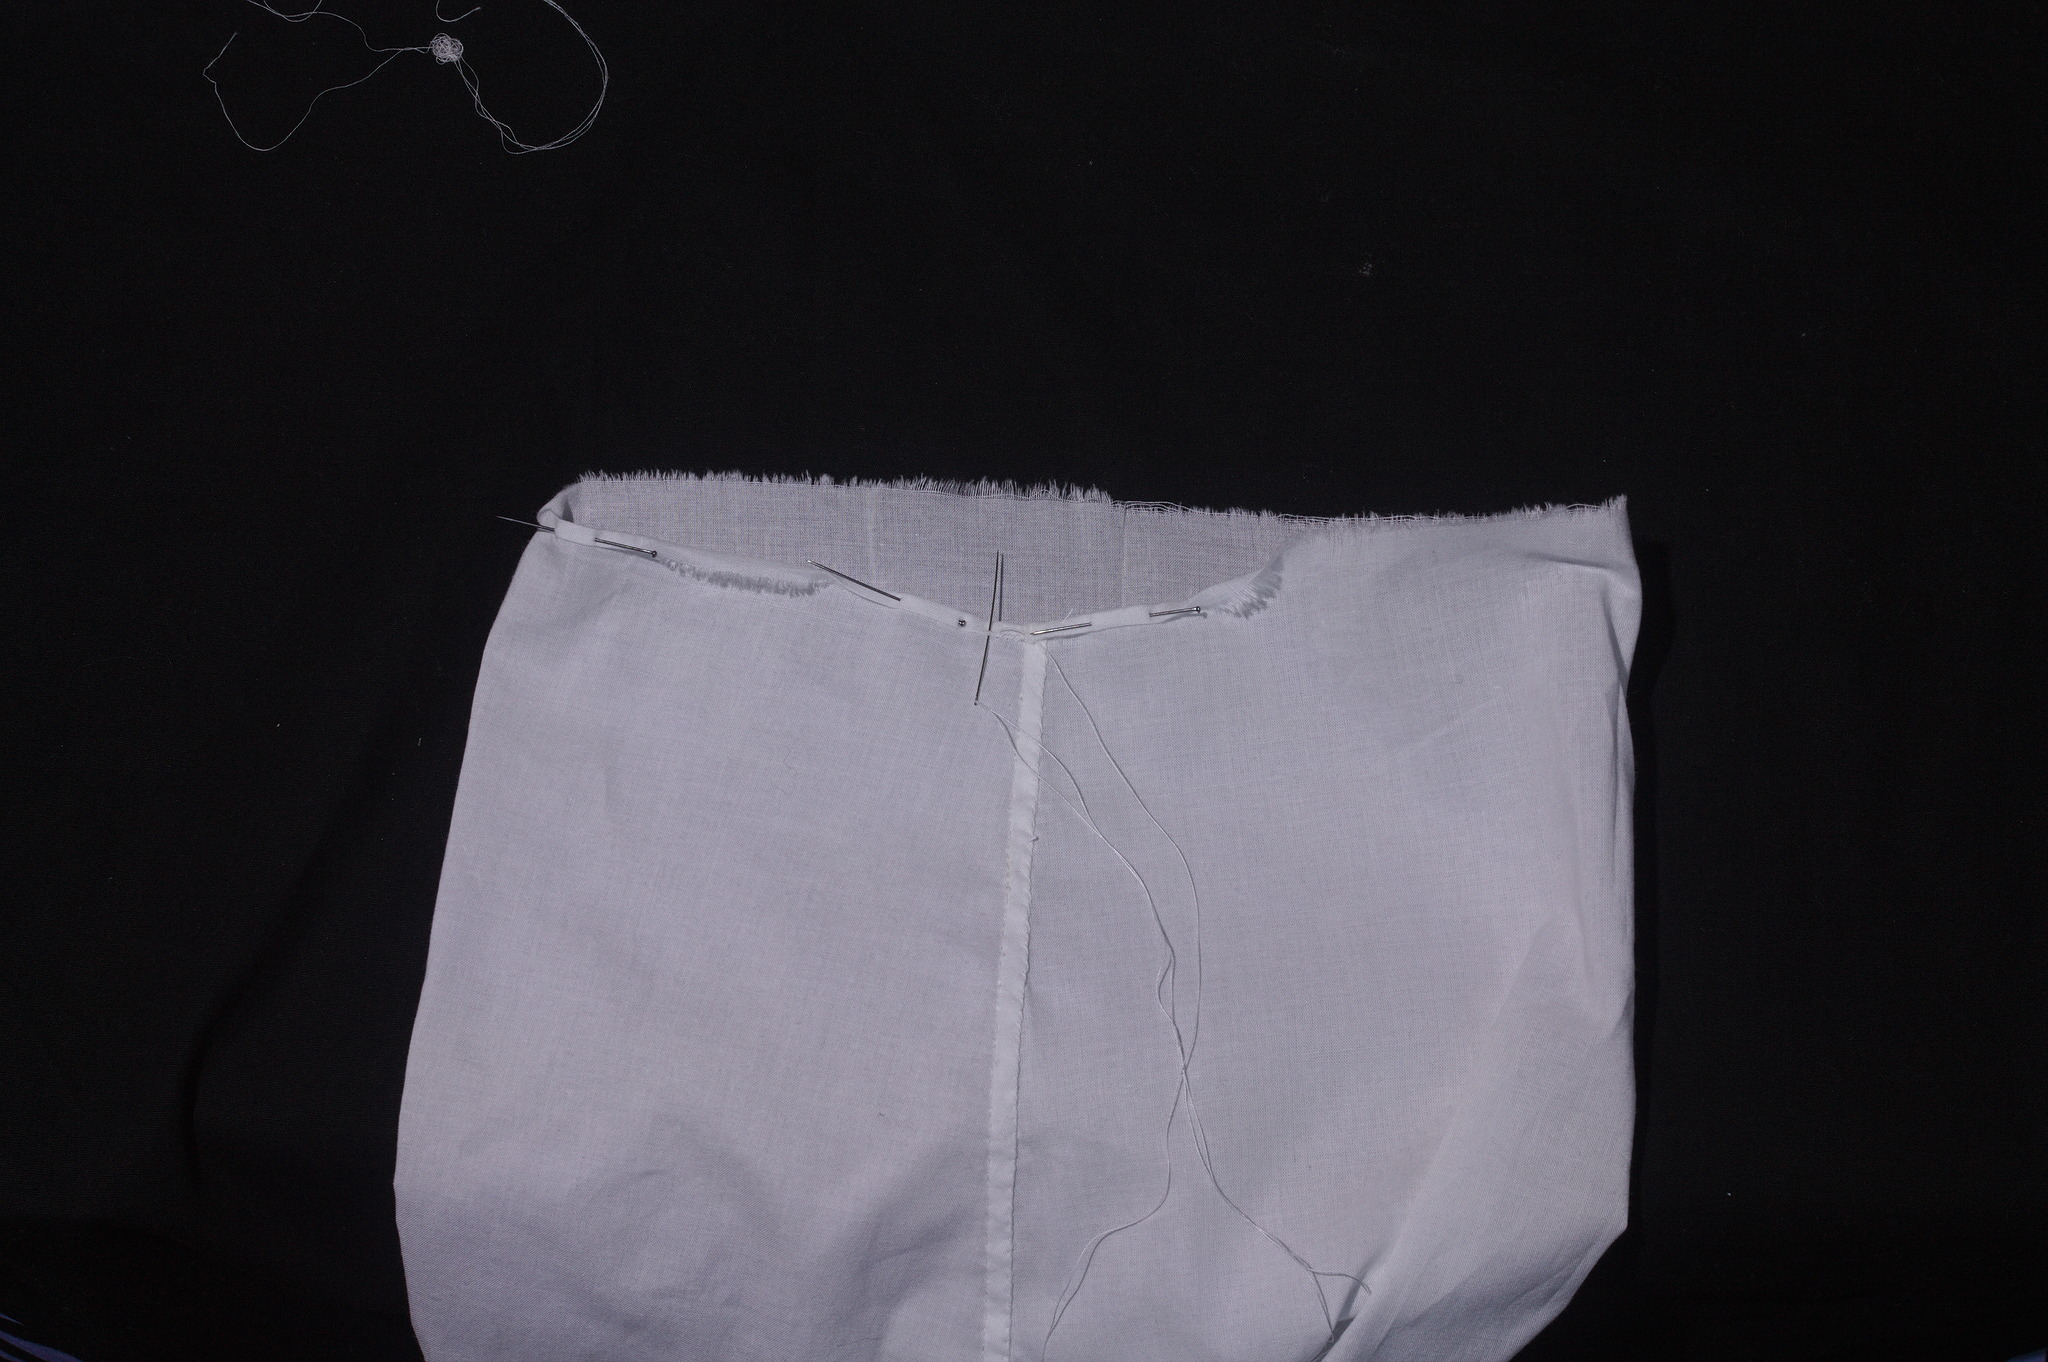
Mark the point of the top of the legs at the center of the pattern (G); run gathering threads about 8 mm from the top on the front and back of each leg; if the fabric is coarse enough pick up three threads and pass over four, otherwise try at least to maintain the ratio.
Note
by aligning to the quarter point of the waistband the center of the leg pattern, rather than half of the top edge, more fullness is gathered to the back than to the front, as usually required by the body.
Pull the gathering threads tight and stroke each gather with a big needle or a pin.

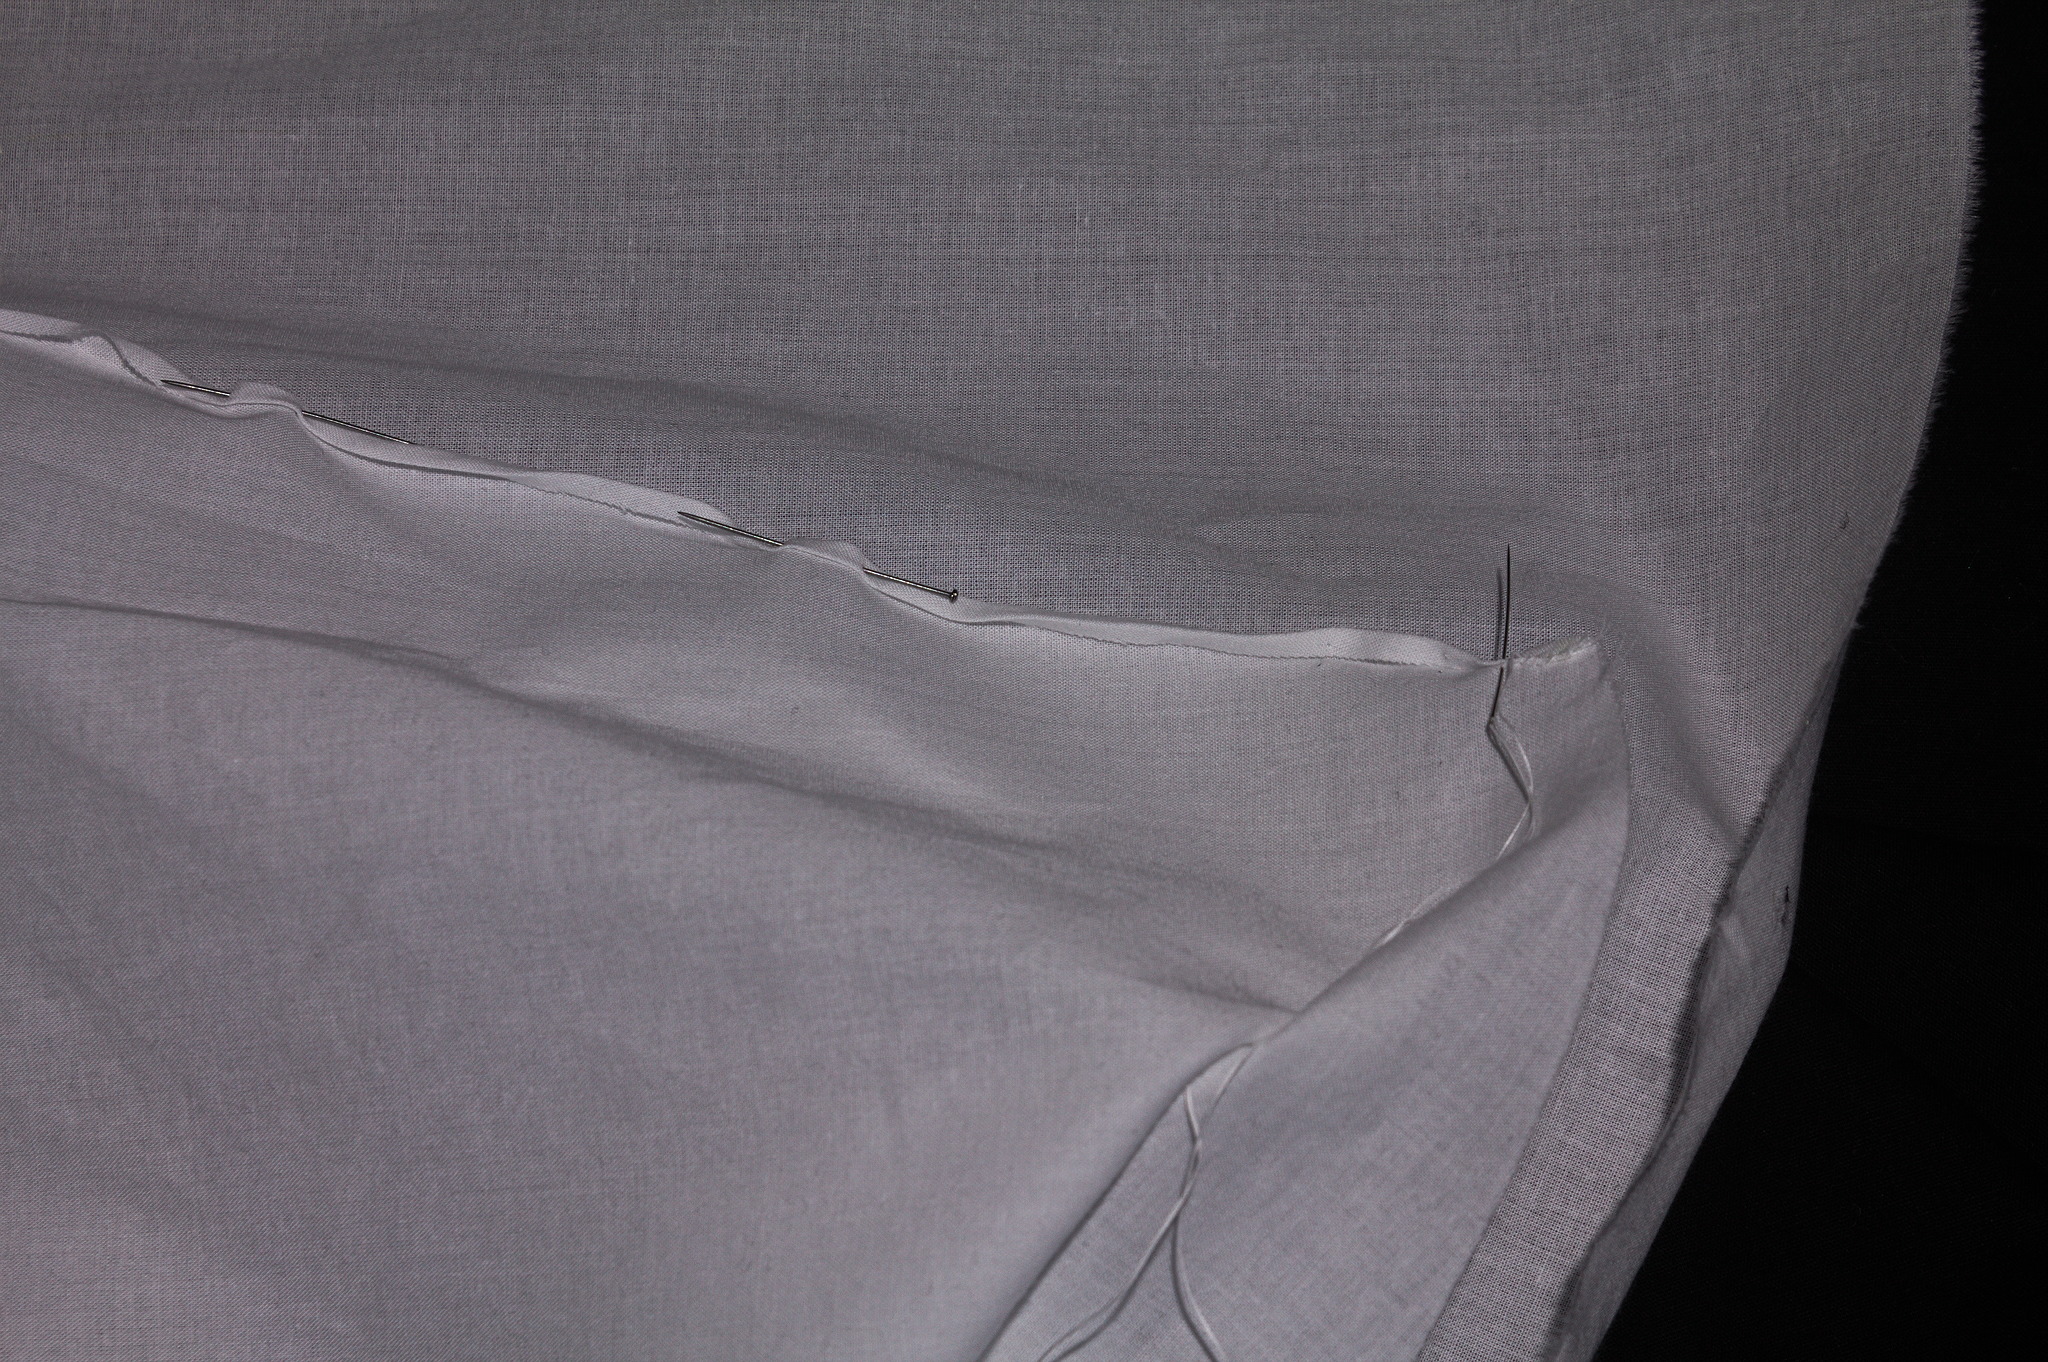
Fold the waistband in half and mark the center point. Overlap the ends by as much as it will be in the finished drawers and mark the quarter points.
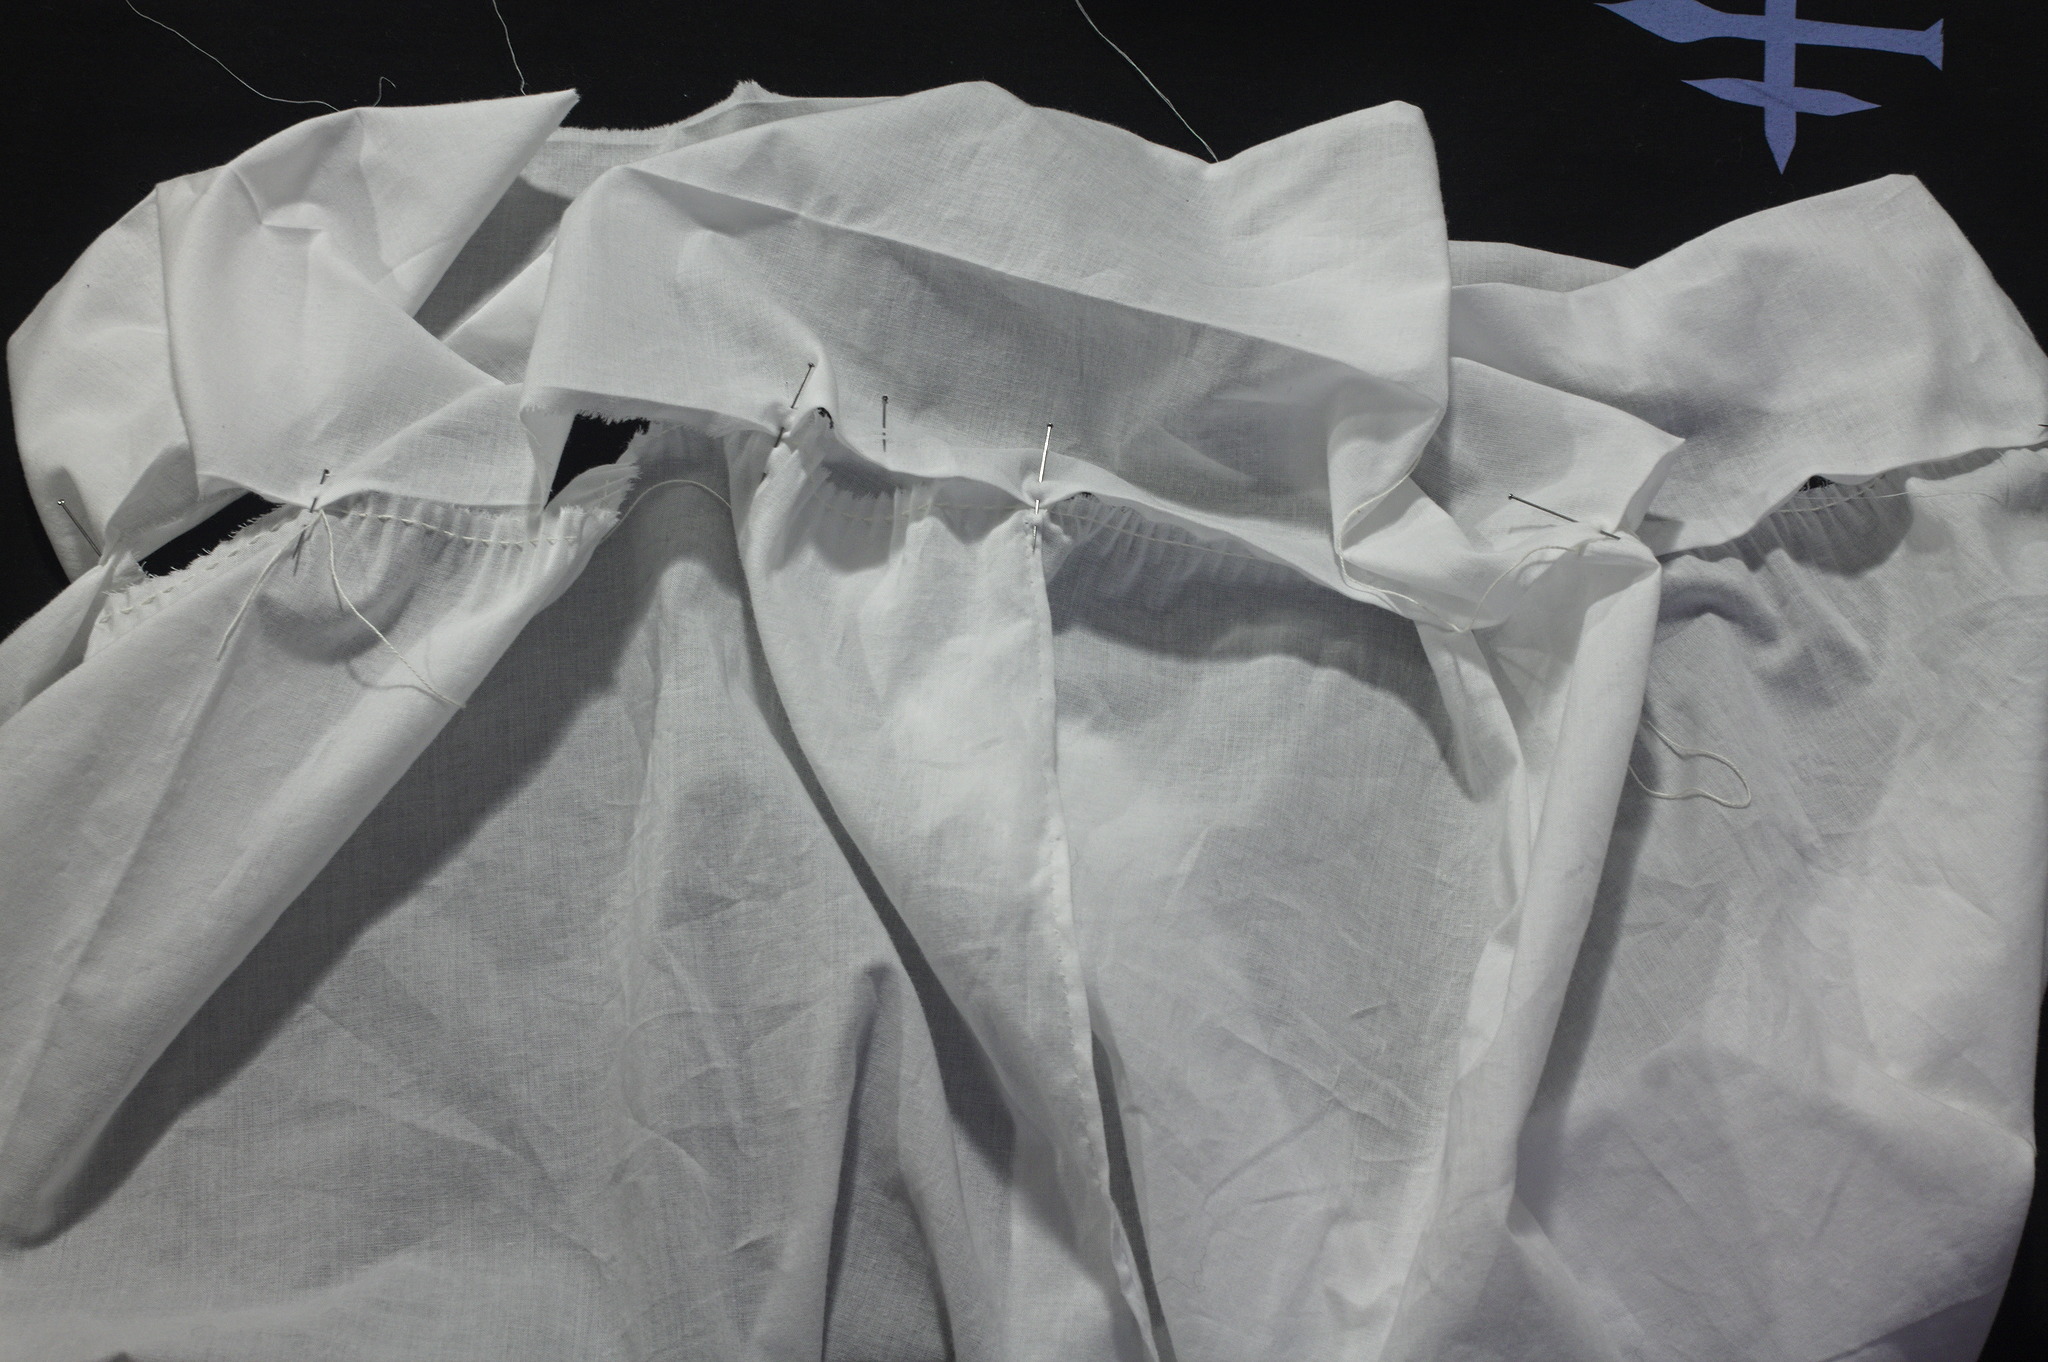
Pin each leg inside the folded waistband by one sewing allowance, matching the opening, the center of the leg to the quarter point and overlapping the other side by 8 cm if it’s on the back or just 1.5 cm if it’s on the front.
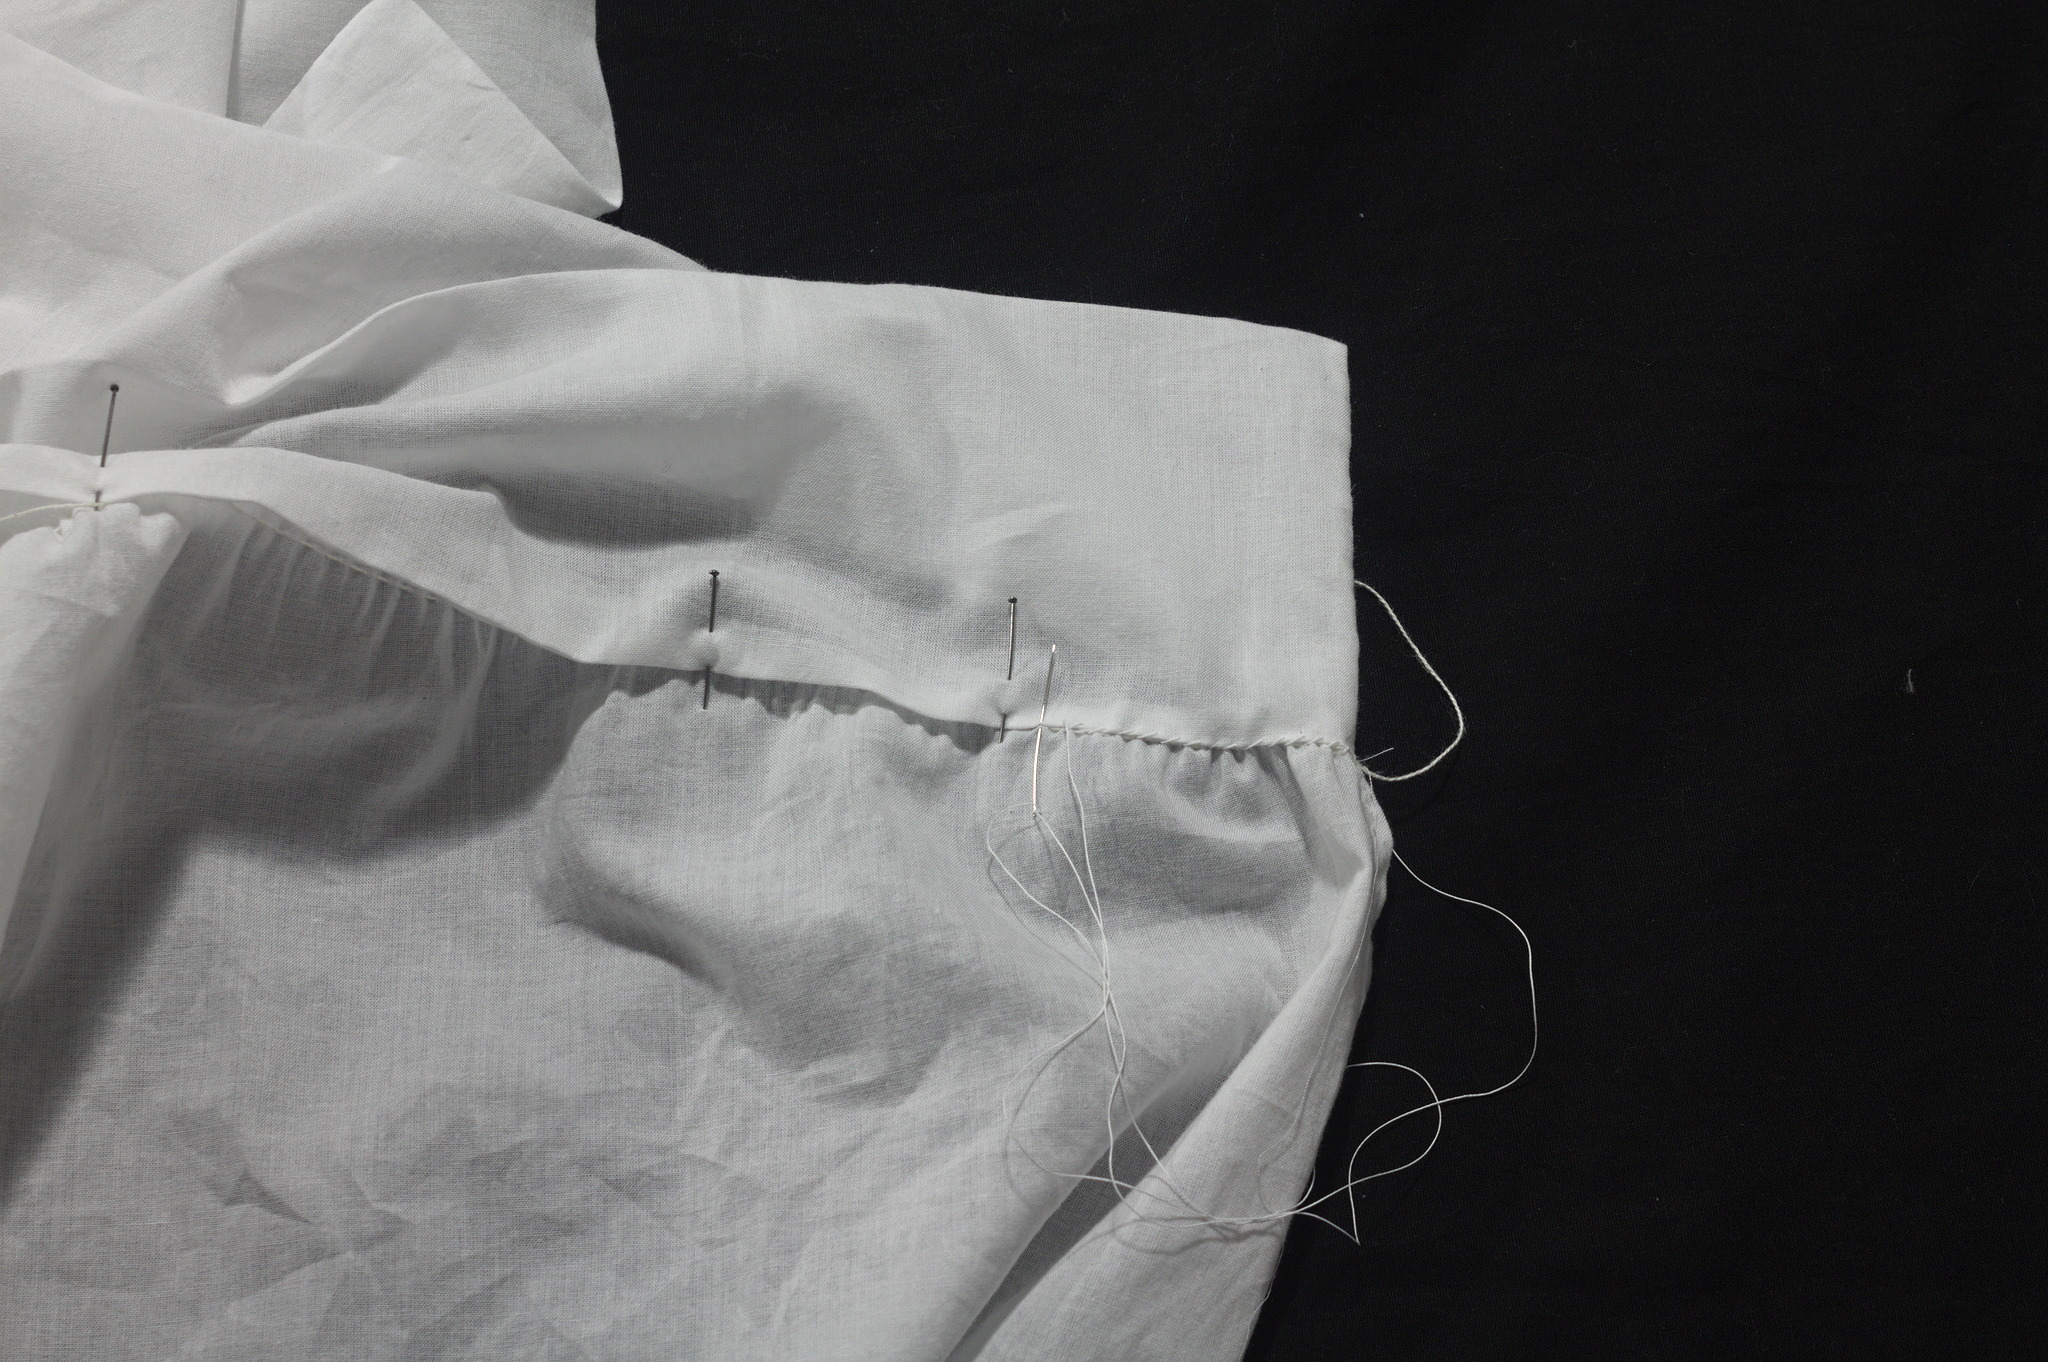
Distribute the gathers and appliquestitch / hemstitch the leg to the waistband, catching each gather, first from the front and then from the back.
Tip
for ease of access, if the wearer is right-handed in toilet matters you probably want to overlap the left leg over the right leg, or the other way around if the wearer is left-handed.
Finishing
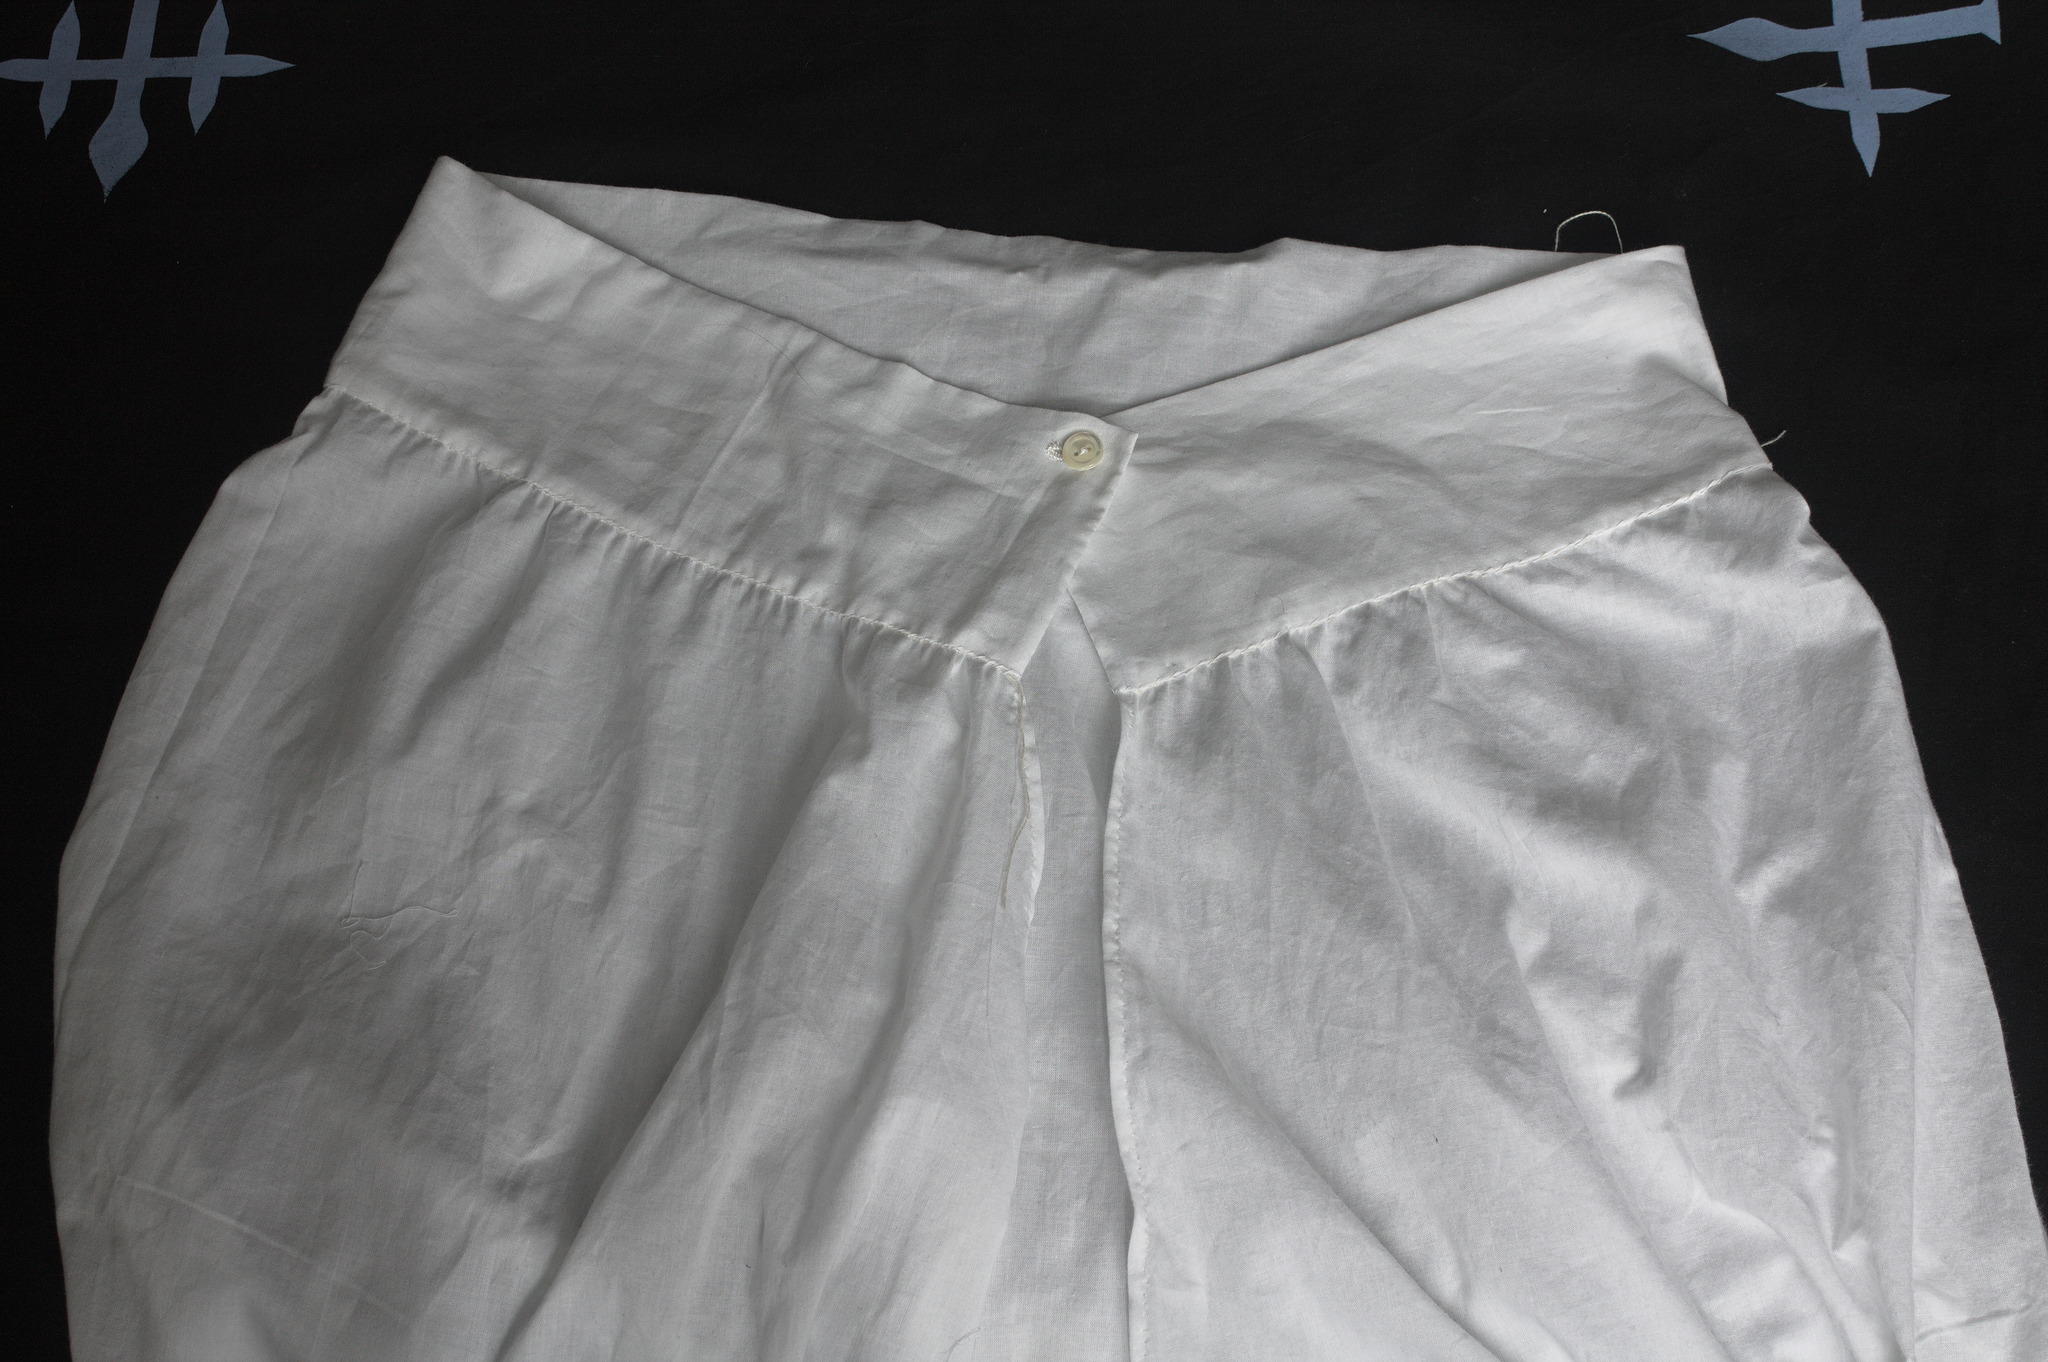
Make a buttonhole and attach a button near the top of the waistband.