1909 Corset Cover
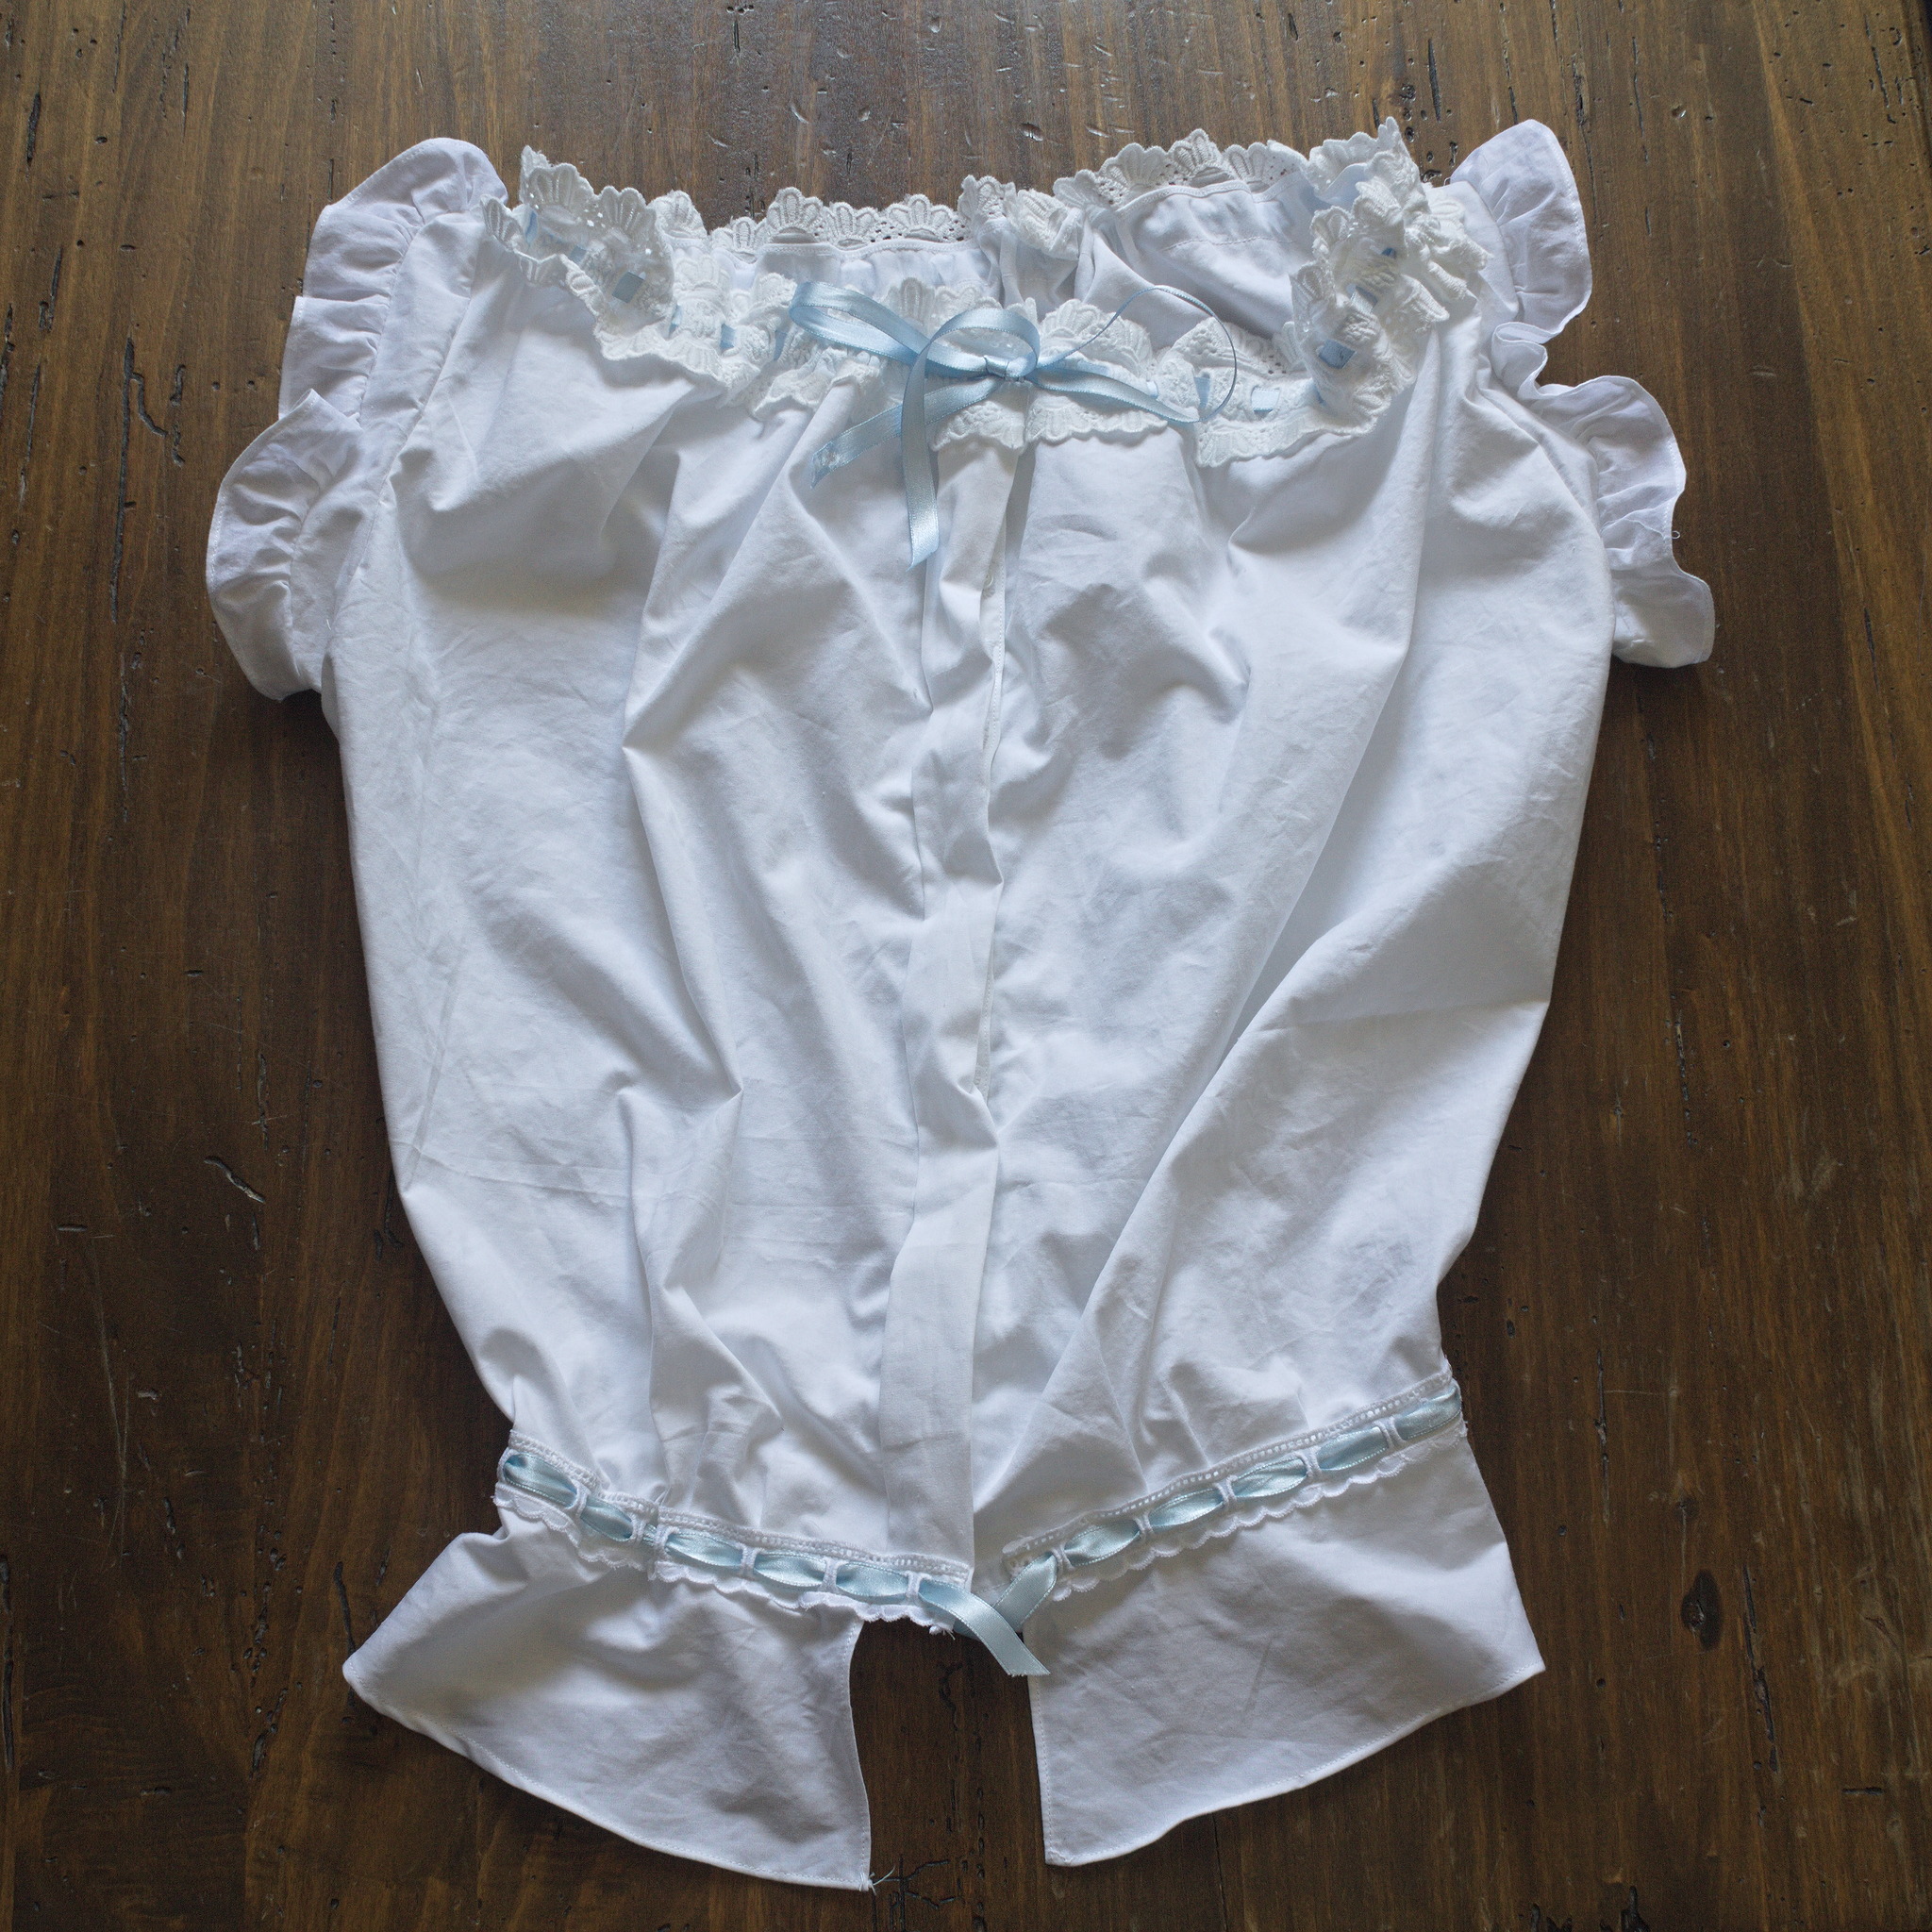
This is a simple corset cover based on the description on page 324 of [Mer09].
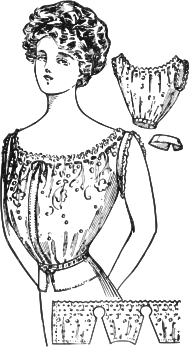
“The simple corset cover that involves little labor in the making is the one that appeals to the great majority of women. The one illustrated in Fig. 151 is just full enough to be pretty under the fashionable blouses, and is especially designed for embroidery flouncing.”
Materials
Fabric
Less than 1 m of regular width lightweight cotton or linen.
The book recommends “embroidery flouncing”, ~40 cm wide fabric with whitework embroidery; modern broderie anglaise fabric that is wider can of course be used, and these instructions include all of the finishing that is required by not having a suitable selvedge.
Plain cotton or linen can of course be used for a less fancy, but still perfectly practical, item.
Notions
sewing thread to match the fabric;
buttonhole thread to match the fabric;
~ 1.5 - 2.5 m beading lace
~ 2.5 - 4.5 m ribbon suitable for the beading lace;
8+ small buttons.
Pattern
This pattern is based on the The American System of Dressmaking.
the file ../../drafting_methods/american/american.vit is
used by default by the pattern file and has the list of needed
measurements.
Pattern
Get the valentina file for the pattern,
corset_cover.val.
You also need to decide the following measurements and set them in the table of variables in Valentina; most defaults in the file are sensible.
top_borderdistance from the top of the armscye to the neck hem;
peplum_depthhow tall the peplum should be;
placket_widthwidth of the button placket on the front;
sleeve_widthwidth of the sleeve;
sewing_allowancee.g. 2 cm, to allow for french or flat-felled seams;
hem_allowancee.g. 1 cm for narrow or rolled hems.
Instructions
Cutting
Cut the main corset cover piece on the fold; the easiest method is to
cut the left and right sides the same, but if you want to optimize the
use of fabric you can cut the left side narrower, at the
left_front_fold_line plus two placket width of seam allowance.
Mark the folding lines, or print the folding guide and use that when pressing the pleat.
Cut the peplum two sleeve bands and two sleeve ruffles.
Stay-stitch the armholes at about half the sewing allowance from the raw edge.
Right side
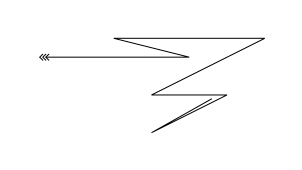
Fold and press the placket and the box pleat in the front like in the diagram above:
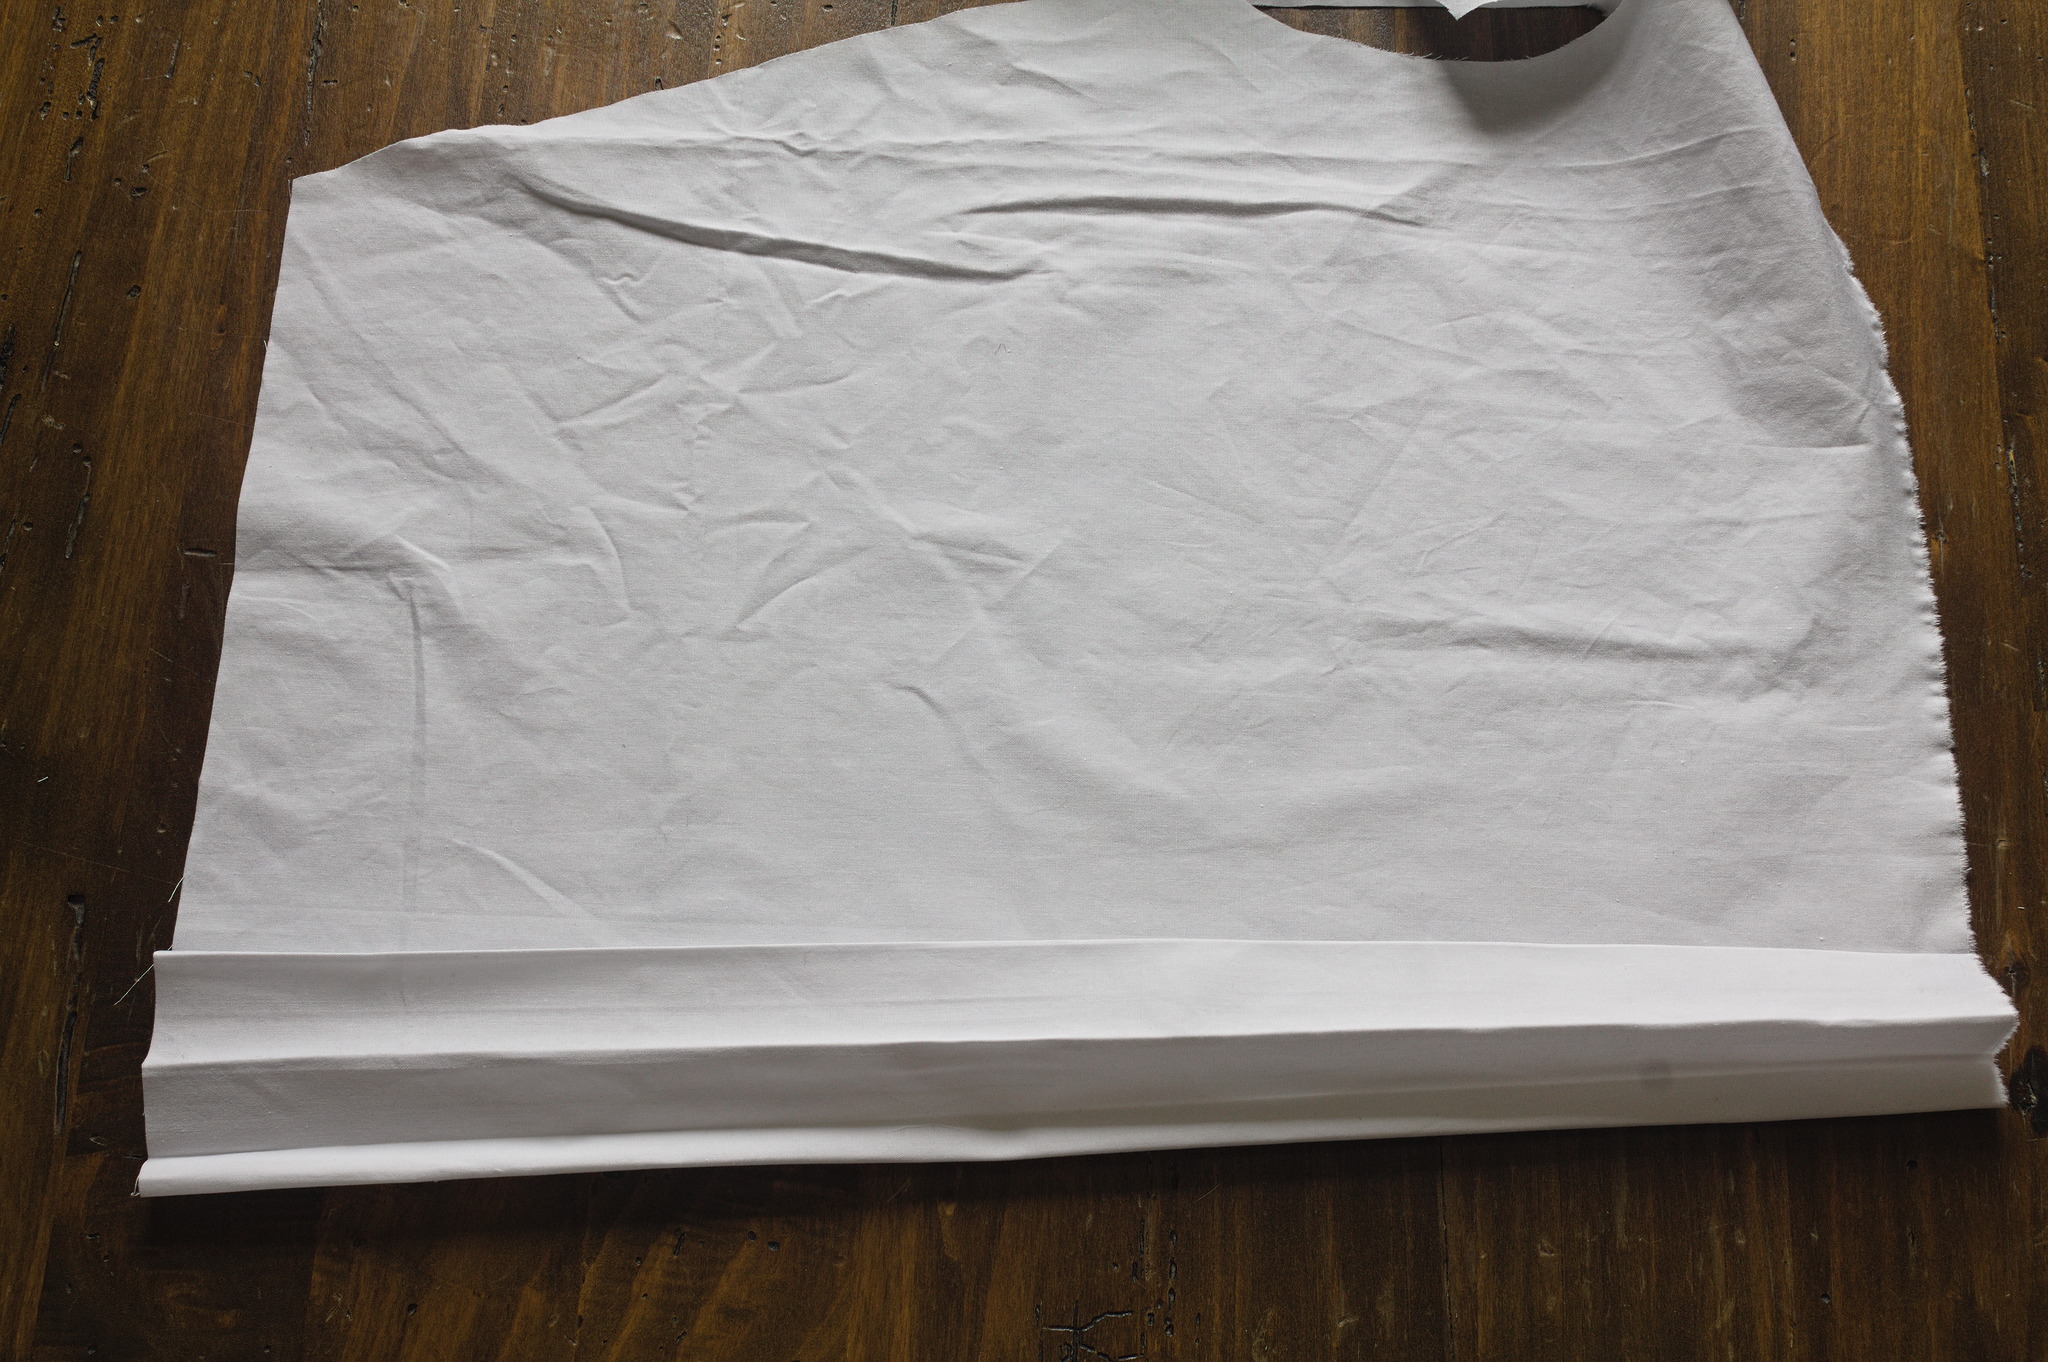
start by making a fold on the centre front line, right sides together, fold back one placket width and then fold under a box pleat that is twice as wide as the placket width, fold back one and a half placket width, and then fold the remaining fabric twice towards the wrong side to make a placket.
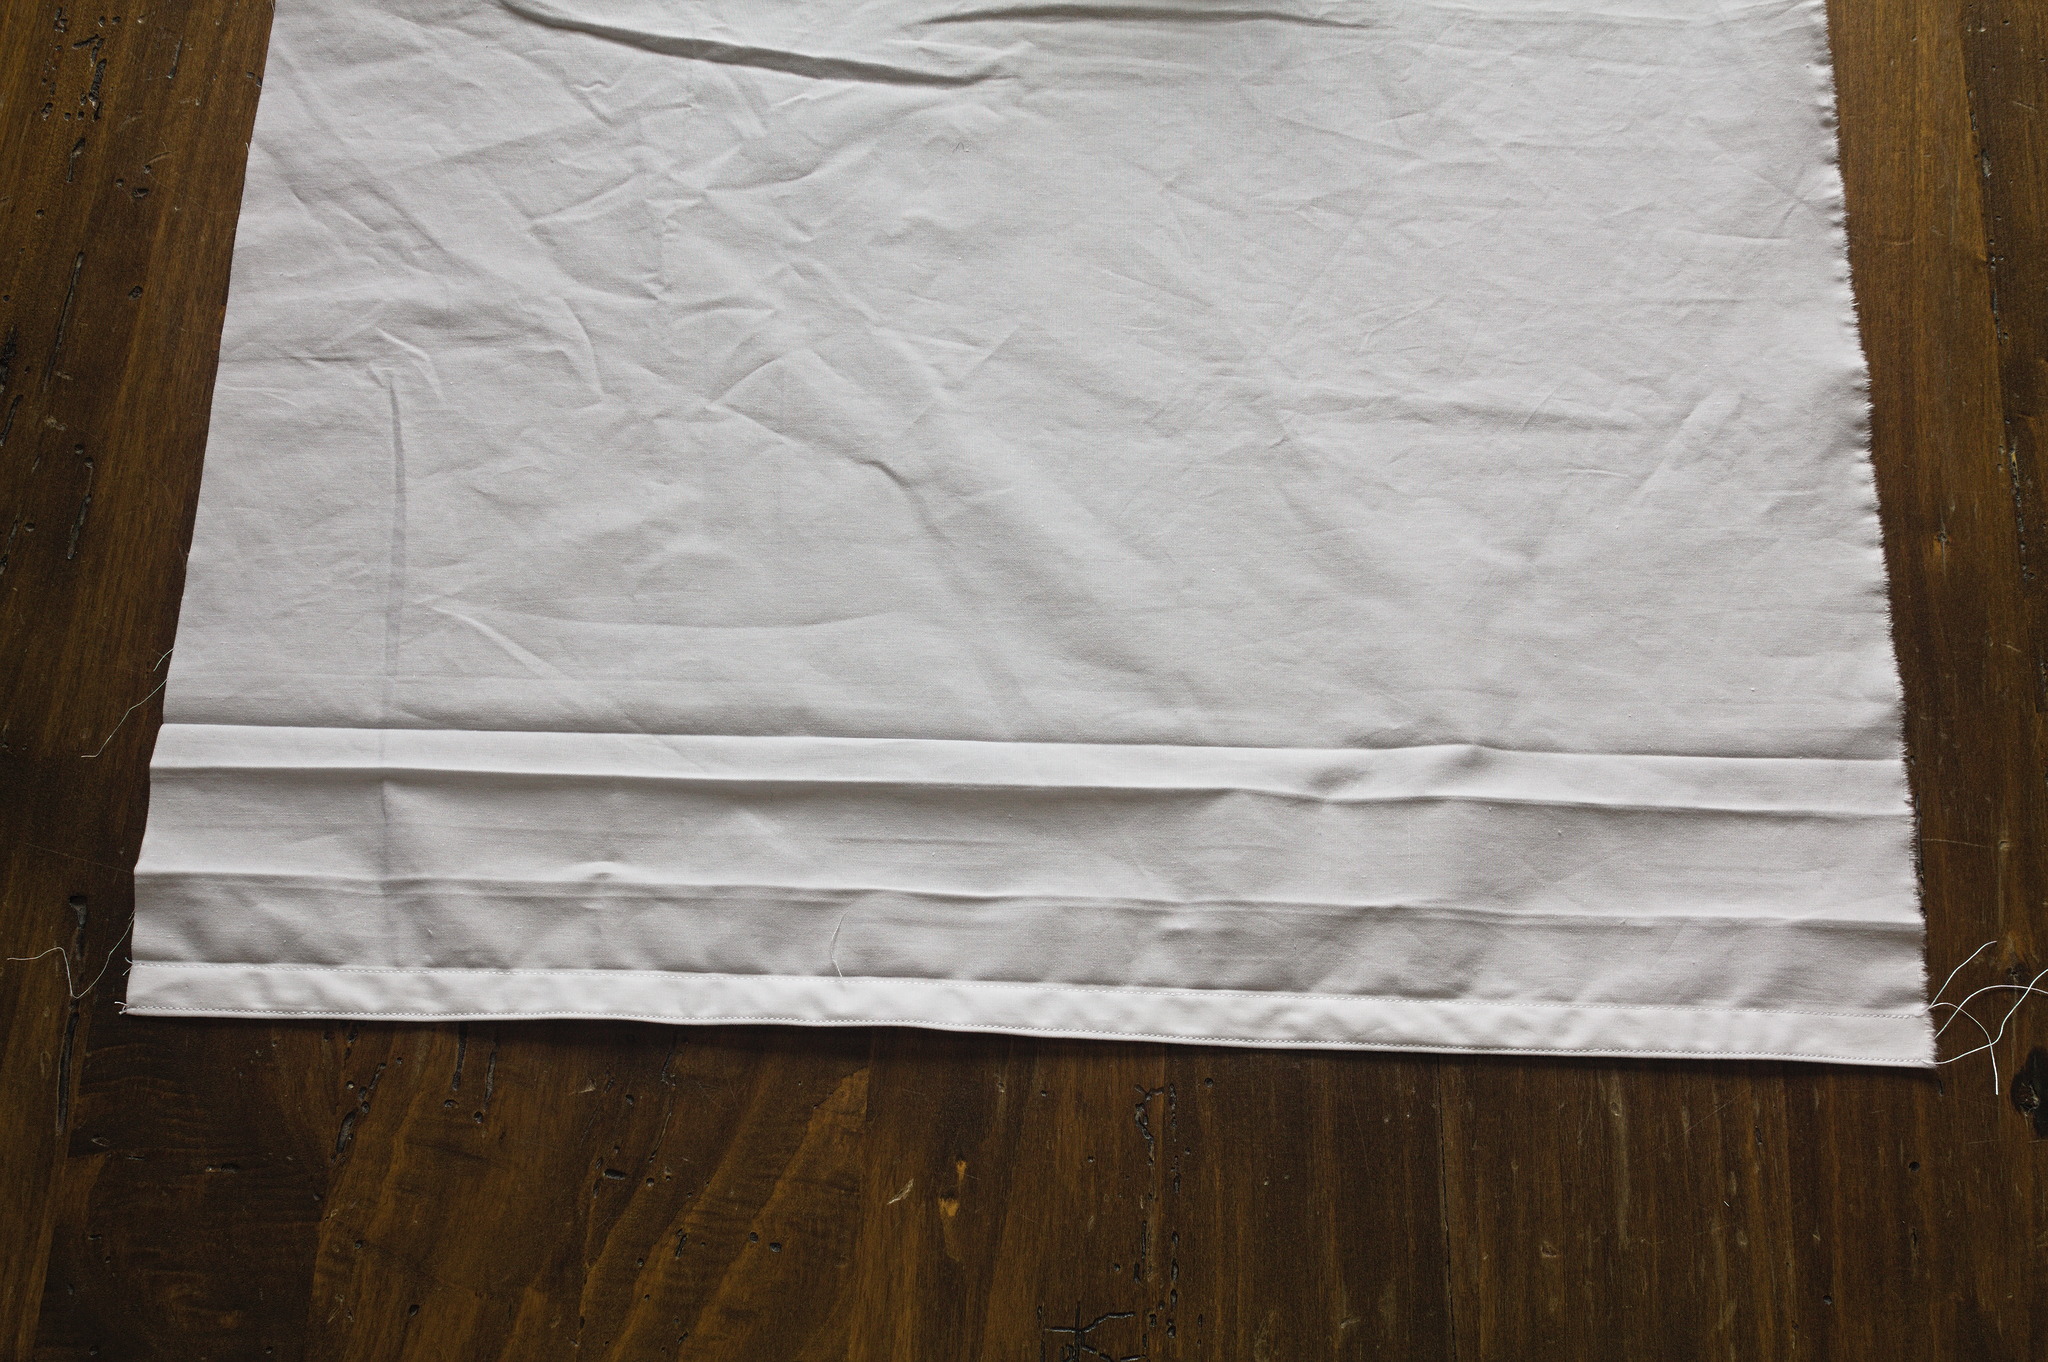
Open the folds except for those of the placket, sew a straight seam at 1 mm from both folded edges, starting from the top and sewing towards the waist.
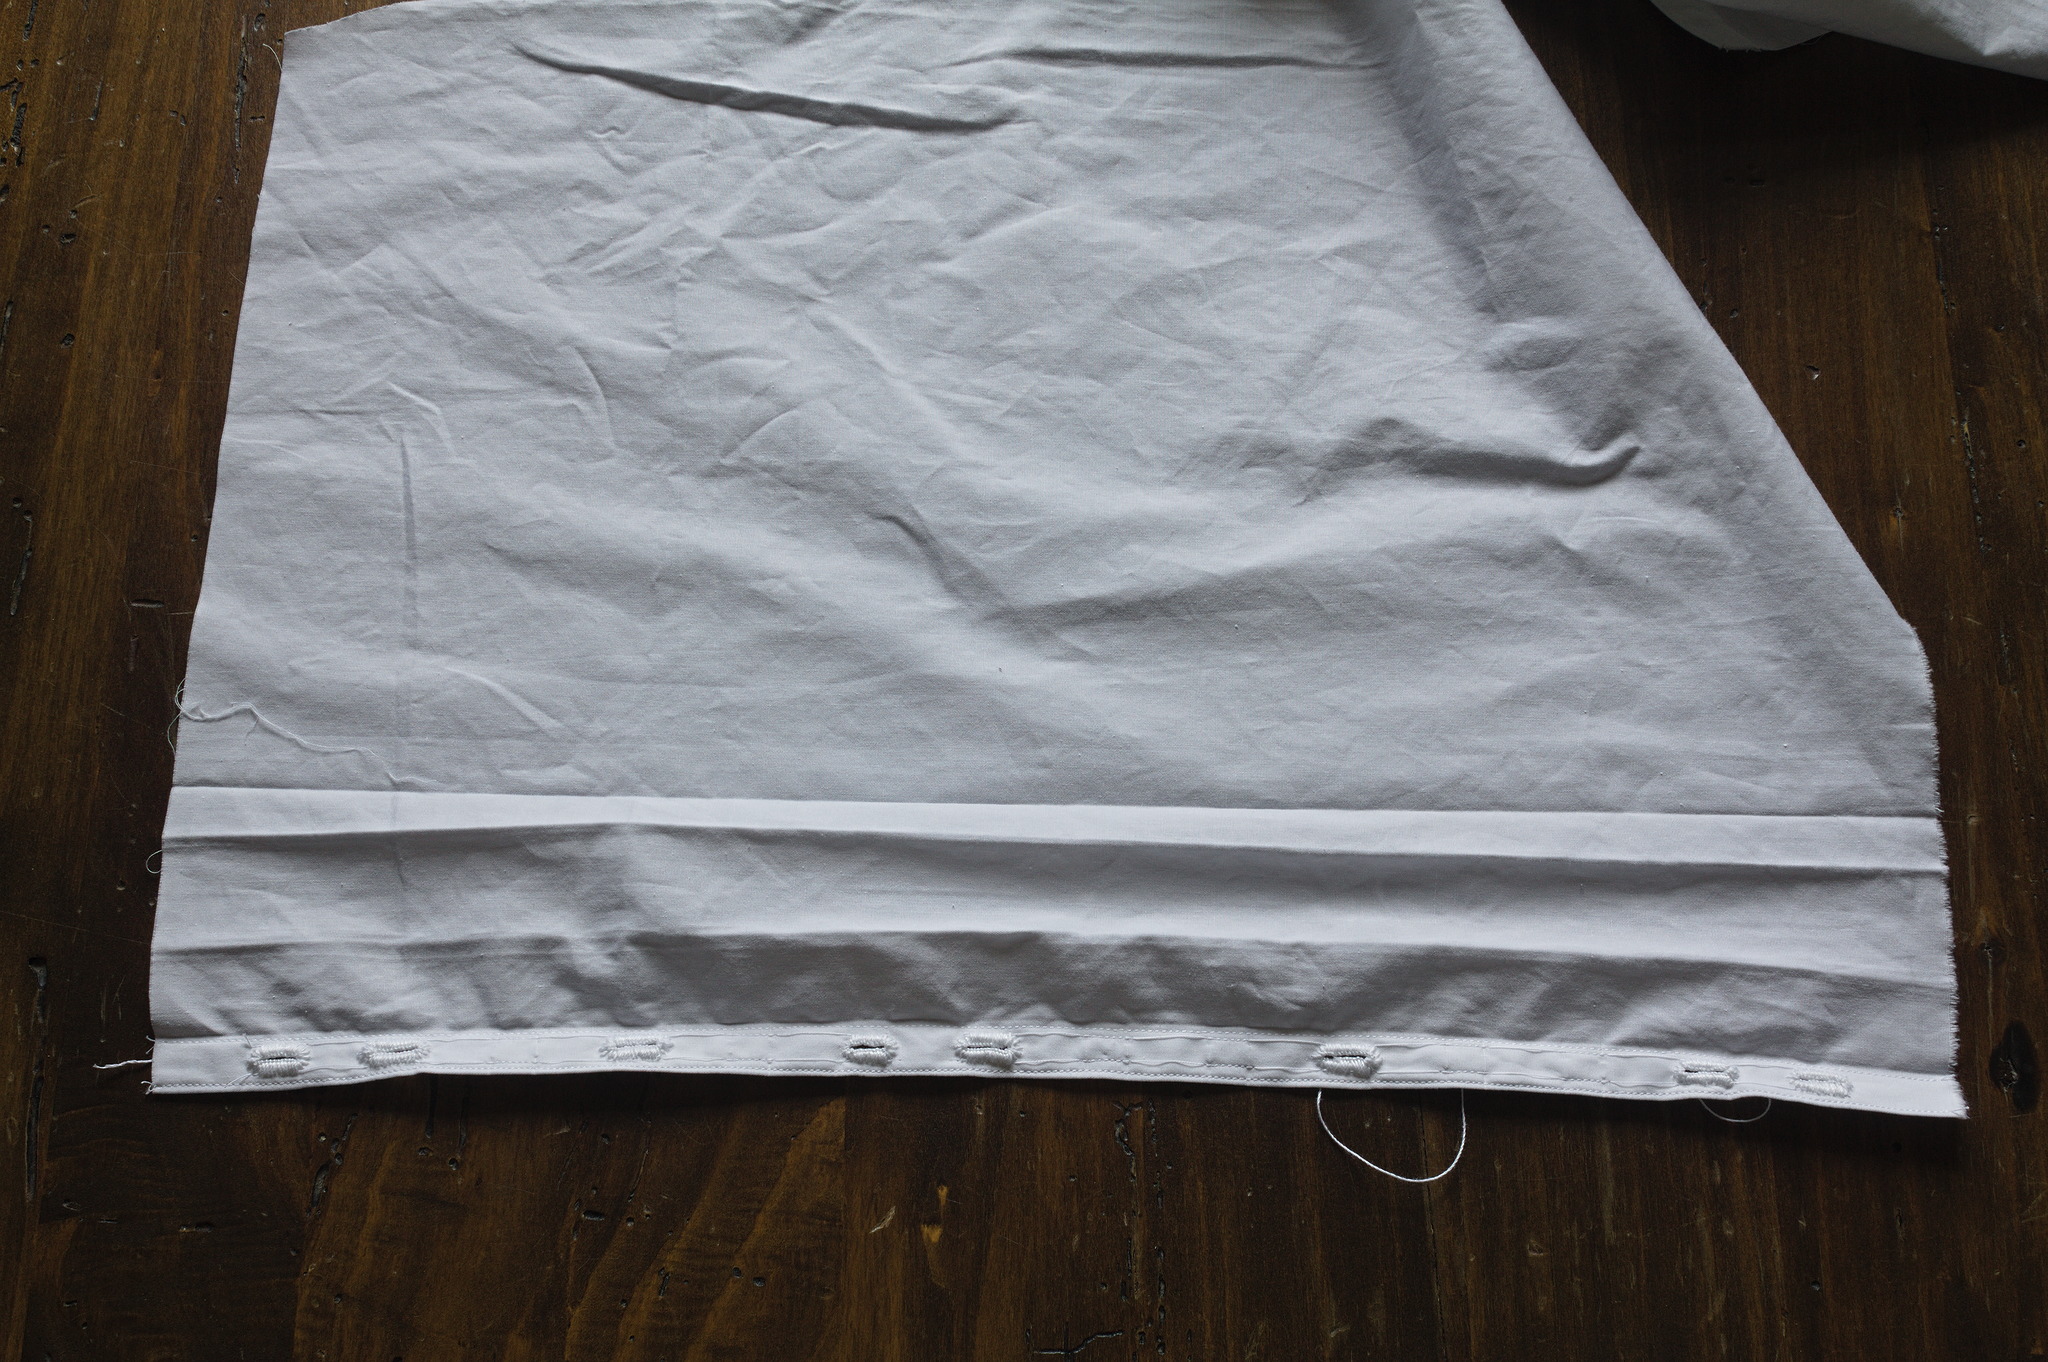
Make buttonholes in the placket, starting about 3 cm from the top and about every 3 cm.
Tip
If you are making the buttonholes by hand you can postpone this step to the finishing step, fully or in part, but when making buttonholes by machine doing it before sewing down the pleat is much easier.
Tip
making buttonholes at every 3 cm will require significantly more than 8 buttons (in the pictures it was 14 buttons): if you don’t have as many just spread out the number of buttons you have regularly on the placket.
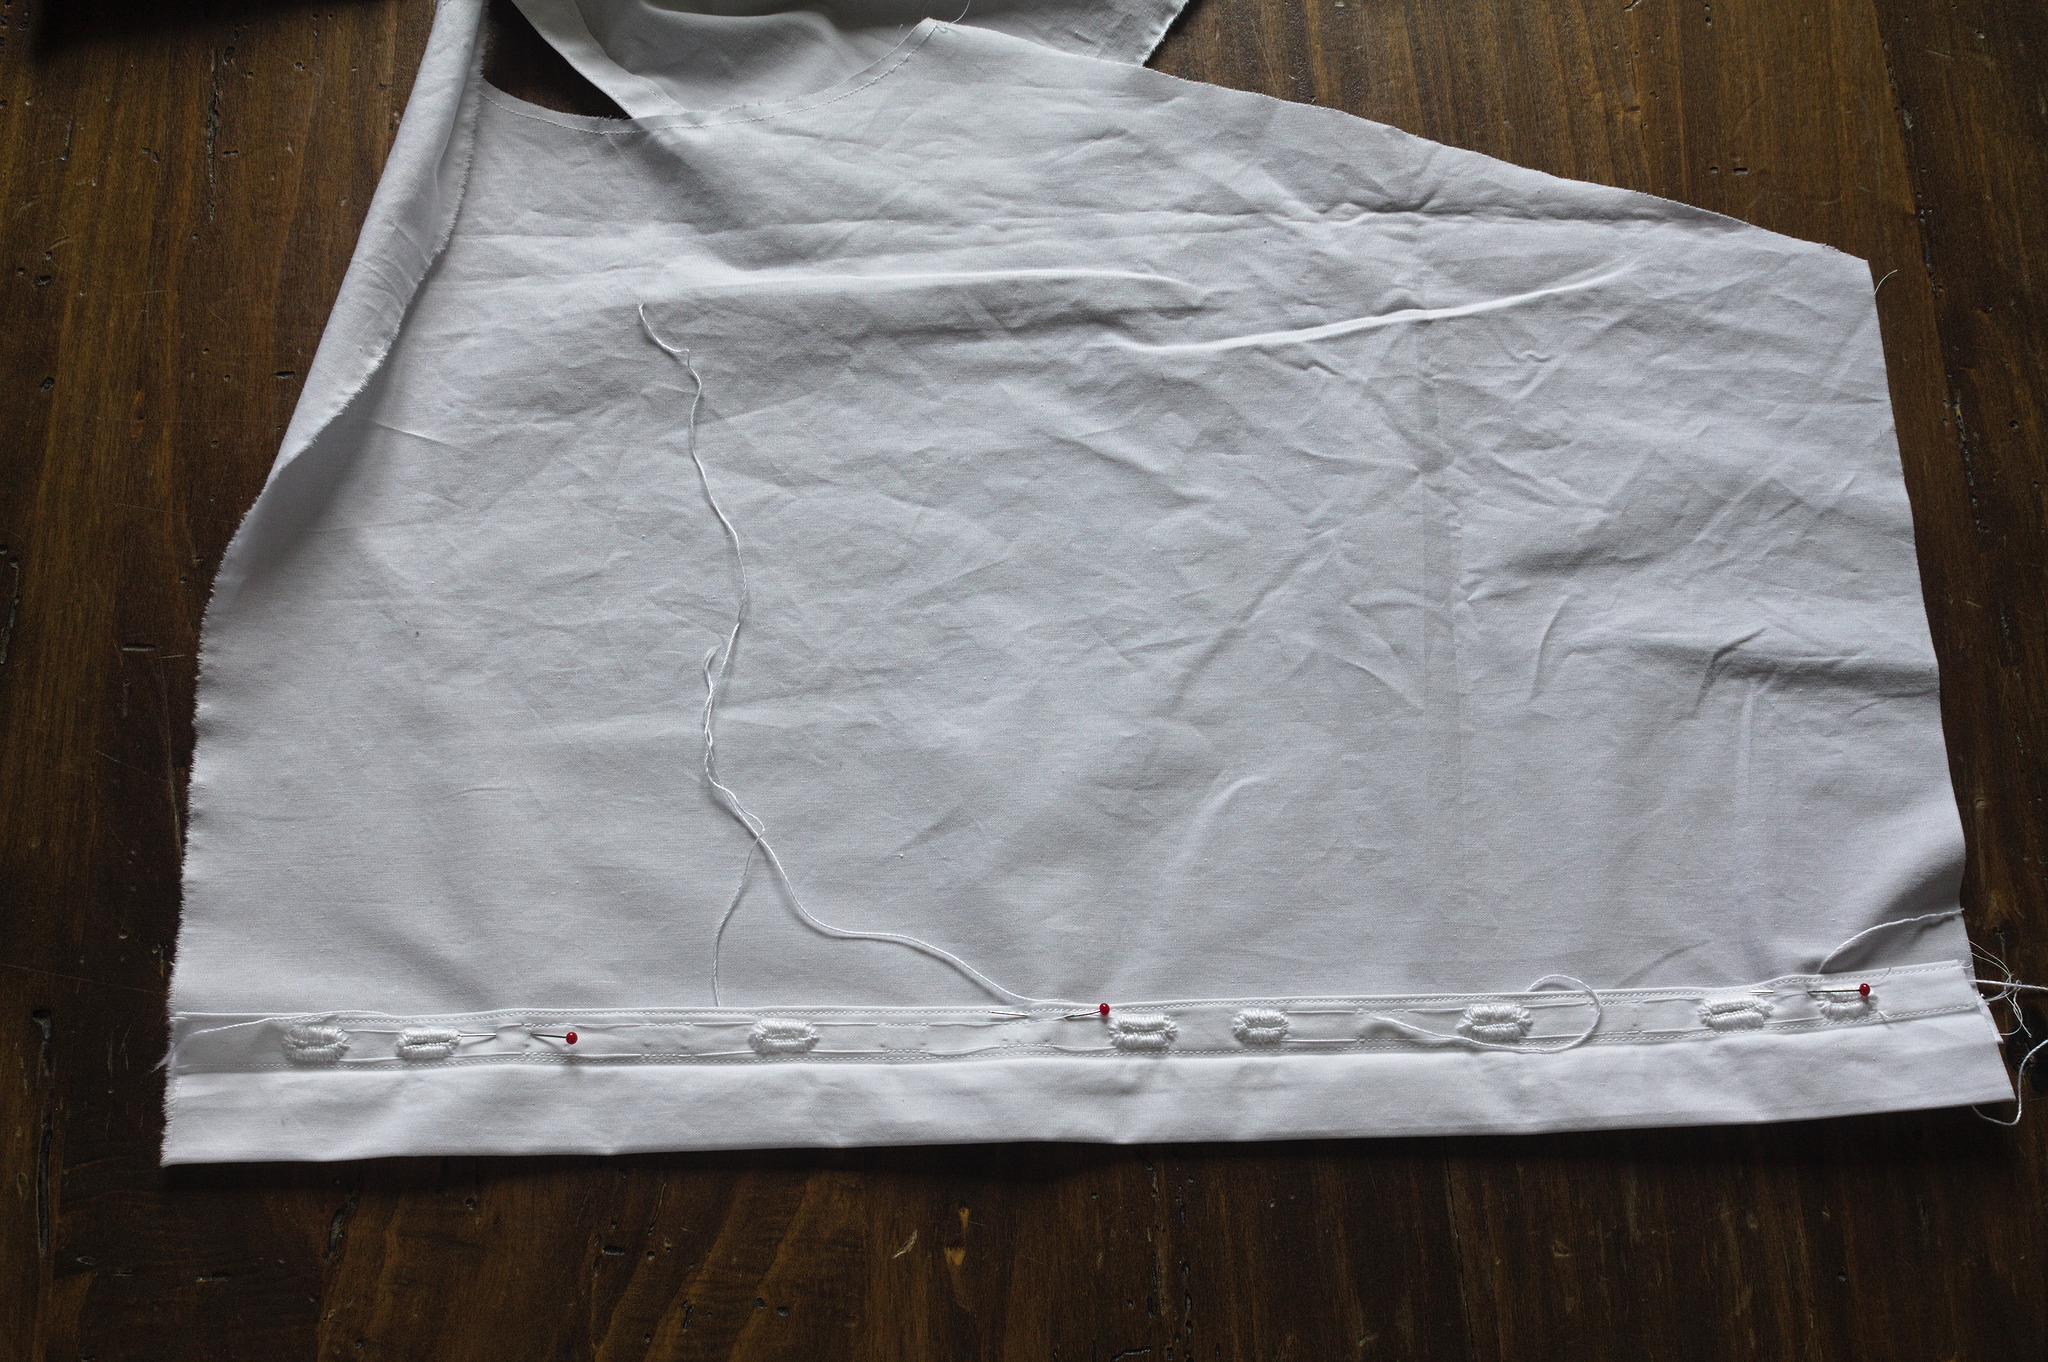
Fold back the pleat into position, open the fold of the placket back, and carefully pin it into position, open the rest of the pleat;
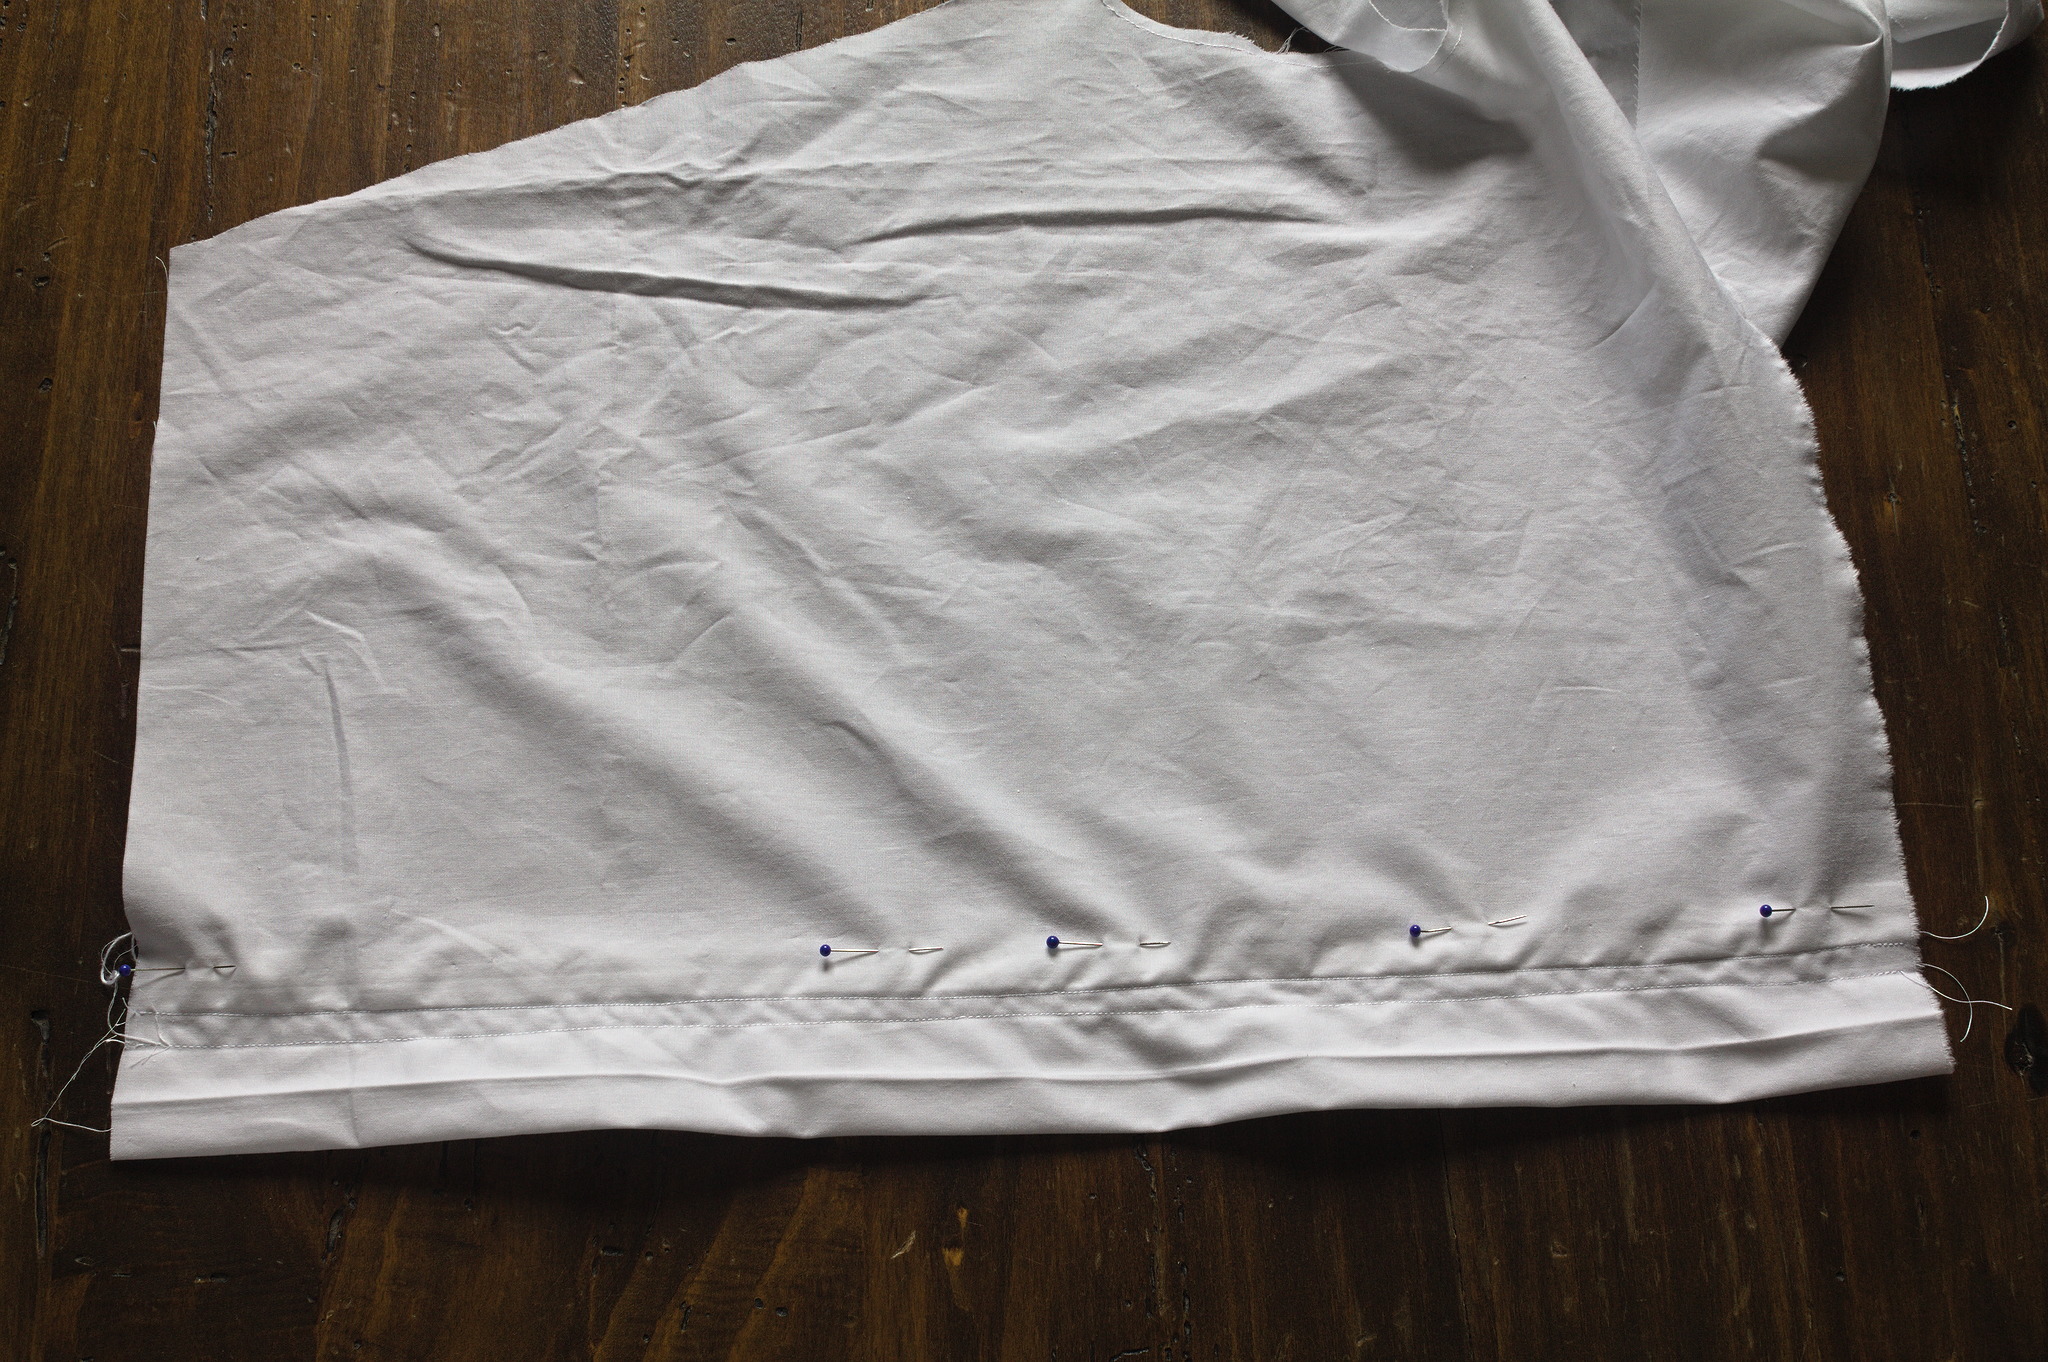
then sew a seam over the fold under the pleat and another one right beside the edge of the placket, where it’s seam is. Press back the pleat into shape.
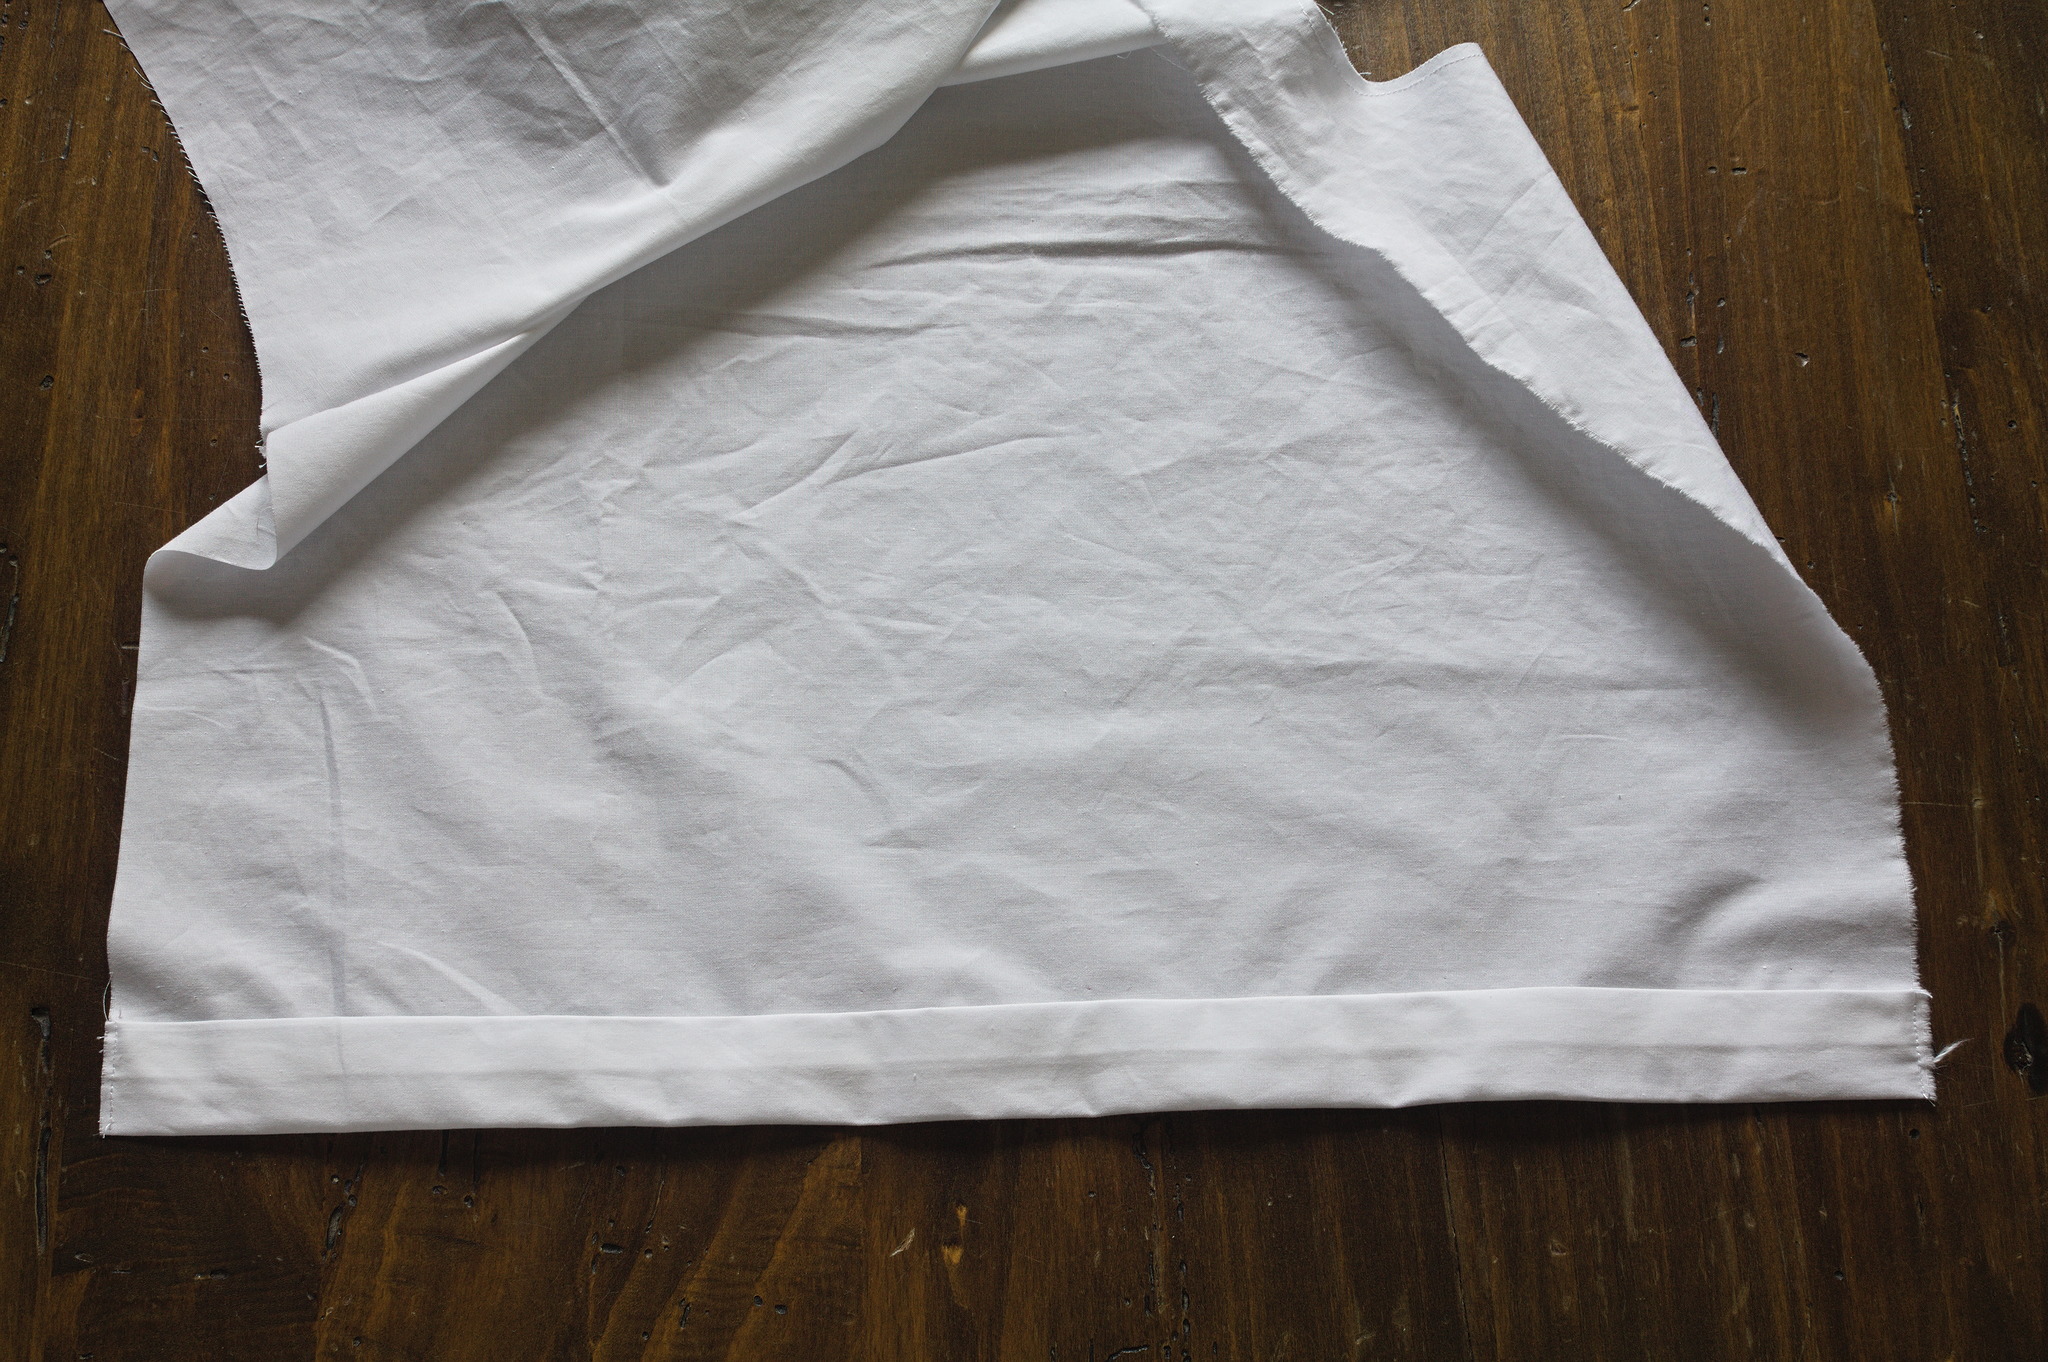
Sew the pleat in the hem allowance at the top and bottom.
Left Side
Make a fold at the left_front_fold_line, i.e. half the placket width
out from the centre front line, wrong sides together; fold the remaining
allowance under to make a placket, press.
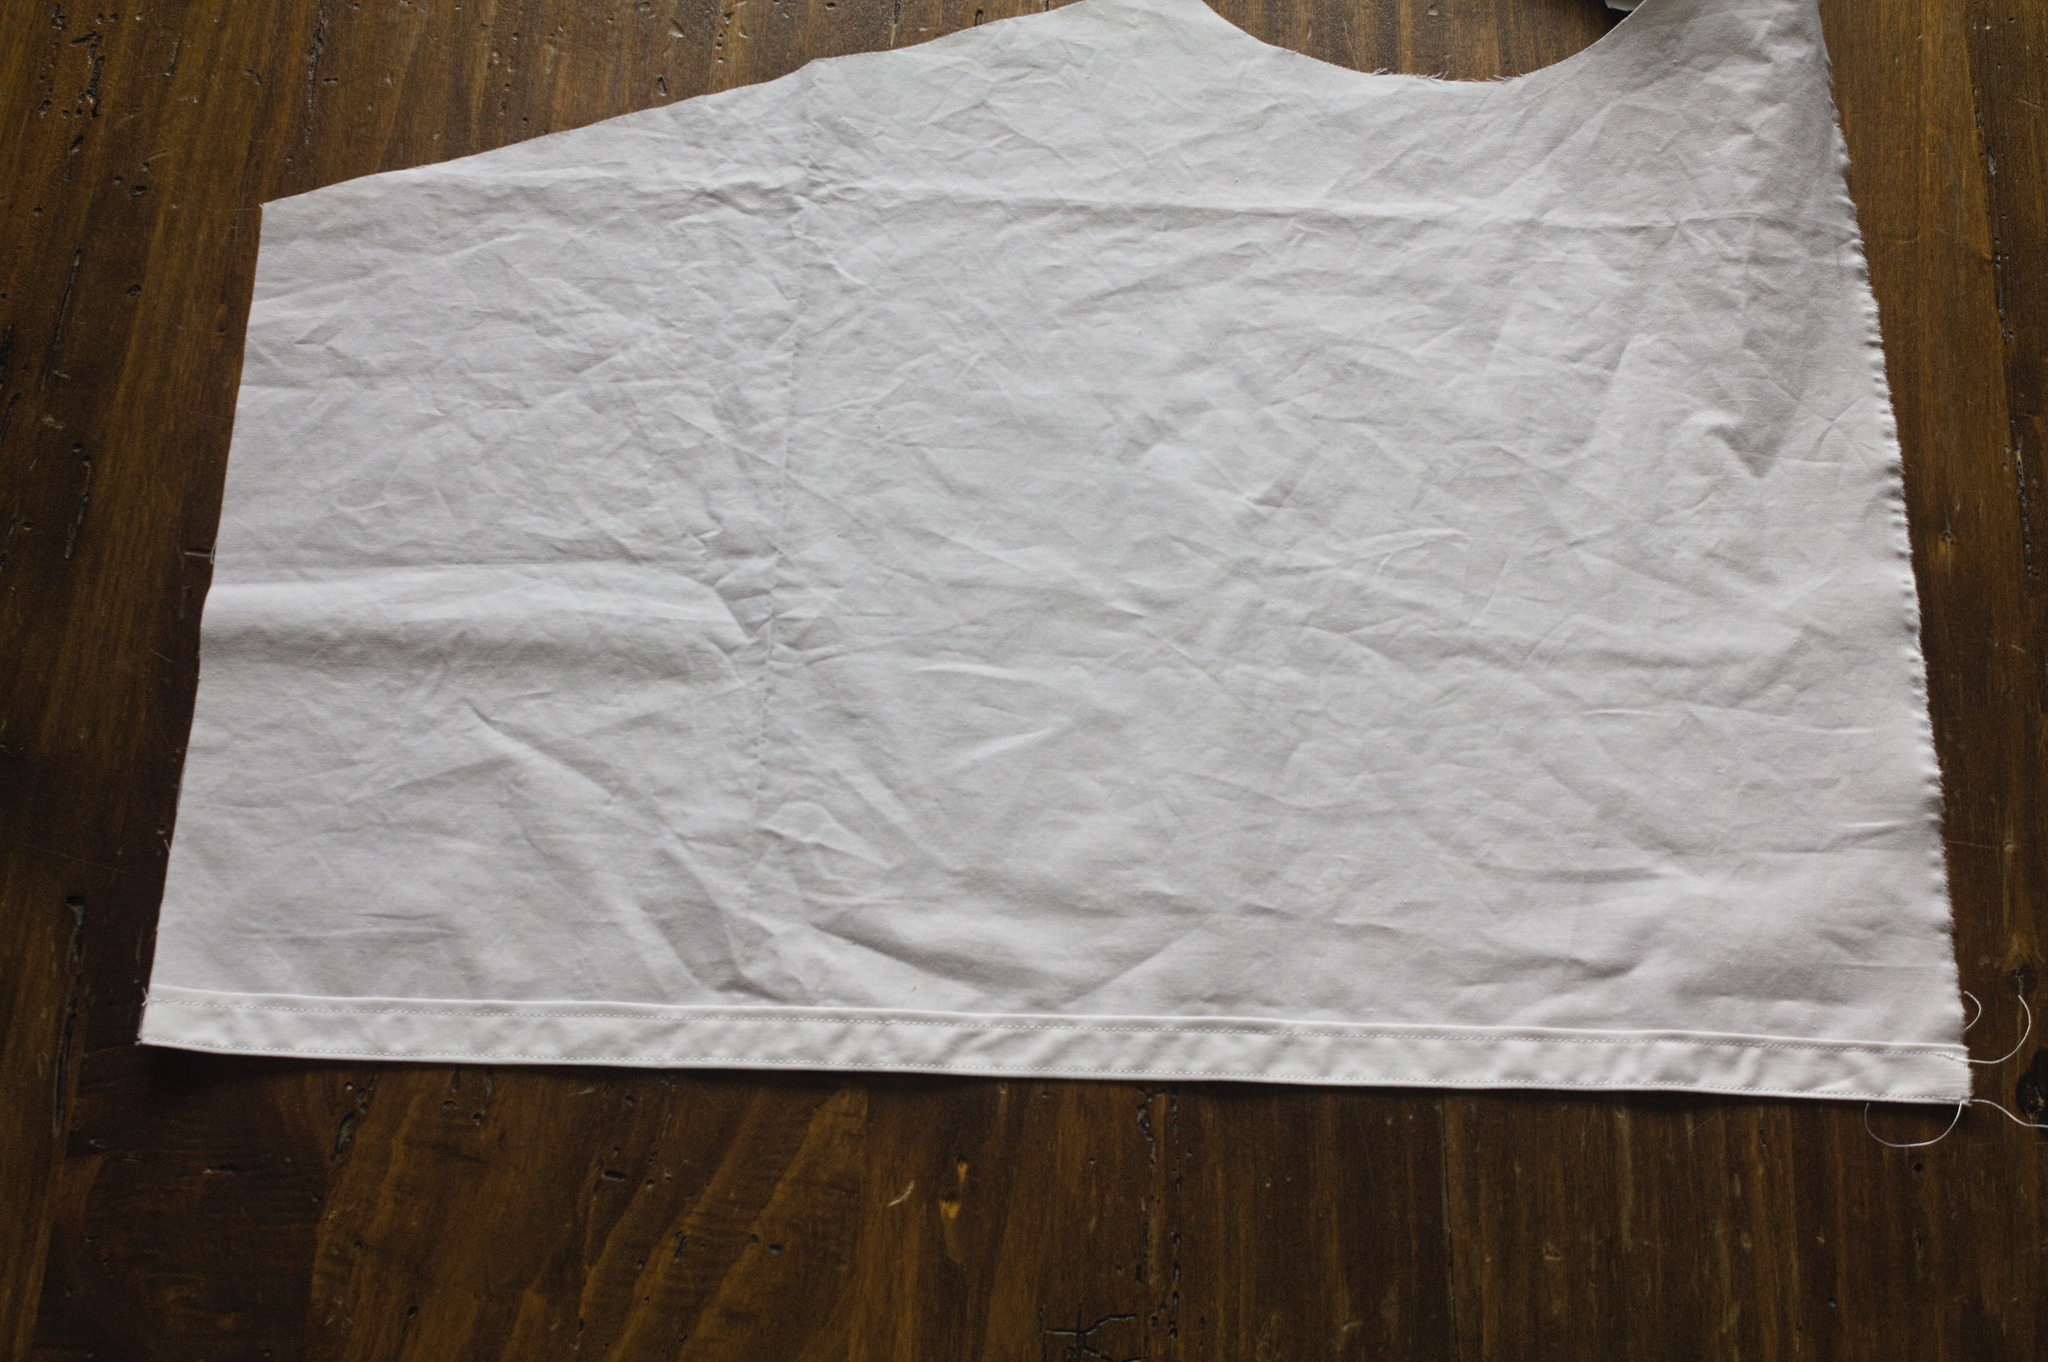
Sew a straight seam at 1 mm from both folded edges, starting from the top and sewing towards the waist.
Body
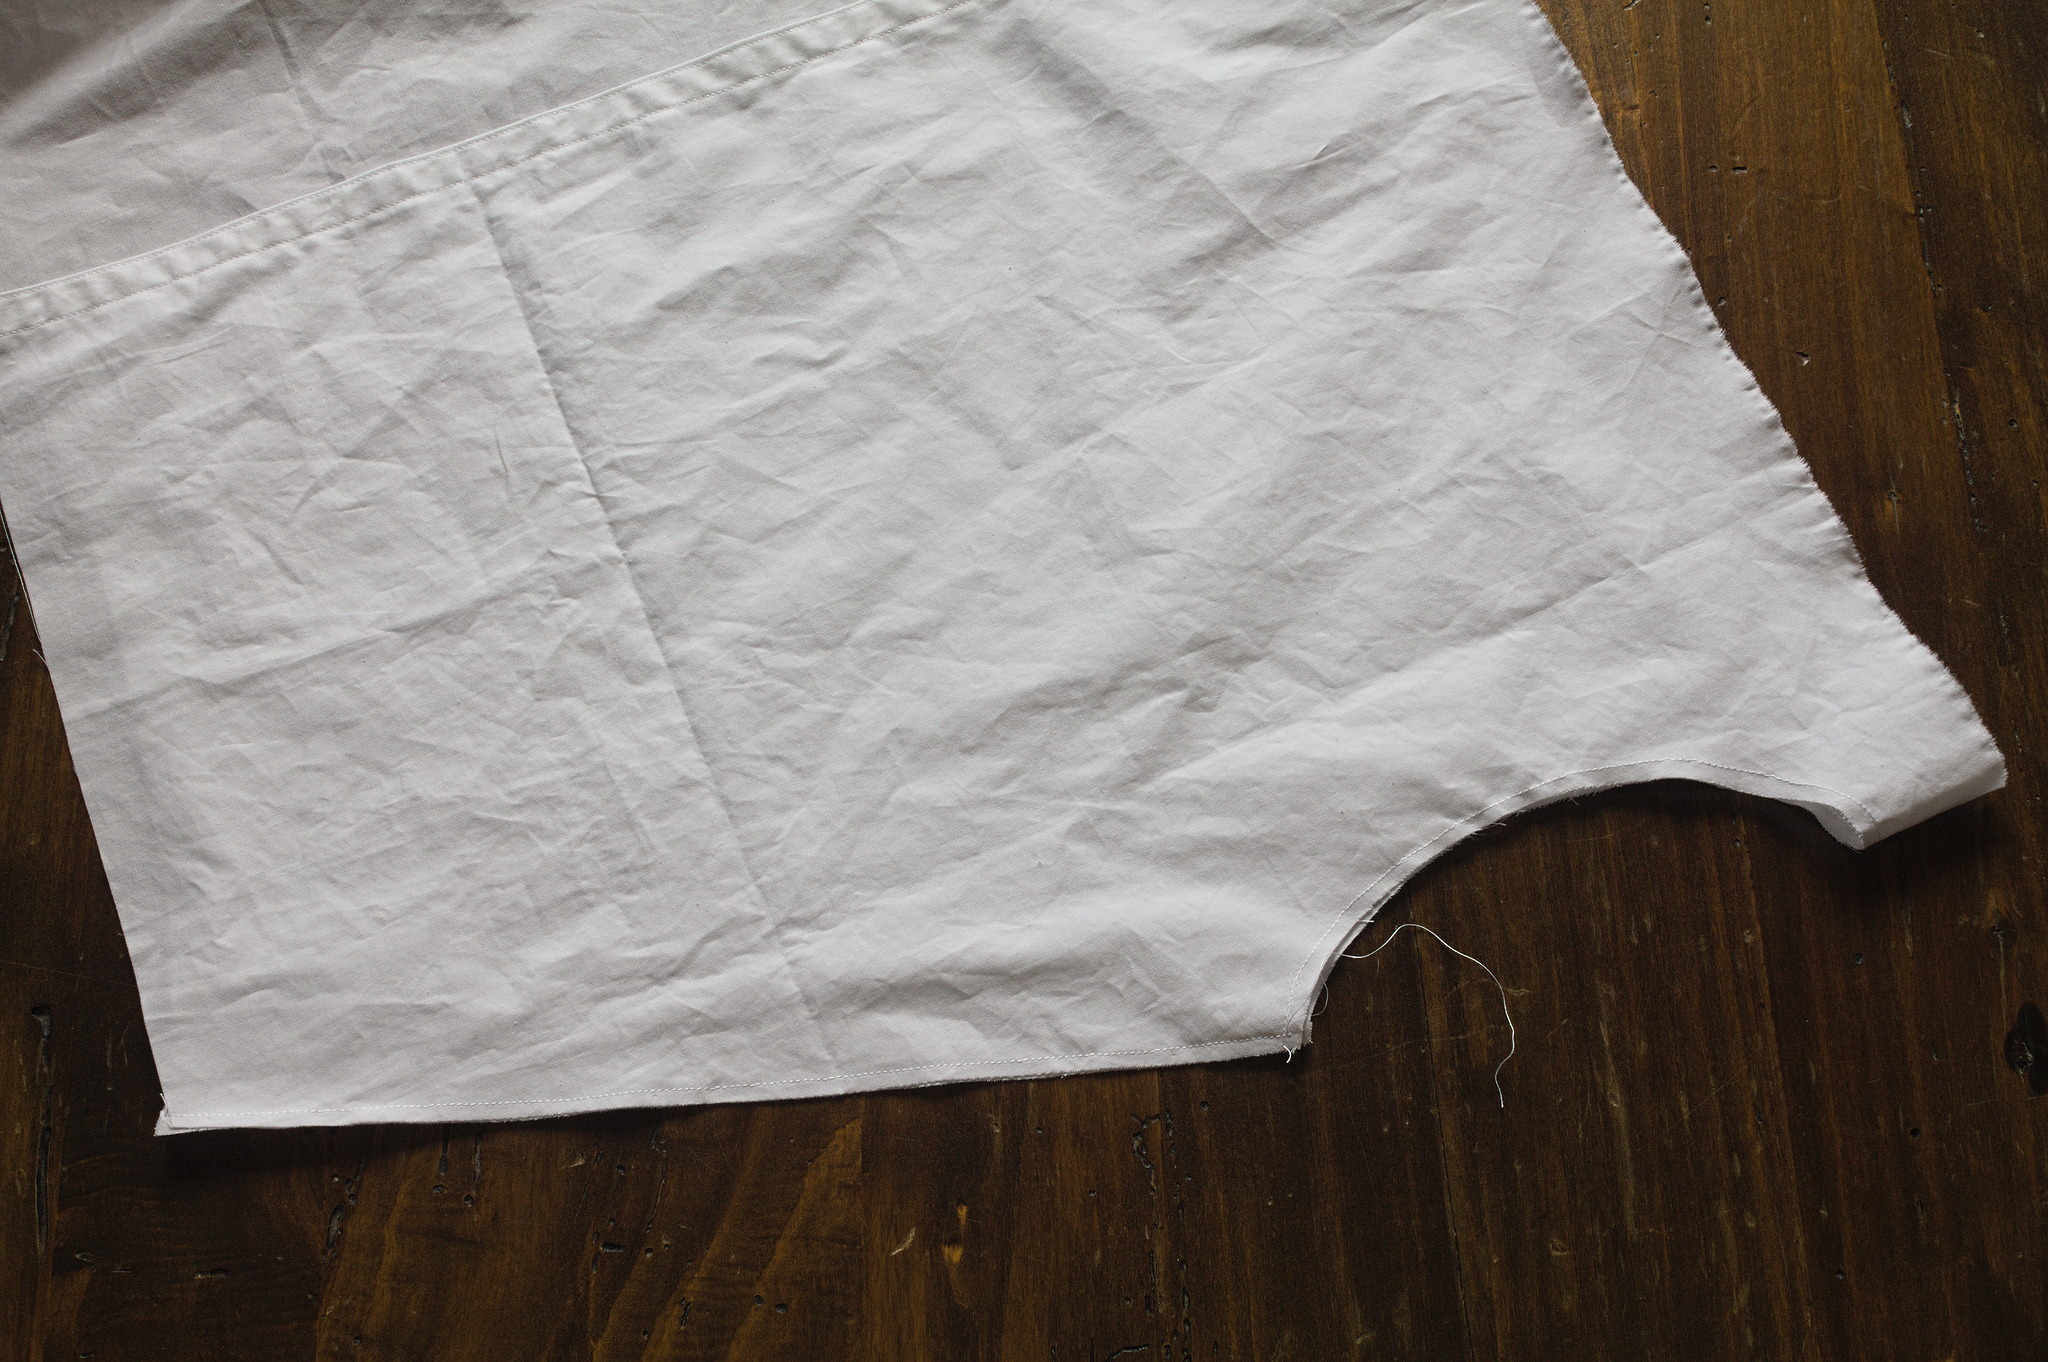
Sew the side seams with a french seam: wrong sides together, sew the side seams at a bit less than half the sewing allowance. Press and turn right sides together.
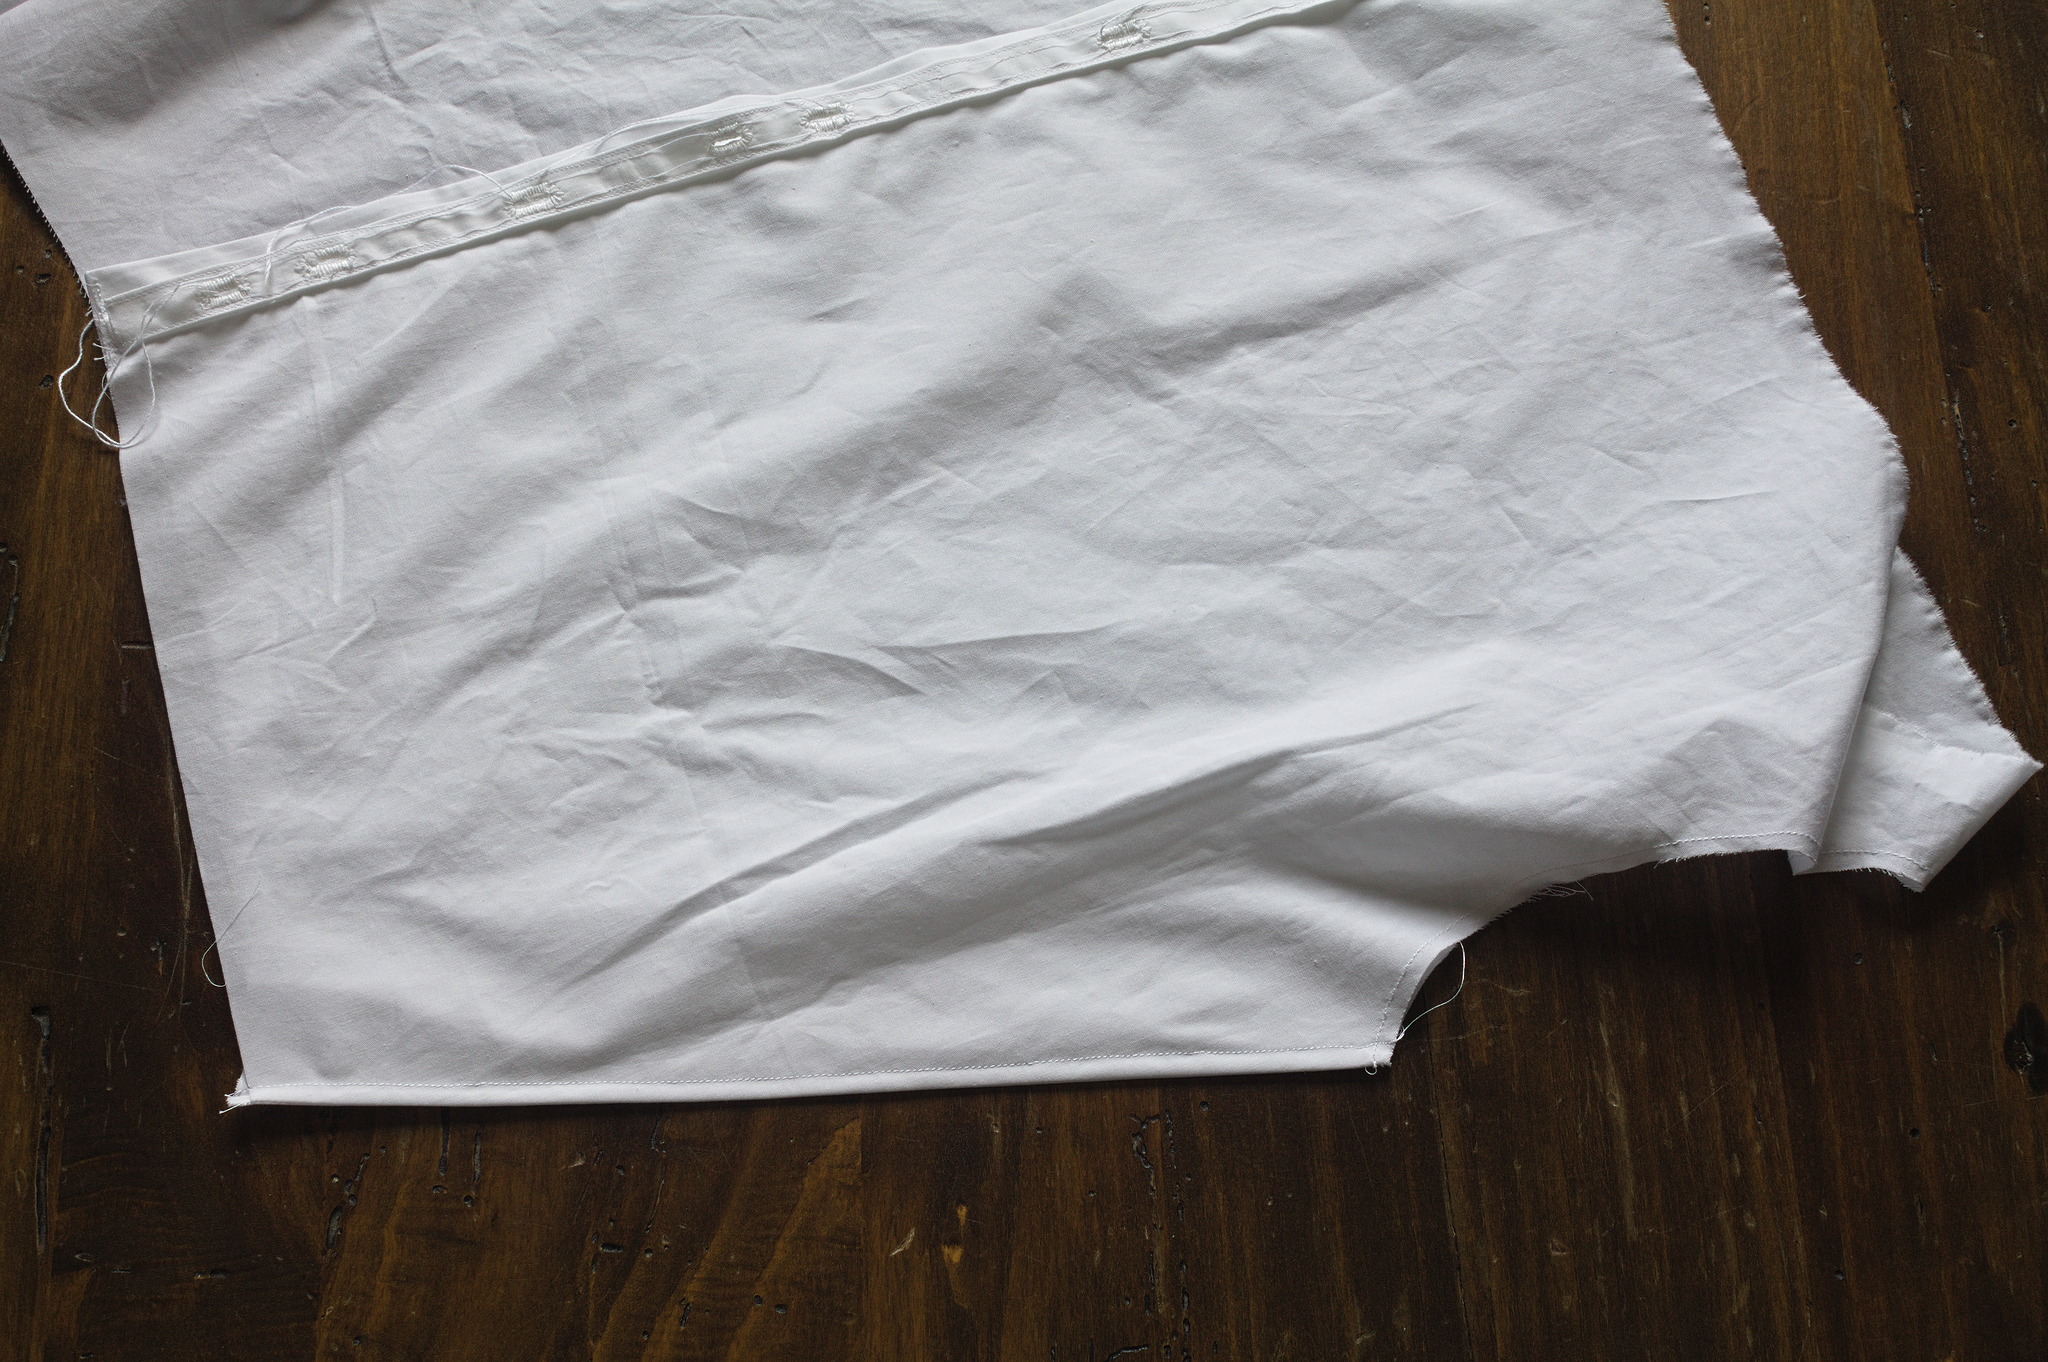
Right sides together, sew the side seams at a tiny bit more than half the sewing allowance, press the enclosed allowances towards the back.
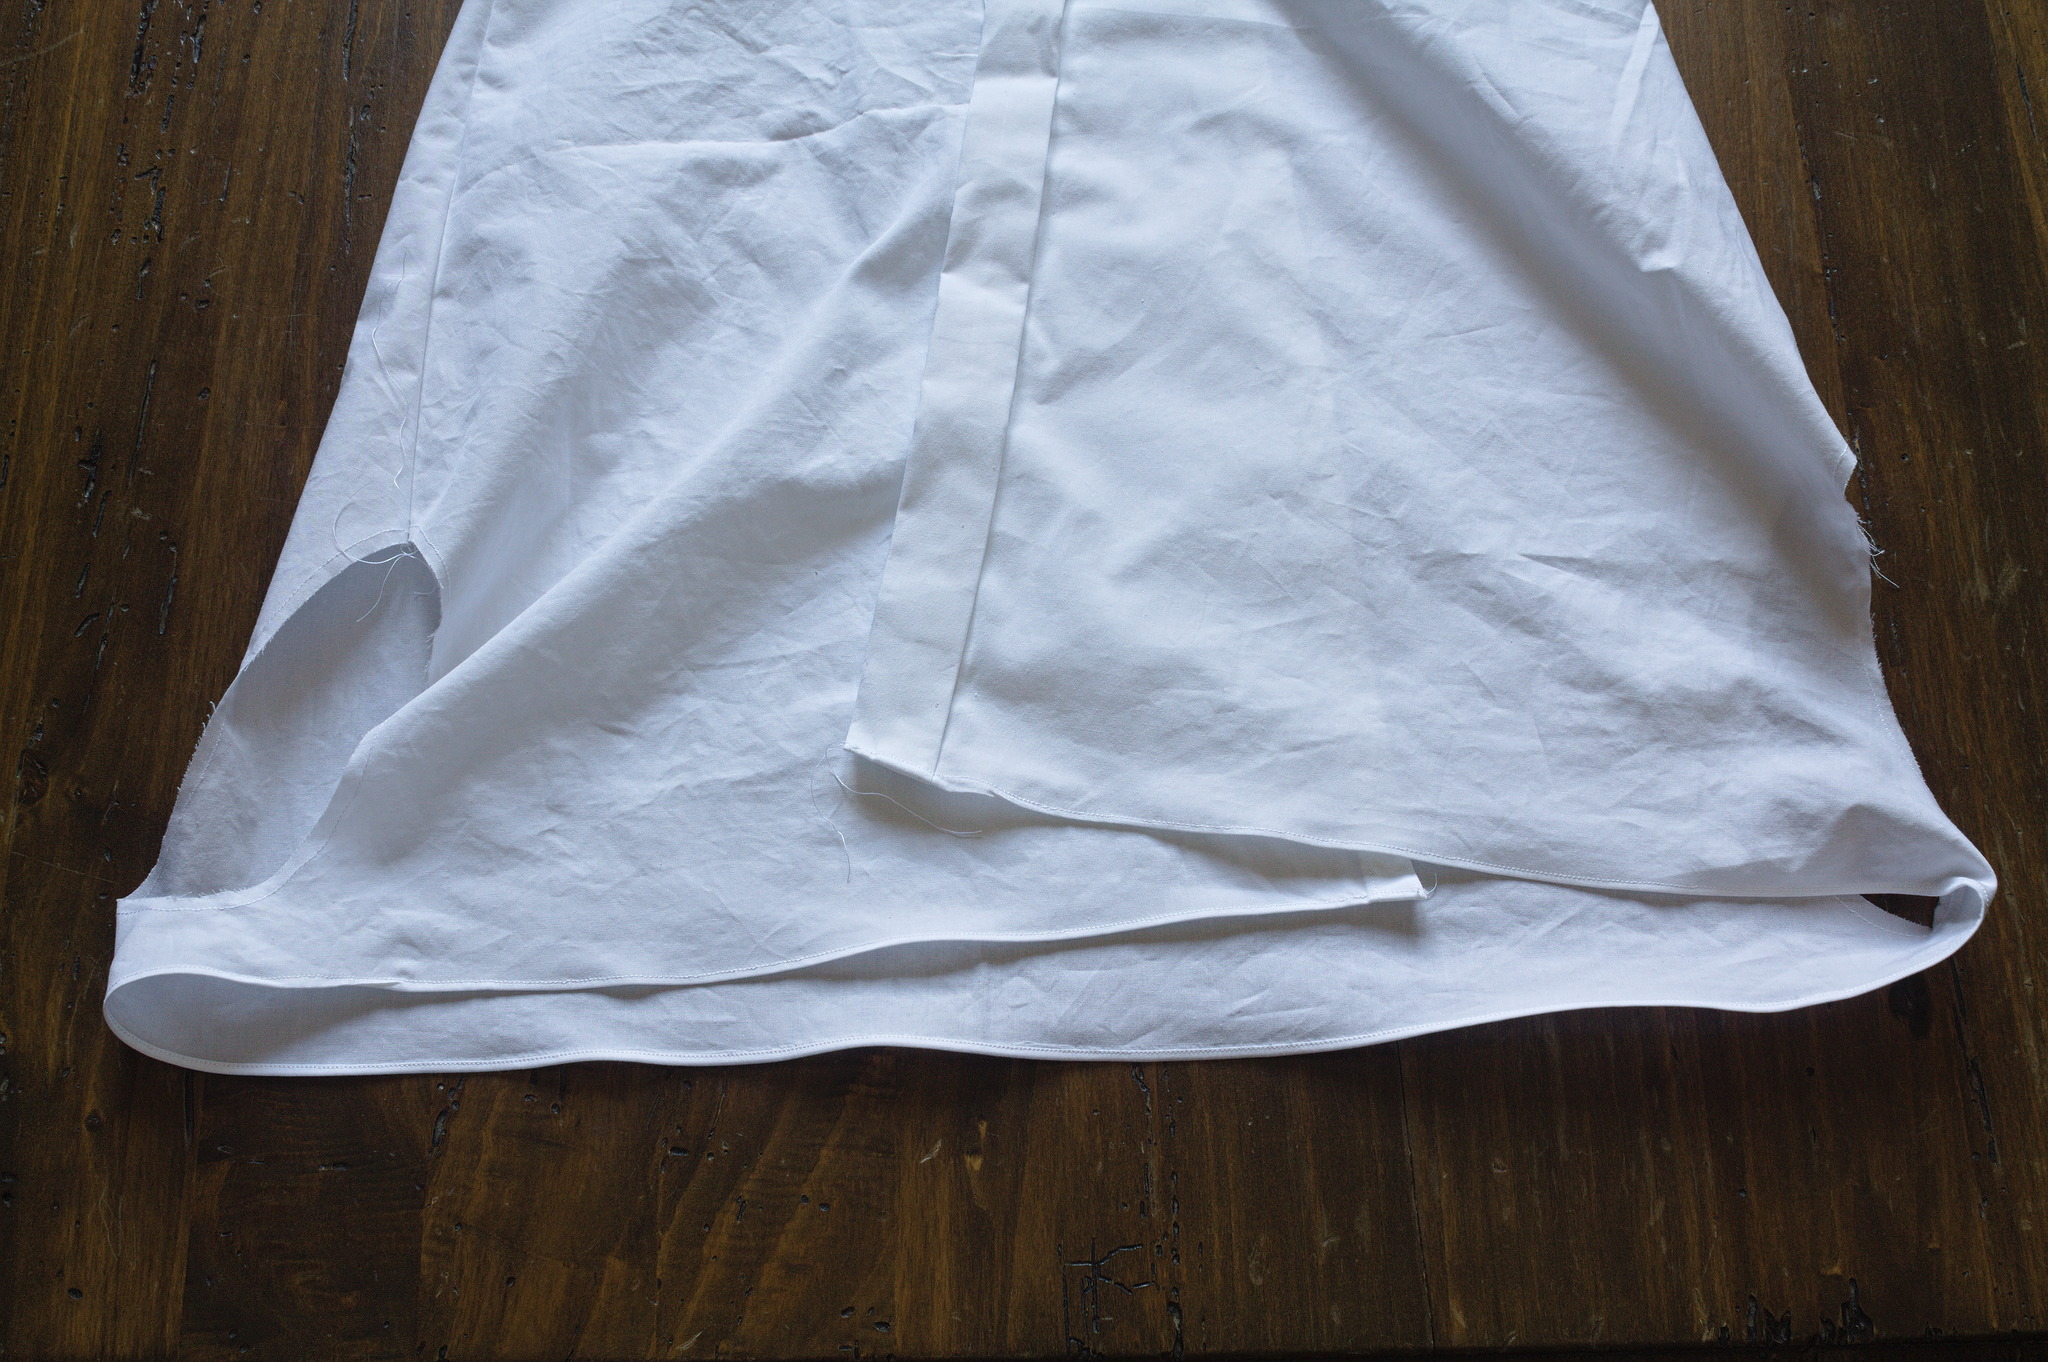
Make a narrow hem at the top.
Tip
you can use a hemming foot for this hem, but you probably want to fold the hem over the pleat in advance rather than making it feed through the foot, because it’s going to be pretty bulky.
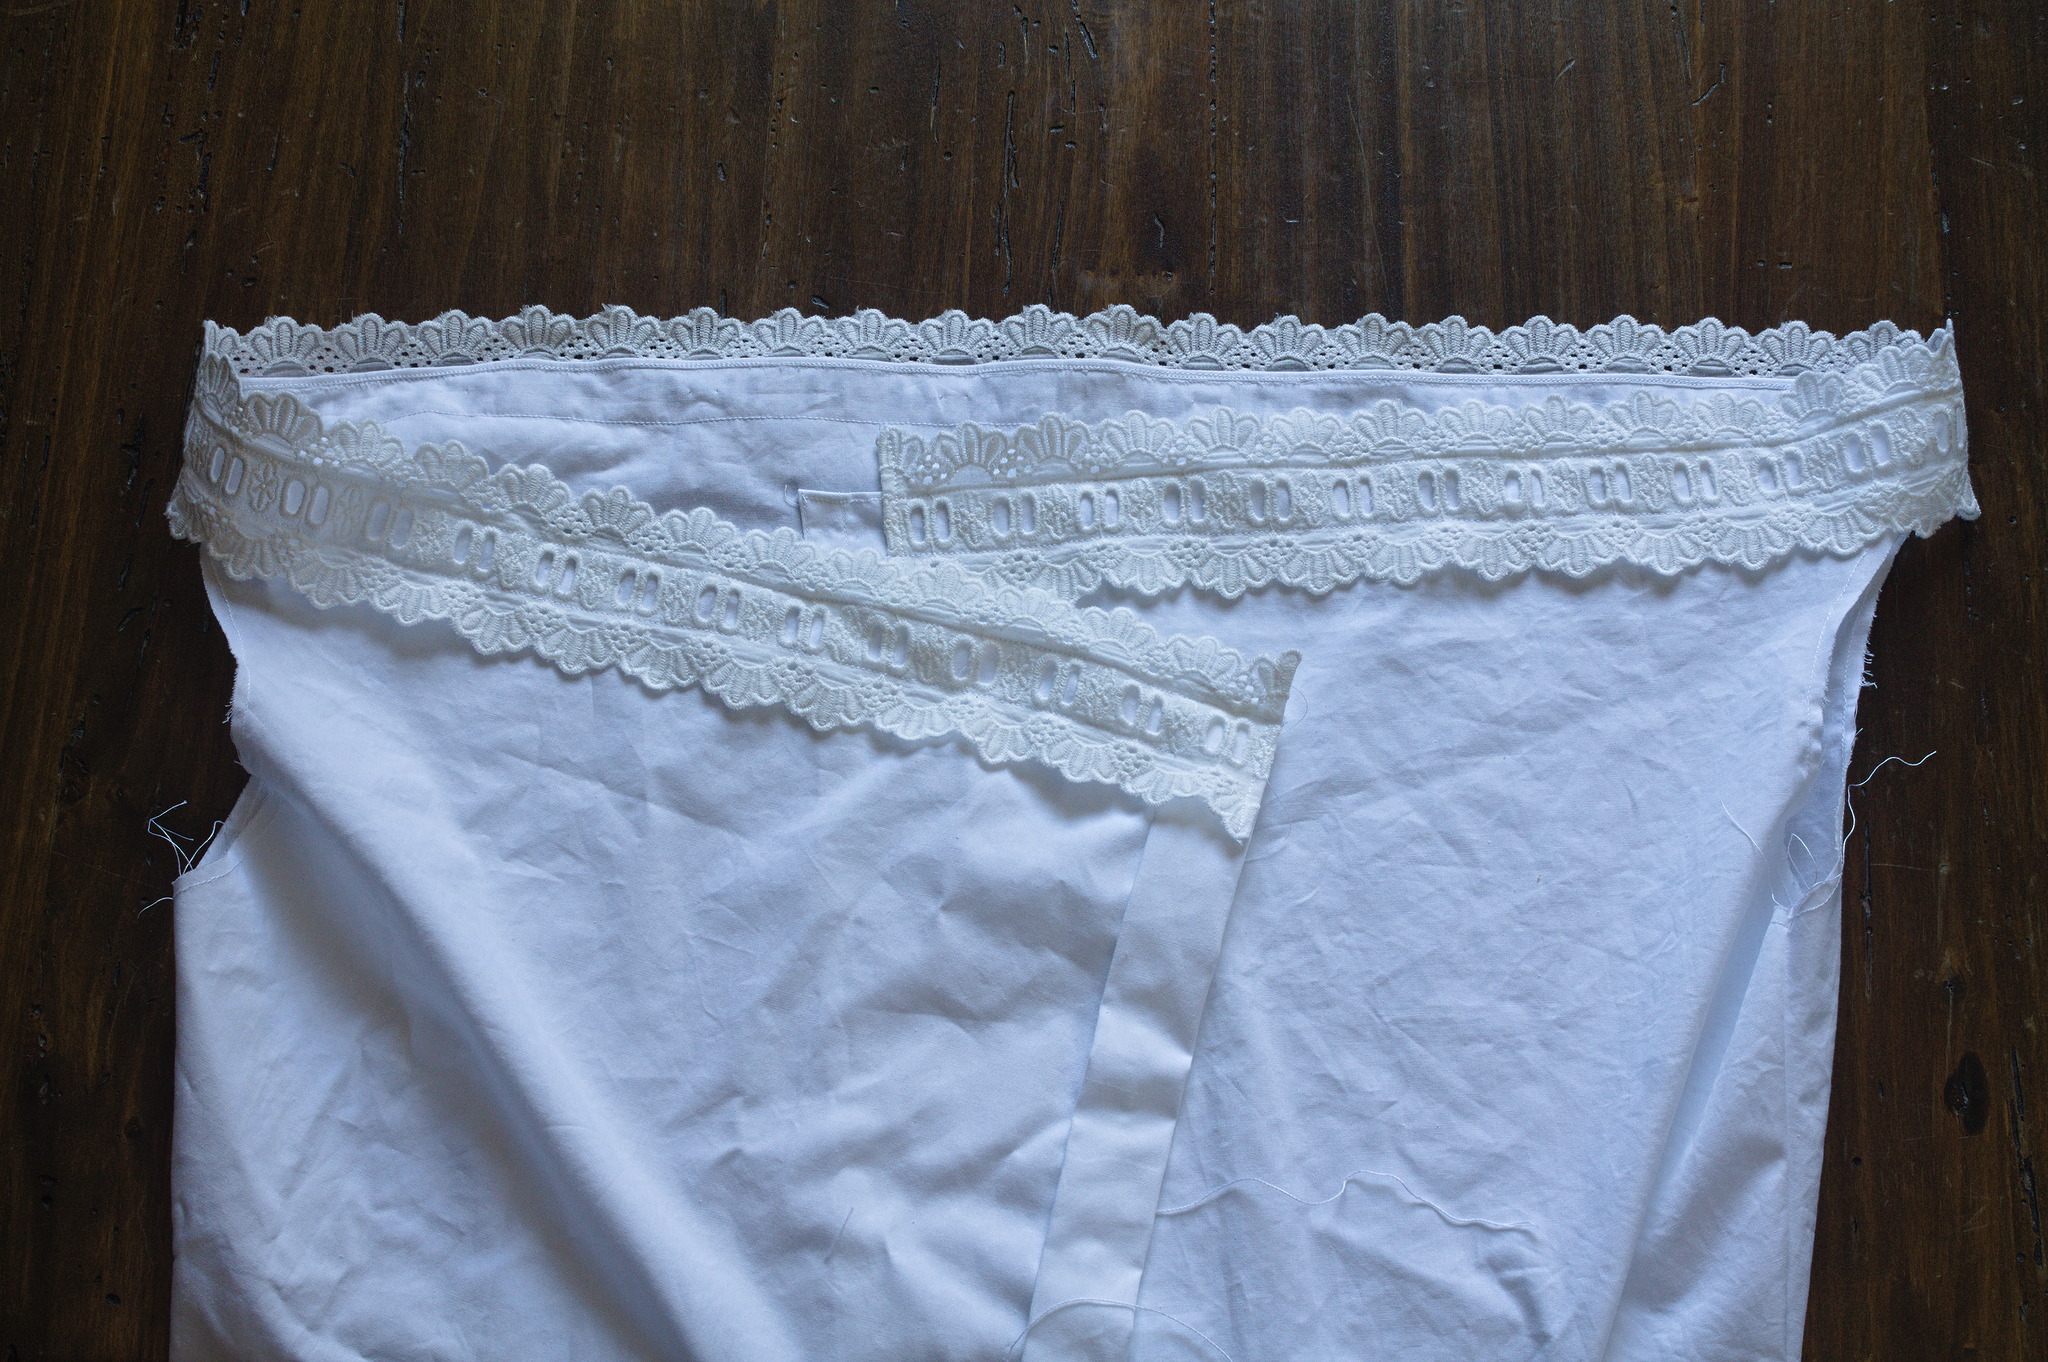
Sew beading lace on the top edge with two seams above and below the eyeholes, folding the edges under and stopping on the left side at the position where the fabric would go under the pleat on the right side, making sure to stop the lower seam before the pleat.
Tip
for best results, continue the lower seam by hand over the pleat, catching only the top layer of the latter.
Peplum
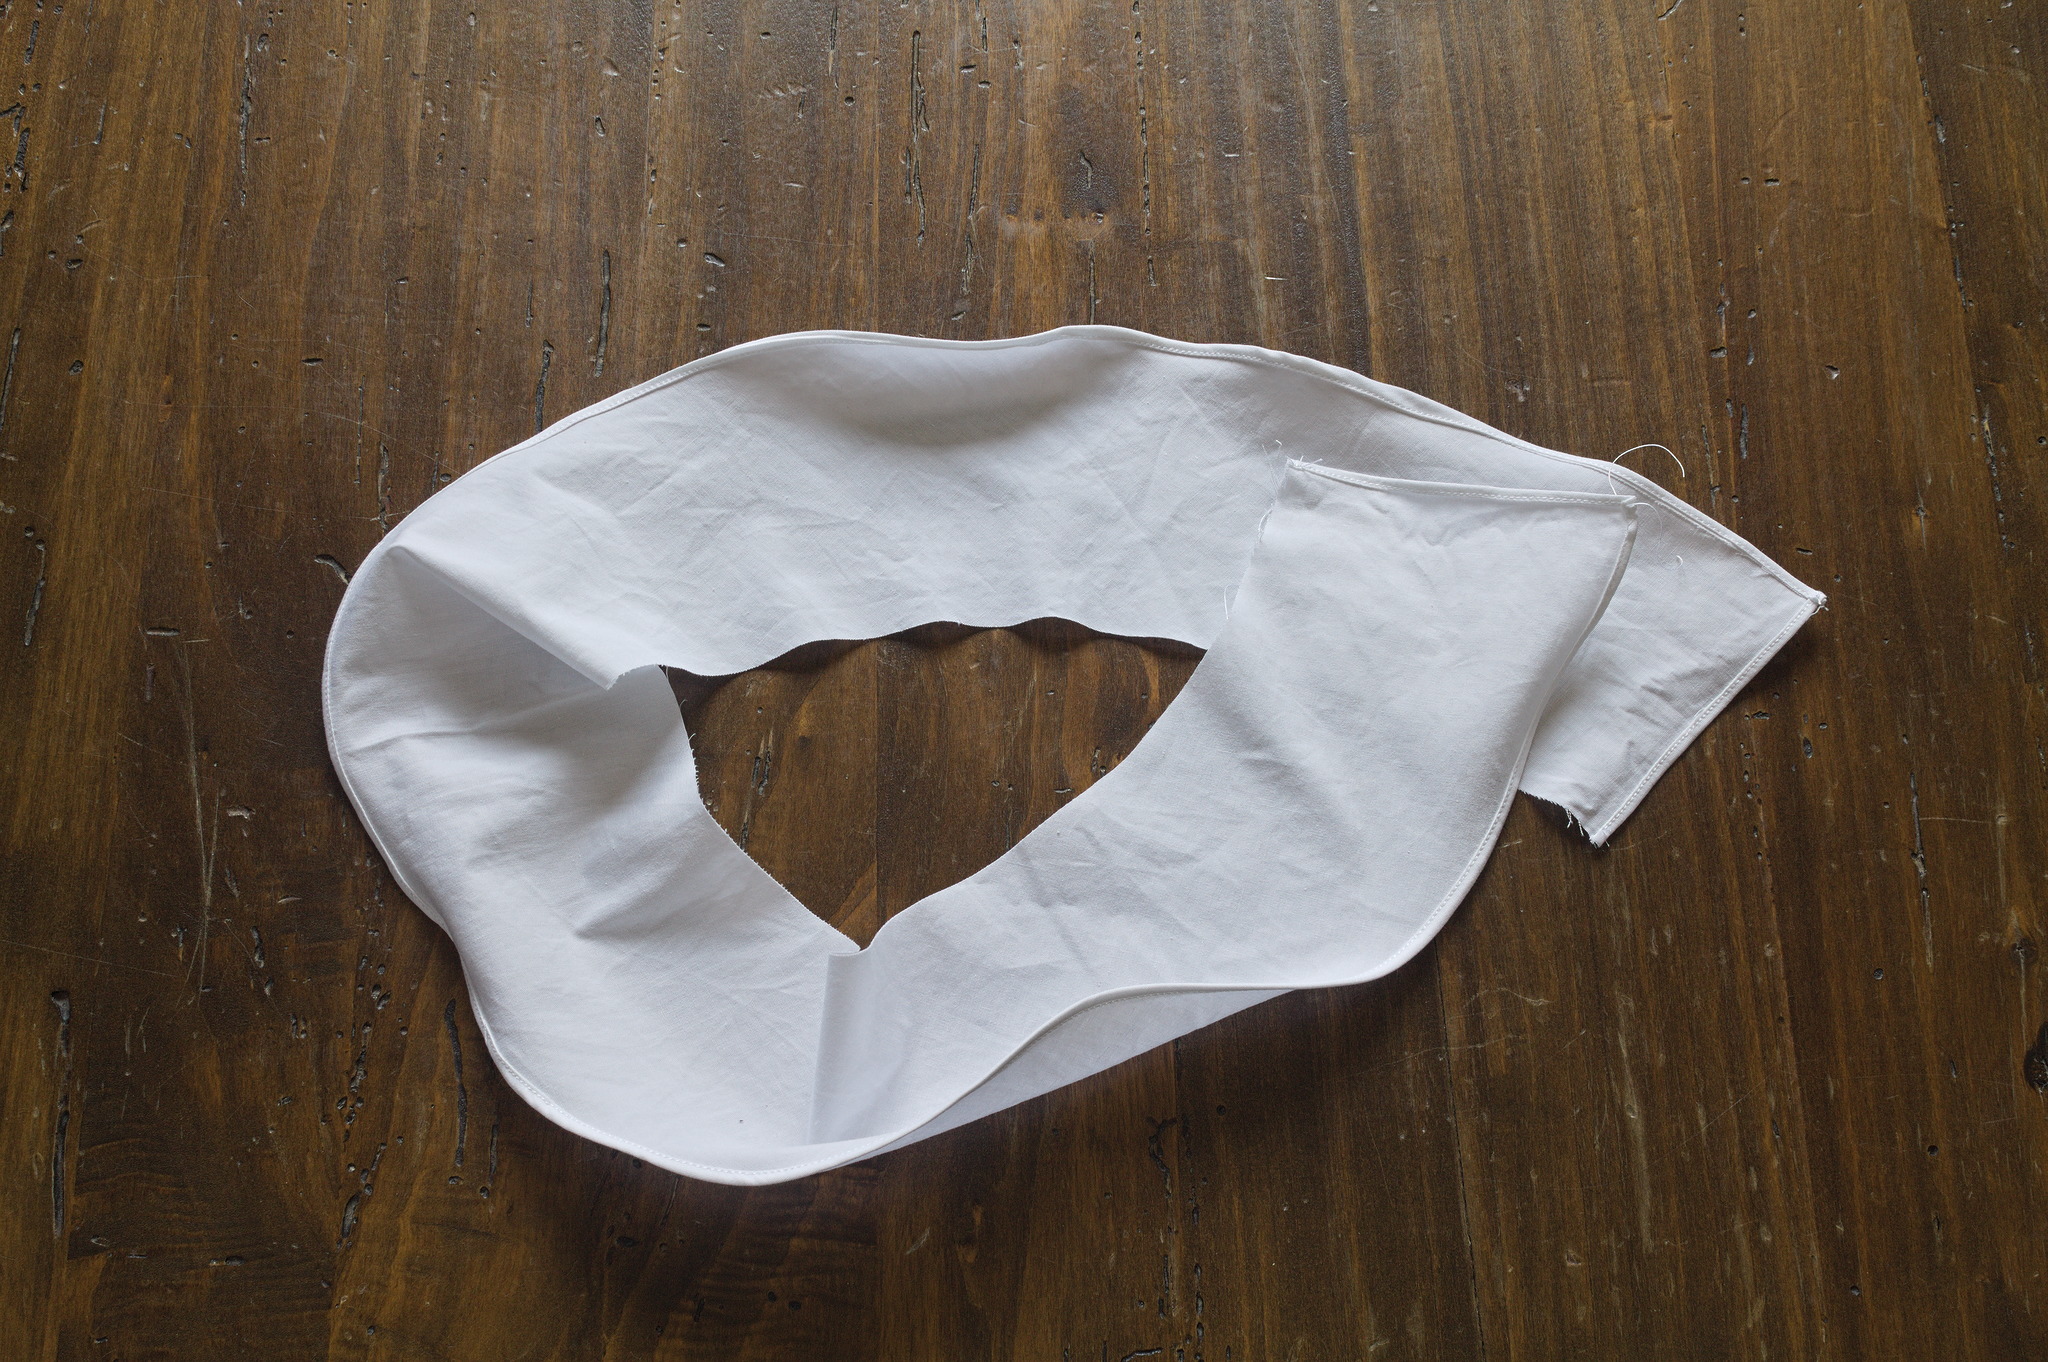
Make a narrow hem all around the short ends and the bottom edge of the peplum.
Sleeves
Sew the short ends of the sleeves with a french seams: sew wrong sides together at a bit less than half the sewing allowance, press, turn right sides together and sew again at a tiny bit more than the sewing allowance. Press the allowance in opposite directions.
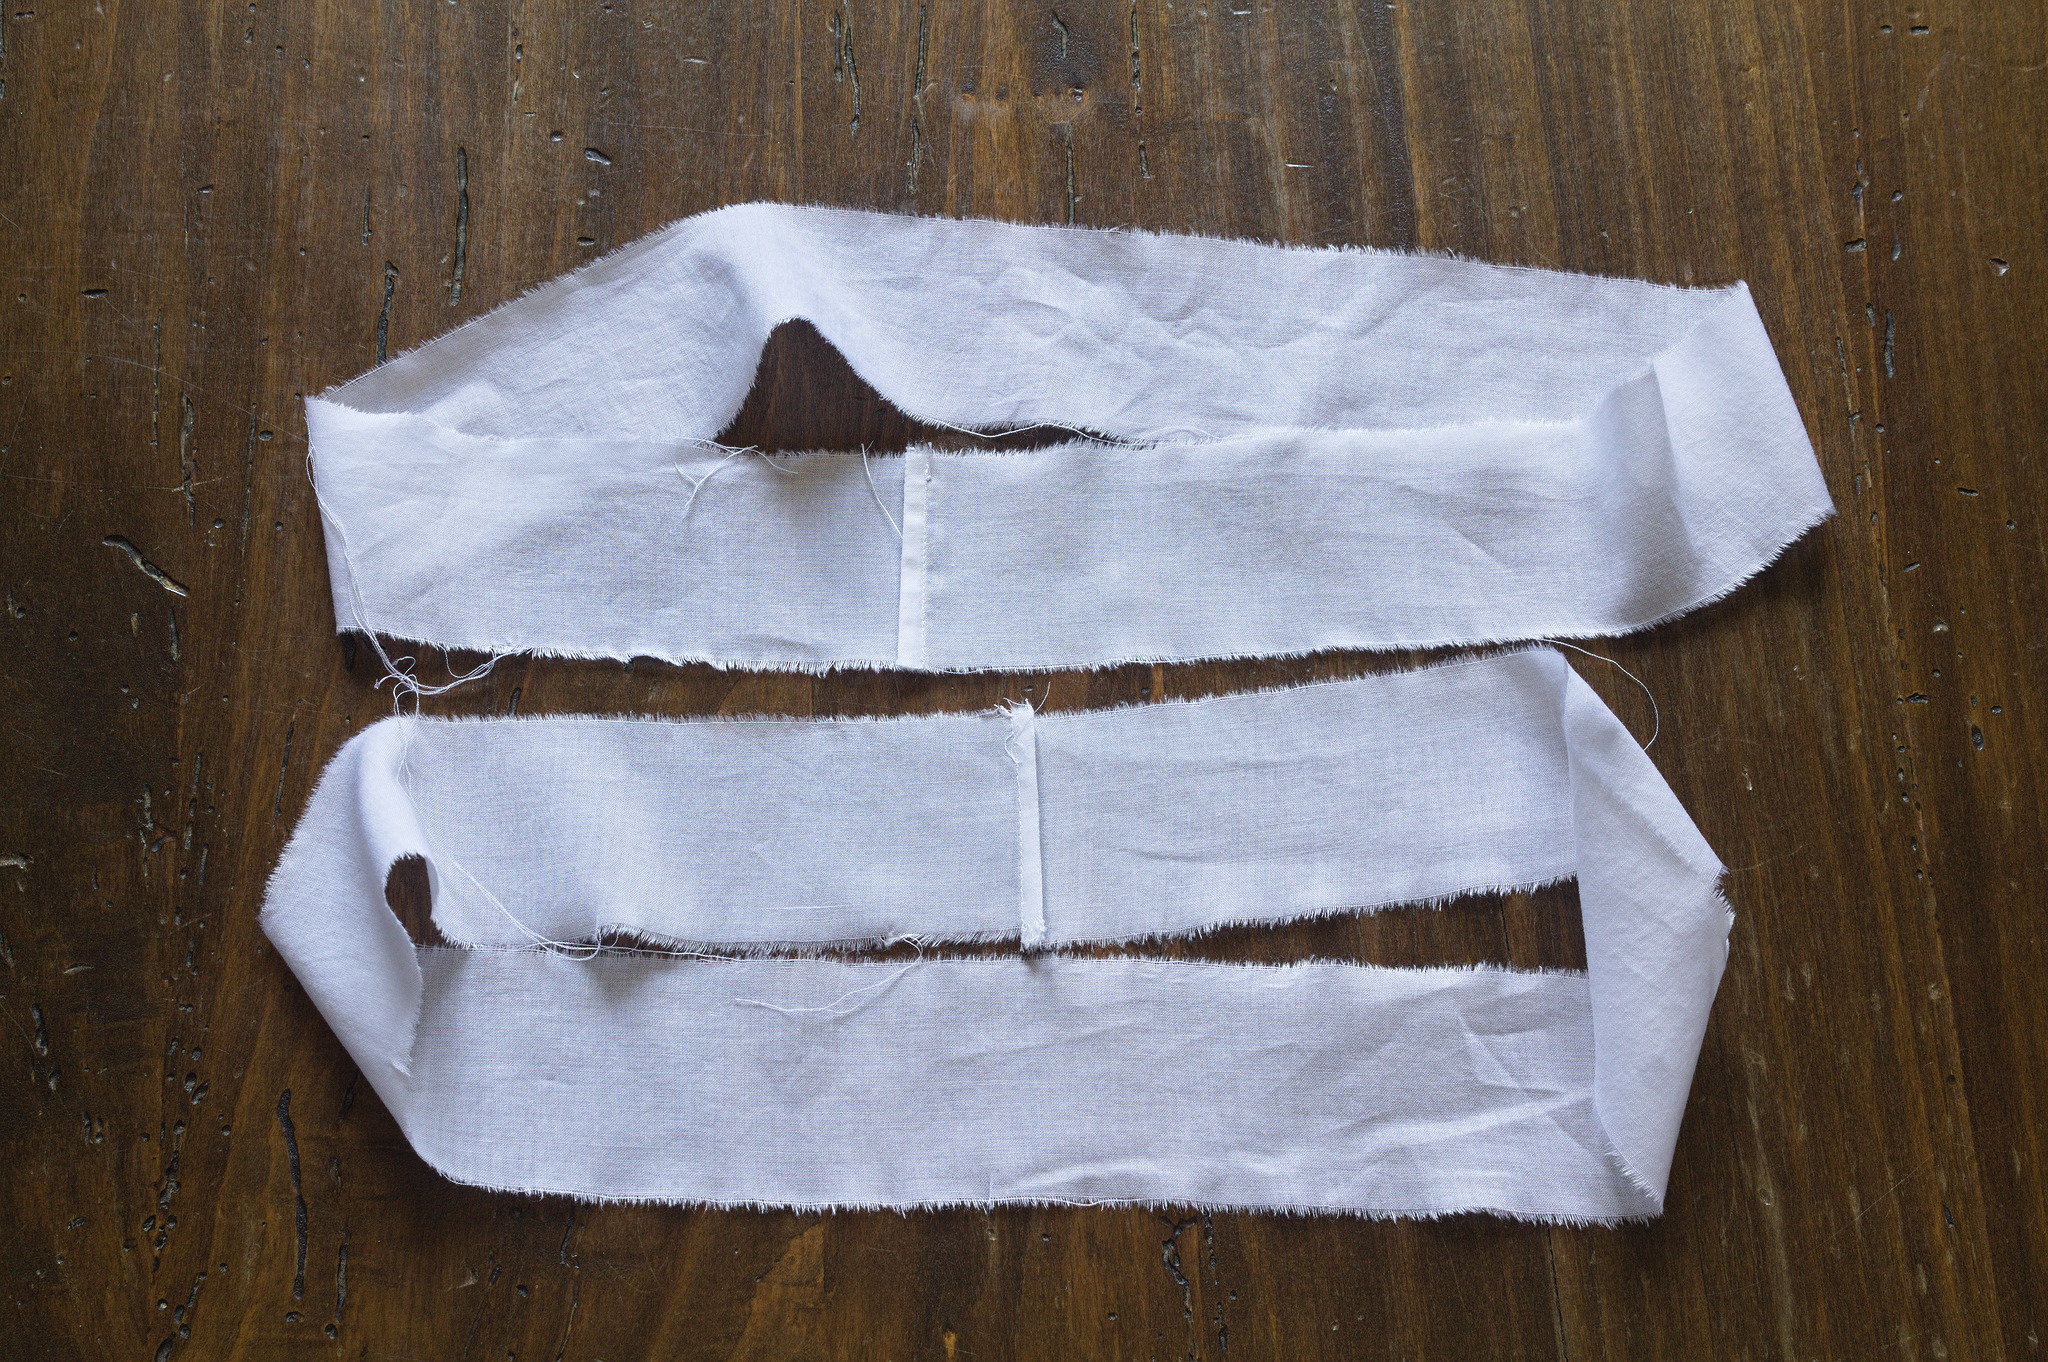
Sew the short ends of the ruffles with a french seam, as above.
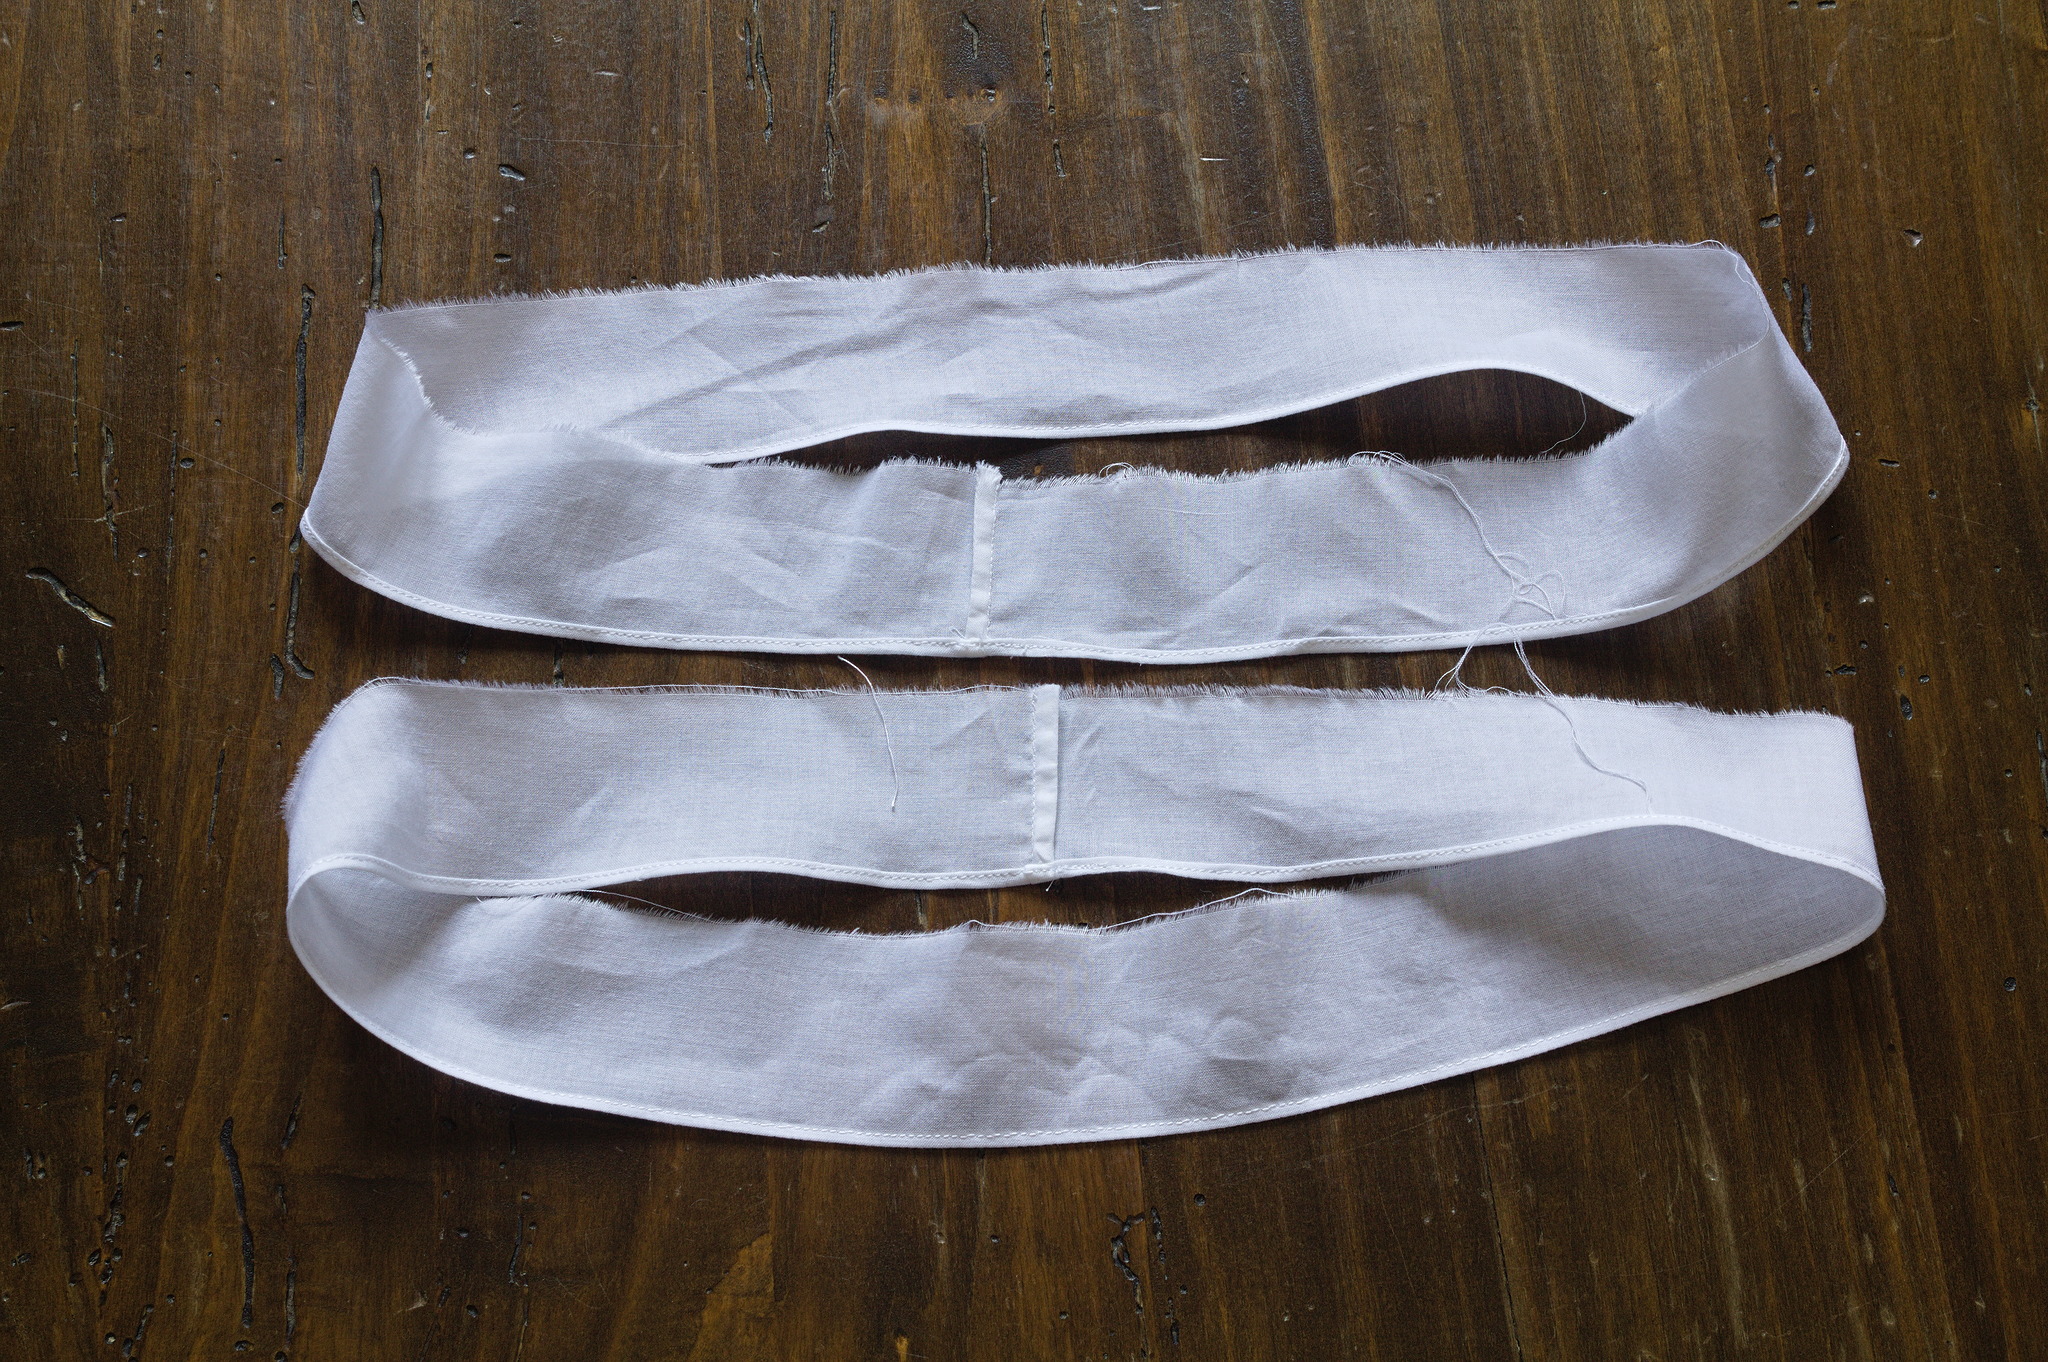
Make a narrow hem all around one side of the ruffles.
Sew a gathering stitch on the remaining side of the ruffles, in the sewing allowance.
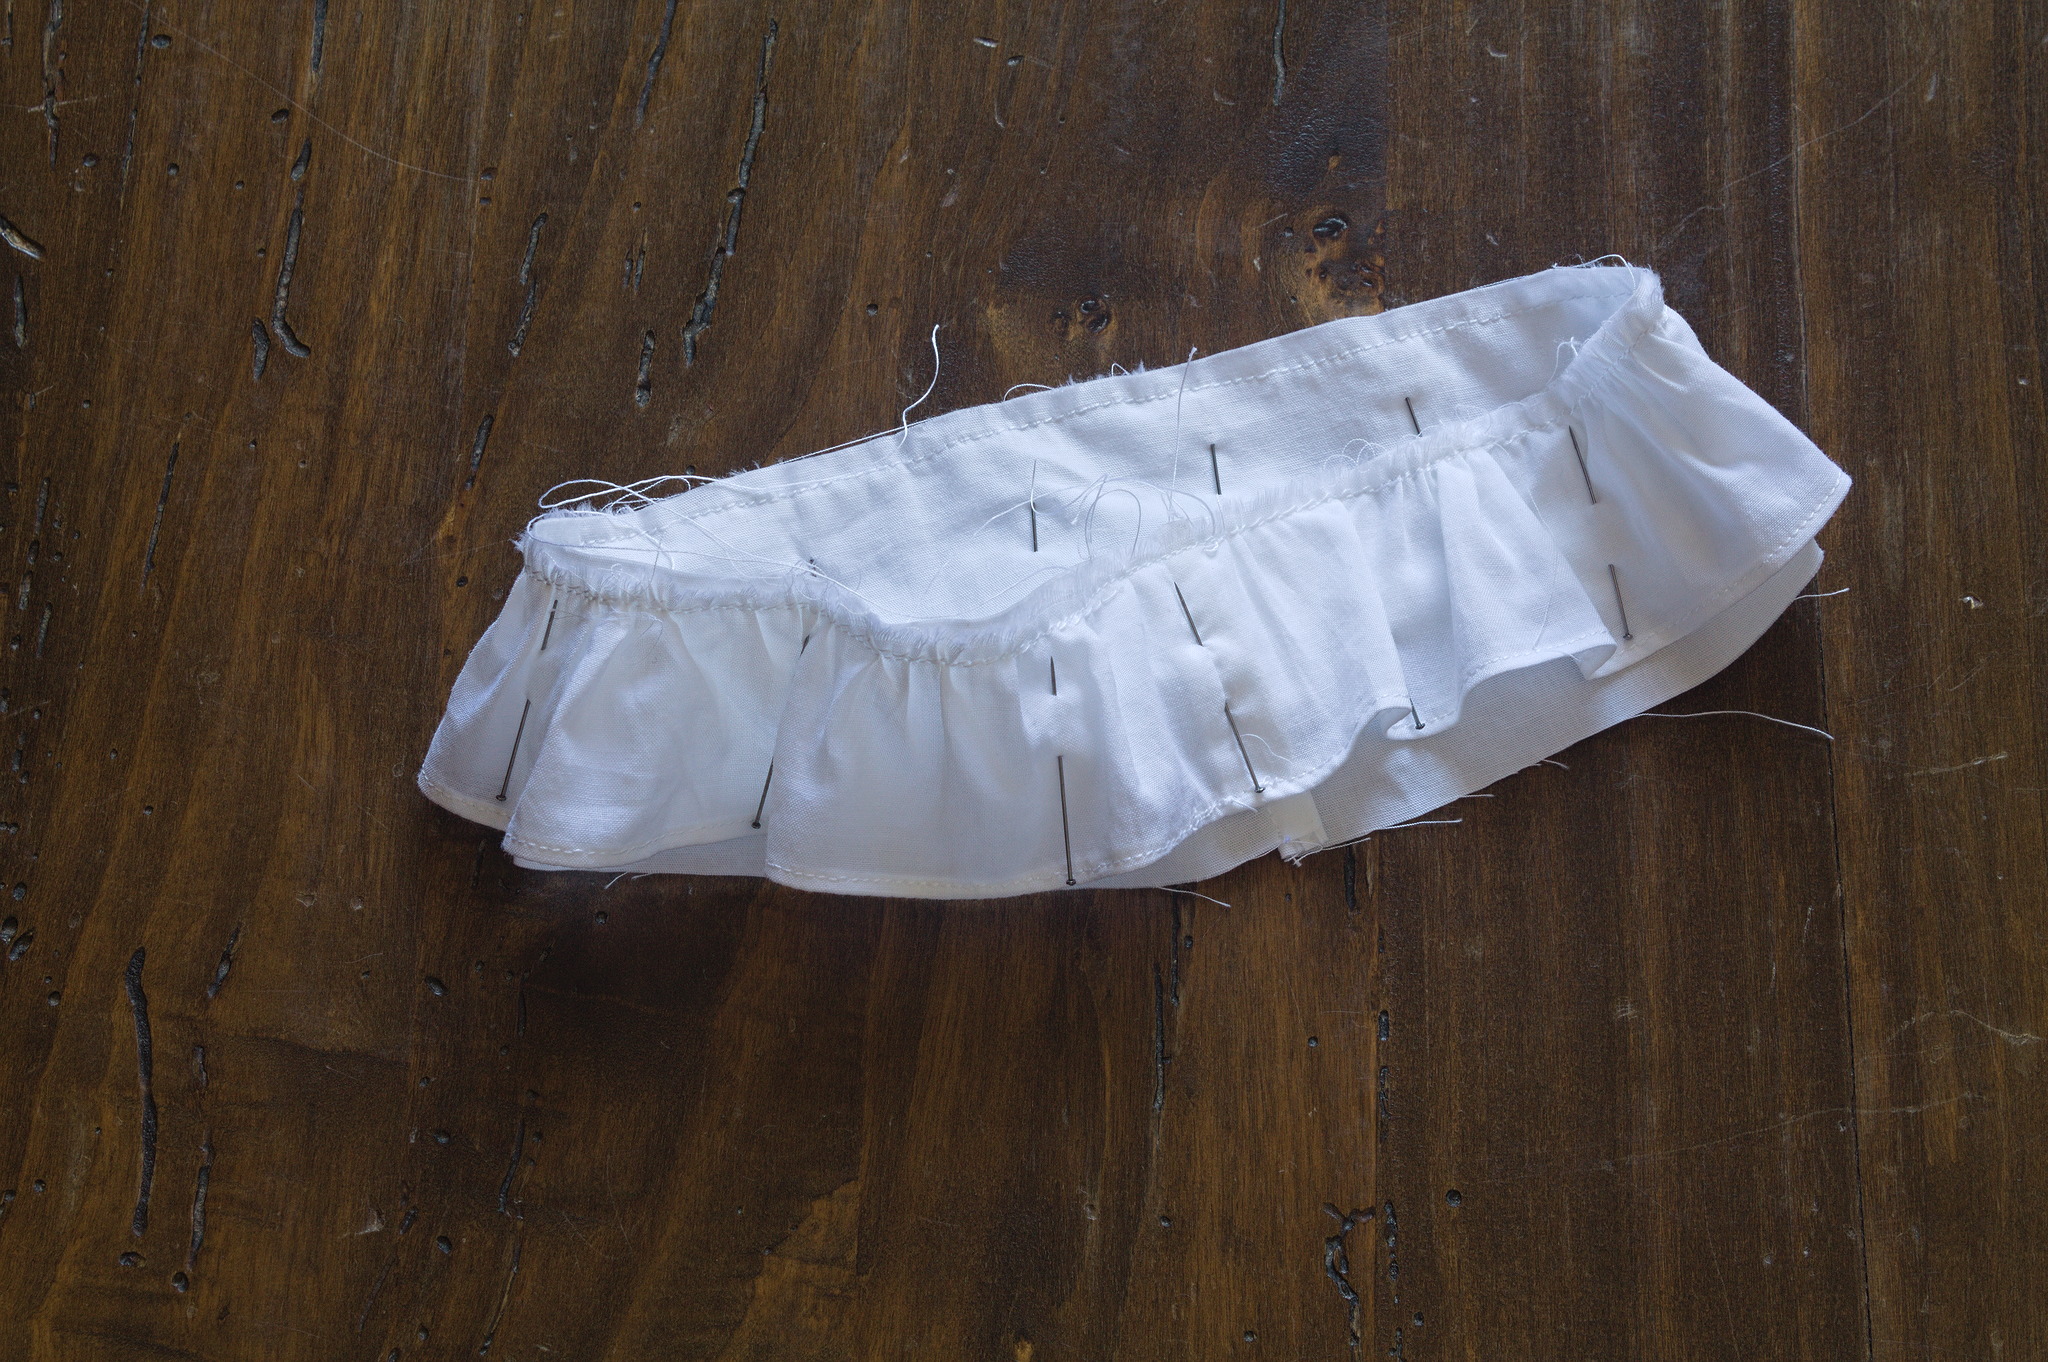
Take one sleeve and one ruffle, so that the seams are pressed in opposite directions, gather the ruffle on the sleeve leaving a bit more fullness at the opposite side of the seam and sew with a french seam: first wrong sides together at a bit less than half the allowance, then right sides together at a tiny bit more than the allowance.
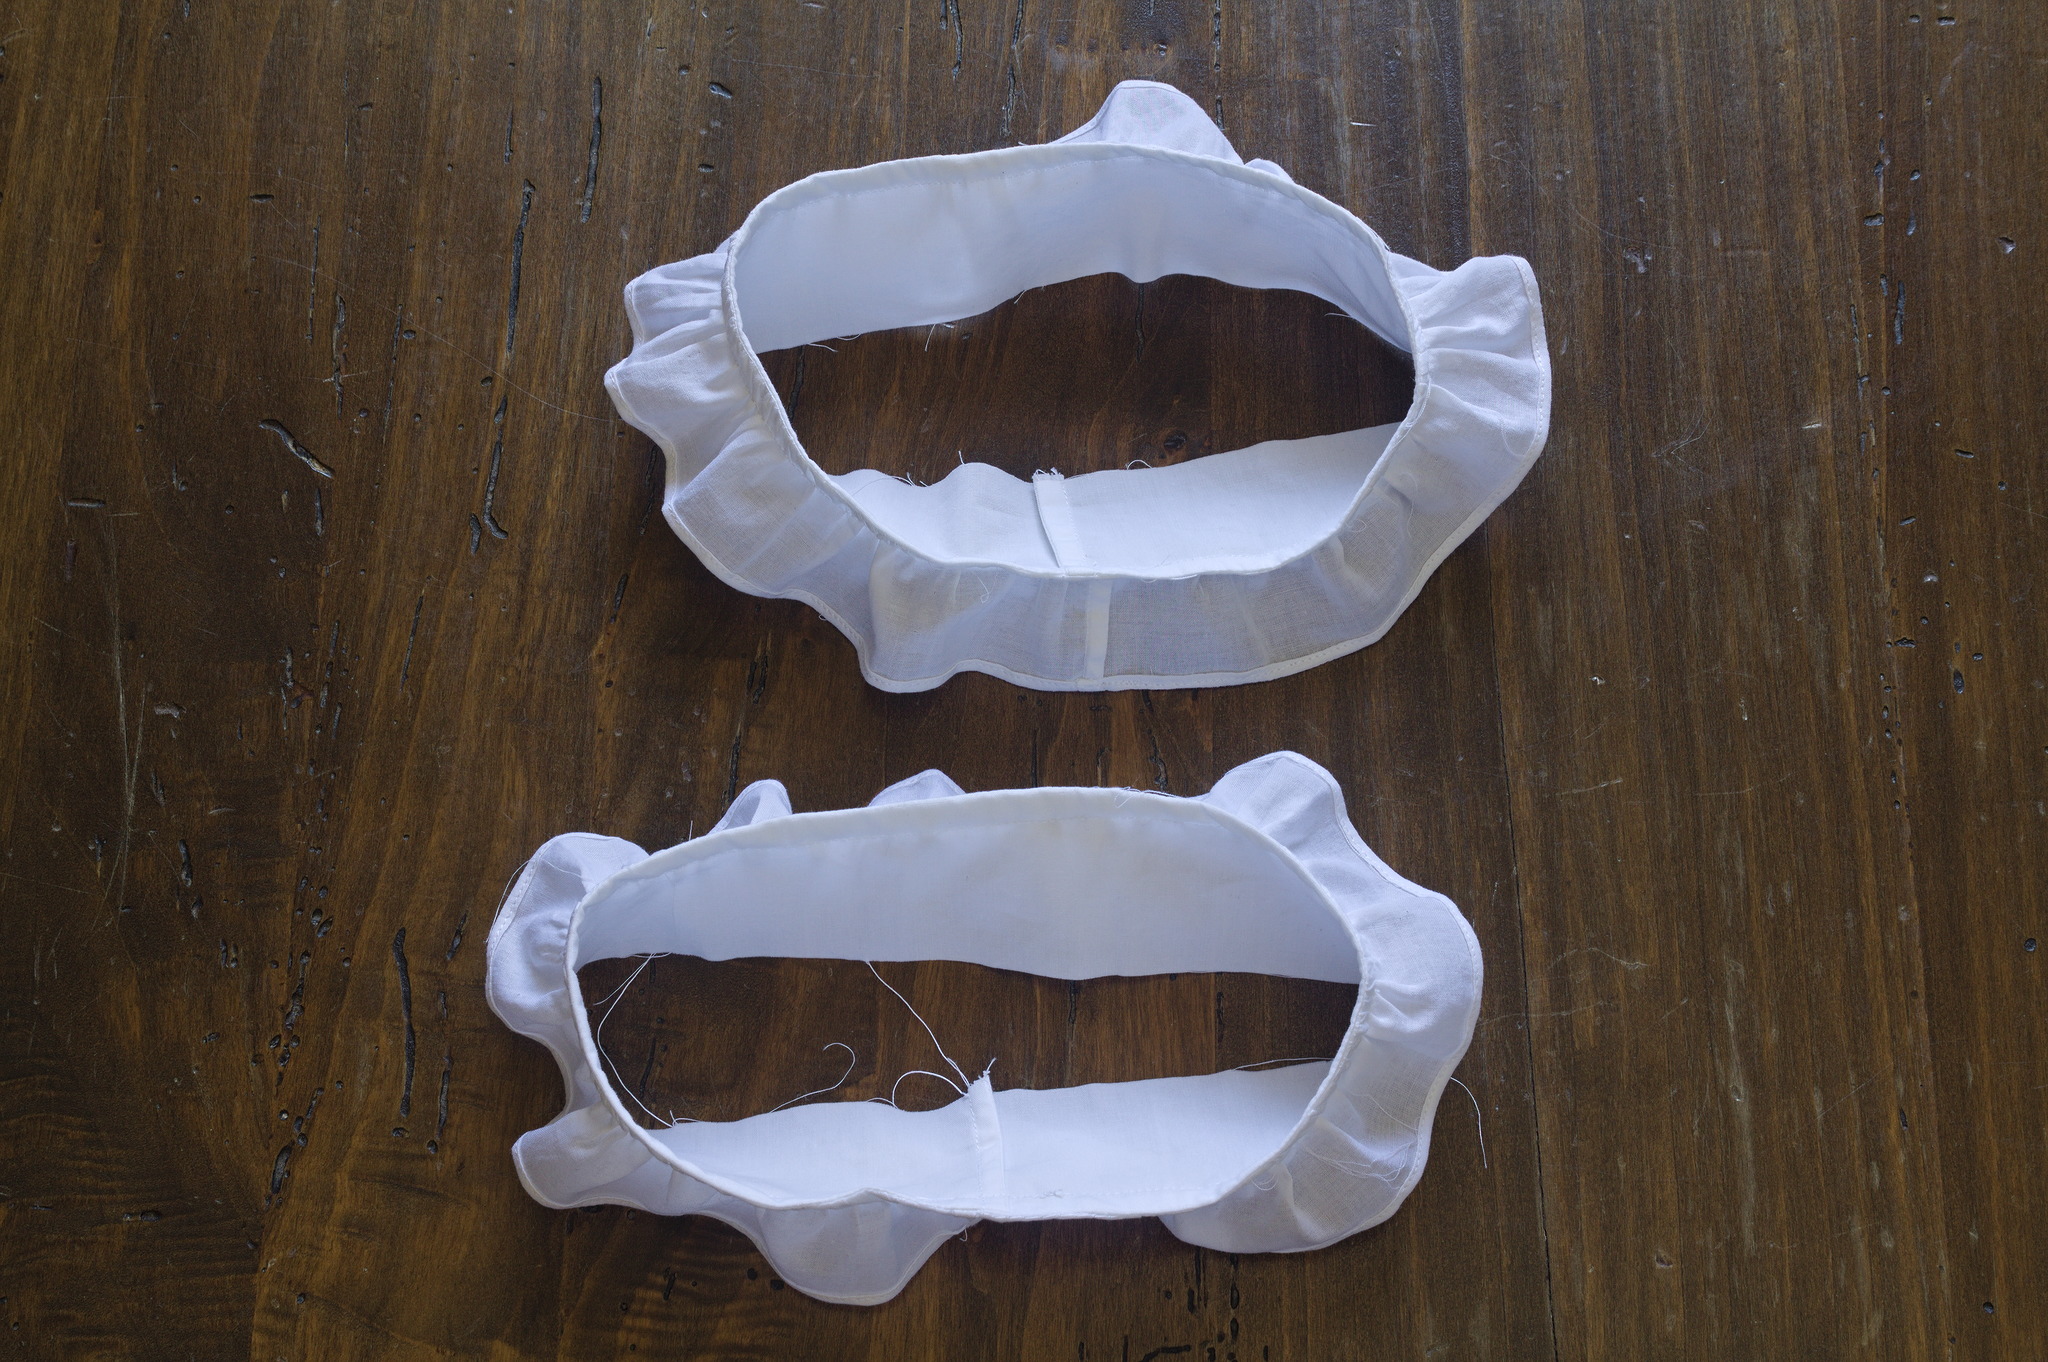
Repeat with the other sleeve.
Assembly
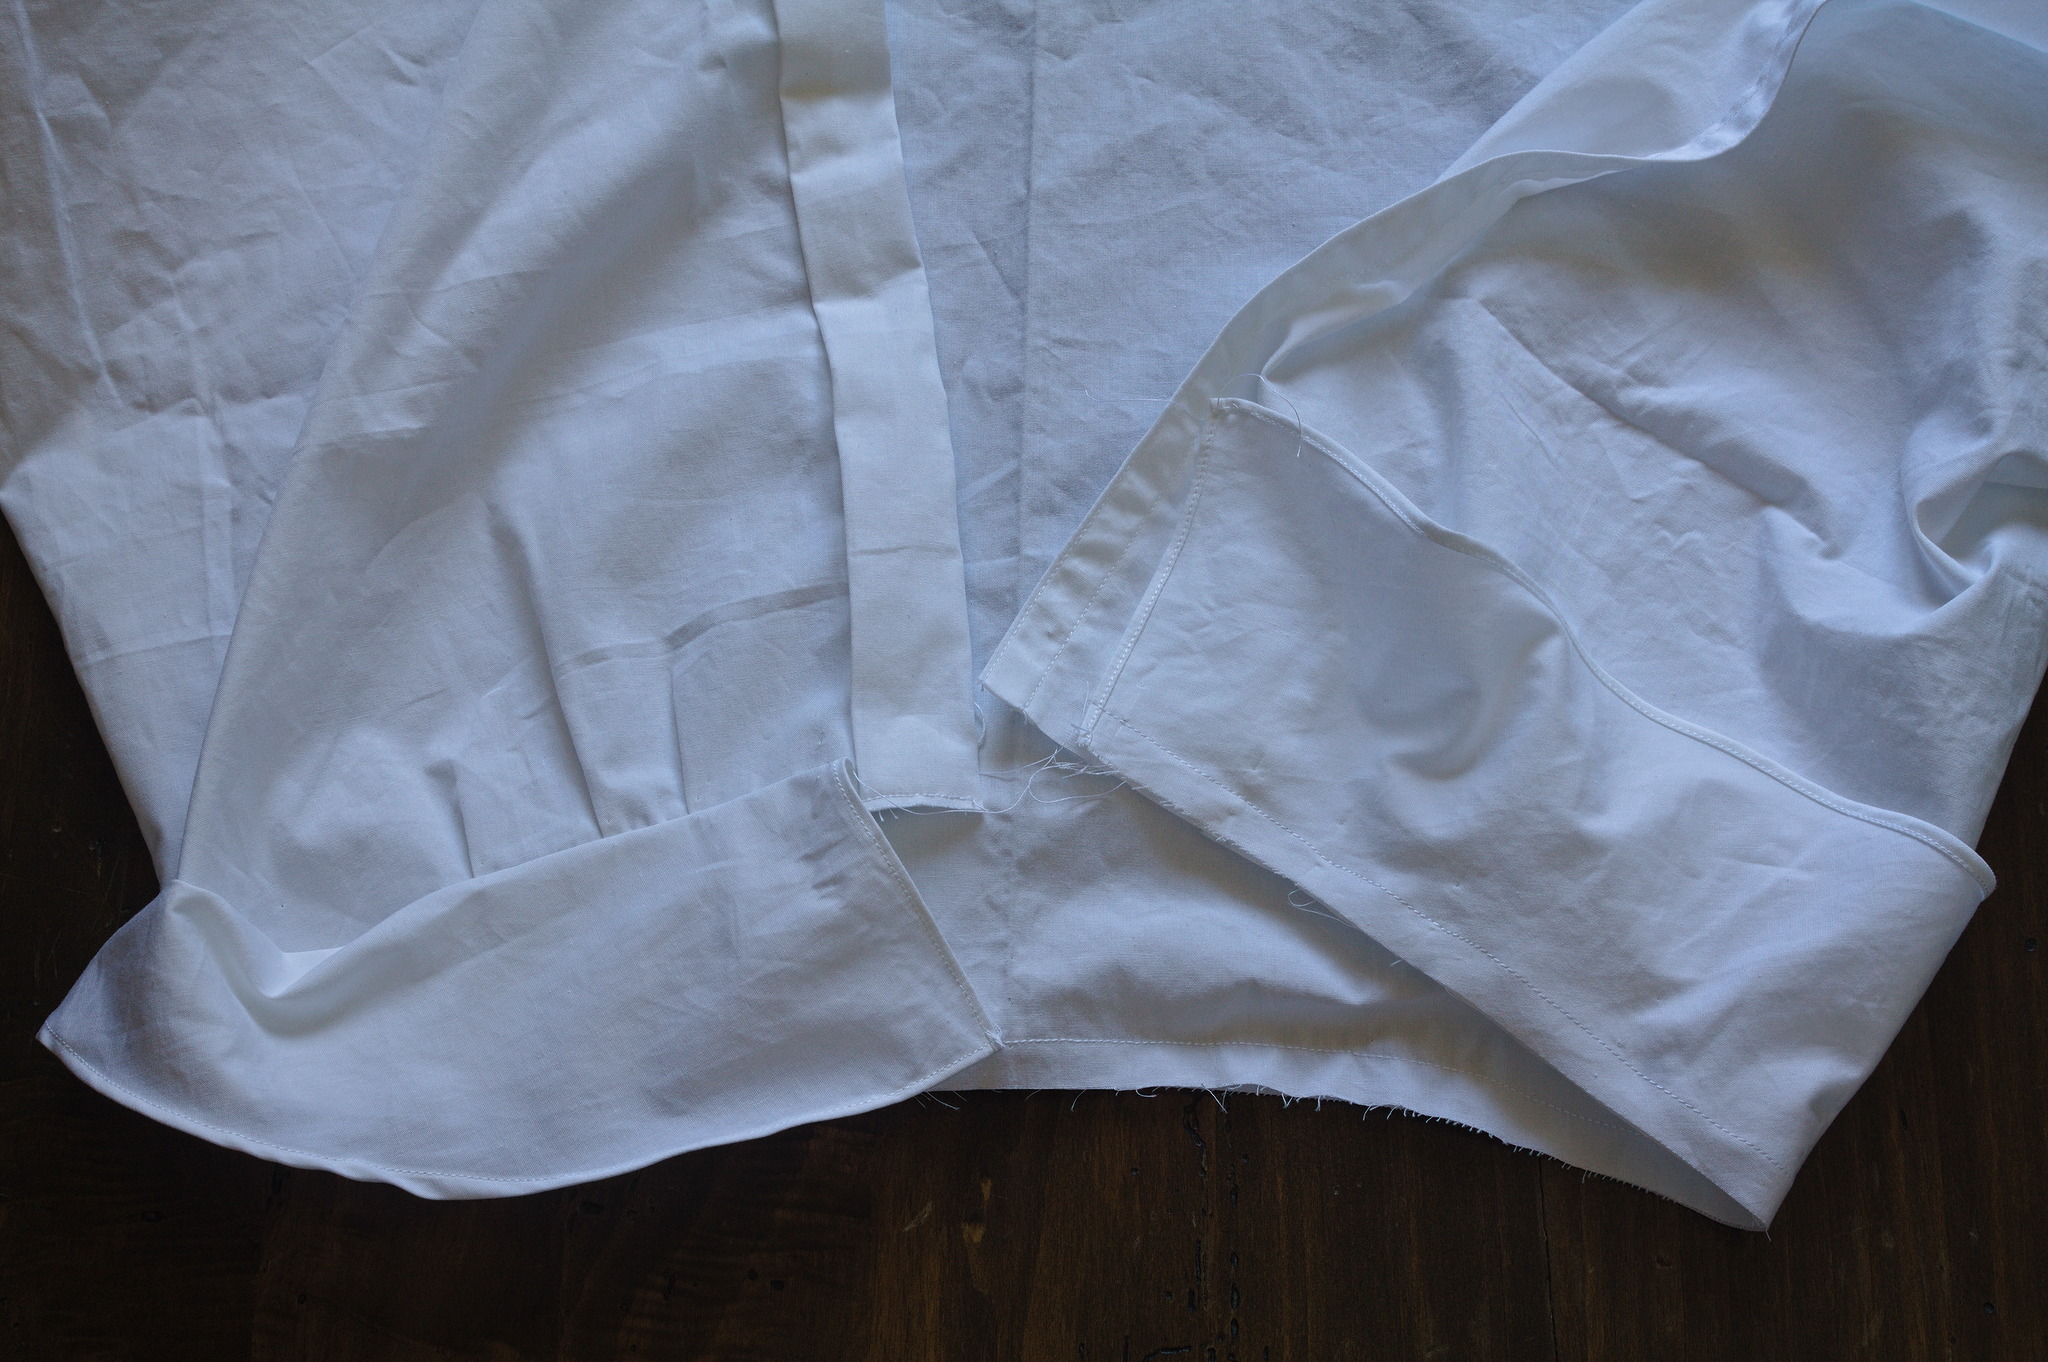
Right sides together, put the peplum on the body, pinning the back straight, then the front ends right at the place where the front pleat ends and placing the excess fabric from the front in two or three small pleats on each side, facing outwards.
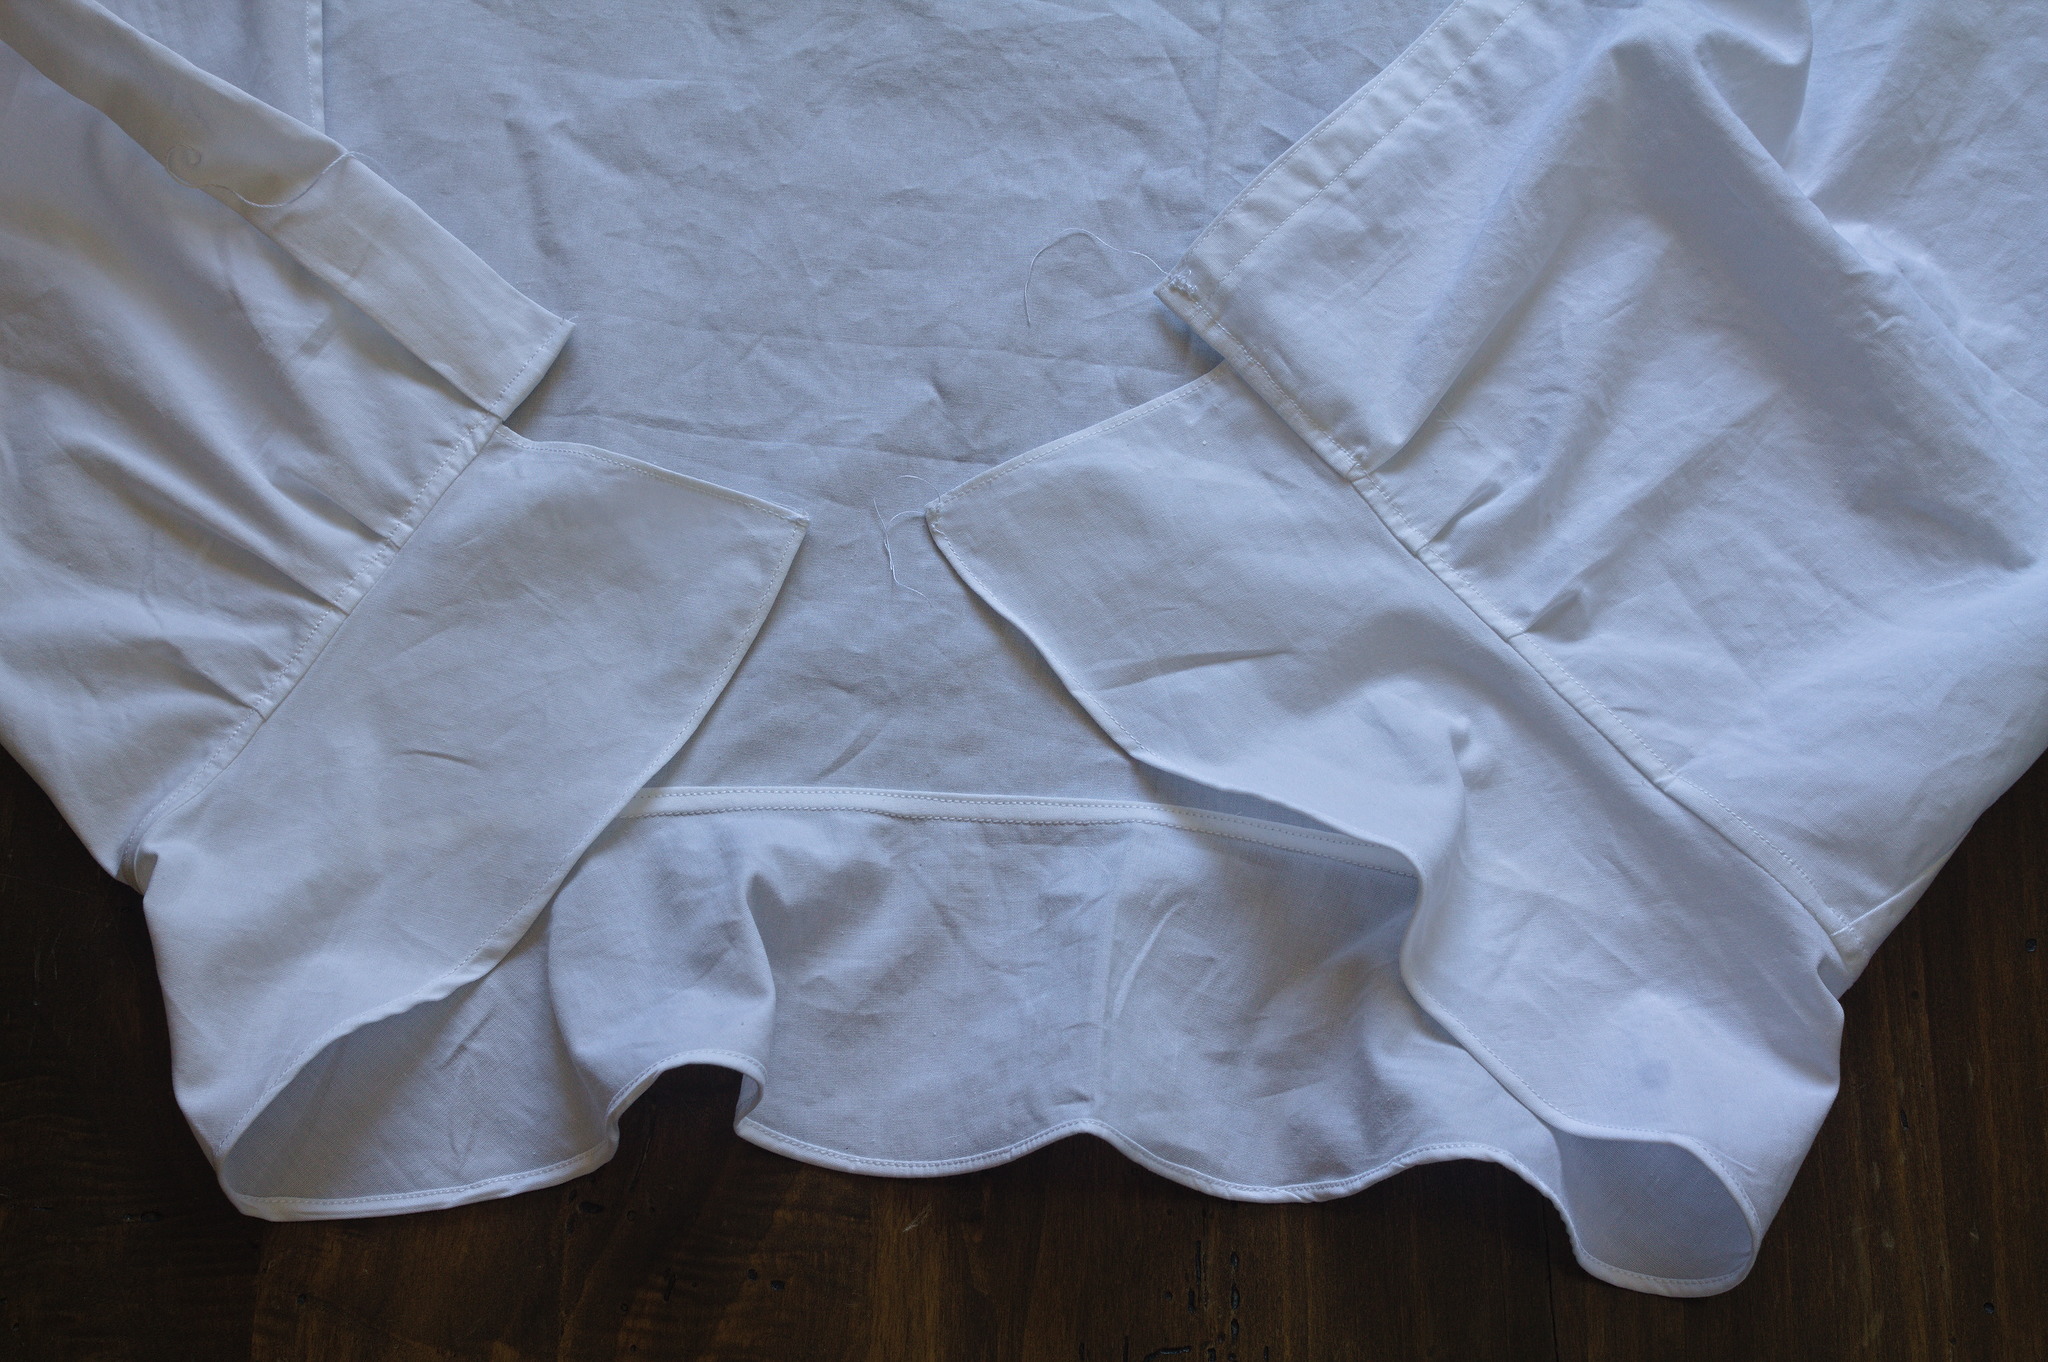
Sew with a flat felled seam: sew at the sewing allowance; then press the allowance up, trim the allowance from the body, fold the allowance of the peplum so that it covers the raw edges; when you reach the front use the same fold lines to hem the parts of the front that are not covered by the peplum, topstitch in place.
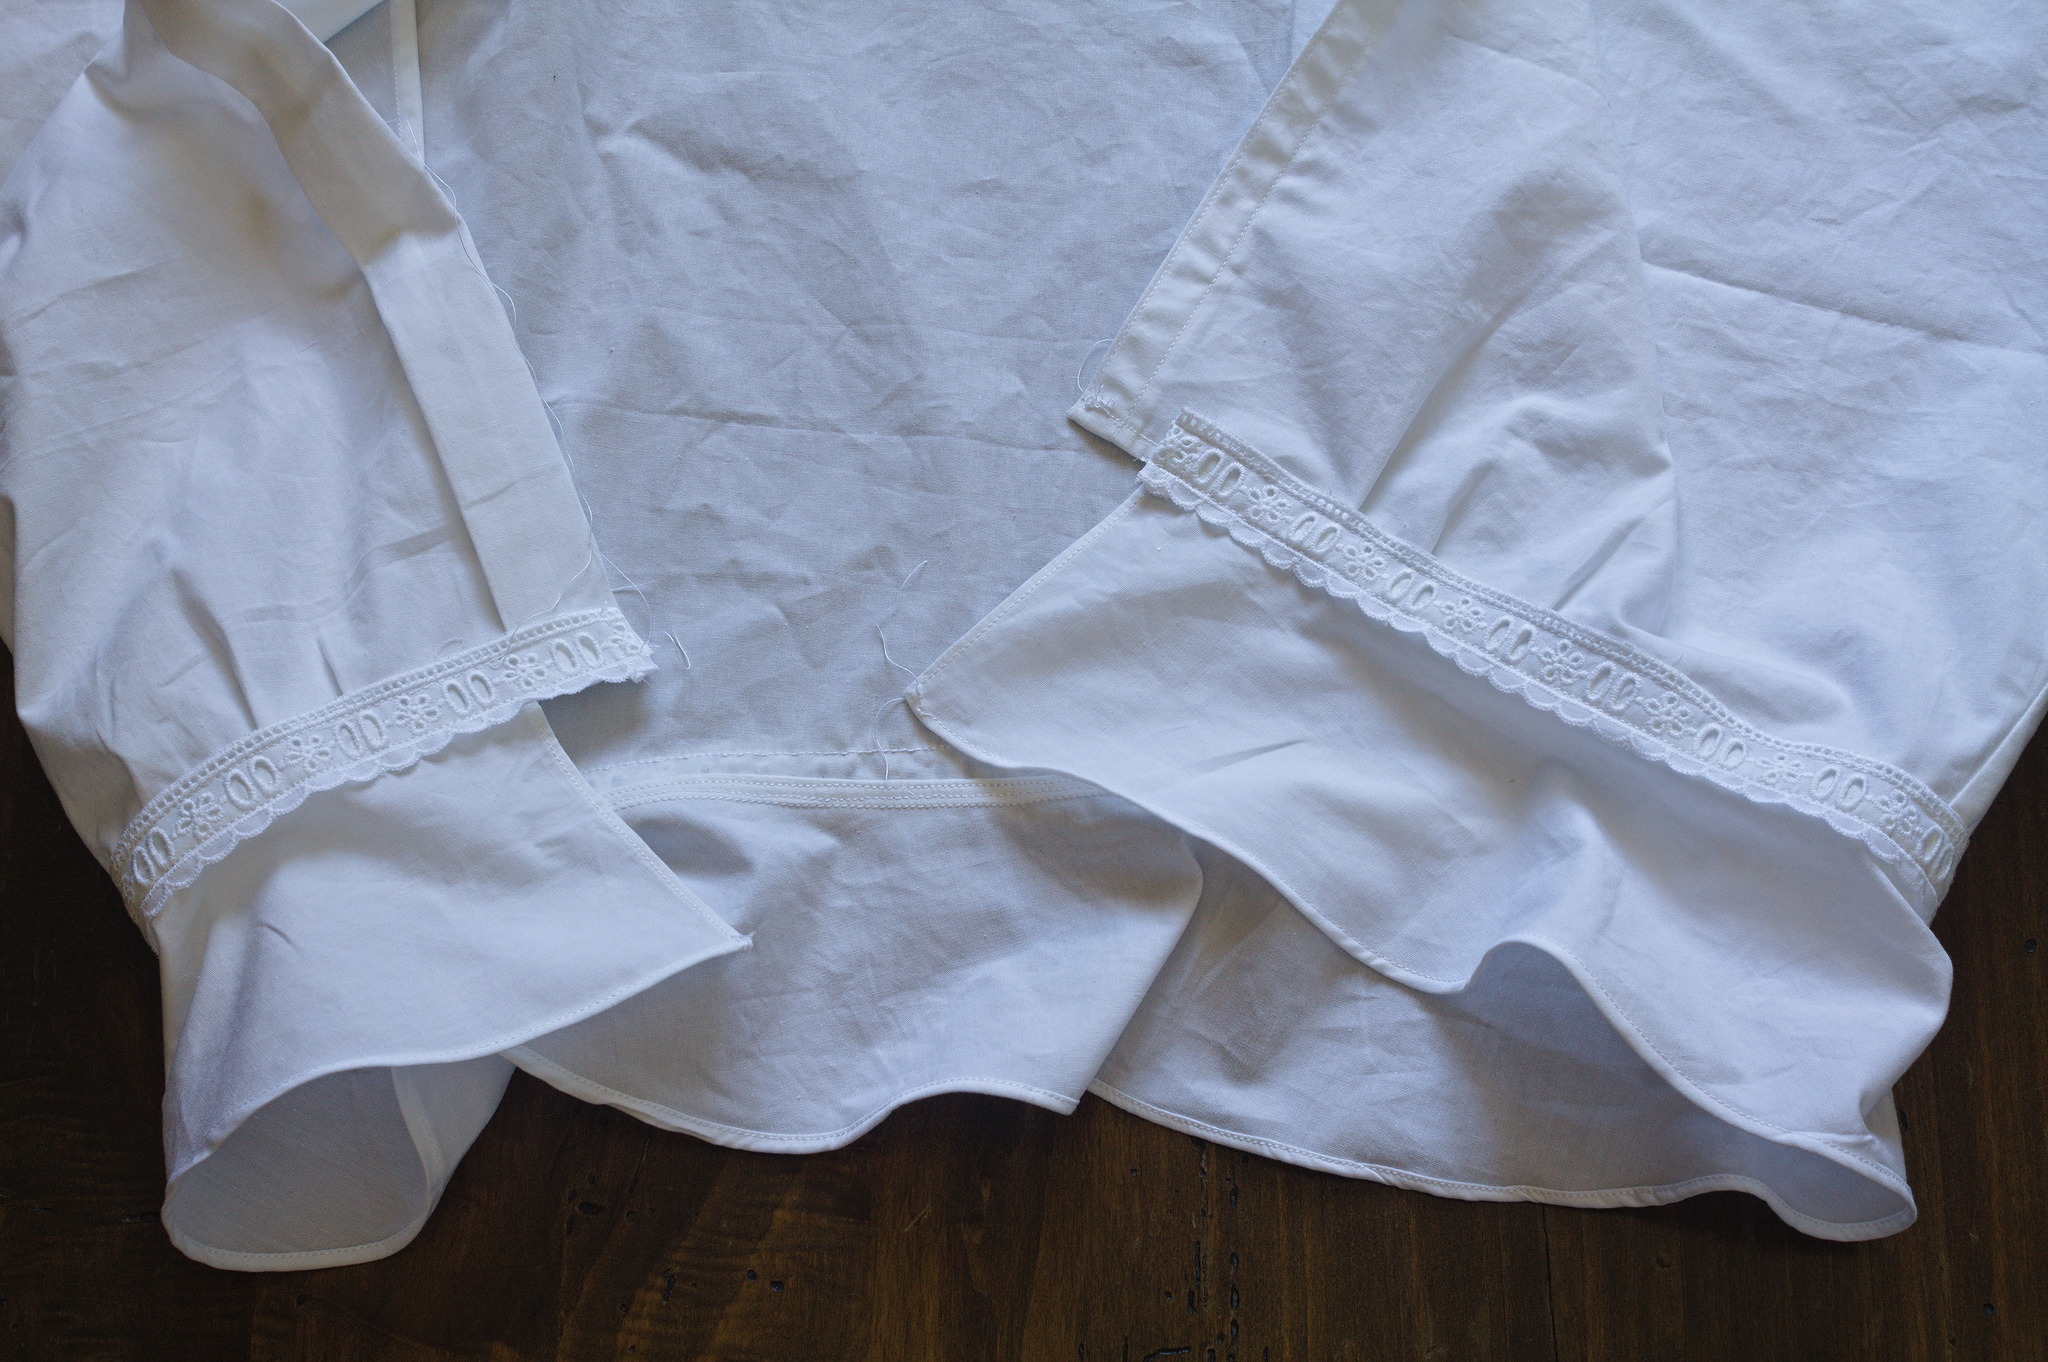
Optionally sew beading lace also over the waist seam, putting the lower seam over the seam between the body and the peplum, and again making sure not to sew the top seam over the pleat.
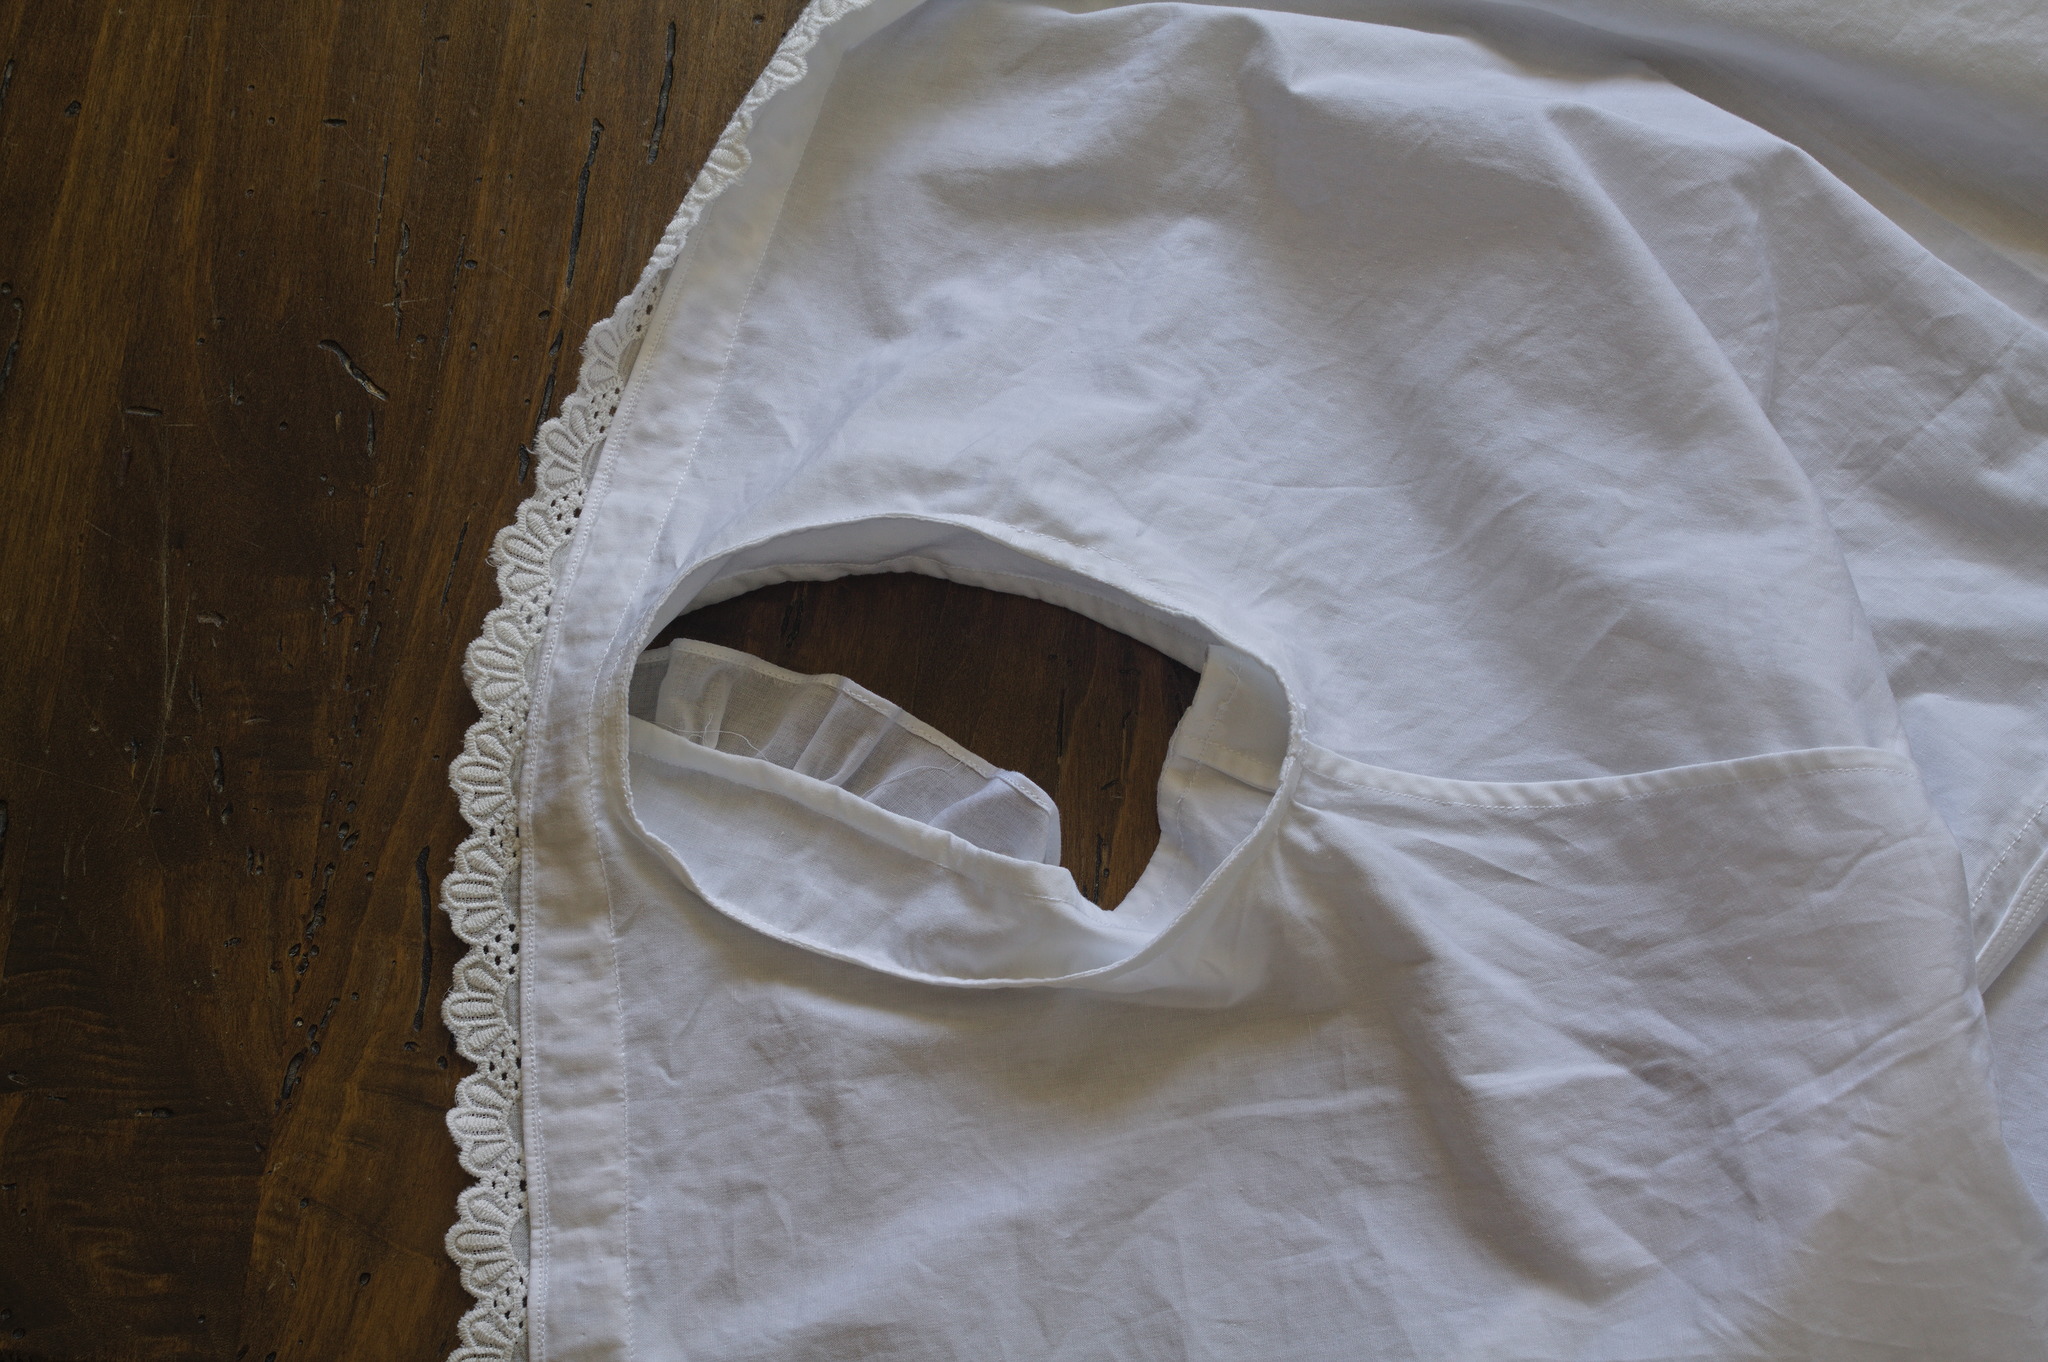
Sew the sleeves to the body with a french seam.
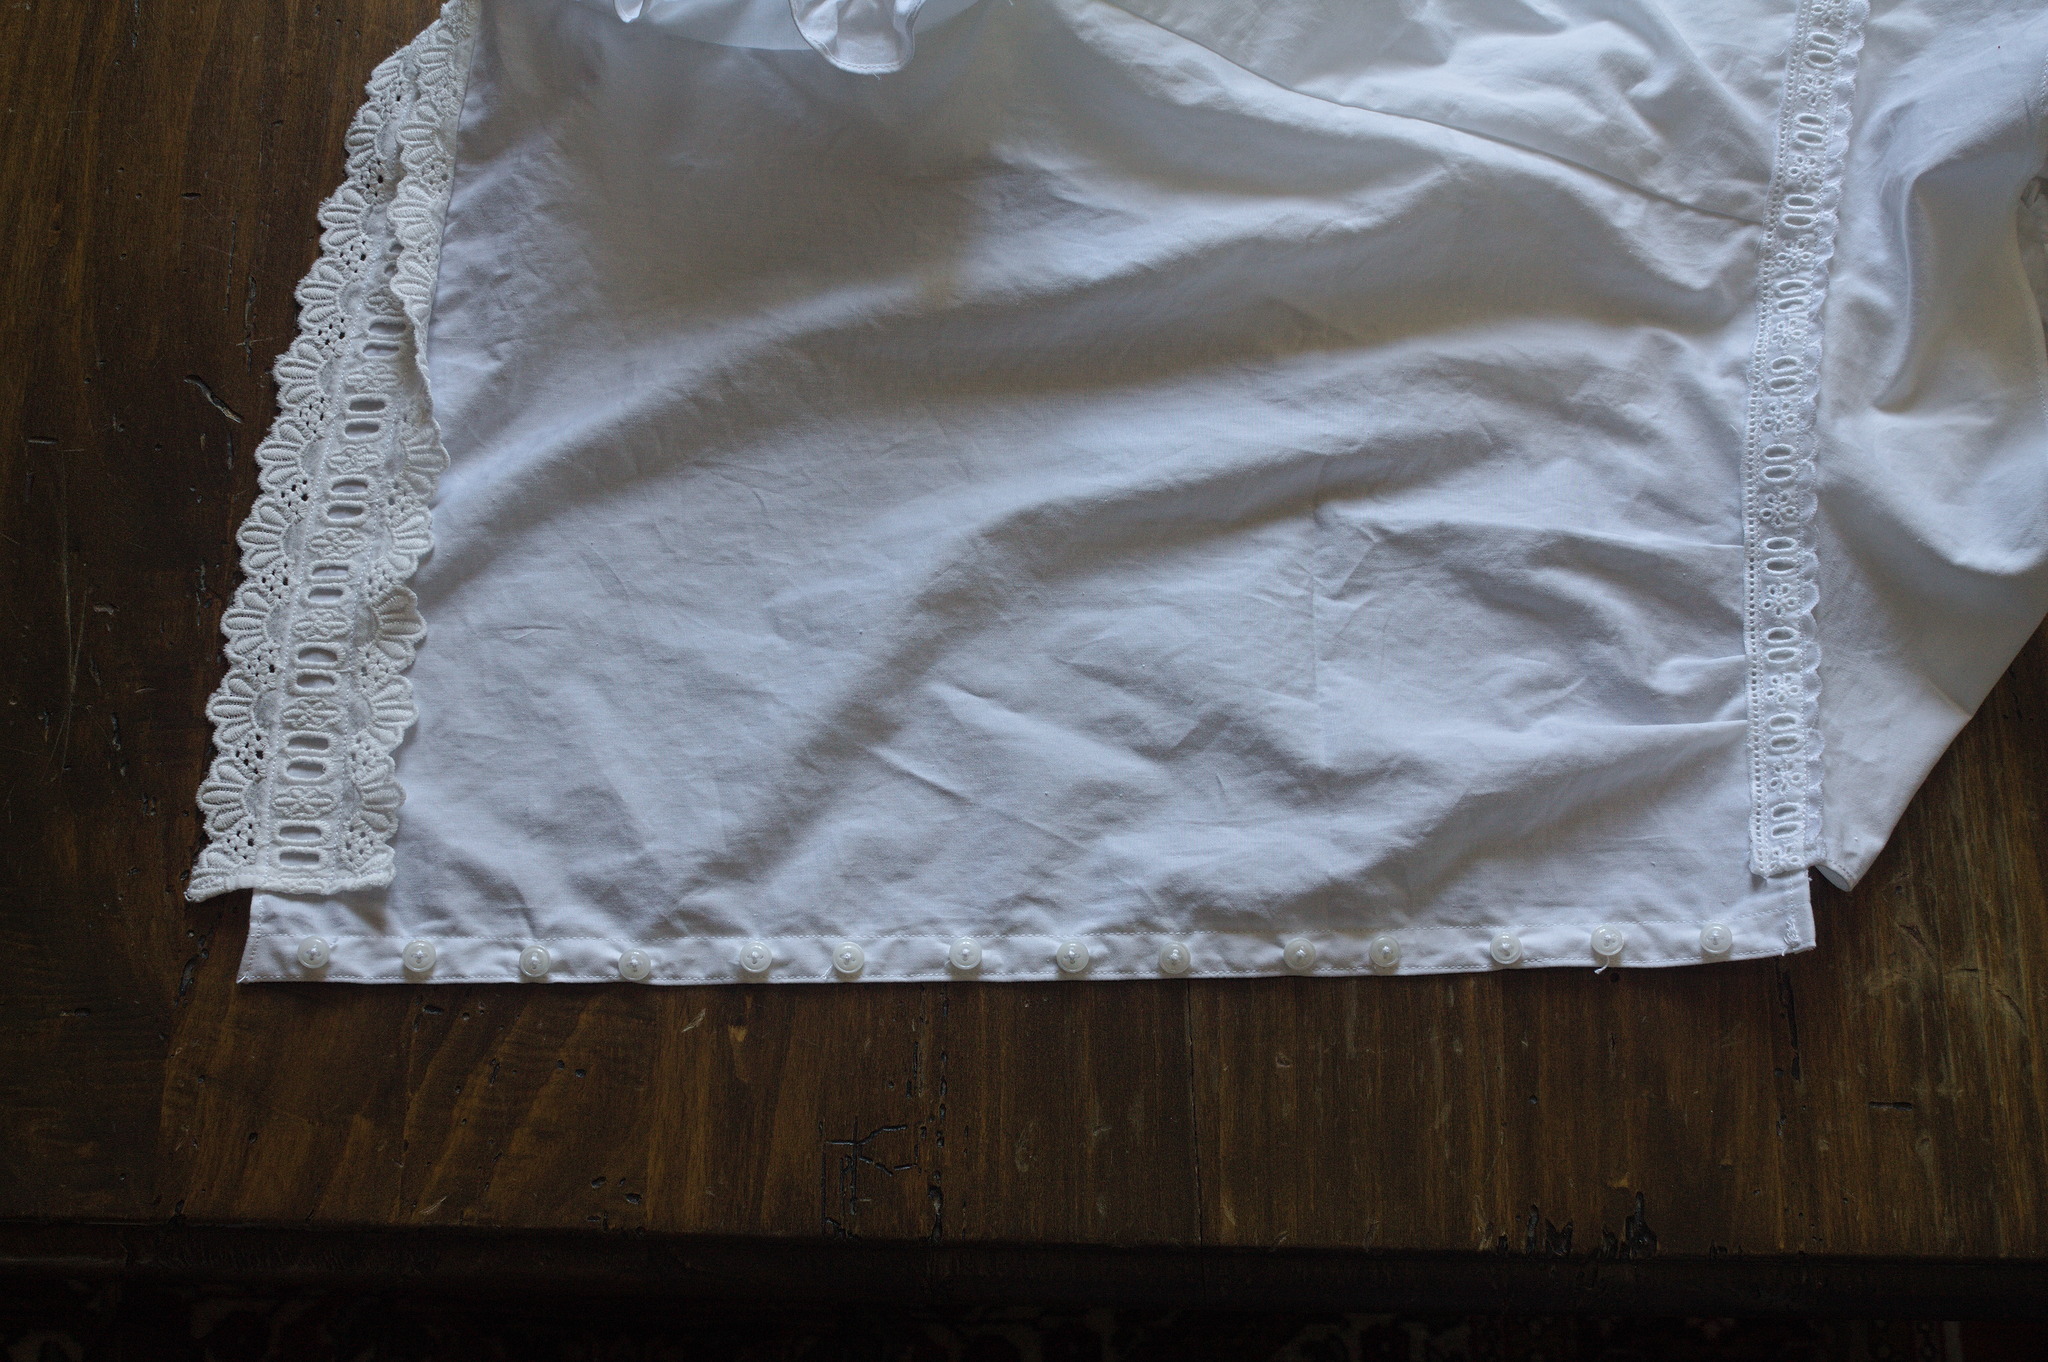
Attach the buttons to the left side placket.
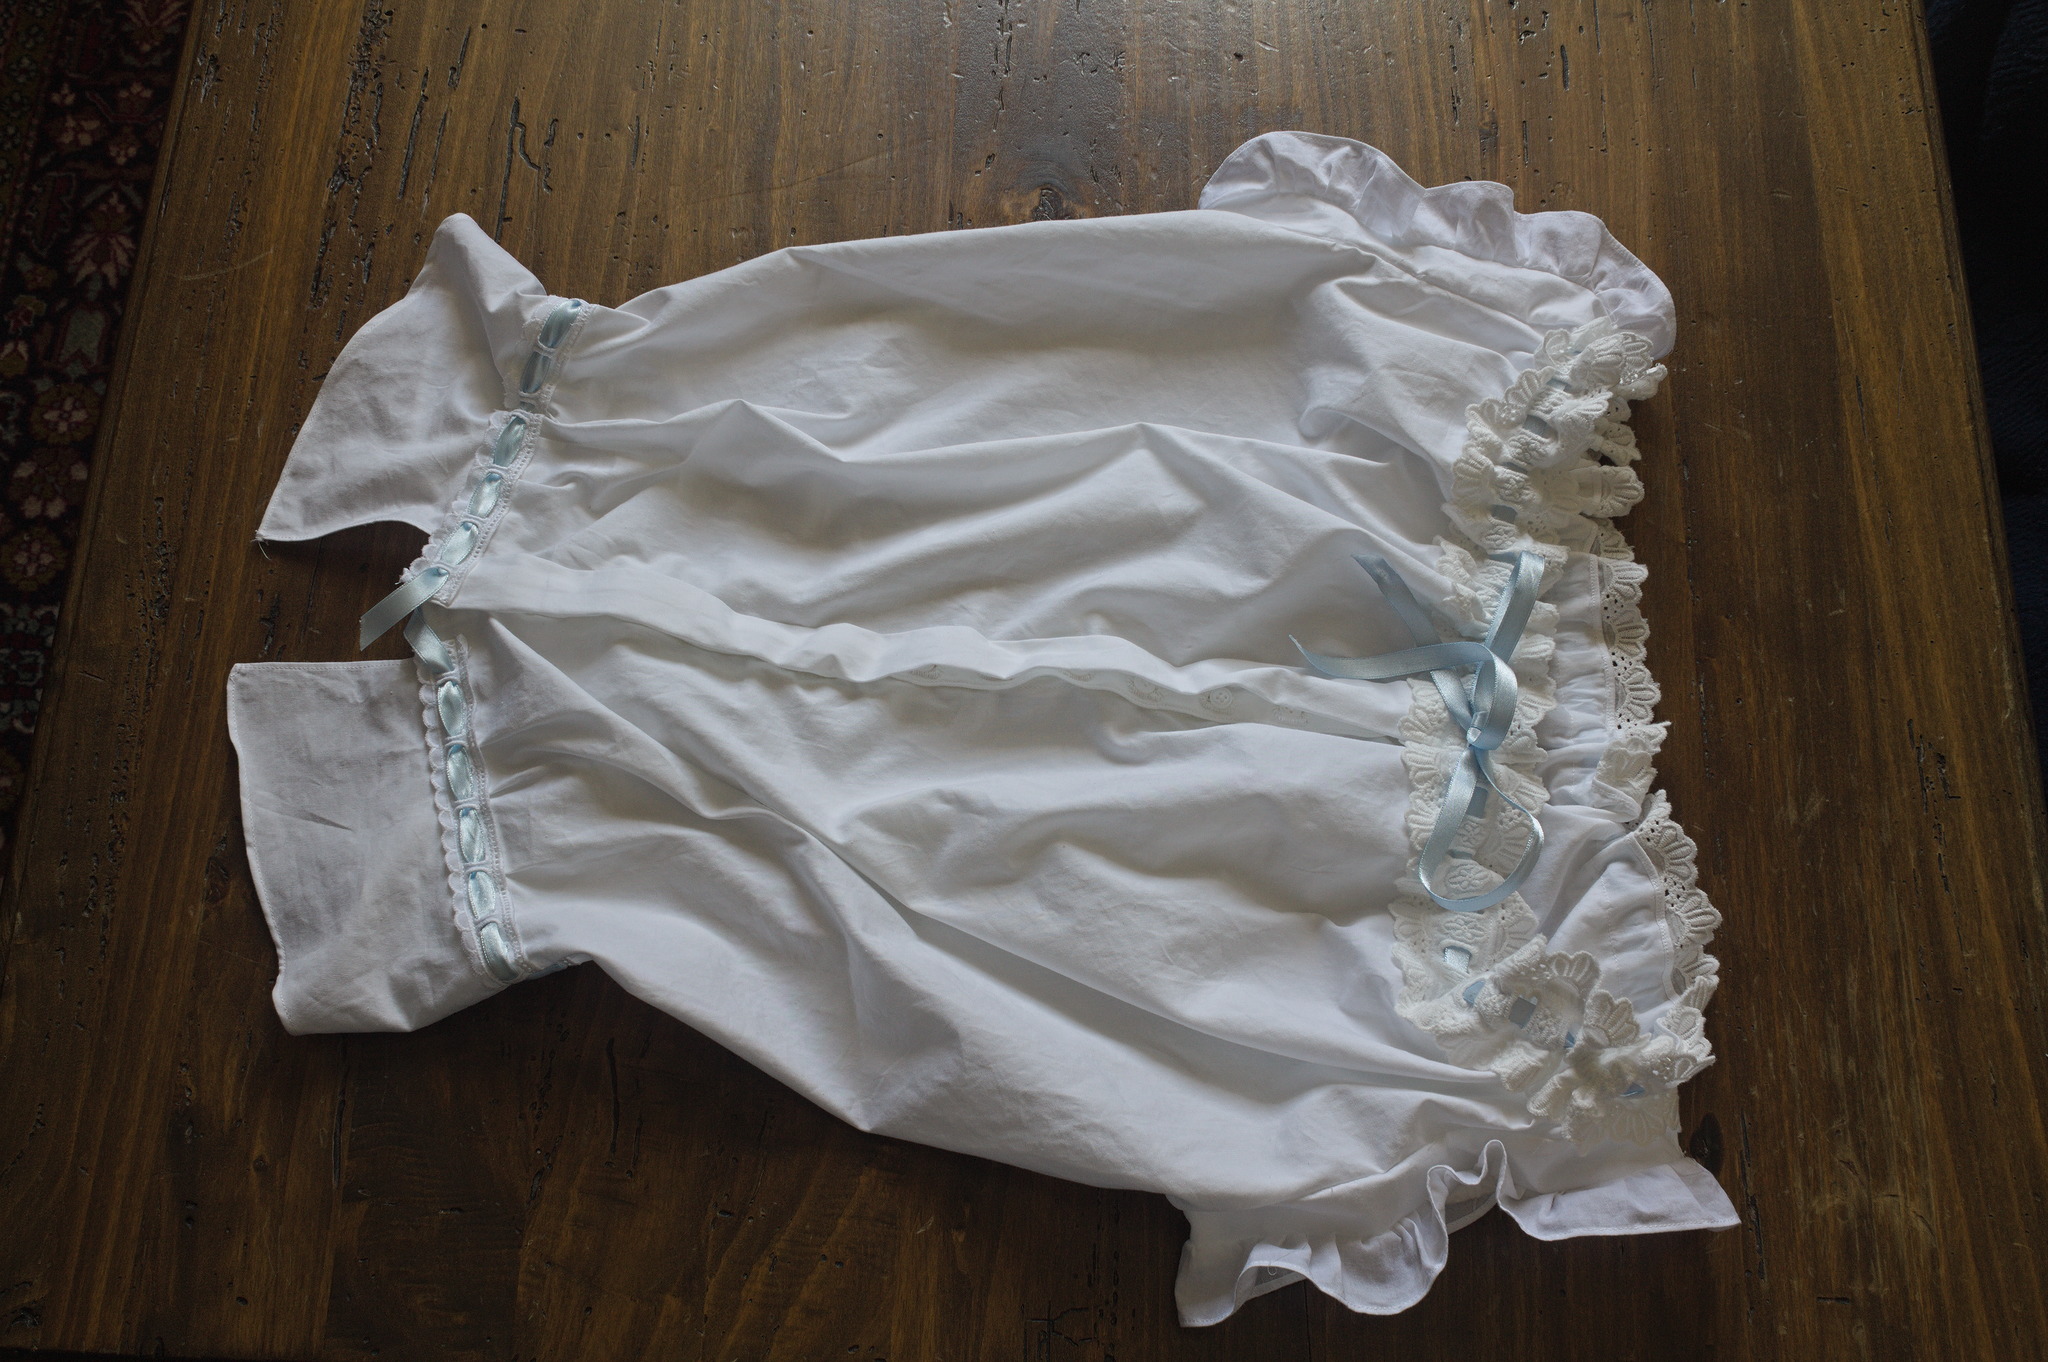
Pass a narrow ribbon in the beading lace.
Variants
Simpler Sleeves
Instead of making a sleeve band and a ruffle you can make a sleeve band that is a bit longer and gather it directly in the armscyes.
Inverted Front
Buttoning up the corset cover with the pleat on the right side may not be the most comfortable position, so you may want to make the box pleat on the left side and the placket on the right side. Everything else can remain the same.
Gallery
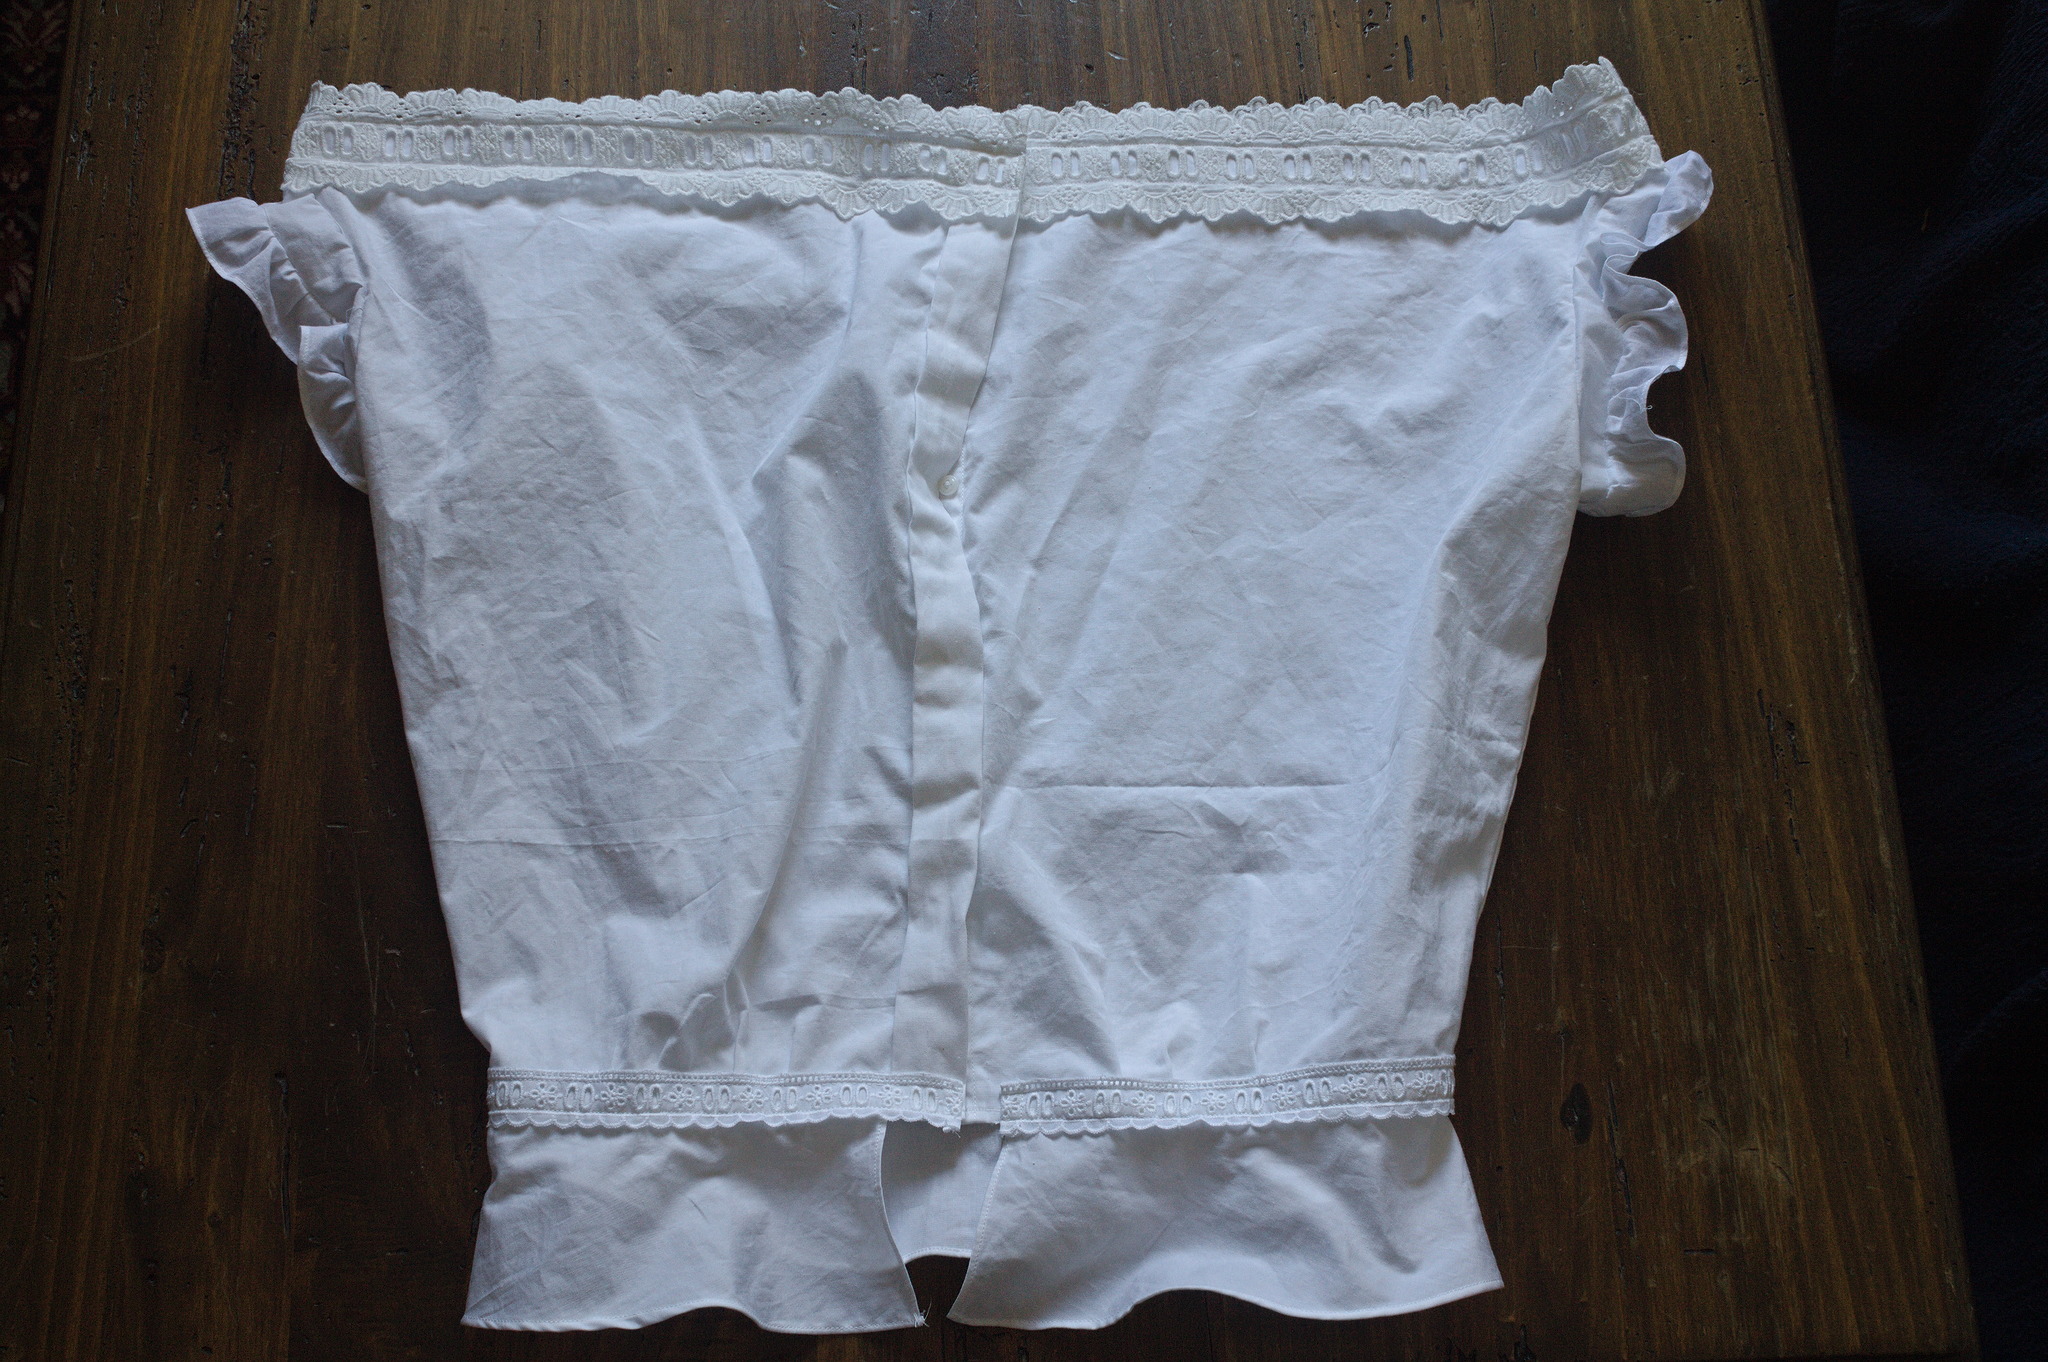
The corset cover before ribbon is threaded through the lace and pulled to gather the neckline.
See also
How to Make an Edwardian Corset Cover Without a Sewing Pattern a different take on the same inspiration source.